PROPOSE A FINAL PROJECT IDEA
Final Project Proposal
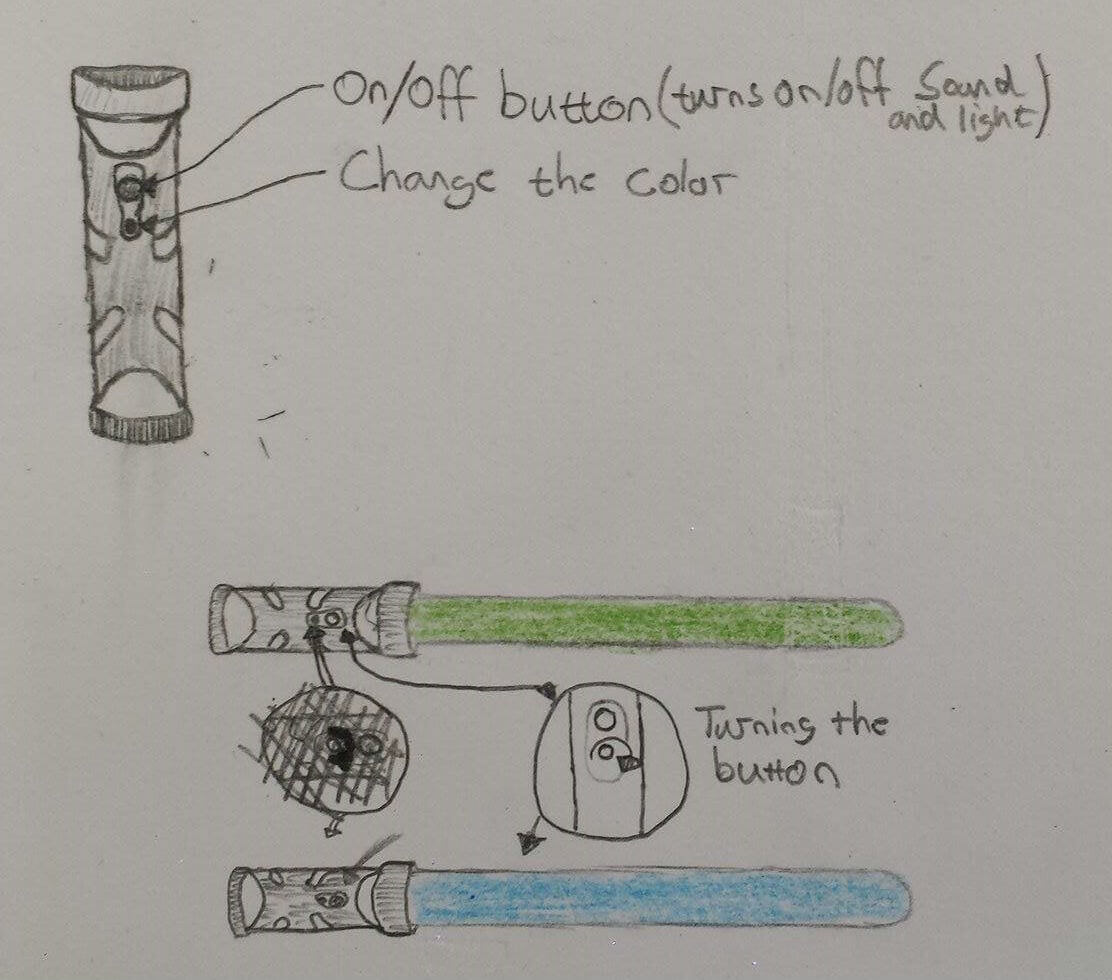
When i started thinking about a possible final project i was almost complitly broke with ideas. My first idea was a bike but i was not that satisfied with it. After thinking about it for a little time i decided to build a lightsaber, both because of all the hype around the new Star Wars film and because i'm a big fan of them. The idea for now is to make a saber that glows, has sound effects, maybe some sensors and when you push or turn a button it changes colors. You can see this amazing sketch i did of the project down below :)
Autodesk Fusion 360
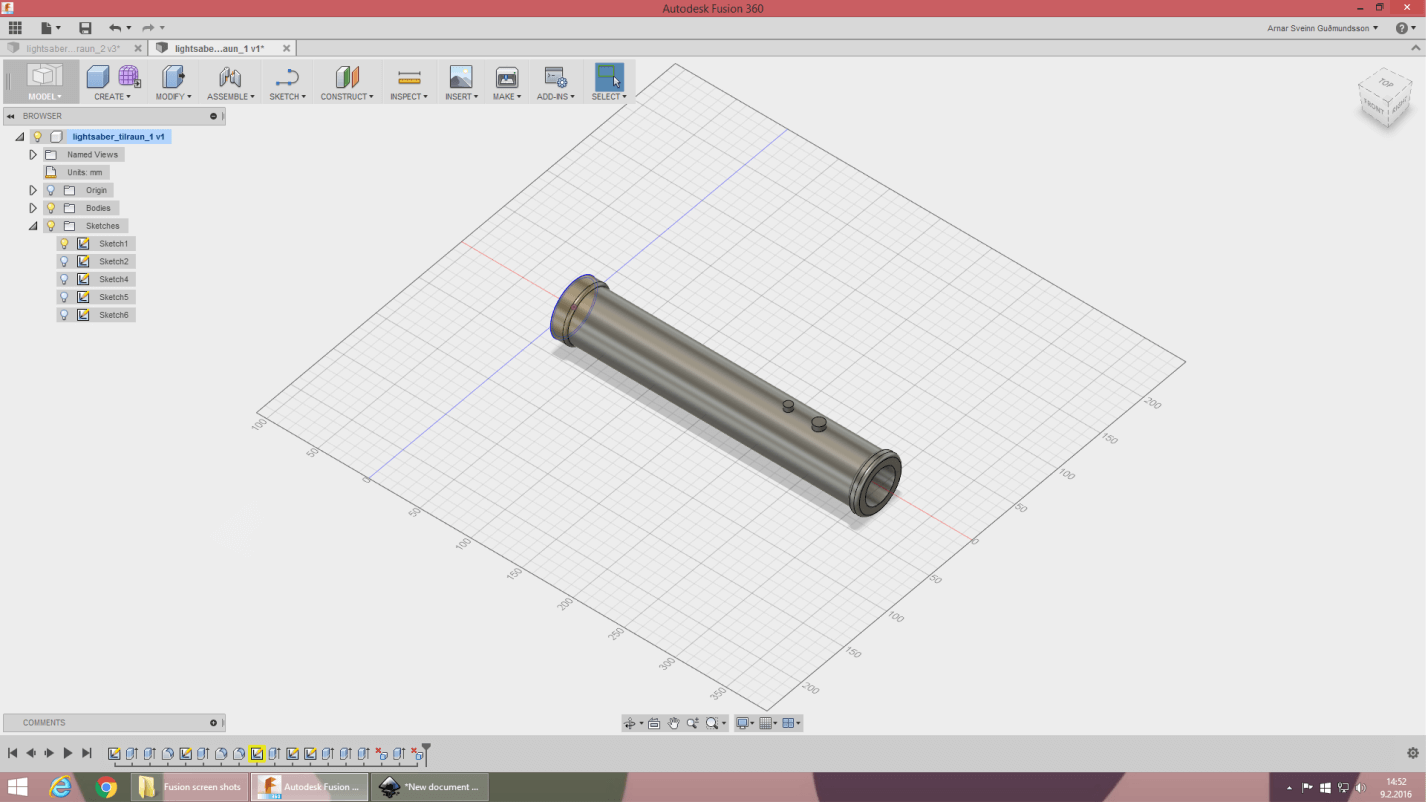
Autodesk Fusion 360 This week was my first time using Fusion 360, but i have used Solidworks a little bit before and found this software very similar to it, and there for making the learning curve a bit easier. The first thing i did after getting the software was going through a quite a bit of tutorials on the Autodesk site and after some time getting more familiar with it, i decided to have a try drawing the lightsaber. My first try was definitely not the prettiest saber but at least it was a start.
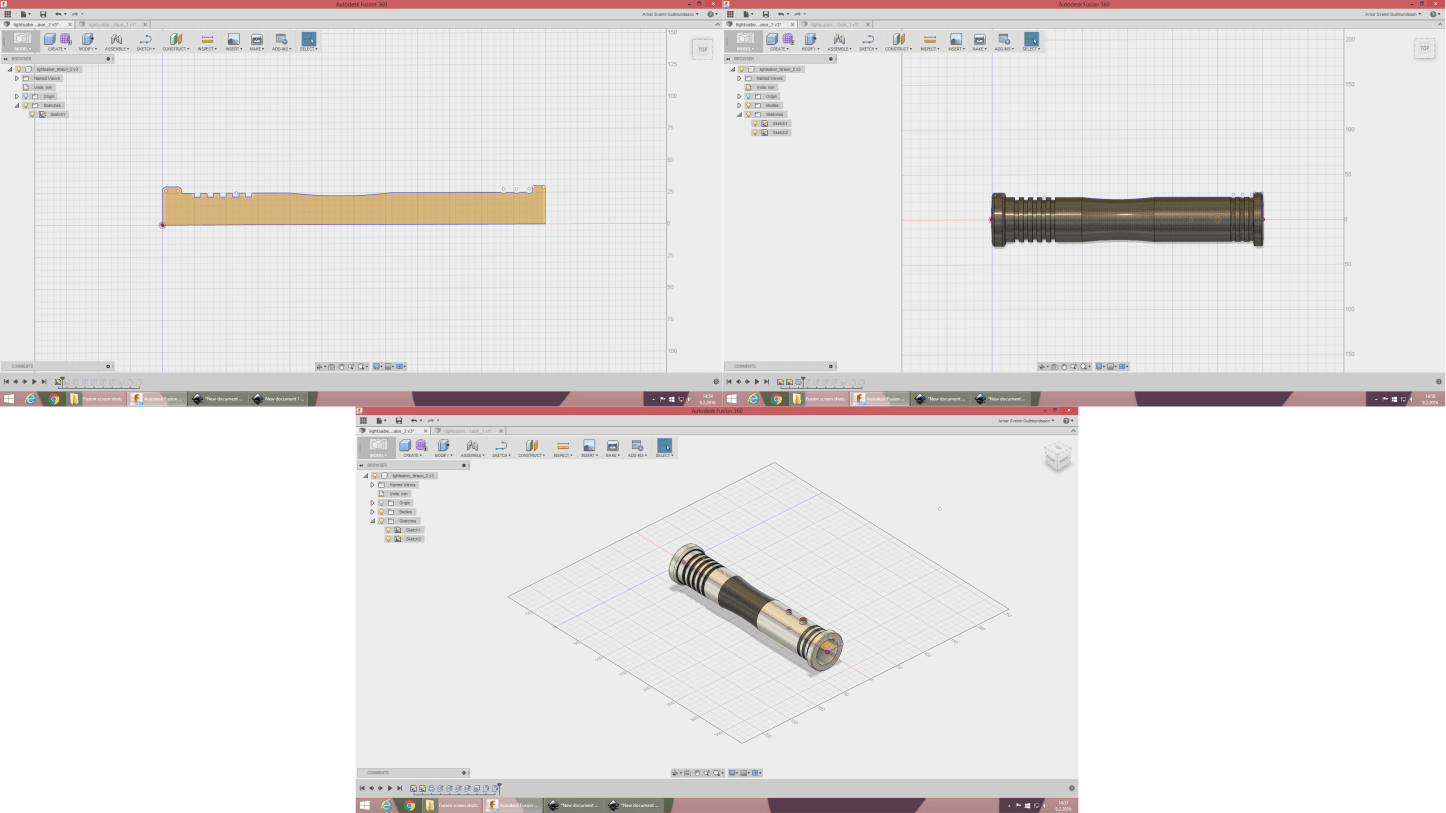
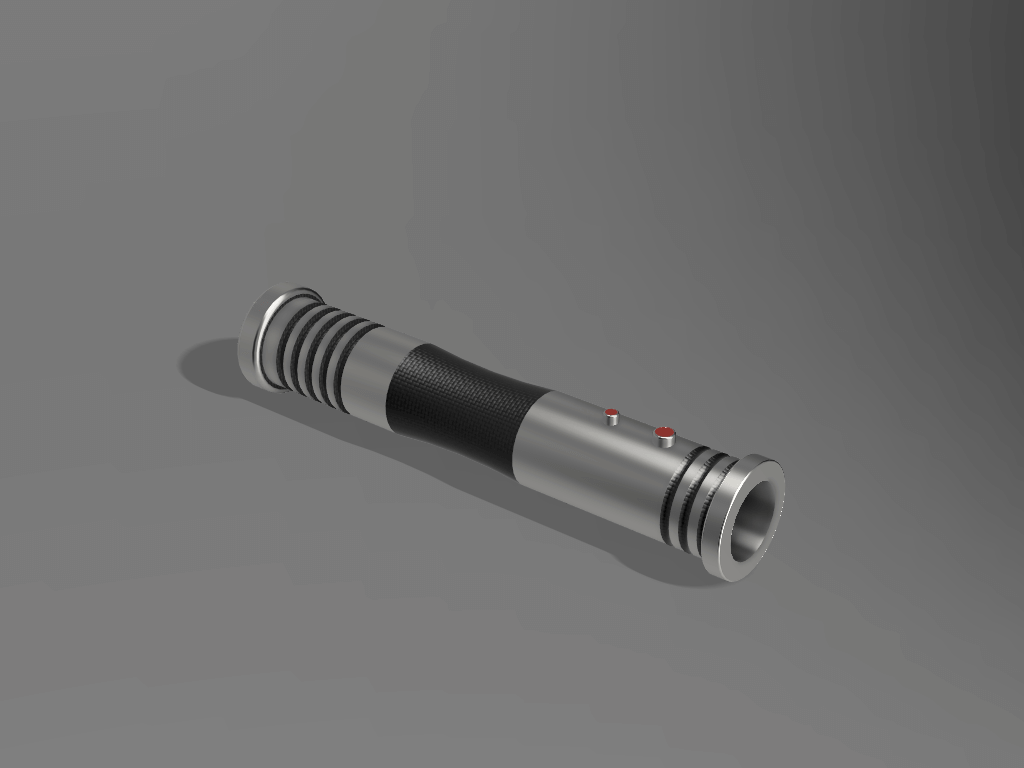
My second try look much better and more like a lightsaber. Instead of sketching a circle and extruding him (like in my first try) i drew the outlines of one-half of the saber and revolved it.
Update
So now there are about 2 weeks until the final project presentation and all i have done so far is the idea for the project and how the hilt of the saber should look like. The idea has changed a little bit from the first week but Frosti encouraged me to have more outputs other than just the buttons, so now the idea is to have a lightsaber that changes colors when you swing or moved around with an accelerometer. The accelerometer that i am going to use in my project is the ADXL335 SparkFun triple axis breakout board. I decided to start off with the electronics because that would definitely be the hardest part for me. So first, before designing the circuit board, i connected the accelerometer and a led to an arduino and programed them to work together, i got them to do that pretty easily with help from sites like this one and this one.
arduino test from Arnar Sveinn Guðmundsson on Vimeo.
Designing, milling and soldering the circuit board
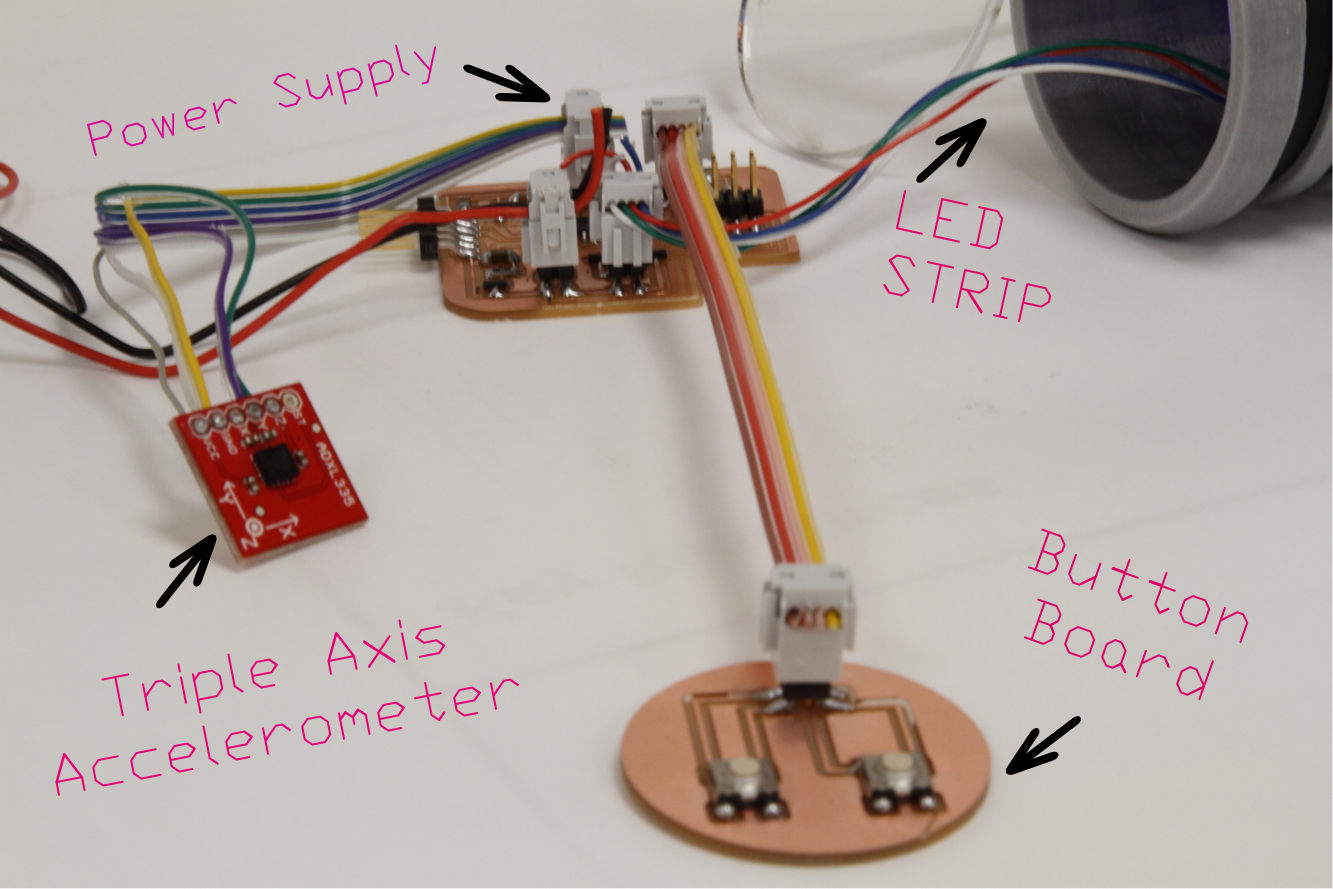
Next step was to design the board, I knew i wanted a board with a Led strip, accelerometer and maybe two buttons, and Frosti and Bas suggested to also include an Ftdi connector if i wanted to make some kind of a interface for the saber later. Bas and Lind came to Vestmannaeyjar for one weekend and i got a lot of help from them. Bas recommended that i would redesign the unipolar stepper motor board by Neil. When i redesigned the board i exchanged the motor FCI pins for FCi pins for the Led stip, i was also thinking about using the ATMEGA instead of the Attiny44 but it turned out i had just enough pins on the Attiny44 so i decided to just him. Then i added two more FCI pins, one for the accelerometer and one for a button board.
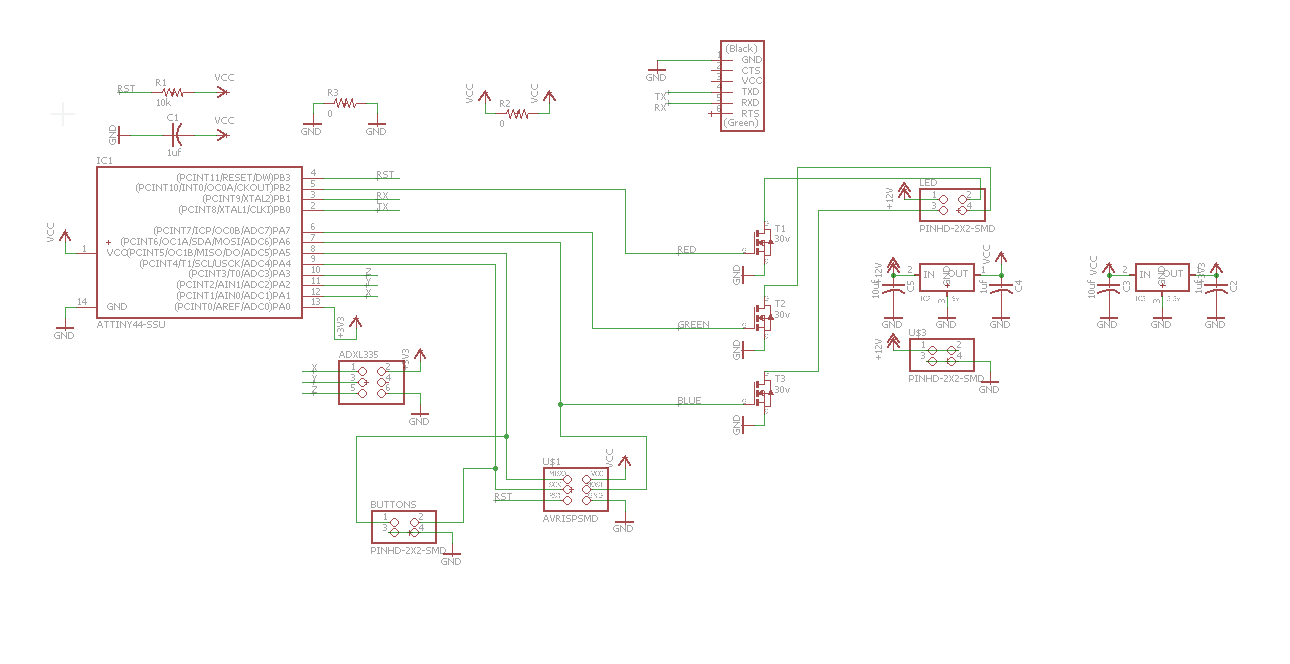
- Attiny44
- 2x3 FCI pin for the ADXL335 accelerometer
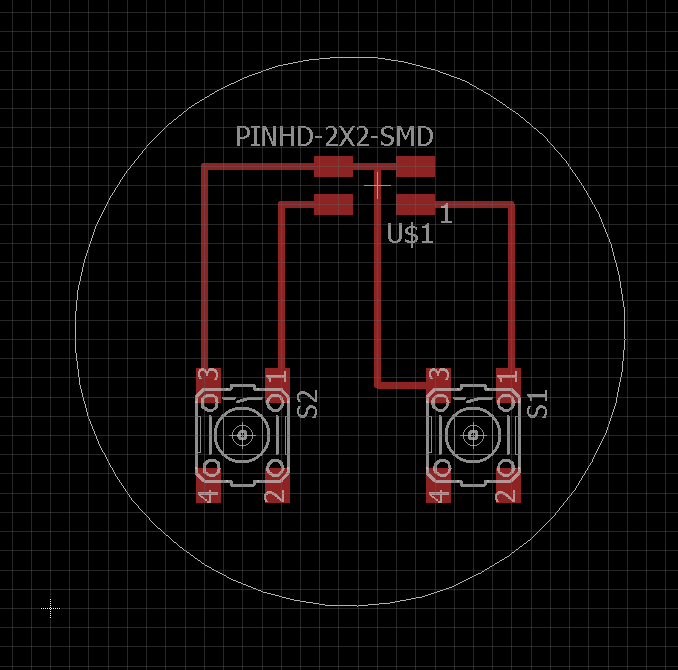
- 2x2 FCI pin for the button board
- 2x2 FCI pin for the led strip
- 2x2 FCI pin for the power
- AVRISP Programming pin
- FTDI
- 3 x 30V Mosfets
- 5V Regulator
- 3.3V Regulator
- 10KΩ Resistor
- 3 x 0Ω Resistor
- 3 x 1uf Capacitor
- 2 x 10uf Capacitor
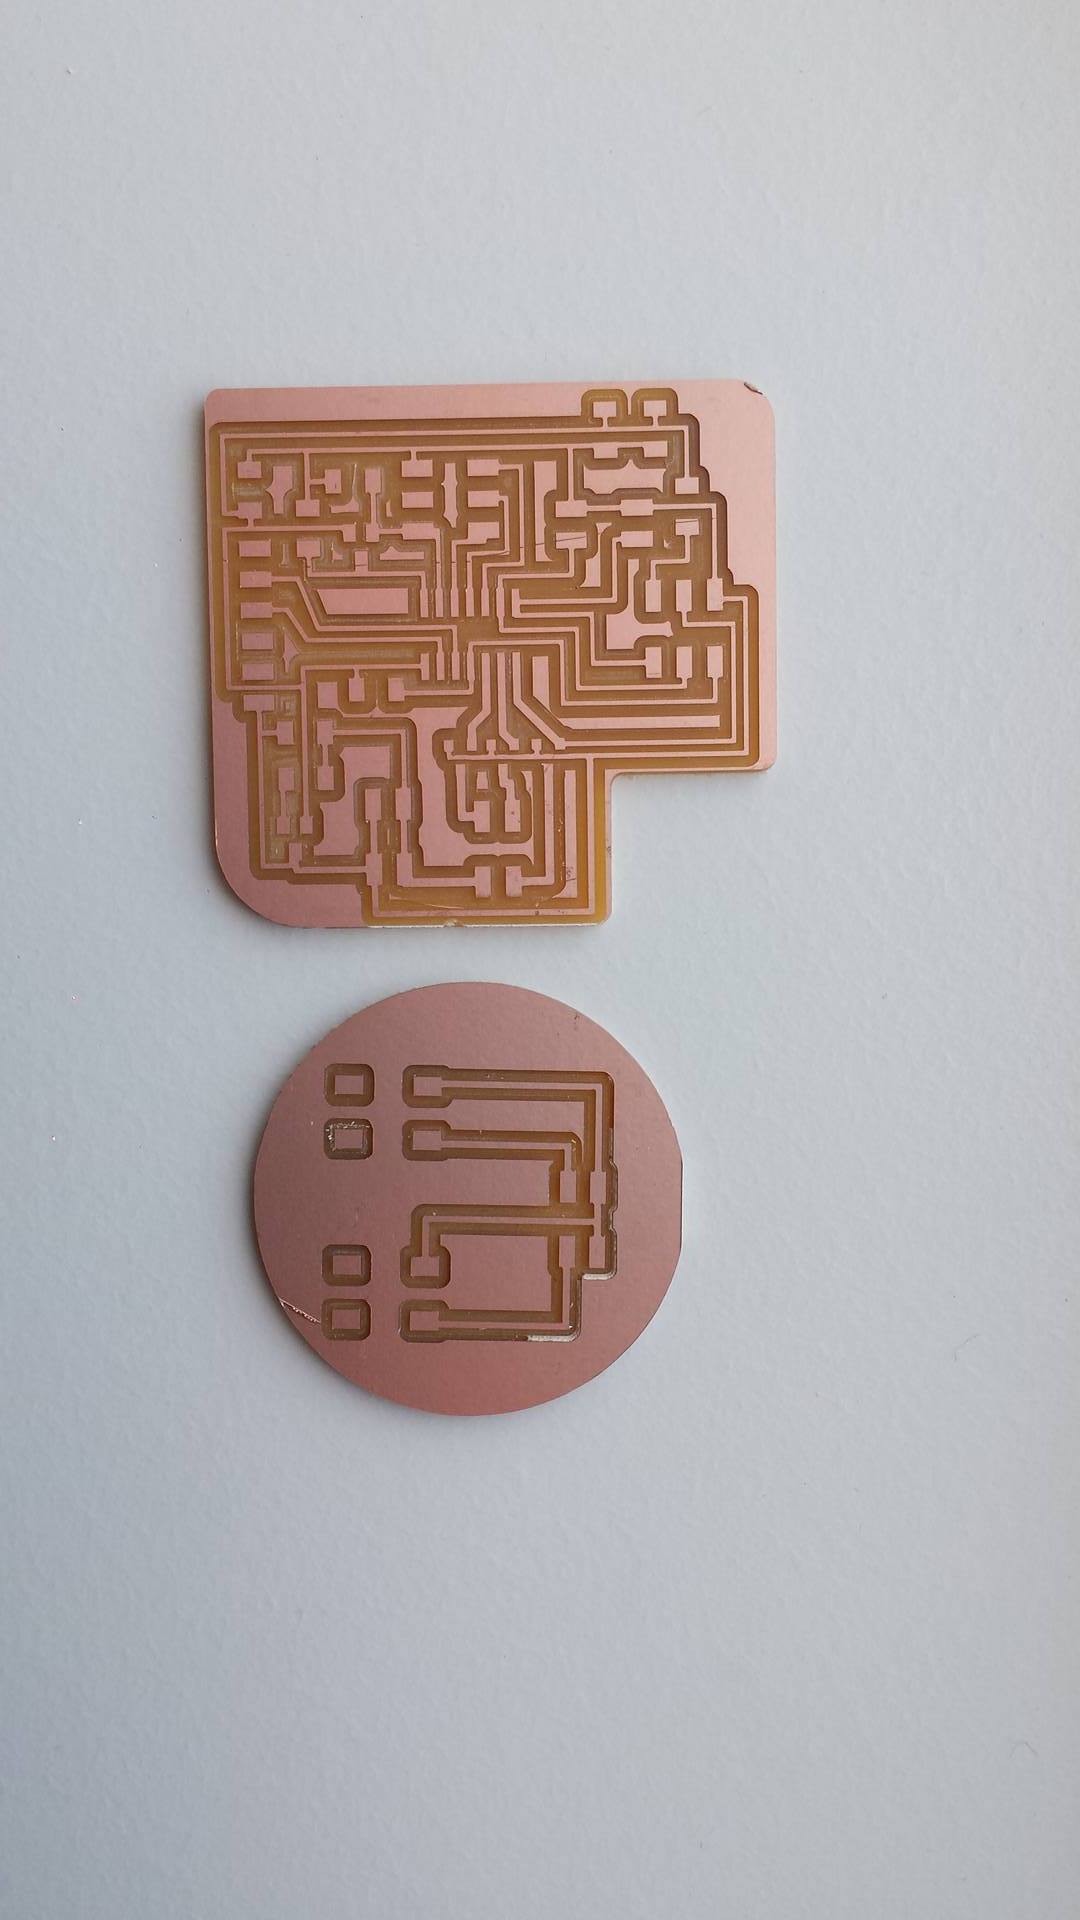
After i had done the schematics right with good help from Bas it was time to route everything together and that was really time consuming, but after a few dozen failures i finally got it right and it was time go to the milling machine.
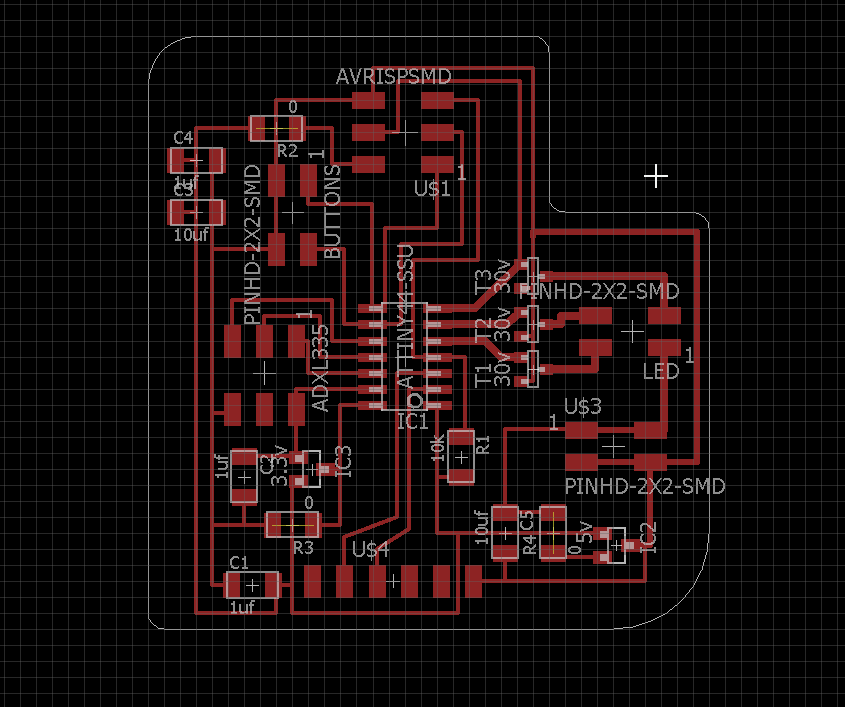
The milling process itself went well but some of the traces were apparently too close and got stuck together but i fixed that easily by moving the routing a little bit around and milled the board again.
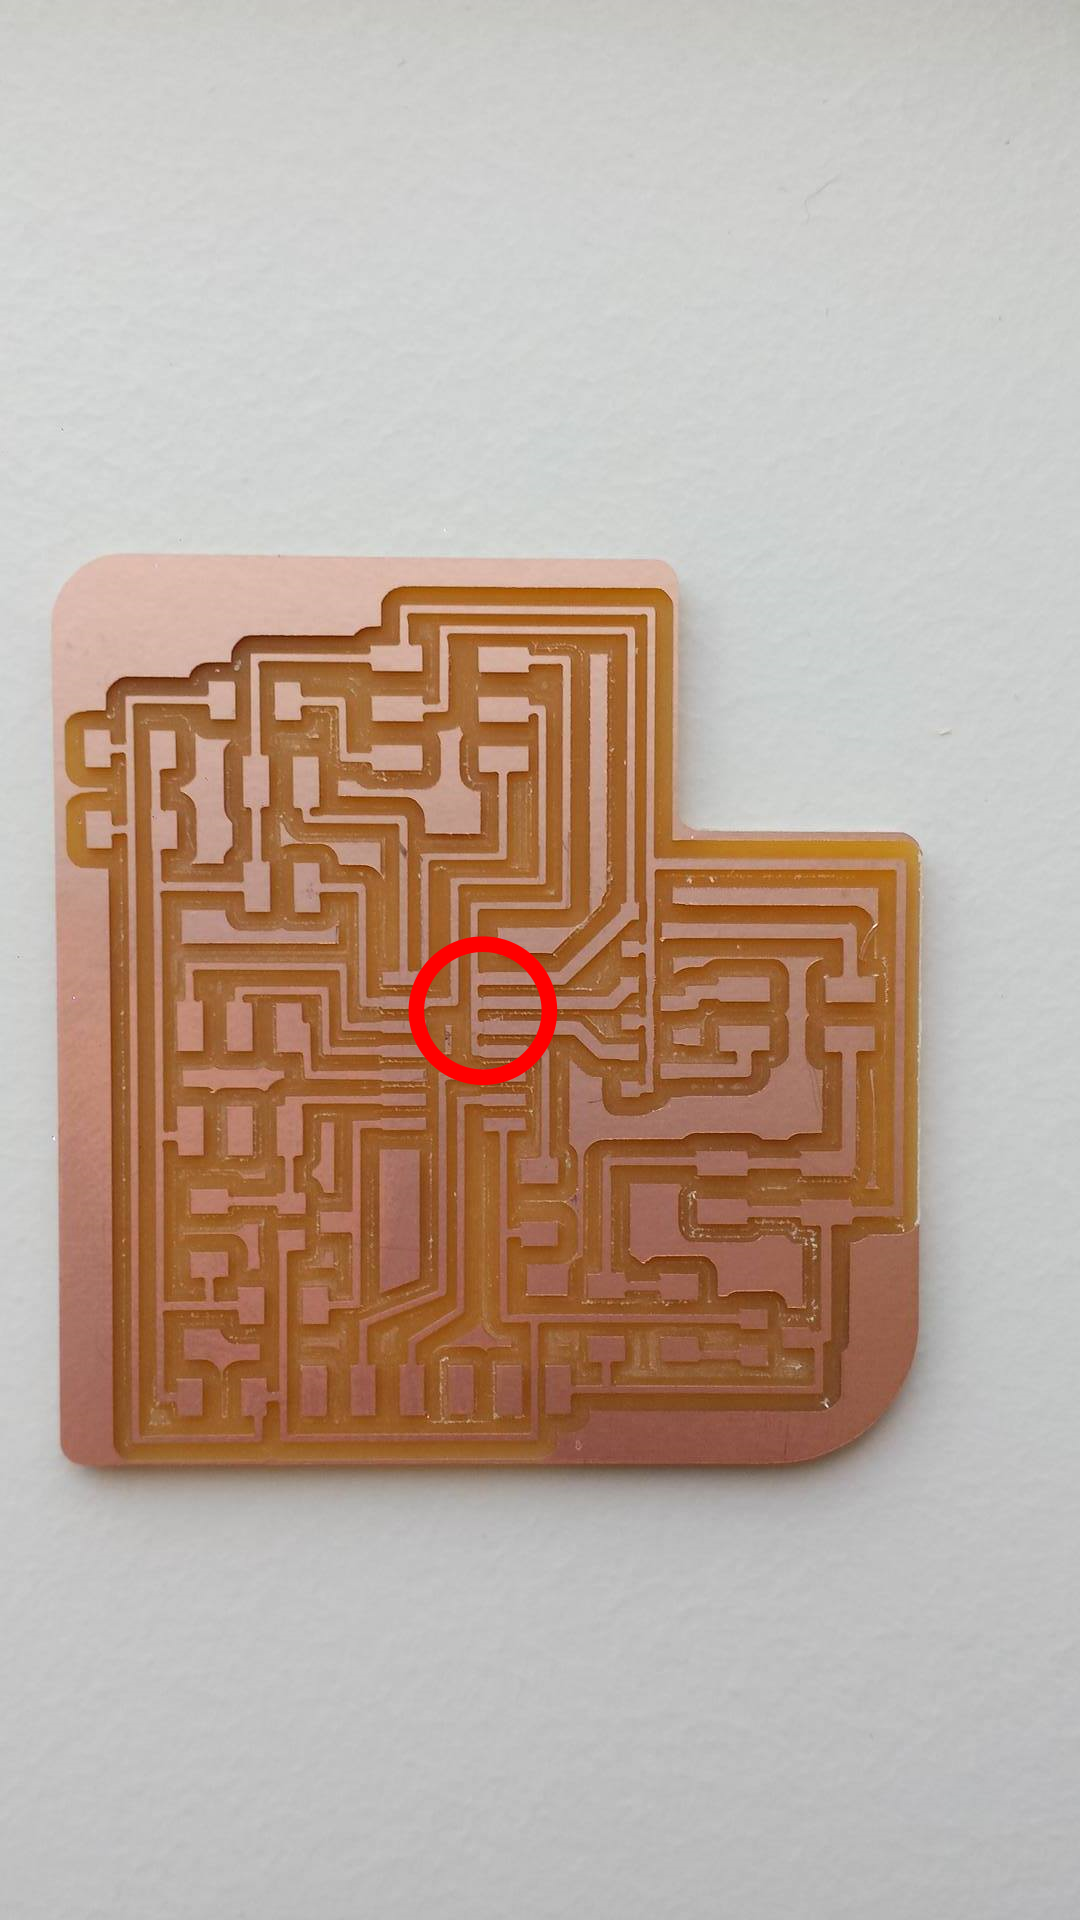
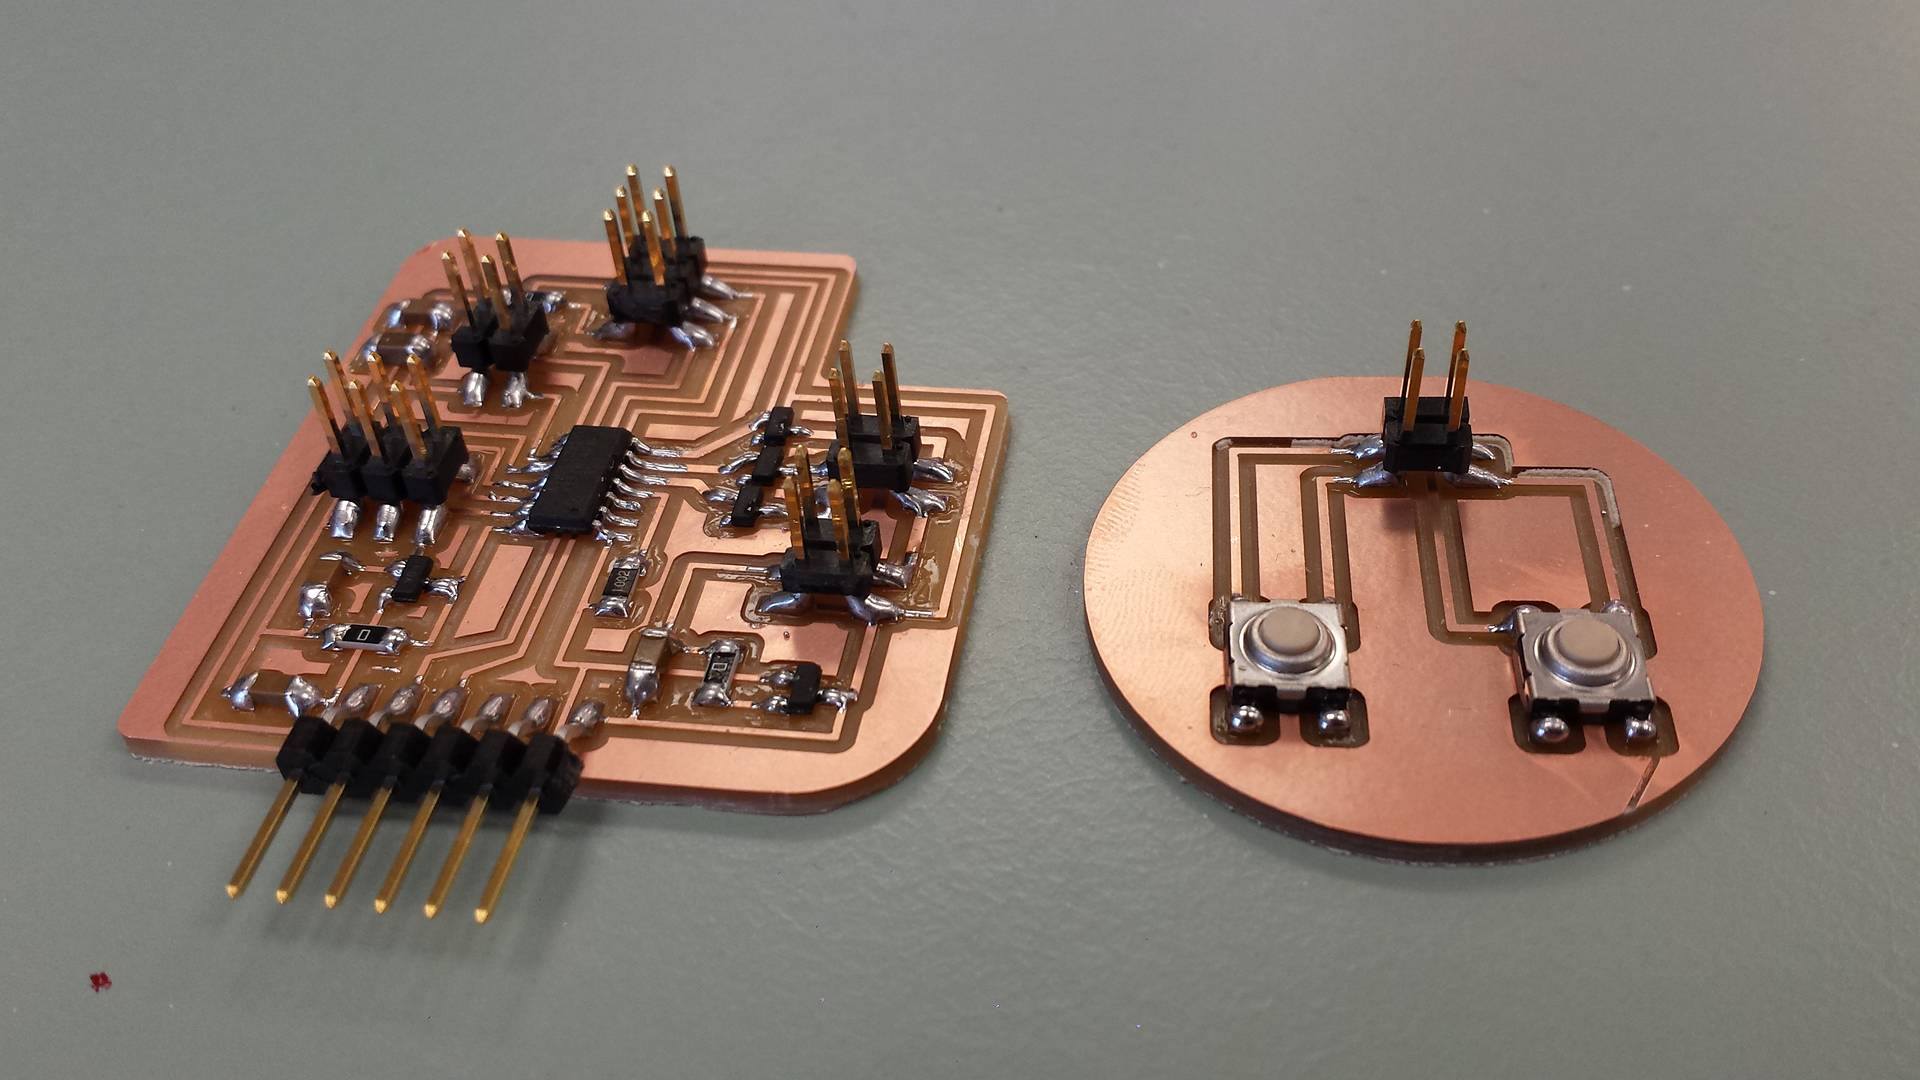
The second try went better so i now i can start soldering the components to the board.
Soldering the board went well except for one of the regulators, i must have put a wrong regulator very the 5V was supposed to be, because he fried when i connected the board to a power supply but everything was fine when i exchanged it for a new 5V regulator.
Programing the board
Programing the board went better than i expected but the code i had done for the arduino project worked with the board i made, all i had to do was change the pin numbers for the Led colors and the X,Y and Z axis.
accelerometer test from Arnar Sveinn Guðmundsson on Vimeo.
I also did a test code for the button board i made, i spent about 2 hours trying to figure out why i could not get this simple code to work with my board and it turned out to by a pretty simple solution, i forgot to put the pullup in INPUT_PULLUP for the button, but after fixing that everything was okey.
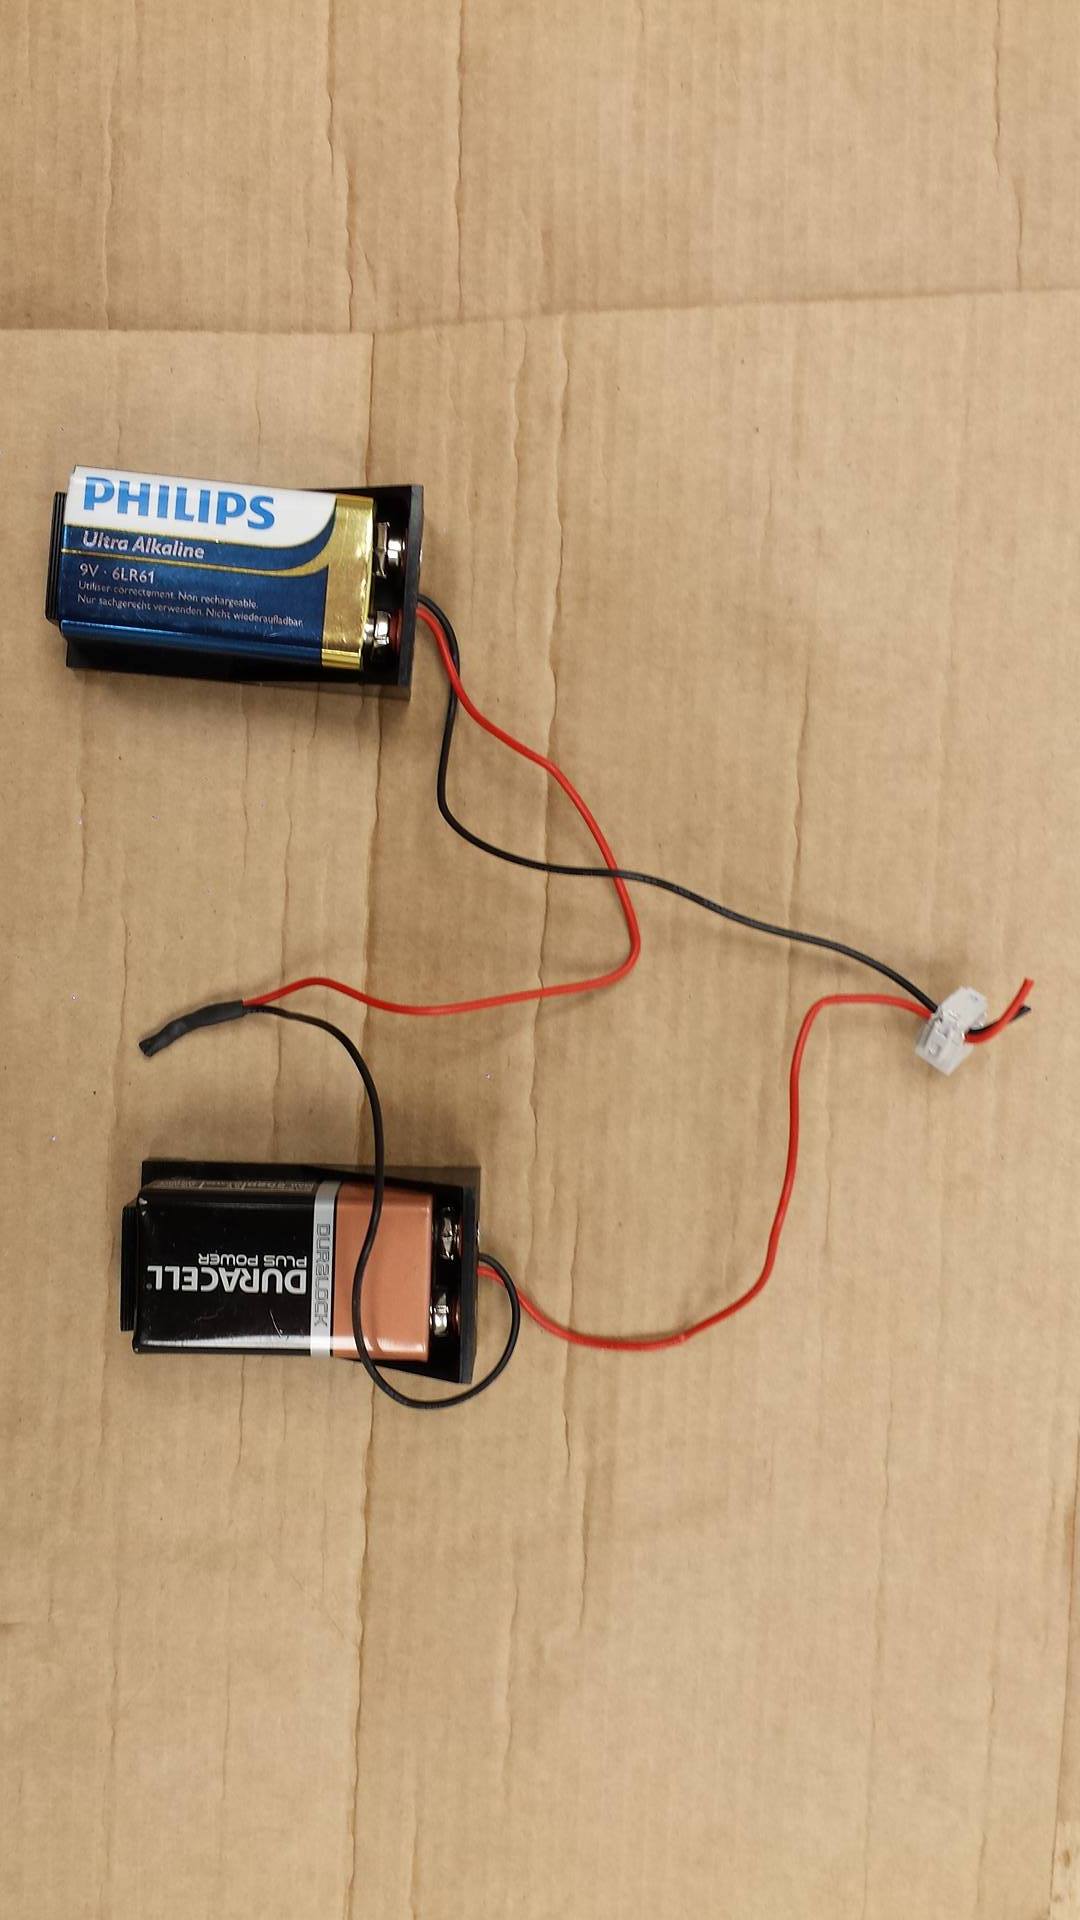
I also had to make some power supply that could fit into the hilt of the saber so i mixed two battery snaps for 9V batteries together because the led stip needs at least 12V to look good.
Designing the saber hilt and the tube for the Led strip
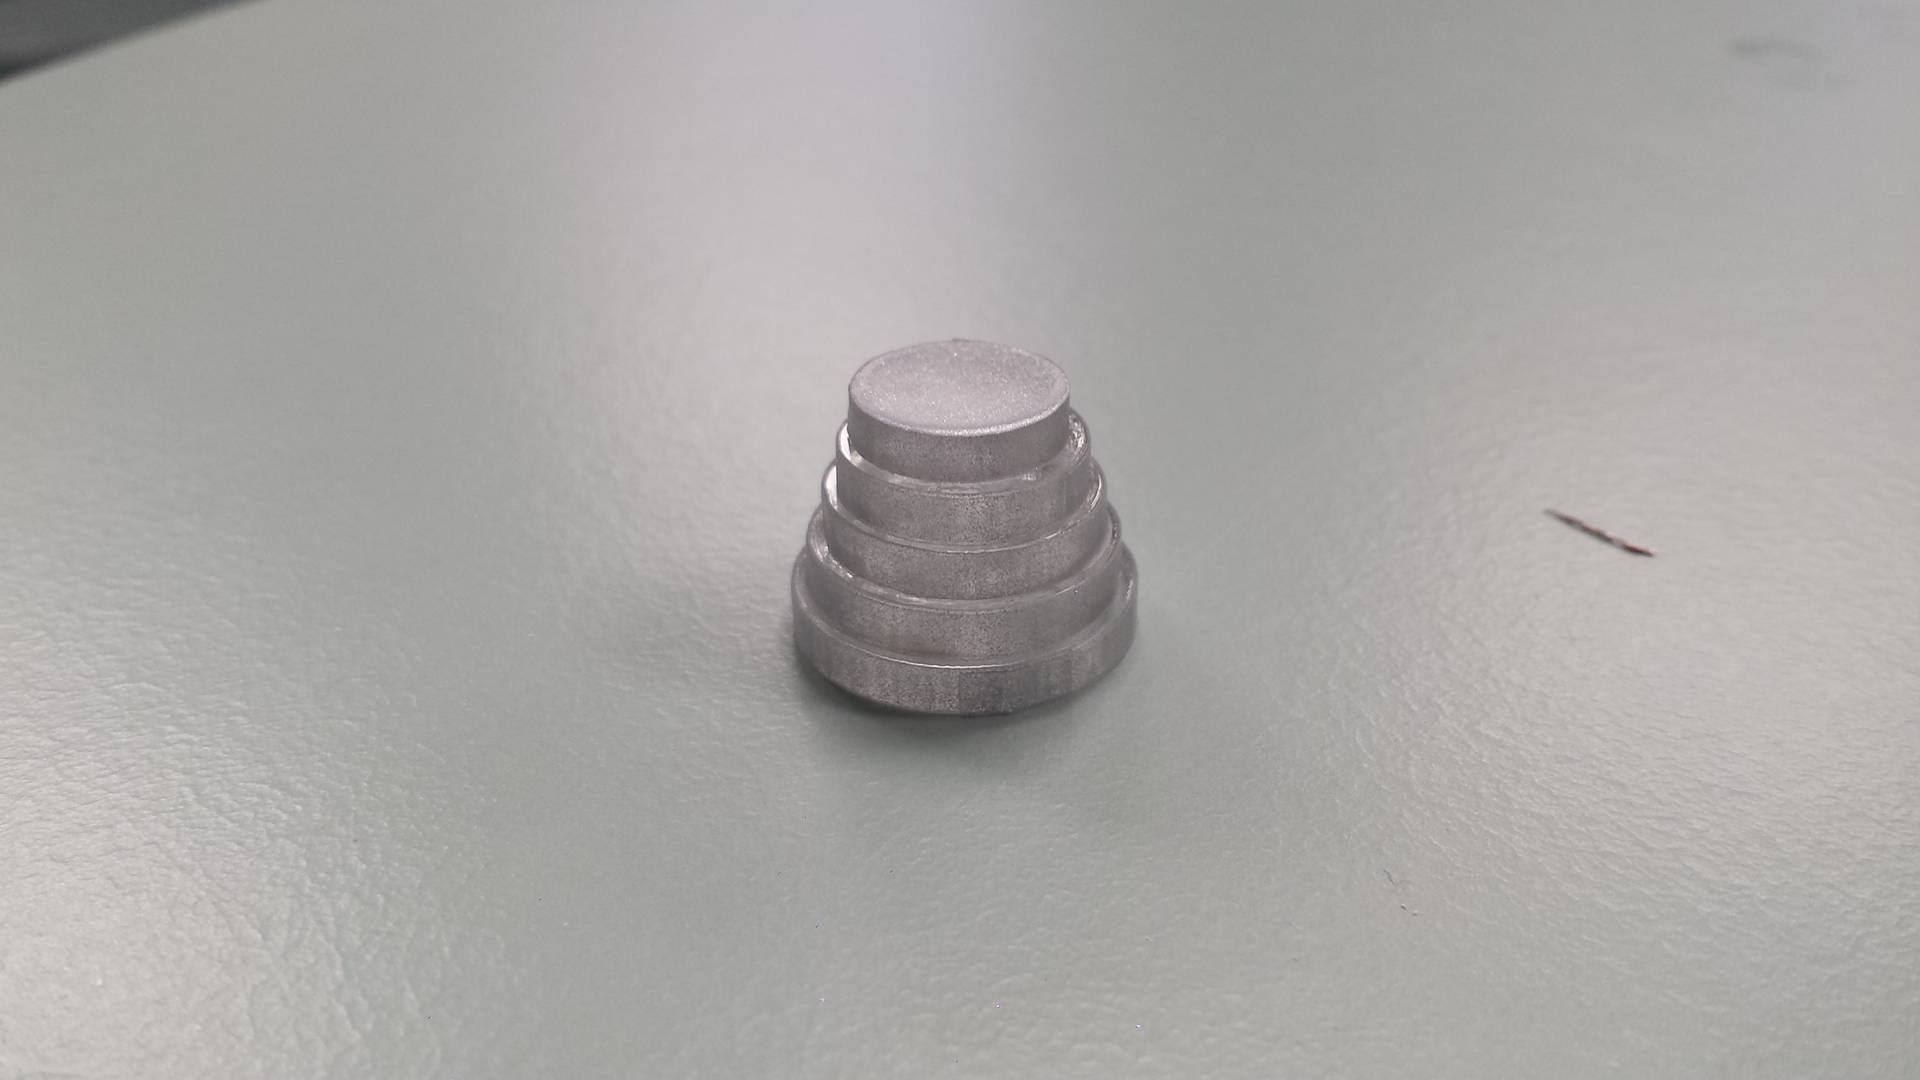
I had to fix my earlier design for the hilt a little bit from the week 2 but i had to make sure that all the electronics would fit into the hilt and also that the tube for the led strip could fit perfectly into the hilt, and after making these adjustments i saved the model as an stl file and 3D printed it in grey PLA color over the night.


Next i cut the 2m long plexi tube into a 90cm long tube for the led strip and then i covered it in two layers of semi-transparent vinyl film so it would get more of that lightsaber glowing effect. I then made a small cap out of plexi in the lazer cutter,which i also covered in the vinyl film, for the tube to close it.
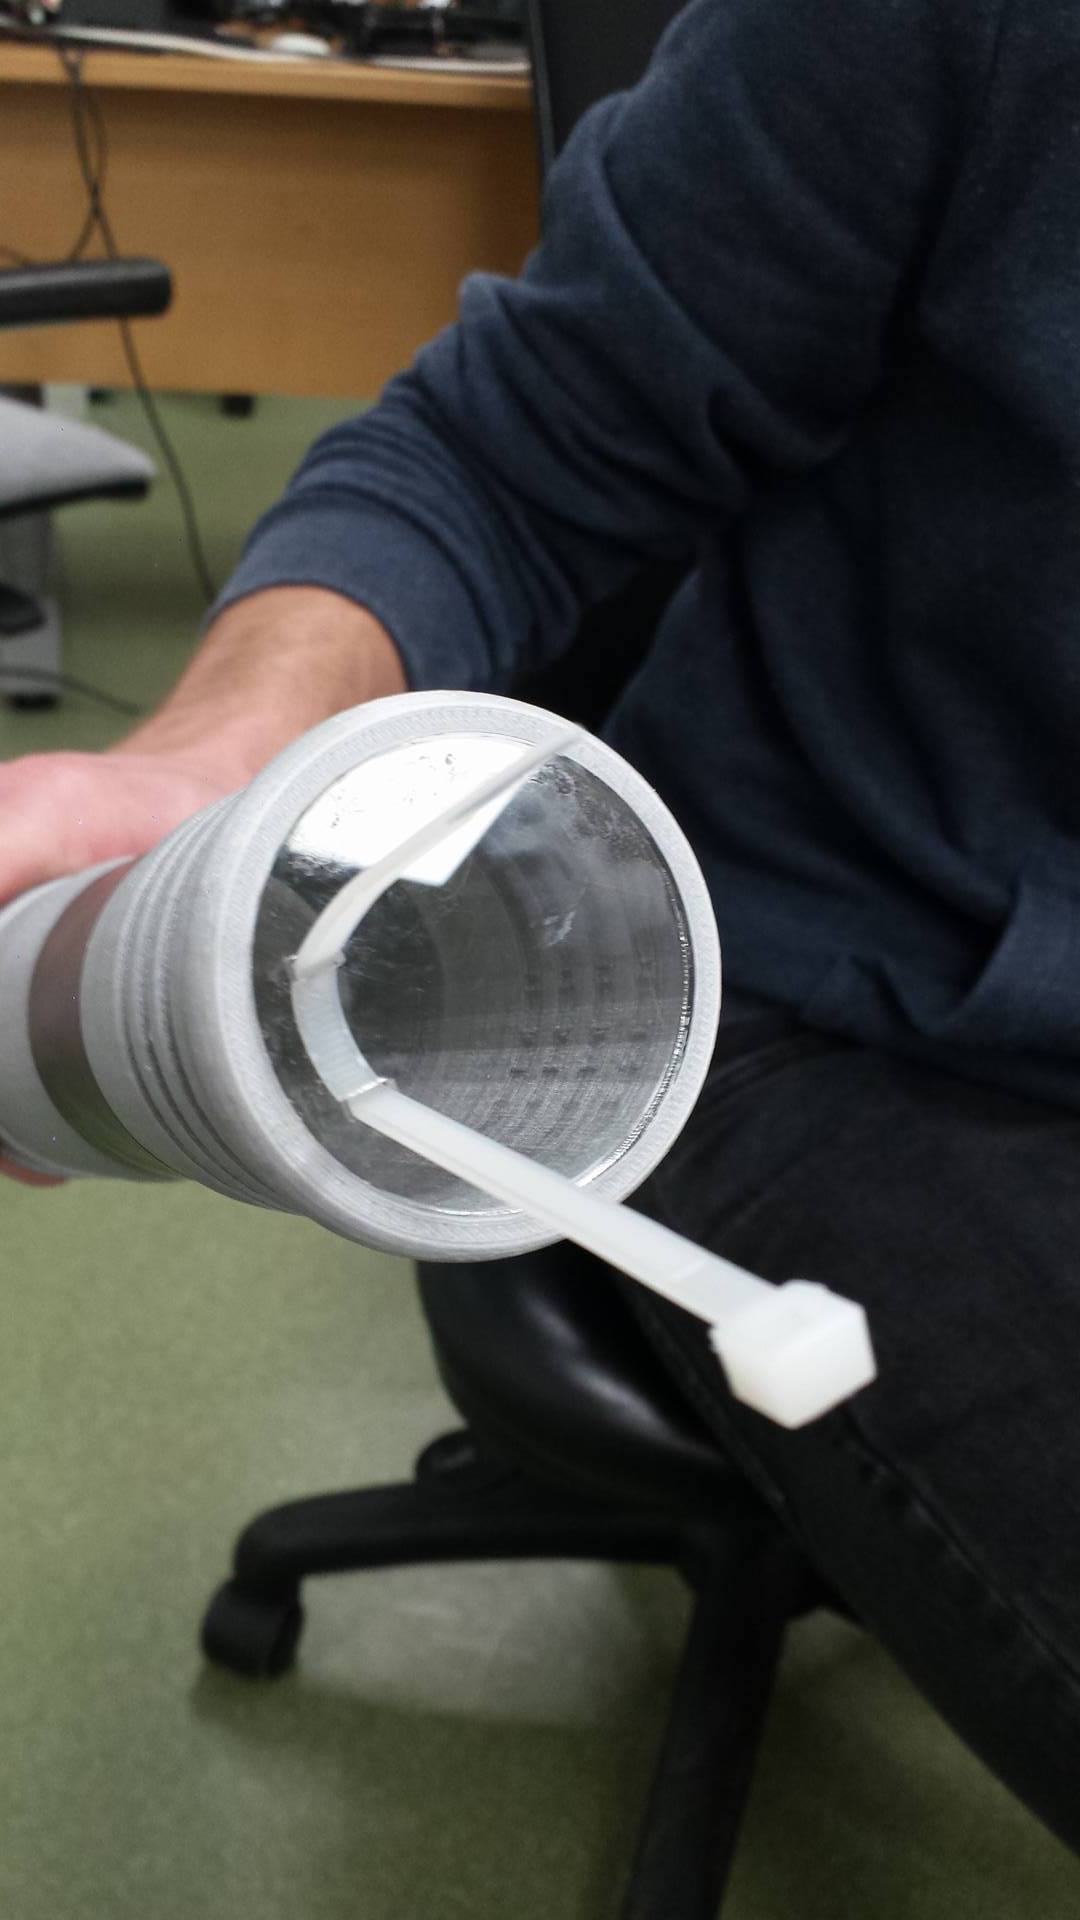
To give the hilt a little bit of depth, i made a few black vinyl strips which i put on it and then finally i made a seal also out of plexi to hold everything at place in the hilt but to open it i’ll have to have some kind of a string in it, for now i only have a zip tie but i’ll upgrade it later.

Finally i want to thank everybody who helped me with my final project, Frosti the amazing instructor, Bas and Linda who helped alot on the final meters and i also want to mention Daniel in Perth who was kind enough to tolerate me and my friend while we visited his Fab lab in Perth :)
Presentation from Arnar Sveinn Guðmundsson on Vimeo.
Files
Hilt STL fileSchmatics
Board Layout
Board Traces
Board Outlines
Button Board Traces
Button Board Outlines
Accelerometer Code
Button Code
Hilt Bottom
Cap
Cap Vinyl
Tube Vinyl