Test the design rules for your printer, design and 3D print an object and 3D scan an object (and optionally print it)
Testing the design rules for our 3D printer
We started this week off by doing the first assignment, to test the design rules for our 3D printer, this assignment was a group project for the students here in fab lab Vestmannaeyjar. When testing the design rules we can for example check how sharp off a corner we can make, how thin off a wall we can make and how close the clearance can be.
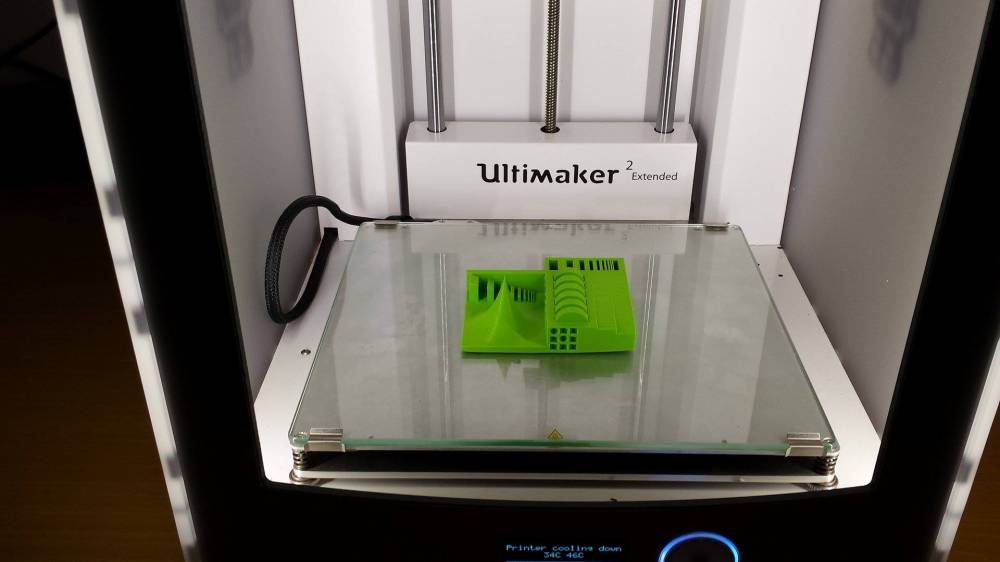
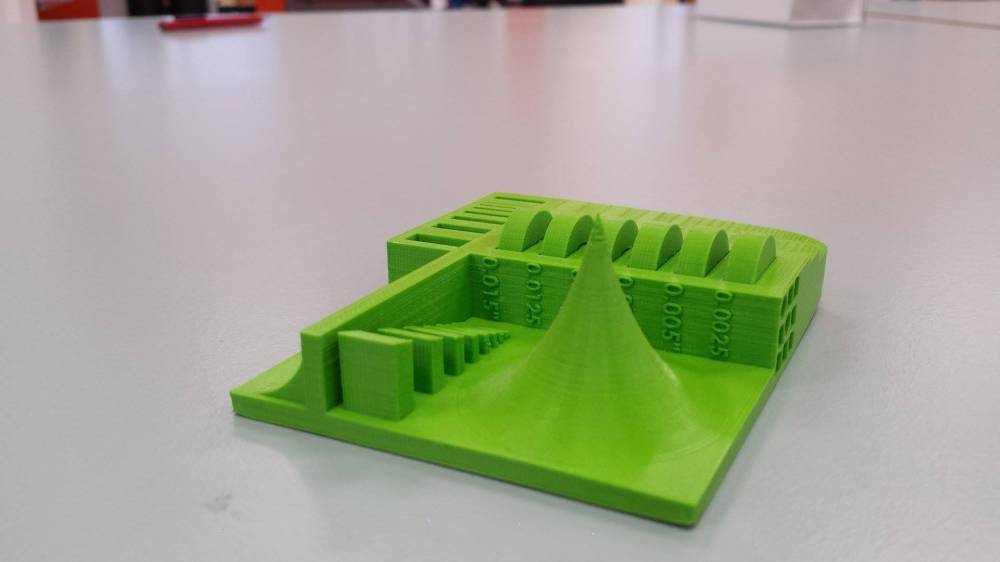
We started by making the test file from thingiverse that was linked on the fab archive. We had the settings on for a normal quality print and the print took about 11 hours. The test object was ready the next morning and looked good, the only thing that we could complain about was the very top of the cone.
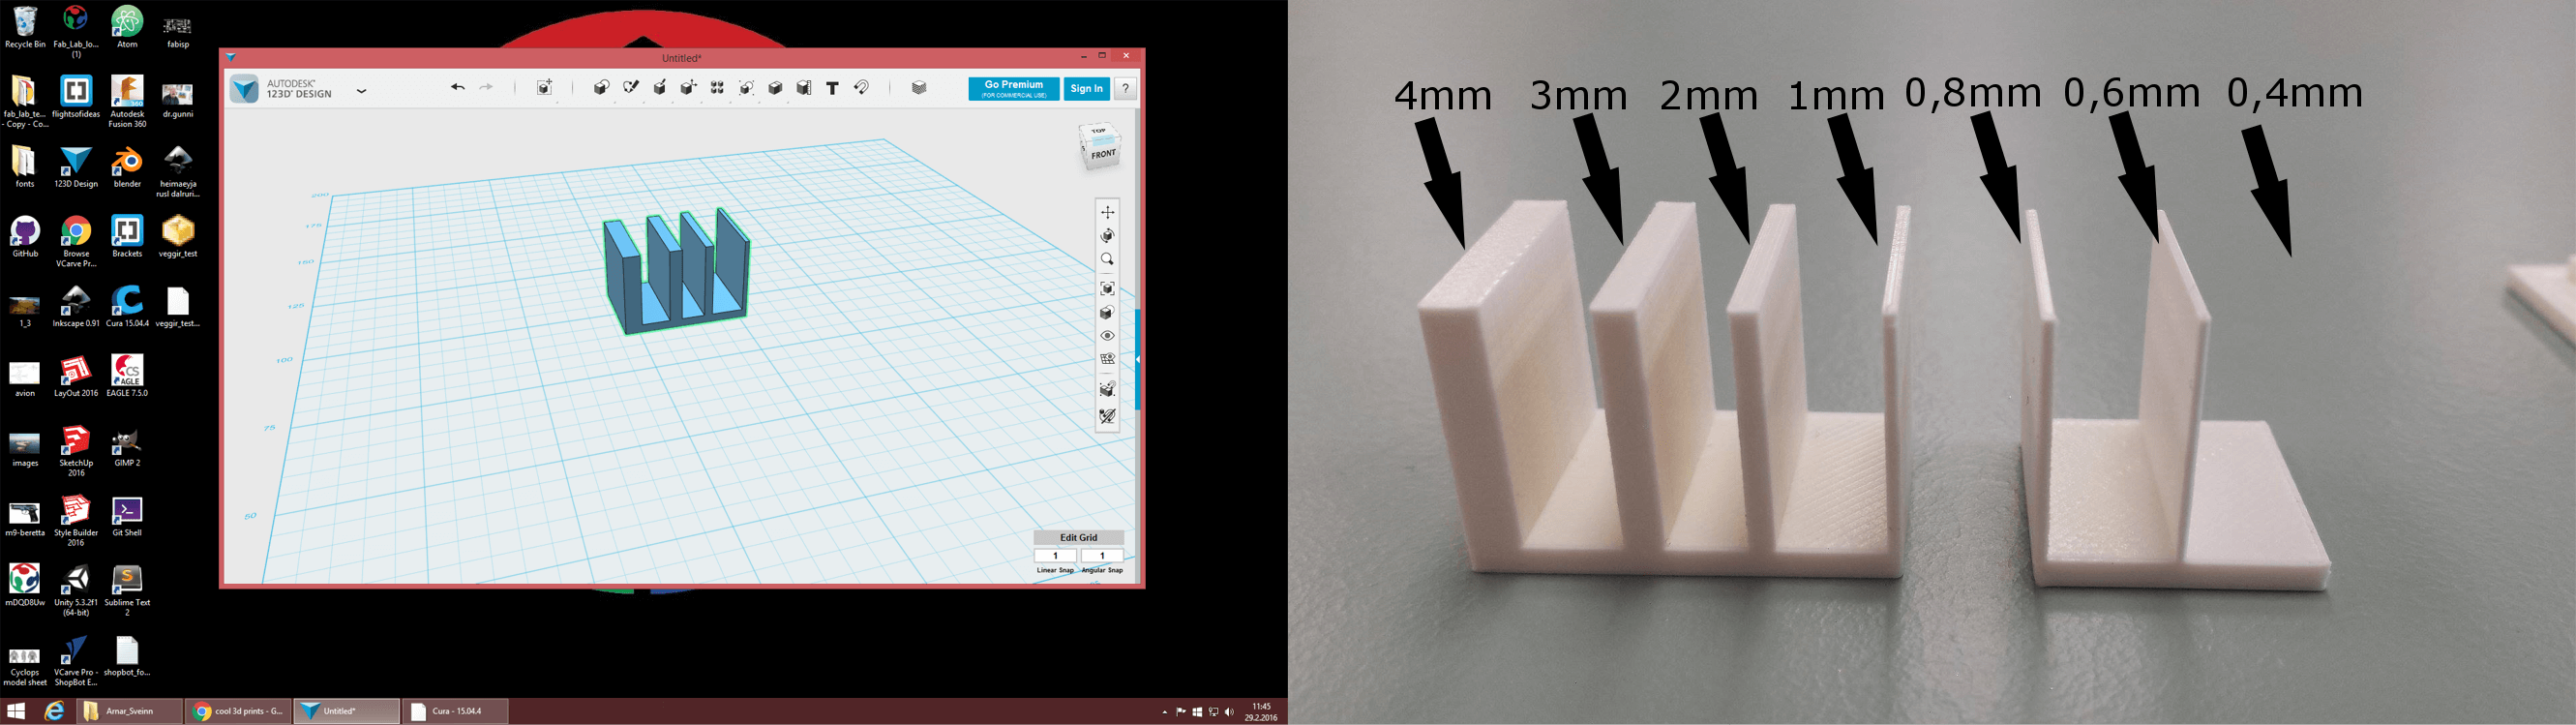
We also decided to make our own test, so we divided three tests between us, i took the wall thickness test. I used 123D design to make the wall test, first i made four walls from 1 - 4mm but the printer passed that test with ease so next i made three walls from 0,4 - 0,8mm. The only wall he could not handle was the 0,4 wall but the nozzle on the ultimaker is about 0,4mm in diameter.
3D Printing
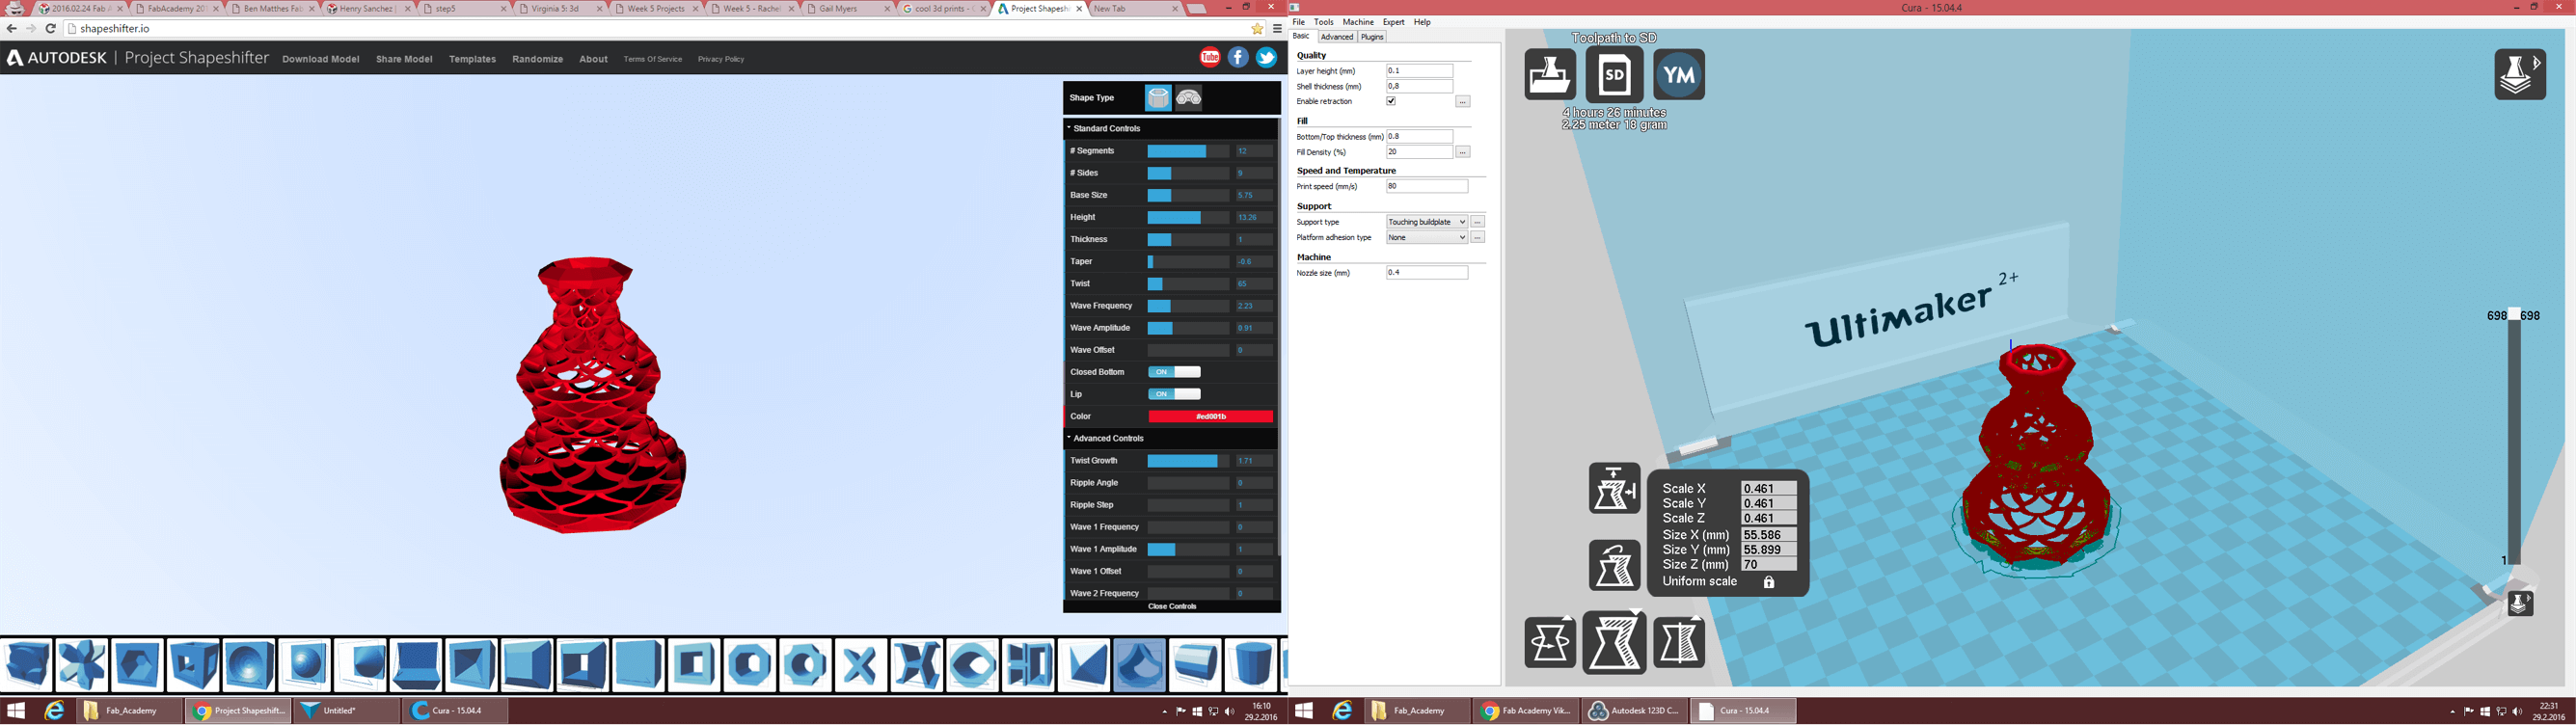
The next part of this week’s assignment was to design an object that could not be made subtractively. I wanted to use some software that i had not used before and then Baldvin, my friend who is also doing the fab academy, showed me this site called Shapeshifter. On their site it say’s that project Shapeshifter is a free technology preview by Autodesk. It provides an easy way to create complex 3D Printable models in your web browser. With a simple tweak of sliders, you can control the object's shape and select a 3D pattern that wraps around it.
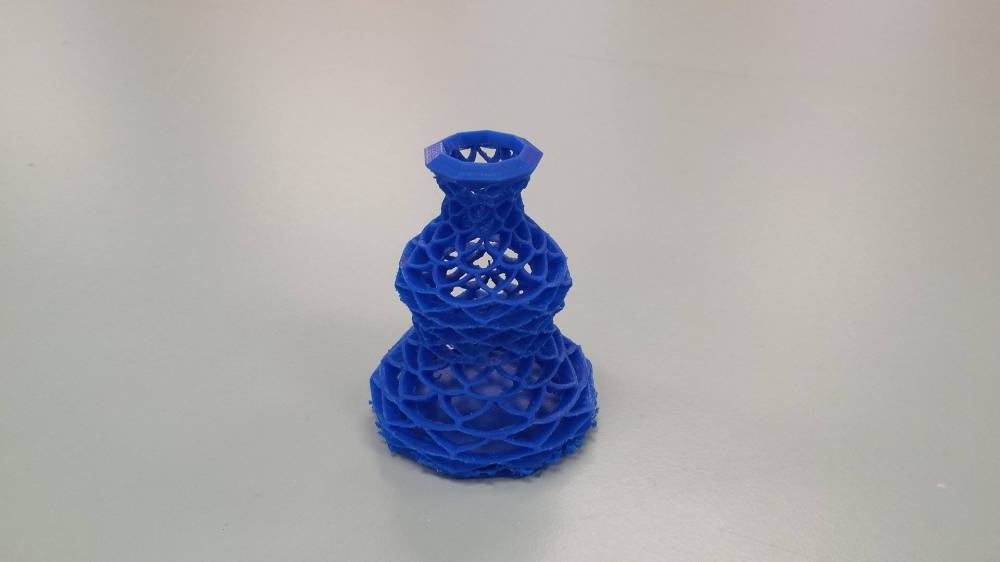
So i decided to use Shapeshifter for my 3D design and after playing with it for a little while i had made an object that i wanted to try printing out. The object kind of looks like a vase, i got this structure by putting a little twist on it (65) and setting the wave freq and amp to 2,23 and 0,91. Next i downloaded the stl file from the site and opened it in Cura (a software for the ultimaker: 3D printers). I scaled the object to be 70mm high and for a normal quality print i set the layer height to 0,1mm, shell thickness to 0,8mm, bottom/top thickness to 0,8mm, the fill density to 20% and the print speed to 80mm/s. Then i also set the support type to “touching build-plate” so to print wouldn´t start in mid-air and become a complete mess.
After that i saved the gcode for this project on a SD card that we use for the ultimaker we have here. Then i started the print on the ultimaker. We have an ultimaker 2 extended and the ultimakers are very user friendly and easy to use. The print took about 4 hours to print and i was quite happy with the result, some of the edges were a little rough but nothing too bad.
3D Scanning
The final part for this week´s assignment was to 3D scan an object and optionally print it out. I wanted to try two different softwares for this part off the assignment, so i decided to try one mobile app and one computer software, i went with 123D Catch for mobile and Memento from autodesk, but we have beta version of Memento. I have used Memento before when scanning my friend and i really like this software. When you’re using Memento you can take pictures with your camera, you just go around the object that you want to scan, i recommend going at least three times around the object, once above the object, once from the middle and once below, and of course have it focus.
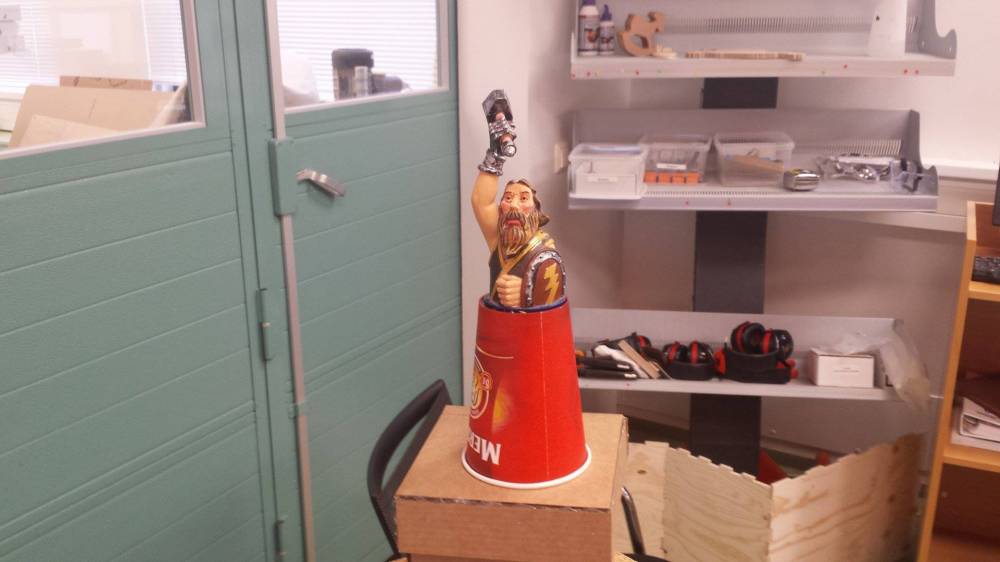
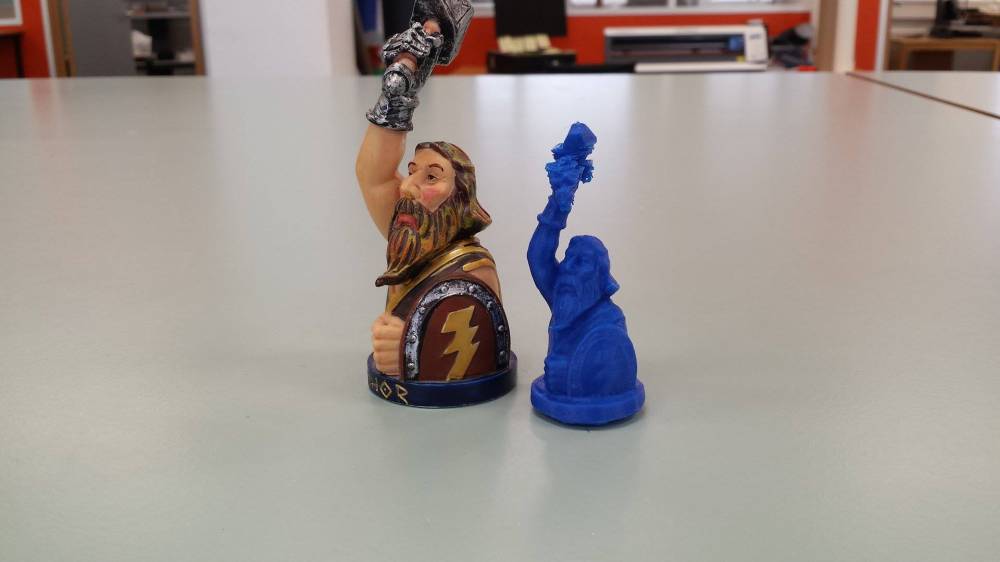
I decided to scan a small statue of Thor, the nordic thunder god, i took three rounds of pictures of him in a room with good lighting. Next i went to the computer and downloaded the pictures i took and sent them to Memento, then the software took over and created a 3D mesh out of the pictures i sent to it. I also 3D printed Thor but Mjölnir his hammer was a mess, i should put more support for it, i only set it to touching build-plate.
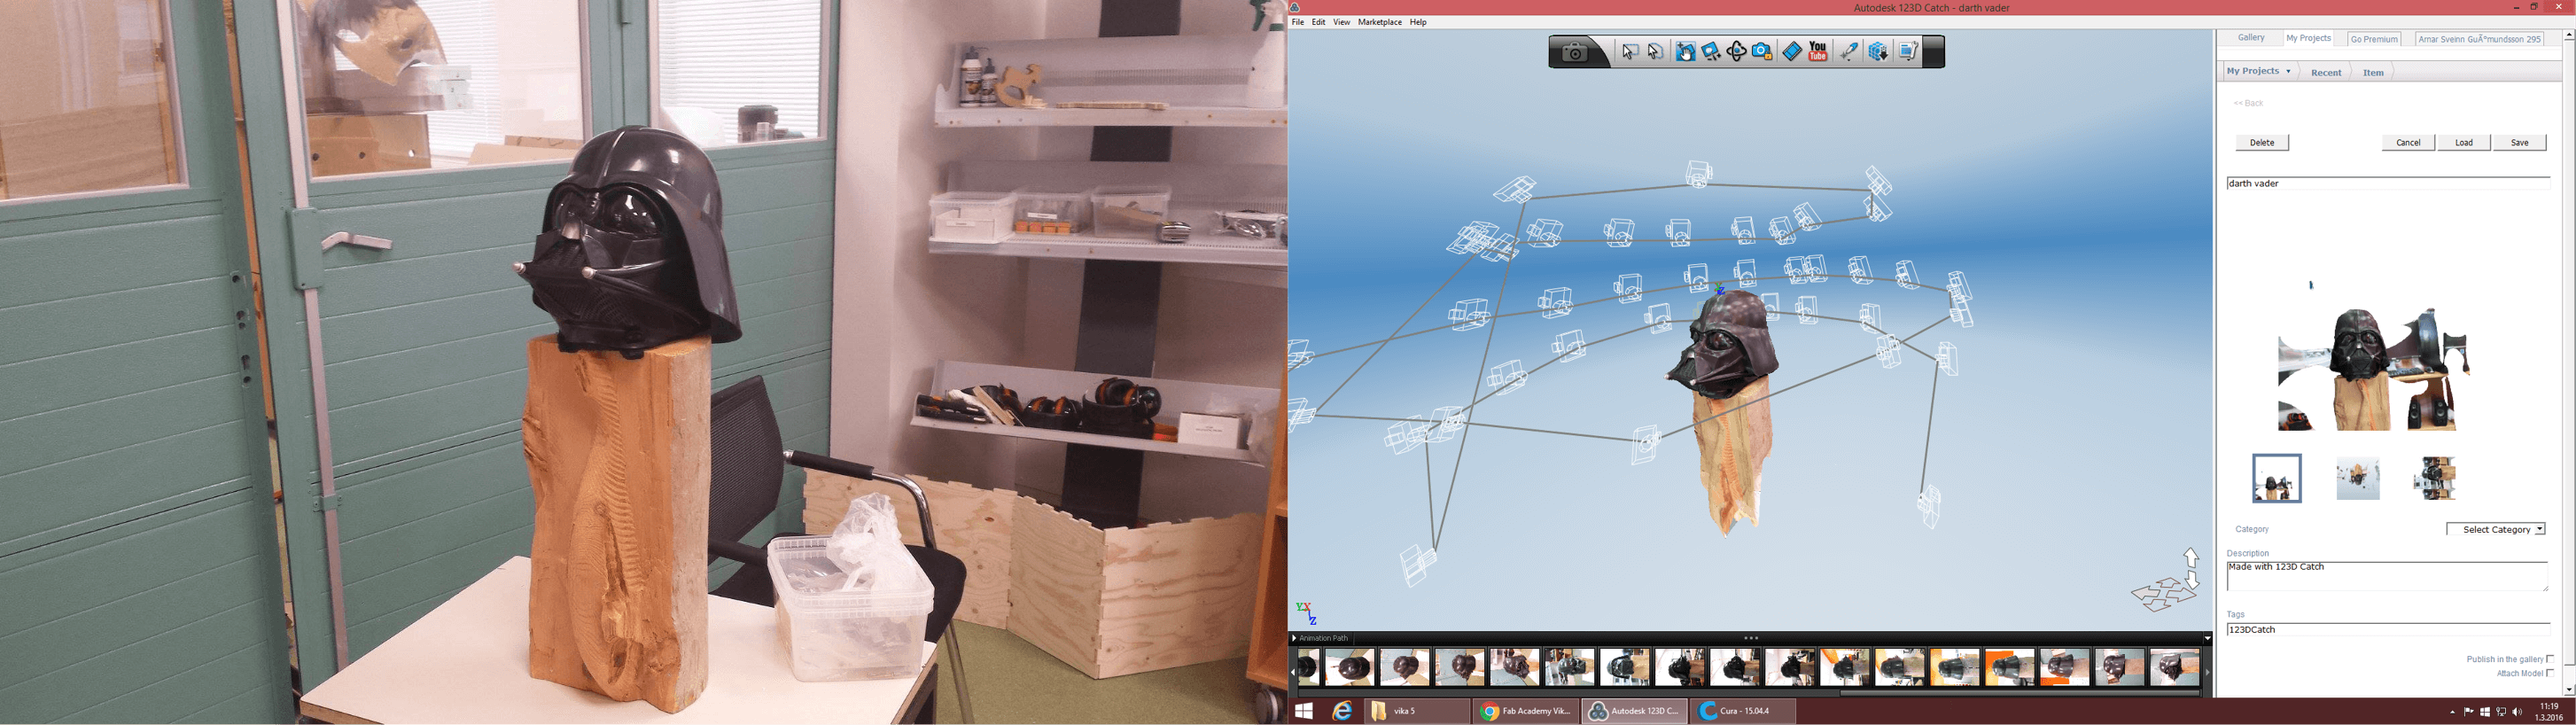
I also tried to scan a Darth Vader helmet i own but it never worked in Memento, i think it could because the helmet reflects too much light for Memento, so i decided to try the helmet in 123D Catch. In Catch you also go around the object and take pictures of it, so i took pictures of the helmet and sent it through, now it was just time to wait for the app to process the pictures and that took a pretty long time, and just when i was starting to think that the app did not work it finally finished the mesh and did an ok job and was able to process the helmet even though it reflected light.
I also included 3D designing and printing in my final project but i designed and printed the sabers hilt, you you can read more about it on my final project development page.
Files
Wall Test 1Wall Test 2
Thor
Vase
Darth Vader