Mechanical and Machine Design
This week’s assignment was a group project, to design and build a machine. Our plan to begin with was to use Nadya's machine kit from the Fab Academy page, but the files were meant for a bigger lazer cutter so Villi from fab lab Reykjavík was kind enough to give us the files the had already made to fit their cutter. So our next step was to cut out the files from fab lab Reykjavík, but the problem for us was that we did not have good enough cardboard material to make the kit so we decided to design our own machine and my assignment was to design, draw and cut the parts out the shopbot
Concept, design and cutting
Here in Fab Lab Vestmannaeyjar we have a small CNC machine called Mantis that Frosti made when he was in the Fab academy, so we decided to make our version of that machine but as a drawing machine. We had a 12mm white plastic board laying around that we thought would make a cool material for the machine. I decided to use sketchup for this design so now it was time to start drawing. To start with i made the frame of the machine, (the walls and the bottom plate) and made the frame press fit, then we made a replica, or as close as we could get to a replica, of the motors that came with the fab academy kit, i did this to get a better perspective of the motors on the machine and to get a more accurate position on were the holes for the screws and the rotating rod on the motor. I got the position for the holes by putting the motors against the walls were they should be and right clicked on the motor and selected “intersect faces with model”. Next i made the drawing plate which moves along the Y axis and then the component which we’ll stick to the X axis and then on that component we will stick the motor who’ll be our Z axis. Then in the end i made a simple component with a hole for the pen.
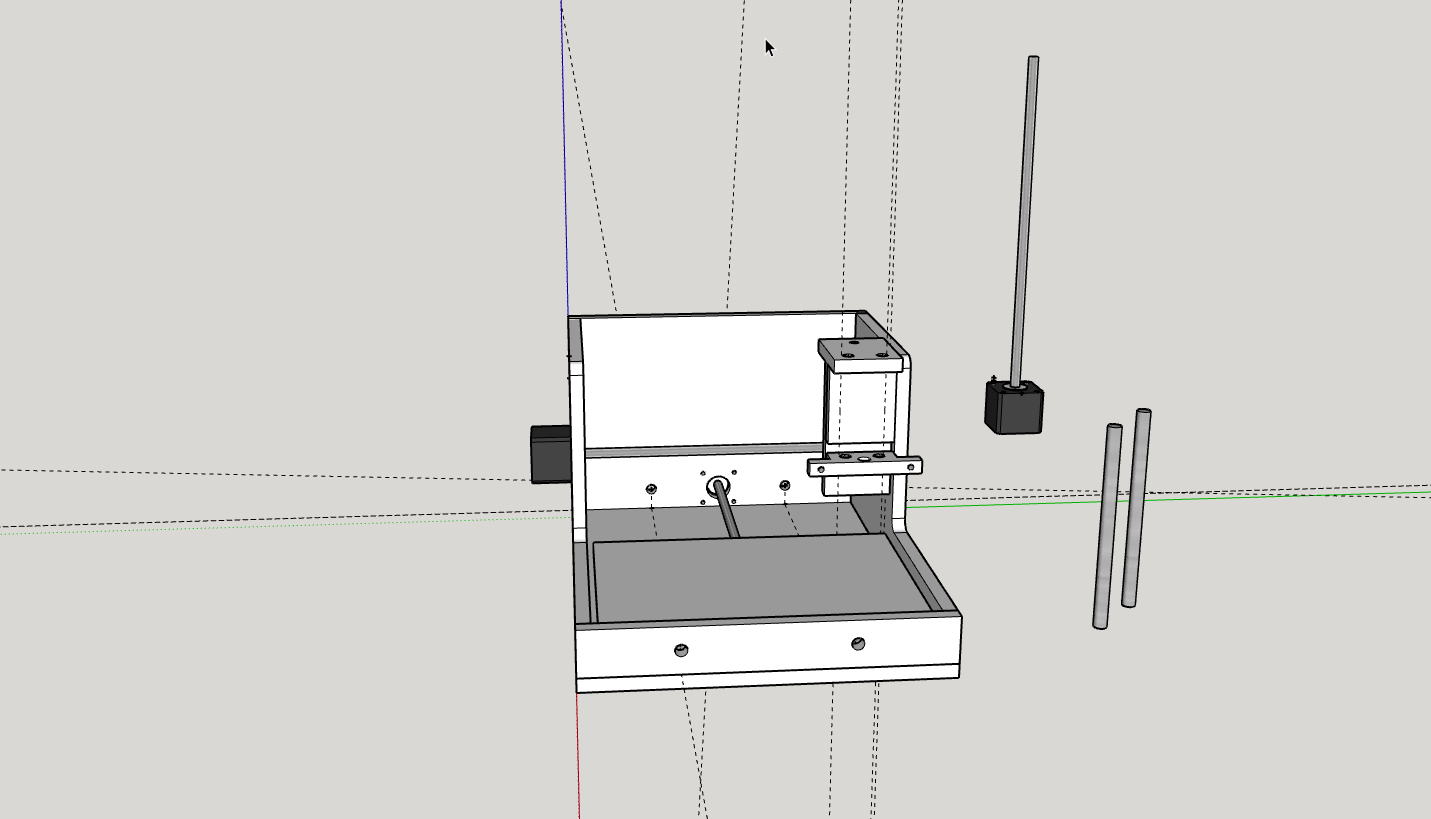
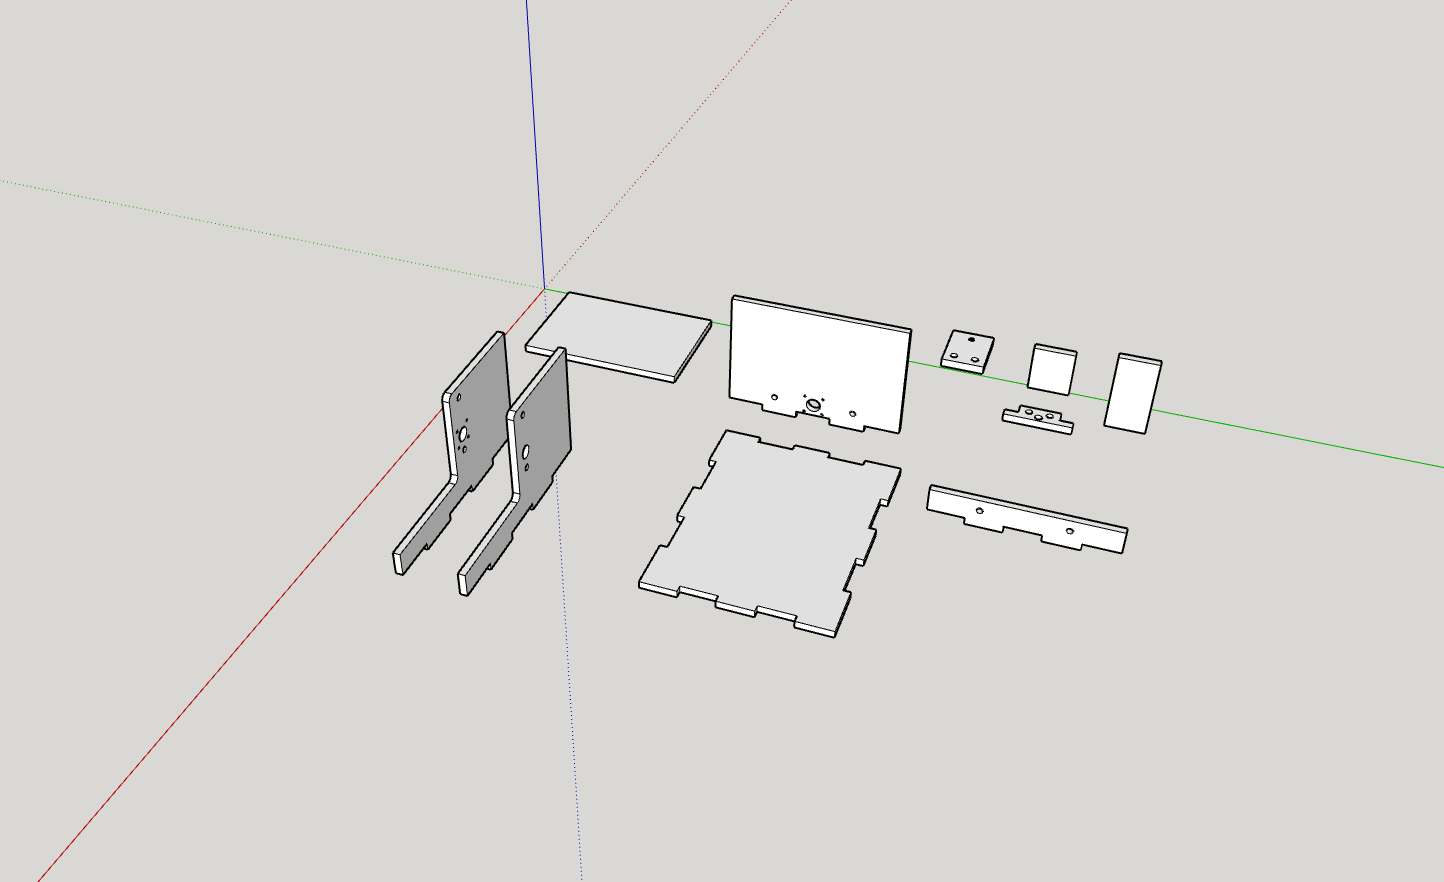
My next step was then to cut out the pieces on the shopbot, to do that i imported the sketchup files to Vcarve Pro.There i selected which bit i was going to on the frames and the holes, for the small holes for the screws i used a 3mm bit but for the bigger holes and the outlines i used a 6,15mm bit. When that was all done i could make a shopbot file and was ready to cut the file out. When the cutting was complete i realized that i had forgotten to make the some edges on the walls press-fit but we used screws instead.
Files
SketchUp FileShopbot 3mm holes file
Shopbot outlines file