WEEK 8
EMBEDDED PROGRAMMING
WEEK ASSIGNMENT
Read a microcontroller data sheet
Program your board to do something
For my hello-world board I used an ATtiny84
ATtiny 84 Datasheet DOWNLOAD
You can download the files HERE
Before this assignment I had no previous experience with programming, so I started searching about Arduino IDE and atmel microcontrollers.
I have to be honest I wasn't really sure about what microcontrollers do, but after reading about them and reading the ATtiny 84 data sheet I now understand the capacities of these little elements. The datasheet showed me its features, peripherial features, special features of the ATTiny 84, memory, etc. In the datasheet many technical information is displayed, even though I wasn't able to understand it at all, it pushed me to look for some information so I could understand it better.
I still have some doubts, for instance,
-how micro-controllers are designed and produced?
-What materials are used to make microcontrollers?
-
To complete this assignment I followed this steps:
- Programming my board with and Arduino in ISP mode
-Example program trial
-Designing my own program
-Programming the board with an Arduino
Unfortunately my ISP board never worked, so I used an Arduino Mega to program my hello-world board, to do this you have to set an special configuration into your arduino is very easy just follow the following steps:
1.- Download the ATtiny library and install it into the arduino libraries (DOWNLOAD)

In the Arduino folder open the hardware sub-folder
Then go to the folder named "arduino"

Open avr folder

replace the files boards and platform and then open the folder variants

inside this folder drag and drop the folder tiny8 and tiny14

2.- Set the configuration in Arduino IDE

Open tools and choose an ATtiny as your board (this option will only be available after the previous process)
Choose your ATtiny model

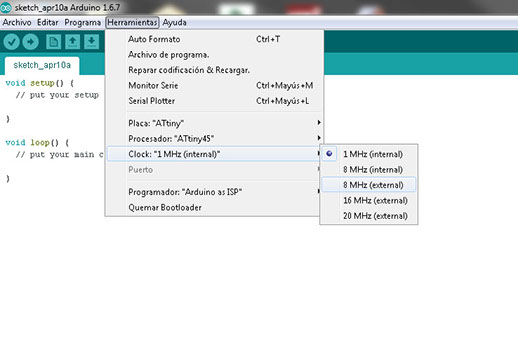
choose the clock you will be using and be sure you have selected the option "programmer arduino as ISP"
Now your arduino works as an ISP board, now connect you hello-world board to the arduino. In my case I installed a LED to show if the board is receiving voltage.

2.- Example program trial
Now I recommend you to upload an example program to your board for example "Blink" with this program your led connected to the microcontroller should shine.
It is very important to change in the program the pins used in you ATtiny that information comes into the ATtiny library. (download link at the beginning of this page)

3.- My program
If everything worked well your board is able to run any other program, in my case despite I putted a 20 MHz crystal on my board it didn't worked, so I had to tell the program that I wanted to use the internal ATtiny 1MHz crystal, I based my program on the blink and button example programs and it worked!! I'm so happy about that.
How does it work?
It works exactly as blink do, but instead of just turning on the LED when the button is pressed it will run a sequence of blinks.
The digital read will detect if the button is "high or low", when the button is "high" it will run a sequence, this sequence has digitalWrites to turn on the led and delays to turn it off, each delay correspond to the pause needed in morse code to understand which letter is being shown.
I added some comments to indicate the letter and its sequence.

What my program does is to show my name in Morse code with LED blinks, the program will run every time the button in pressed.
This is an example of how it works.