WEEK 16
INTERFACE AND APPLICATION PROGRAMMING
For this assignment I used the MIT app inventor, what I will show now is the interface design section. The programming tools are explained in last week's assignment (number 15).
The first step when using the MIT app inventor is to place all the elements needed such as button and pictures in your canvas, it allows you to set how the app would look like since the beginning of its creation process. Once the elements are placed is possible to program them.
You can download the files HERE
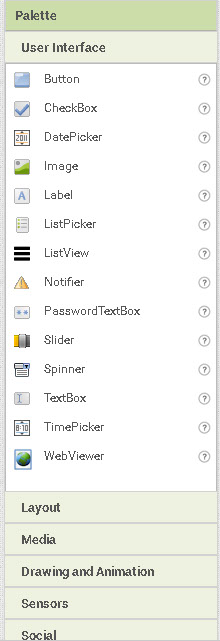
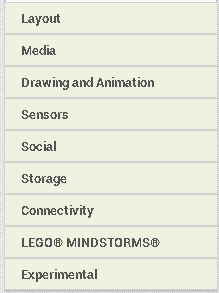
In the left side it's found the Palette, here is possible to find different kind of elements that can be placed in the canvas, such as buttons, labels, images, etc. it is diveded in categories so it's easier to find different tools for multiple proposes like layouts, social media, sensors.
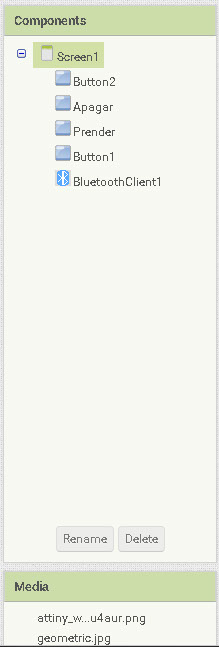
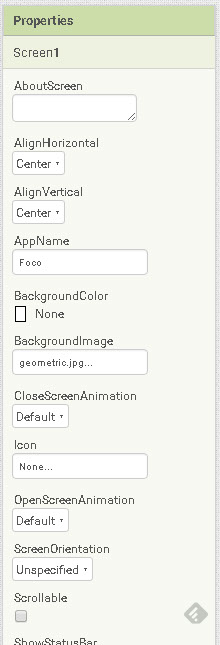
In the right side the edition panels are found, the components list is were you can chose which element you want to edit. They are divided by the number of screen, once selected one of the elements the properties are displayed in that panel it's possible to change colors, alignment, text, forms and many other aspects.
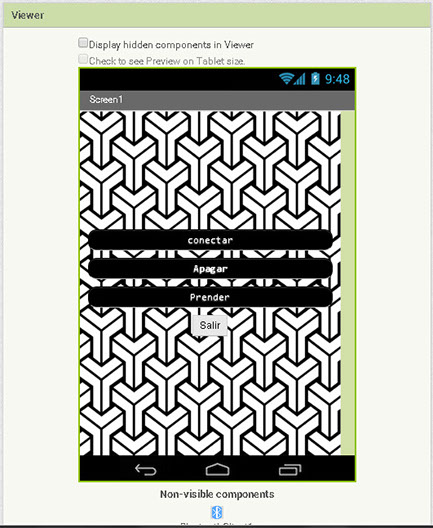
In the middle of the screen is found the viewer, here all the changes made appear immediately it will show the actual look of the app.
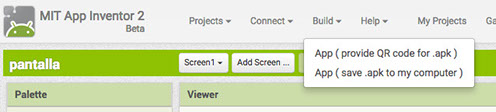
Once the app is ready you can build the app and download it into any android smartphone using the MIT app inventor app,
a QR code will be displayed and when it is scanned by the smartphone will send you directly to the download of you app.
And this is how it works
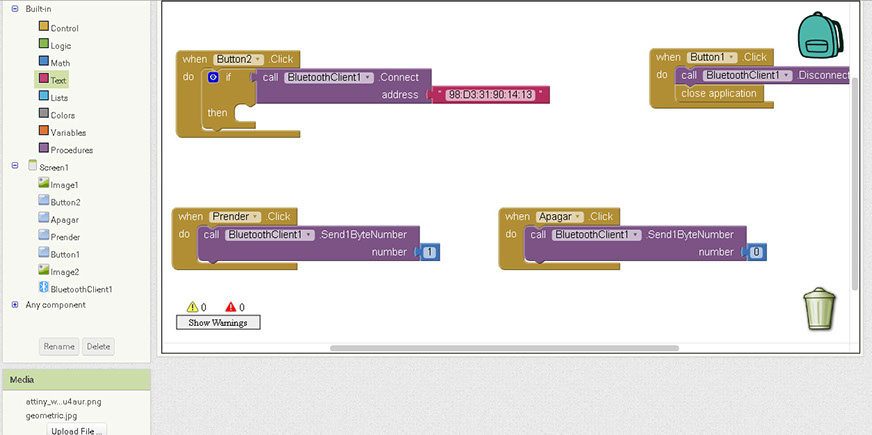
How to program the application?
5 - 5
<
>
The app inventor is a very useful software to develop apps , although I haven't mastered the use of this software thanks to this assignment now I'm able to understand the logic of how it works.
This way of programing allows the creation of networking processes between different devices, in the case of this exercise it occurs between the smartphone and the ATtiny microcontroller
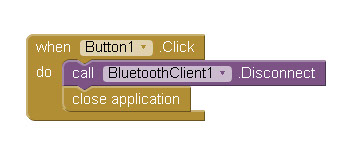
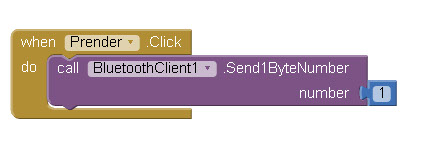
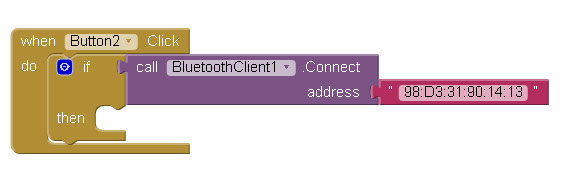
MIT app inventor has different modules which are classify according to the type of action that perform, such as communication, control, etc. Those modules have special joins that permit the interaction among them with the aim of performing specific actions. Some of those modules are linked to the buttons generated in the interface design section, actually this module assembly system is the programming process with out using code, something that I find amazing.
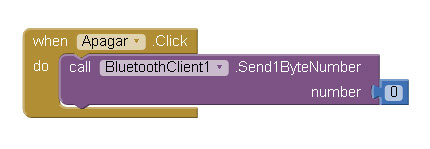
My program was designed to turn on and off a led via bluetooth to perform this I placed 4 buttons: connect, disconnect, turn on, turn off, each button is connected to an specific module that allows the button to perform an action. For example, if I want to turn on the Led the module is programmed to send a specific number via bluetooth, this number is received by the bluetooth module connected to my board, my board is already programmed to detect that number and perform the programmed action, in this case turning on or off a led.
This program can be used to turn on almost any electronic device as long as it has an on-off switch.
