


In the FABLAB Puebla we have an old and big former, and it makes you waste material o wait until somebody else wants to form something. Thats why I decided to create a desktop former, so that you can form anything in anytime and with less material than the big one.
Also it allows you to set the material you are going to form and it heats to the temperature and when it reaches the temperature it makes sounds and also blinks a LED.
The ideas I try to apply on this project were:
- Small
- Portable
- Open source
- Affordable
- Cheap
- Easy to use
- Easy to reprogram
The steps that I follow to create this project are:
Define the dimension of the former
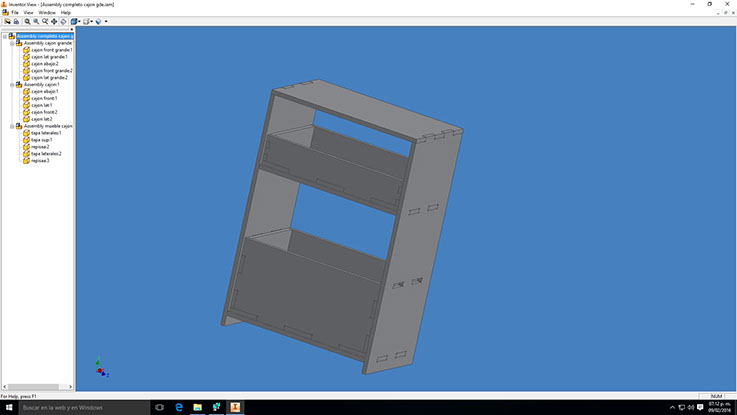
Design the machine
Manufacture the machine
Program the FAB Former
Materials and components
Structure: MDF sheet, inox tubes, magnets.
Control System: Atmega board, LCD shield
Product: Form
Process and techniques
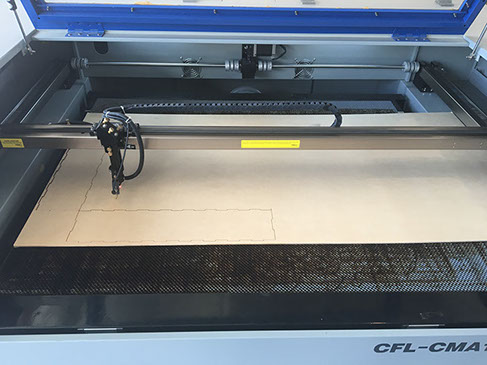
Structure: Laser cutting
Control System: PCB Engraving, input devices, output devices.
Softwares
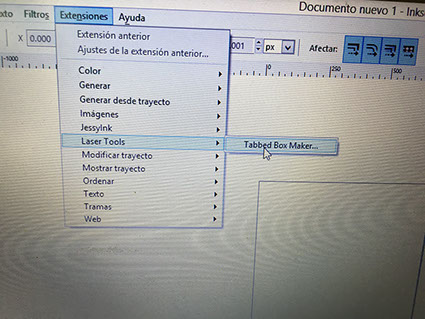
Inkscape
- Tabbed Box Maker
Rhinoceros
Autocad
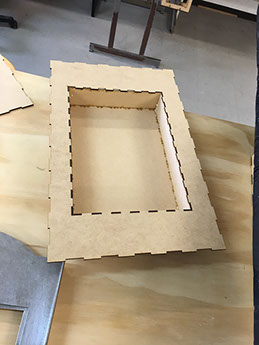
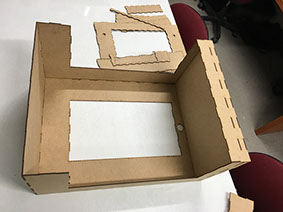
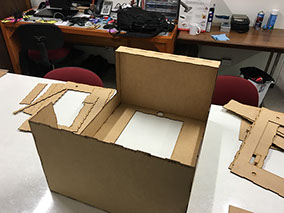
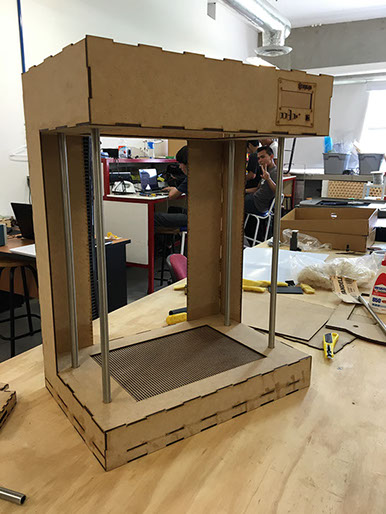
I look that the first design wont support all the structure and the movements, I decided to do a redesign and add supports so that not only the tubes carry the weight of the top and the movement.
Once I cut some pieces in MDF in the laser cut, I tried to assembly and they fit perfectly, and also I tried the tubes and the movement and I saw that there was a problem and probably it will affect the functionality of the former.
.jpg?crc=423621732)
.jpg?crc=3962896999)
.jpg?crc=376984861)
.jpg?crc=332465696)

Here you can find all the archives
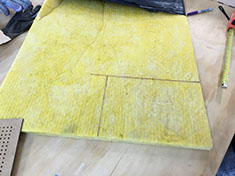
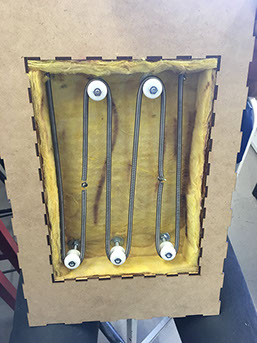
When the structure was working fine, I have to cover the MDF cause I use heat resistances and it could burn. So I used a thermal protector made of fiberglass and I have to cut it perfectly and with care.
After I pasted the thermal protector I installed the resistances and I can heat them to try if they work.
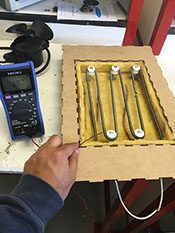
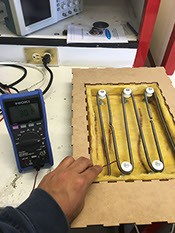
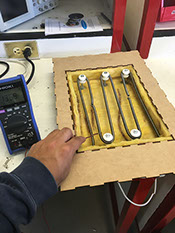
I made some probes of how the resistants were heating and which temperatures reaches and in what time it reaches.
Here is the code for the shield and the LCD, I set 3 different materials and their temperature of forming
FINAL PROJECT
Elias Prado Morales
Fab Lab Puebla, México
aeliaspm@gmail.com
Fab Academy | 2016