3D Scanning and Printing
This week has been a very interesting one. I have learned a lot but still not printed enough for learning all the possibilities and limits of the machines. But I'm not specially worried as again this is the introduction of a basic skill I will be using each day so again this is an assignment that will me updated along the course.
Lesson
If you need to view again the interesting lesson about 3D printing by Neil
Academy Fab-2016.02.24D Lesson 05: 3D Scanning and Printing from Fab Academy on Vimeo.
3D Scanning and Printing
http://academy.cba.mit.edu/classes/scanning_printing/index.html
Review
Academany Fab-2016.03.02B Review 05: 3D Scanning and Printing from Fab Academy on Vimeo.
Design an 3D object that could not be made substractively
For design this 3D object I repeated the tutorial that I made for week 2 (CAD design) of a voronoi pattern vase. In this case with base and an sphere inside, that fits in a very difficult object to made sustractively.
It's a very interesting tutorial, that involve several techniques and it's good for learning repeat and drill in these skills.
The first step is to draw with lines and b-splines the shape of the vase.
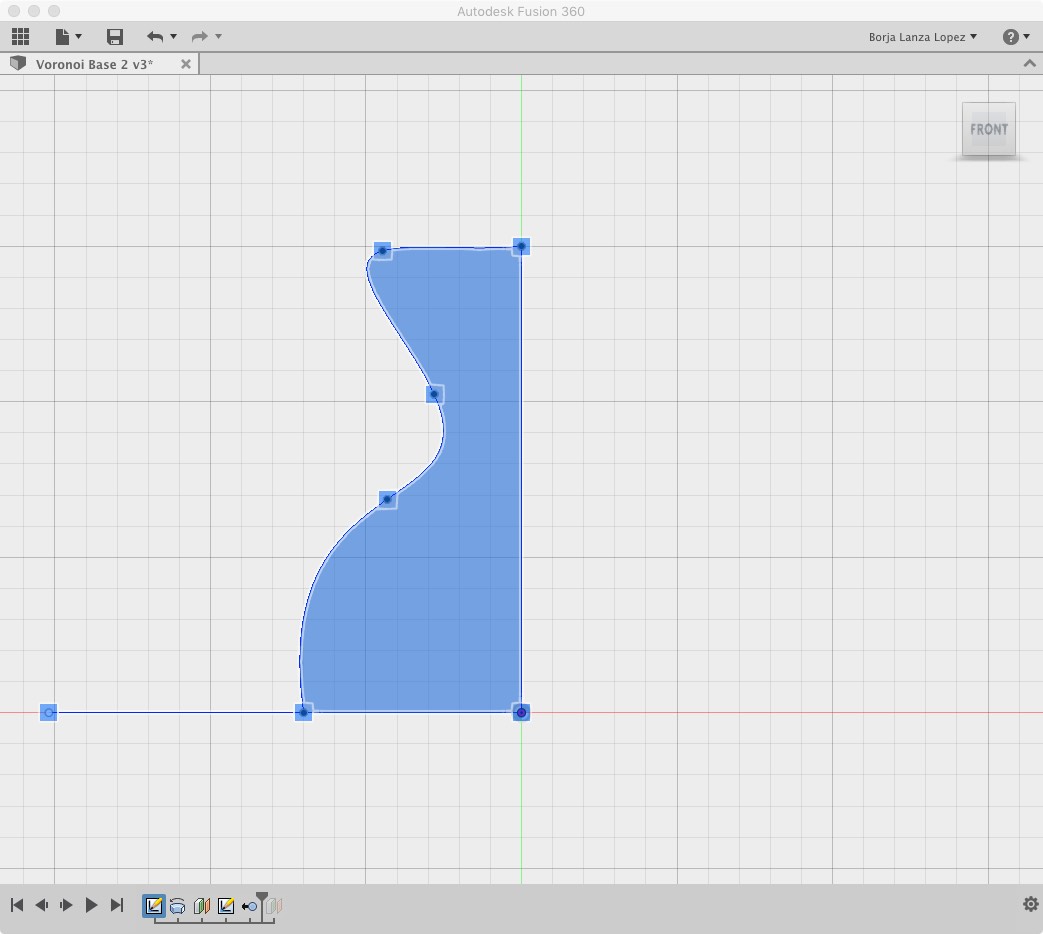
With this basic shape and the revolt tool and a vertical axis we construct the vase. We only remove the upper part to make the object not full solid.
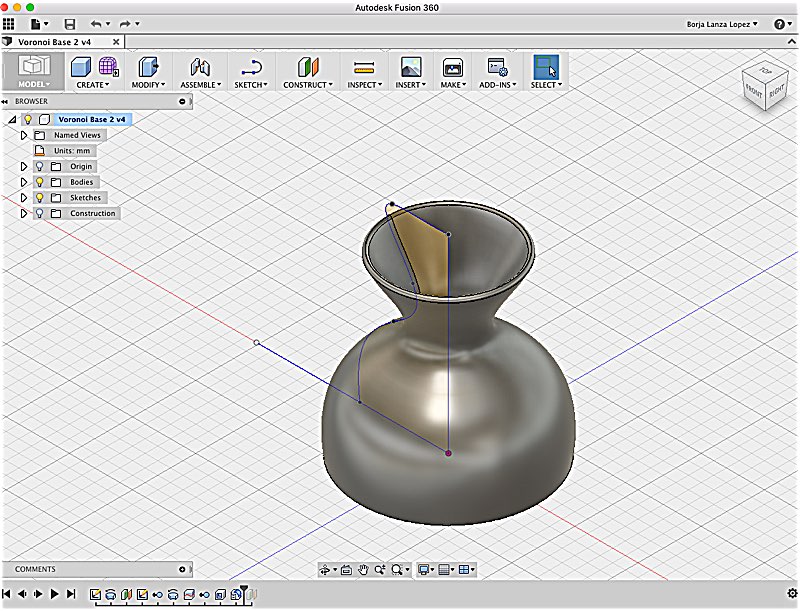
After exporting the object in stl format, we import it in MeshMixer and with a brush we start simplifying faces, making the aspect more triangulated.
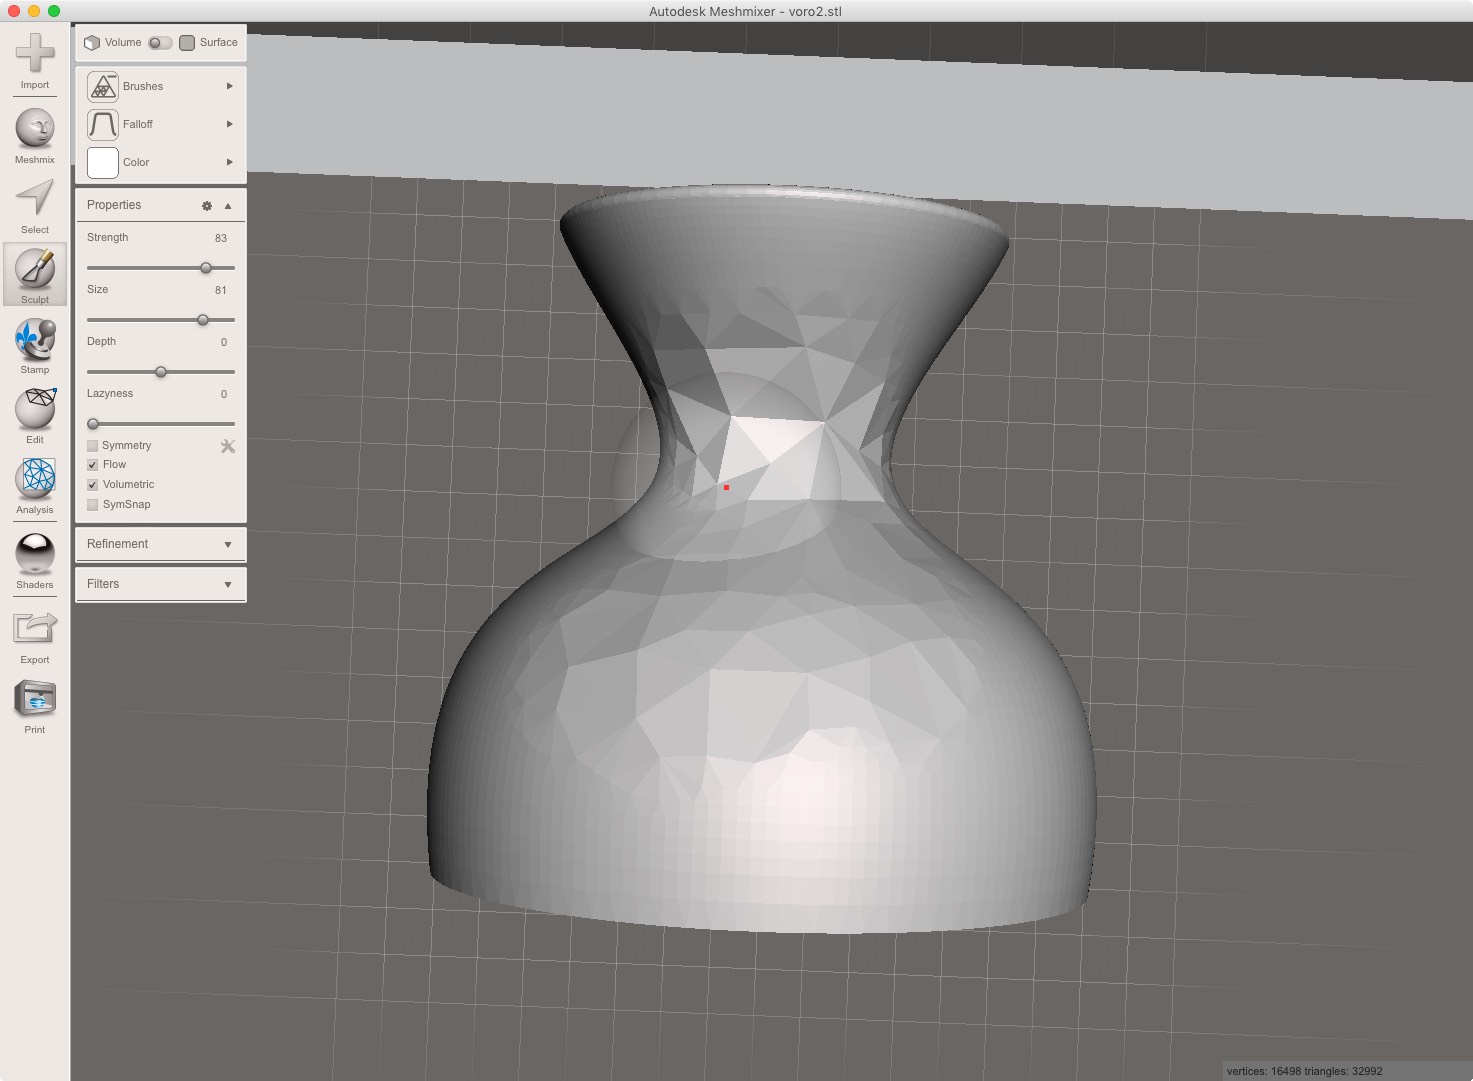
Using the command Edit/Make Pattern/Double Face , the voronoi holes appear in our vase.
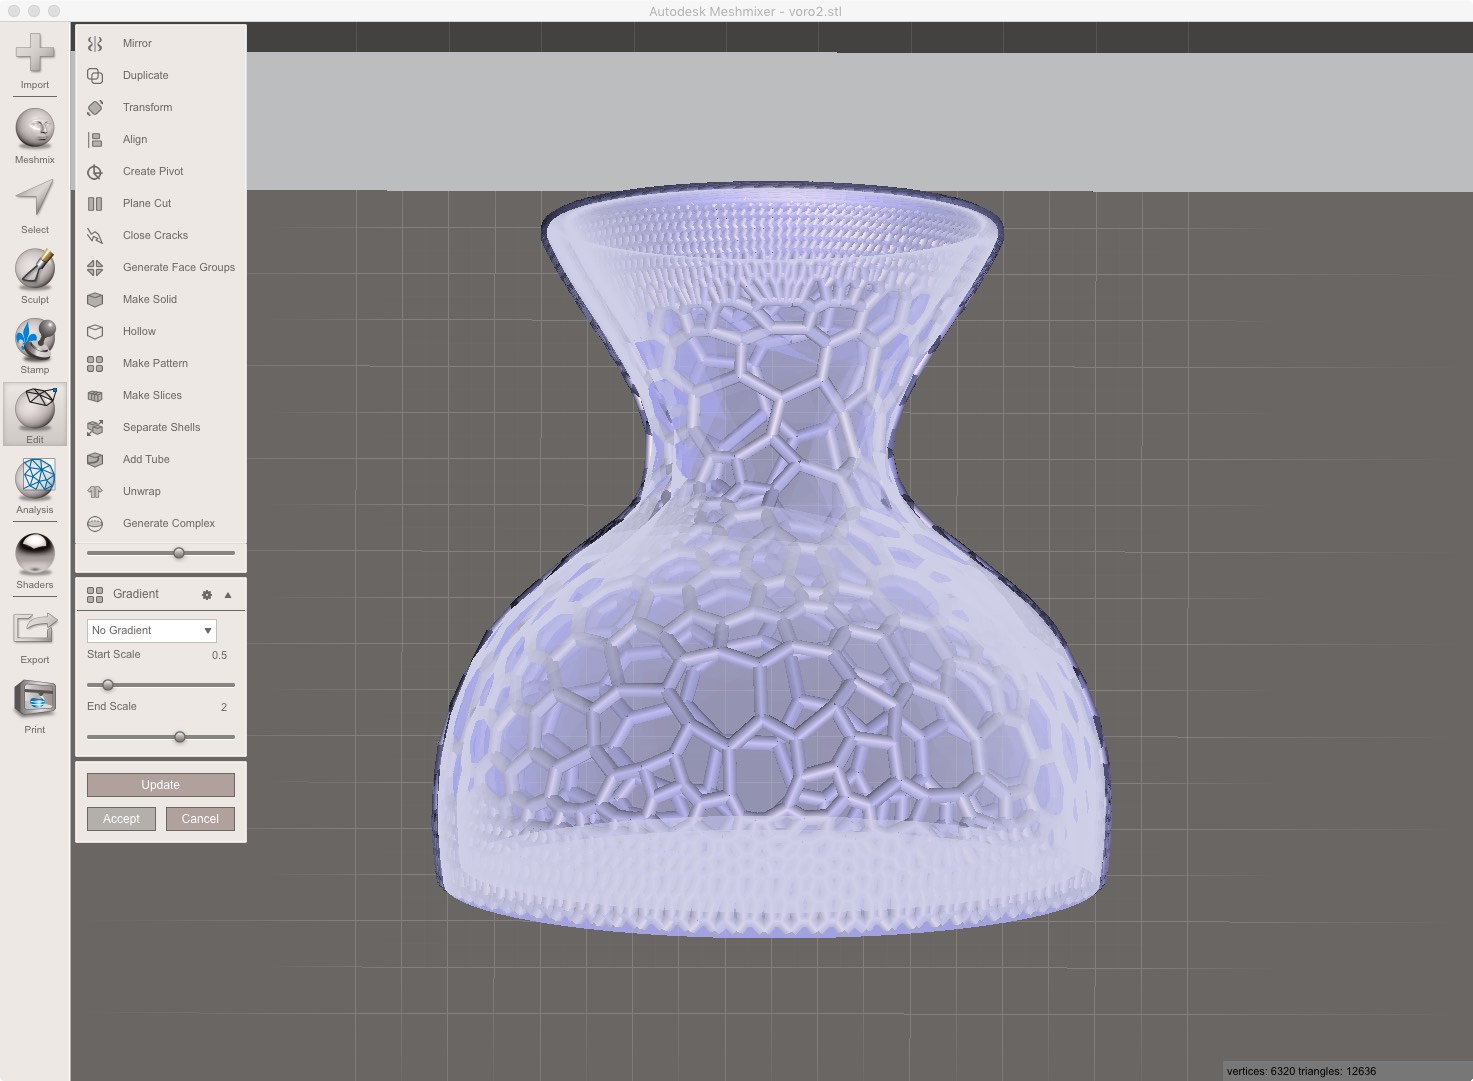
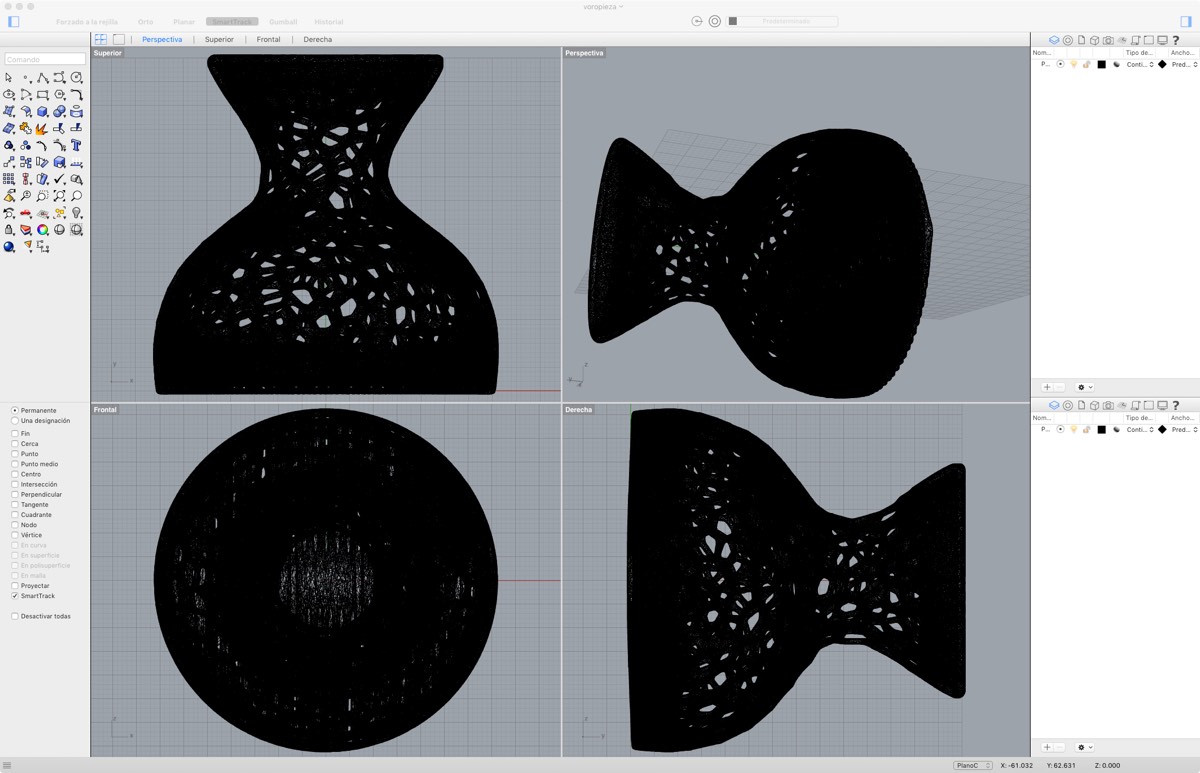
As I had problems making all this process with the sphere inside since the beginning, mostly in the previous step doing the voronoi pattern. I decided to add the sphere after that step. As Fusion 360 can¡t import local models, I exported the object in MeshMixer and switched to Rhinoceros. I could make the object from the scratch in Rhino but in this way I make use of more programs.
I just add an sphere inside the vase, big enough to don't fall down by the aperture in the upper part. It will be struck in the neck of the vase
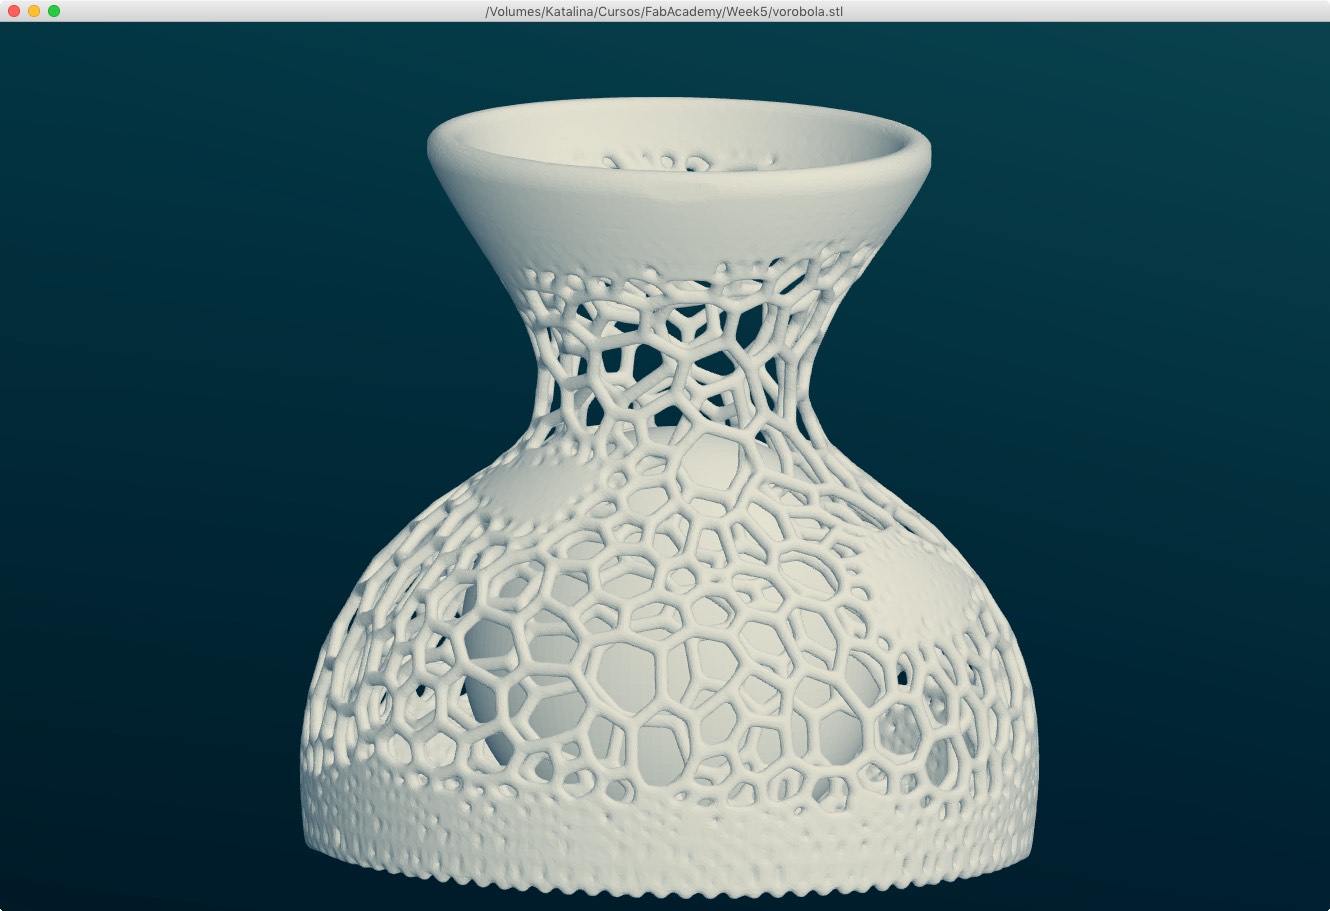
The render of the voronoi vase in the STL viewer. Even they are in the same color you can appreciated the sphere inside the vase
Here you also have the 360º virtual view of the 3d object in Sketchfab
Voronoi Vase with Ball inside by bjlanza on Sketchfab
Scanning objects in 3D
Well I tried scanning objects mostly based in infrared images sensors like Kinect and Sense, that also I'm used to them as also are used for interactivity installations as move tracking. Also probe sensing can be done in the Modela MX-20. I wanted to do some liquid based scan, but by time issues I couldn't. Also I found interesting that the program used for that is programmed in OpenFrameworks but not updated and want to try to update de code. Hope that in an update of this assignment I can.
Sense
Of all the techniques and tools I used this is the best in terms of time, quality and difficulty. You get a model with nice detail, with textures and in few minutes. Also almost capture in 360 degrees
The program is easy to use, you just choose the area where you will scan, a box where the scanner will take data between some distances. And start scanning.
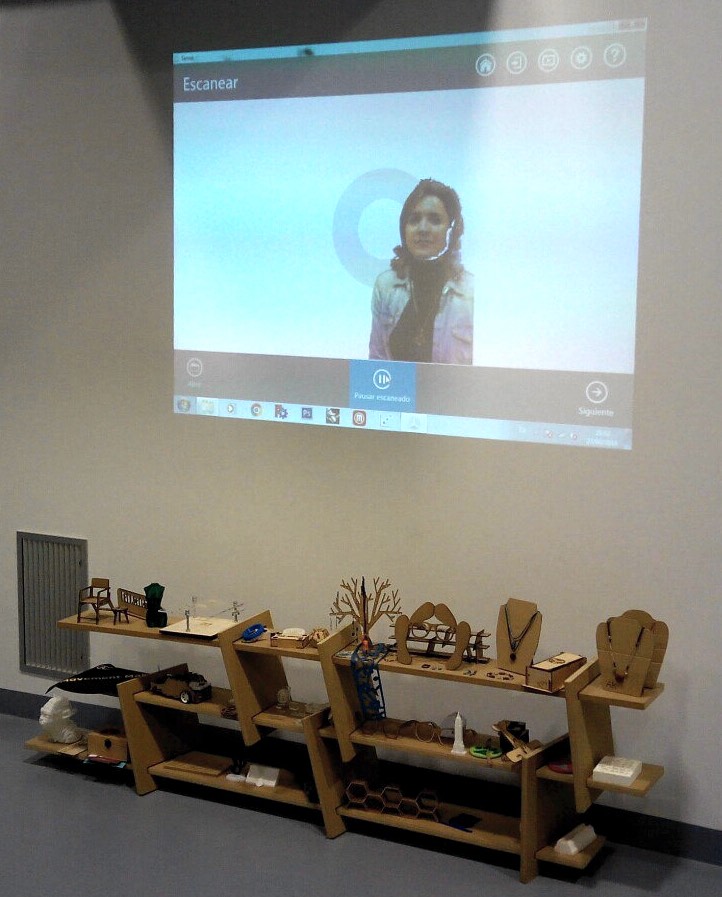
Here is a test done with my instructor Nuria as model.
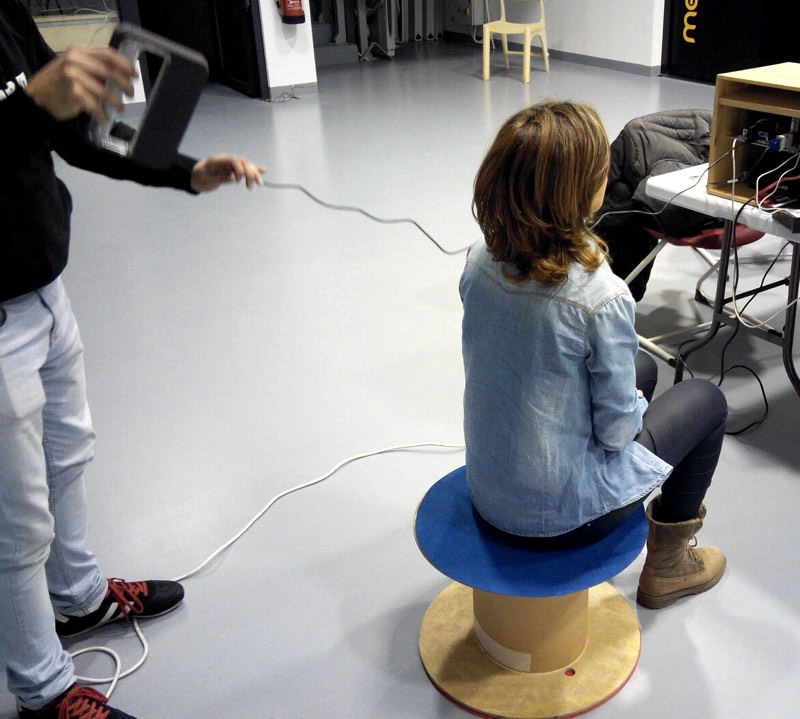
We can see how her upper part is getting capture.
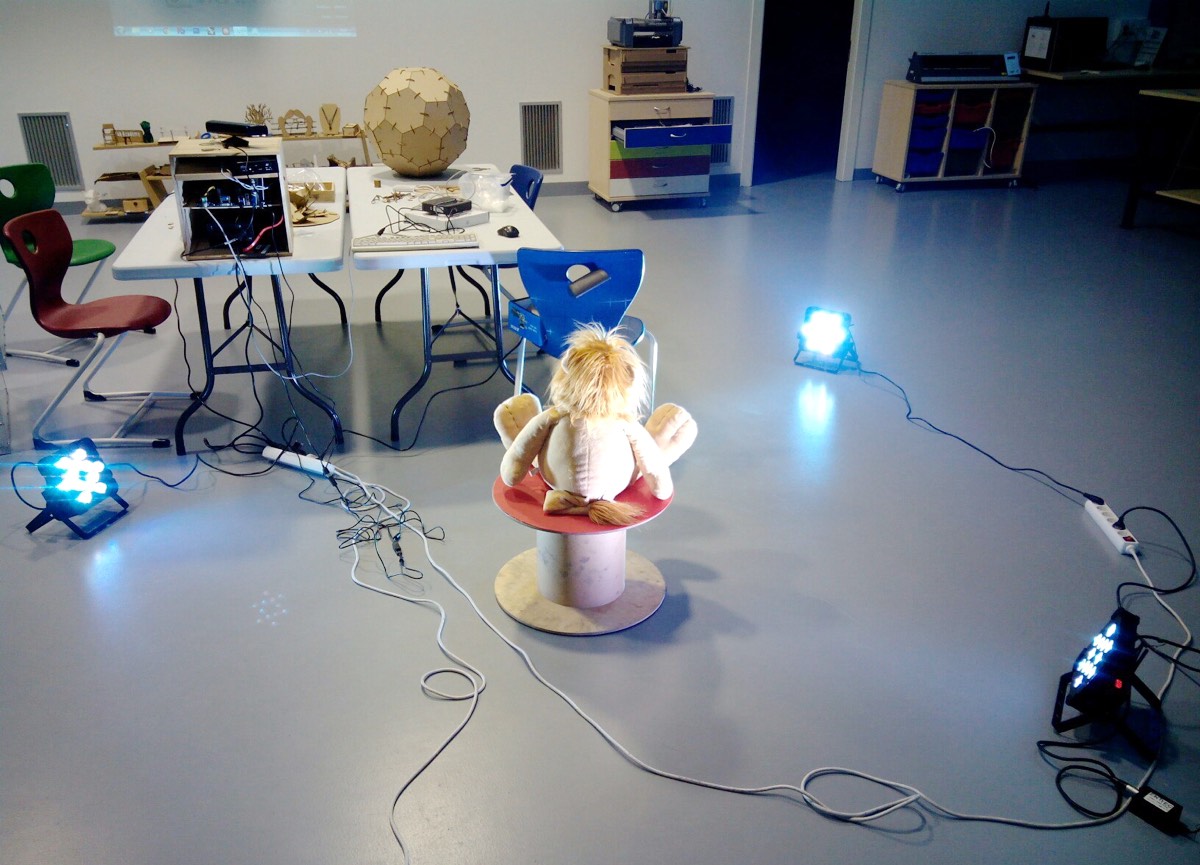
One important thing that you have to be aware is that the model must don't have any shadows that make more difficult to scan and get noise or black zones. As I can't scan myself with quality I used a nice plush toy of a Lion and make a little ring of light with some dmx lights I have.
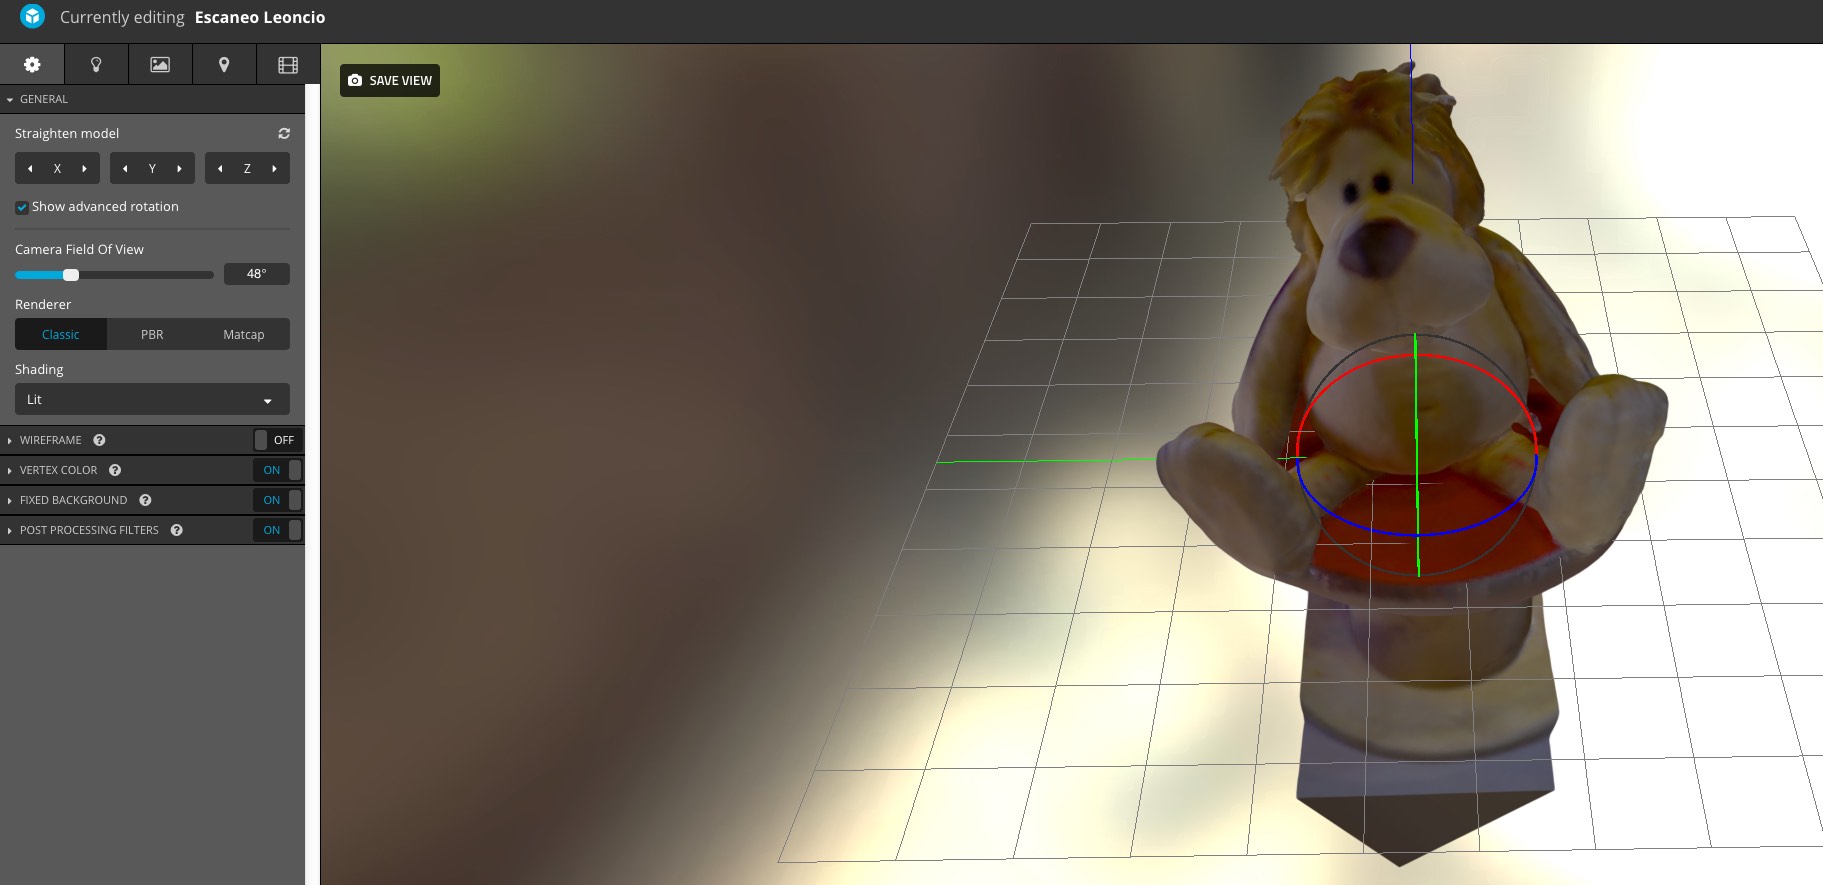
This is the final result inside the sense program before exporting. You can export in several formats as stl, object (that will include the textures), vrml...
You can view the final result in SketchFab
Escaneo Leoncio by bjlanza on Sketchfab
Skanect
With Microsoft Kinect and Skanect free the workflow is very similar to sense and the same pretty straightforward. You choose the "box" of effective scanning area, that will be bigger or smaller depending if you are scanning and object or a person. In this case was a medium object so with 80 cm of area is enough.
The main problem in this case is that without a paid license, Skanect only export models with 5000 vertices maximum. So the object has less details and much lower quality.
Scan Leoncio with Skanect Free by bjlanza on Sketchfab
Modela MX-20
The Roland Modela MX-20 use a little probe sense that will touch the object getting a pattern or points that will conform the 3D model
For that you have to change the drilling tool for the sense probe. It's an easy step removing two screws and screwing and fitting the sense probe in another two different holes and connecting the cable
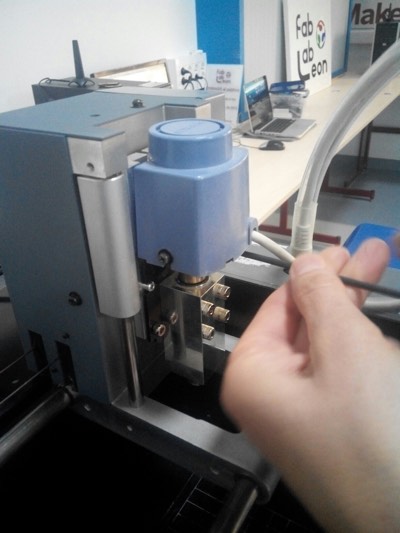
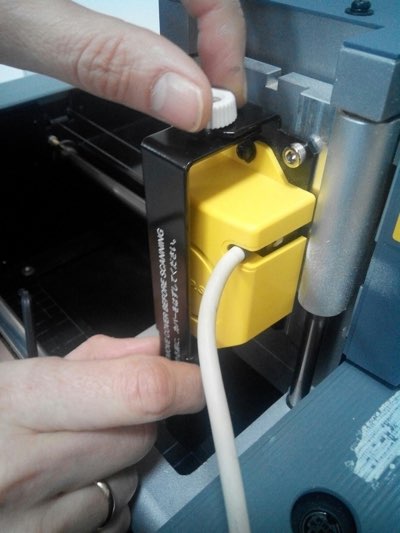
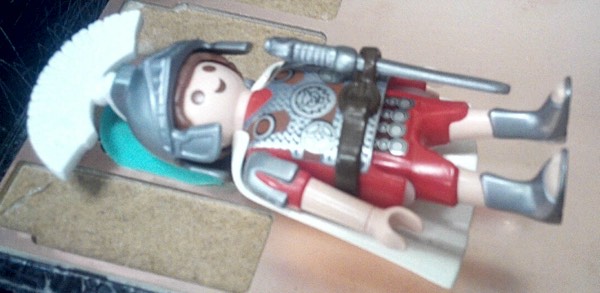
I choose to scan a little toy of a roman centurion, as my city León was founded by a roman legion. You have to fix the toy to the board to don't move when is being scanned.
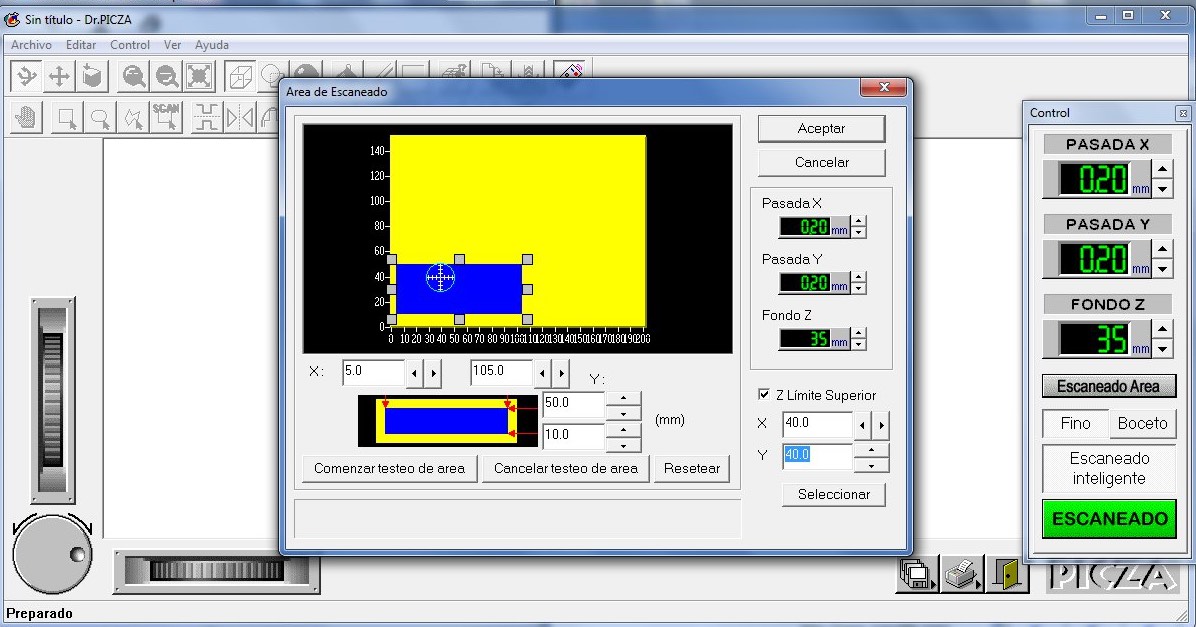
The program to scan is called Dr. Pizca. You have to specify the limits of an area (box shape) where the needle of the probe will move and sense. Depending the steps in the X and Y axis the scan will have more or less detail
Detail and Time are related, this little toy with the parameters in the image, it tooks more than 16 hours. So if you don't need to be so much perfect as me.
This is the result of the scan in Dr. Pizca where you can see the data gathered and the 3D model scanned.
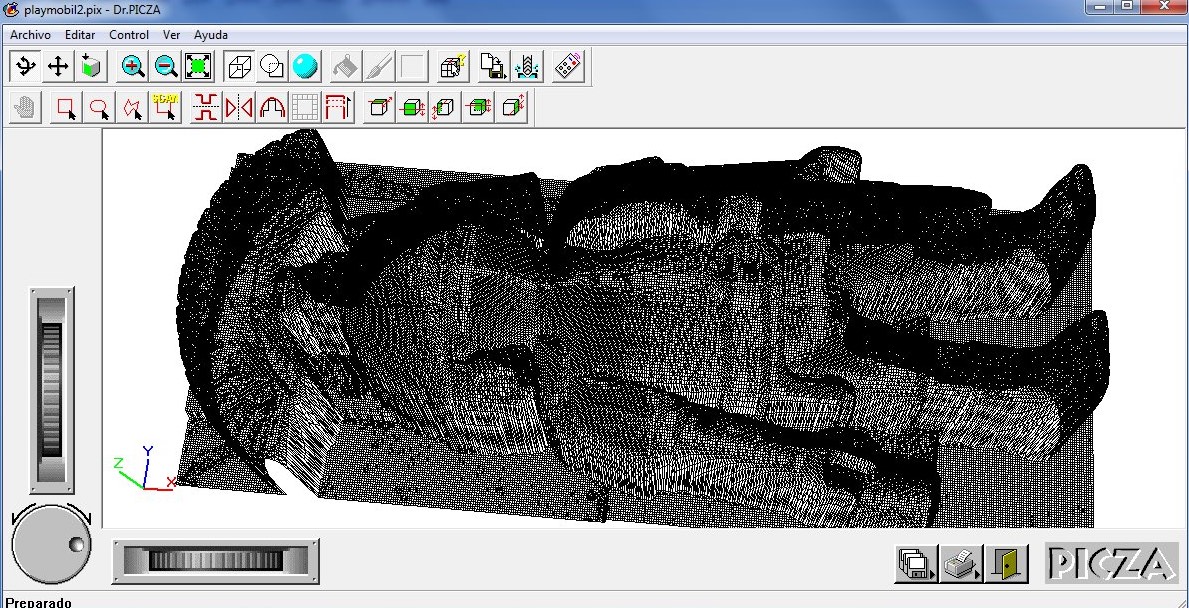
One inconvenient of this method is that you only have the upper part, so you need to do another scan of the bottom and join them. Or be a little more smart and scan an object with symmetry in one axis.
Here can see the Modela working
FabAcademy 2016 - Scanning Probe of Modela MX20 from BjLanza on Vimeo.
A test of a Roland Modela MX20 using its scanning probe for scan a 3d object (little roman playmobil toy)
And the final model of the upper part in SketchFab
Playmobil - Upper Half Modela by bjlanza on Sketchfab
Repairing mesh
Even if you try to get all the angles and scan every part, It's very possible that you forgot or omit some little tiny place, or that the scanner didn't interpret some messy or dark part and you have to repair it
Usually the scanning programs have some utility to close gaps in the mesh of the scanned object, but if they didn't fix you can use a program like Netfabb or MeshMixer
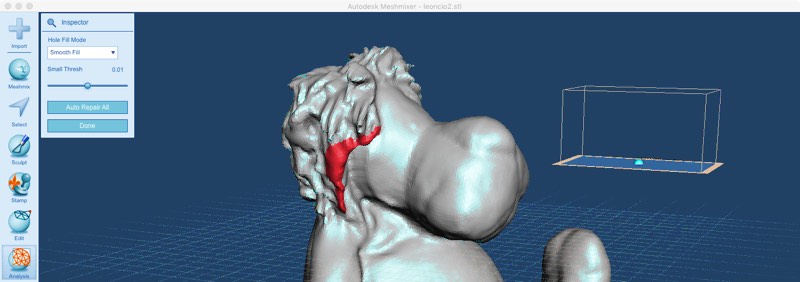
In MeshMixer you can use the Analysis to find gaps and errors
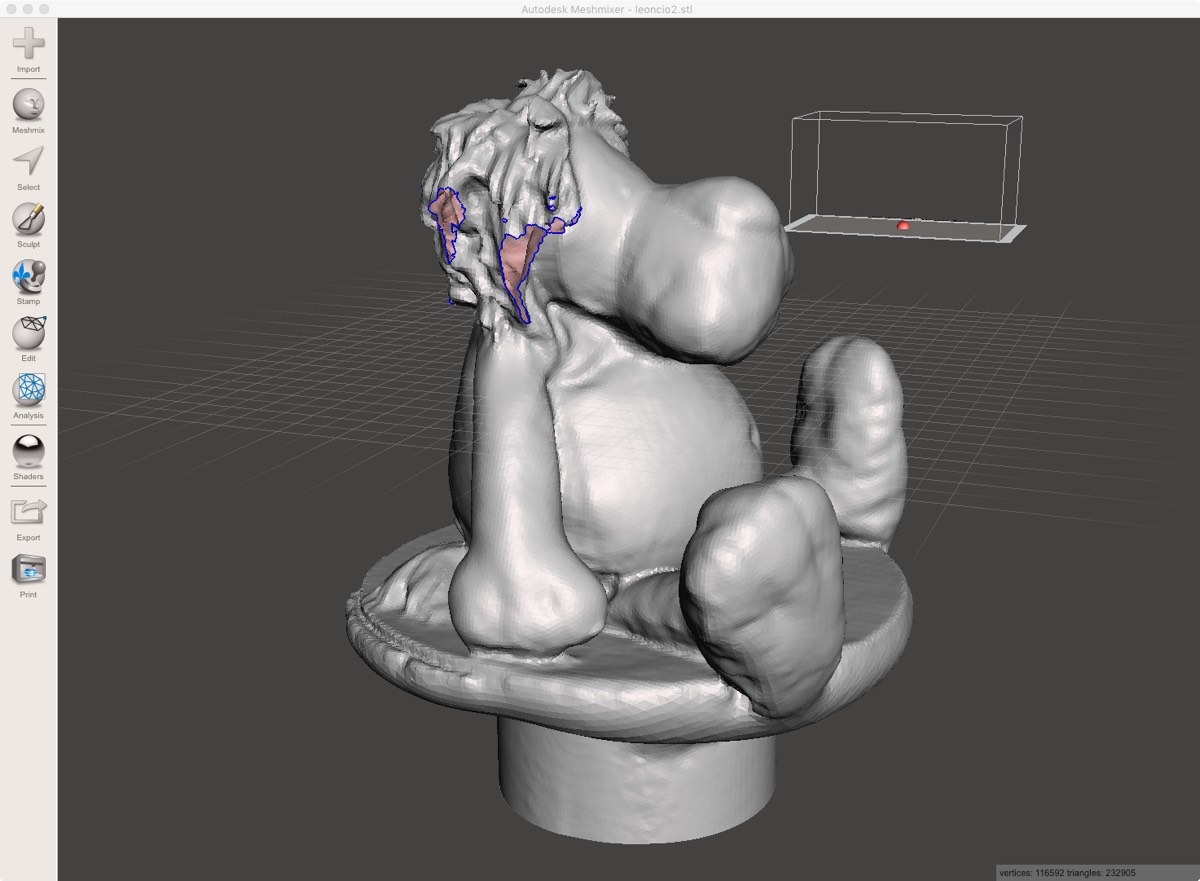
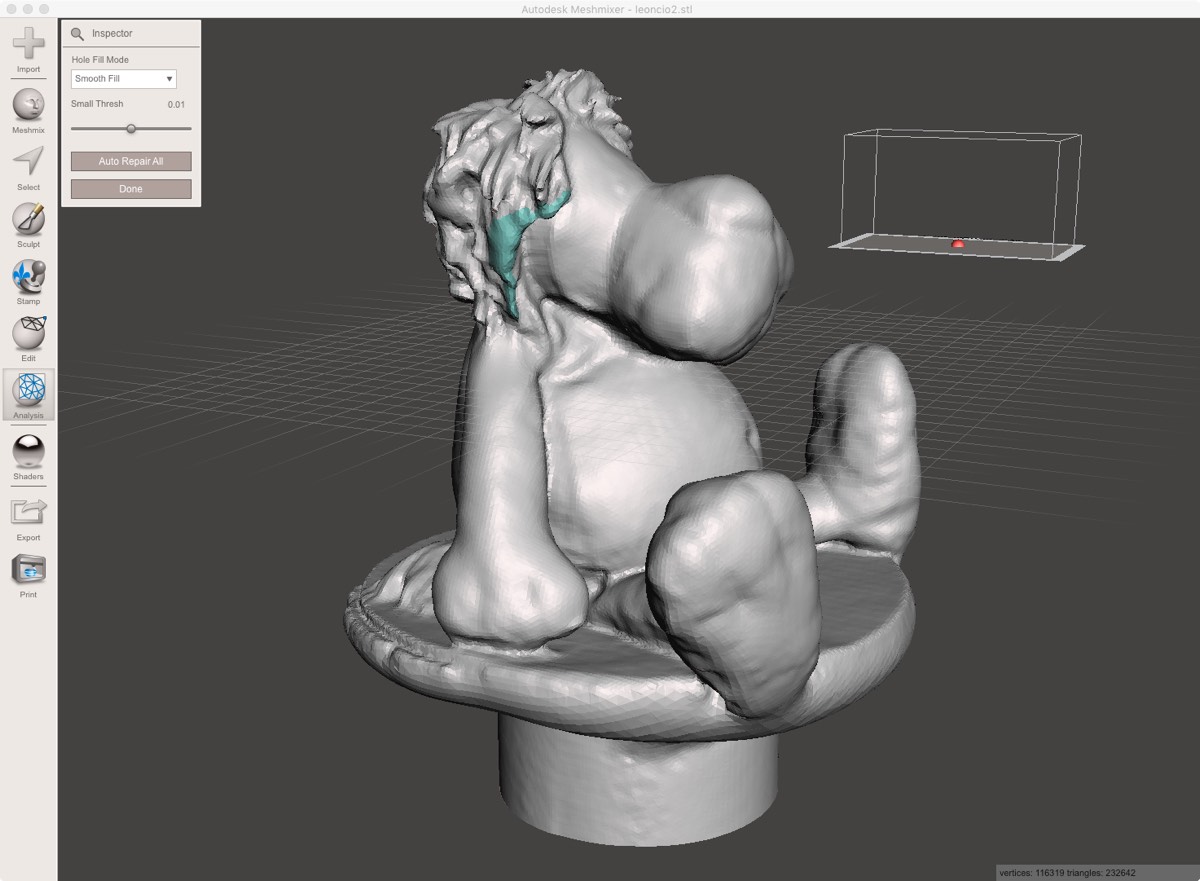
The same program offer you to repair the object for better printing. In Inspector panel you can choose between different ways to close the holes.
You can find several more advices in this Website
123 Catch
As almost any pet owner, the first try is usually to scan your pet. In this case my golden retriever Bashar (name because Dune novels). As is normal, it has to move to see why its crazy owner was moving so much around. That is why the model is a little blurred.
To avoid that, I also use the plush toy that I used with Sense and Kinect to see the differences. The model is basic but with textures and also has some of the environment so is a little more messy and you have to clean it if you want to work with it.
Printing
Printing test
I have to still do lot of test to know all the limits of the 3D printers in the fablab so still this section is in working progress and also I will take note of the review of the week as I will acquire great insights
I printed this thingiverse test design to start doing this part of assignment
The first try was very unsuccessful, i guess because printer didn't get enough flow of material, as some layers appear as thinner and without material
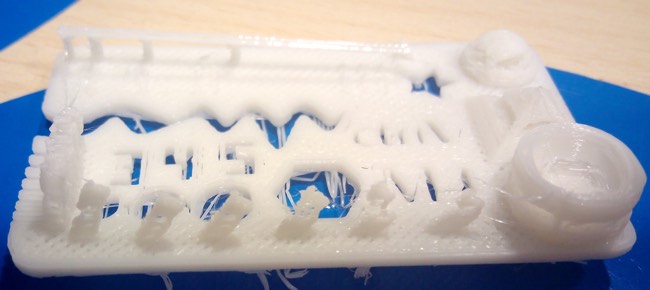
Second try with another color was better.
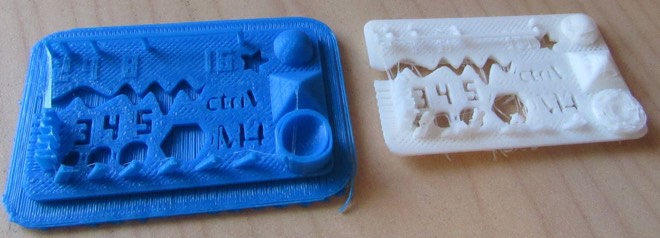
I study some more practice apart the one in the lesson to try to make a much better test and knowTheory and practice of 3D printing (english translation of a russian page),
Polymers (english translation of russian page),
Fixing Errors (english translation of russian page)
Update July
Fab León get another 3d printer, one Legio 3d, that are made by a company of León and is considered the best commercial build yourself with good documentation.
Again my instructor Nuria that always want the highest standards say that this would be a wonderful example to expand the printer test for the FabAcademy.
So the Legio 3d Printer started to produce clones of the Maker Faire Robot ;)
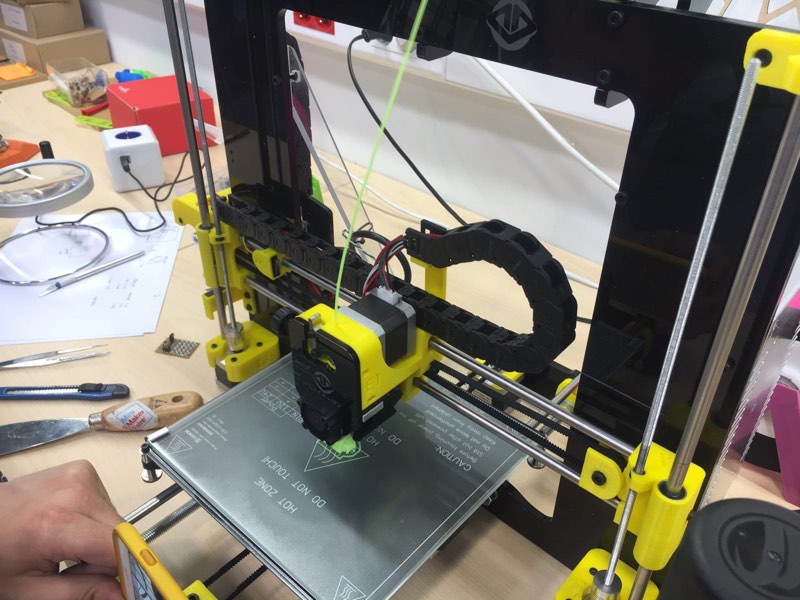
Here you can see a video of the Legio 3D printing the legs of a new robot test.
All the robots printed until the moment with parameters made by Cura, enough to make a big army to conquest at least the table of the fablab.
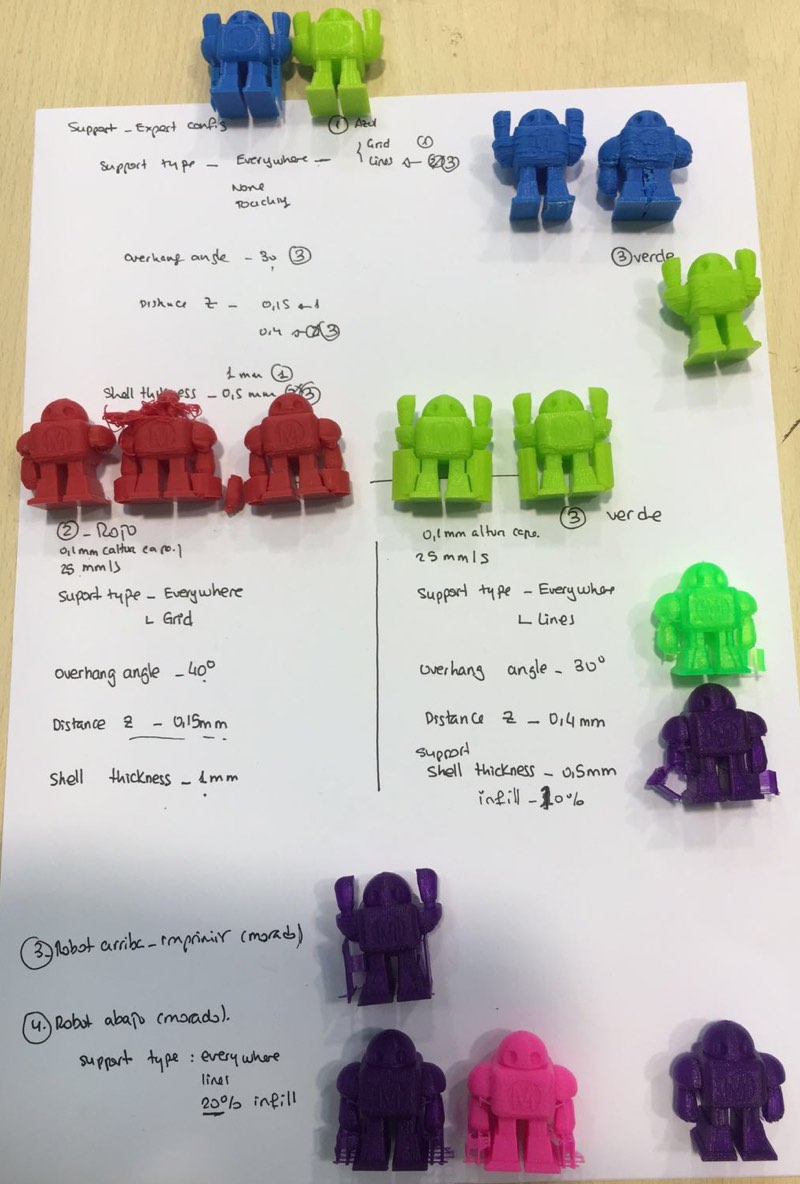
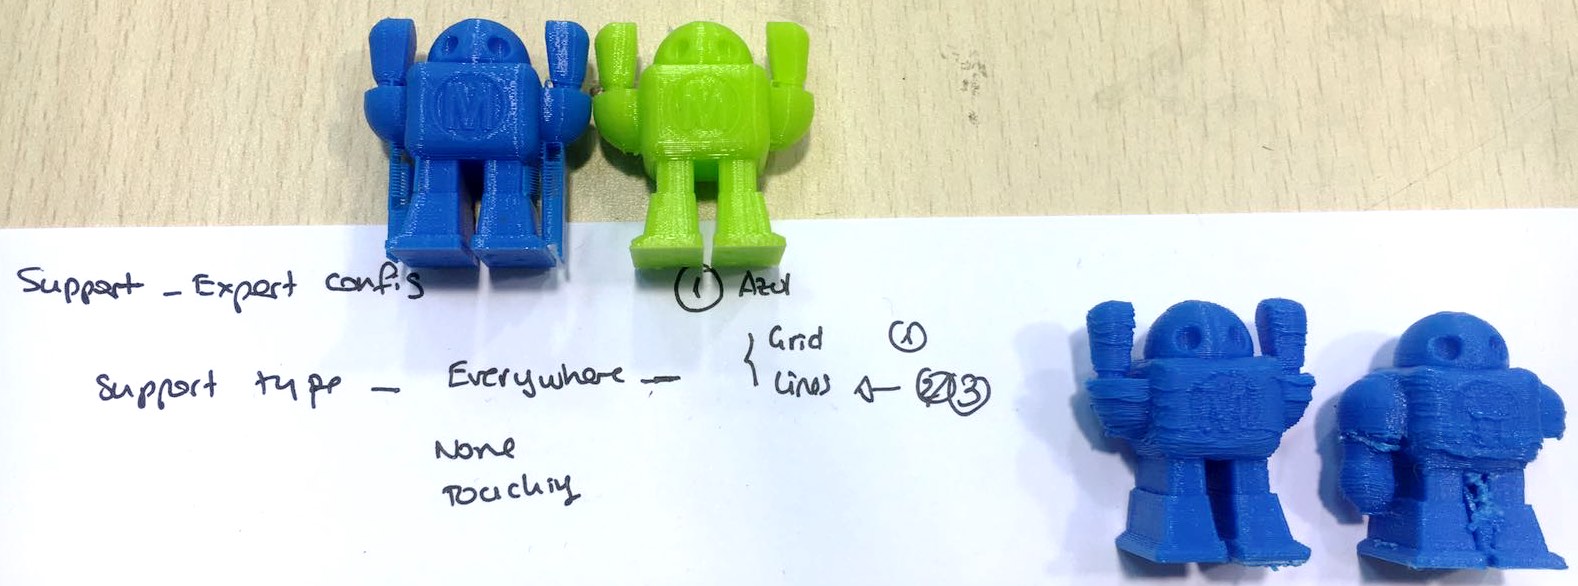
The reference models are the upper Blue with Green Robots that are printed by the MakerBot.
In Round1 blue robots the layers are clearly visible and are not in it's best quality.
Parameters : Support Expert configuration, Support Everywhere.
The second round red robots even it happened some little problems while printing, (poor headshot of the central robots) the improvement is visible.
The parameters are: 0.1 mm layer height | Support type Everywhere (Grid)| overhang angles - 40º | Distance Z - 0,15 mm | Shell thickness - 1mm
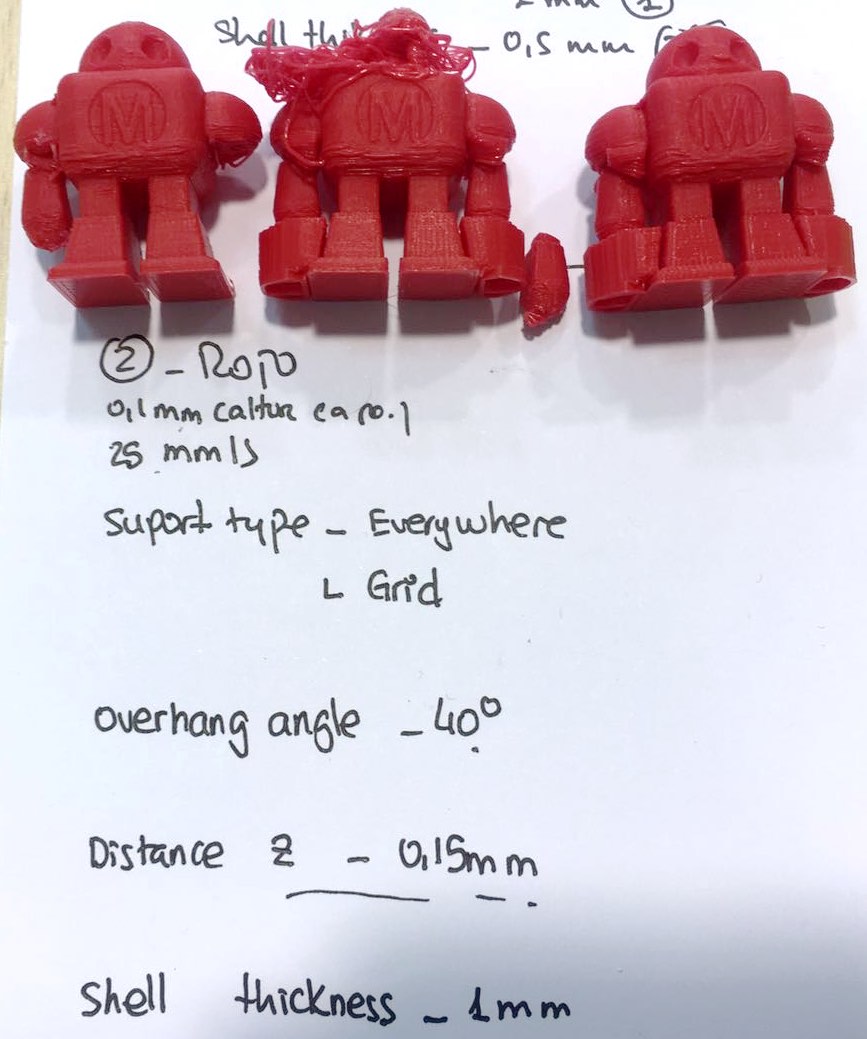
Third round of greens have changes in shell thickness that is thinner but higher distance in Z and less overhang angle
The parameters are: Support type - Everywhere (Lines) | Overhang angles - 30º | Distance Z - 0,4 mm | Shell thickness - 0,5 mm | Infill - 20%
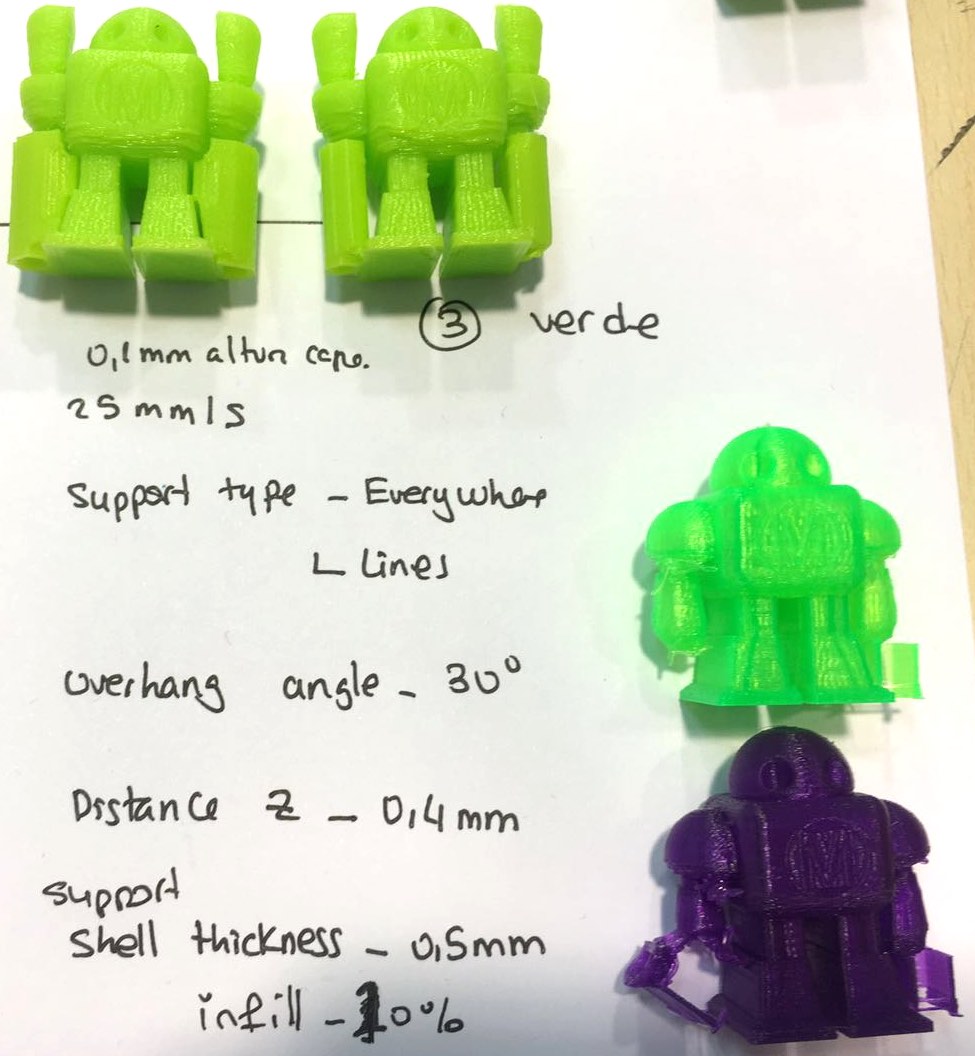
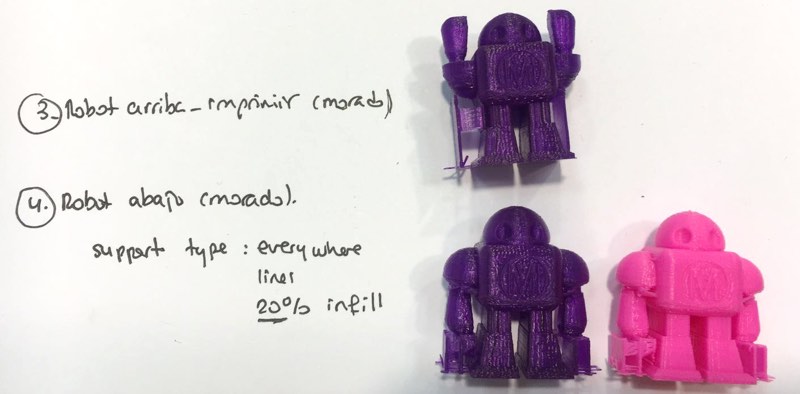
Variants of previous parameters of 3 round with different models of robots and color of PLA.
Printing examples
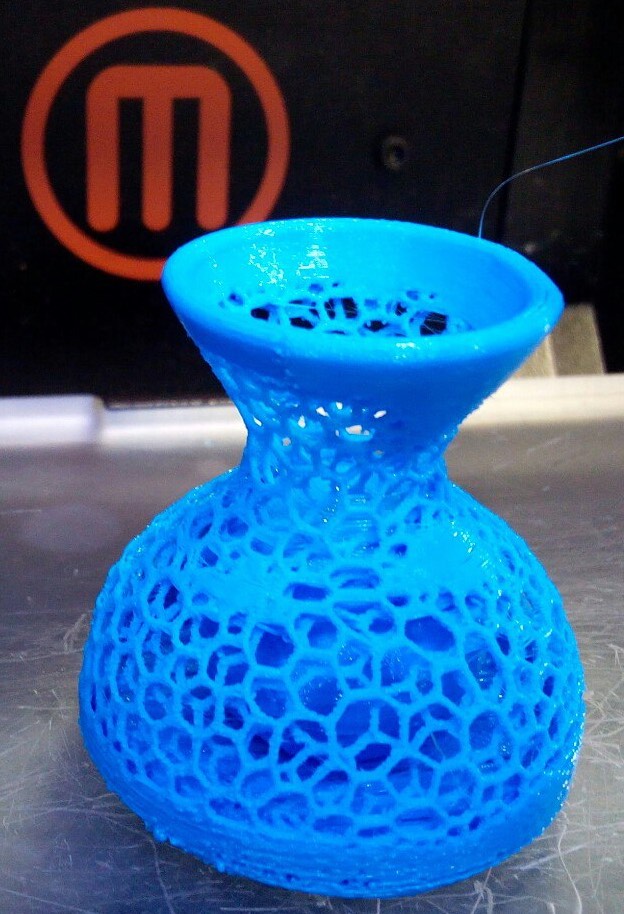
You can see the printed objects of some of the examples of techniques explained before.
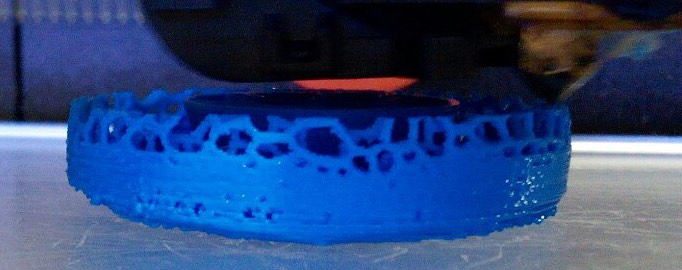
Voronoi Vase
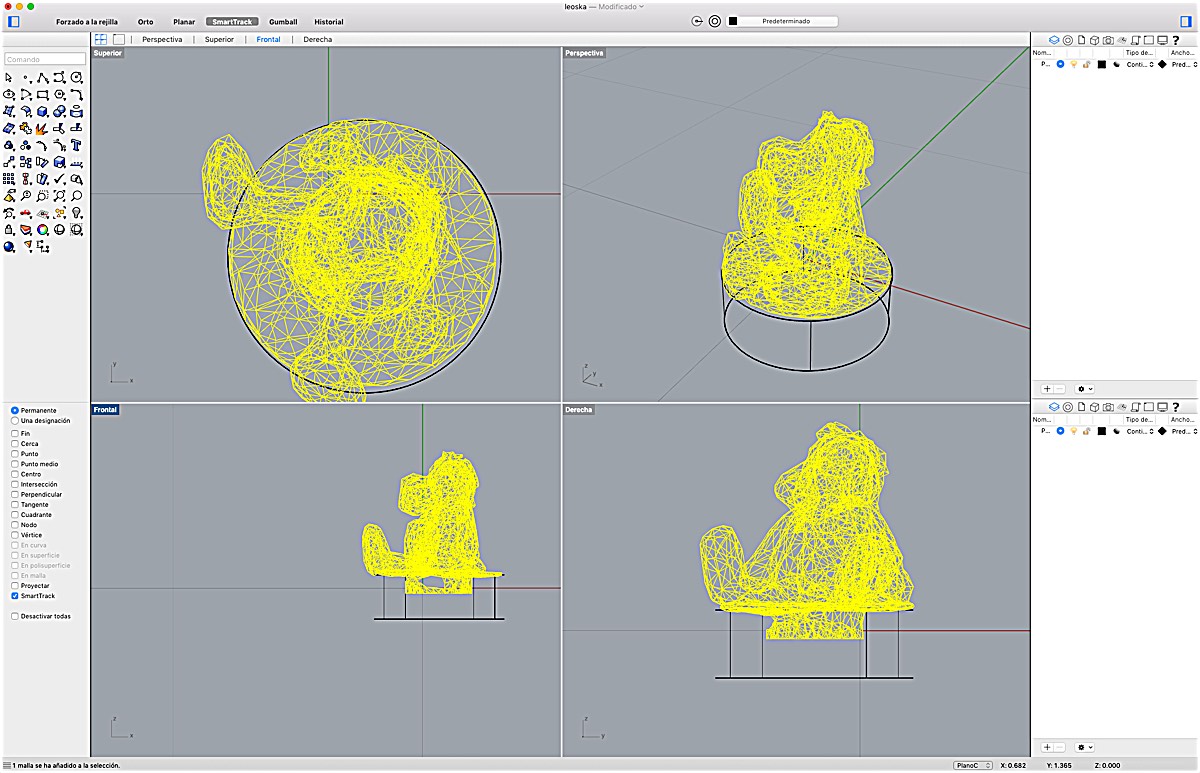
Lion plush toy
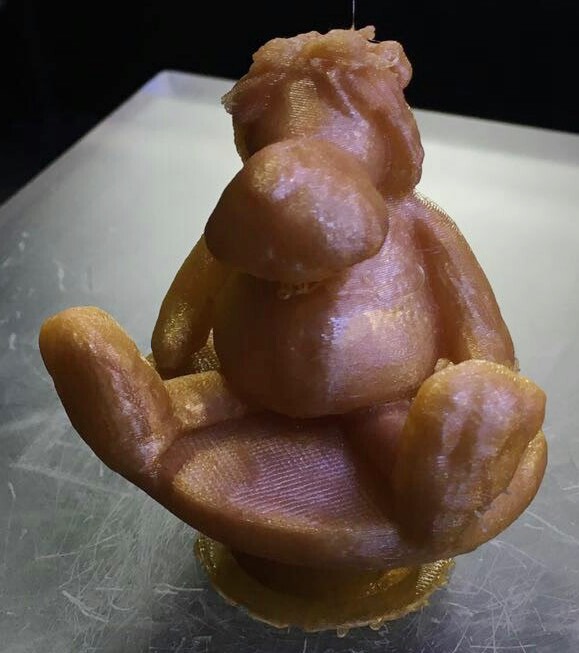
For print the lion toy I added a cylinder base as the model has a very irregular one.
In this photo we can see the final 3D printed of our push toy Leoncio.
