Molding and Casting

This week was a very interesting week with molding a casting that have lot of future potential, as they are classical techniques of casting molds with several types of resins but with the ability of make the molds with the new fabrication techniques. Hope I could make more test before the FabAcademy finish.
Lesson
Academany Fab-2016.04.20D Lesson 12: Molding and Casting from Fab Academy on Vimeo.
Review
Academany Fab-2016.04.27B Review 12: Molding and Casting from Fab Academy on Vimeo.
Designing the Mold
I was for the most secure approach and use 2D images for making a "heat map" based in greyscale deep, so I adapted some of my files for this.
I choose first to try with a logo of an interactive art installation that I made a couple years before called P@ntheon .
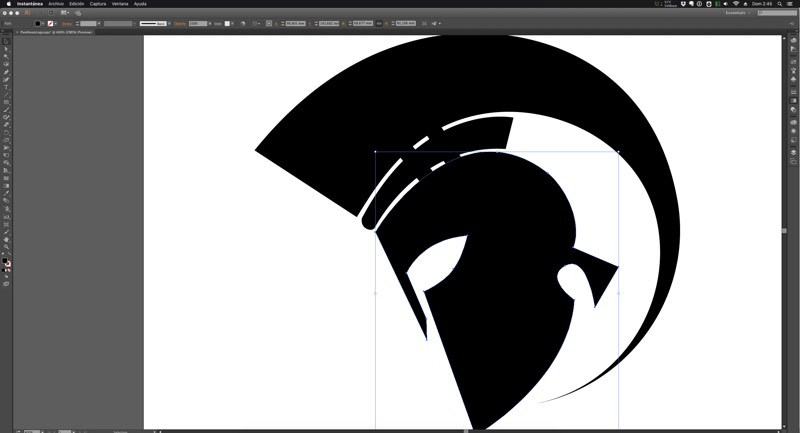
I modify the greek helmet and make little joins to have a more easy shape. You have to be careful and adapt the design to the milling bit you are going to use, as if you have smaller gaps in your design it won't be milling and produce some errors

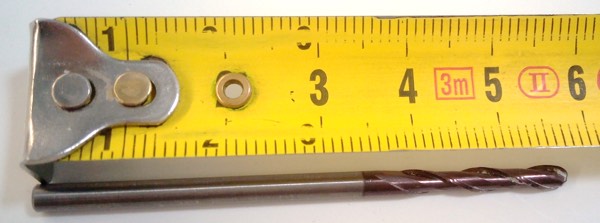
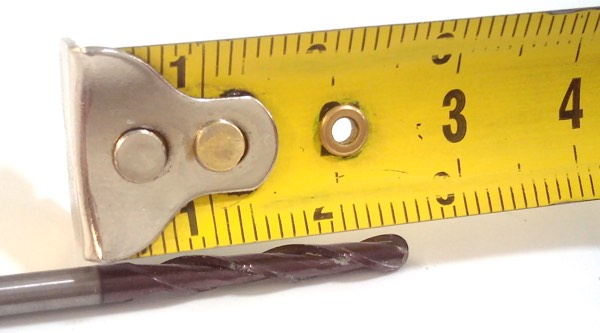
Drilling Bit
The main drilling bit that I used for this practice was a 3 mm of diameter bit, with 6 cm of long. I had to change for better definition to a 2mm diameter bit but this one needed to change the header of the machine as it has a 6mm body.
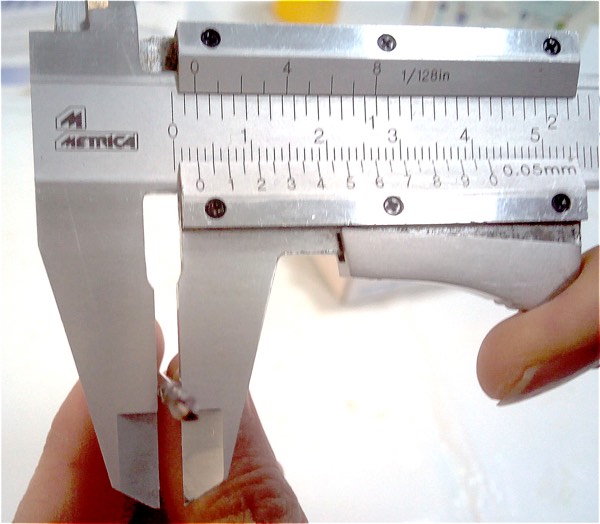
Making the mold with the Modela MX-20
Making a test mold
On Friday my instructor Nuria Robles, teach me the workflow of making wax molds that was very similar to milling circuits.
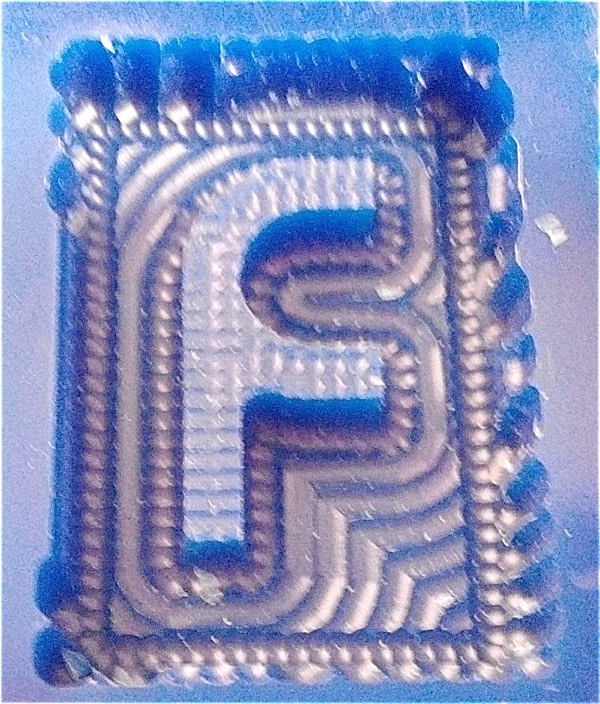
We make a little test with an old wax brick, cutting a F letter.
This is the result of the rough cut. Using fabmodules
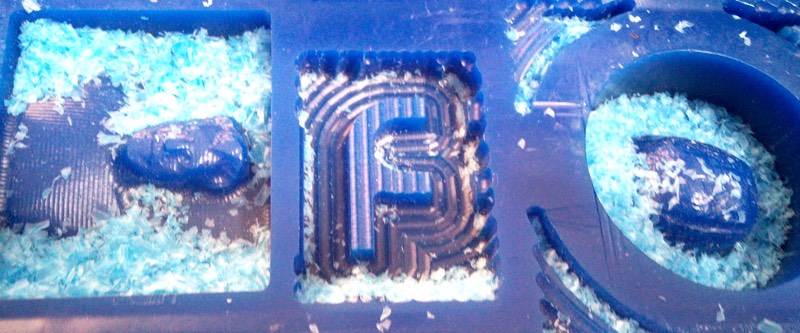
And this is the final cut.
Here you can see a short video of the Modela milling the f letter.
Making a greek helmet
So after the test try to know how was the workflow I started with the greek helmet logo, so the first thing is use the fabmodules to get the paths in gcode for the Modela as they have an specific module for wax rought cut for roland milling.

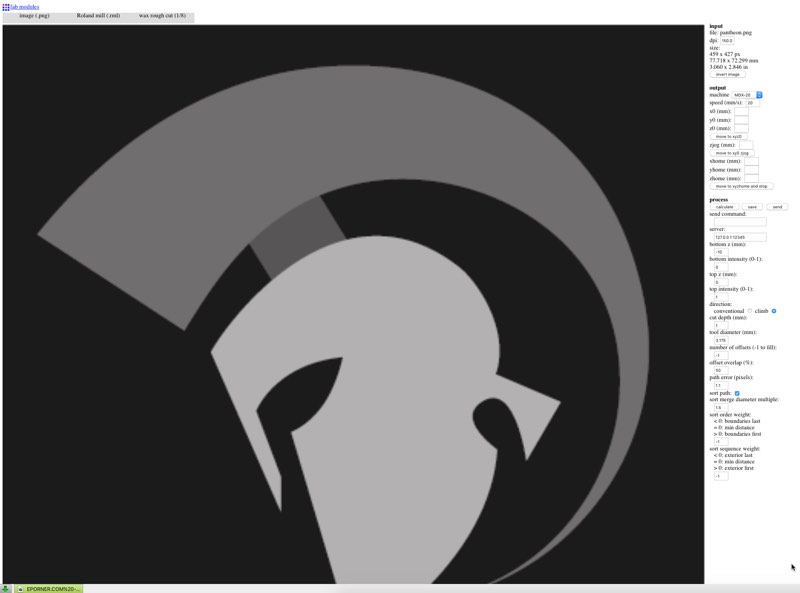
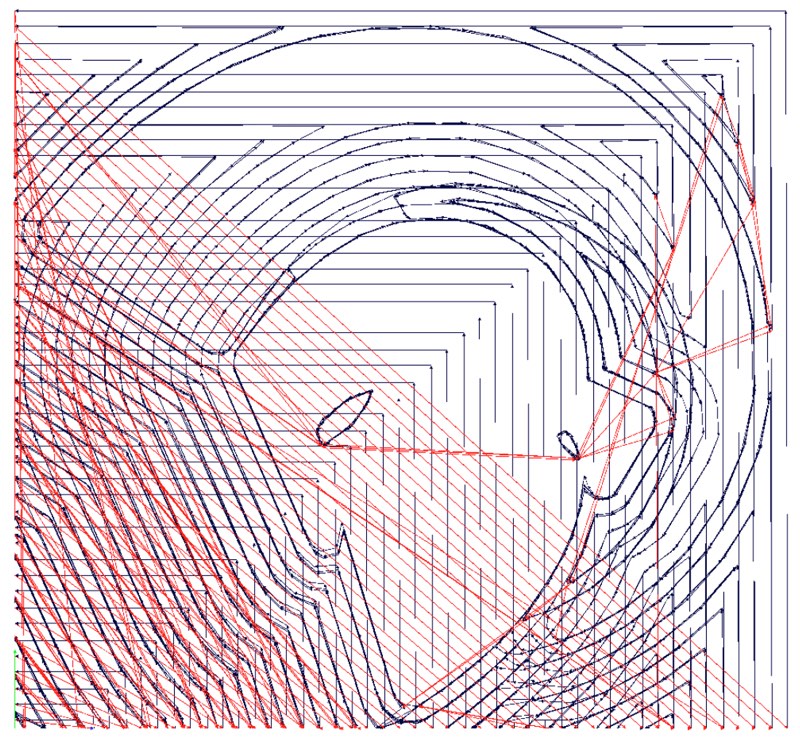
This is the paths for the drilling bit made for the helmet for removing wax before detail.
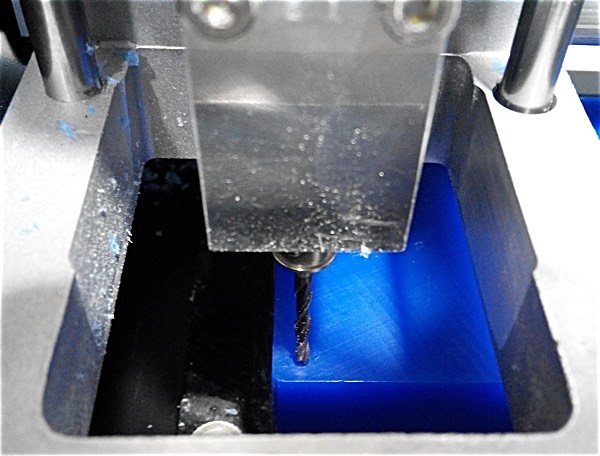
As other milling process you have to made the Z 0, as wax is a little more softer material you can press a little more without problem, but always with the maximum security measures.
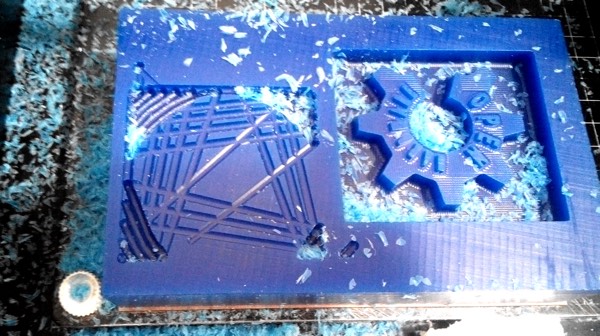
I became a little scared when it started to mill and make strange patterns that didn't looks like the greek helmet, but everything was fine.
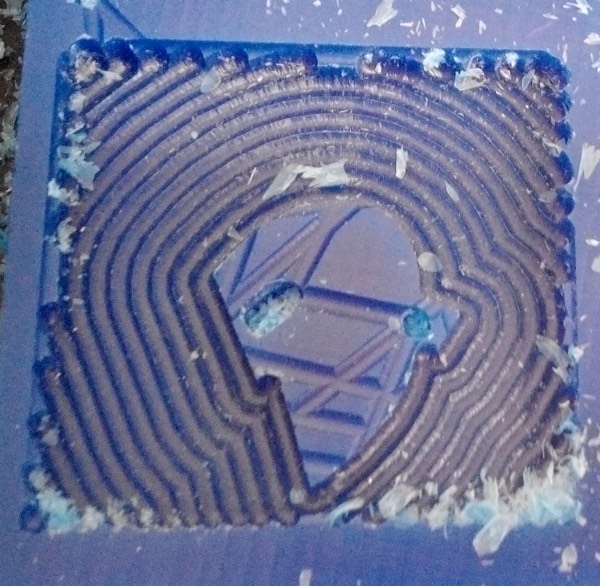
As I made a little mistake with grey scale, the crest of the helmet was very low so it doesn't appear until latter in the milling.
The paths with Wax final cut are more detailed so the milling will take more time.
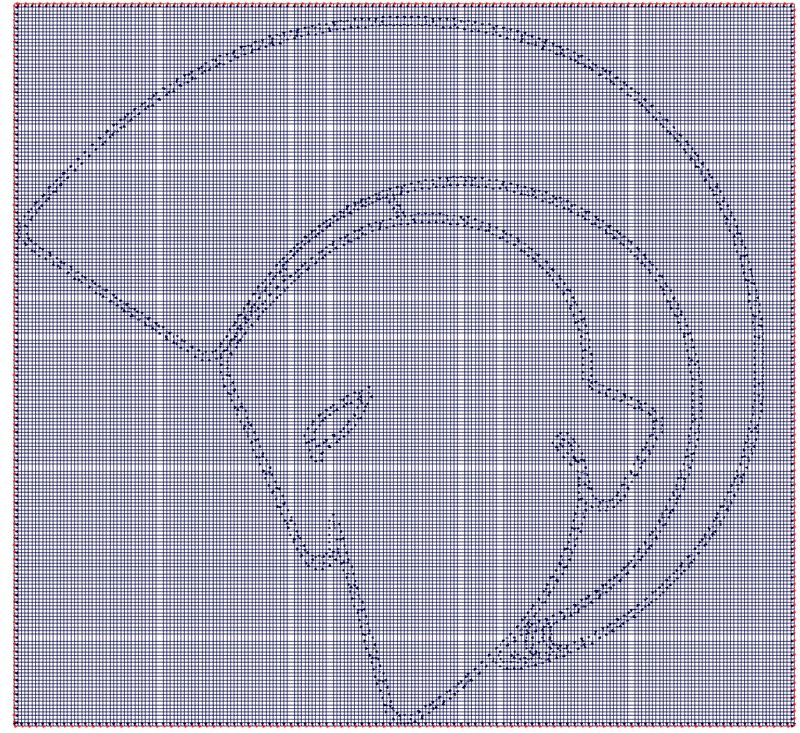
The final cut was nice but with not bad details and interesting textures.
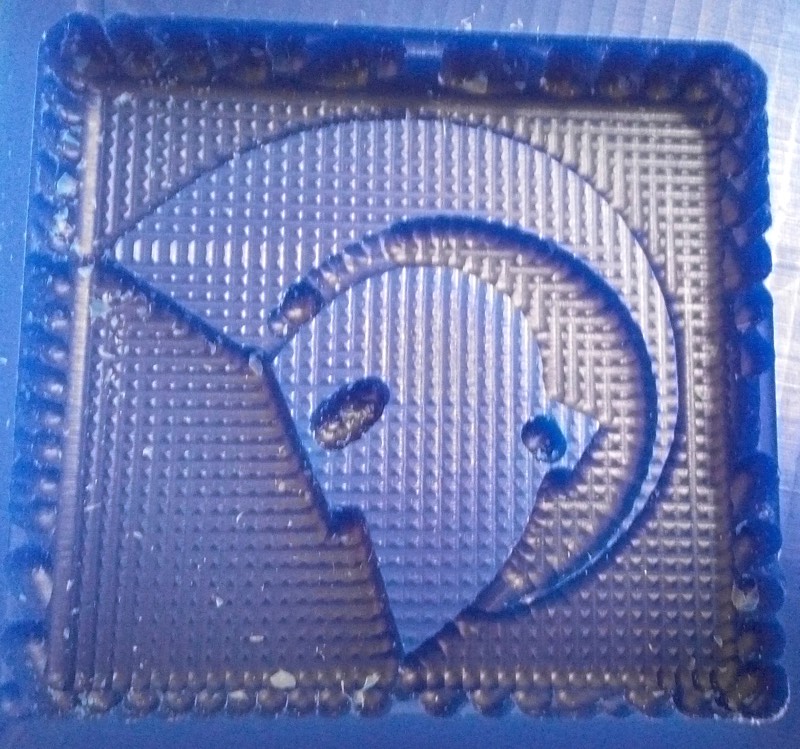
So I updated the design with brighter colors that will make the cuts not so low and testing a gradient for more 3d aspect.

Making a fab shield mold
This is the png image file that I use for make the cut.

Here you can see a short video of the Modela milling the shield.
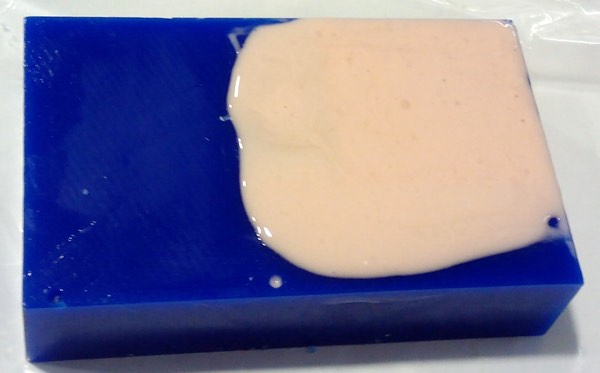
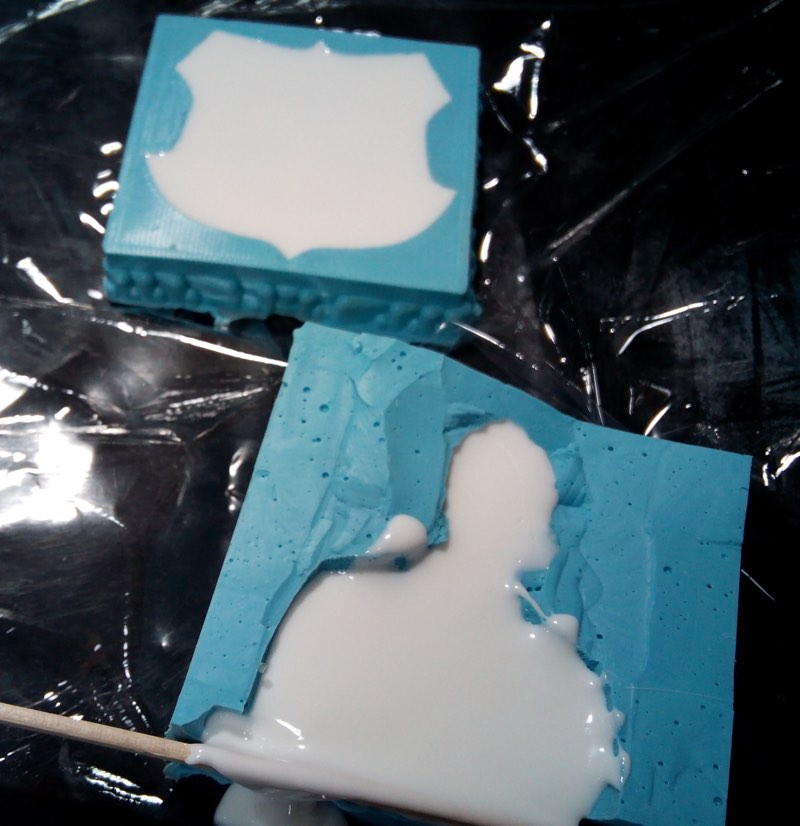
After the mold is finished I could pour the Oomoo silicone that has the advantage that cure very fast
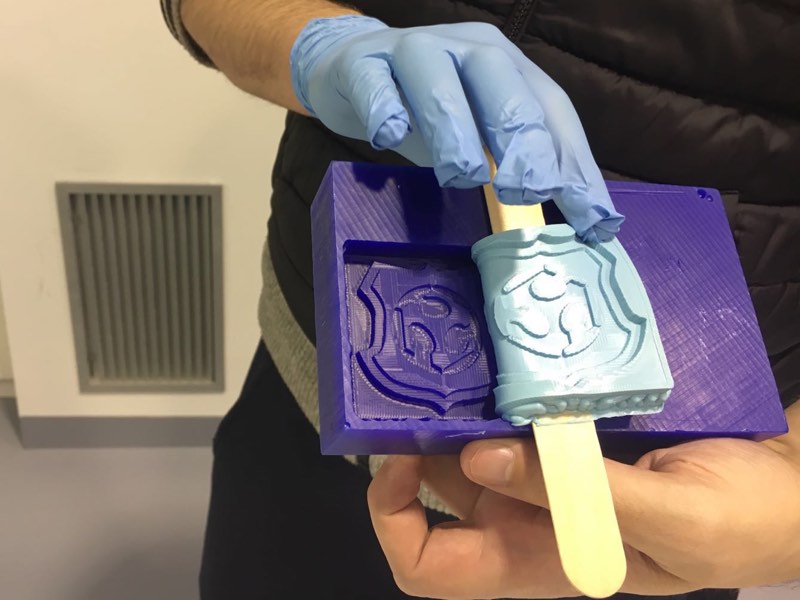
Using a 3d printed object for making a negative mold with silicone
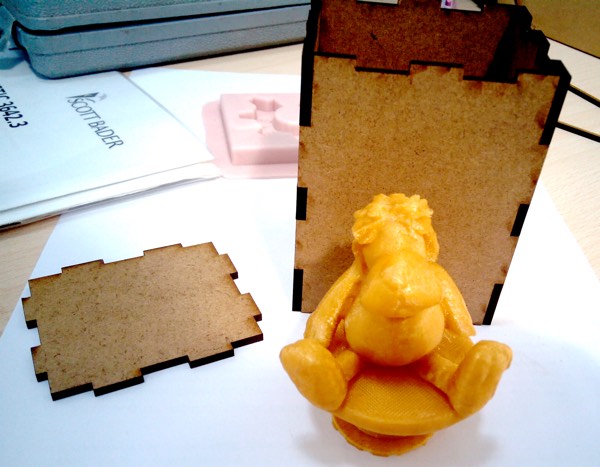
Using Makercase you can design easily a box with the dimensions adapted to the object you want to make the mold, and with the kerf the material you are using.
We use mdf of 3 mm with 0,1 of kerf so was easy to make the boxes. I choose first my 3D scanned and printed leoncio model, but after making the box and see that was a big model and that it's base was so wide that sure I will have problems pouring the silicone, I changed my mind and I opted with a bust of a 3D scanned girl that we made for a presentation.
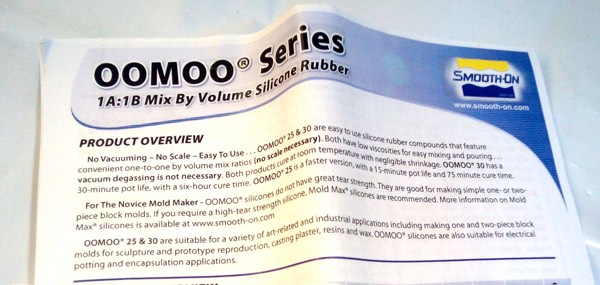
The product that we use for this also was the Oomoo of Smooth On company, as has little curing time with the 25 version of just 75 minutes and room temperature. It's mixing also is easy with same percentage of both products in volume.
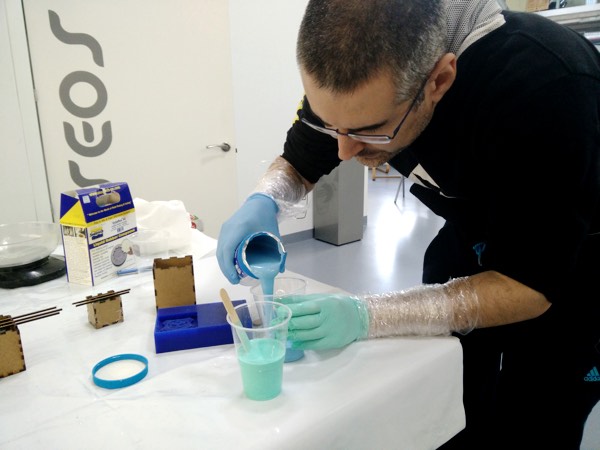
You can see me pouring the products to match the same volume for mixing them.
Here you can see a short video of my classmate Luis Diaz, shaking and mixing the Oomoo product
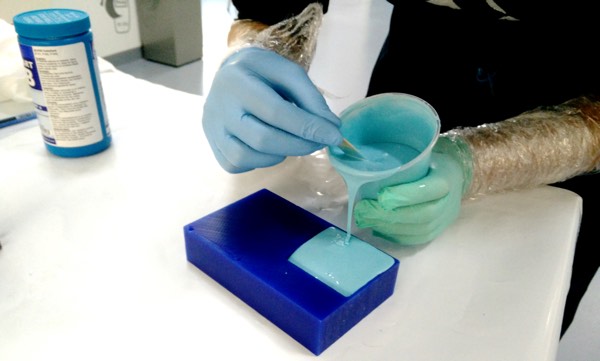
First I pour the mix in the Shield mold of wax as was the most important for my practice.
Second I start filling the box with the 3d printed object until it covered all. I put a wooden stick for removing the mold more easy.
REMEMBER PUT A PRODUCT FOR REMOVING MOLD EASILY¡¡¡¡¡¡¡
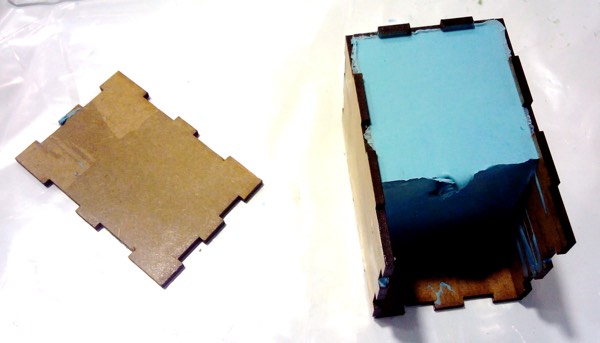
After the 75 minutes curing time for this product (Oomoo 25) you can "break" the box and get your mould. The product is easy to remove.
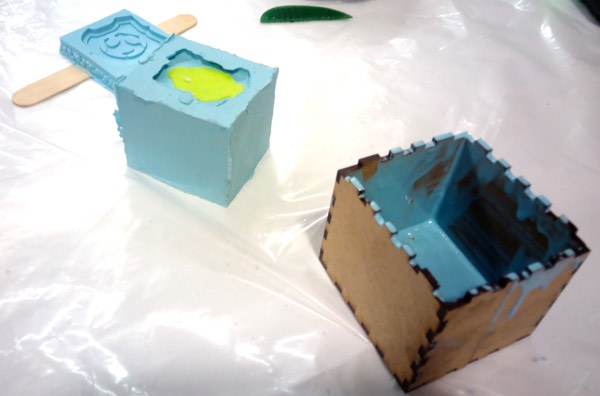
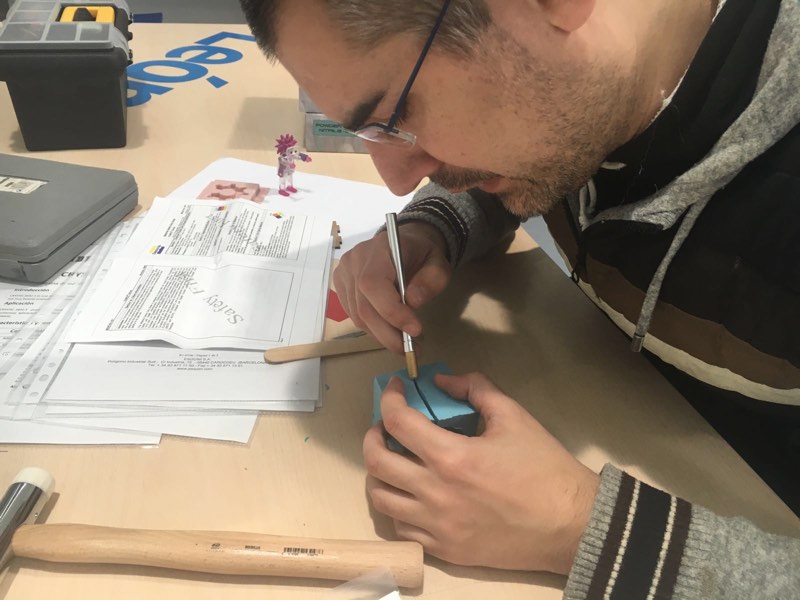
As It was a test I didn't prepare for spliting the halves nicely, so I just cut it with a sharpen knife trying not make a big mess.
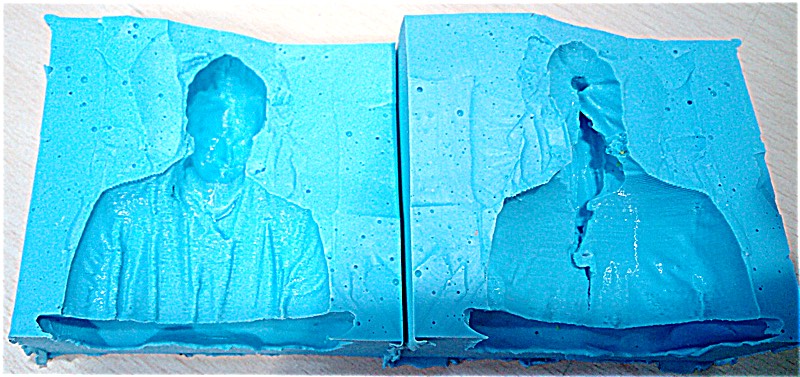
It has lot of bubbles but almost none inside the model, the problem I had is that the 3d object of the girl has a pony tail, so was very difficult to remove and break that part of the mold, but for the test was nicely and you have all the details of it.
After that you need a post curing of 4 hours in the oven for best result.
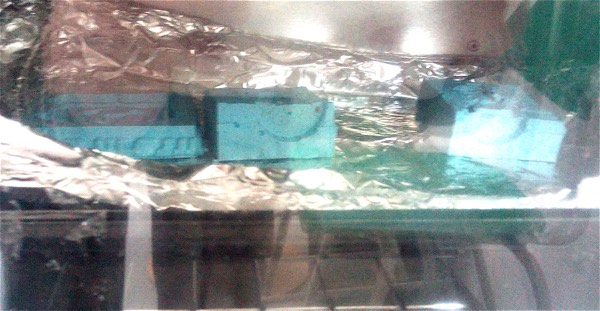
After post-curation you can use the final product.
