AVR - ATtiny 44 Micro-controller
A micro-controller is a small computer (SoC) on a single integrated circuit containing a processor core, memory, and programmable input/output peripherals. Program memory in the form of Ferroelectric RAM, NOR flash or OTP ROM is also often included on chip, as well as a typically small amount of RAM
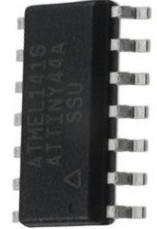
The documentation for Atmel’s ATtiny44A MCU is a whopping 286 page pdf. Electronics was never my cup of tea. But I had to go through the data sheet to understand what the micro-controller is capable of doing & how it does.
Some of the features of the ATtiny 44 are as listed below:
- High Performance, Low Power AVR 8-bit Micro-controller
- 120 Powerful Instructions – Most Single Clock Cycle Execution
- 256/512 Bytes of In-System Programmable EEPROM
- Data Retention: 20 years at 85°C / 100 years at 25°C
- On-chip Analog Comparator
- Programmable Brown-out Detection Circuit with Software Disable Function
- Operating Voltage: – 1.8 – 5.5V
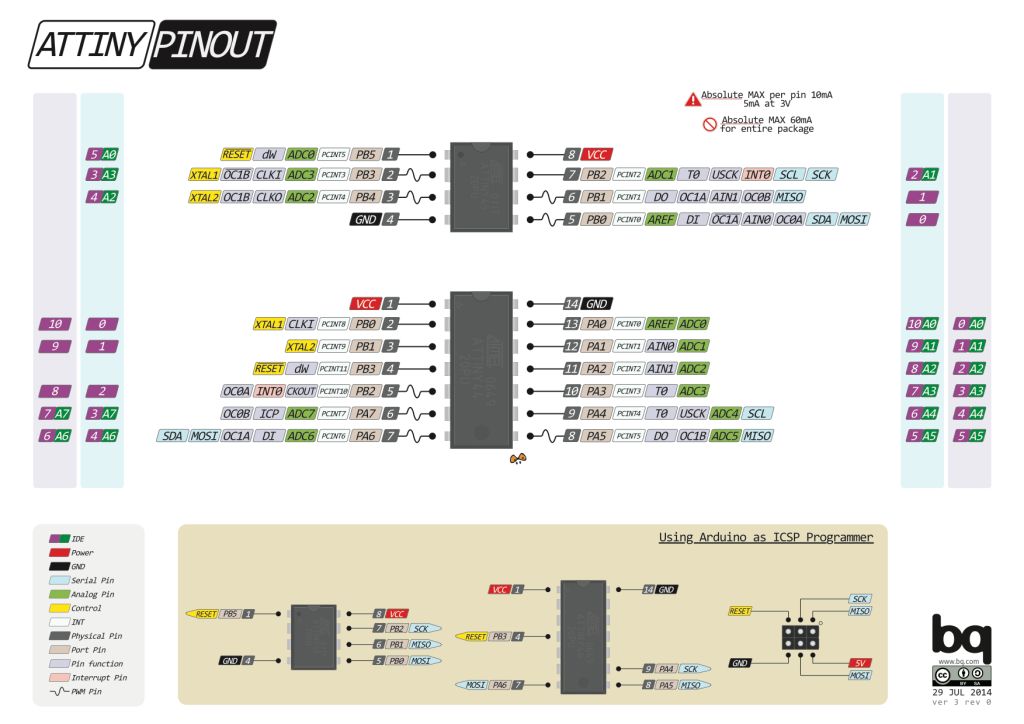
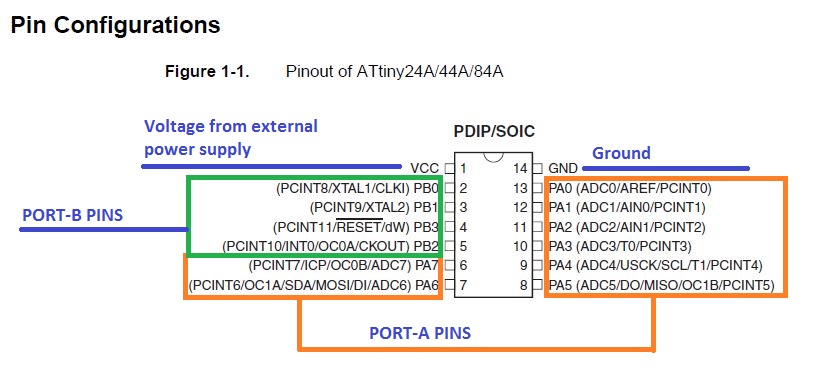
The Pin Configuration and Pin Descriptions in Section 1 are important - PighiXXX has created very nice color-coded pin-out diagrams for many processors including the ATtiny family, including pin mapping for the Arduino IDE:
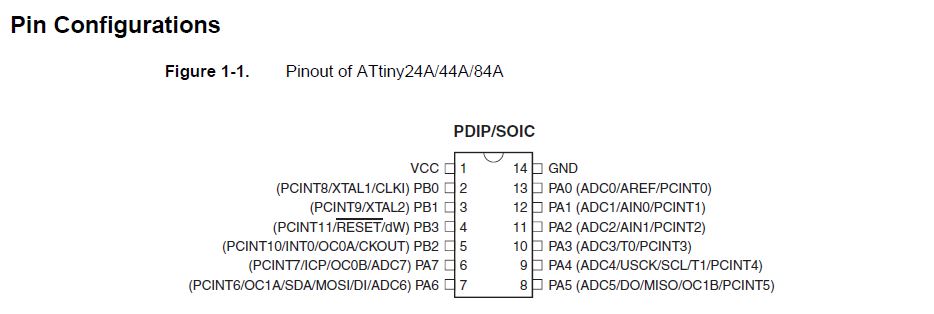
Pin Configurations
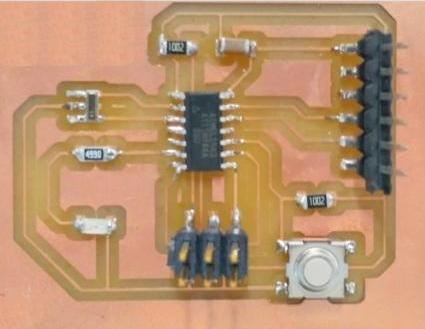
My understanding of the micro-controller is displayed below in the picture
Installation of Arduino 1.8.1

I used the open source software Arduino 1.8.1 to program the Hello World Board.Follow the link to download the latest version of this software: Arduino Software
Arduino 1.8.1 does not come with ATtiny support by default; but ATtiny support can be added in the boards manager. I referred the instructions on Highlowtech.org Highlowtech to install ATtiny support in Arduino software.
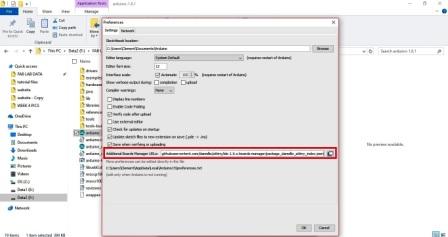
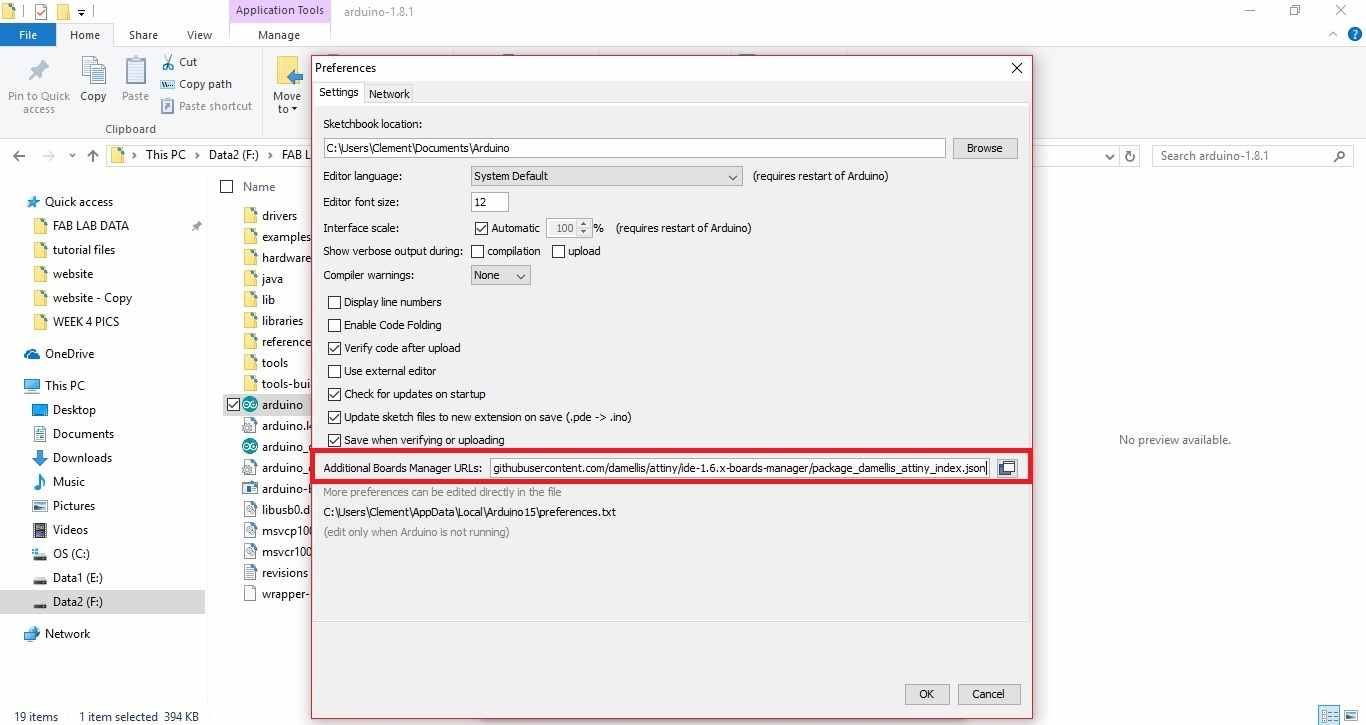
In Preferences --> Additional Boards manager, I pasted the following link:
Next, in Arduino Software Tools-->Boards-->Boards Manager, at the bottom of the list, there was an option to install ATtiny boards package. I installed the same. This step completes the installation of the software.
Steps to program the Hello World Board
This week I will be doing the blinking of the LED & also put-On the LED using the button.
First I connected the Arduino board to my computer. I will make the Arduino board as a programmer to program my Hello World Board. Doing the following steps as seen in the below pics:
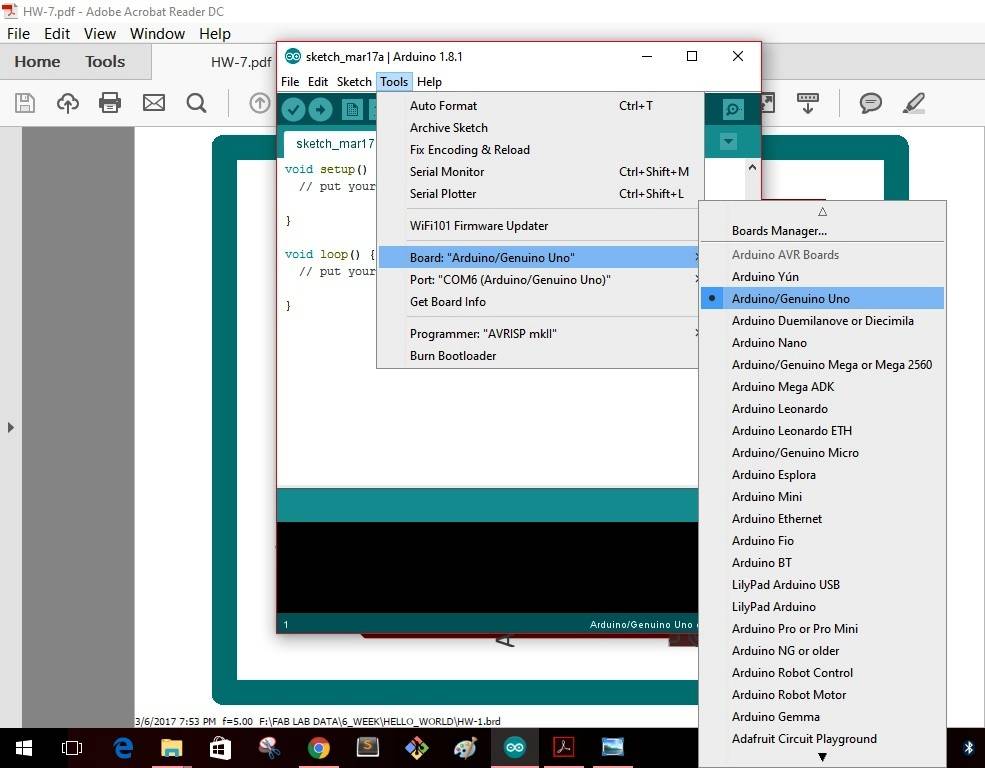
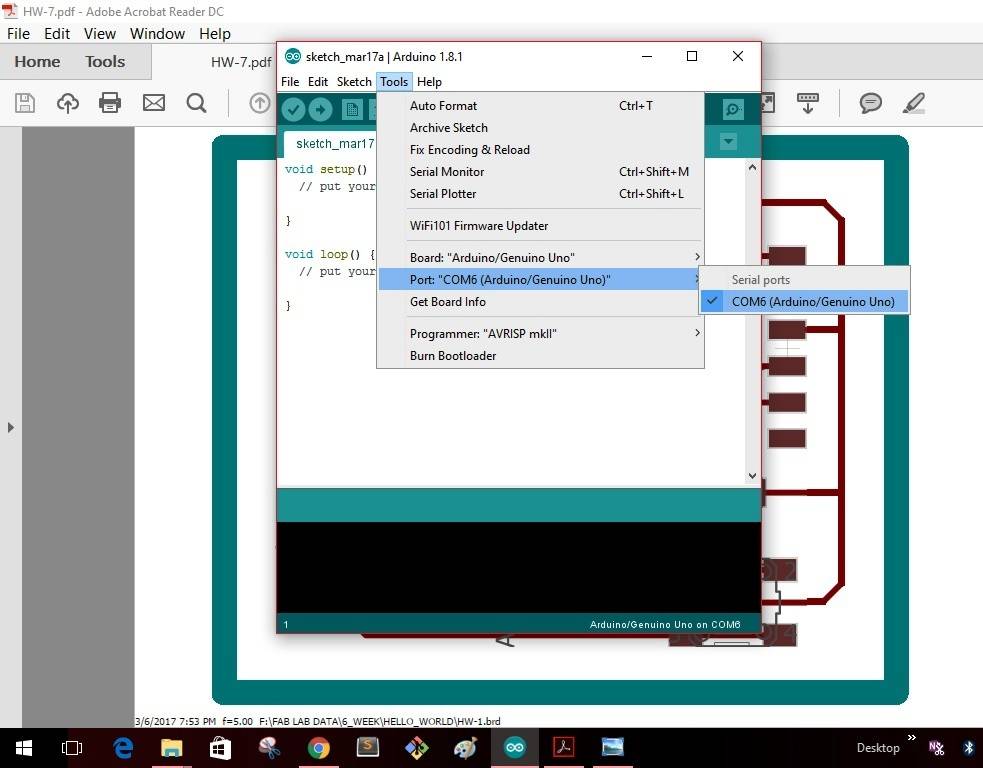
Step 1: In Tools -------> Board-------> select "Arduino/Genuino Uno"-------->
Step 2: In Tools ------- Port-------select "COM6(Arduino/Genuino Uno")--------
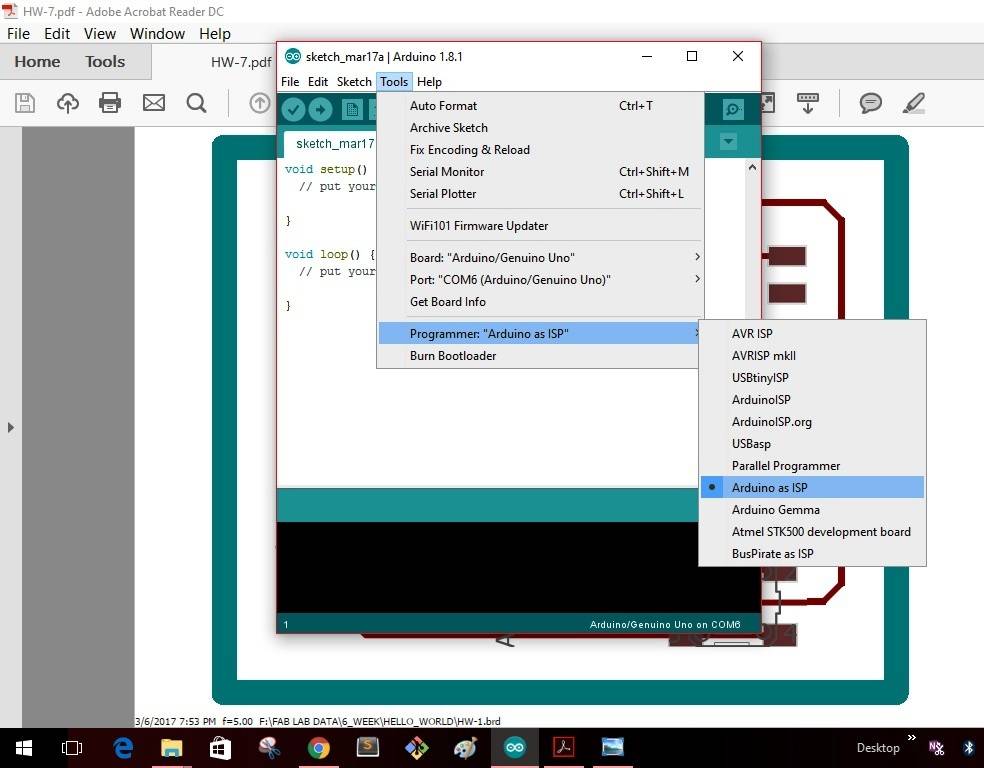
Step 3: In Tools -------Programmer-------select "Arduino as ISP"--------
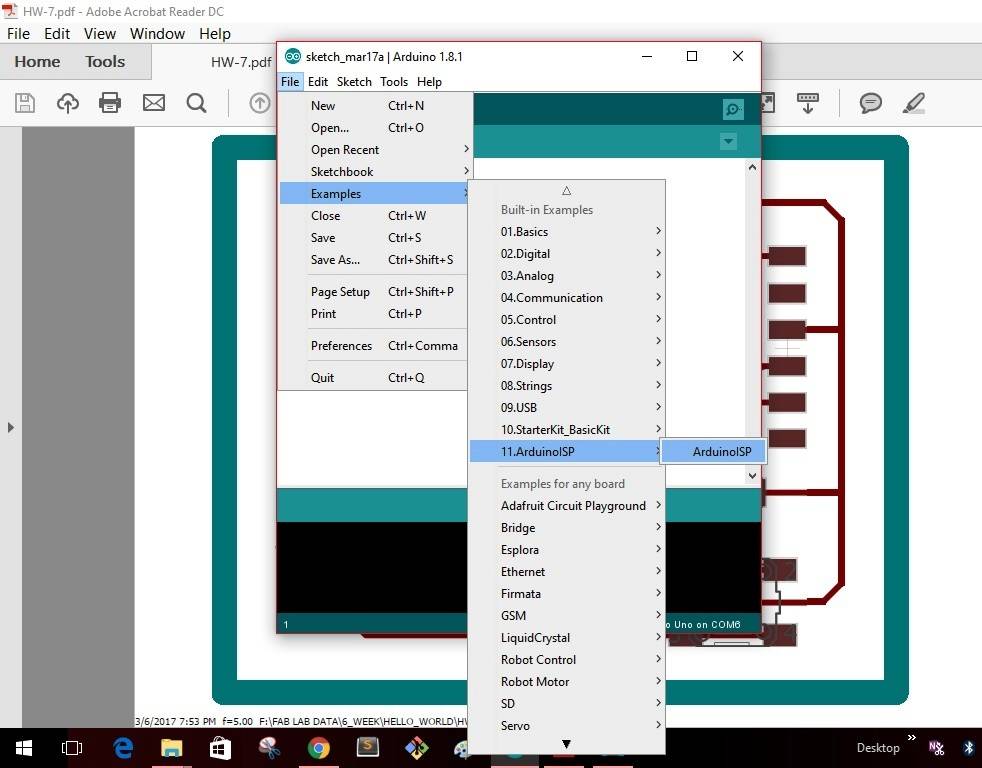
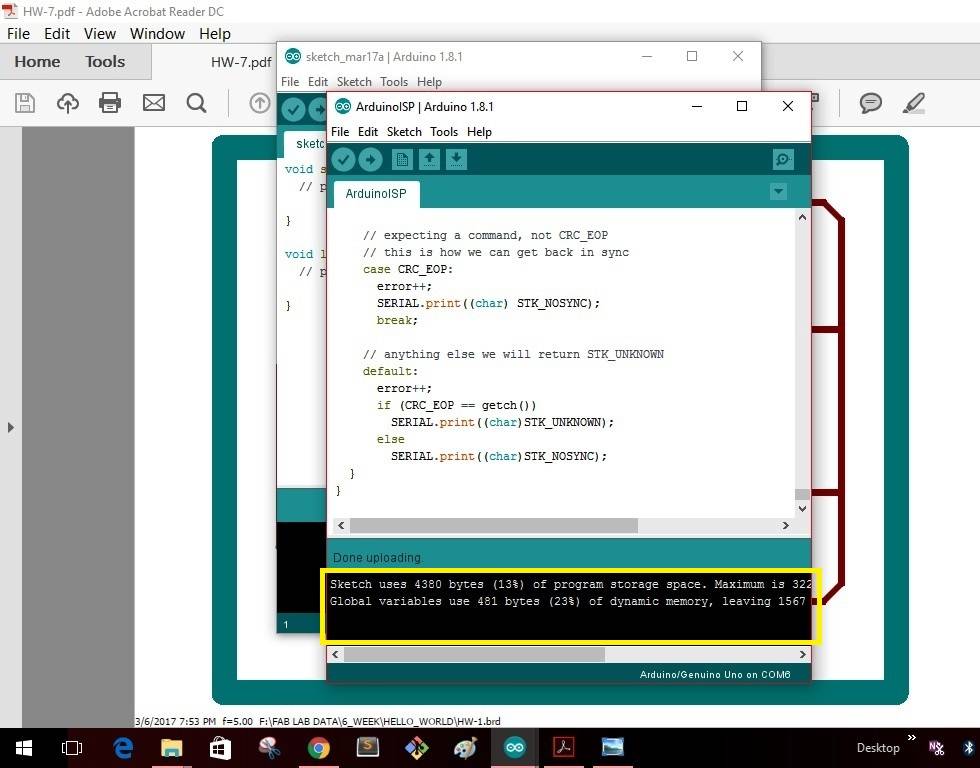
Step 4: In File -------Examples-------select "Arduino ISP"--------
Step 5: As soon as I select the "Arduino ISP" the window as shown will pop up with a yellow icon as shown. Click the icon to upload the program into the Arduino board.
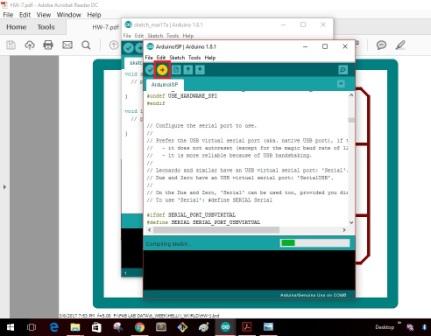
Once the uploading gets completed the window as shown below will give as message that uploading is completed.
This completes making the "Arduino" board as a programmer. I disconnect the board with my computer
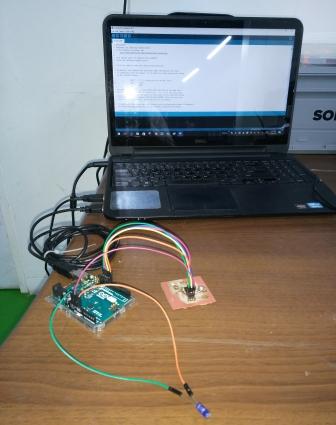
Step 6: Next I connected my Hello World board with the Arduino board as shown below. Using the USB cable I connected the Arduino to my computer again.
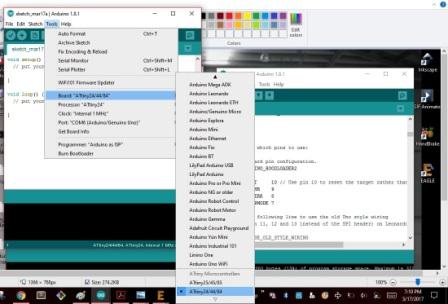
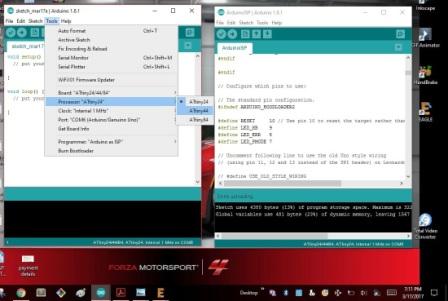
Step 7: Then in Arduino software in Tools --> Board, I selected ATtiny24/44/84. I also set the following selections in the Arduino software before burning the bootloader to the micro-controller.
- Board : ATtiny24/44/84
- Processor: ATtiny44
- Clock: External 20 Mhz
- Programmer: USBtinyISP
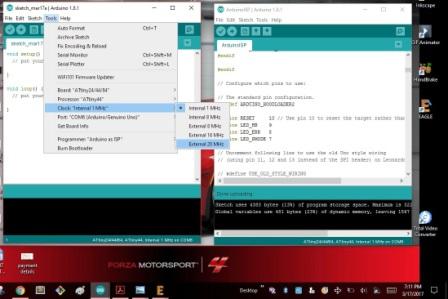
Step 8: Then, I selected burn bootloader option and the bootloader was burned successfully onto the board.
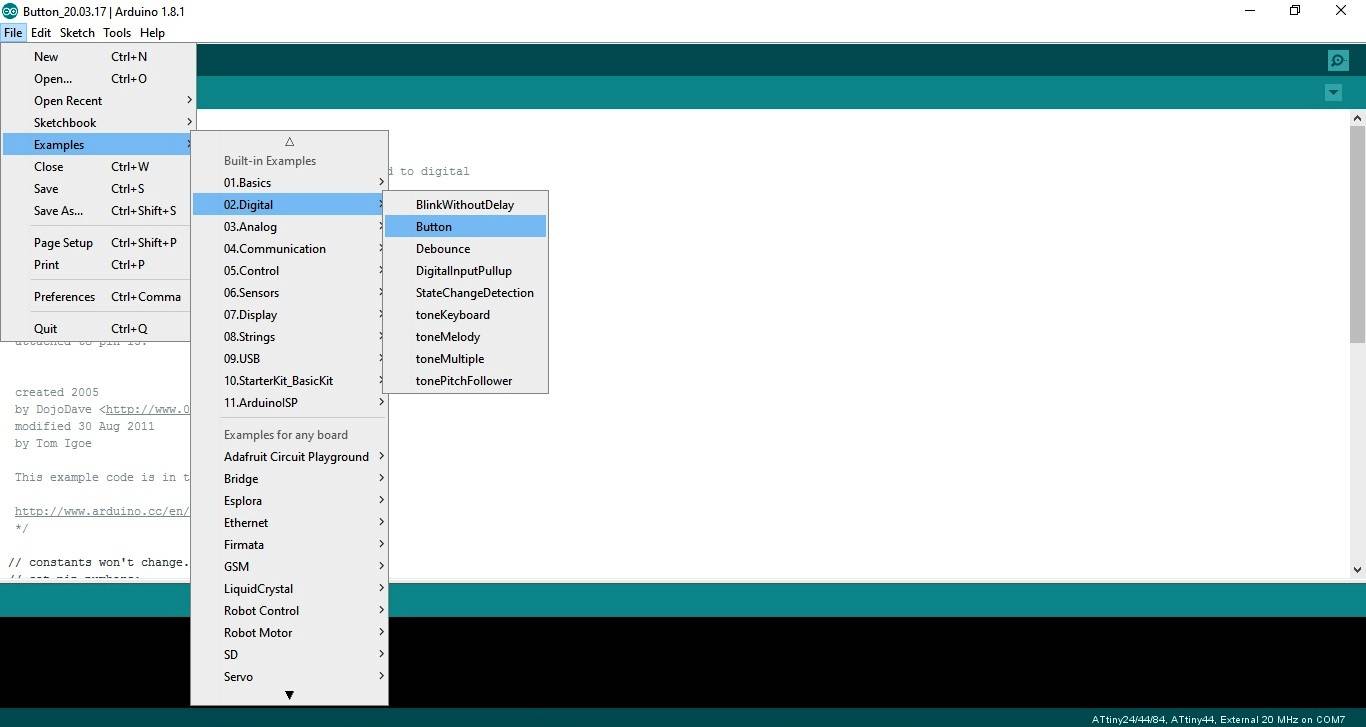
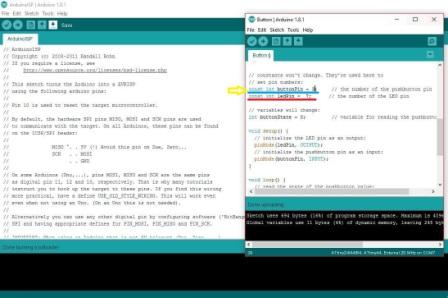
Step 9: Next, I added the Button program through Files --> Examples--> Digital --> Button
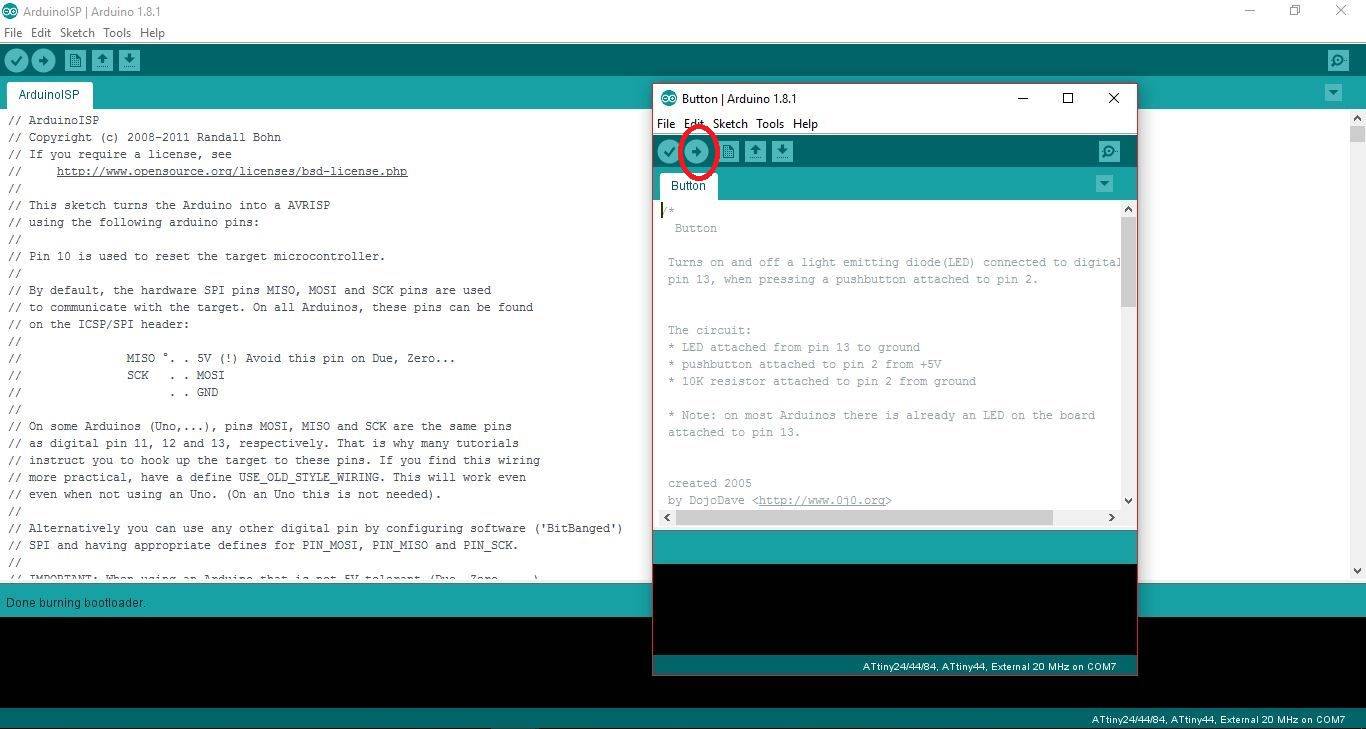
Step 10: The window as shown below is seen after clicking the Button icon. Then click the upload icon as shown in the picture.
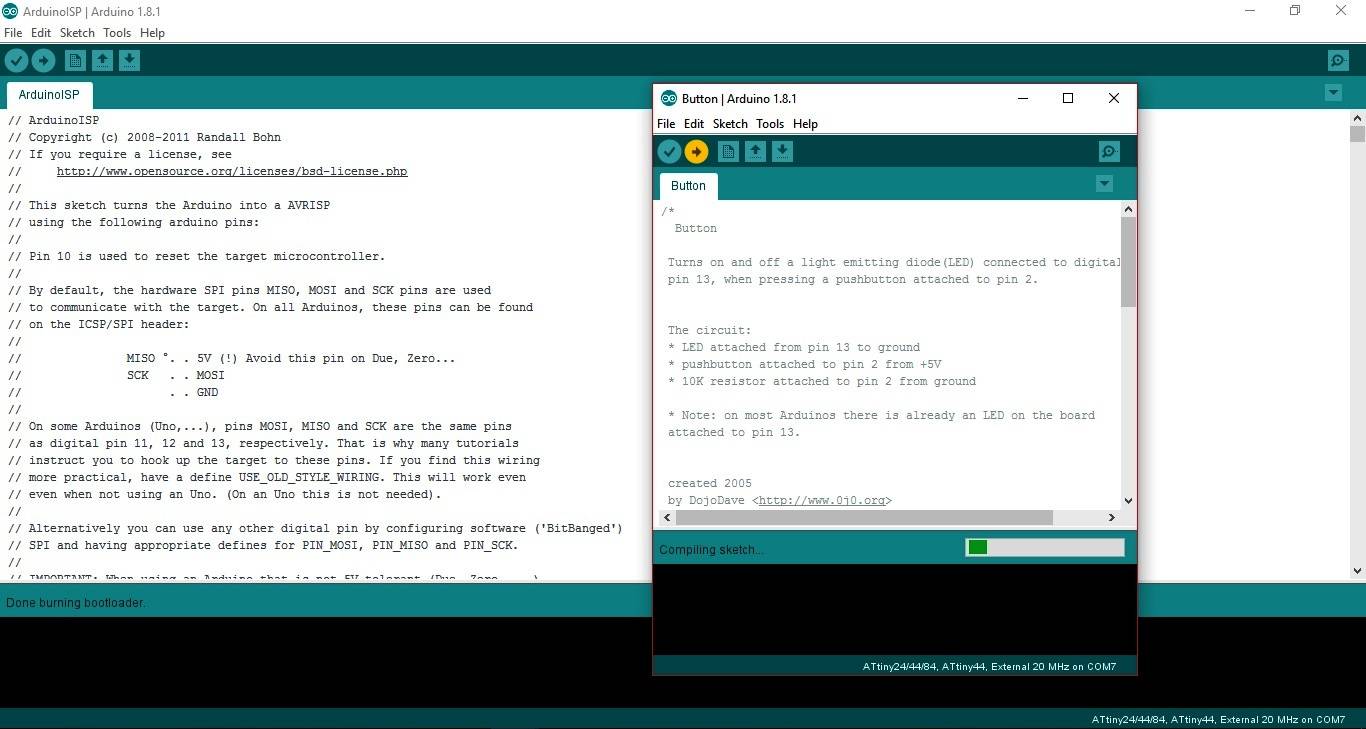
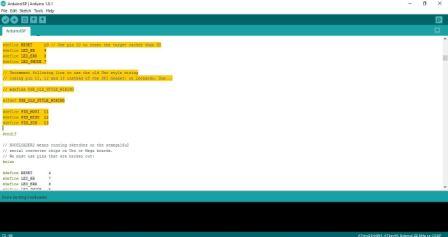
Step 11: The window as shown below is seen after compiling the program

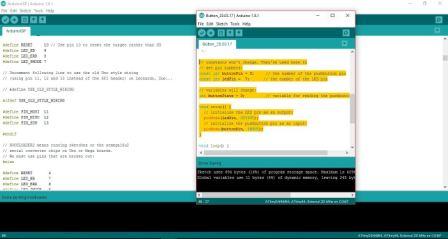
Step 12: Change the default settings of the LEDpin & ButtonPin from 13 & 2 to 7 & 3 respectively.
The compiled pictures are shown below.
The connections of the board with the Arduino are shown in the images below
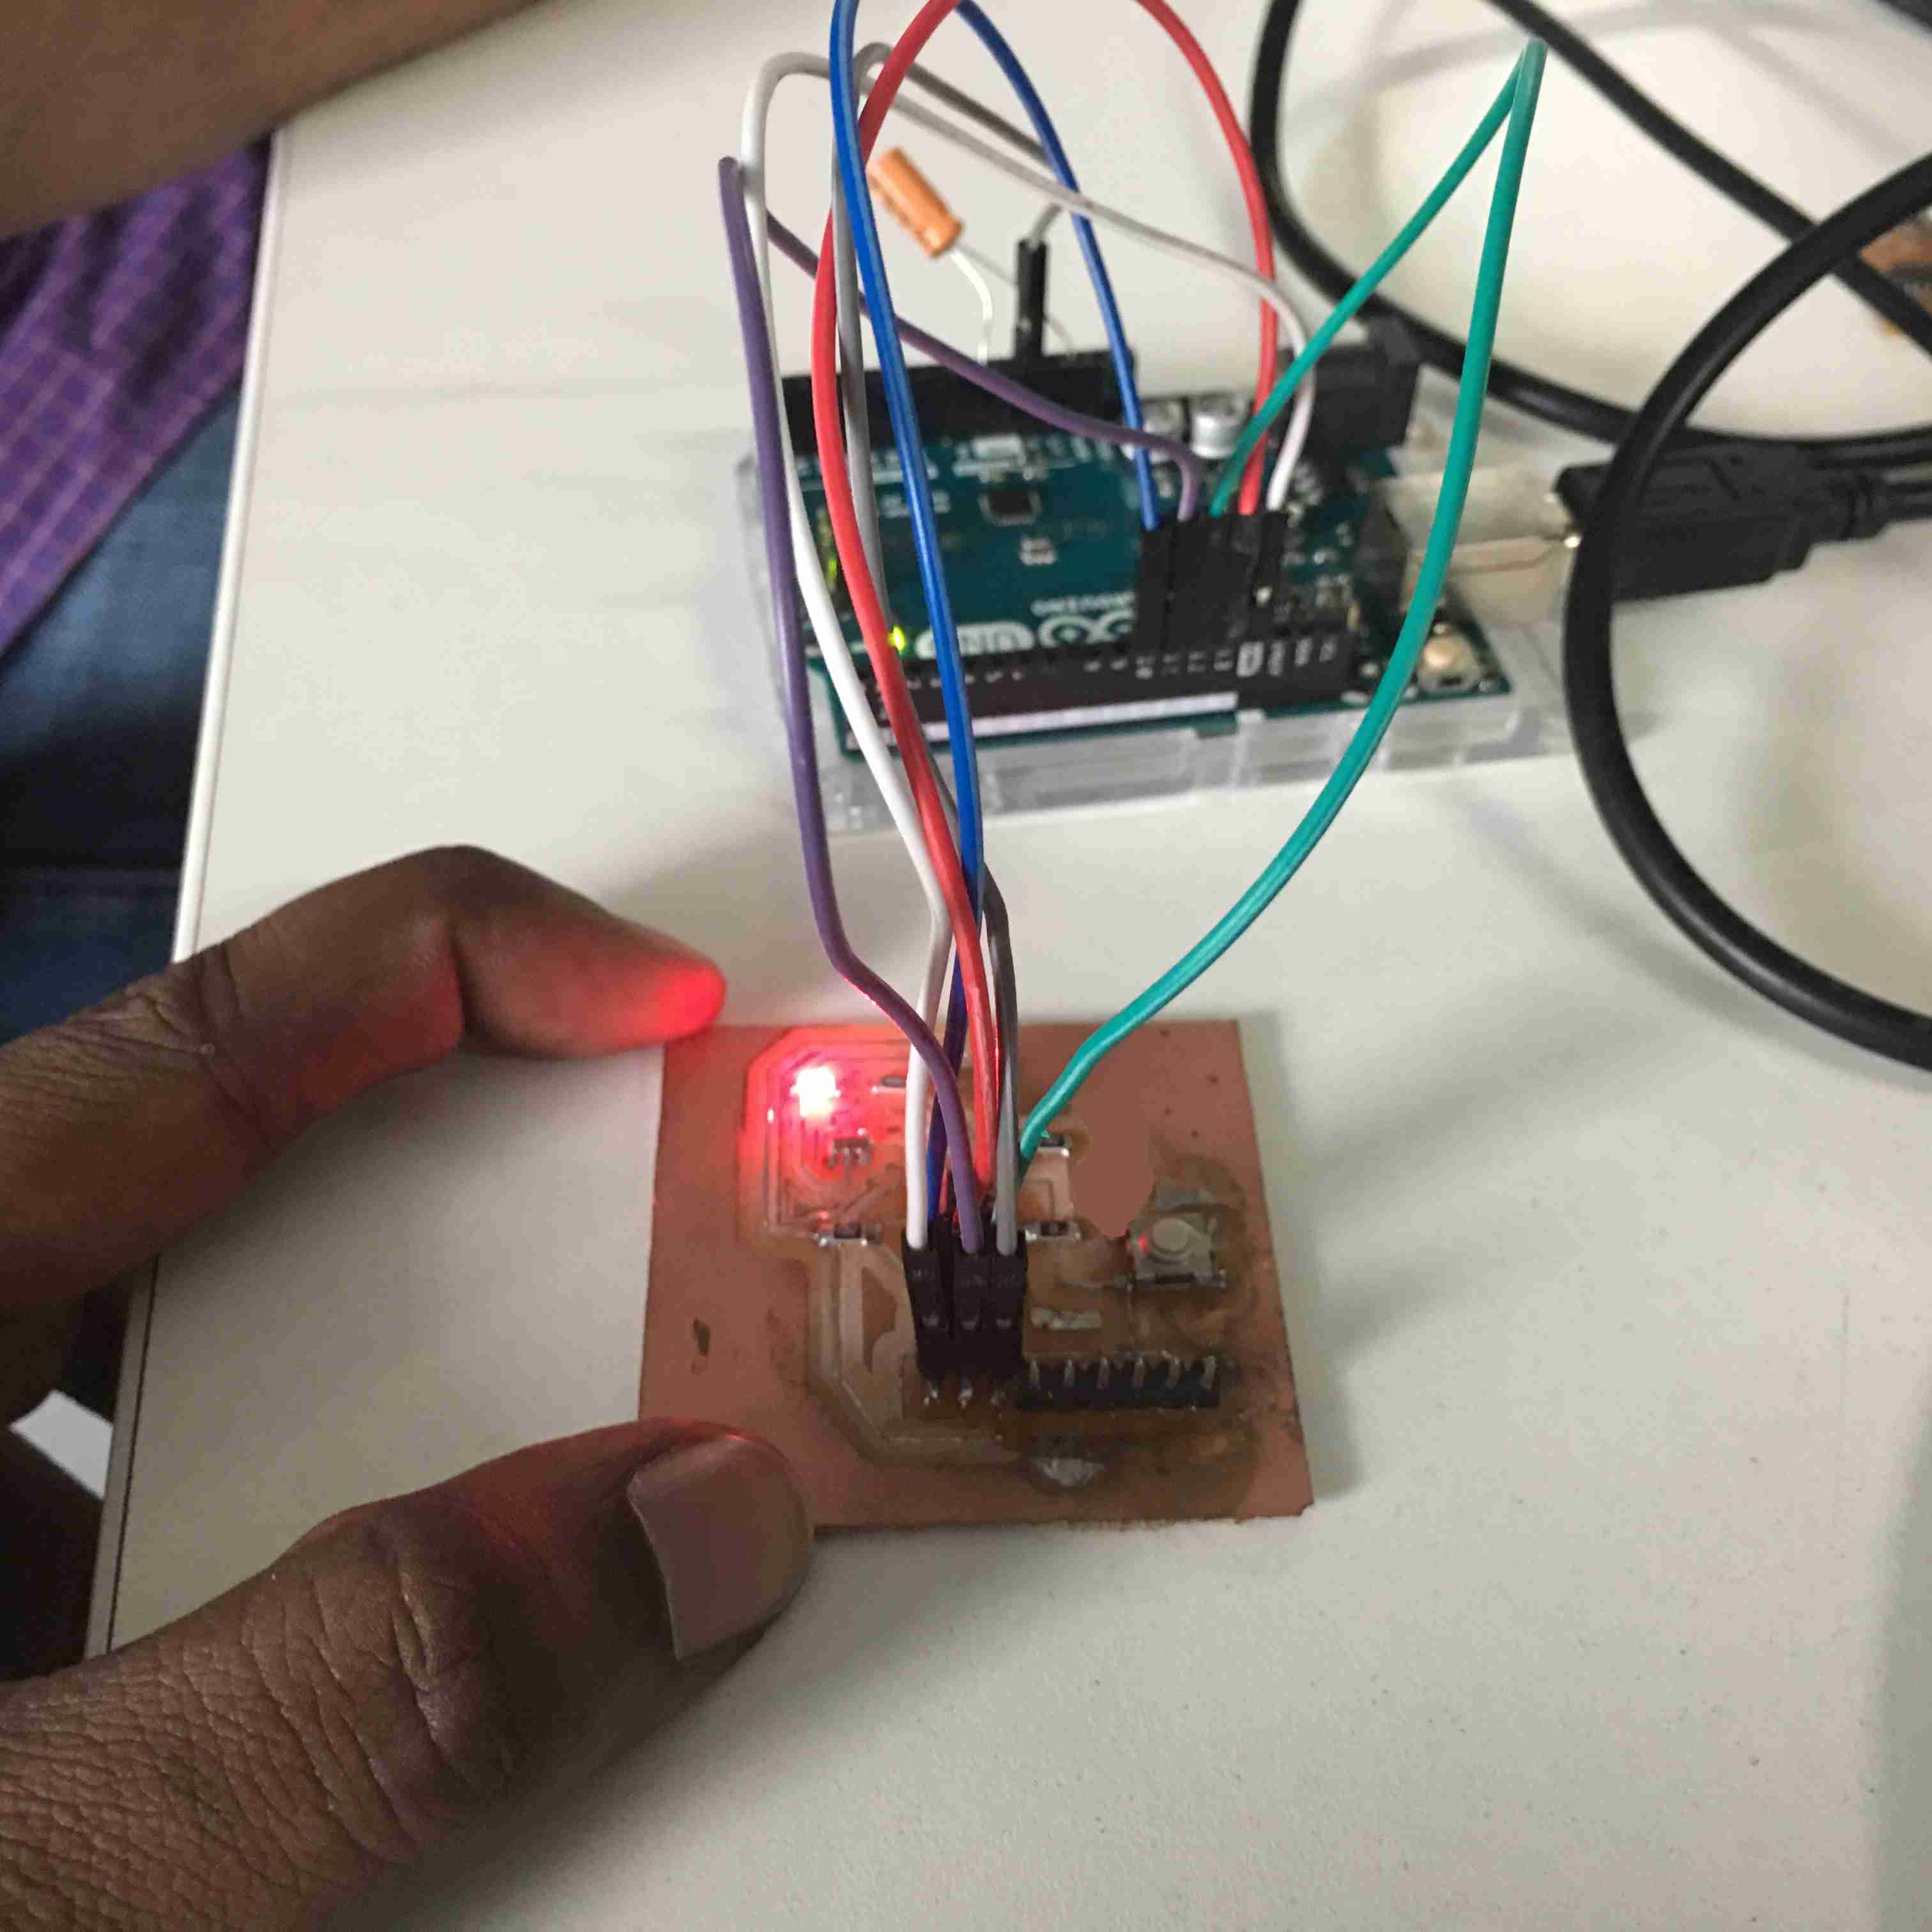
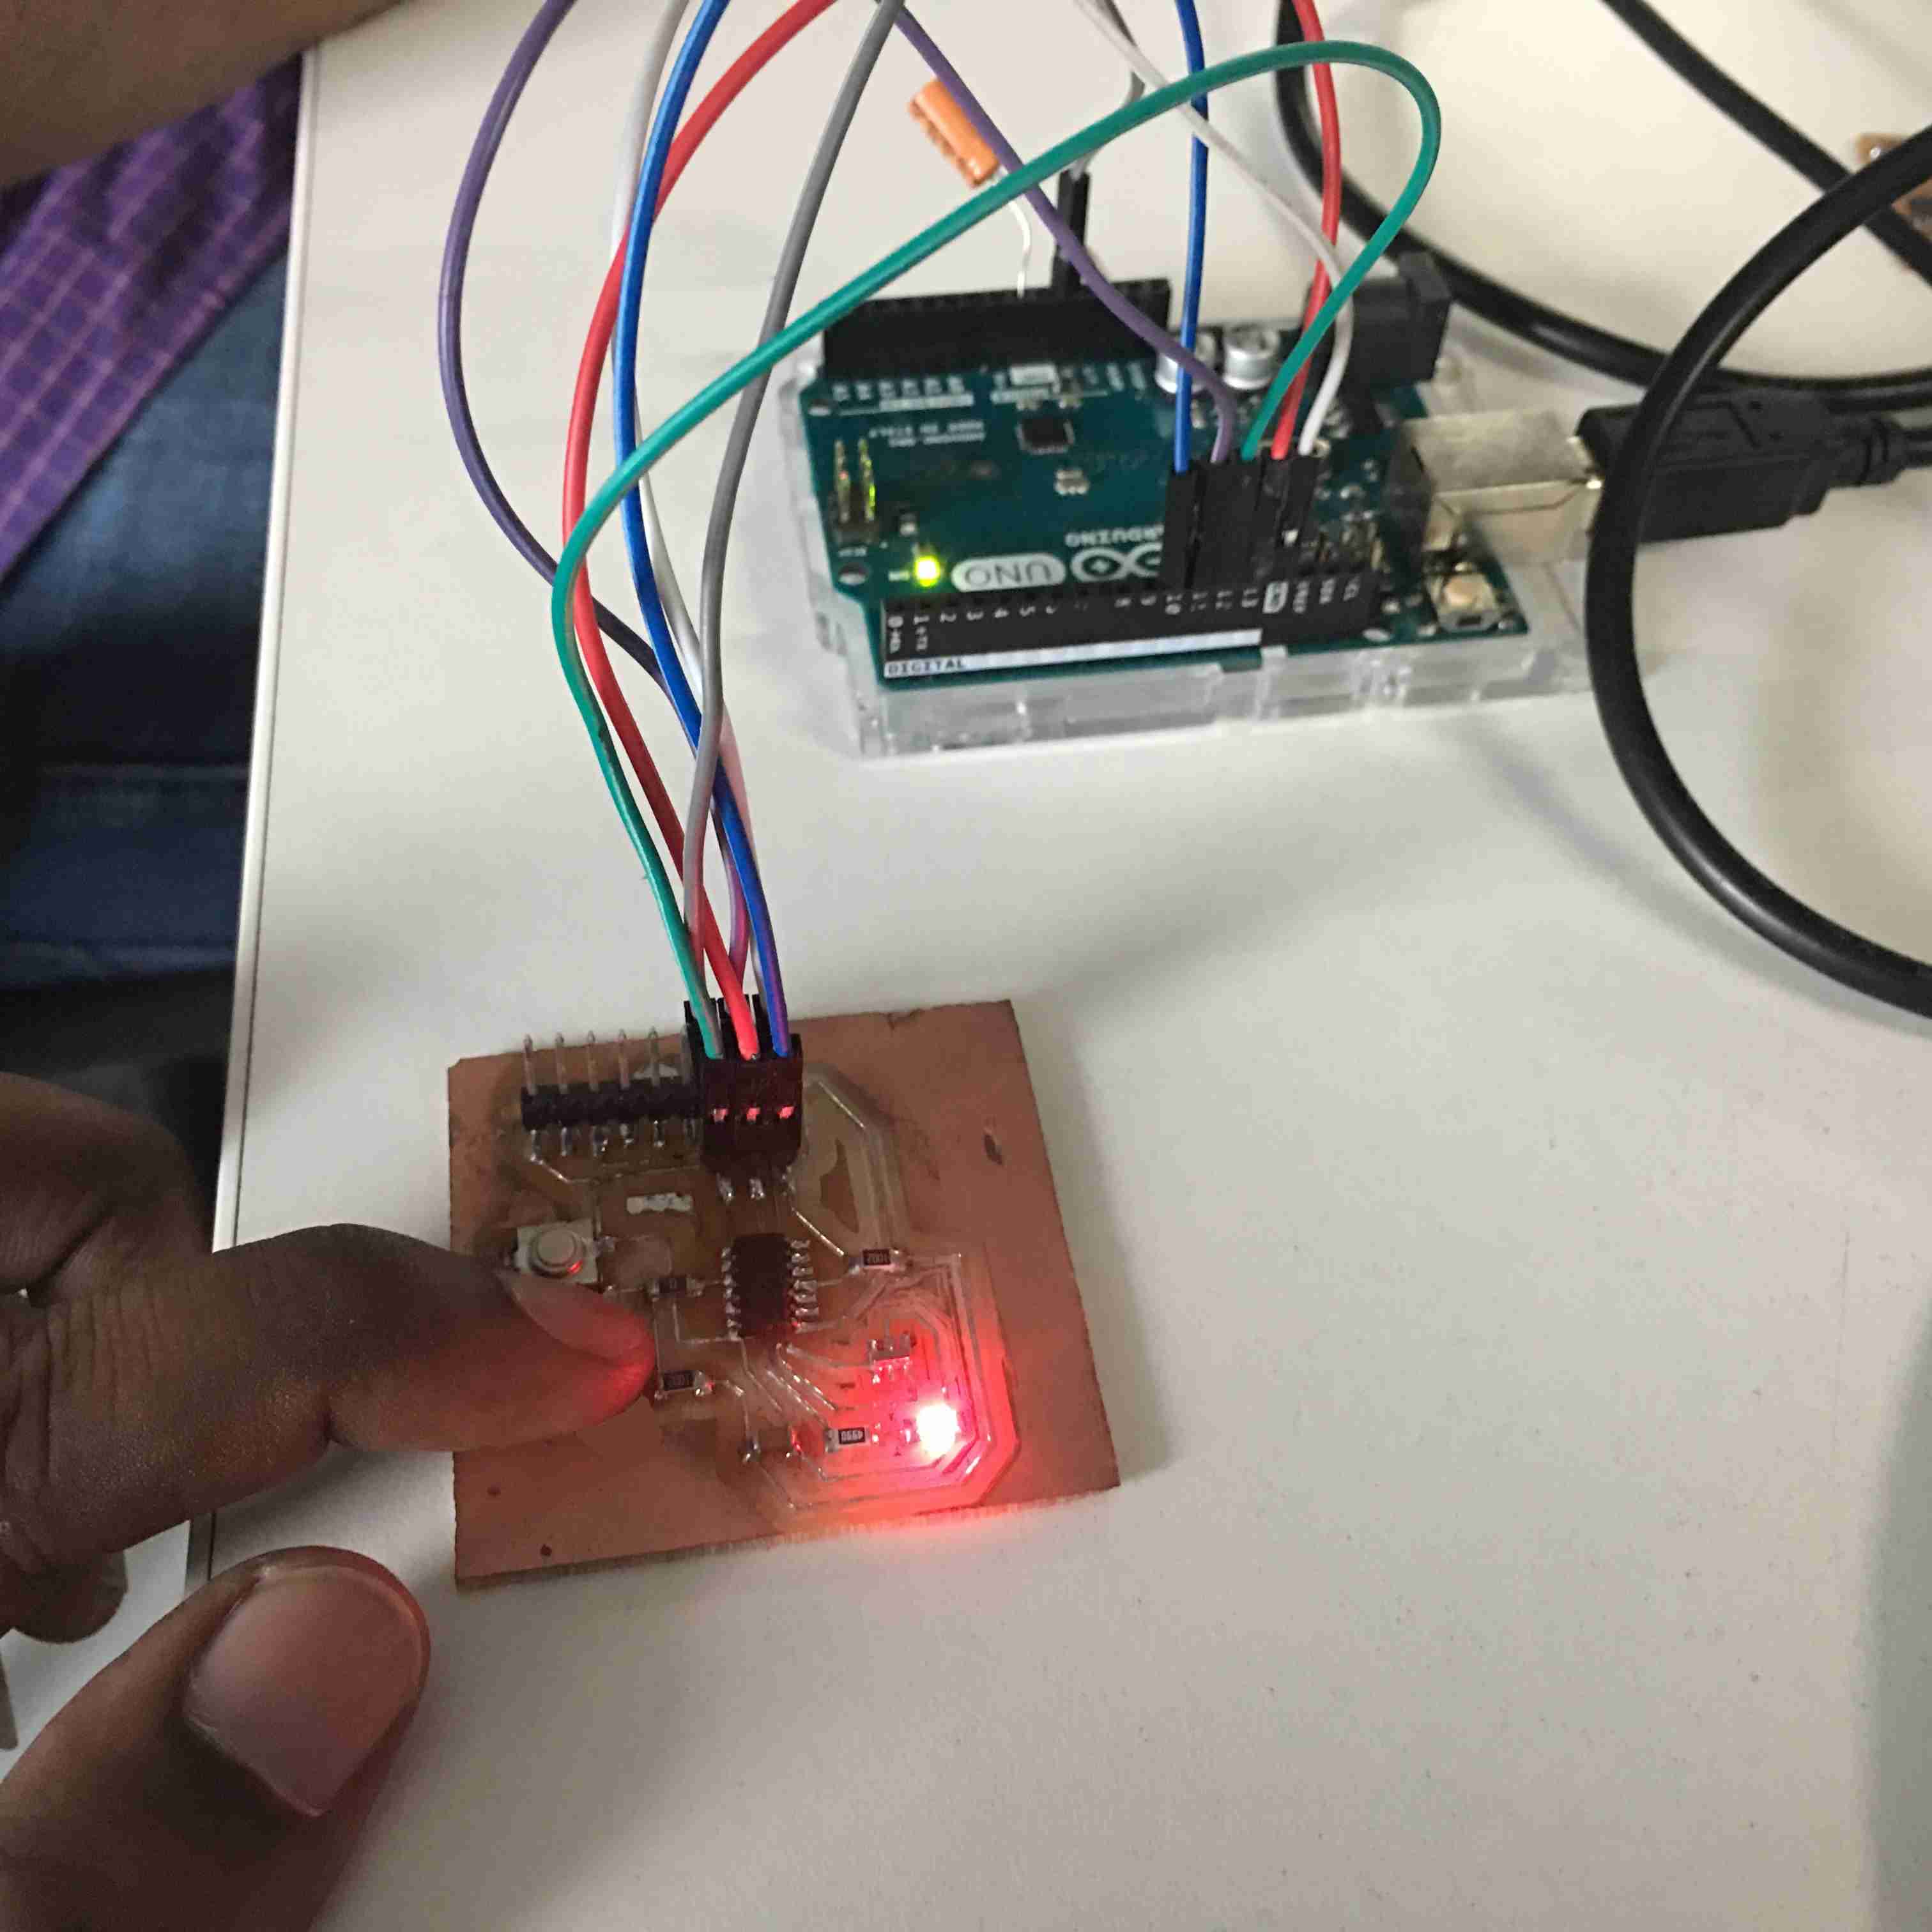
My Hello World Board with LED & Button is ready for the Job
LED_BUTTON-2 from Clement Burga on Vimeo.
learnings of this week
- Embedded program like I said before was always tough for me. But I figured out the way to program the required assignment related codes.
- I have learnt what is Arduino Uno & how it works to help program the micro-controllers.
- I have figured out how to assign pin numbers of my board & Arduino boards.
- I have learnt how to trouble shoot some problems if they occur.
Files to download

This work is licensed under a Creative Commons Attribution-NonCommercial-ShareAlike 4.0 International License.