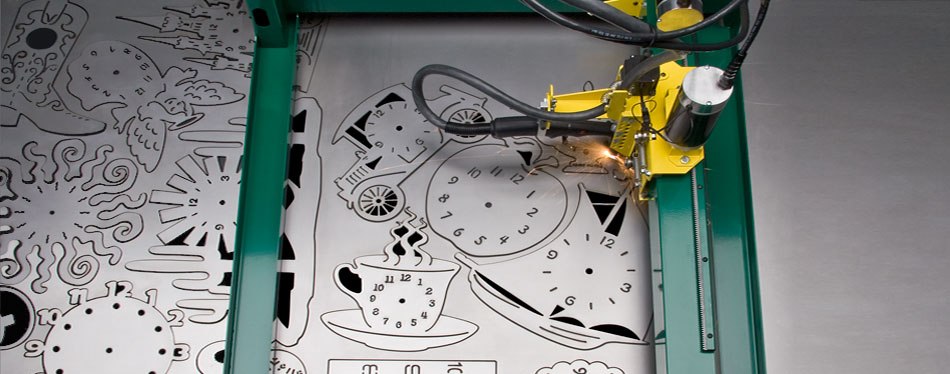
Assignment 1: vinyl cutter
Vinyl cutter is a very versatile device which can be used for a plethora of applications other than just sticker cutting such making flexible circuits, making screen printing boards etc
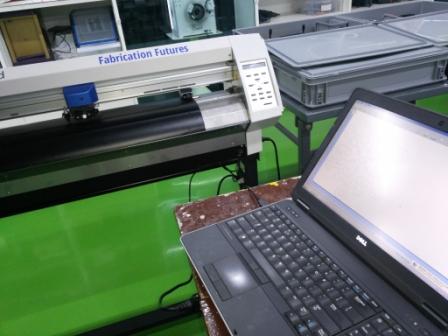
Our Fablab is equipped with a Roland CAMM-1 Servo vinyl cutter, a few rolls of vinyl sheets. In pre fab workshop, Vipul taught us how to use the Vinyl Cutting machine & cut sheets using "Cut Studio".
Cut studio takes .png file, .ai (adobe illustrator) or .eps file for further cutting operation. Hence whatever designs are developed need to be converted to these formats for vinly cutting machine through cut studio.
Loading sheets on Vinyl Cutter
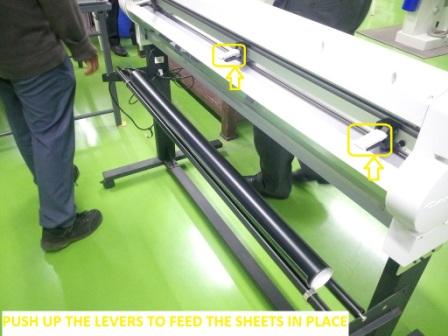
There are 3 levers at the back of the machine which are provided to hold the sheet in place during cutting. These levers are to be lifted up to load the sheet in place. Depending on the size of the sheet either 2 or 3 levers can be used to hold the sheet. For my assignment I used 2 levers to hold the sheet in place.
Changing the Blade/Cutter

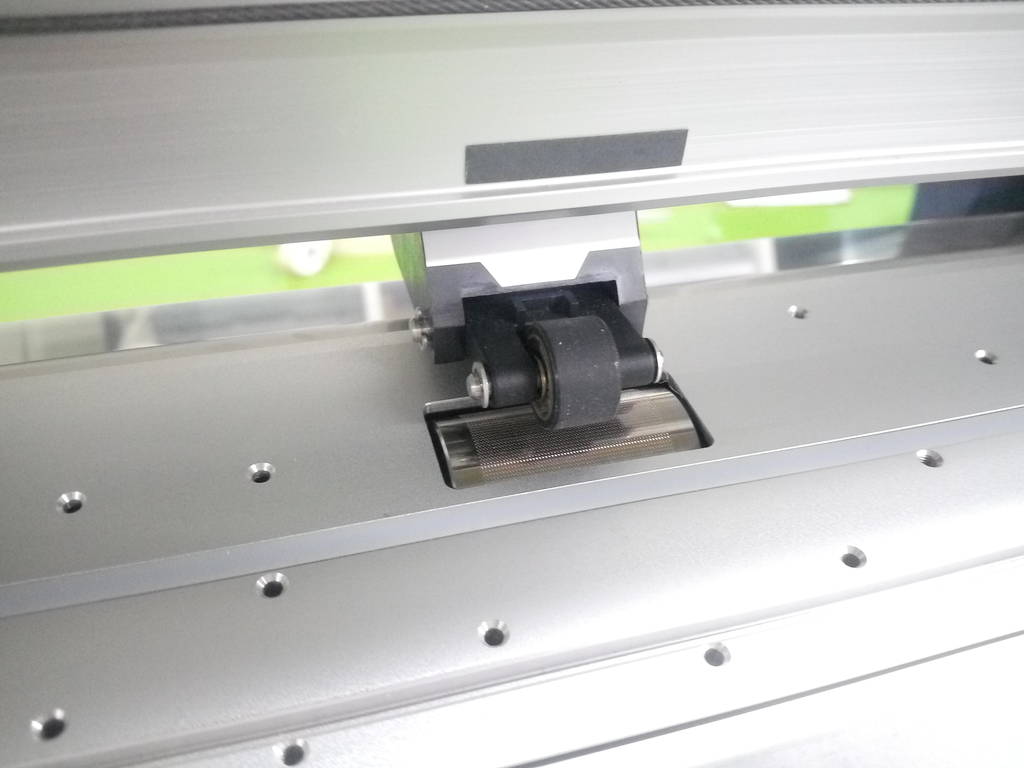
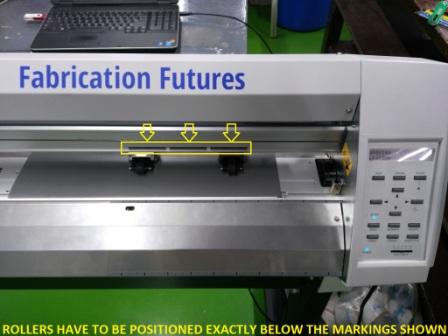
Positioning Rollers
Initially I checked the top roller gets positioned on the bottom roller. Then checked if it is placed over the marking on the upper frame. I made sure that the visible rollers on the front side are kept over the vinyl sheet and also double checked if its positioned on the white markings on the vinyl cutter.
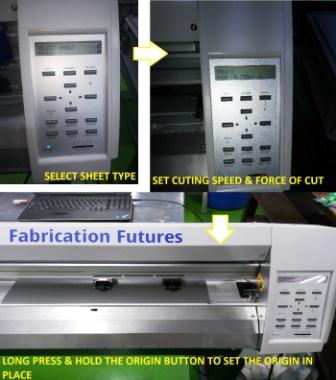
Setting up the Origin
Setting up the origin is an important thing to avoid any wastages of the sheet. It is a simple task once the procedure is known. For my assignment I set the cutting speed to 20cm/s & cutting force to 90gf
To design & cut using Vinly Cutter
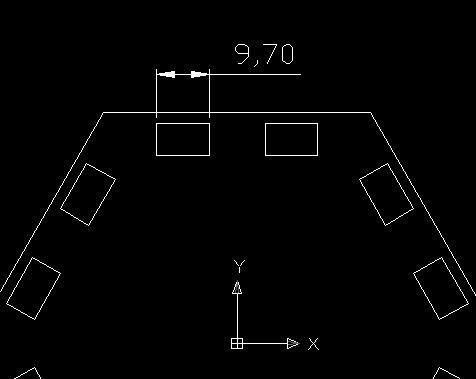
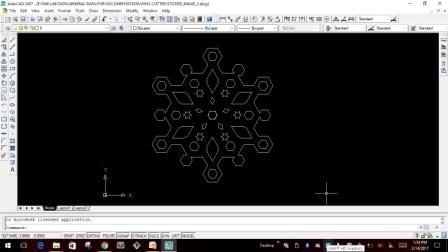
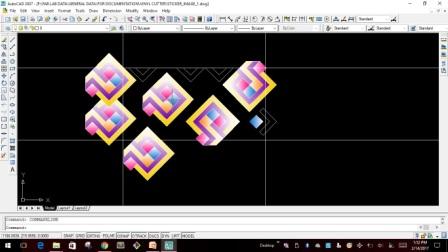
To start with, I created few designs using Auto-CAD as shown in the below pictures.
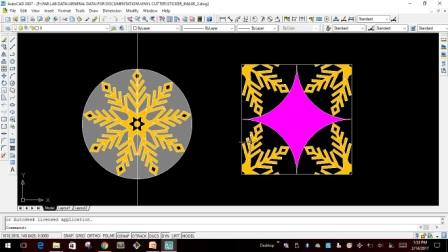
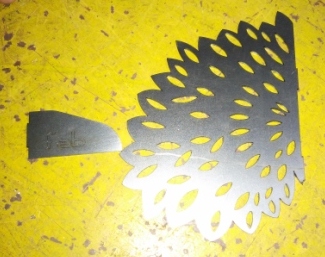
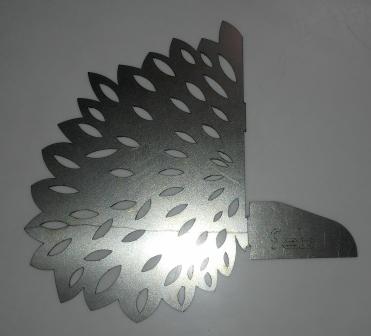
I finalized to go ahead &cut the designs shown in the below picture. I converted the design into .jpg & .eps format in AutoCAD and imported these files to Cut-Studio.

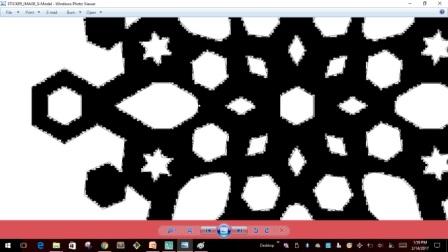
As seen this was the resolution obtained when I converted the file into .jpg in AutoCAD. When I imported the file into cut-studio, the outline traces generated by cut-studio were very lite & hence the traces were pixelated as seen in the below image.
Even though I started cutting the design, it was not able to finish the job. Also there was some problem to import .eps file in cut-studio. So it is evident that converting AutoCAD files to .jpg format will not give good resolution for the images to be used for Vinyl cutter.
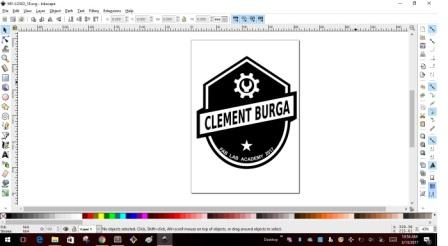
New Design using New Design Tool
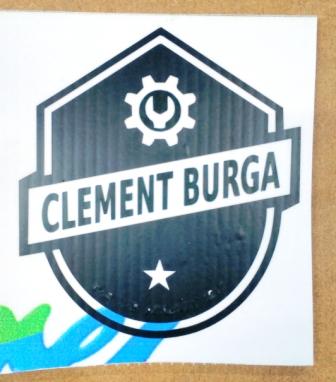
Then I learnt Inkscape to design something new & different from what I had done earlier. I followed tutorials in You-Tube & came up with a Logo I desinged for myself as seen in the below picture.
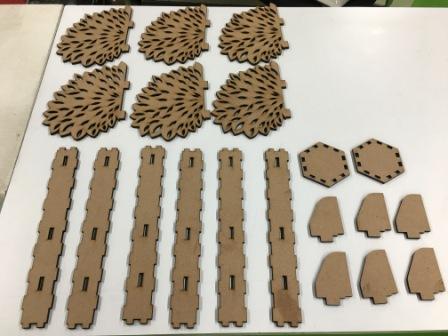
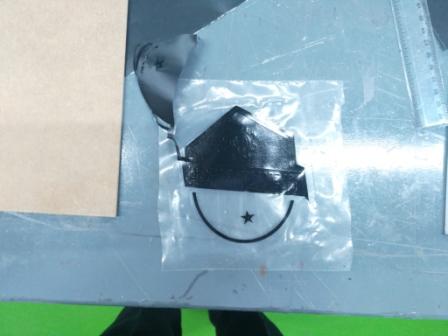
By changing the image at the center I could play around making number of designs as seen in the below pictures.


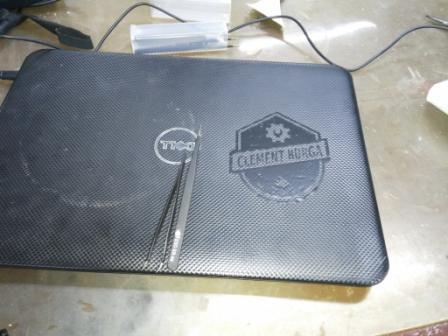
After cutting was done, I scissored off the wasted portion & used paper based transfer tape otherwise known as masking tape to remove the sheet as seen in the picture below. I used tweasers to remove the smaller alphabets to avoid any damage & finally stuck it to my Laptop.

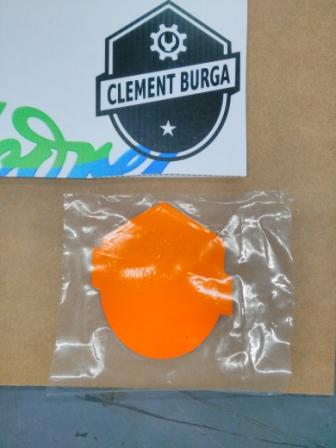
After finding that the output is good, the I planned to do it in dual color tone. I selected black as the background & orange as the filling color.This time around I used the transparent transfer tape to remove the unwanted portion off from the sticker. Transparent transfer tape is very easy & better option than the masking tape.It is flexible & the sticking force is right enough to avoid any damages to the sticker while peeling it off.
Finally my Logo is ready & Looks neat & clean