Applications & Implications
Week 17's assignment
This week our goal is to present in details our final project, which will help organizing ourselves better. In order to do so, we must answeer to the following questions. Click on each question to access the associated section on this page :Where will they come from?
How much will it cost? What parts and systems will be made?
What processes will be used? What tasks need to be completed? What questions need to be answered? What is the schedule? How will it be evaluated?
NB : This is the second time I write this page because my computer was stolen and unfortunately I did not have time to save my work of the week online... Not cool at all, let me tell you !

What will I do ?
My project is a connected digital wall clock that uses RGB LEDs to tell the time, and a RGB LED Matrix to give the weather forecasts. It is made of wood, machined in a way that it becomes translucent : the light emitted by the LEDs will shine through the wood, which will give my clock a very nice and unique aspect. The point is also that, when the LEDs are OFF, you wil only see a piece of wood ! You can find more information about the woodworking on my Final Project - Prototyping page.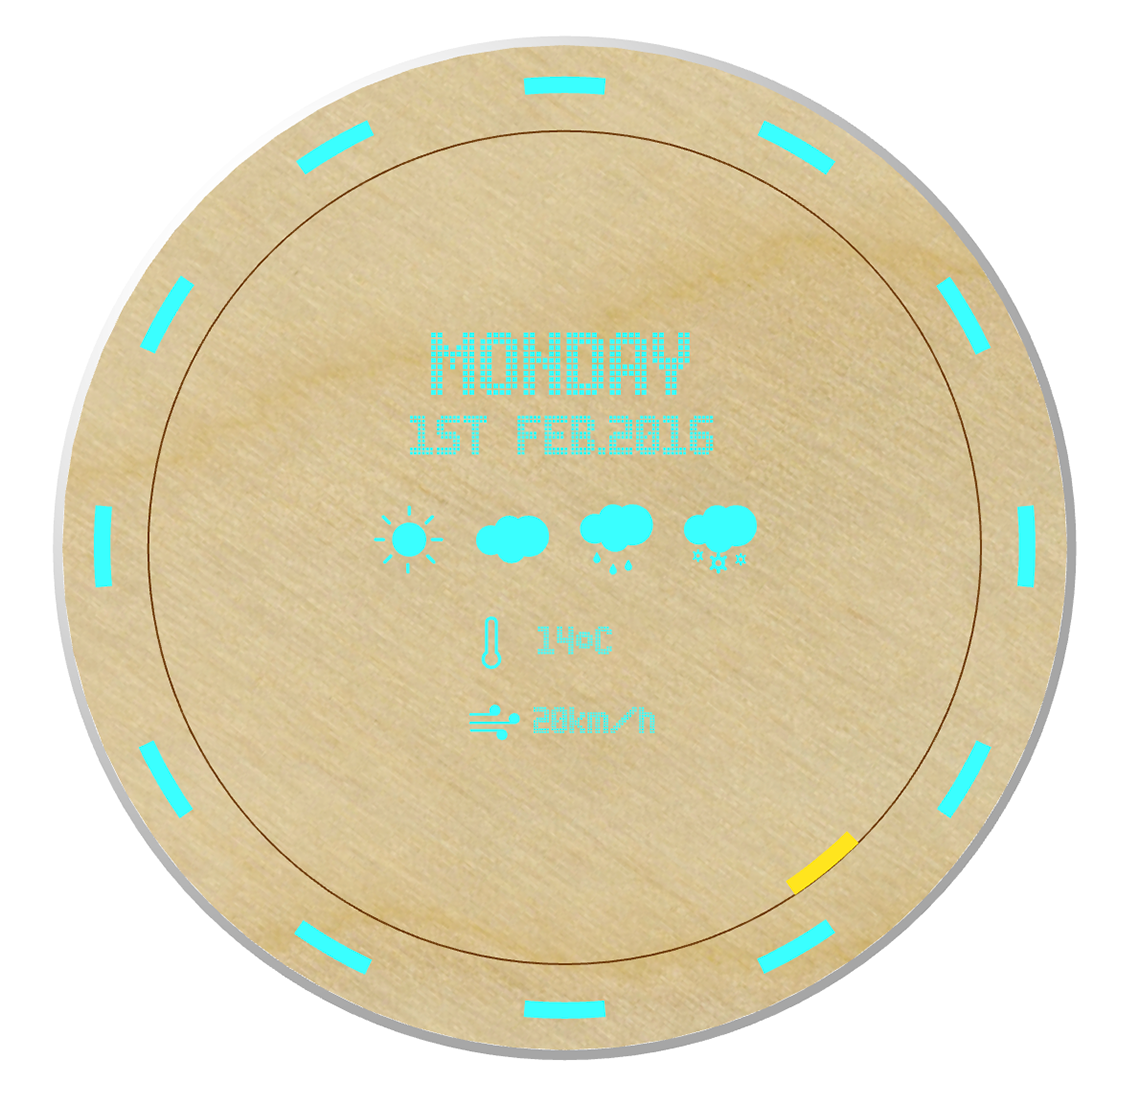 To get more into details, the hours will be displayed on 12 LEDs and the minutes will be displayed on one LED which will move mechanically around the clock just like a hand normally does. The weather information will be gathered from an API, using a WiFi chip to connect to the Internet. To make sure my clock always gives the accurate time, I will also connect to a NTP server (Network Time Protocol).
Who's done what beforehand ?
I found a lot of inspiration and references when I was first looking for an idea for my final project. The two majors inspirations where those ones :
- Fab Academy 2015 student Iain Chalmers made a very nice "Word Clock" : this project is not only very inspiring but alos very usefull to me because there is a lot of components and techniques that used, that I will use also, such as the WiFi connection and NTP server, the RGB LEDs and so on...
- This Wooden LED clock Instructable also inspired me for the easthetics of it, although in that case, the technique used is just covering the LEDs with a layer of veneer.
- On the internet you can find plenty of objetcs of this type, and I think that my first inspiration was one of these clocks, that I saw in a deco shop in Paris. Here's a link where you can find some good examples.
- La Metric is a smart clock connected to the Internet, that displays information such as the weather, tweets, messages, reminders, etc. It is similar to my clock, which also could give that kind of information, but of course, the design it totally different.
- I've also met the creators of Lunii, which is a story telling box for Kids. At its prototype stage, Lunii was made of wood, with exctly the same techinque as the one I want to use. It turns out that the prototypes where made at my FabLab, WoMa. They gave me great advices regarding which wood to use, what depth was best, etc. Here is a video where you can see the wooden prototype.
- This Adafruit tutorial on how to build a Weather Display usingand ESP8266 and the Forecast.io API is a good source of information for me as well and my clock will be based on it.
- Then I found a lot of very useful Instructables that helped me at different stages of my project :
- Arduino Powered LED Clock
- Charlieplexed LED Clock Arduino
- LED Mega Clock
- Wood Block Led Clock
- Wol Clock ESP8266-12E + 60 LED WS2812B analogue digital clock
What materials and components will I need?
Where will they come from ?
How much will it cost ?
Here is a list of all the components I will need for my project, as far as I know for now. The name of each component leads to the page where I can buy them.Components Table
| Component | Quantity | Comment | Cost |
|---|---|---|---|
Microcontroller : Satchakit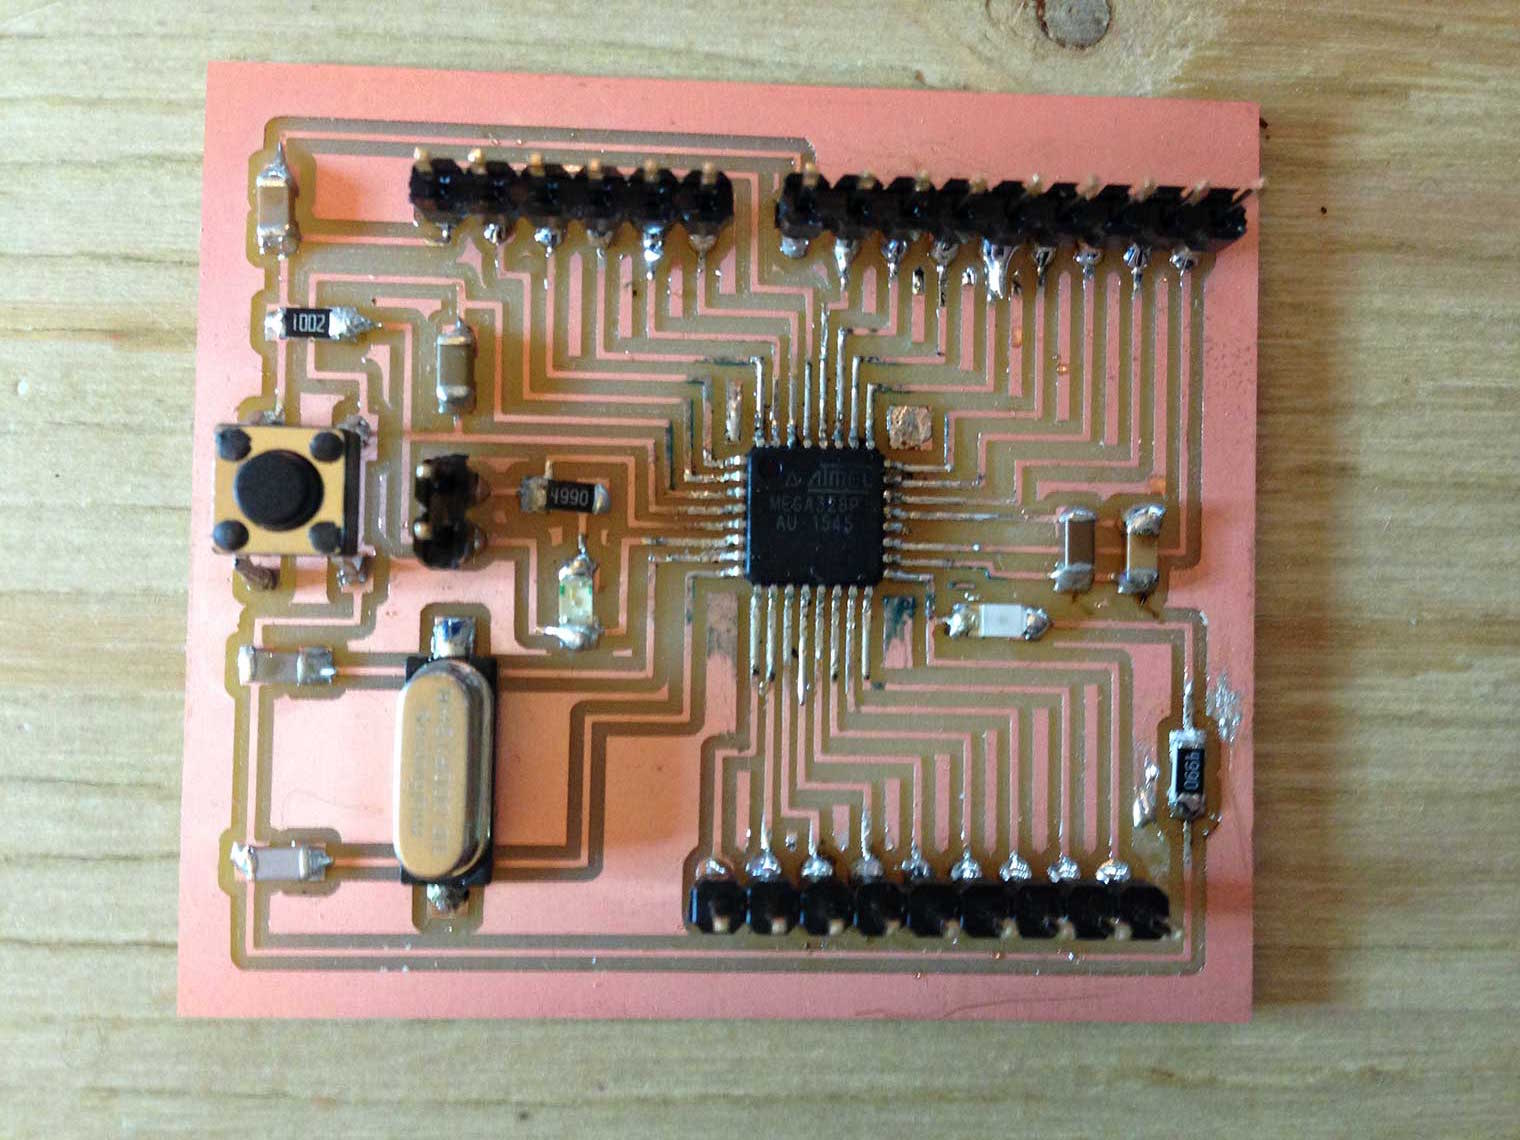
|
1 | This will be my main microcontroller | Free. All components available at the lab |
WiFi module : ESP8266 Huzzah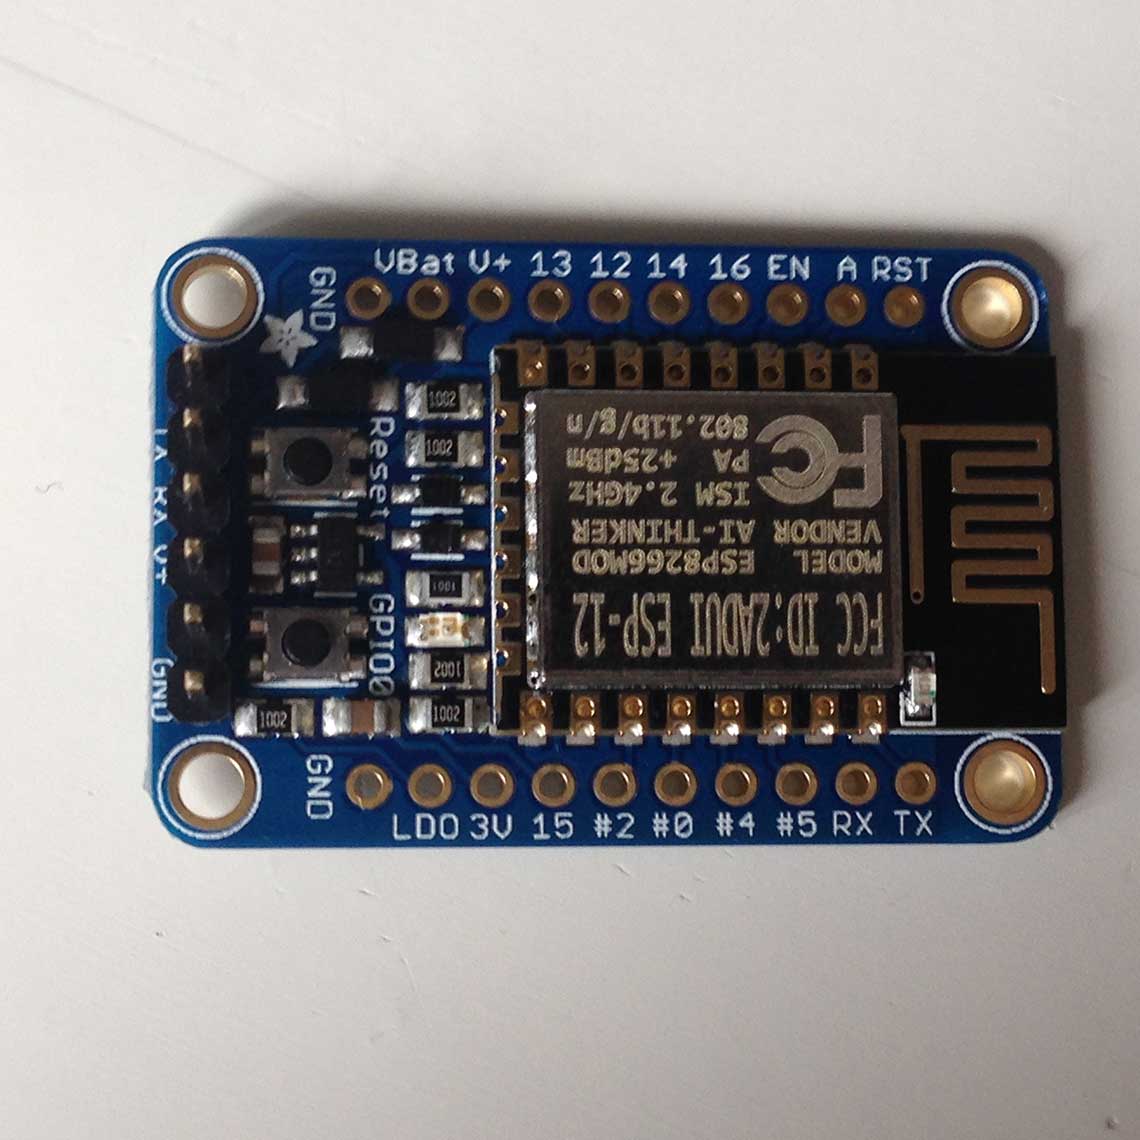
|
1 | This is the WiFi module I'll use to connect to the Internet. It is Arduino friendly | 11.95€ |
Neopixel RGB LEDs
|
12+1 | RGB LEDs equiped with a driver chip - 12 for the hours, 1 for the minutes | 9.9$ for 20 so 8.89€ |
Continuous Servomotor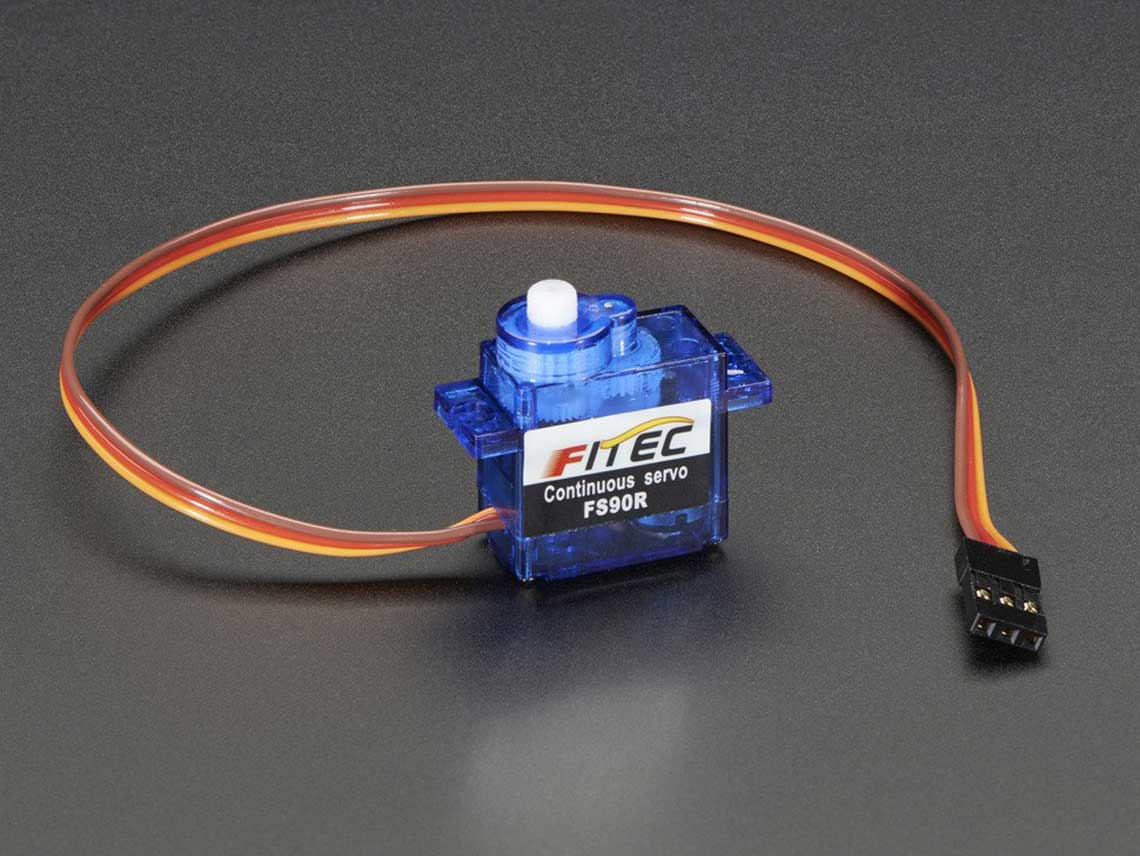
|
1 | This servo can rotate 360°, I will use it to make the minutes' LED turn around the clock | 9.00€ |
16x32 RGB LED matrix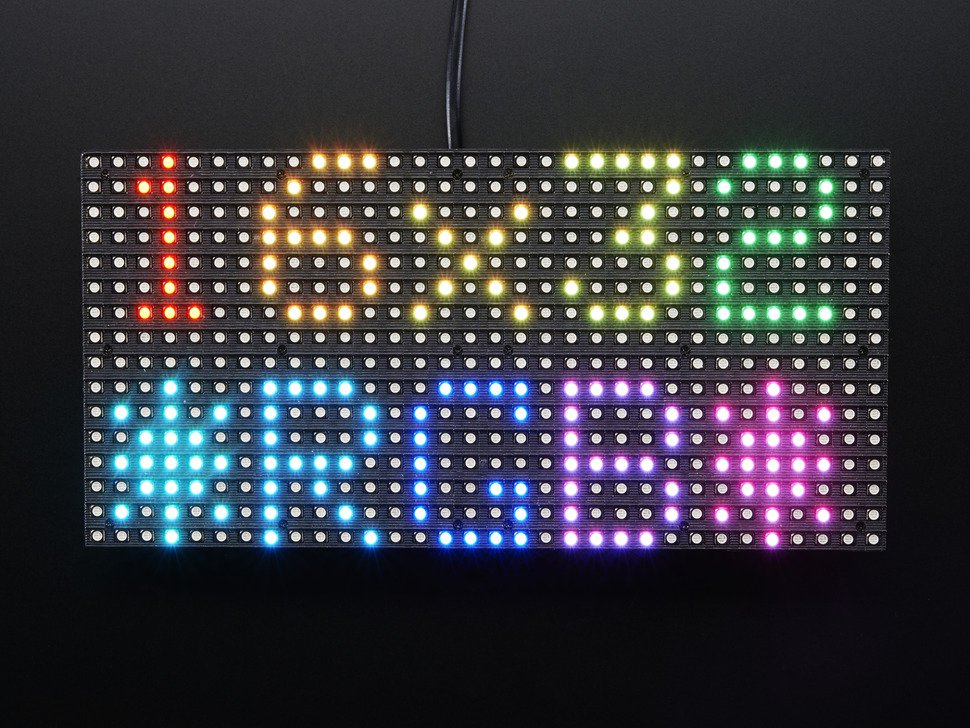
|
1 | I will use this matrix to display the weather forecast | 22.40€ |
| TOTAL COST | 52.24€ |
Materials Table
| Material | Dimensions | Comment | Cost |
|---|---|---|---|
18mm birch plywood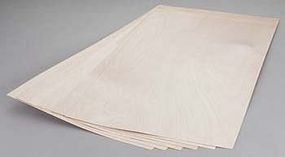
|
1000x1000mm | The plywood I will use to make the casing of my clock | Free. I found a spare board at the lab |
4mm birch plywood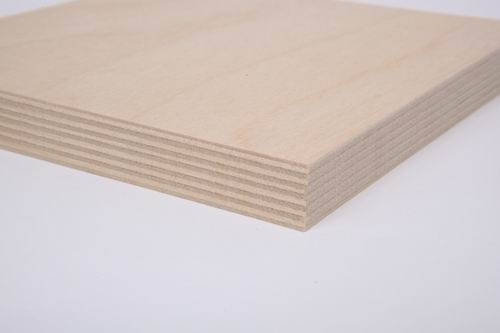
|
1200x1200mm | The plywood I will use to make the inner structure of the clock as well as the gear system | Free. I found a spare board at the lab |
| 1.75mm PLA filament | To 3D print some inner parts of the clock | Free. We have plenty at the lab | |
Bolts, nuts and washers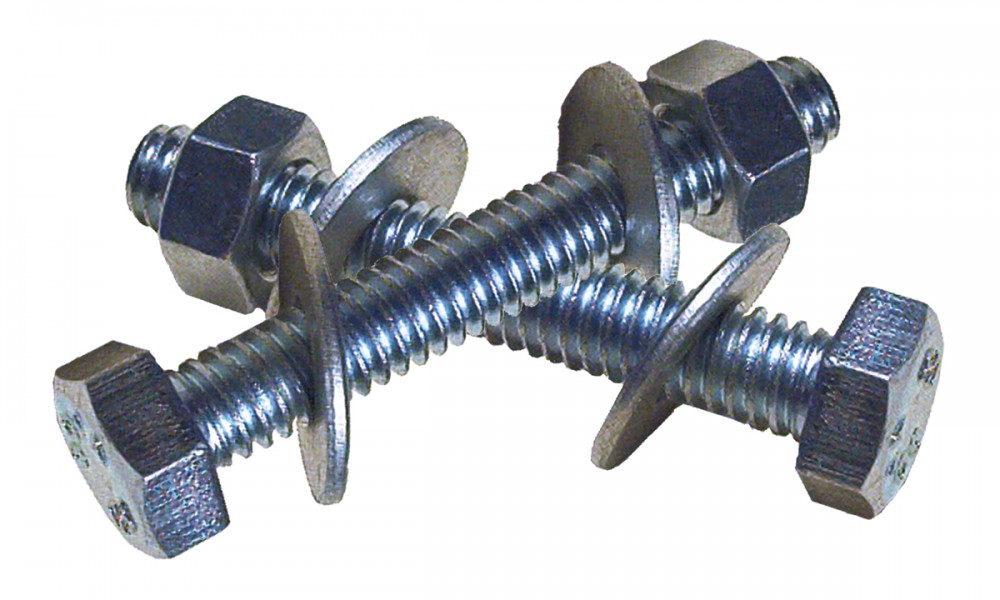
|
4mm and 2.9mm bolts (of diameter) | To assemble the clock and the gear system | I bought all I needed for 10€ |
What parts and systems will be made?
What processes will be used ?
For me those two questions are linked. As far as the fabrication is concerned, my project can be divided into two sections : the outter casing, which will be made of 18mm plywood and will be machined using the CNC mill. And the inner structure which includes the gear system as well as the whole internal structure of the clock and will be made of a thiner plywood (probably 4mm) and laser cut.The outter casing will be made of 3 parts : the surface, which will be 18mm thick. I will cut pockets where the LEDs and LED Matrix will be placed to give translucense to the wood. The two other parts will simply be circles which will be assembled together with the surface part, to get a kind of box inside which all parts and components of the clock will fit.
The inner structure actually has a double purpose : it acts as a skeleton for the whole structure of the clock, and it is also what allows the gear system to work. This system is designed to allow the minutes' LED to rotation 360° around the clock, acting exactly like a regular clock's hand. Here is how it looks like :
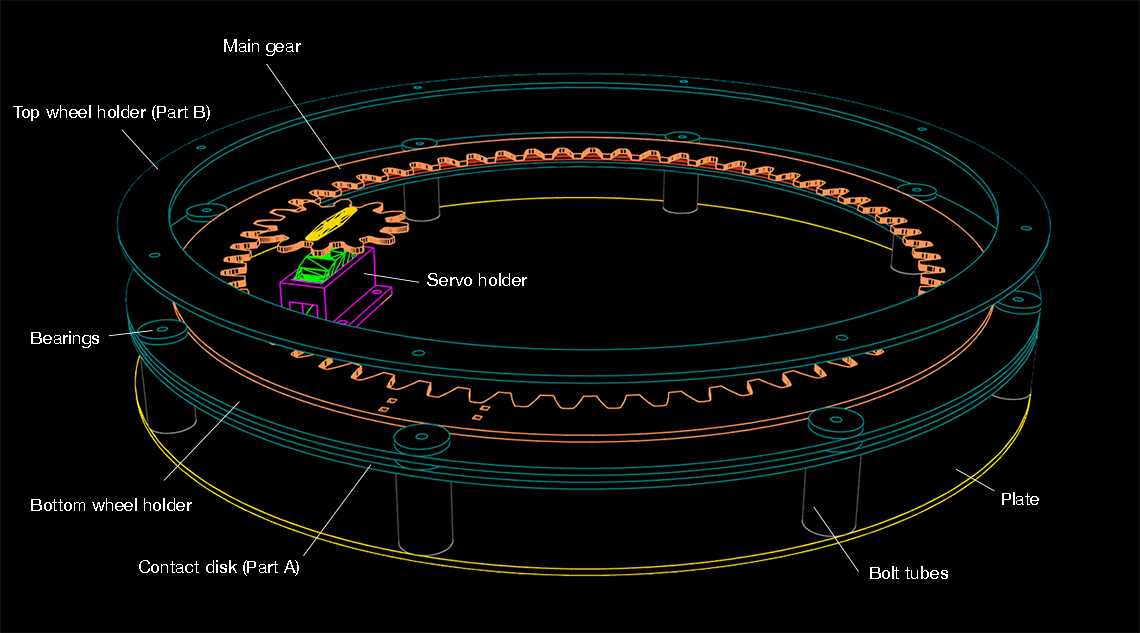 You can find a complete explaination of the conception and design of this system on the Final Project - Mechanics page.
And both for the prototyping of the outter and inner parts, you can find more pictures and explainations here as well.
What tasks need to be completed ?
Here is a list of tasks completed or not, that I've done for my final project :
Learn how to control many LEDs with a minimum amount of pins (charlieplexing)
Make a test circuit and write a program to control the LEDs on a time-based pattern
Make a first plywood prototype with pockets of different depths to test the settings and decide which are best
Test this prototype with LEDs to determine what is the righ brightness to have
Learn how to control RGB LEDs
Design and make a ring-shaped support for the 12 hour LEDs
Learn how to control a continuous rotation servo motor
Calculate what is the rotation speed and time need to control the time on the gear system, with the servo
Find a way to record the position of the servo, to correct its rotation if needed
Design a structure to hold the gear inside the clock
Make prototype and test it
Test connection to Internet using the WiFi chip
Learn how to connect to a NTP server to get the time and how to use this information to display the time on the clock
Learn how to connect to a weather API
Learn how to use the LED matrix and test it
Learn how to get specific data from the weather API and print them onto the LED matrix
Make a prototype of the clock's surface specifically for the LED Matrix, to test the translucense
Program an interface application to control the clock (time, date, weather settings, color of LEDs)
Make a film and presentation board for the final presentation
What questions need to be answered ?
The major question that I have concerns the minutes display. I am quite worried about the mechanical system I chose to do, because it will be very complicated to be able to control exactly the position of the LEDs. I don't know yet exactly how to achieve that.One other thing which I don't know is how I will be able to place 4 very large copper traces on the bottom disk of the internal structure, like I planned it in my design :
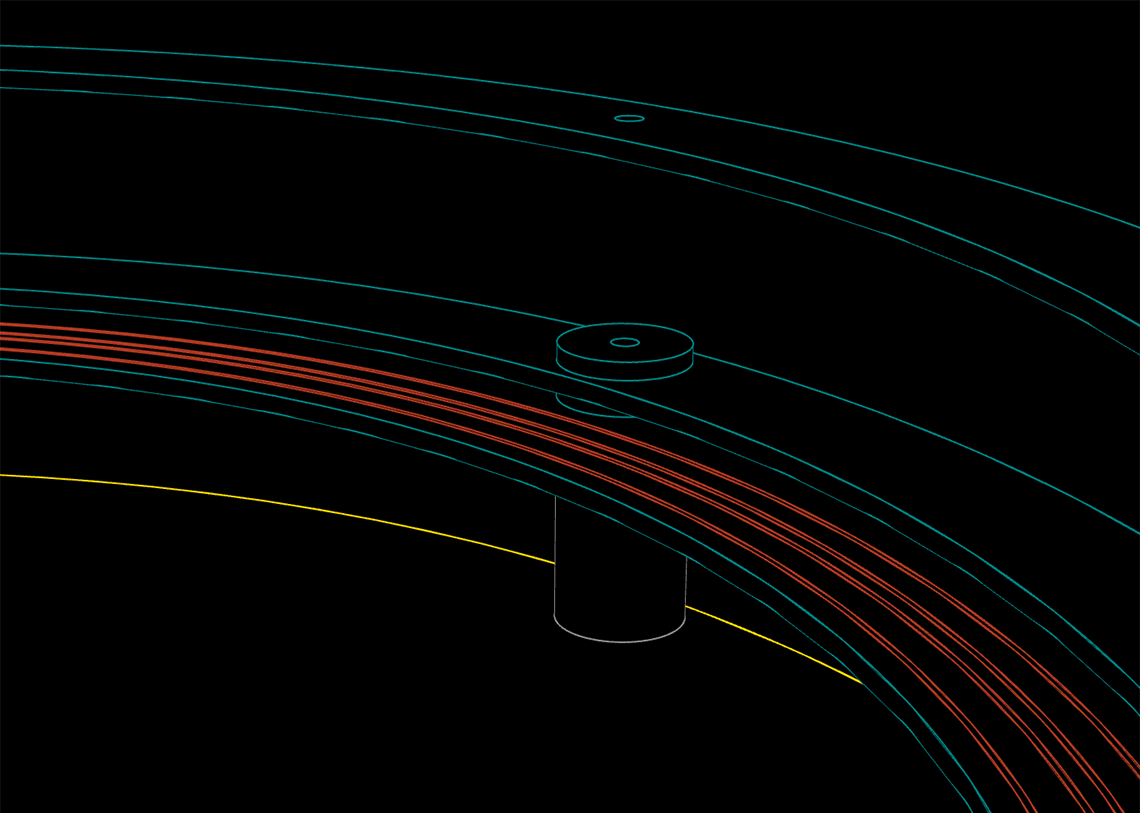 (See also here for more details on that).
I was thinking on using the vynil cutter with some copper foil but I am not yet completely sure about that.
What is the schedule ?
| Period | Tasks | |
|---|---|---|
| May 25 to 31 | Prototyping the outter case and working on the gear system | Making the video presentation for the final project |
| May 31 to June 6 | Finalizing the LEDs display and code for the hours | |
| June 7 to June 13 | Testing, programming and finalizing the NTP and API protocols | |
| June 14 to June 21 | Programming, testing and prototyping the LED Matrix part | |
| June 22 | Final Presentation | |
How will it be evaluated ?
Here is a list of criterias which, in my opinion, will have to be taken into account when the time will come to evaluate my final project :
Did I use and apply a wide-enough range of things that we learned during Fab Academy ?
Does my clock actually tells time precisely ? Even over time ?
Is it readable enough ?
Is the weather forecast display working well, is it readable ?
Is the whole object time proof, meaning : will it last ?
Is it easy to change the parameters of the clock ?
Is it beautiful ?