Molding and Casting
Week 12's assignment
Specific material and softwares used during this assignment
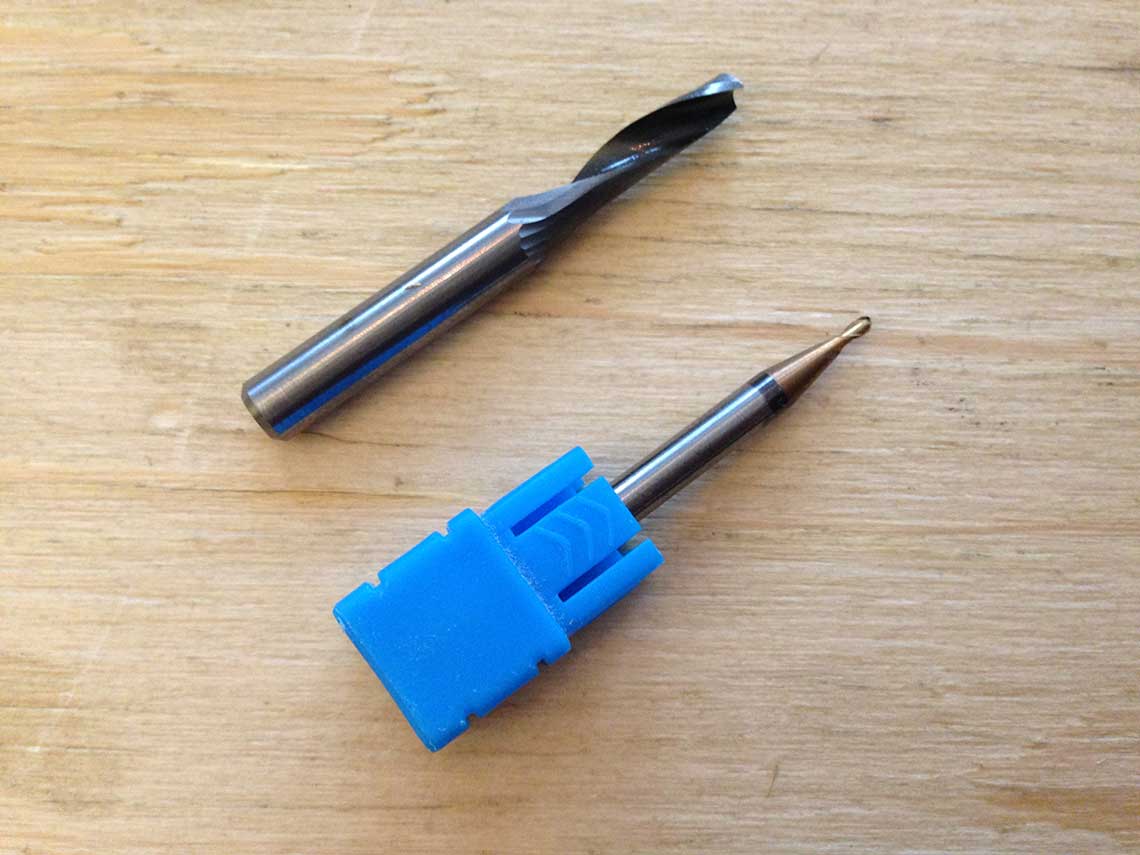
- Machine : CNC mill for the fabrication of the mold, with a 4mm square milling bit and a 1.5mm ball-nose one
- Software :
- Rhino for the 3D design of the mold
- V-Carve for the G-code
- Ingredients :
- Machinable Wax for the mold
- Silicon rubber + hardening agent
- Polyurethane resin
- Aluminum powder
- Patience
- Software :
- Rhino for the 3D design of the mold
- V-Carve for the G-code
- Ingredients :
- Machinable Wax for the mold
- Silicon rubber + hardening agent
- Polyurethane resin
- Aluminum powder
- Patience
This week we go back to a more manual work by learning how to create a mold and cast an object from it. Our assignement is to design the mold, machine it and use it to cast an object.
At Woma, Paris, we are lucky to have Saverio as an instructor, who is very skilled in molding and casting and who gave us a very good and useful demonstration of how it works. You can find here and there the two parts presentation on his prensetation, based on his own Fab Academy experience from last year. Saverio showed us 3 different techniques for molding :
Silicon Rubber
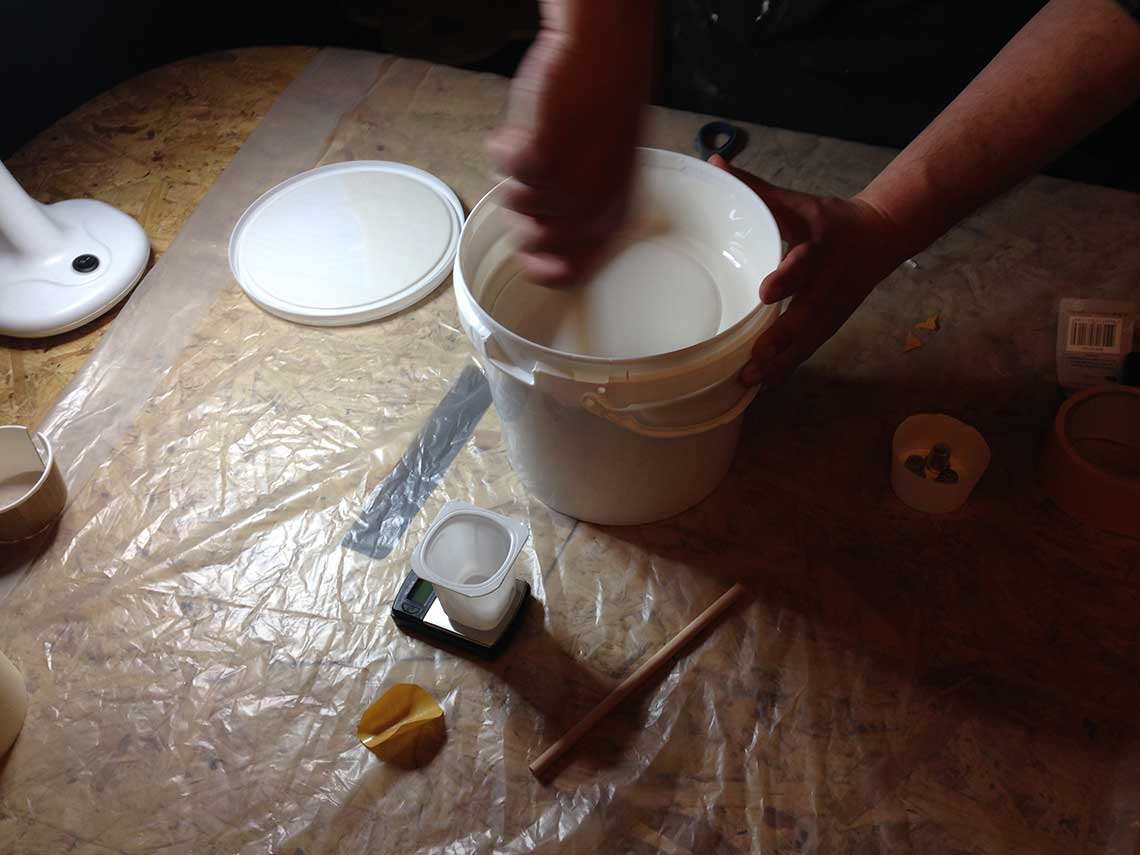
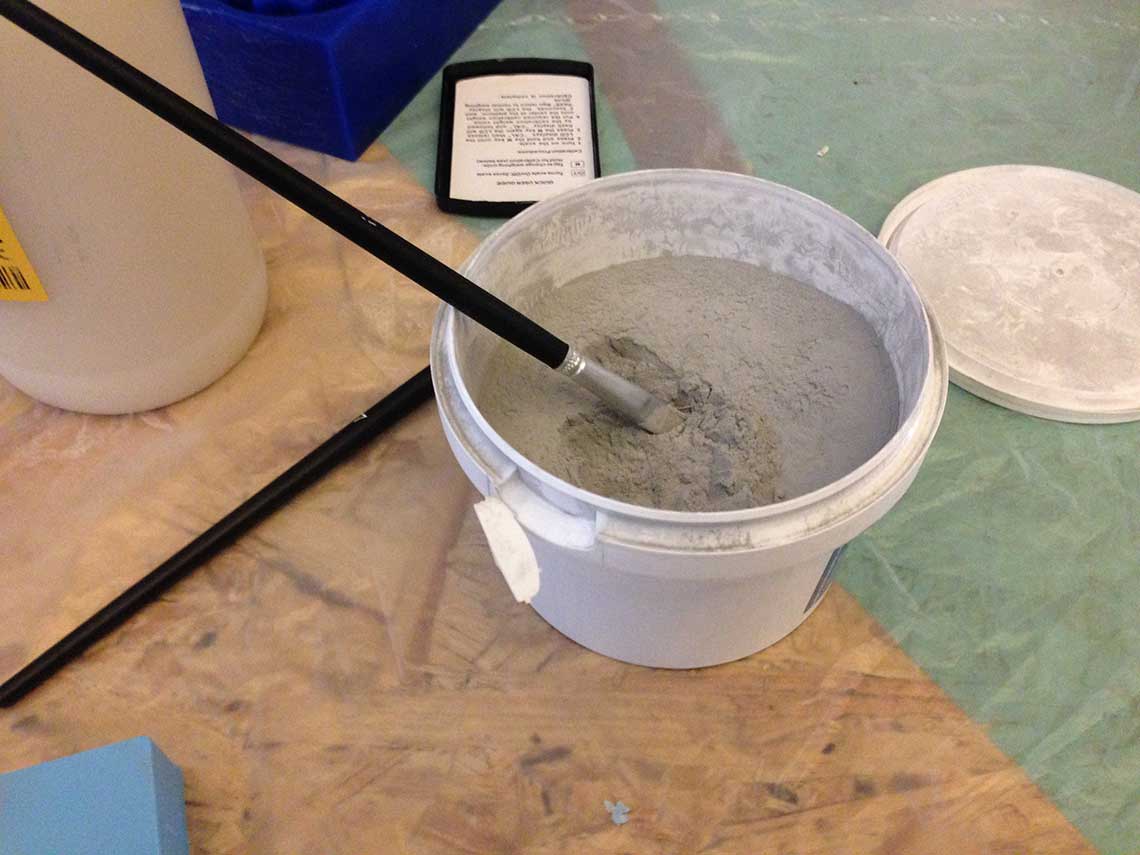
The silicon rubber is a king of whitish liquid paste. It is used to make a mold for the master you have created (with for example the machinable wax). After having opened it, it is important to mix it, especially if it has been used previously. The solution must be very homogenic.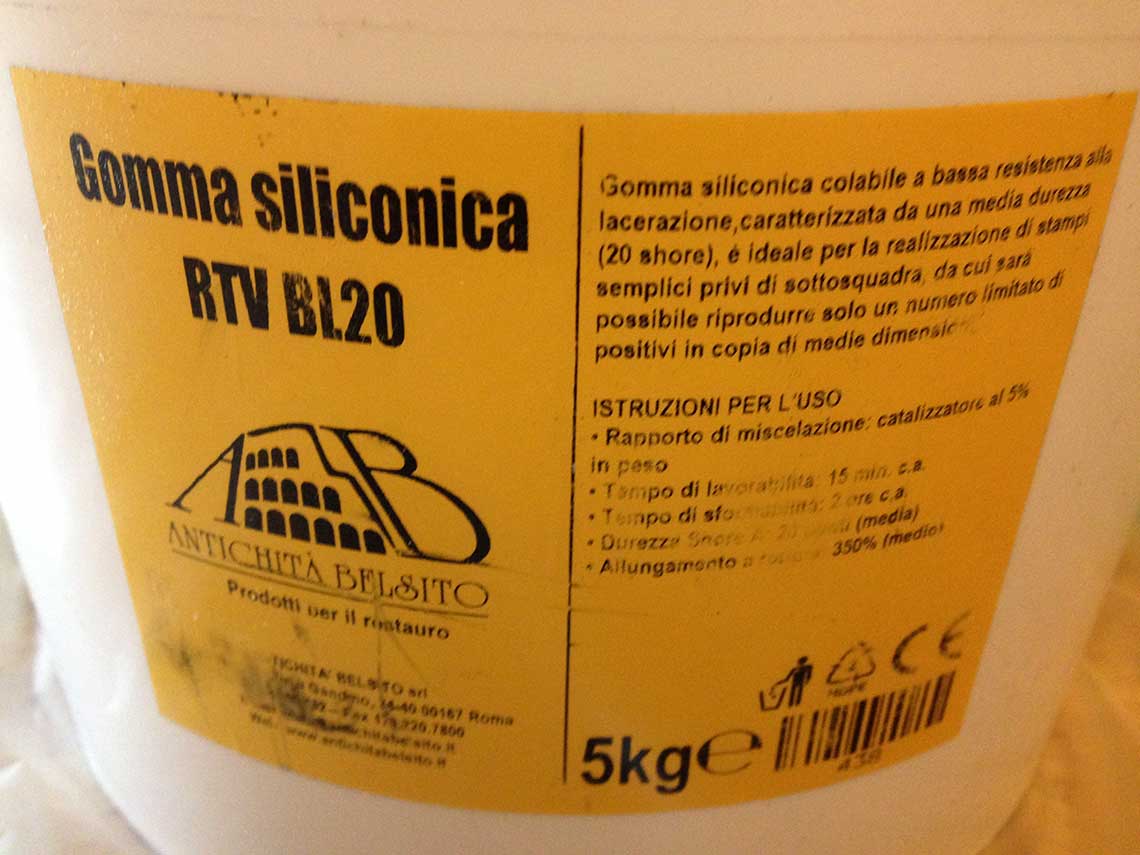
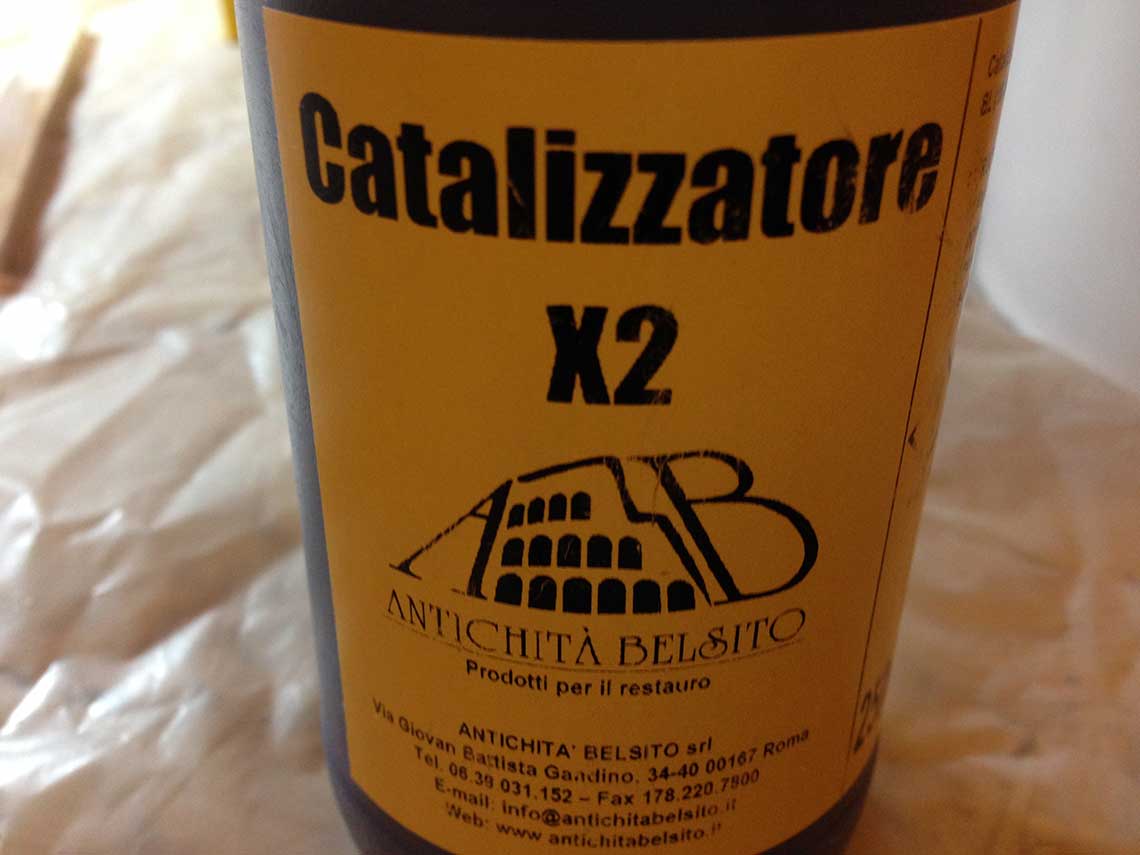 The amount of hardener that you must put in is usually indicated on the rubber’s packaging. Here we put 5%. It is important to mix very gently at the begining to avoid projections of the hardener. You must mix very well until you an uniform color and texture, taking care of scrubing the sides of the recipients.
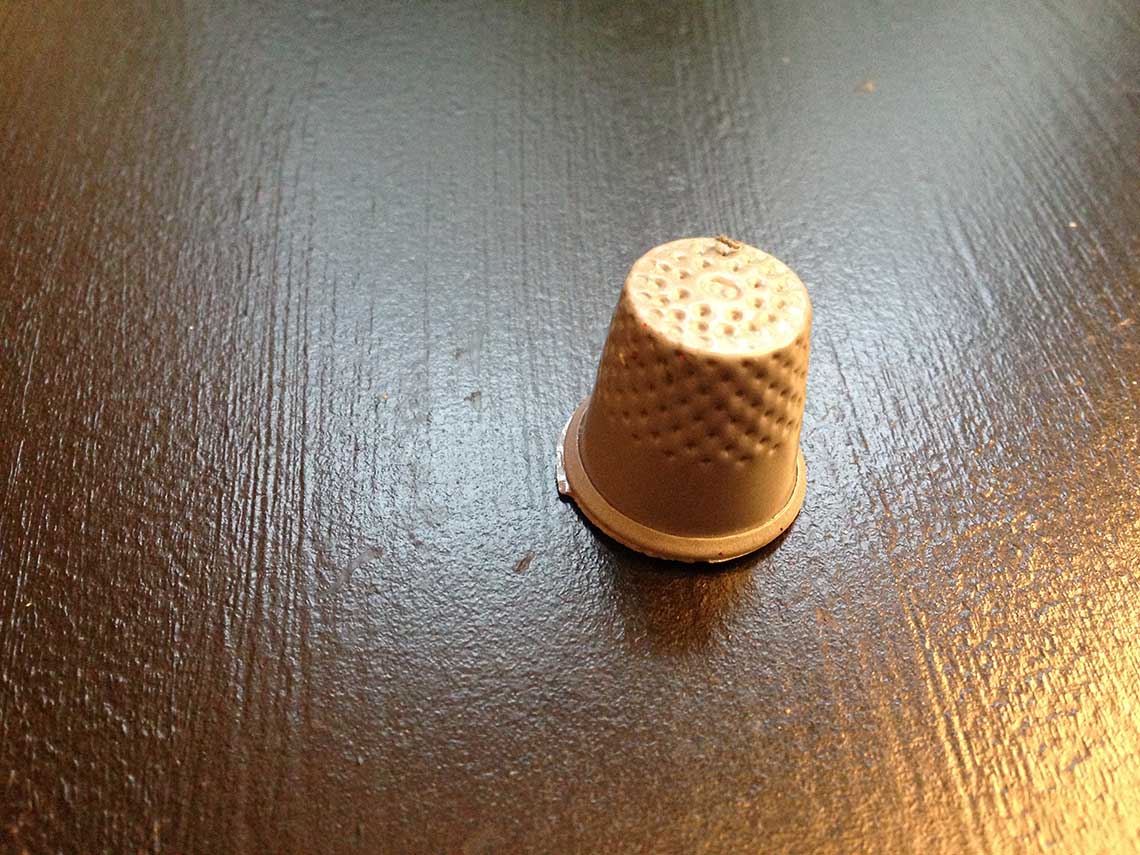
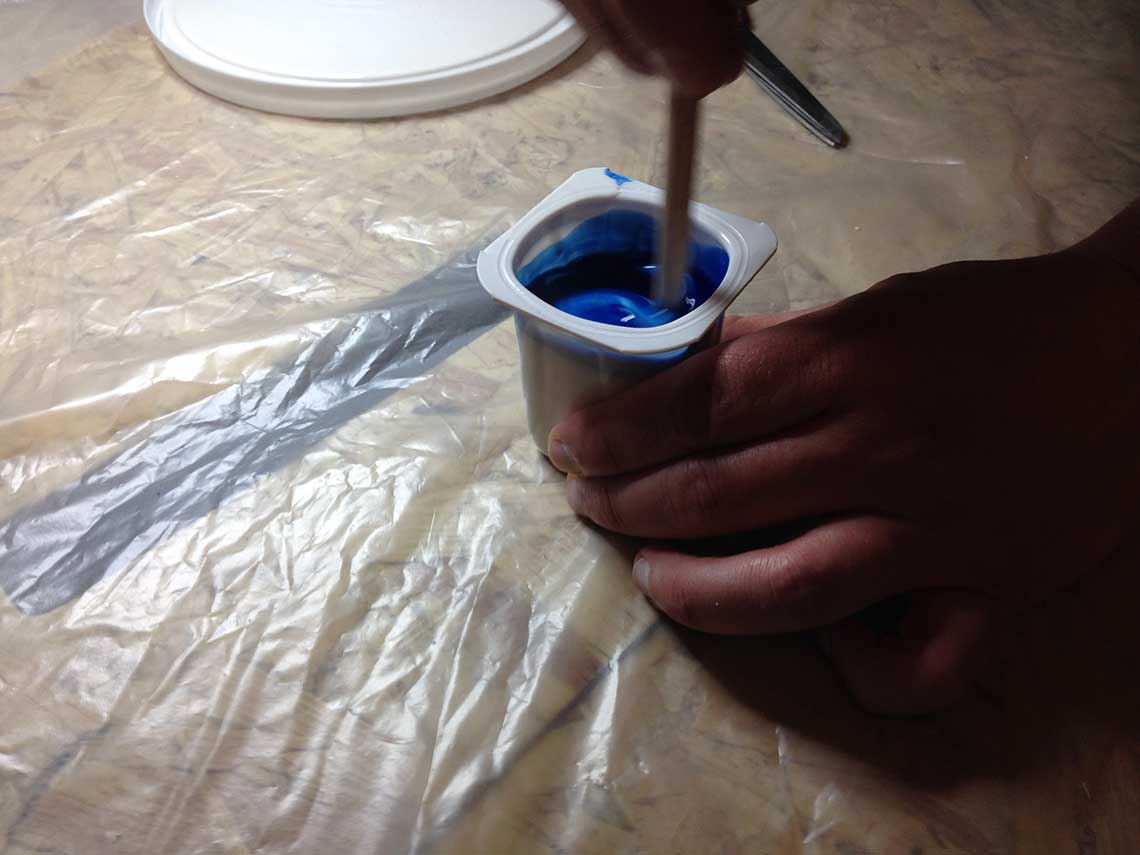 Once the mix is done, you can use it with the mold. In our case, we just used a paper cup which we cut. We took some thimbles for the example and fixed them with double sided tape in the cup.
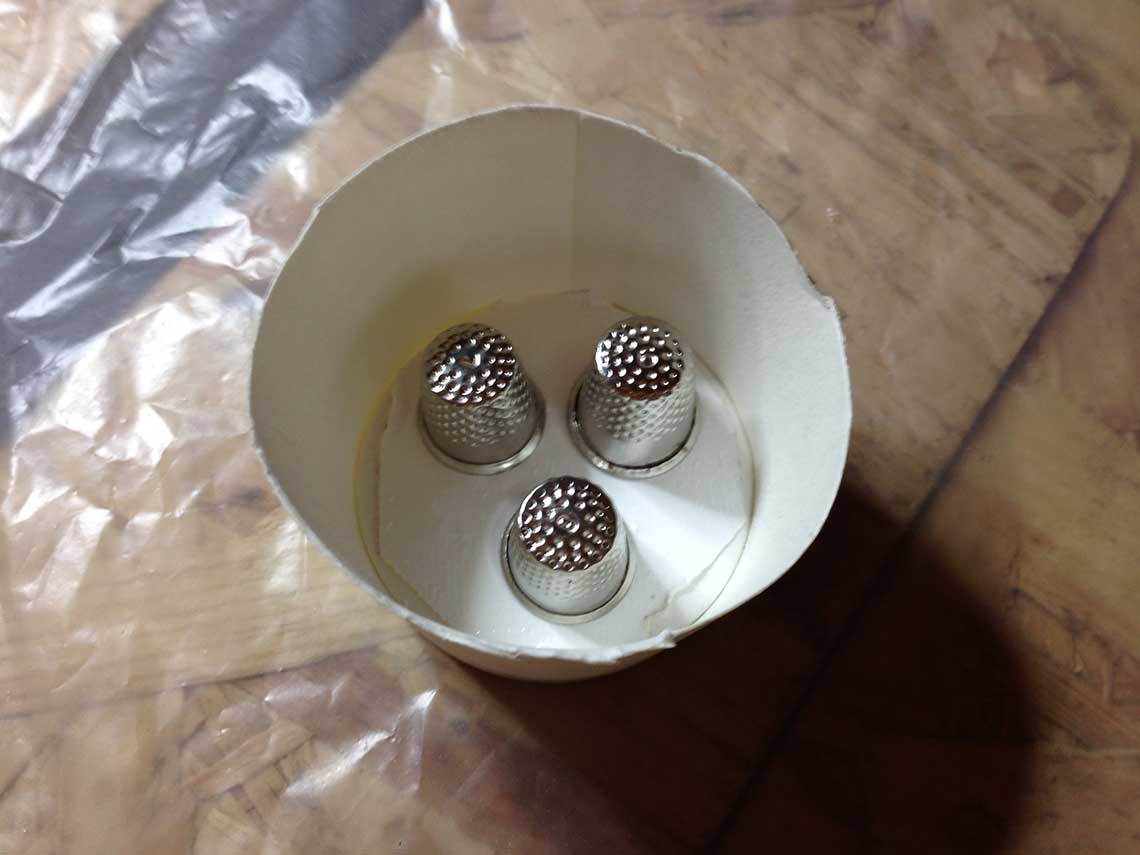 Rather than pouring directly the mixture into the mold, it is better to "brush" it first. There are two reasons for that : first it will prevent from having bubbles, and second it allows to make a more accurate print of the details on your mold.
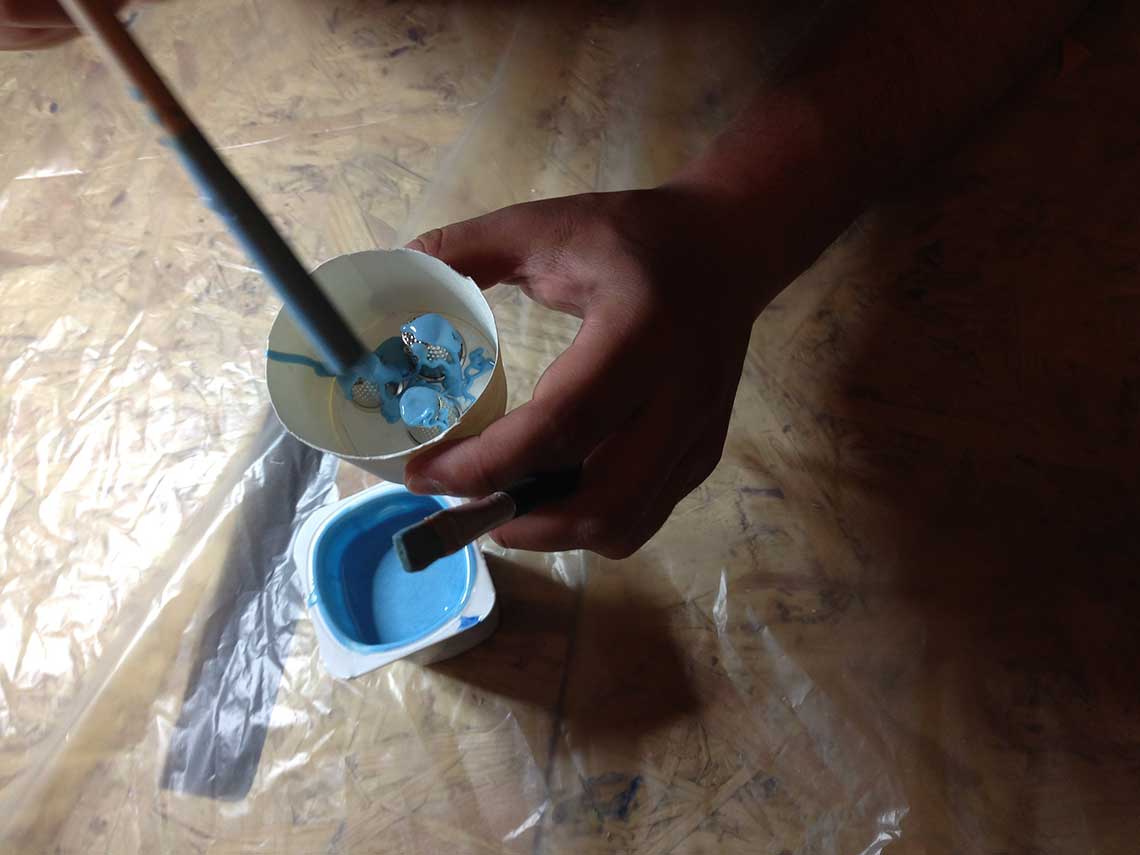 Then you can pour the rubber into the mold to cover it completely. It is better to do it from a certain height : it will help from eliminating the bubbles and it will fall in a thiner fillet. Here is a little video to show this better :
Total drying time for this kind of rubber : 24hours.
Polyurethane Resin
Once the first mold is ready, you can then prepare the polyurethane resin. This resin is a mix of two components that you must put in equal weight (be careful, they don't have the same density) :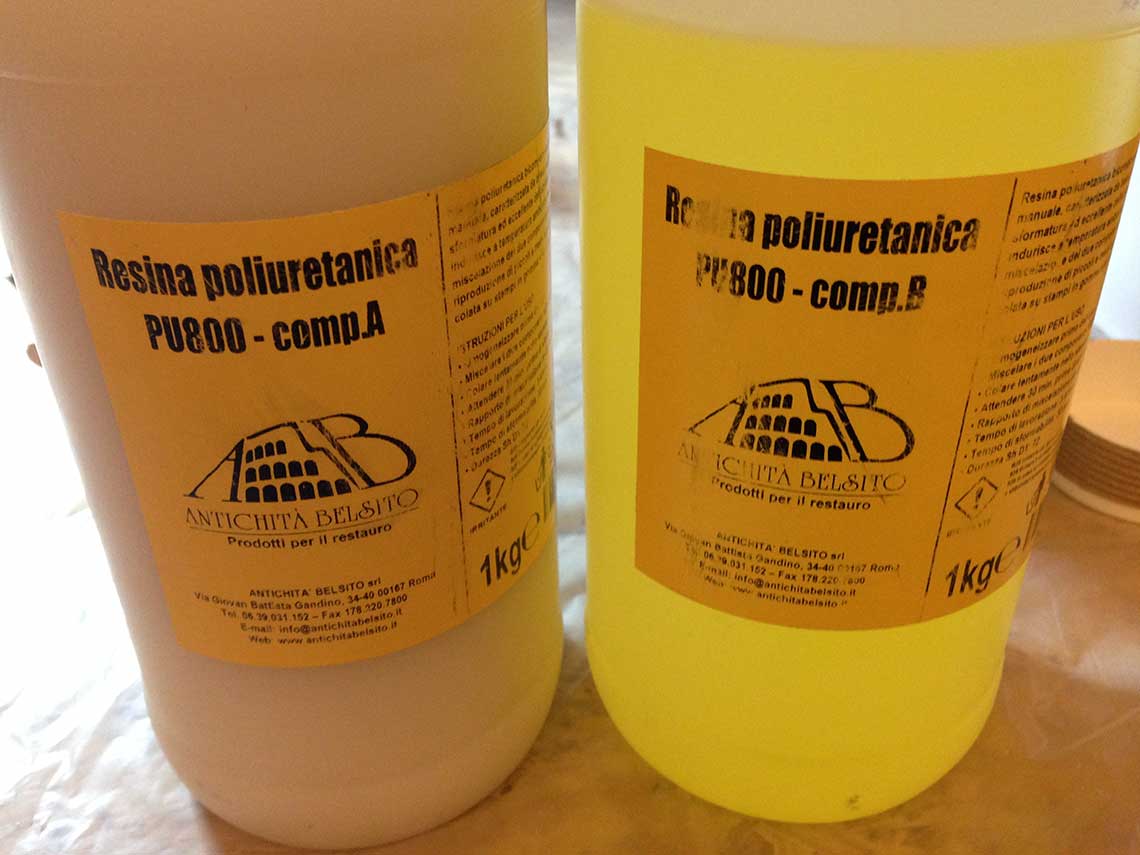 When mixing them, they stay quite liquid so you can stir faster than with the rubber. When the mixture begins to heat, it means it is ready. You must then pour it quite quickly in the mold.
Total drying time for the resin : 1 hour. You can see that the result is a very accurante print of the bottom of the paper cup it was poured into :
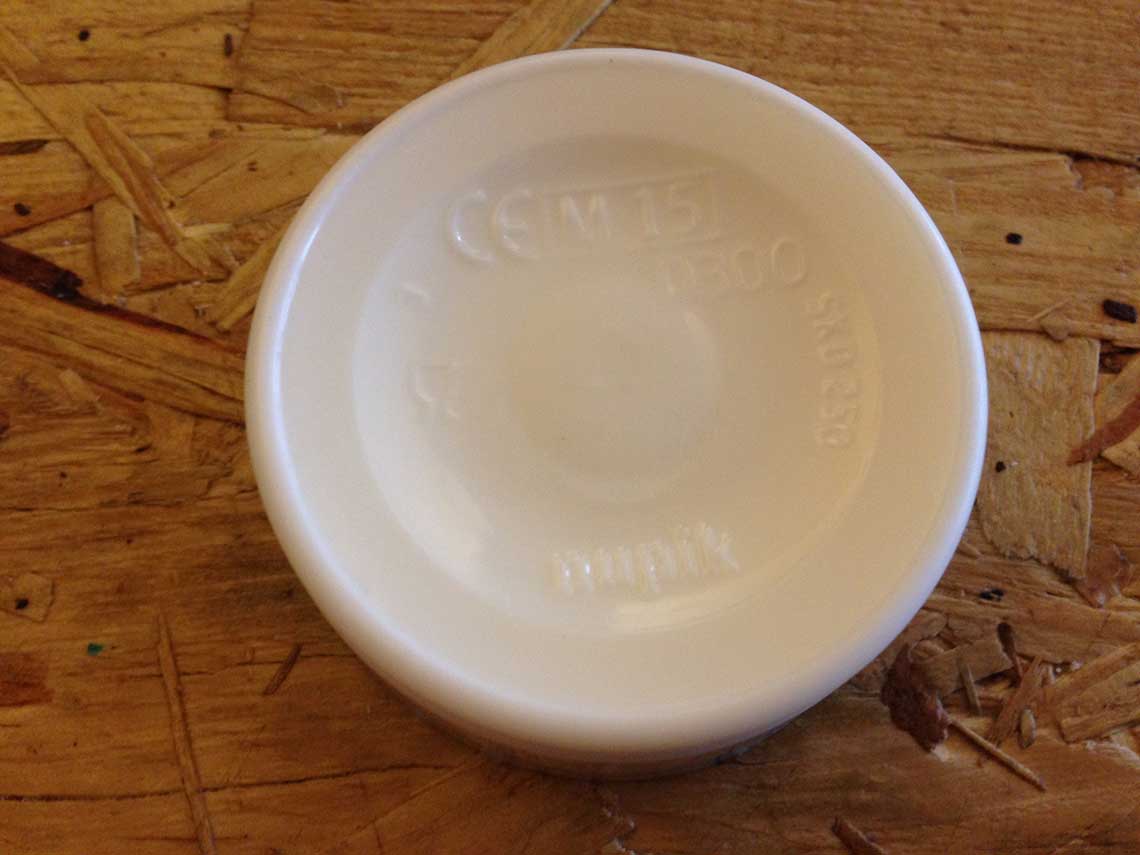 This one is nice because it has a certain transparency level that allows you to do funny things like this ;)
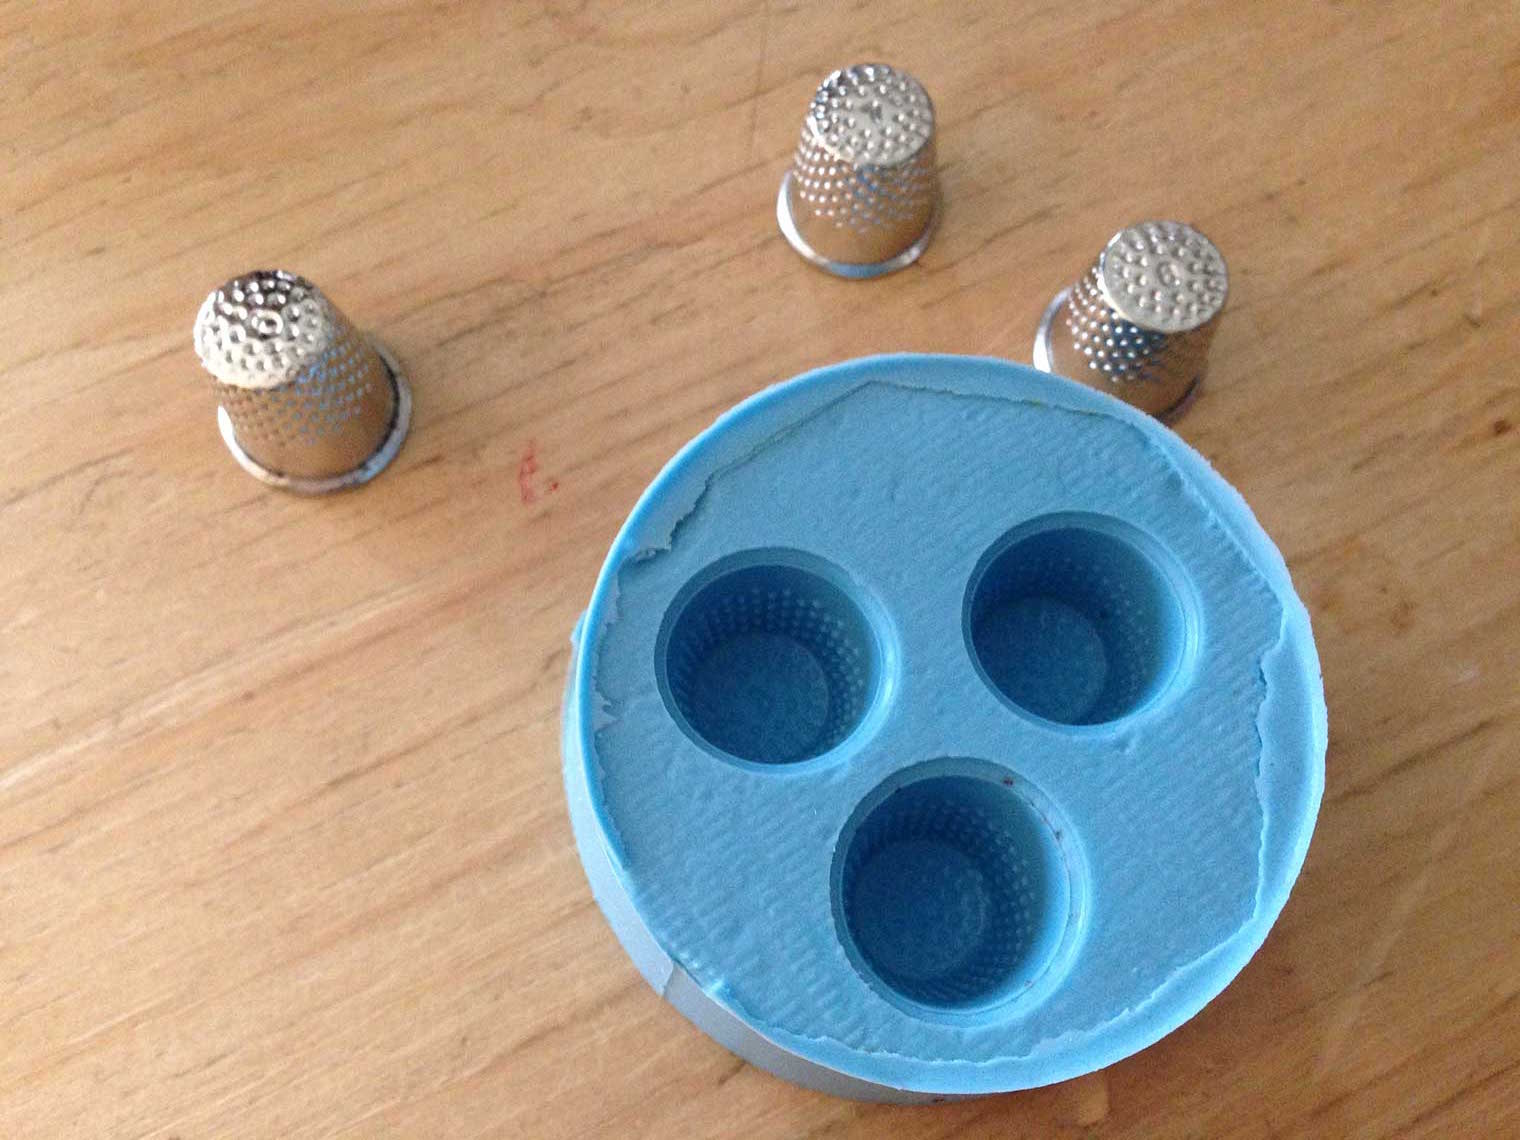
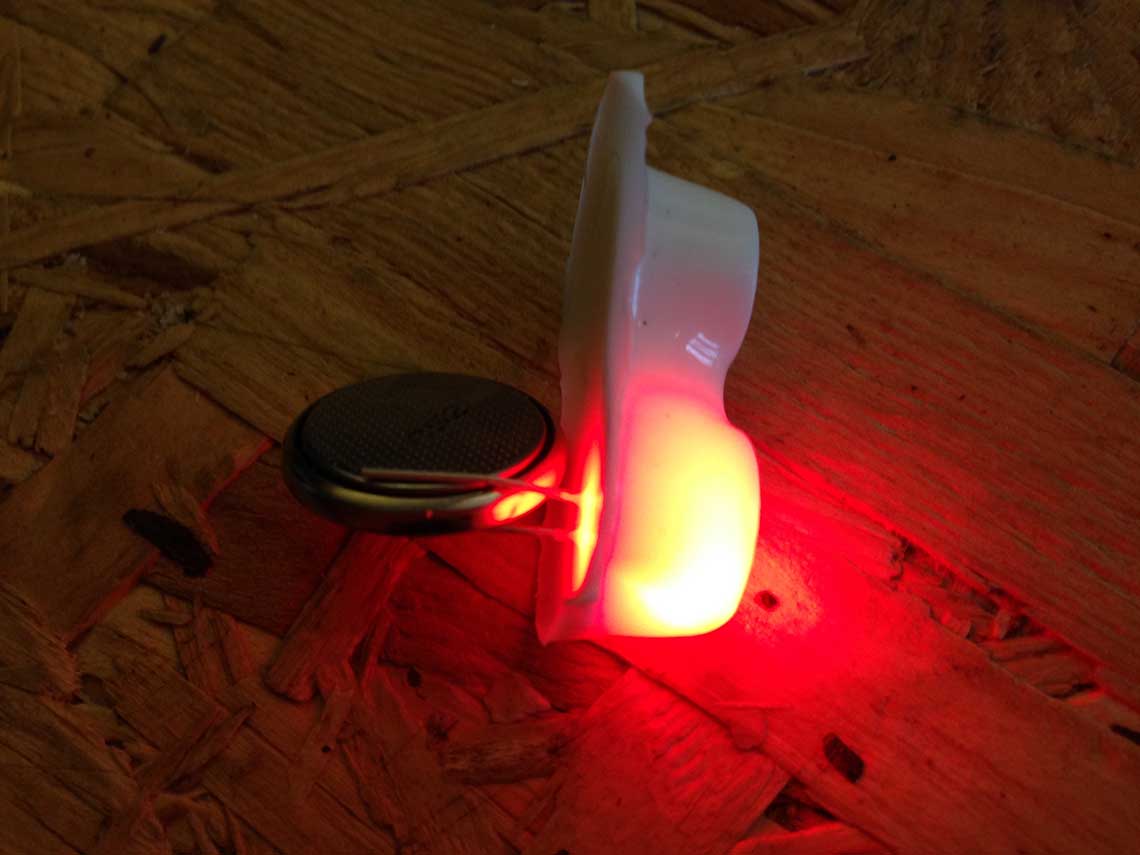 Here are the results of the test we did with the thimbles and resin :
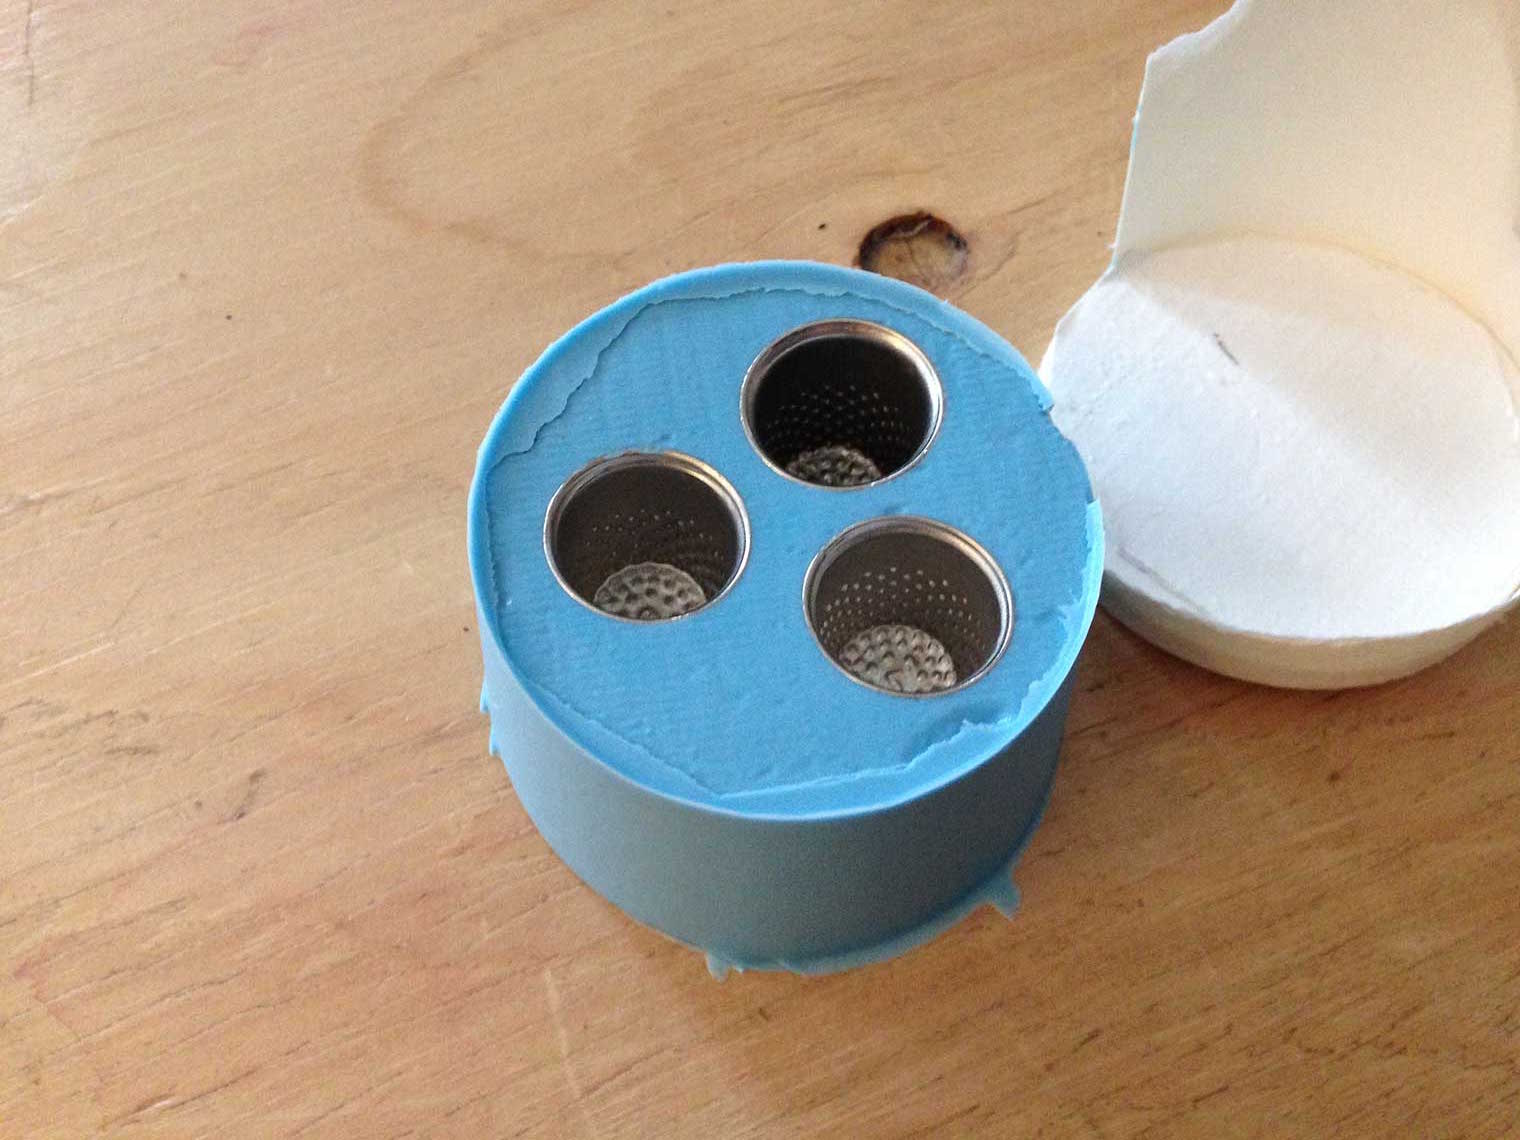
Cheap method
Saverio also showed us a cheap and quick method for molding. You can use some silicon for joints (the one you put around your bathtub for example) and mix it with corn starch.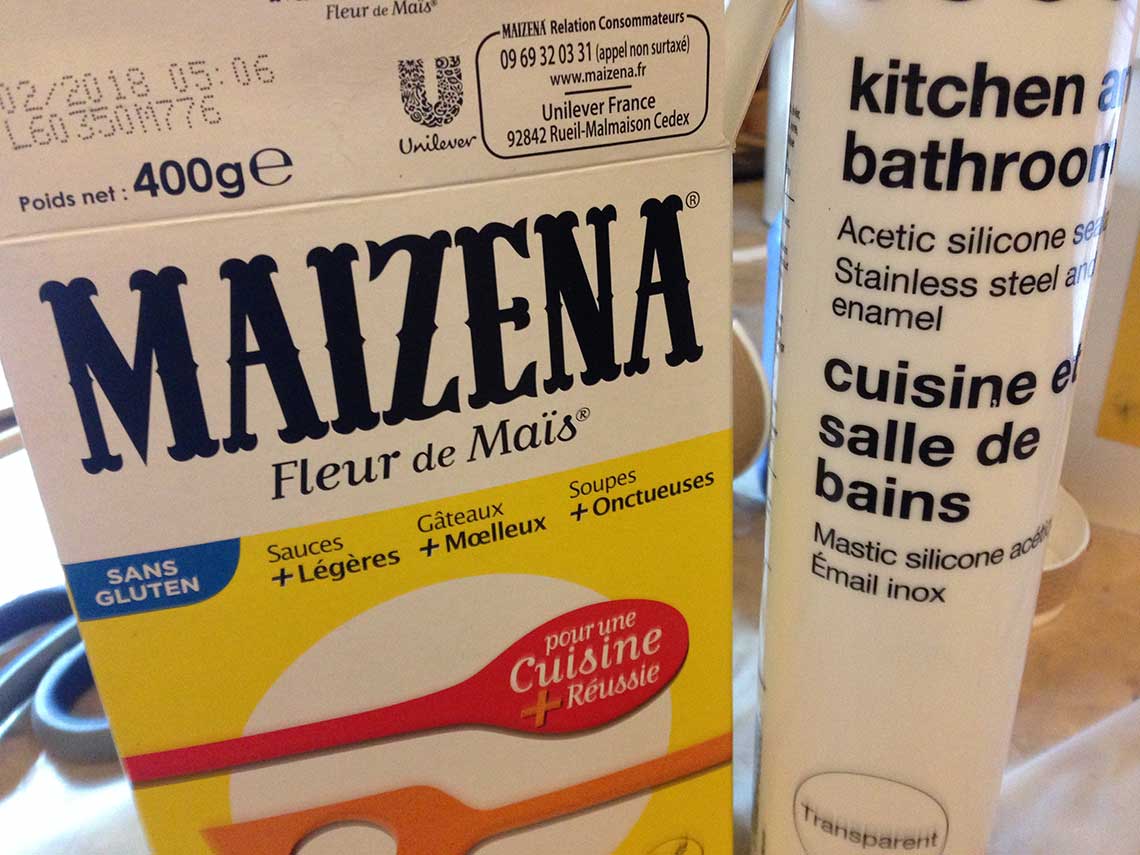 When mixing them together you obtain a kind of paste like this. The amount of starch you use will determine how fast the mix is going to harden. Being silicon, it stays quite flexible anyway.
 We also used a thimble to test this paste. The result is also quite accurate and it hardens really fast. The only downside of it is that you can't avoid bubbles, and also that the smell of vinegar is really unpleasant !
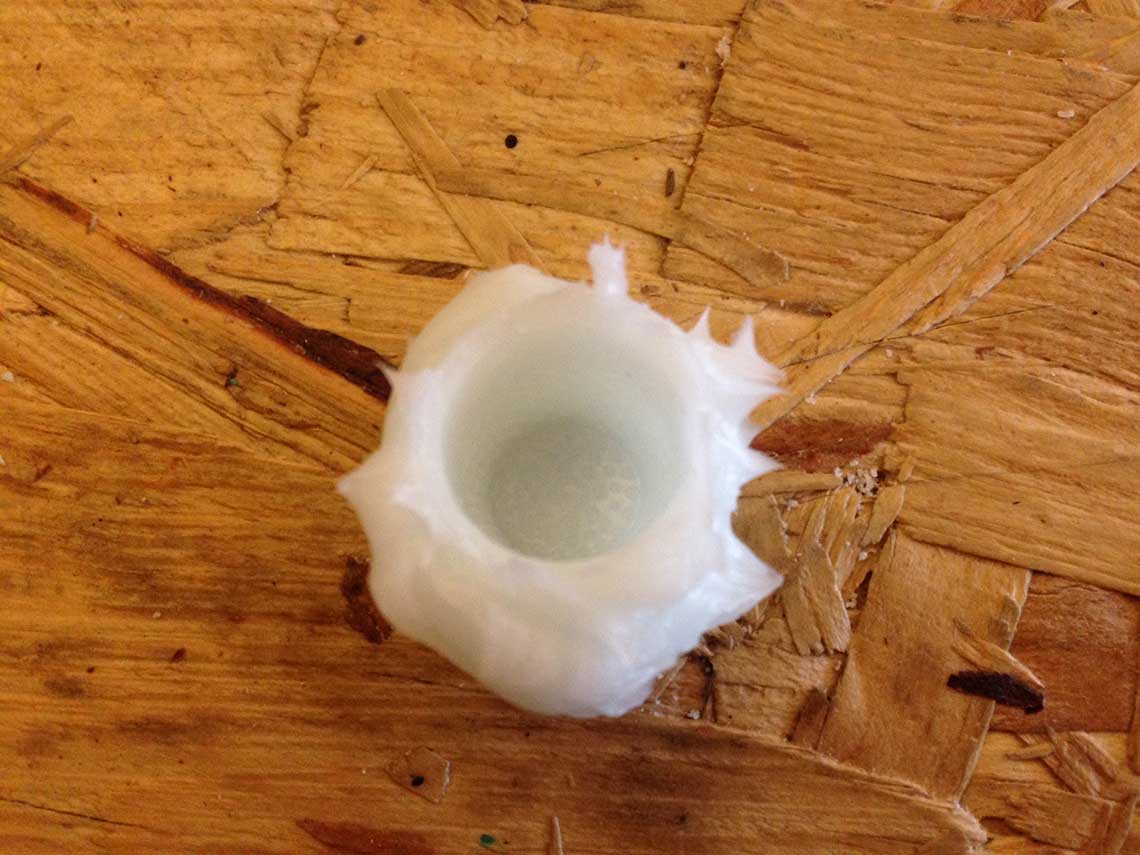 Drying time : fast (depends on the amount of corn starch used).
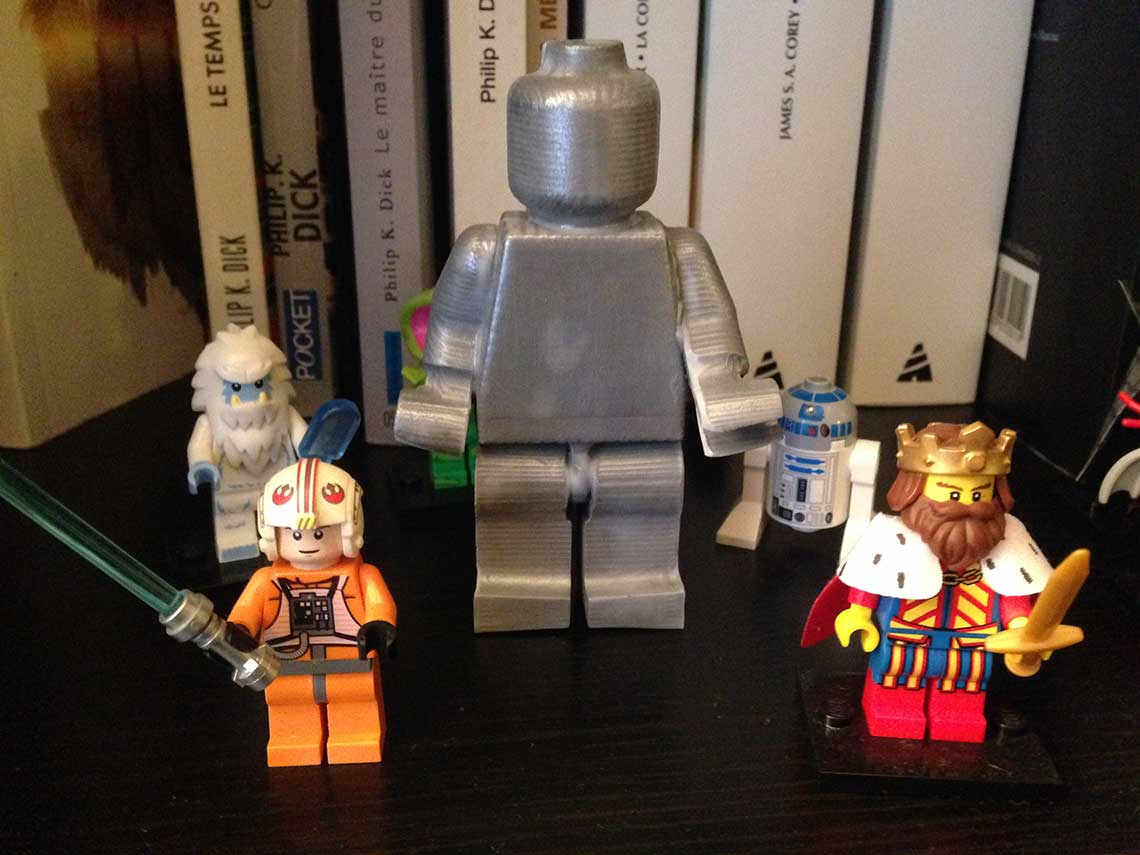
The design
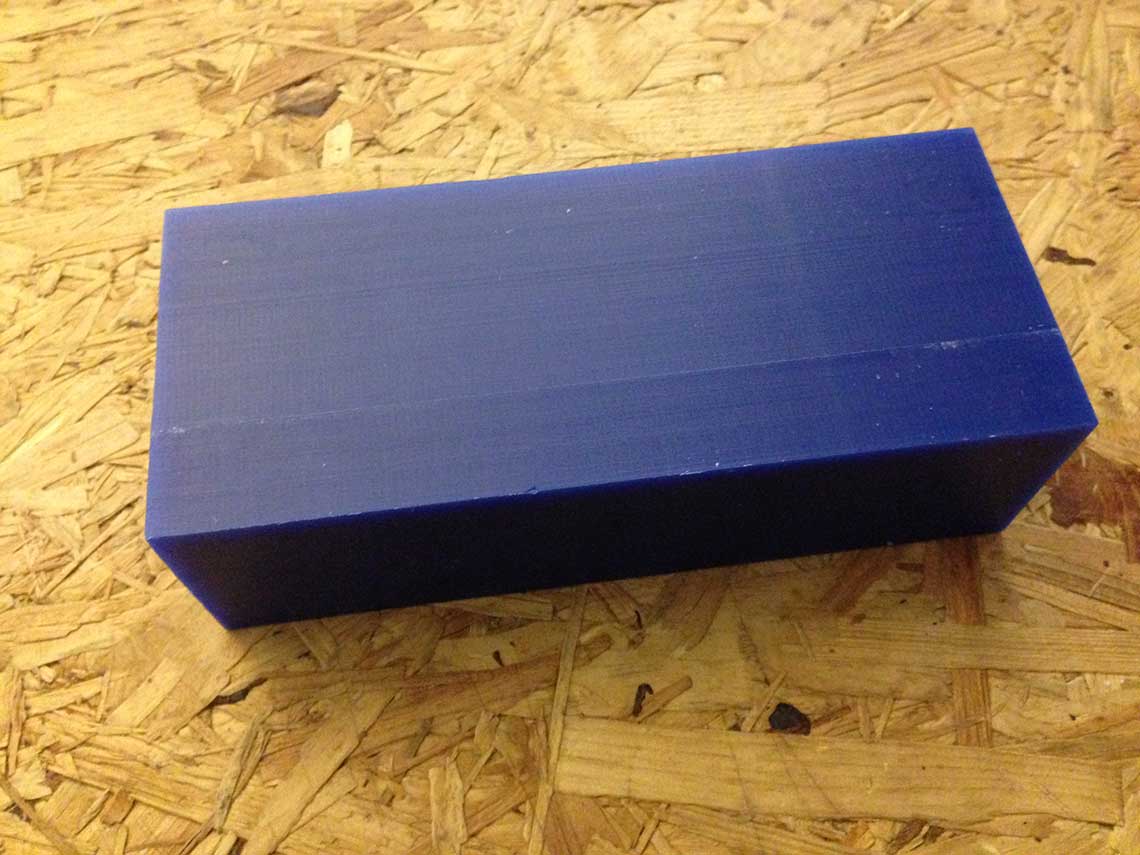
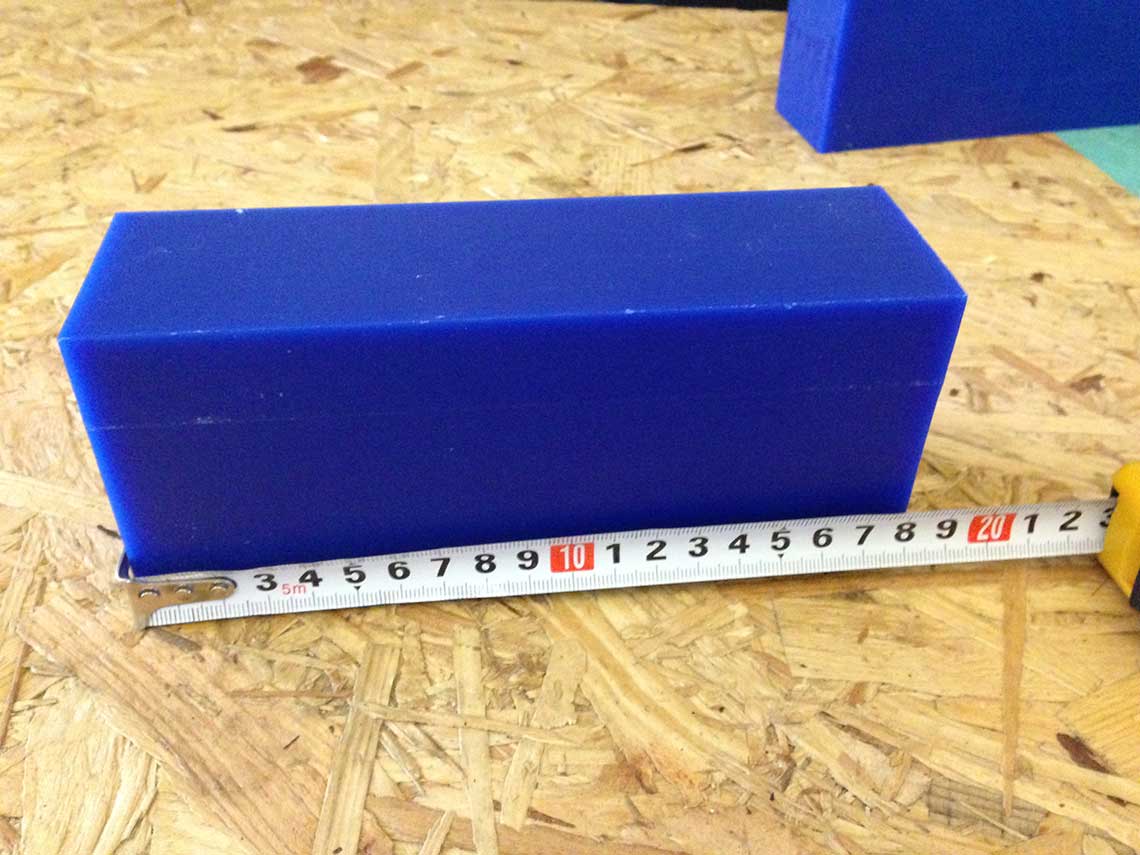
After this little workshop, it was time to begin the design of my mold ! I like Legos so I am going to try to cast a large version of a Lego character ! The aim is not to design the whole object, but only the mold, so I used a 3D model that I found here.We are going to be using blocks of machinable wax and each student has one block, so the first thing to do was to measure the block :
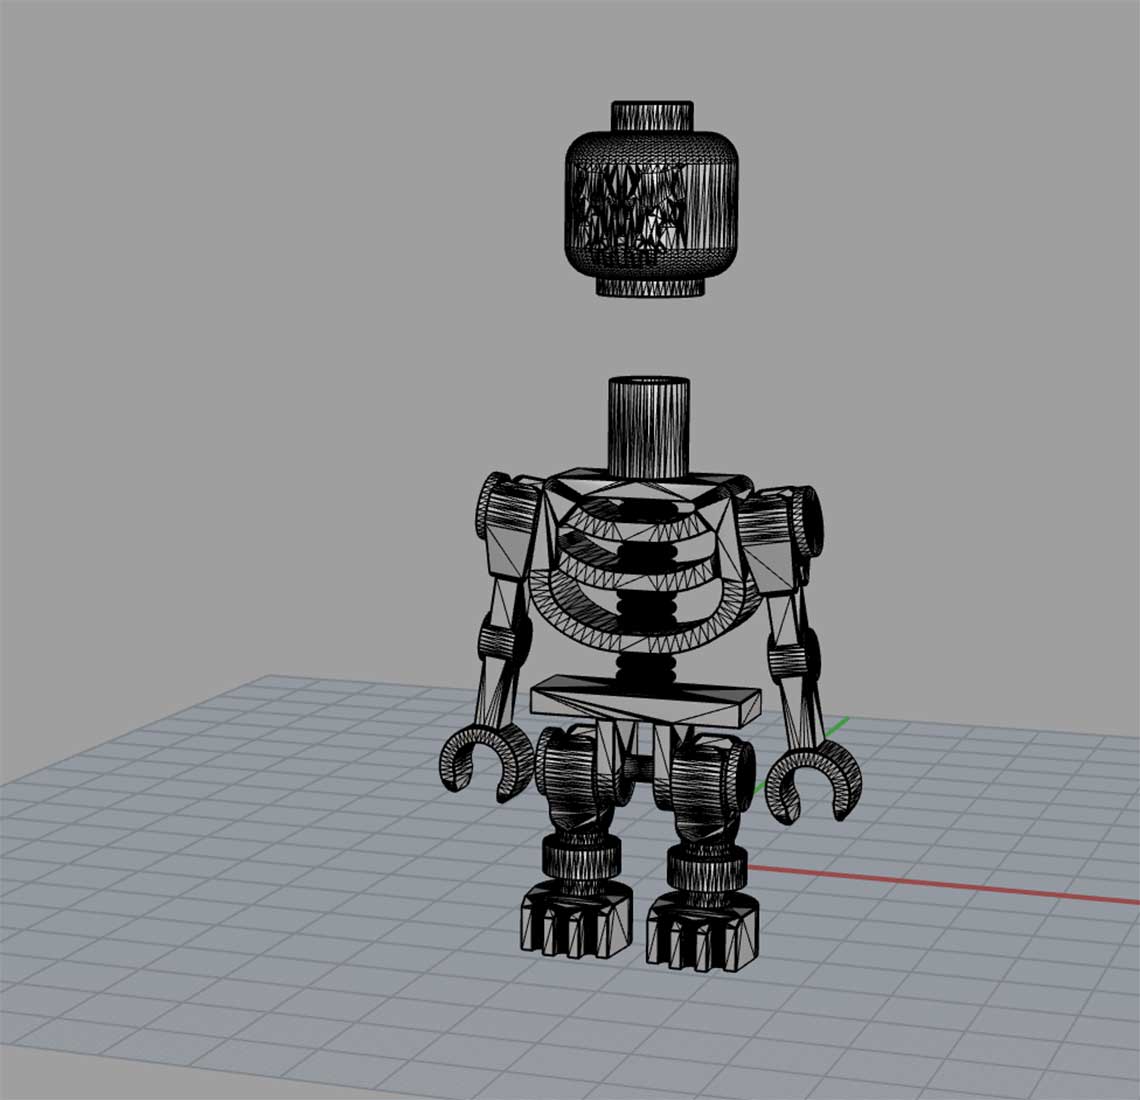
At first I wanted to use a skeleton Lego Character :
 But given that we would use a 3mm milling bit, I was not sure it would be doable. Too much and too small details... I created a 3mm cilinder in Rhino to check and saw it was too big :
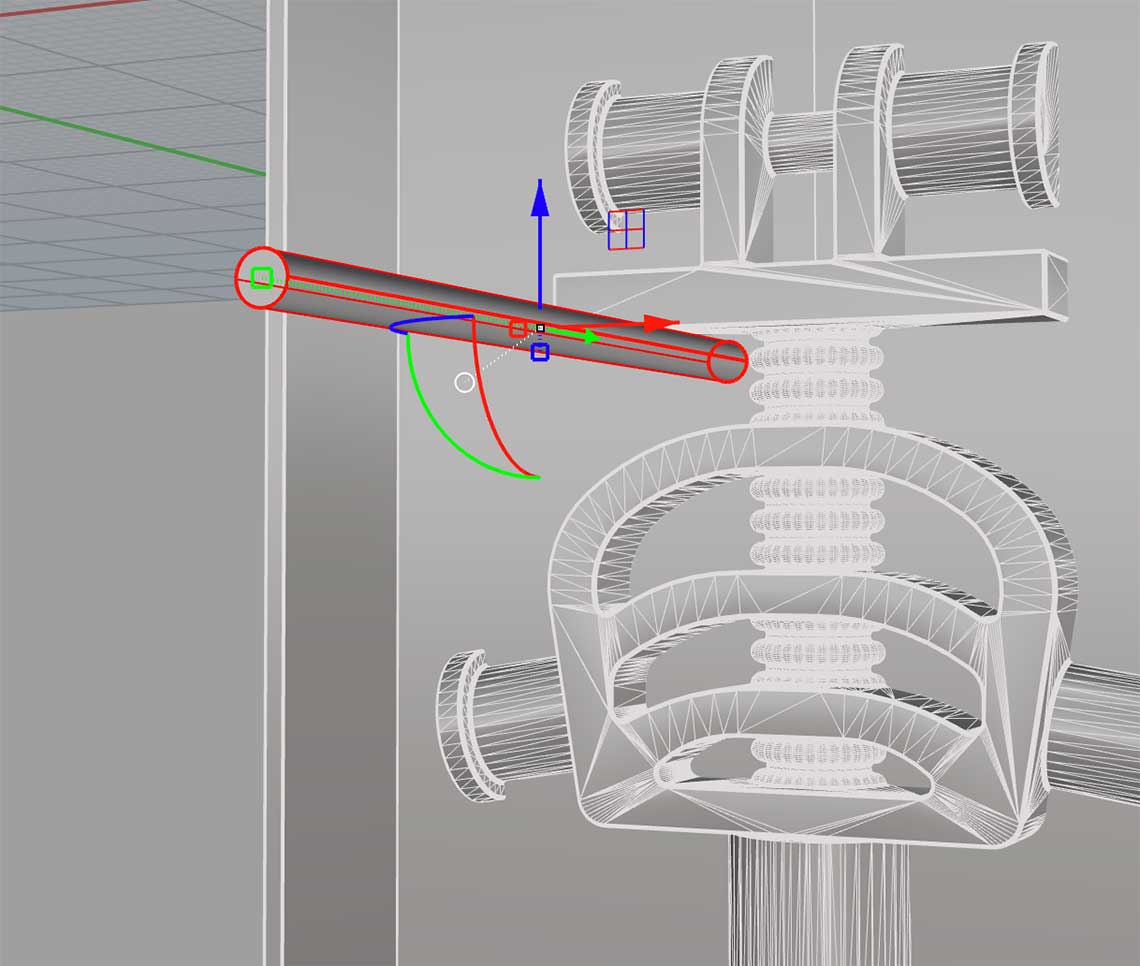 So I switched to a reagular Lego Character and did my mold around it. For the legs and arms, I will make a single mold with all the parts nested together. For the body and head, I will need a two sided mold if I want the head to be round (no undercut is possible of course), so I cut the body and head in half and I will simple make to molds. To make it easier I made a wall between the arms and legs and the torso.
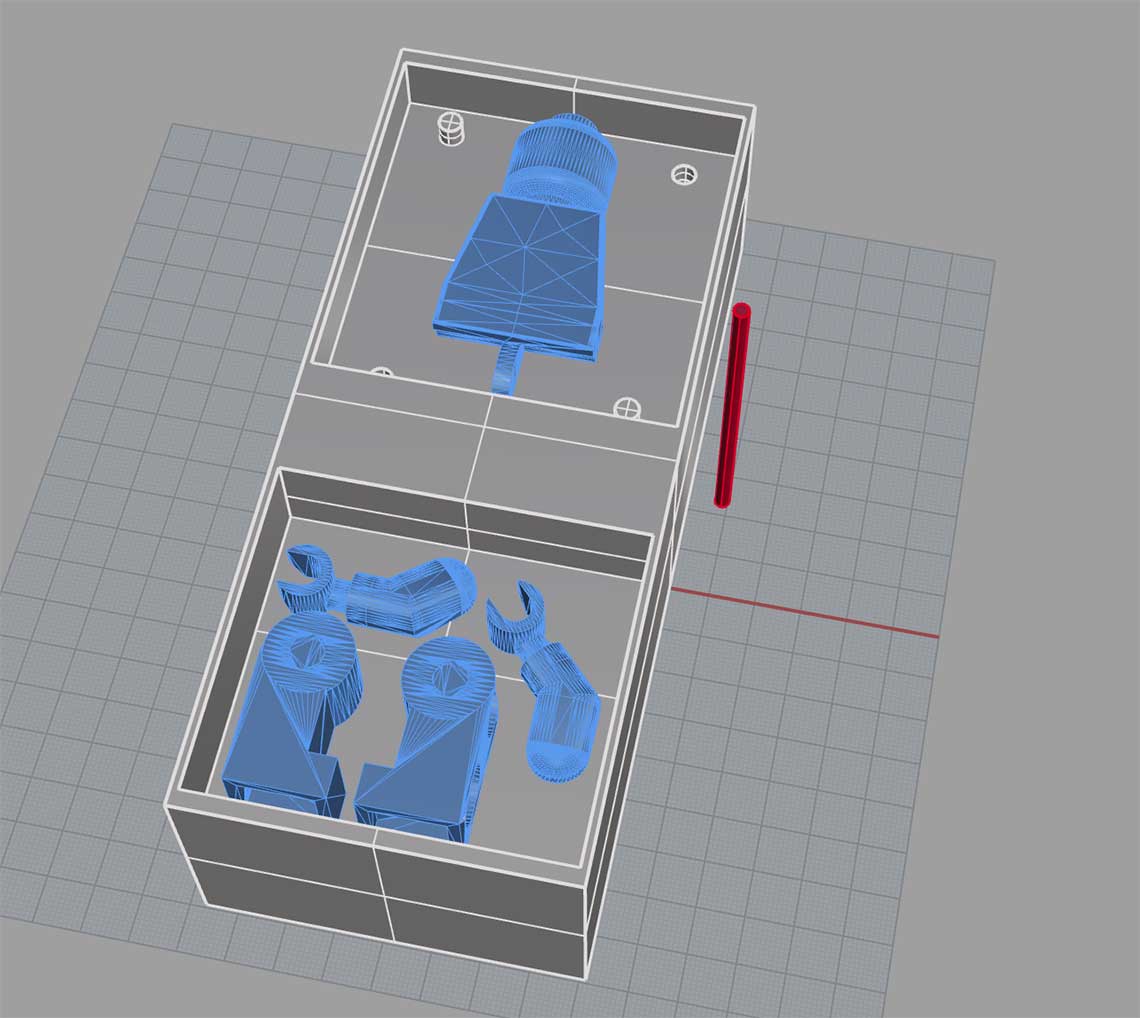 Also, I added some registration keys to make the two parts of the double mold fit together :
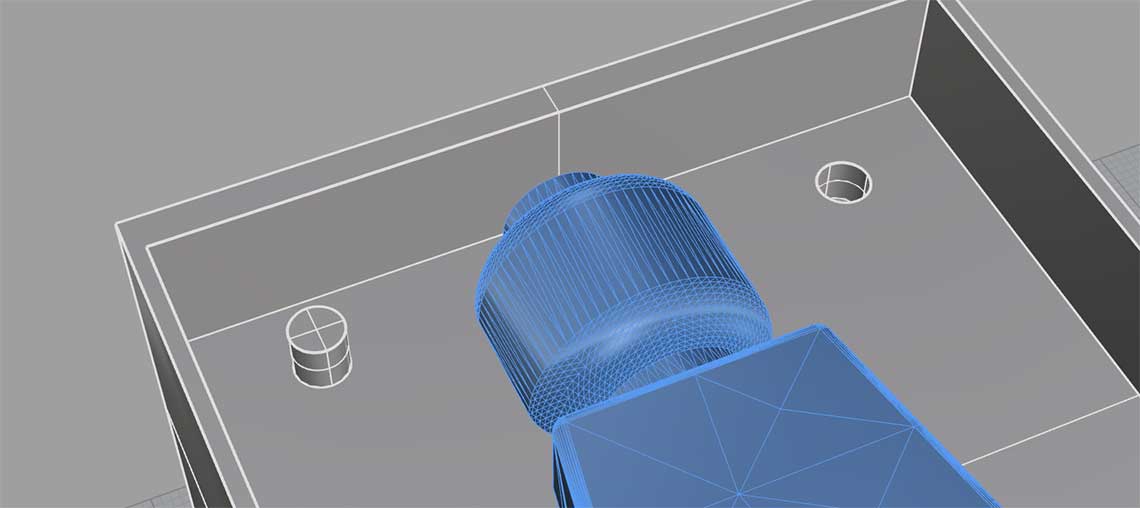 Thinking back, I made a few adjustements, the biggest one being separating the head from the body. Otherwise, with the 3mm milling bit, the neck would have been too thick. The final mold should look like this :
Machining
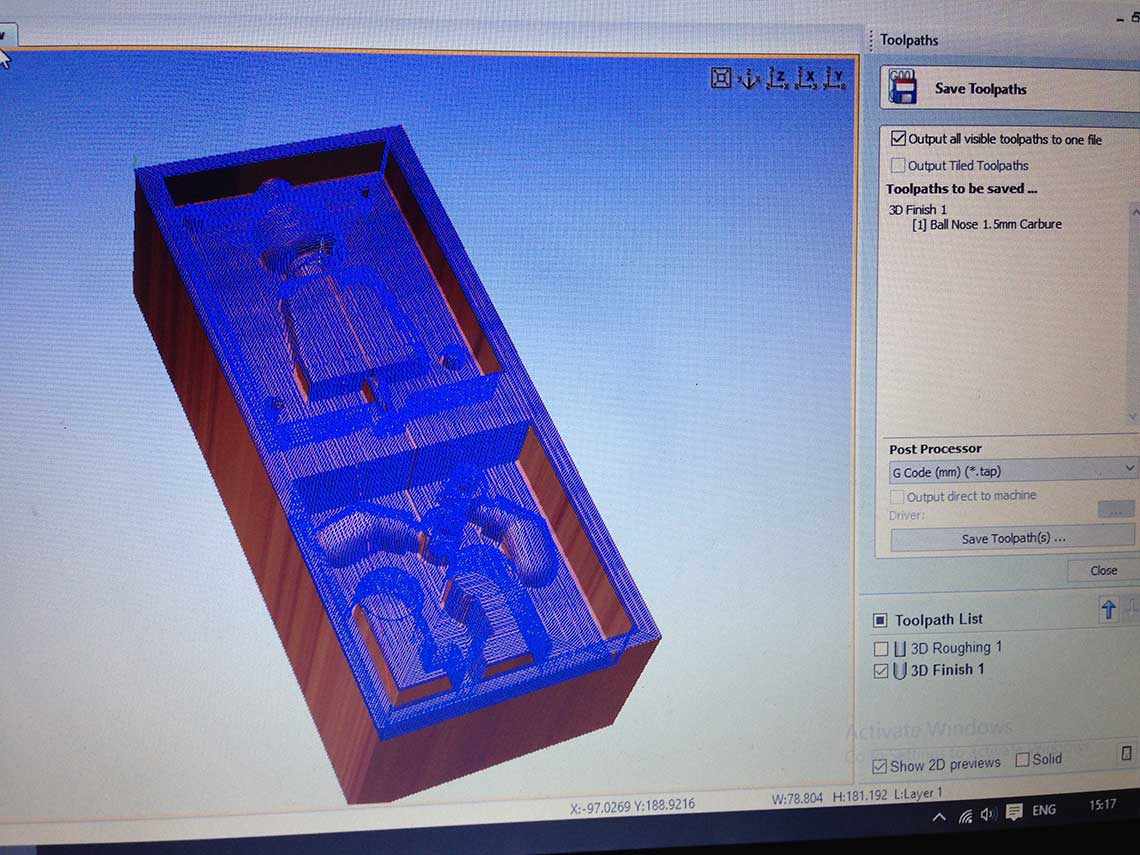
After that I prepared the toolpaths with V-Carve.For the rough cut finally we would use a 4mm square bit, and a 1.5mm ball-nose one for the finish cut :
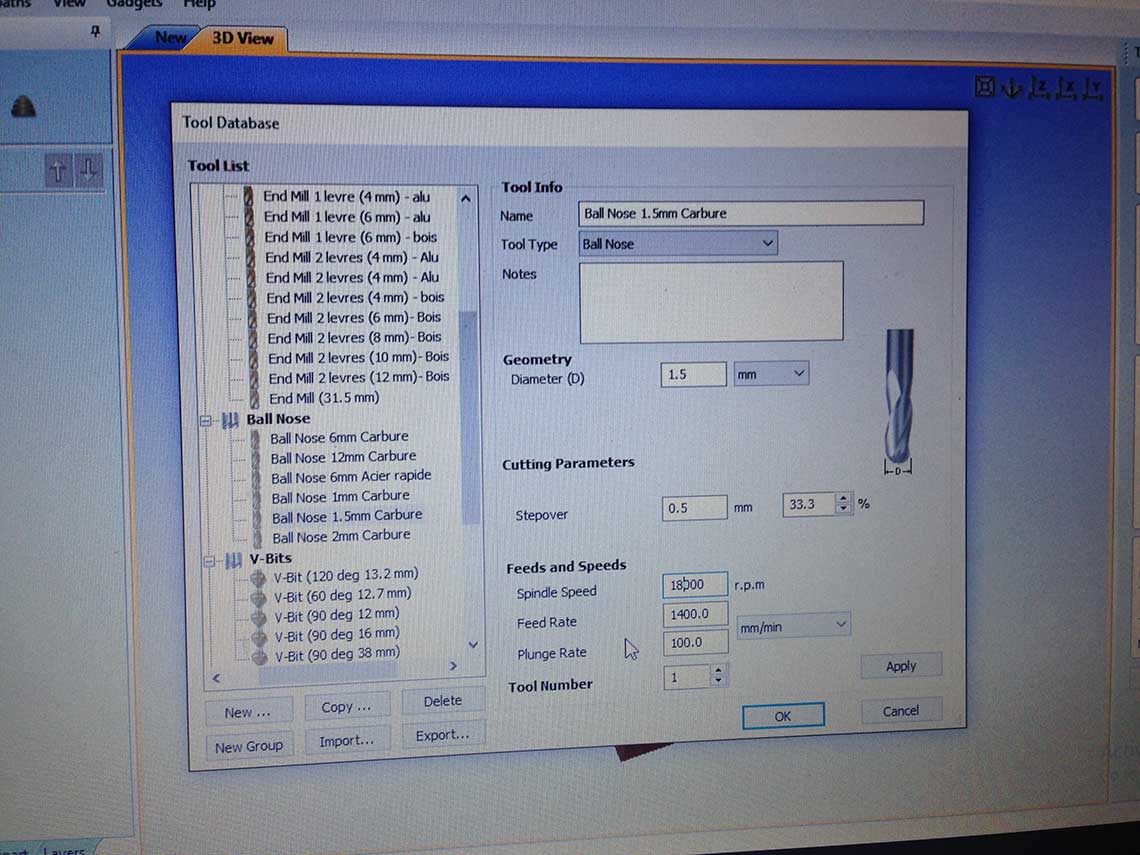
 Here are the parameters I used in V-Carve :
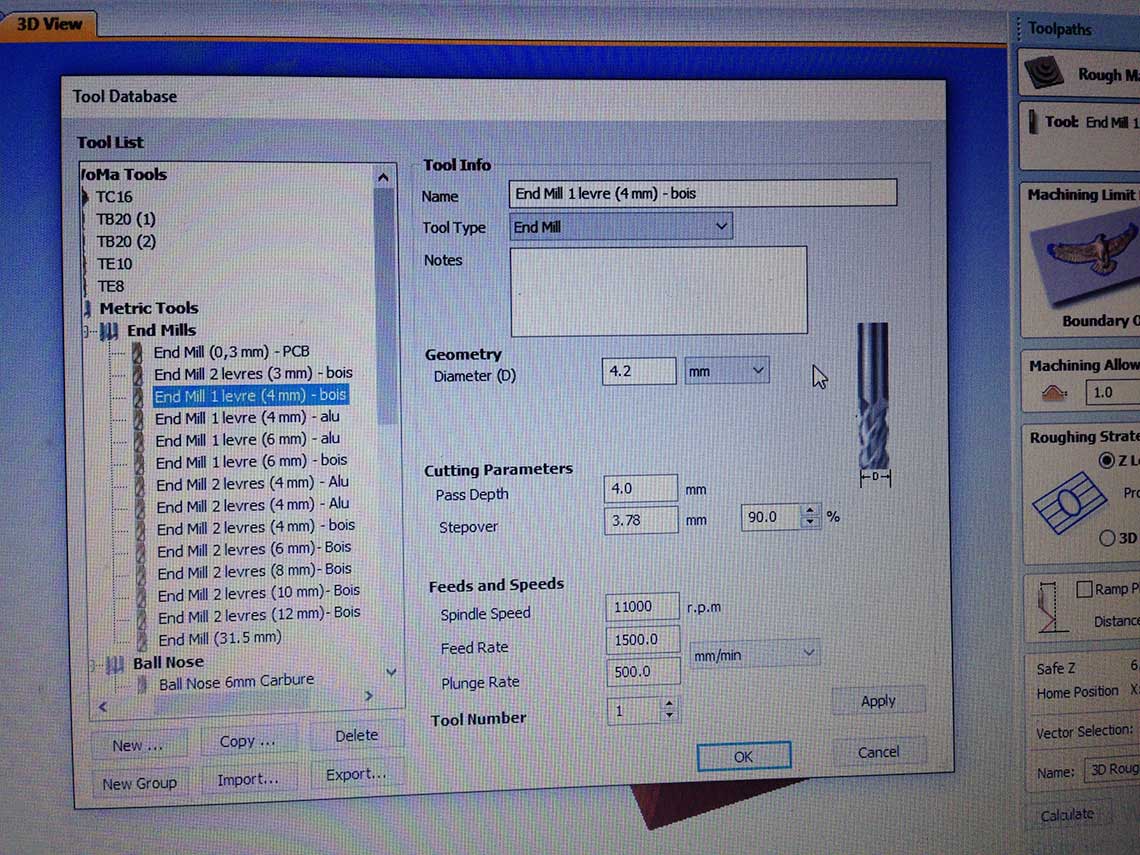
 For the milling, we used the big CNC Perez Camps mill that we've been using from the start, even for making PCBs :
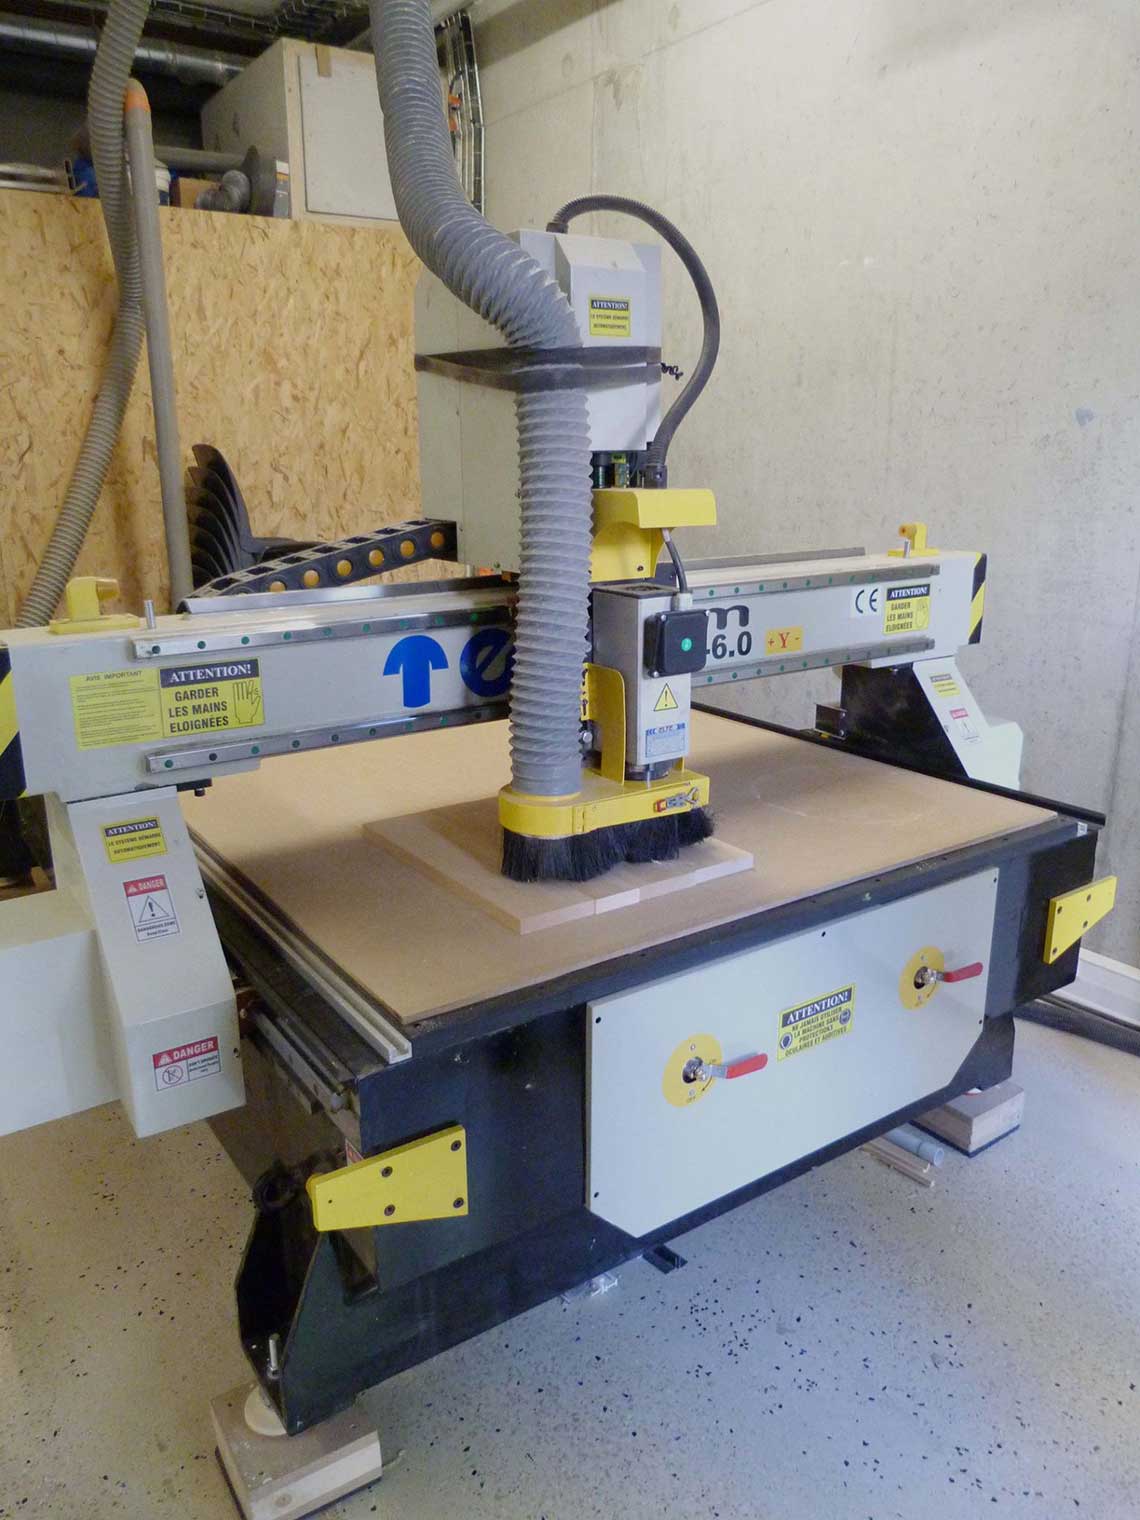 To hold the wax block in place on the bed of the machine, I used some double-sided tape and some wood boards to prevent it from moving sideways.
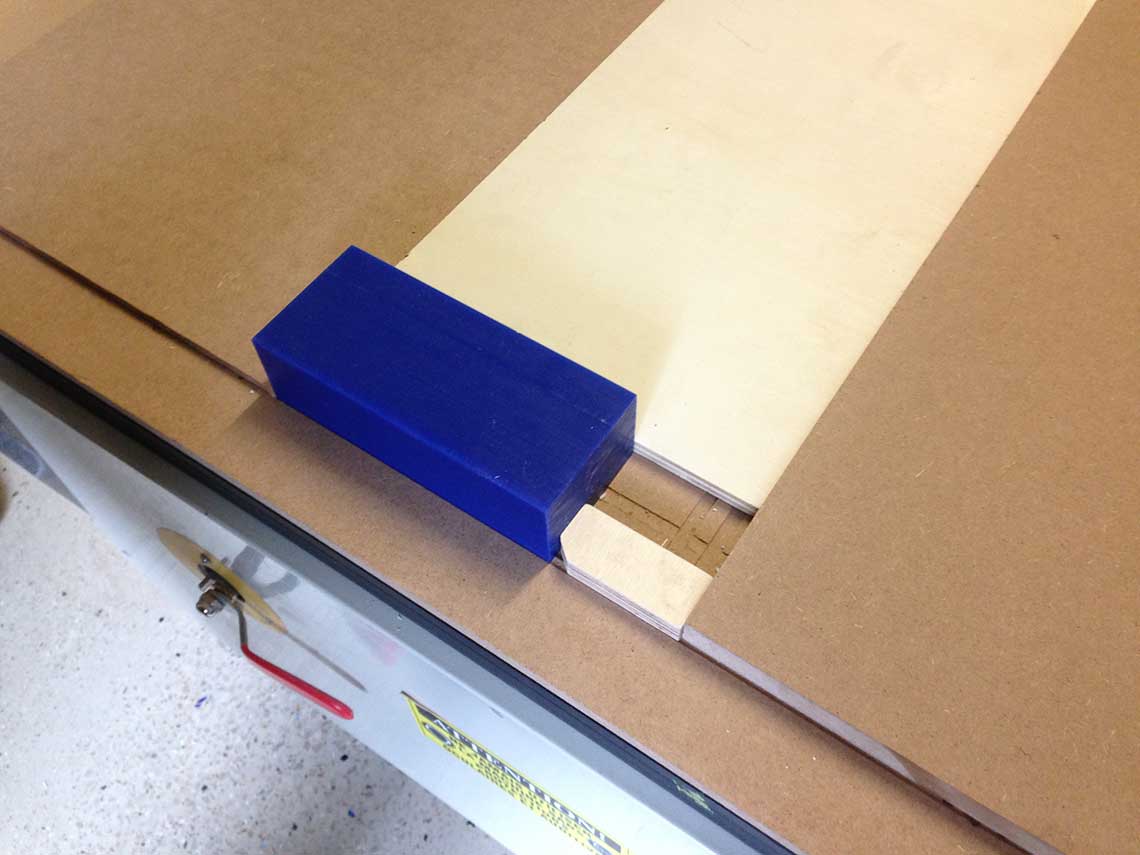 After 20minutes, the rough cut was done. It worked ok except for the fact the left "wall" was completely cut away, because I probably did not do my x and y origin precisely enough.
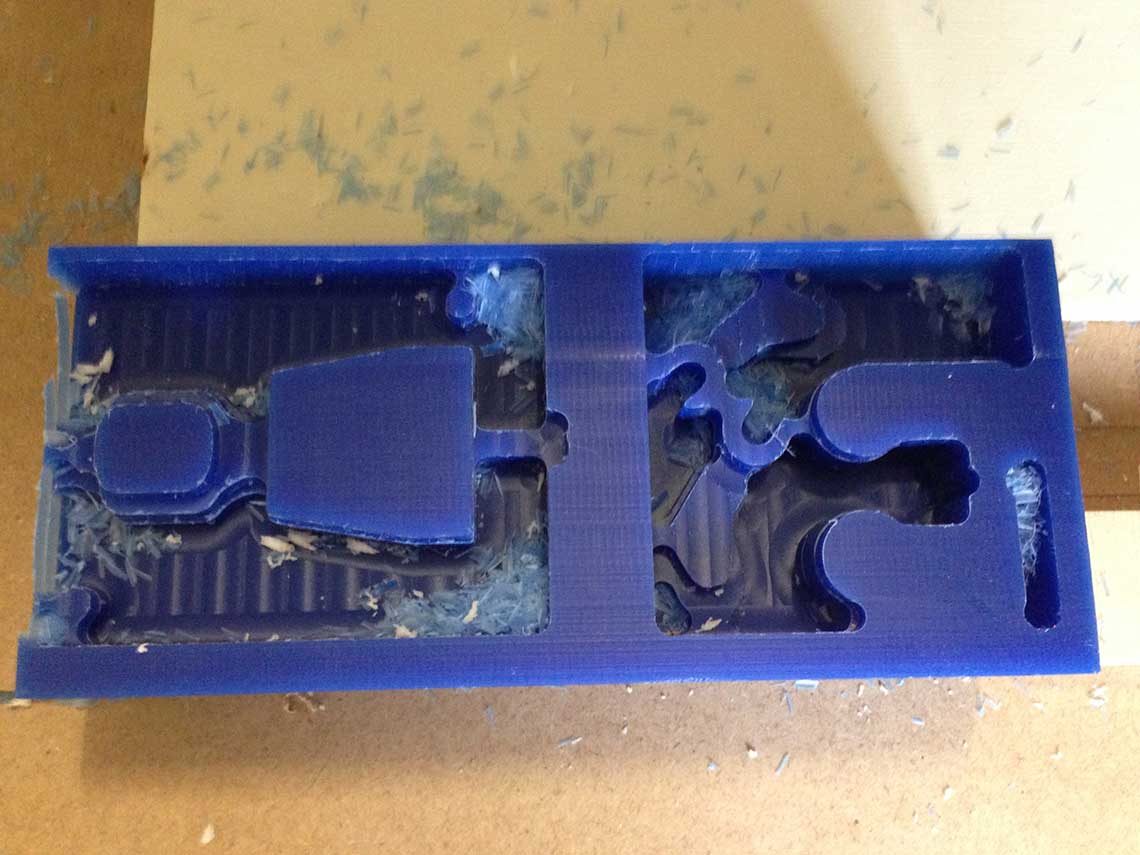
 So here we go, let's redo my stl...
 In the modified design, I decided to give up the idea of doing a double sided mold : I will do one mold for the head and body, like for the other parts, and I will cast two versions of them that I will glue together. This way the mold will be simpler to make : no registration keys or central wall will be necessary. I also reviewed the display of the parts in the mold to be sure to have at least 4mm between each parts and between the parts and the walls :
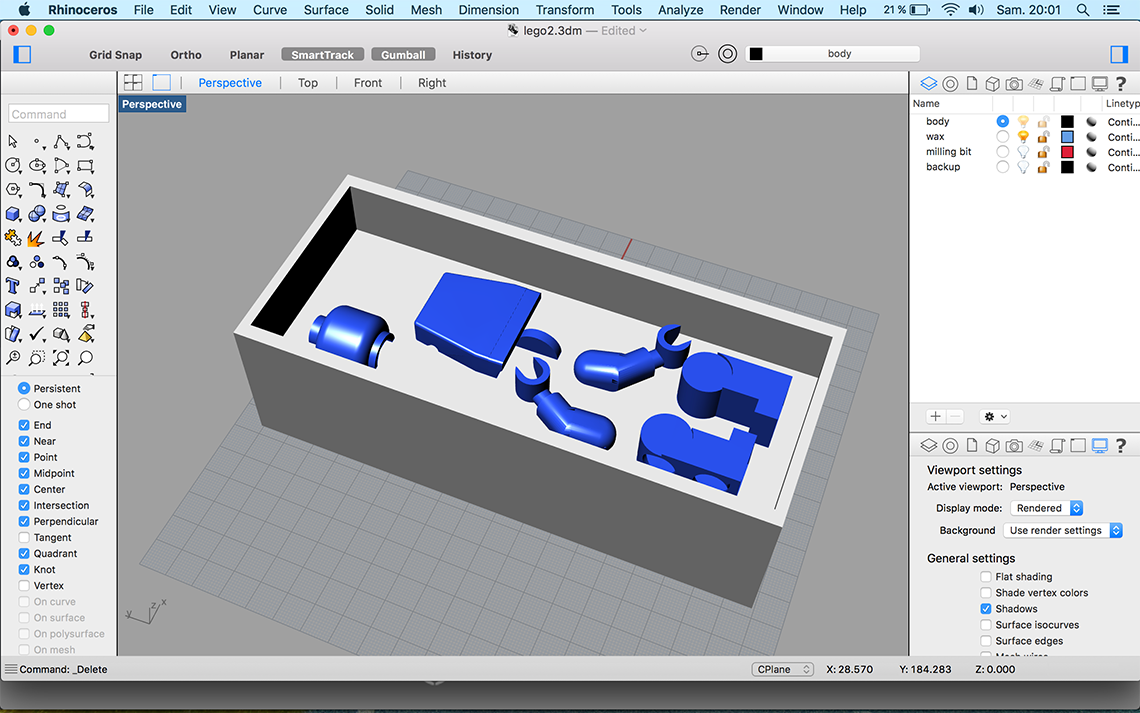 Then I redid the toolpaths, but this time using only the 4mm square bit. I chose to do two rough cuts and no finish cut (because we did not have any suitable bit for this). For the first rough cut, I used those parameter and I chose a 3D raster along x :
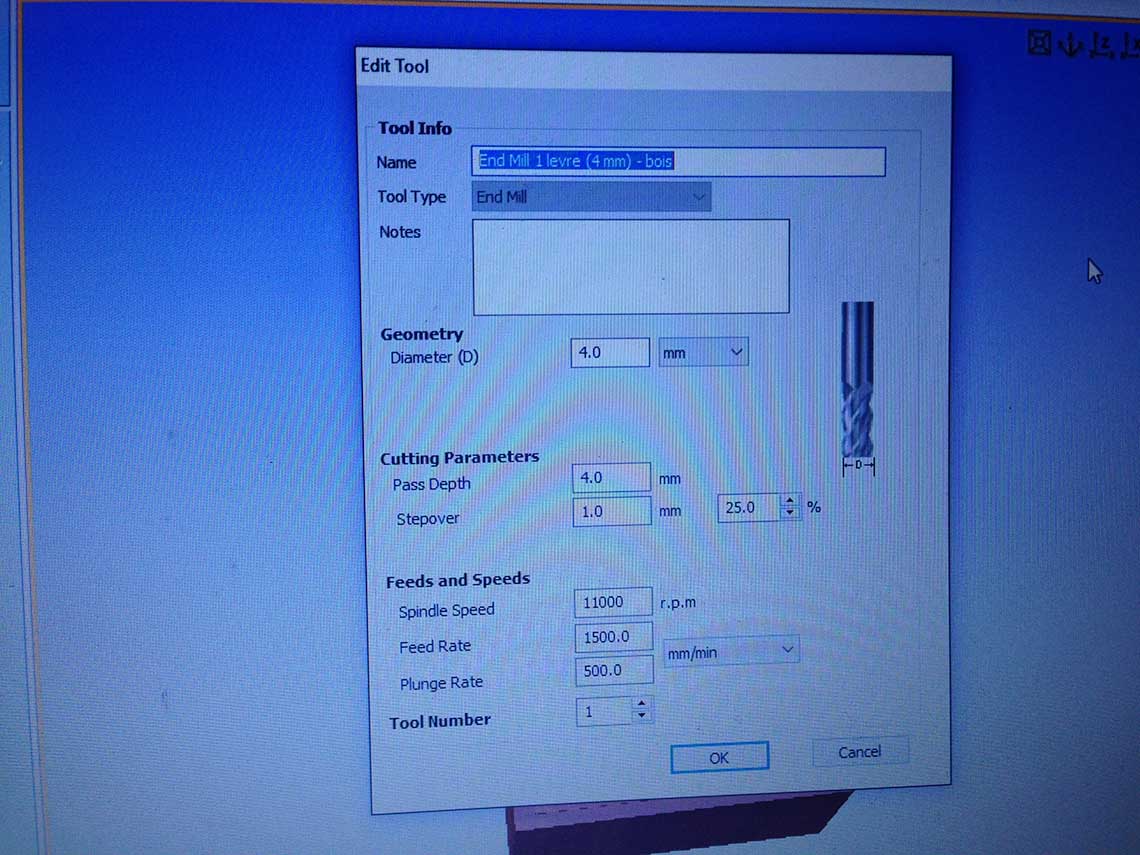 And for the second roughcut I chose this time the 3D raster along y and those settings :
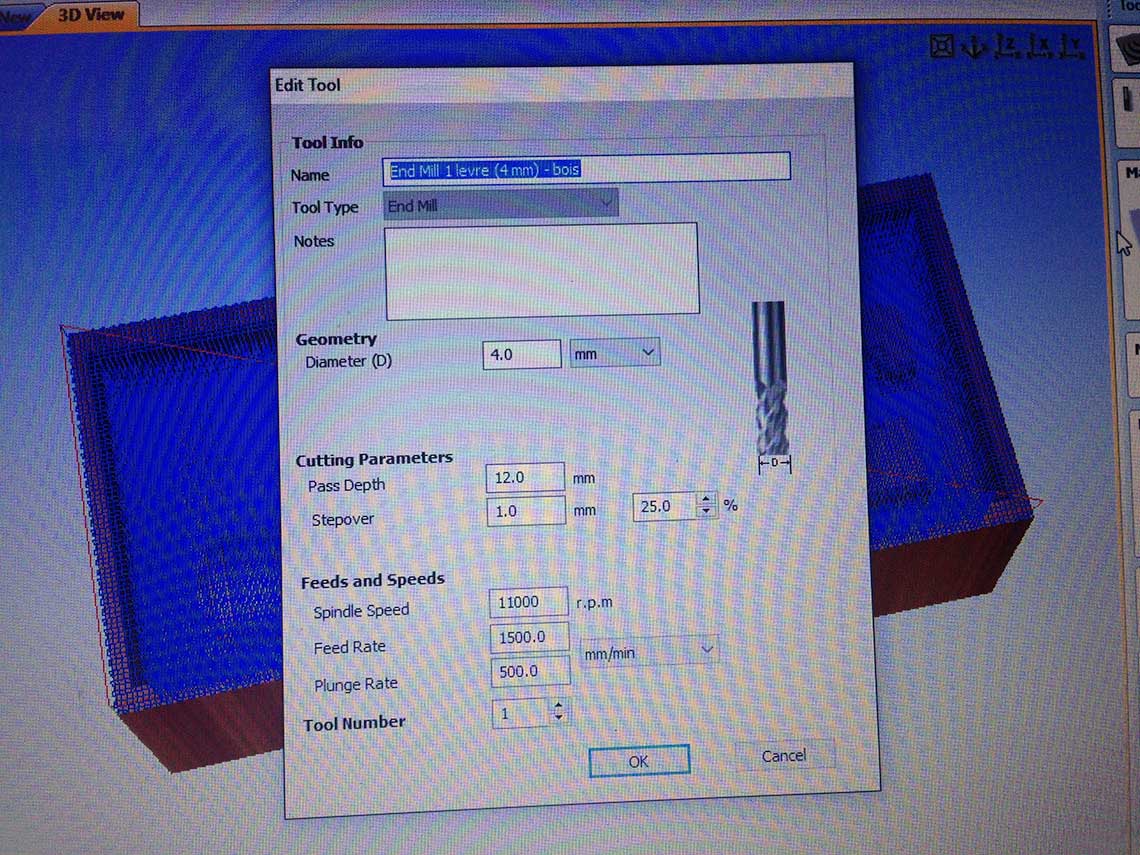 Estimated machining time with those two toolpaths :
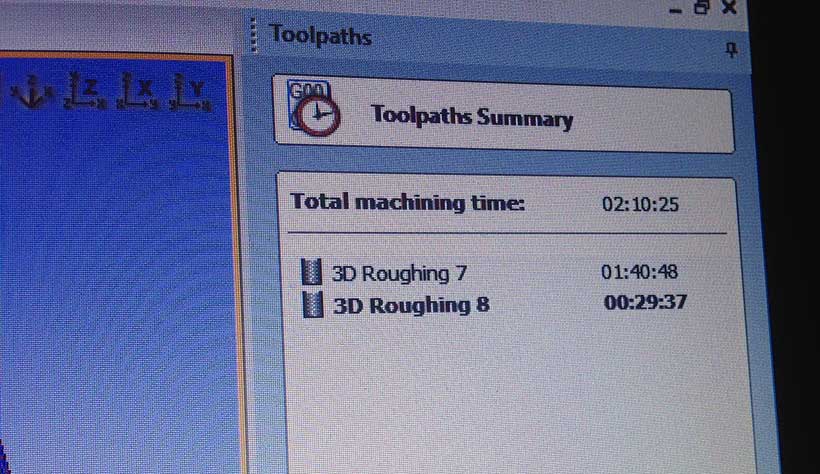 I checked again the toolpaths with Arnaud, who is the Fab manager at Woma and we managed to optimize them in order to gain some time without loosing quality : higher feed rate and plunge rate, lower stepover. The final settings for x and y are below :
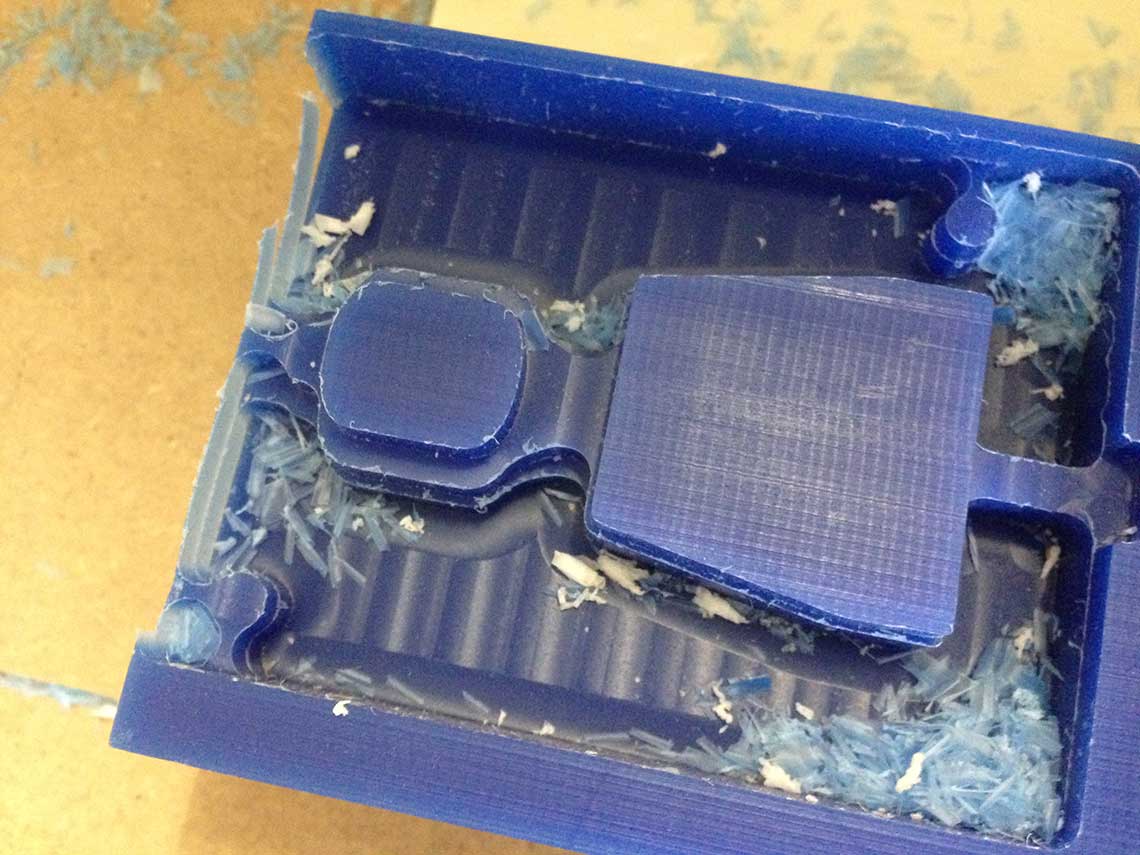
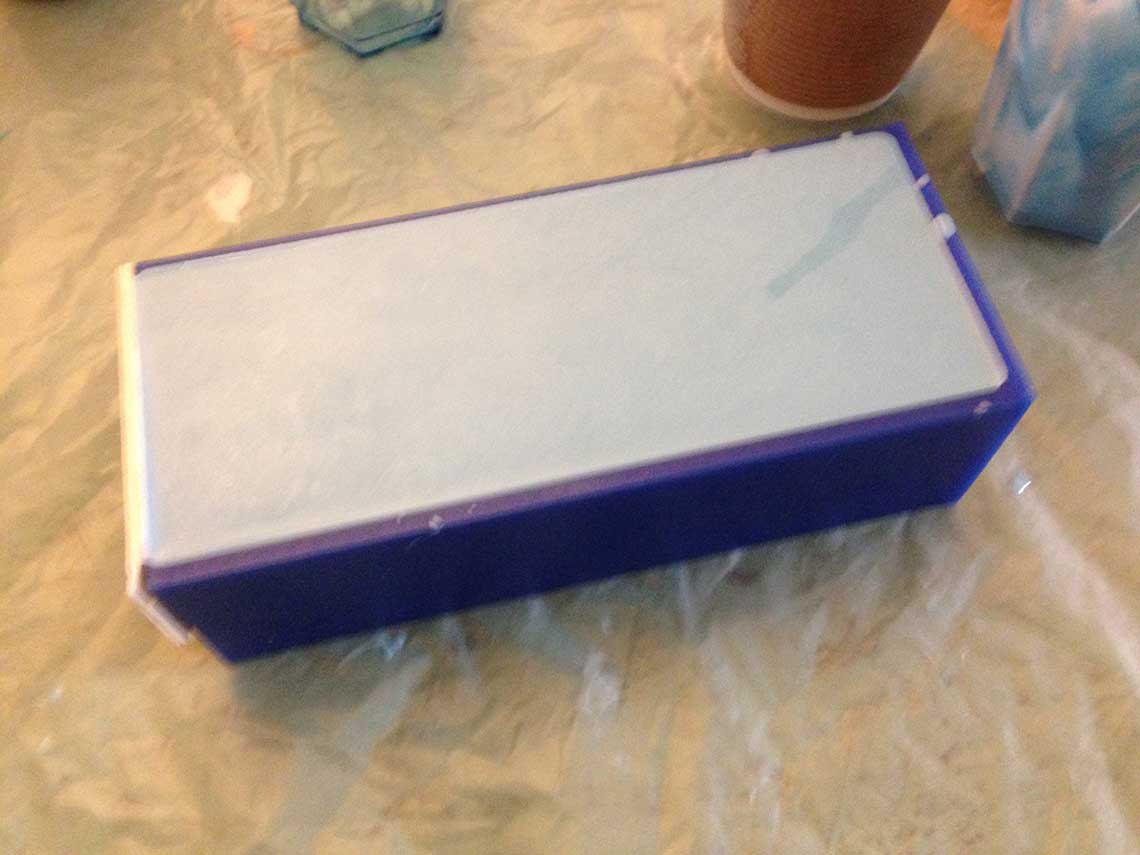
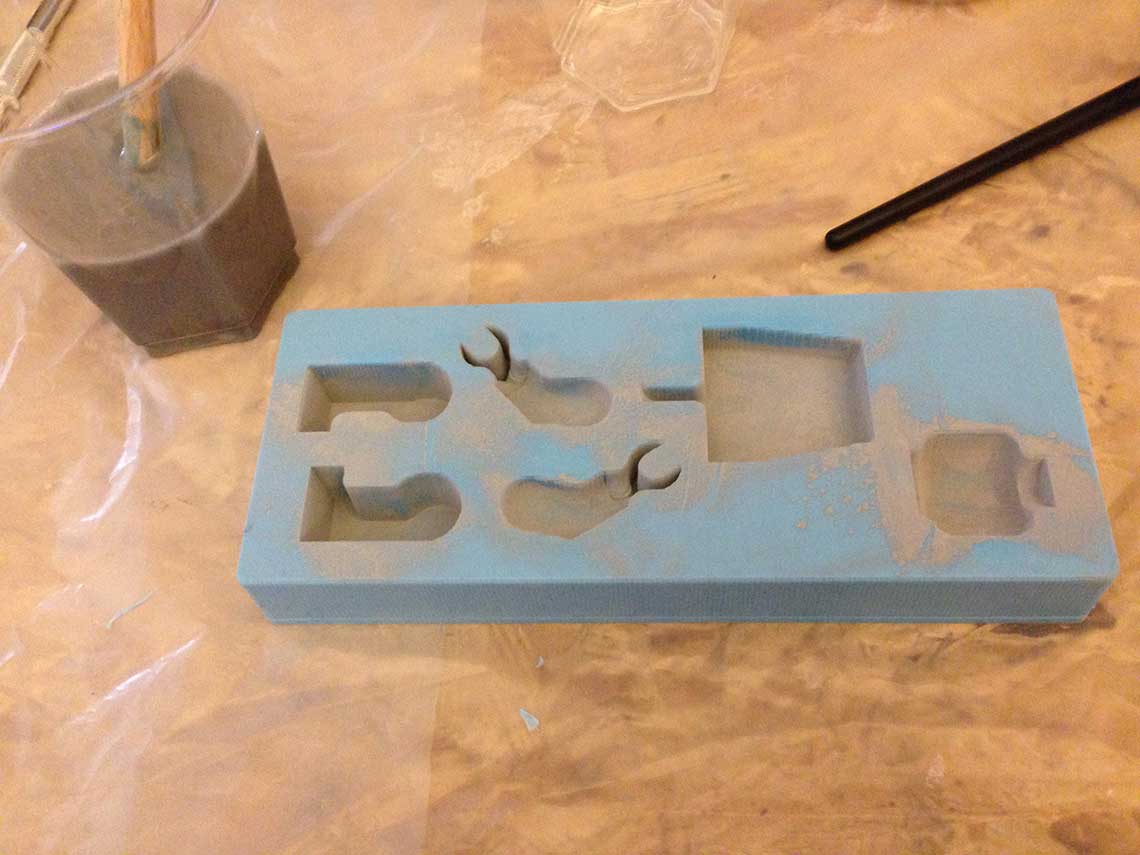
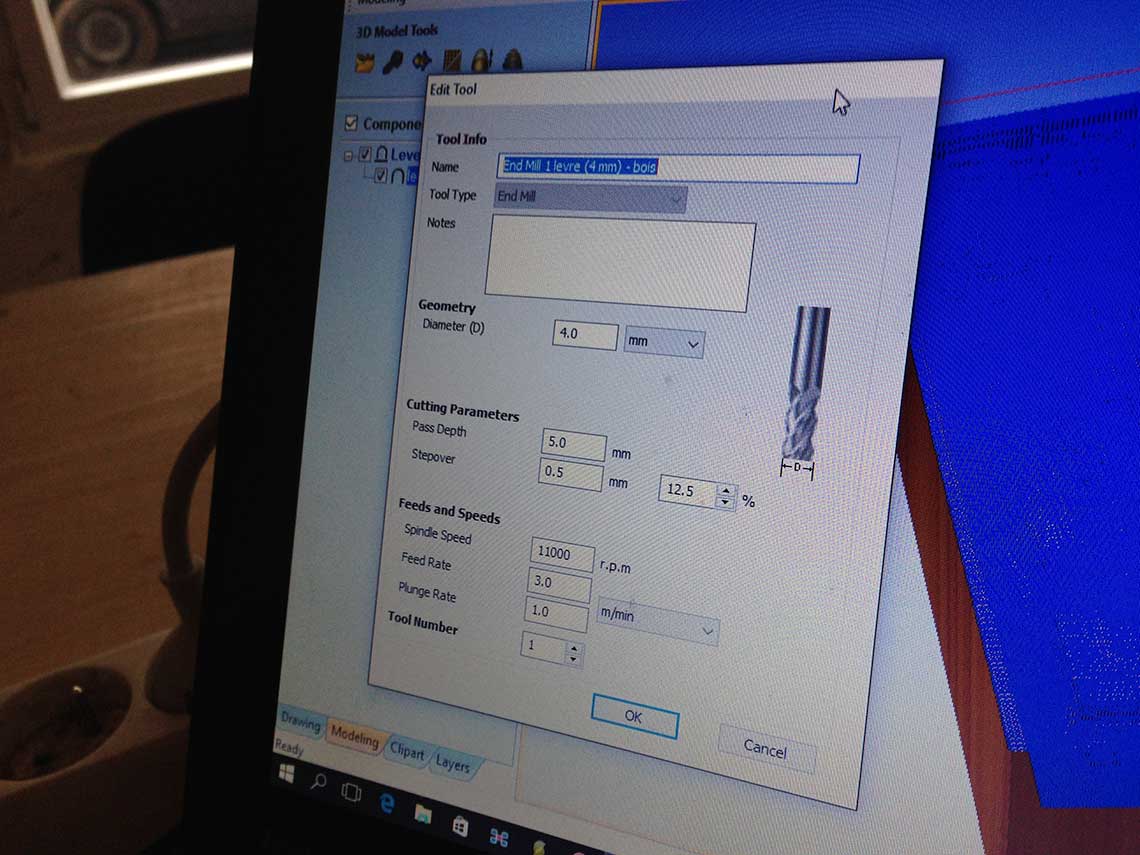 This way I gained one hour of machining ! Here is the final result. Pretty clean and precise ! I still have the same issue with one of the walls which is too thin but this won't be a problem.
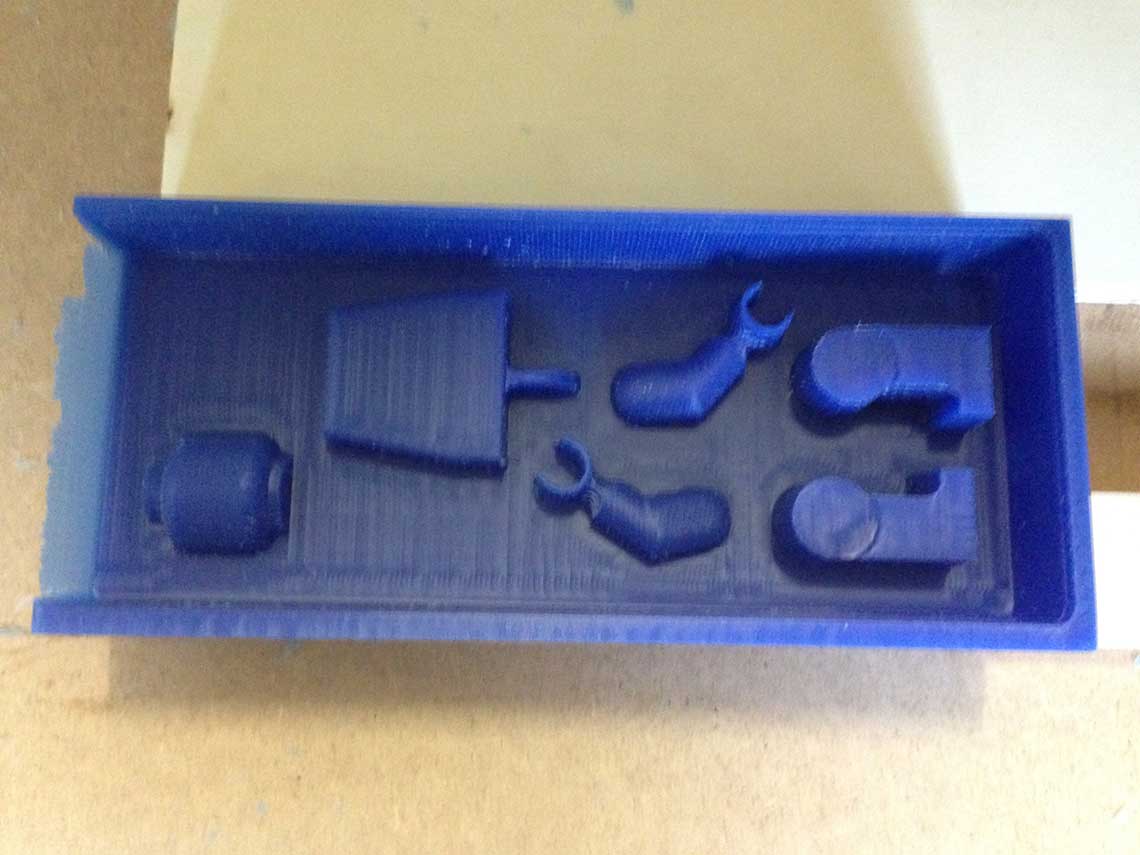
Molding
Step 1 : making the rubber print.For that I began by reinforcing the thin wall with a piece of wood and some tape. Then I prepared the rubber mix.
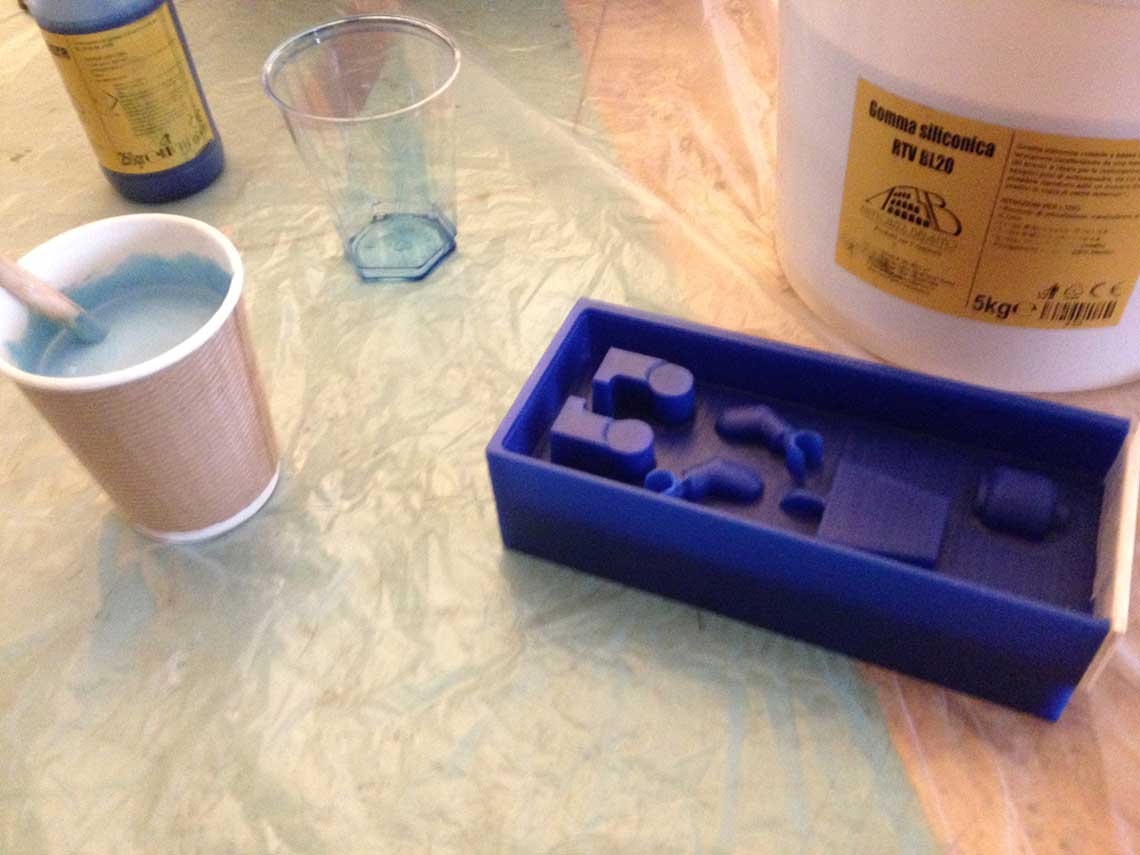 Then I brushed the inner surface of the mold to avoid bubbles and have a better print :
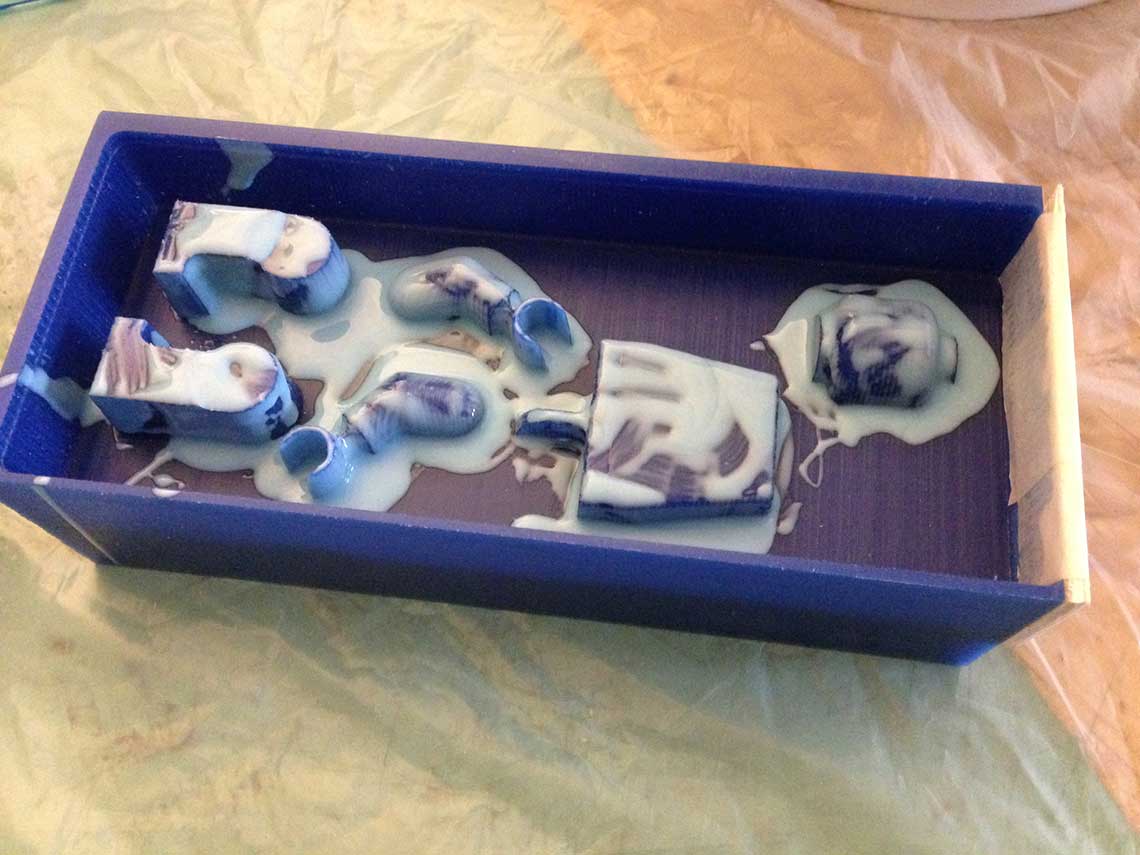 And finally I poured the rubber into the mold. I had to redo a second mix because the first batch was not enough to completely fill the mold in. I took care of putting the cup as high as possible to make a thin fillet and minimize the risk of getting bubbles.
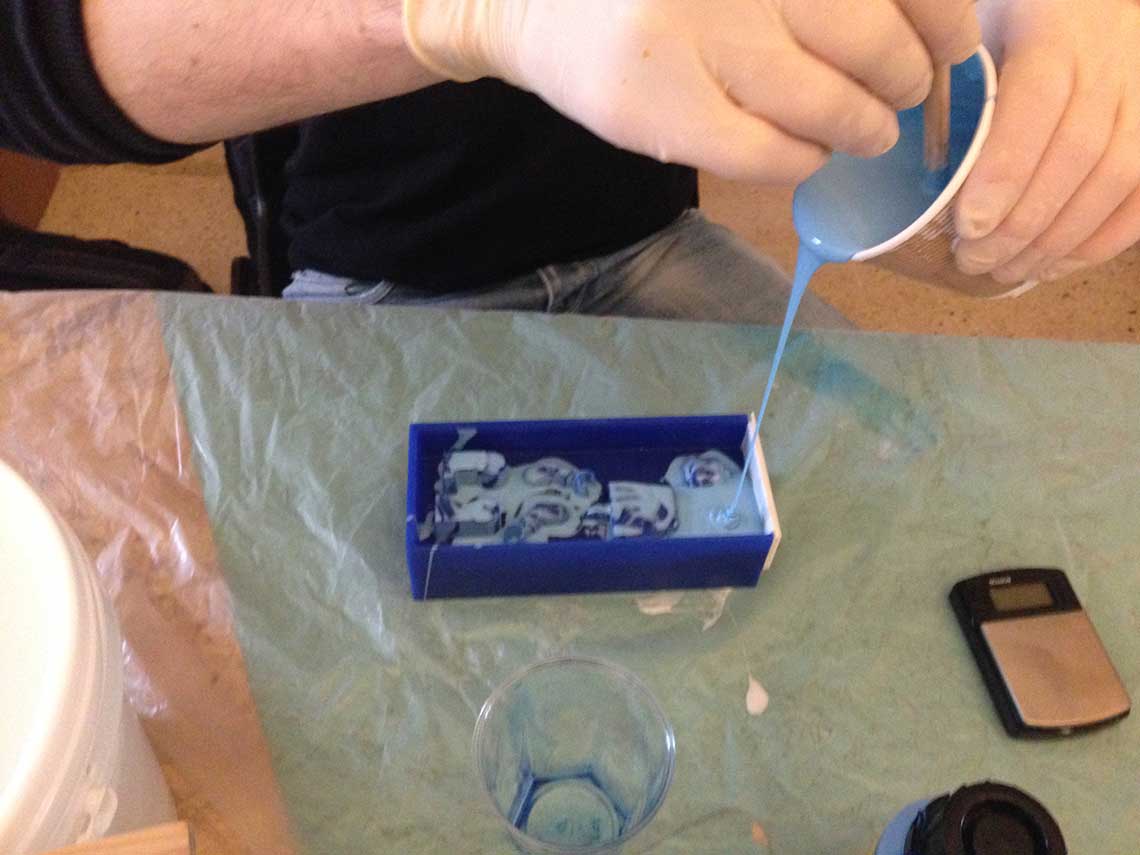
 Step 2 : casting
 For the casting my Lego character parts, I wanted to use the same technique as our instructor showed us, which is adding some metal powder to the resin mix.
 The metal powder - in this case I bought some aluminum powder - must be mixed to the component A. Then you must add the same weight of component B and stir until the mixture is homogenic.
It is important to also cover the inside of your mold with the powder. I used a paint brush for this. When the resin will have dried, that's how you will get the metal shiny effect, by polishing the parts :
 Once the mix is done, pour the resin in your mold and wait for 1h.
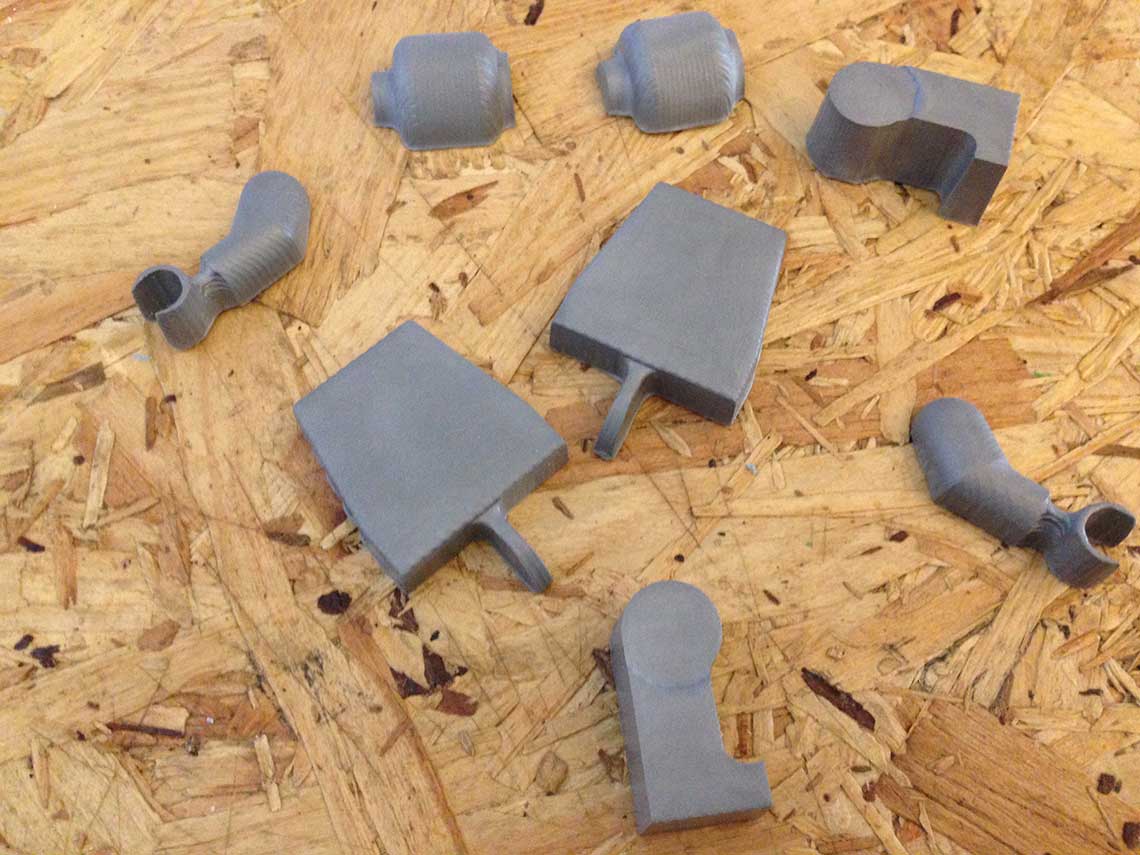
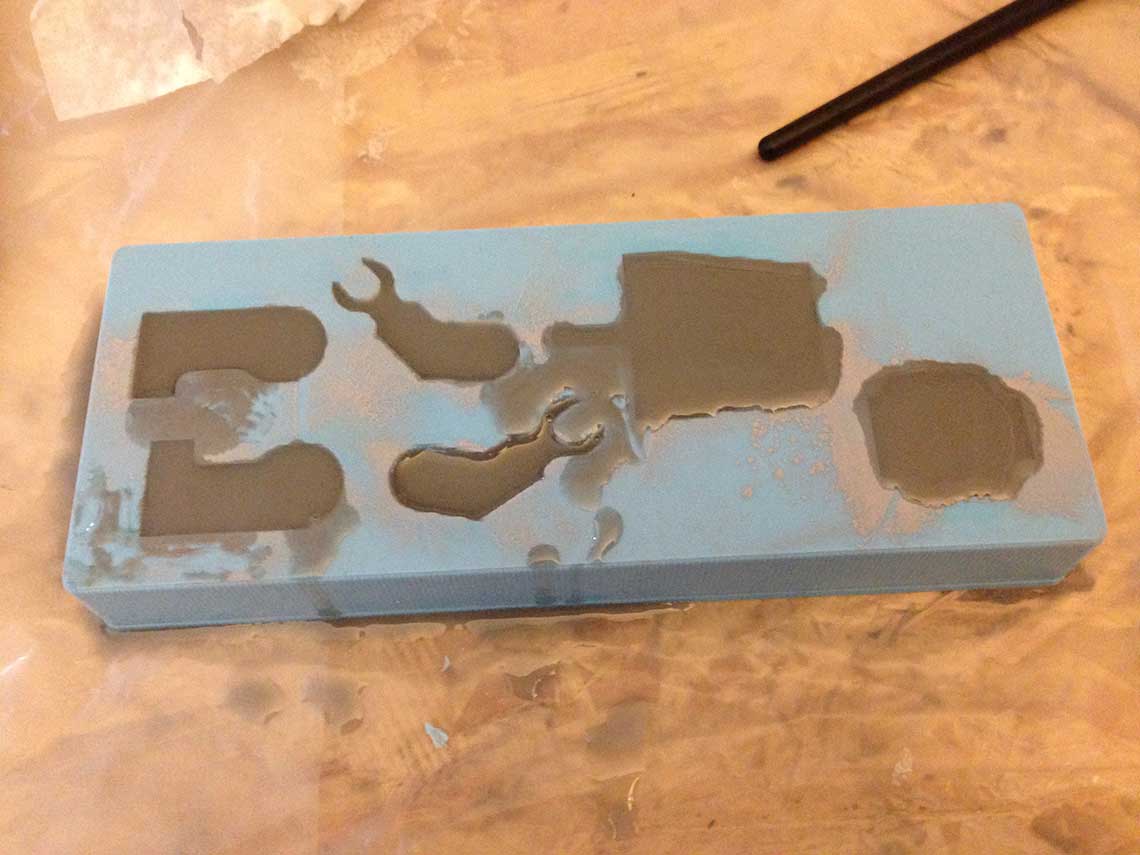 You can notice that I put just a little bit more resin than necessary in the head and body prints. This way, the two halves of the head and the body will be slightly convex. I will have to sand them a little bit but this will make it easier to glue the two parts together than if they were concave !
Of course for the head and body of my Lego character I had to repeat the casting operation twice. Here are all the casted parts, before sanding and assembly. This grey color is the result of the mix of components A and B plus the alimunium powder :
 For the assembly I just use some more resin to make the part stick together. I also used it to fill in some of the gaps between the head and body halves :
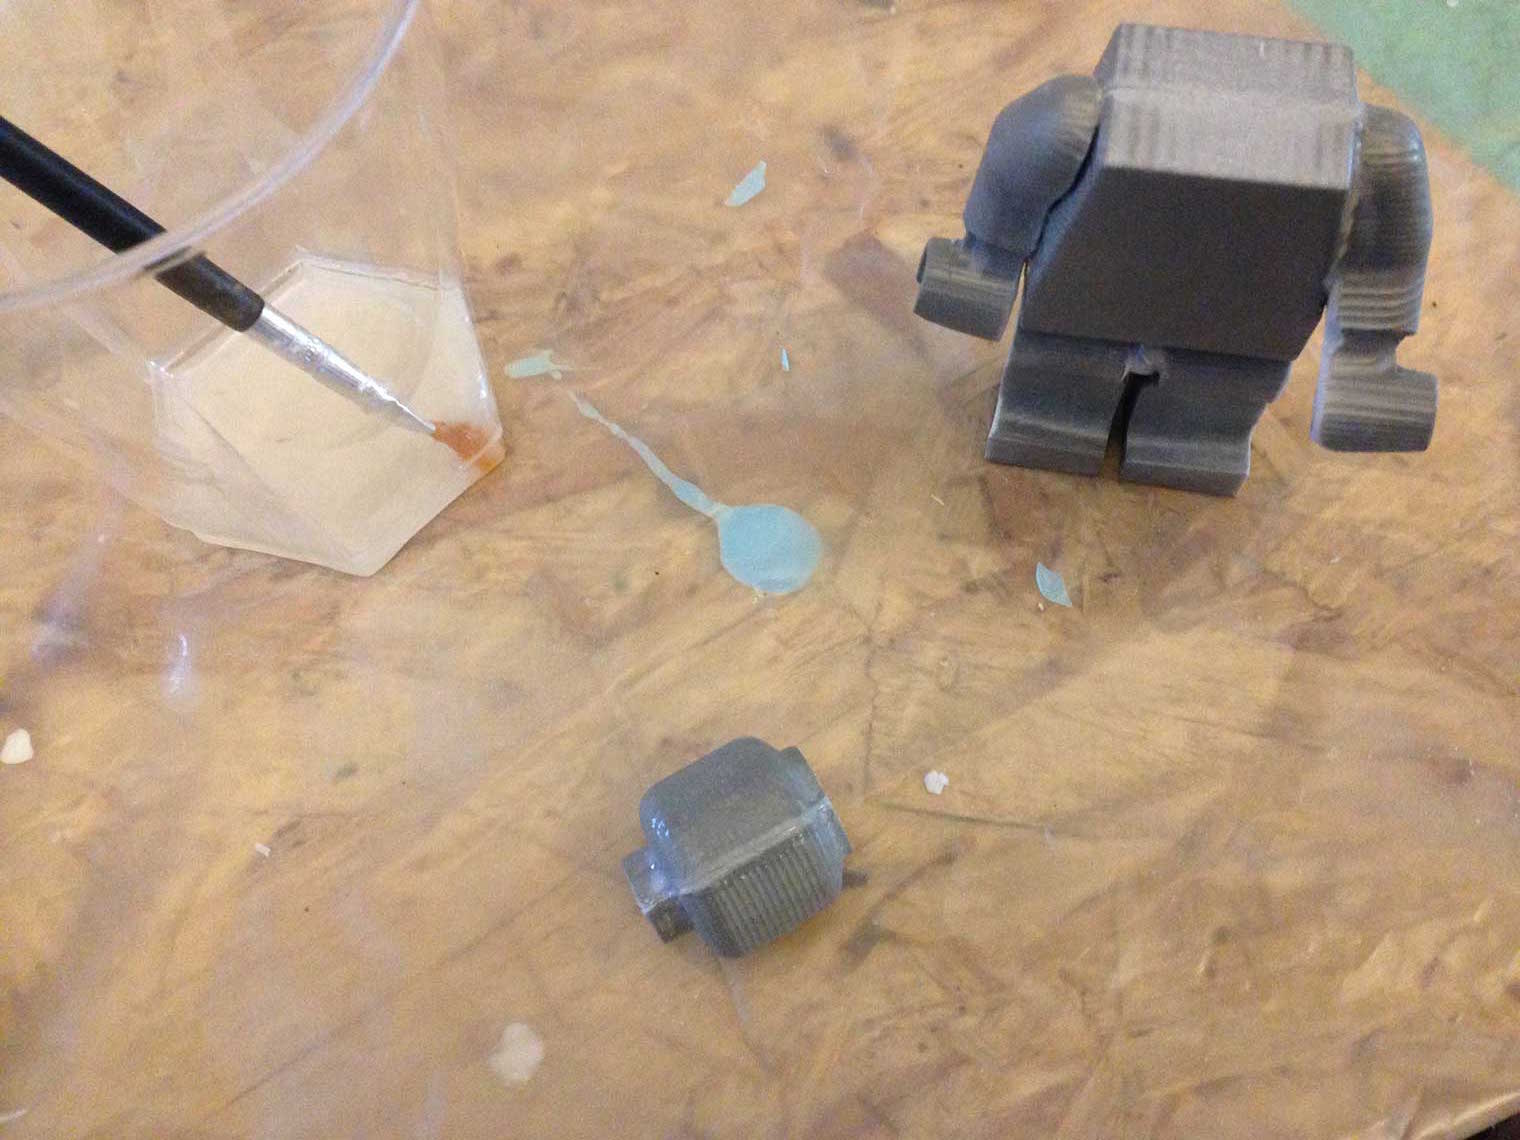
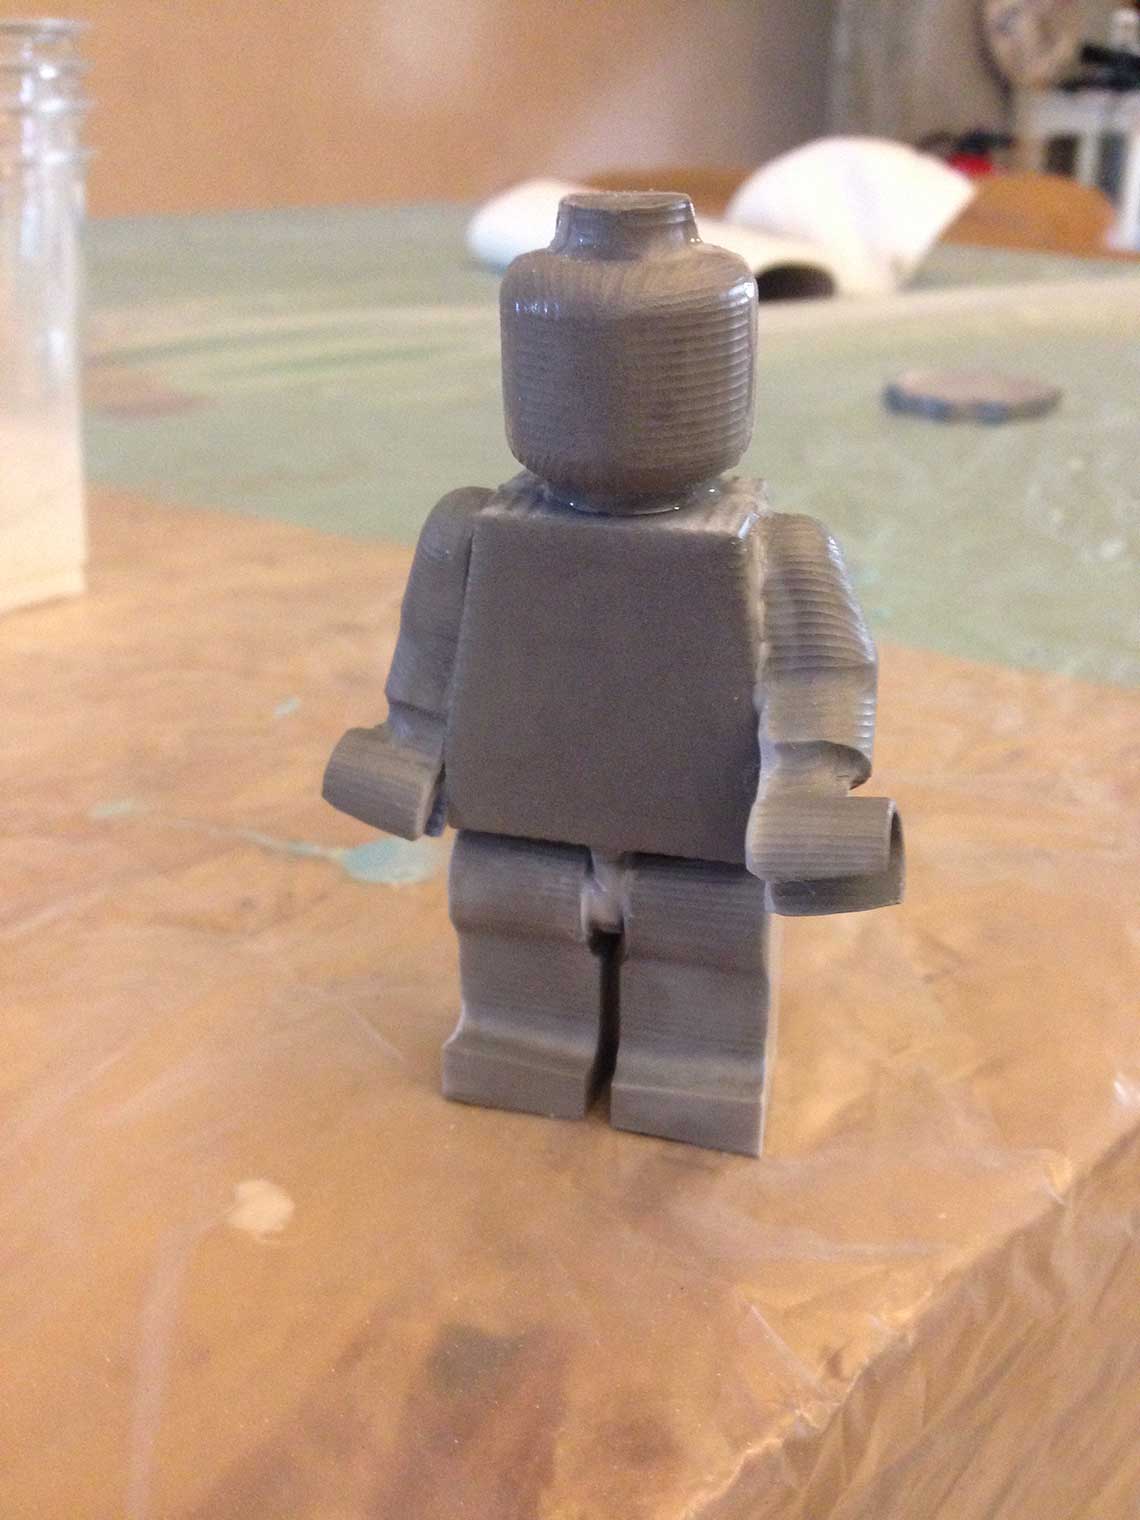 Globally it looks ok although some part don't fit together as well as they should... Also, the outer part of the legs was not in contact with the rubber mold, so it did not recieve any powder. This means that I won't be able to make it look like metal :(
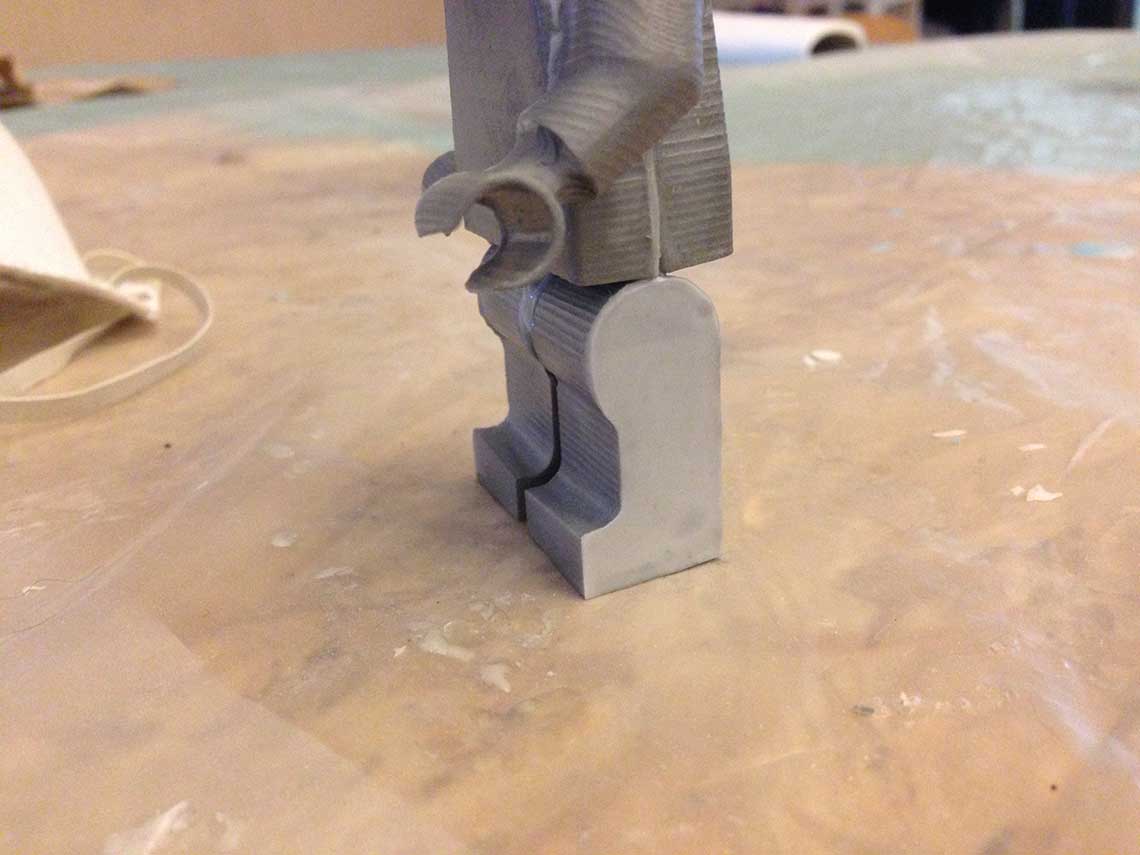 But I tried anyway to polish the whole piece to see what would be the result. I used steel wool and a polishing disk mounted on a drill. The steel wool worked a little bit but since I sanded some parts and put some resin without metal powder on others, the result is not so good... I will probably paint my figurine later.
Final result I must say I am quite happy with it ! Despite the metal effect which is not a success, it looks like a decent Lego character :) Here he is, among his kind :