Assignment for week 3 Computer-Controlled Cutting
1.Design, make, and document a press-fit construction kit
2.Get familiar with parametric design tools
3.Learn how to use the laser cutter and the vinyl cutter Use cardboard!
4.The press-fit construction kit should make up more than one form
Rapid prototyping with the laser cutter- Design brief:
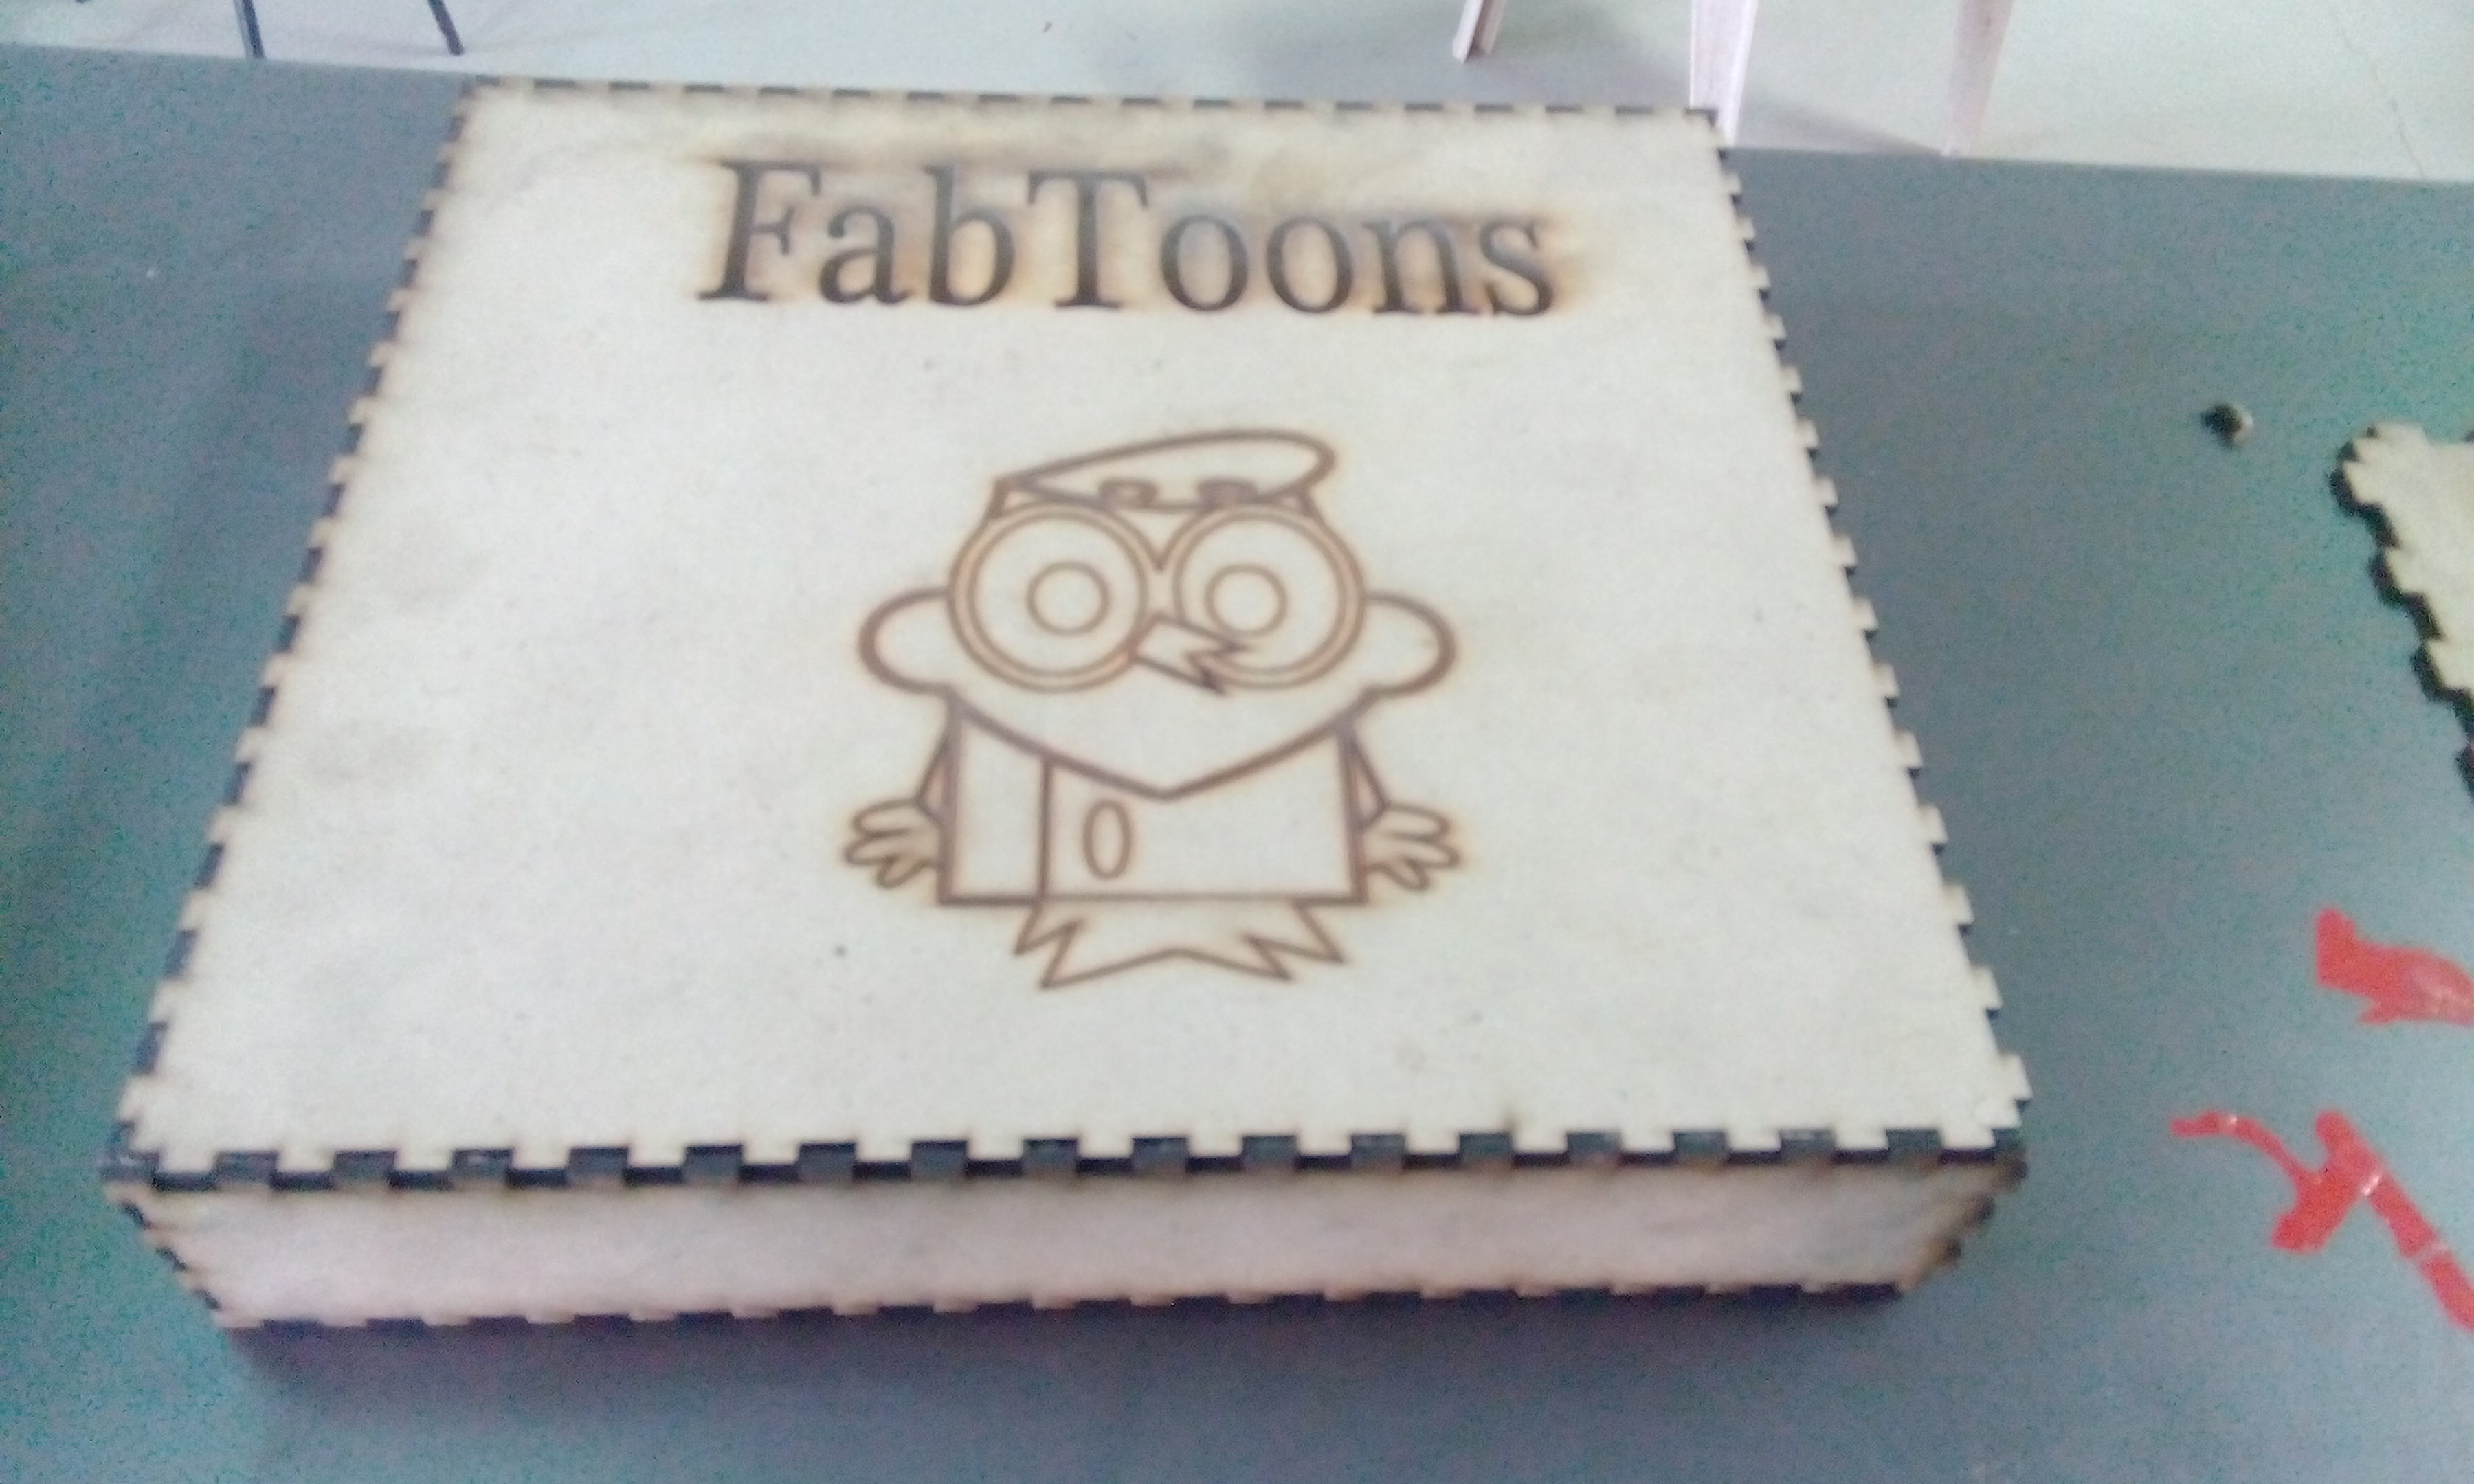
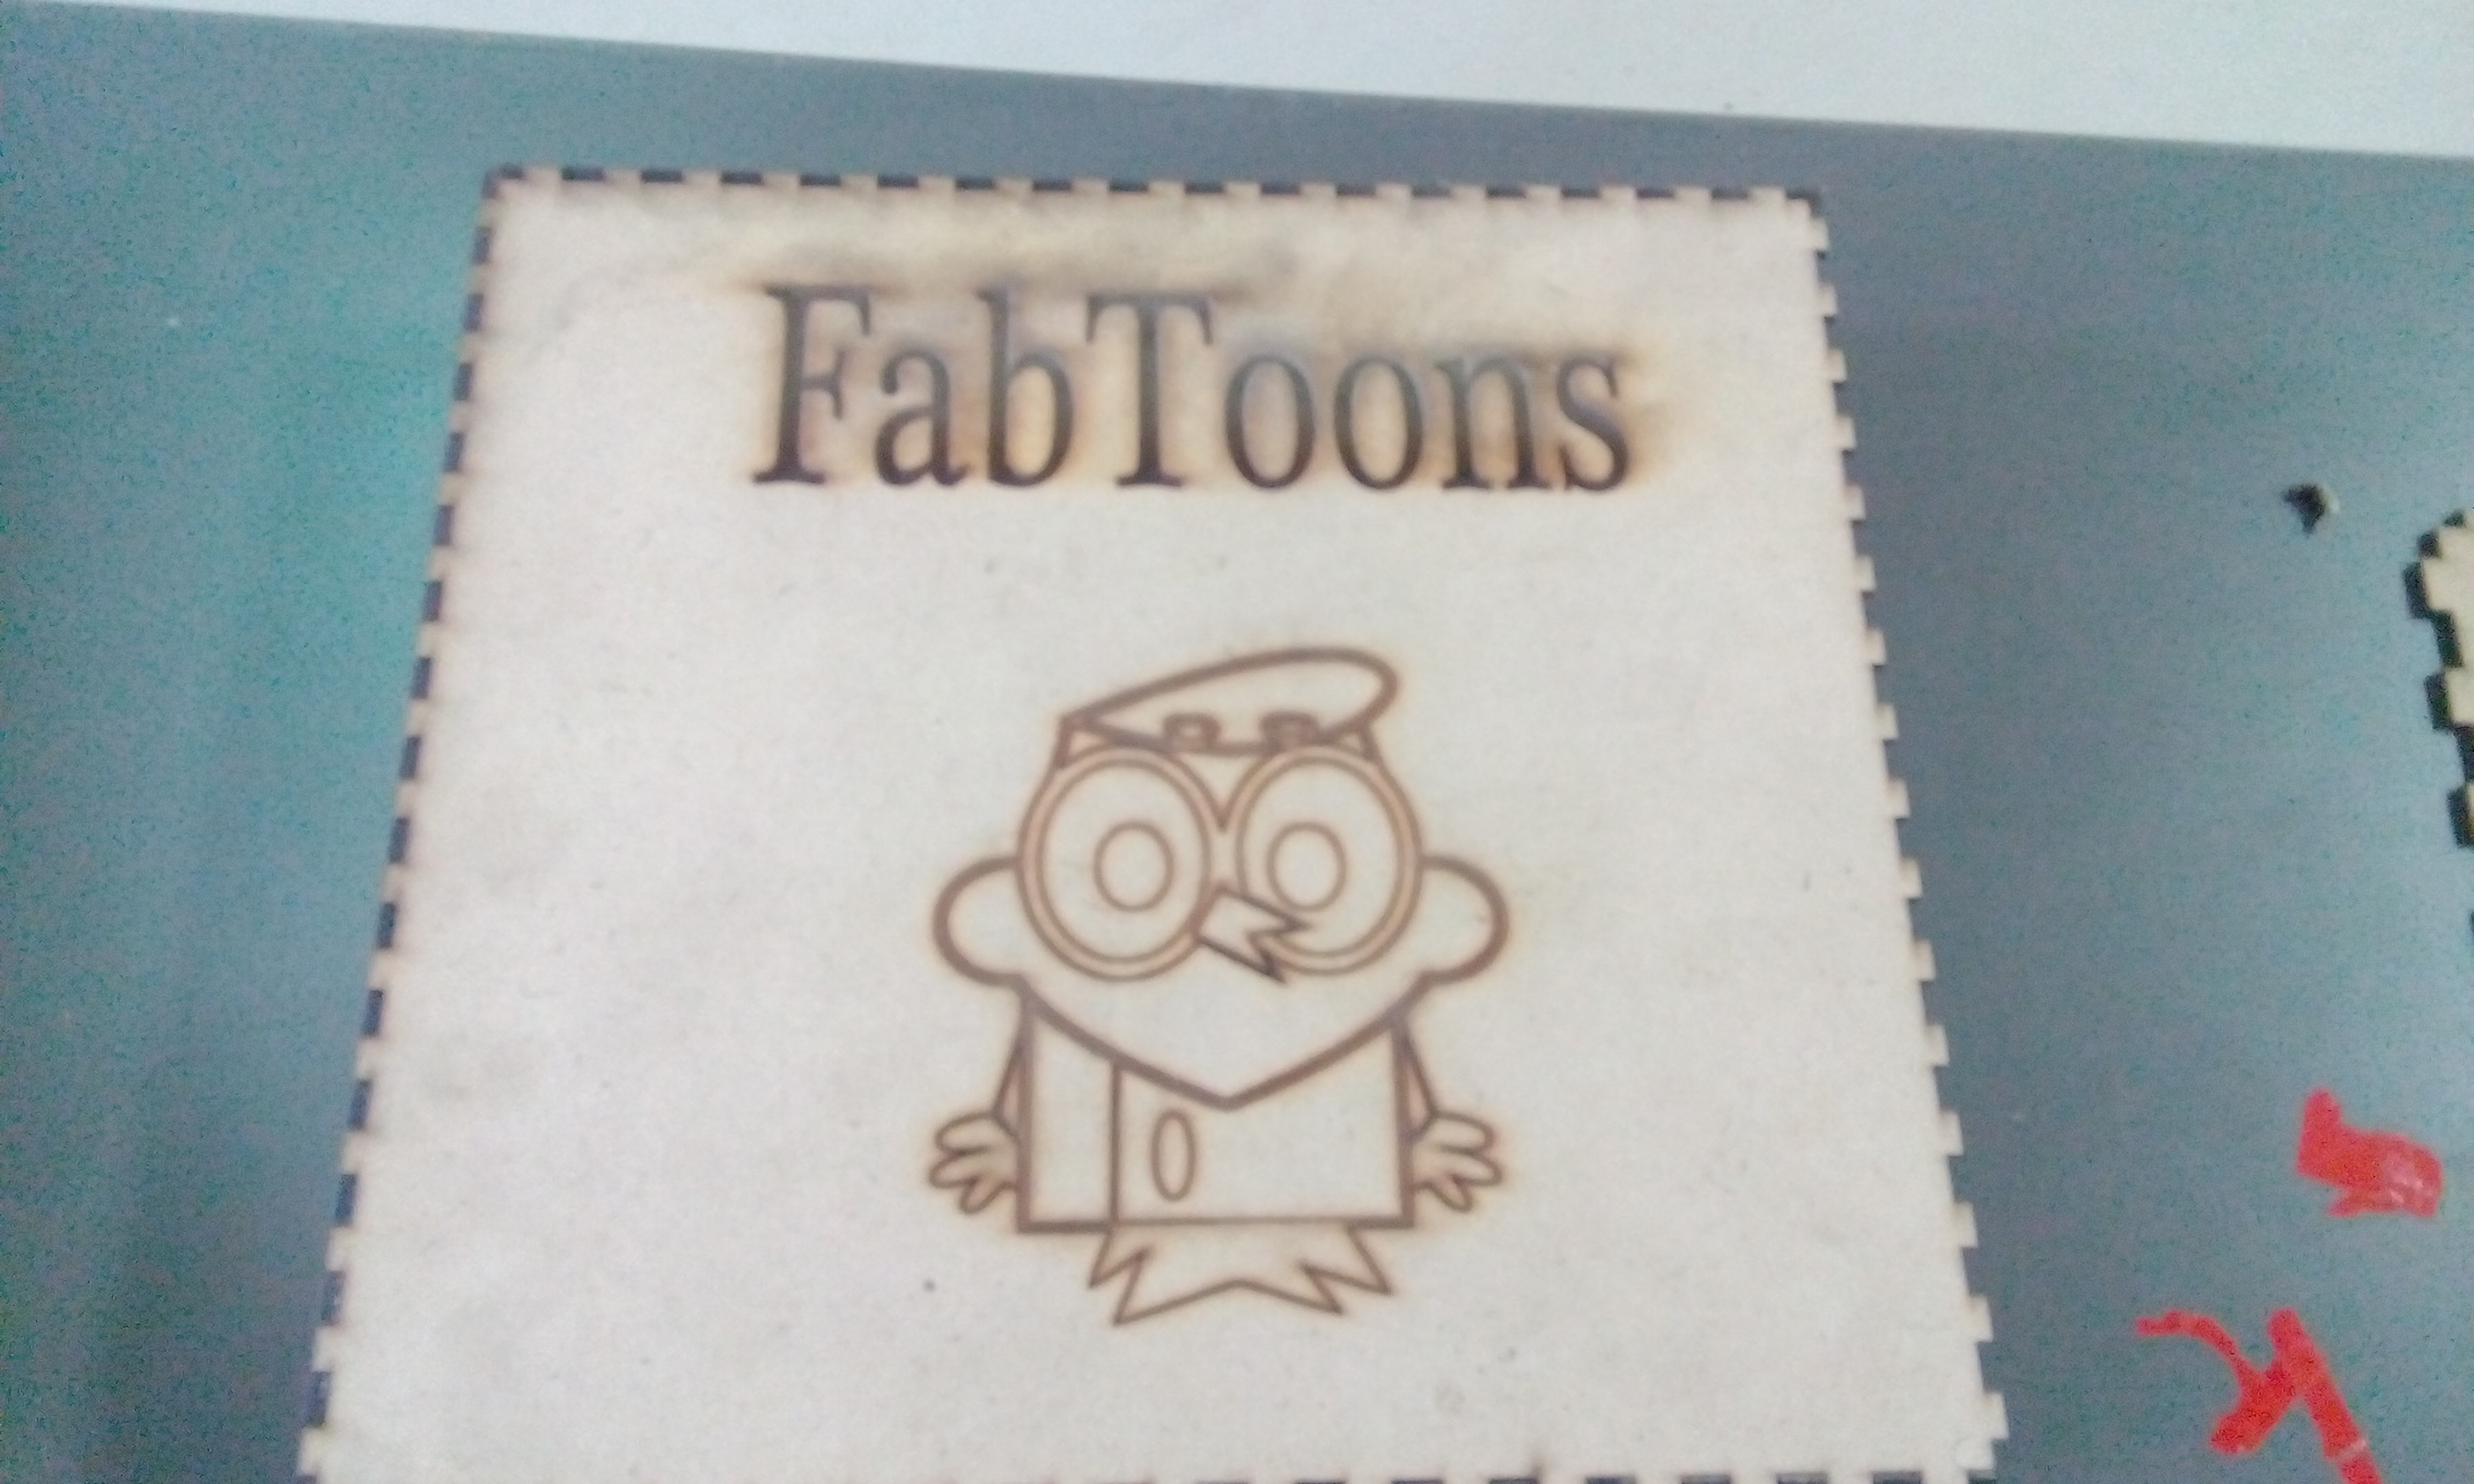
For this project I wanted to make a press fit puzzel kit that children would love to play. Fabtoons a set of cartoons box, which children can enjoy by fixing the right cartoon on their right place and if they matches the right part a green Led glows .
Computer Work
Next step was looking at ways to design the thing. I looked at youtube some tutorials of Inkscape on how to design sketches which is very cool to work with.
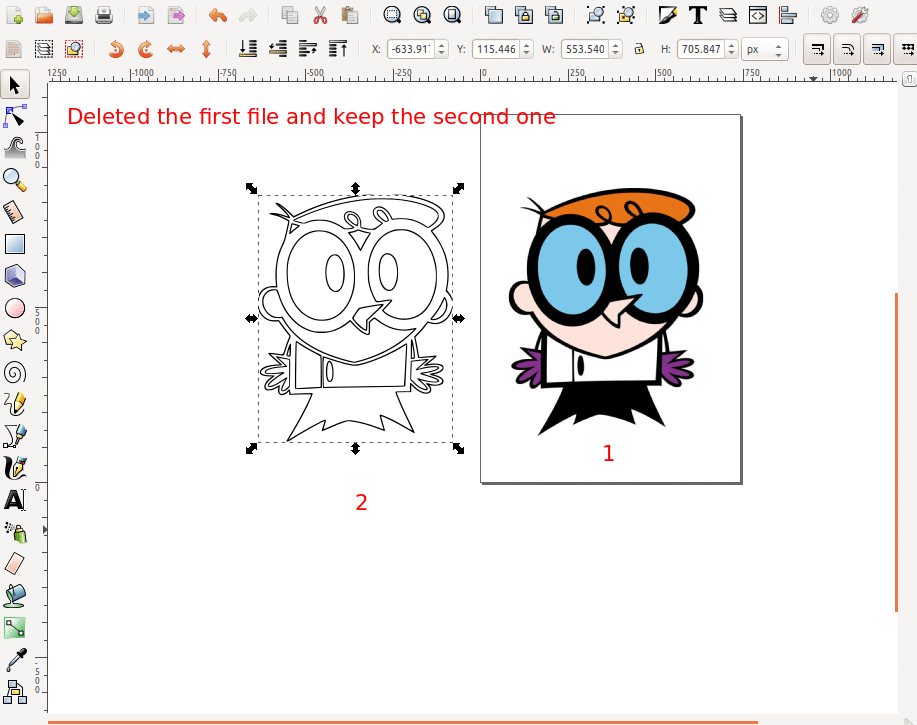
Next I started my design with inkscape and made some cool designs of Dextures , Mickey Mouse which are among the favourite cartoons of the children.

..
How I design the cartoons
At first I thought that it might be very difficult to make sketches of cartoons in inkscape but, they are far easy to make as there are several tool that help me to make it workable.
Steps I followed
At first I started with creating a polygon , the aim was to design a dexter sketch.
Secondly what I did was that there were several curves and bends in the face so I edited the path through nodes and made the curves

So, this is how using several other tool like circle to make the eyes of the dexter.Thus using such tool I completed the sketch. Simillarly I made other sketch of crook , Mickey Mouse and some other.
Next, I use the trace bit map and using edge detection made the design compatible for laser cutter
Rapid prototyping - Working in the lab
Step One: For rapid prototyping first I Find a MDF Sheet and placed it in the machine.
Step two: Send the first design onto the lasercutter.

And It's really easy to do that all you need to design , connect the laser cutter to your system and download the file to laser.
I was thinking why not to make it more attractive , first I just took a simple design of a box , but later I engraved a design over the box to make it more attractive for the children.
Step Third:
Now it was the time to use vinyll cutter for the assignment , so I decided to make a circuit for my puzzel box which glows a green light when the children connect the right cartoon.But , I have never worked with vinyll in the past so, I thought it might be difficult to design a circuit with vinyll.
But later after searching and working with vinyll I found it is much easy and simple to work with but the thing that all should keep in mind while working with it is, the circuits that we can cut on the Roland are limited by the width of the pen knife. As a rule of thumb says, anything that you can cut with a lot of time and effort with an x-acto can be cut by the Roland,but if there are things that are too small for that they will probably also be too small for the vinyl cutter.
Eagle is the best design software to make your circuit .
Use the .png as your input, and after clicking the cam button select .camm (for the roland) as your output.
Some more things that you need to remember, check all of the contour lines to make sure that none of your paths are being skipped. If the contouring is sticking two of your parts together, you can down the tool diameter to something untrue as a hack-- the tool really is 0.01, but changing it to for instance 0.005 will probably keep the integrity of your circuit even if all the parts might be a bit smaller than you called for. Similarly, if your circuit has a lot of spacing, you can make your circuit wider by pretending that the tool is wider than it really is.
Cutting the circuit
And if you are cutting through the copper you should have enough force in your circuit, but not through the backing. If you use too much force, the traces will also be dragged up with the cutting. I have found that setting the pen force to approximately 45 when the knife is sticking out about 1mm is pretty good, although this varies. While cutting the circuit and watching the vinyl cutter, you can dynamically adjust the pen force with the slider located on the right control panel of the machine.
There I have it