Bio_Nick
No Limbs, No Limits
The Story Behind:
Hello,
As the name suggest that my project has something to do with amputee. But, the name has a special person inside it , who has become my Inspiration for taking this project "Nick Vujicic".
Nicholas James "Nick" Vujicic is a Serbian-Australian Christian evangelist and motivational speaker born with Phocomelia, a rare disorder characterised by the absence of all four limbs. As a child, he struggled mentally and emotionally as well as physically, but eventually came to terms with his disability. He presents motivational speeches worldwide which focus on life with a disability and finding hope and meaning in life.
For me Nick is my real star and if I got the chance I would really love to meet him. So, this is how the project name comes from.
So, for my semester project I'm going to build a Bio_Nick hand . It may be either myoelectric or voice controlled.
Background:
In india there are about 5 lac. people who had lost their hand and become a burden on the society for the lack of solution they can afford
Most cases in India are the result of thresher accident. Across the world such accident victims are served by myoelectric hands where the power to move the hand and control its movements is from battery powered motors and control signals are picked up from the skin on the residual limb.Such myoelectric hands are not being made in India and are imported from abroad.But, such hands are costly so not affordable by everyone.
Broadly there is no cure as yet in India for Upper limb defects. Defects ( including amputations/ loss in accidents) can be readily classified under 3 categories.
1.Near the Wrist Defects
2.Near the Elbow Defects
3.Near the Shoulder defects
Objective:
The project aims to build prosthetic upper limb at a low cost which is accessible to people with limited financial resources and for people with physical disabilities living in rural area.
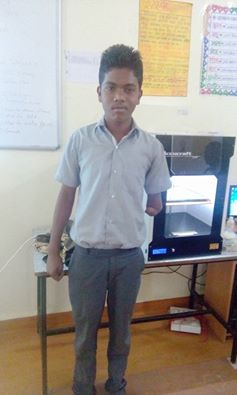
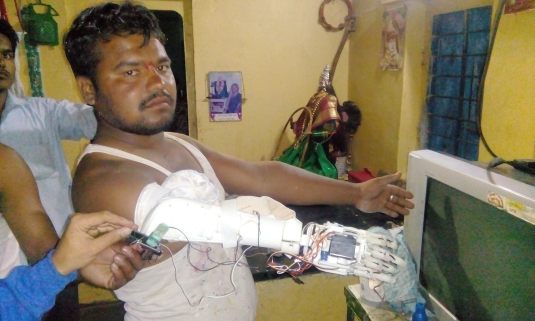
Currently I'm working for two amputees.
..
..
Existing Projects & Limitations:
At present there are several open source prosthetic hands that are being developed like Hackberry , Bionico , Raptor hand etc. I have gone through a process of testing and tried out some of this hands and found that there are several limitation which limit them to perform several motions. For example Bionico.
Test 1
Bionico was the first open-source hand that I have tested and found that it requires a lot of mechanics and electronics which make it more complicated and difficult to implement.
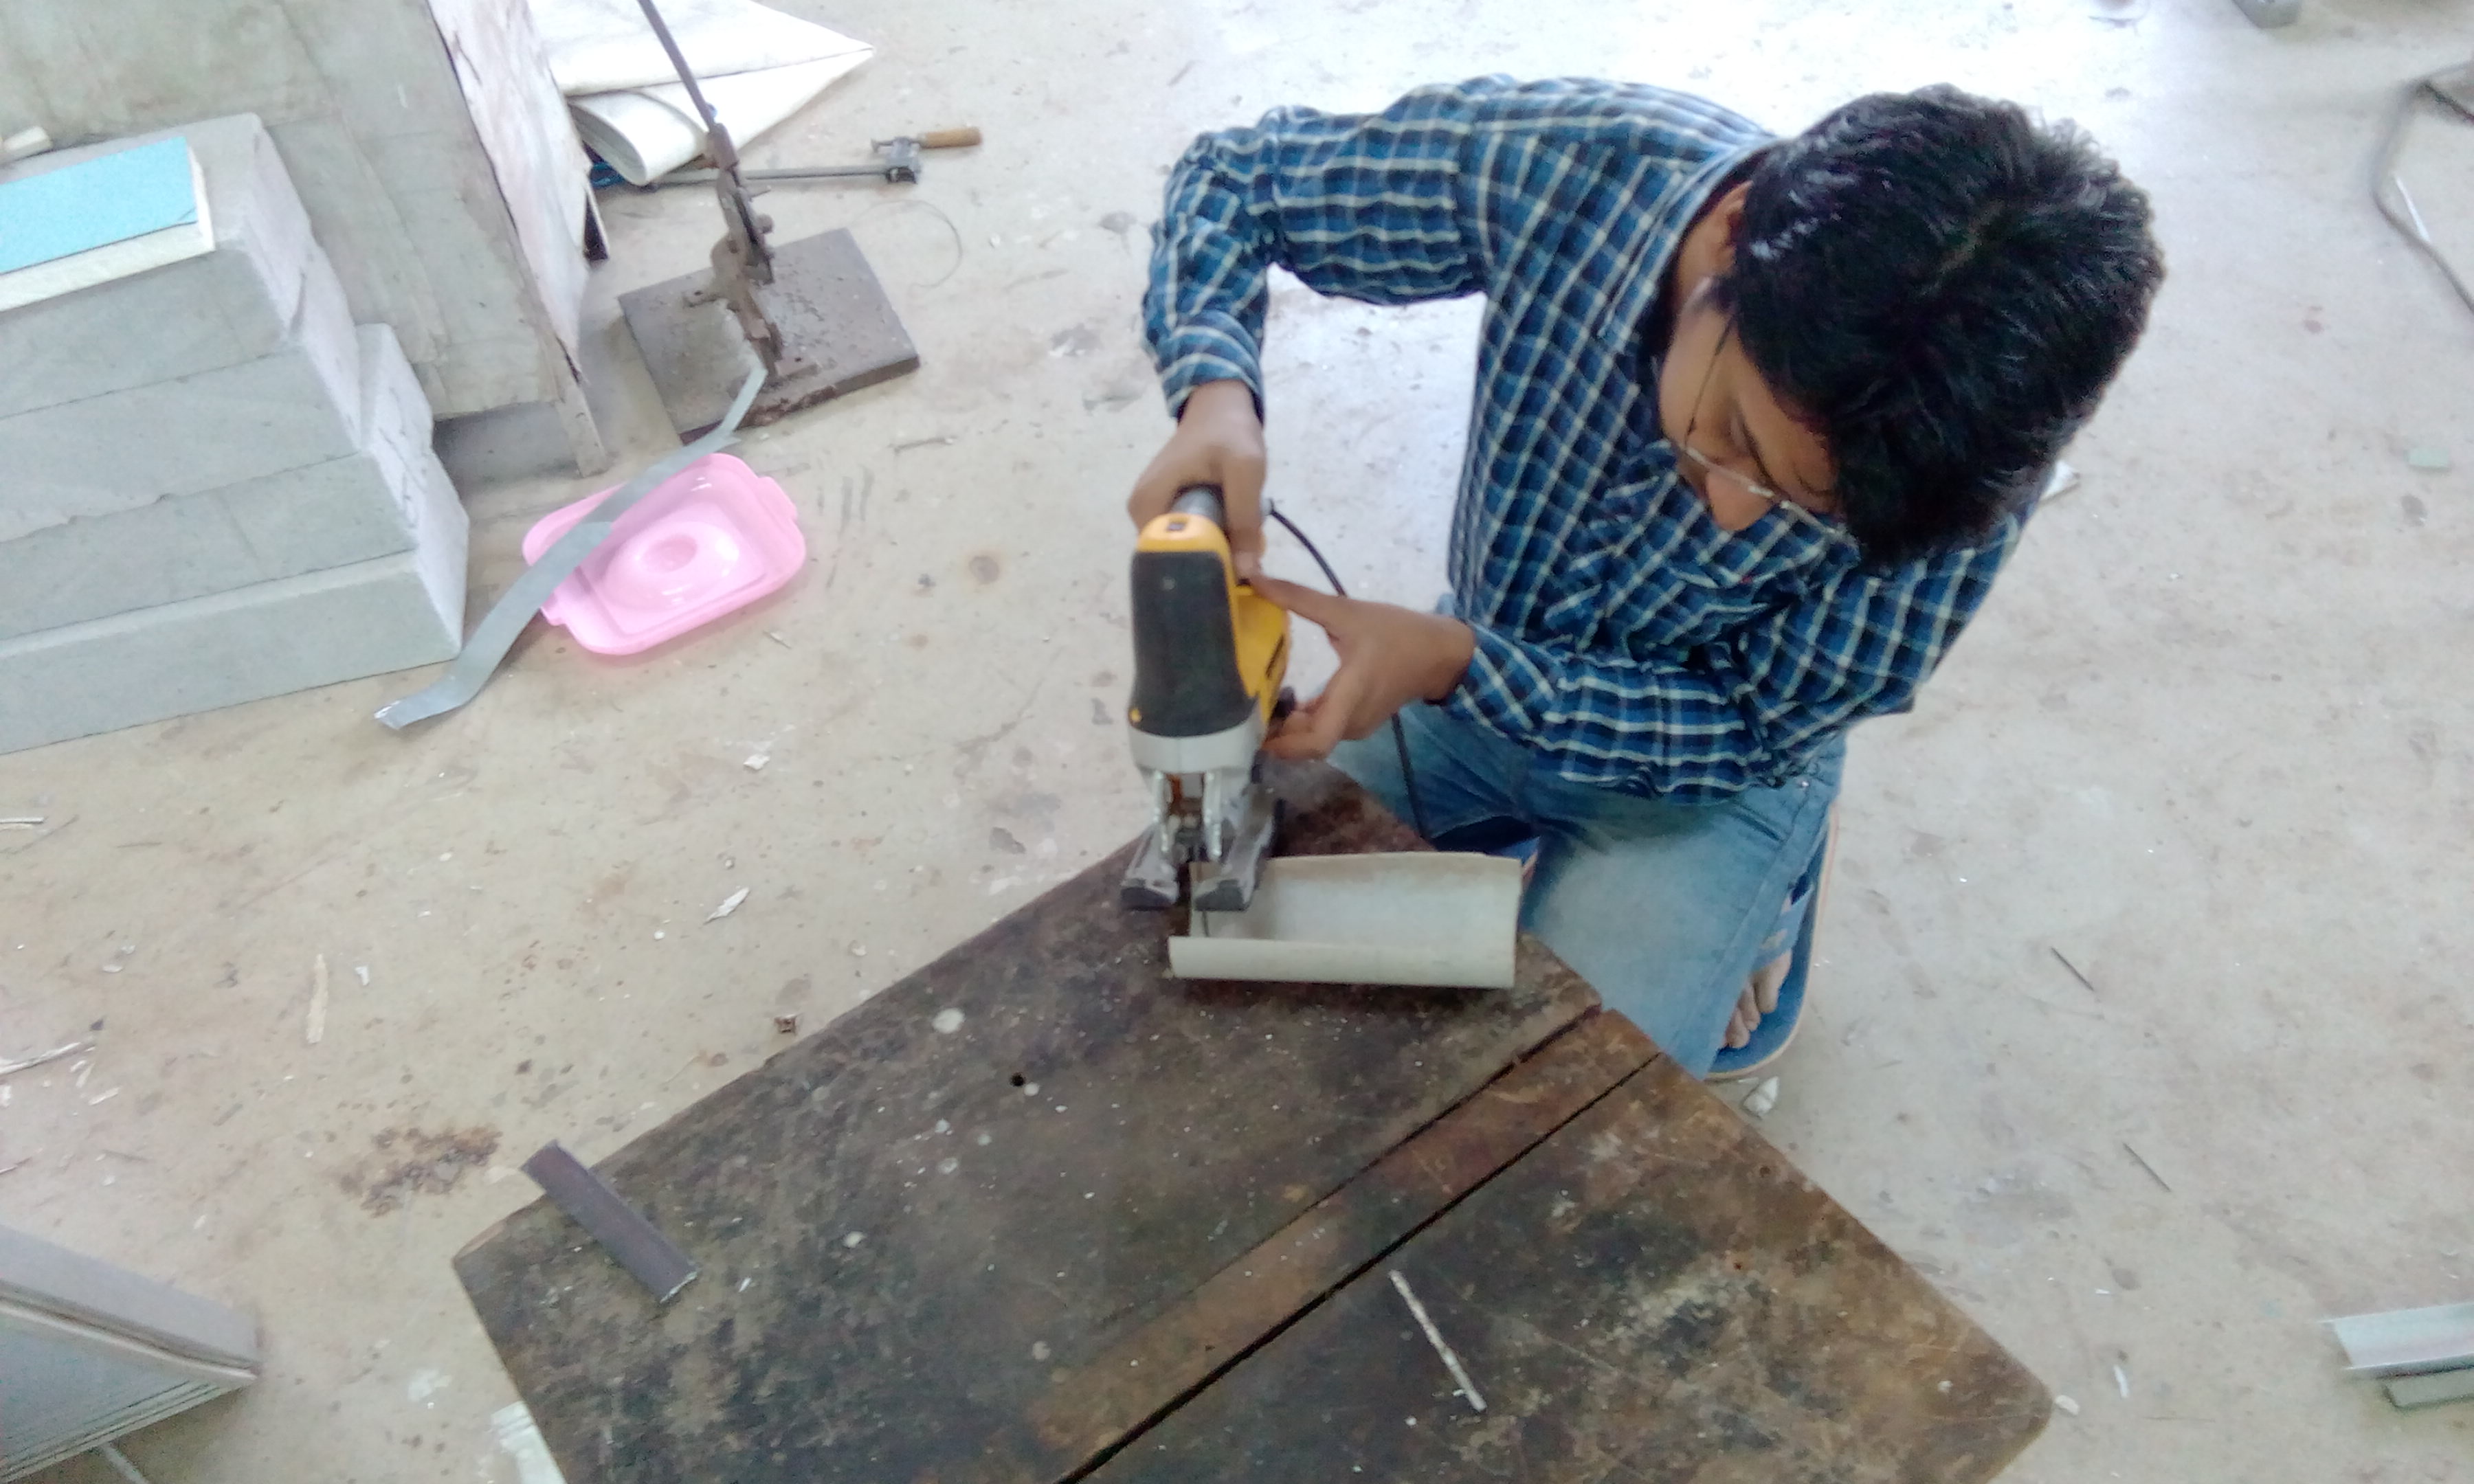
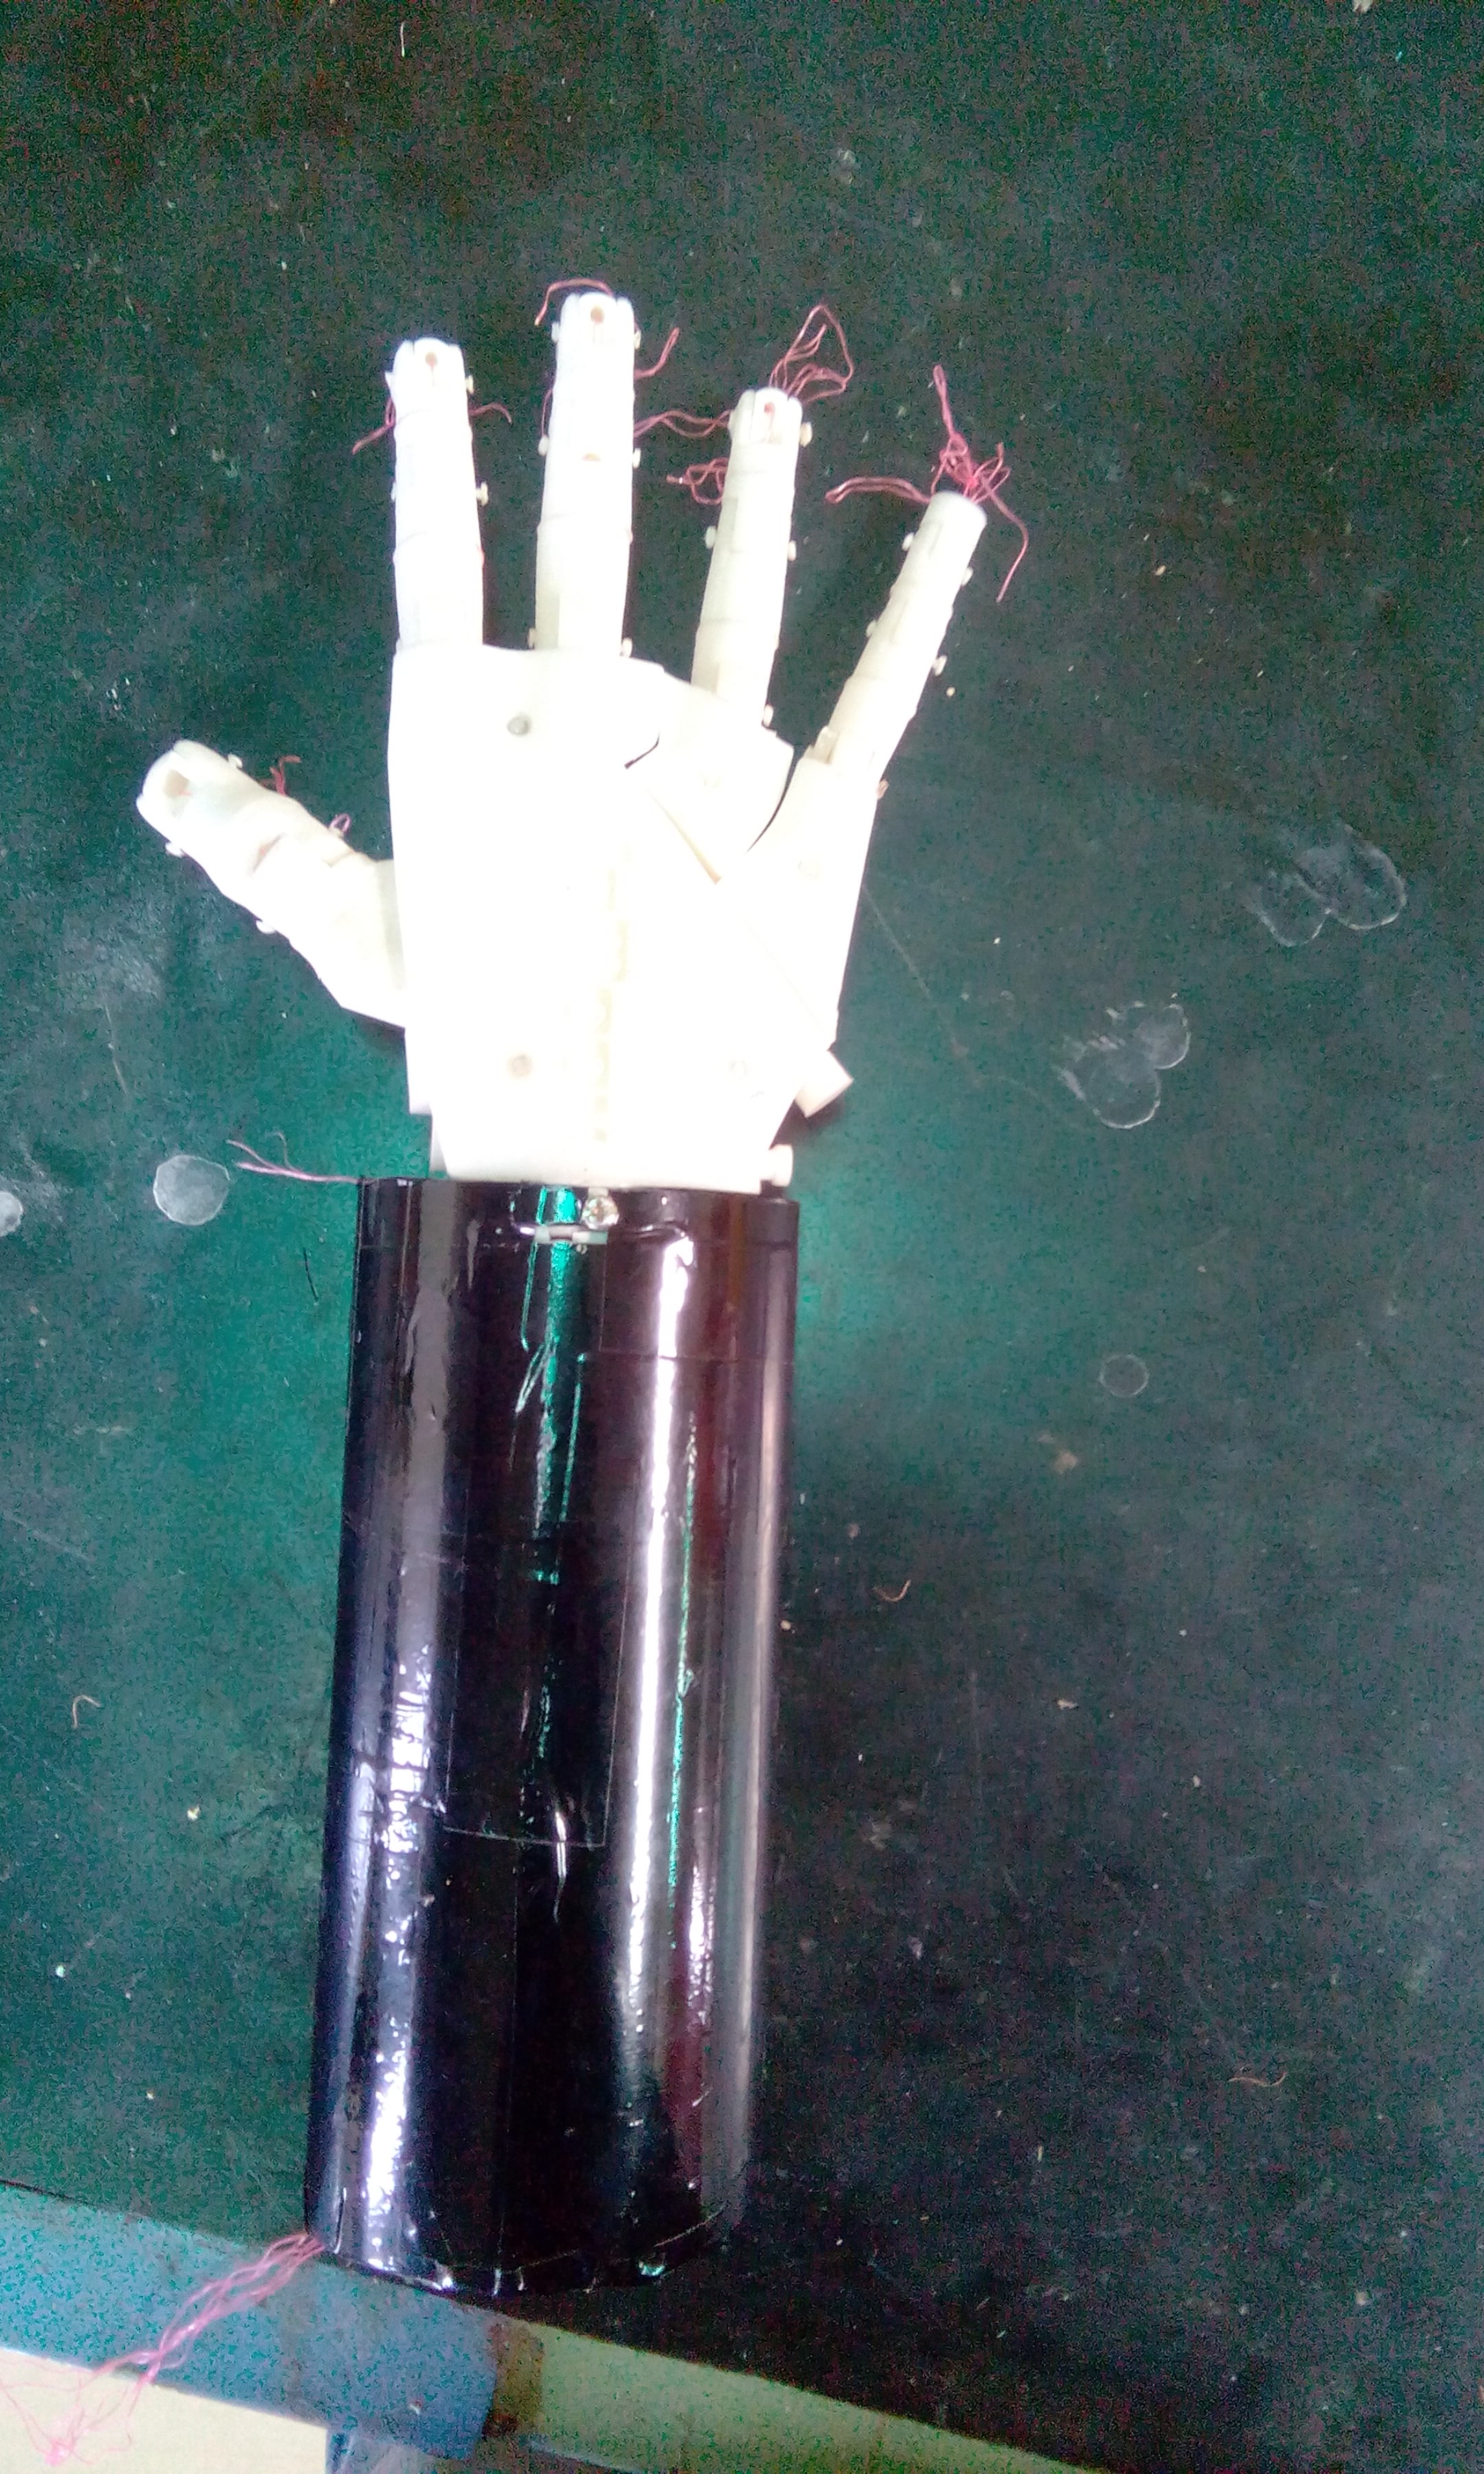
I have worked on bionic hand for a long time first I decided to make a servo bed for the servo motors , I design it using the laser cutter.
The second thing was to make a base where I can place this servo bed. So, I cut a pvc pipe and made a socket fitting using it
..
Then I tested the hand using the arduino board
Here is the video Link of test that I did on the Bionic Hand.
Test 2
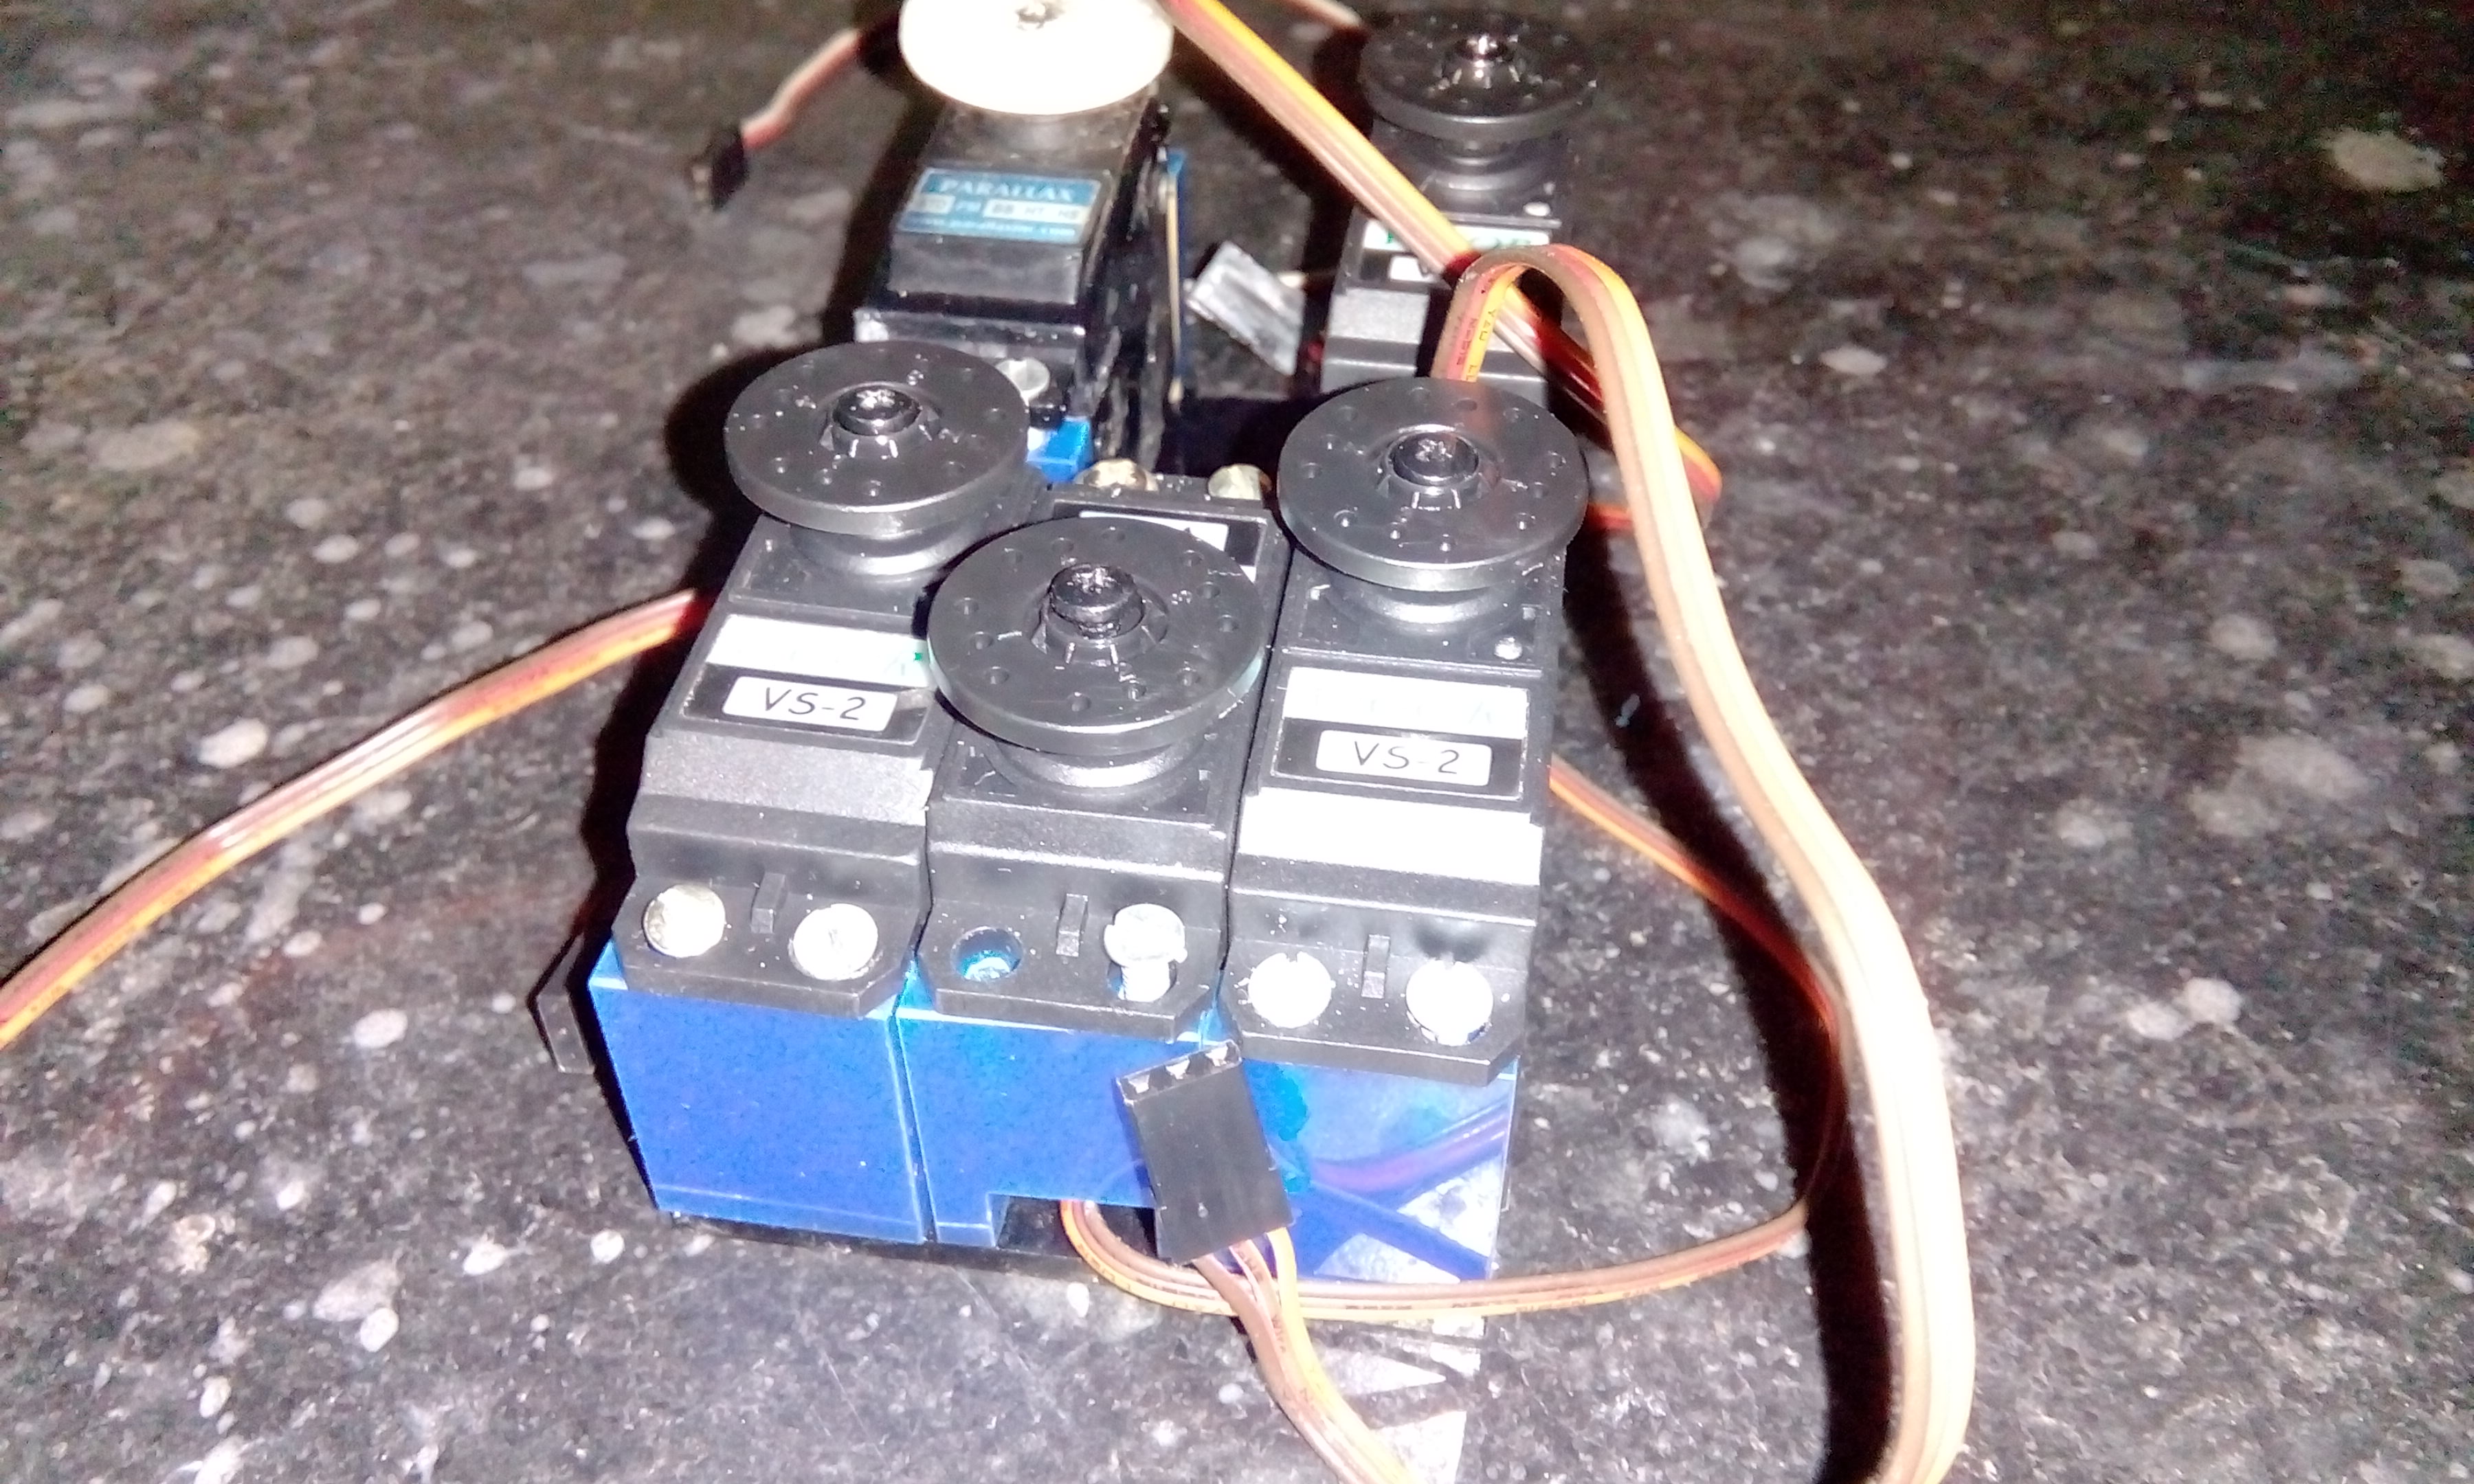
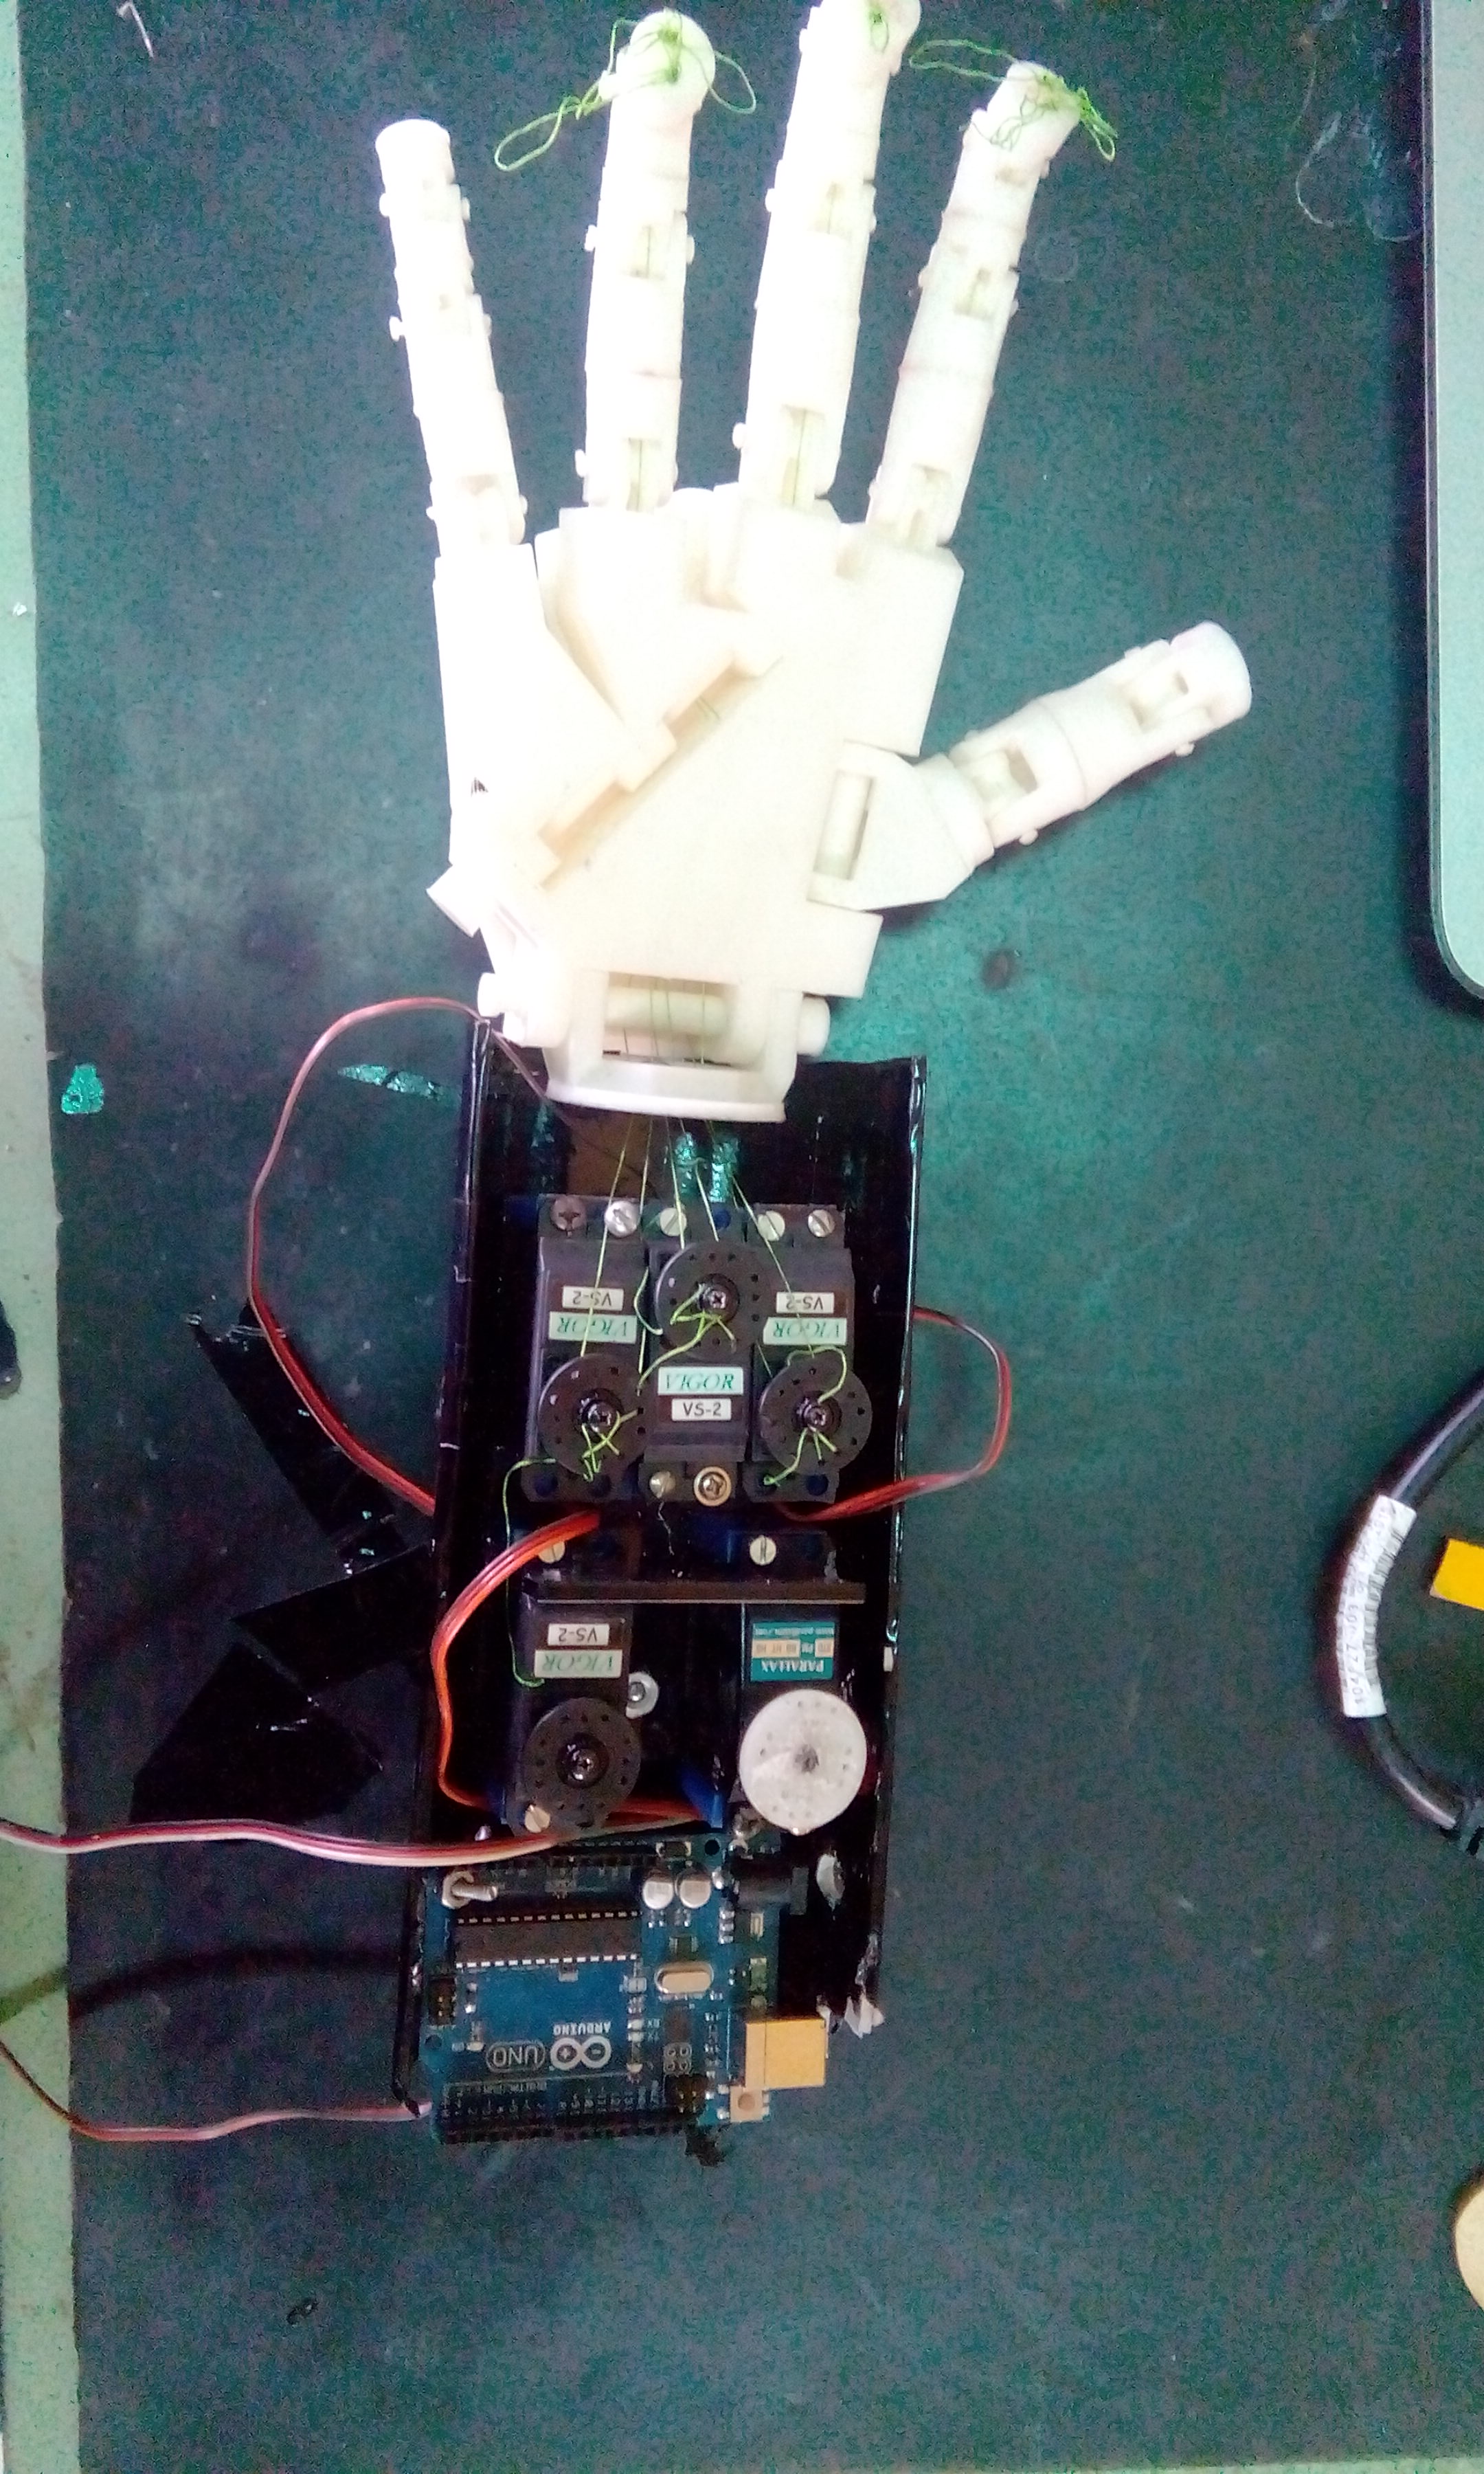
To overcome this limitations of Bionico I moved to a another design of Raptor which solved the issues that were faced in bionico but in raptor the movement of each finger is controlled using separate servomotor which make it more bulky and difficult to carry.
Moreover, Raptor hand uses some threads for fingers movements and after certain use those threads starts breaking which is the major limitations of raptor hand.
Test 3
So, finally I decided to for hackberry design which was comparitively much lighter , less numbers of motors were used, even it resolve the threading issue as in this design gears were used in place of threads. So, I tried out this and fitted on the amputee
..
After several testing and feedback from the amputee I found that the hand was quite good but several files were inappropriate which restrict several other motions and only one movement at one time was possible and this was limiting the hand from performing several tasks. But, this was not the serious issue and could be resolve.
Here is the Video Link of the test that I did on Hackberry hand
My Efforts
I have been contineously asked by my instructors to show my efforts for this project.
For Me this fab academy project has become like a journey where every single day I'm learning from the challanges that are coming in my way. Many time I have been asked you have just replicating a open source where is your contribution??
Yes, its true that I'm replicating a open source but , I'm also implementing the device in someone life. I still remember the day when I meet with child (sagar, with whome I'm working) and I told him that I'm going to build a new hand for you. Sagar was so happy when he heard that he is going to get a new hand and I think that is the biggest contribution for me which I can give for this project.
But, still I know I have to prove this what more I gave for this project. While working on hackberry I downloaded the design files but the codes and electronic part was not working as given. So, I decided to go for my own codes and electronics.
Problems Faced
As, I started working on hackberry , there were certain problems that I faced
1. Design Files were not correct
2. There were several bugs in the code which were making the motors unstables
3. The hackberry hand uses IR sensor whose manufacture stoped the production of the sensors and for me it was the biggest challange to find a replacable sensor
4. I was finding a lot of difficulties to make a socket fitting for the amputee
Solution I found
1. The first issue was with the design files as some files were small and some were big in size so they were creating problems. I was looking for the part file which I can edit and change them as per my requirement. At last after searching a lot I found the Inventor files of the hand which can be edited in Autodesk Inventor and currently I'm trying to edit the files as per my requirement.
2. The second problem was with the codes, the codes were having several bugs which were making the motors unstable. So, I decided to write by my own and hopefully I made it
Here you can find my Codes
3. This was the biggest problem before me because the manufacturing company of the sensors stopped the manufacturing of the particular type of sensors that were used for hackberry. I tried a lot of sensors like QRE1113 , QRE1114 etc. But, these sensors were not giving any constant signal. So, it was becoming more difficult for me to control the fingers due to the contineous change in the signal.
So, I decided to look for a local Indian made IR sensor which are mostly prefer for Line follower robots or wall follower robot. And I tried with them also but the results were not that good I was still getting contineous change in signal.
I was thinking how can I make this signal constant and suddenly an idea came into mind that if I add a pot to the sensor then I can control the variations in the signal and hopefully I found a sensor with a pot and now I was getting constant signal and I successfull controlled the hand
4. Now almost I resolved all the issue not it was the time to make a socket to attach the amputee hand. So, I decided to do the 3D scannig of the hand and then convert it to a socket for fitting. But the 3d scanning did not worked properly.
At the same time our fab lab signed a MOU with jaipur foot and I got the chance to visit jaipur foot.Jaipur Foot Jaipur Foot is the world famous organization that works on prosthetic foots and are highely skilled in process of making molds
Even I learned the process of making a mold for this I went to Jaipur Foot Jaipur Foot is the world's largest organisation serving the disabled. This NGO provides all its assistance, including artificial limbs, calipers and other aids and appliances totally free of charge. Since inception, Jaipur Foot has rehabilitated more than 1.3 million amputees and polio patients by fitting / providing artificial limbs (Jaipur Foot variations), calipers, and other aids and appliances, mostly in India and also in 26 countries across the world.
I learned the process of making socket fitting from Jaipur Foot
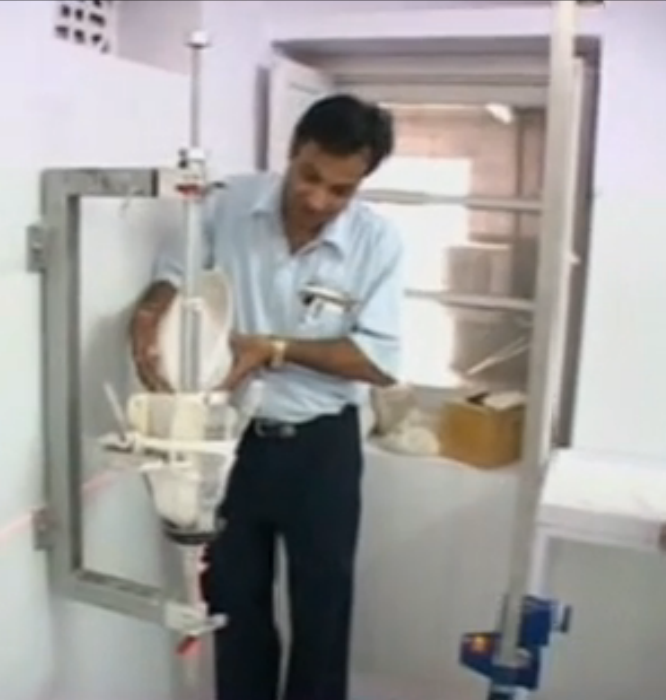
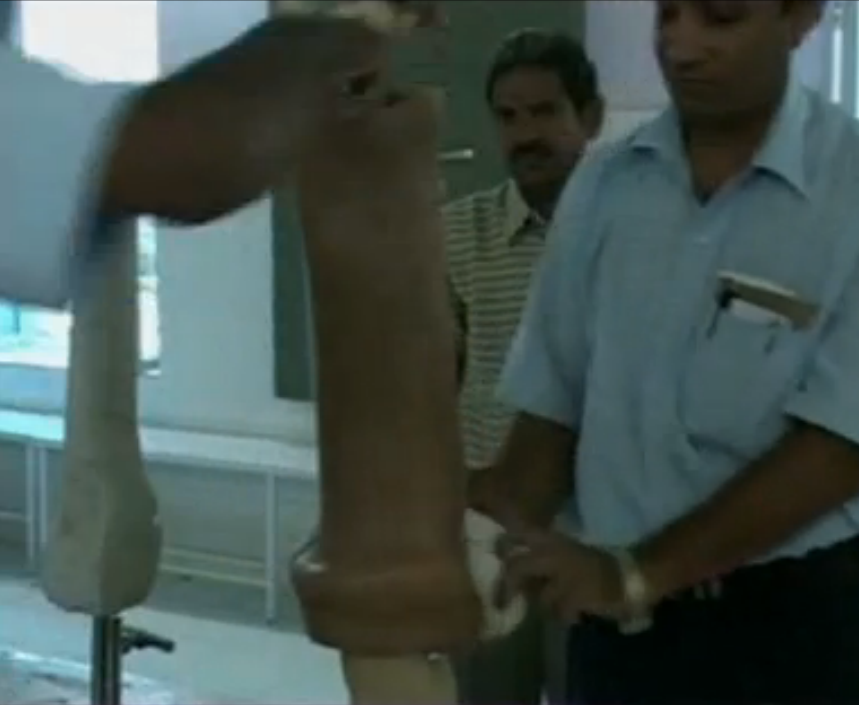
1. The P-O-P (Plaster of paris) bendage is wrapped around the stump.
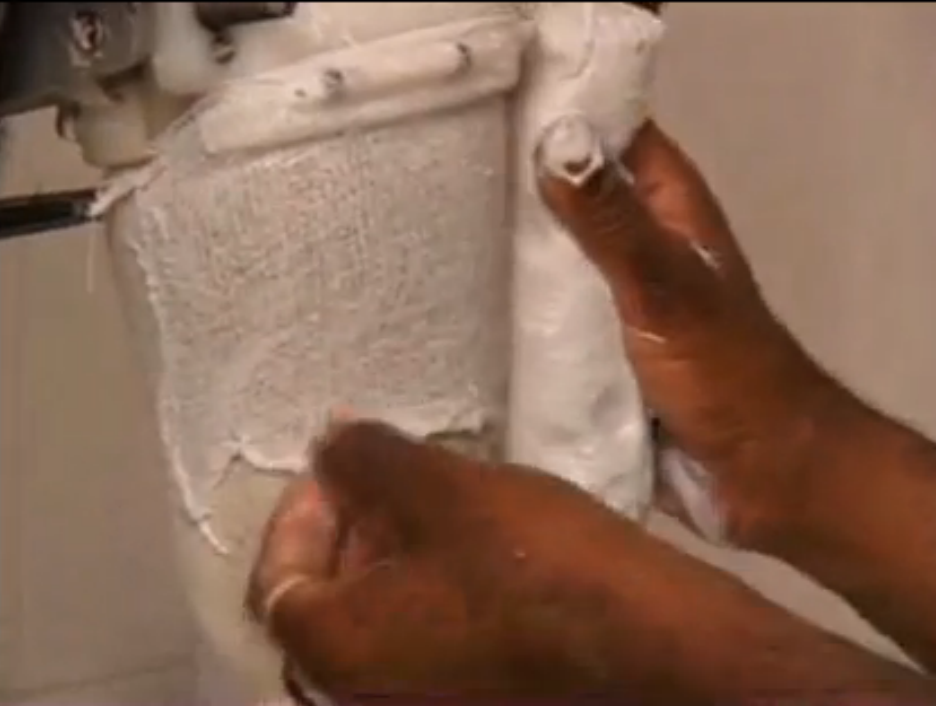
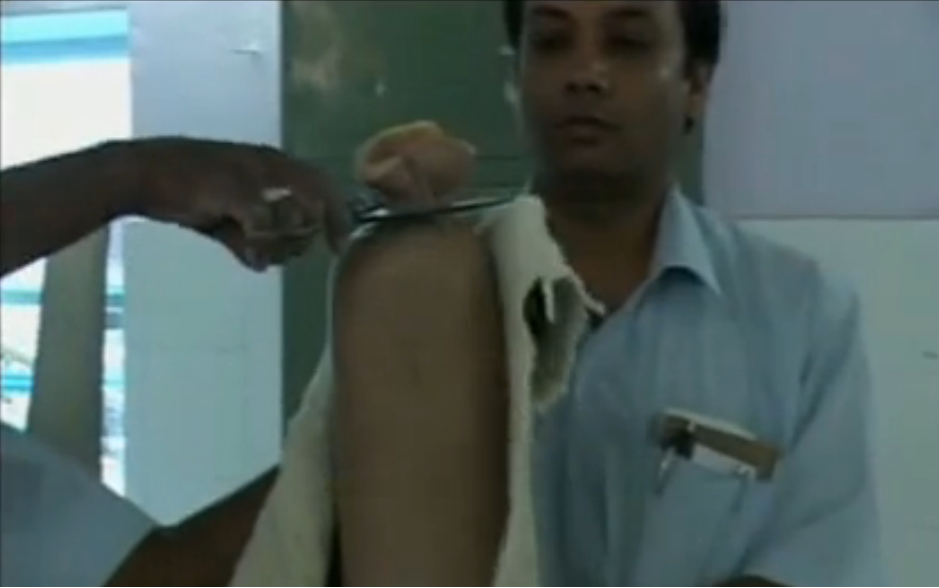
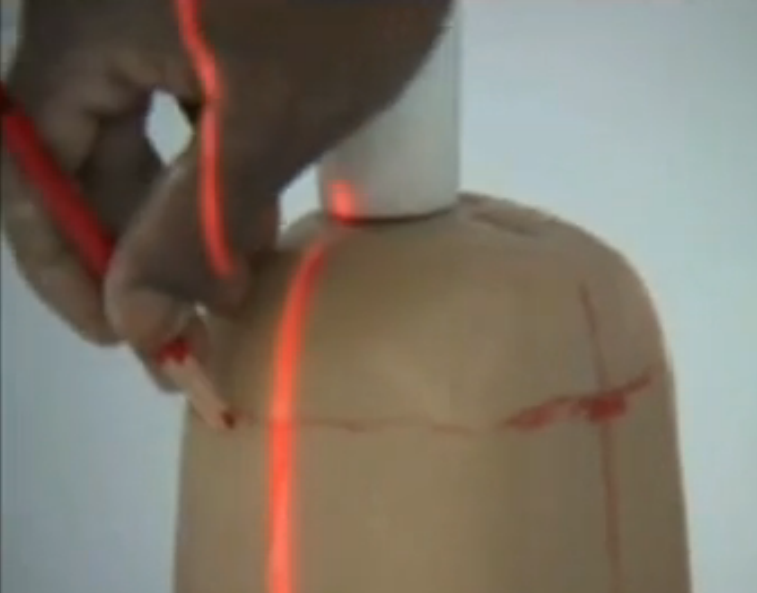
2. The interior and lablled allign axis are marked and the whole negative cast is removed.
3.The allignment is confirmed with laser allignment and then filled with p-o-p paste.
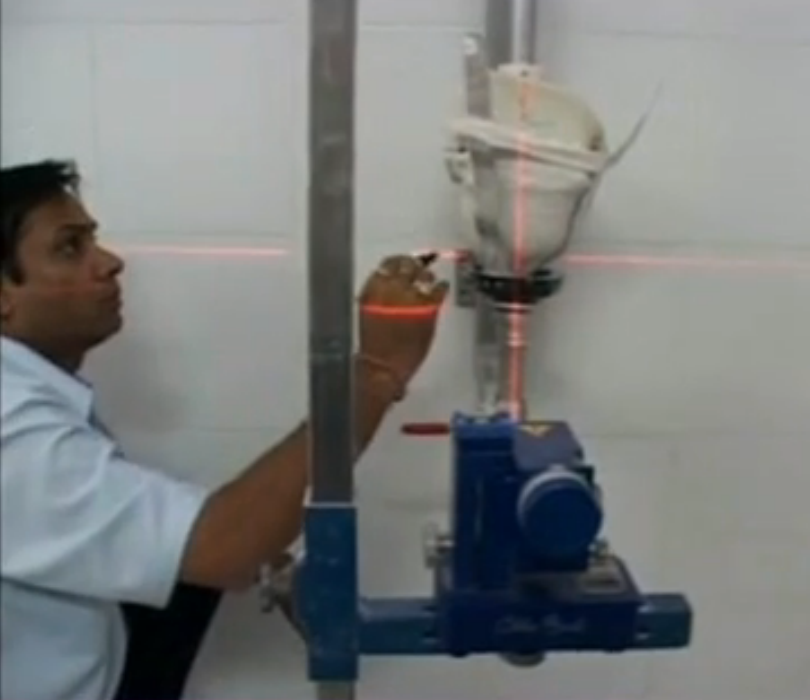
..
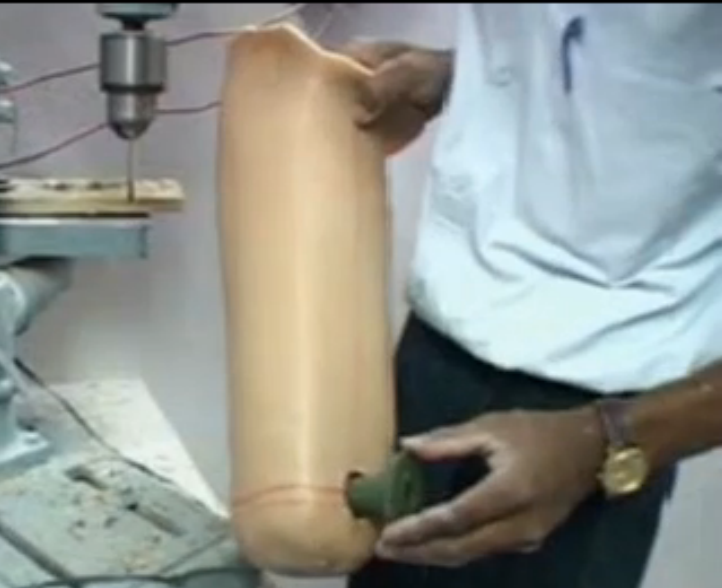
4.The finish mold is taken to the dipping room where it is fixed on a wise.
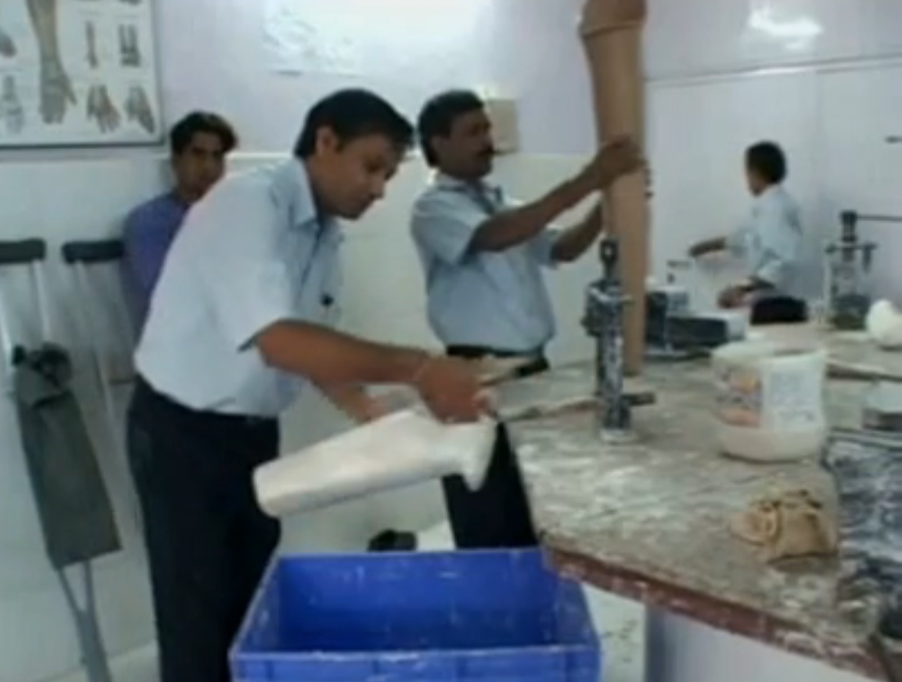
5. The HDPE pipe is heated in a oven and when it become malleable it is sleaved over the positive mold. As the HDPE pipe cools down it takes the exact shape of the mold.
..
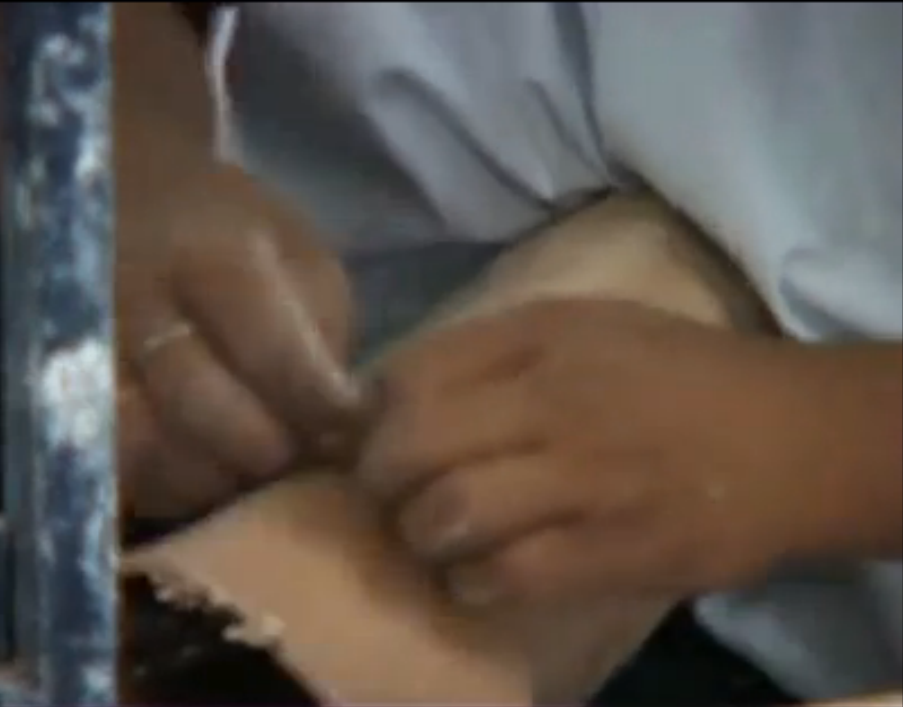
6. The p-o-p is removed from the socket and the socket is finished by removing the extra material and rounding the edges.
..
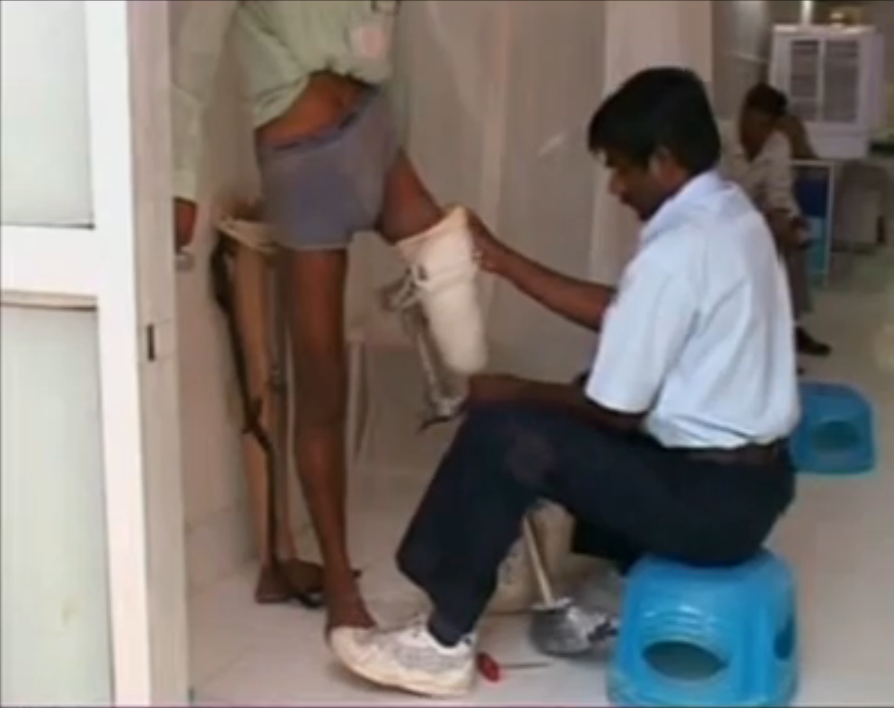
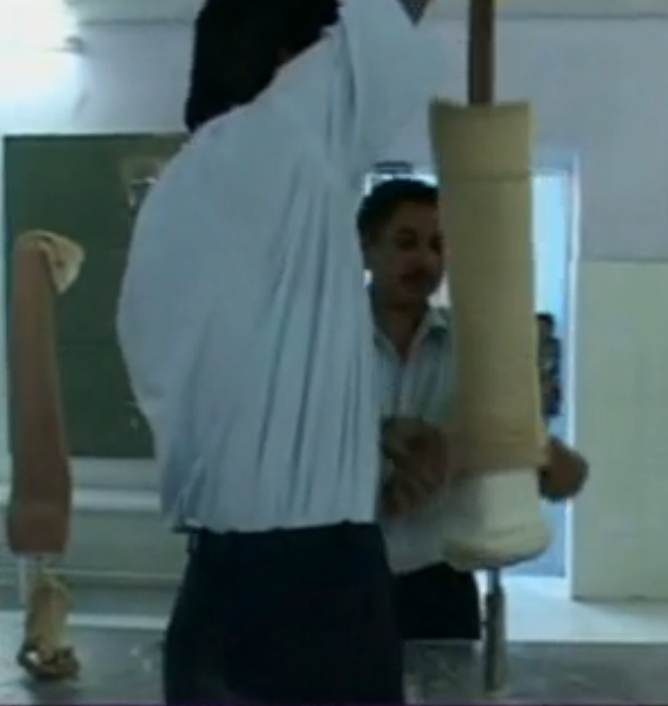
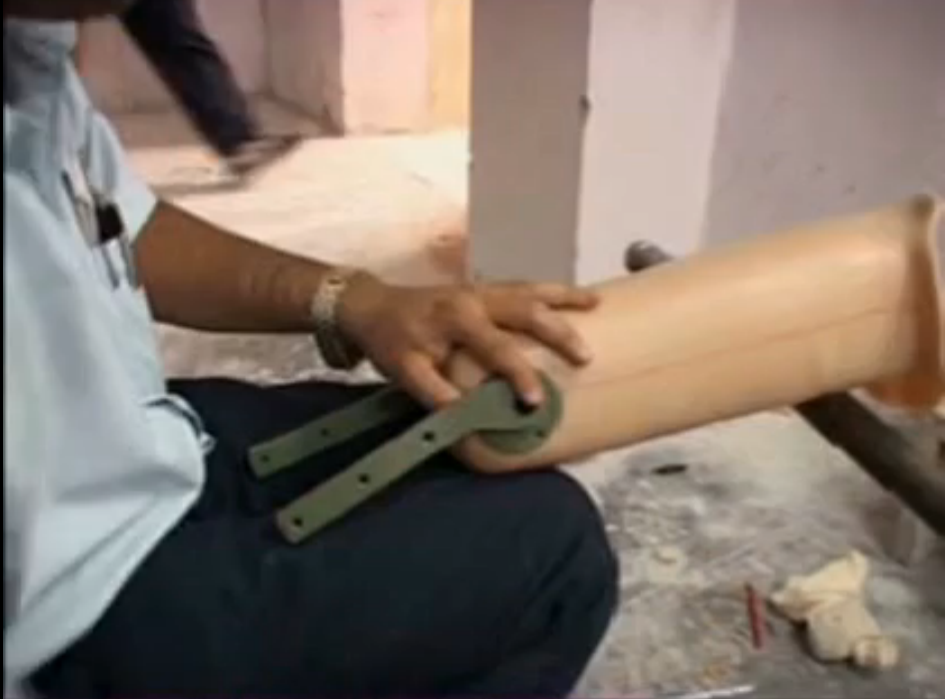
7. The socket is again fixed on the wall frame. Interior allign line are confirmed and remarked then axis of the knee is determined and marked on the socket.
8. The the joint and preformed shank piece are fixed to the socket.
..
9. A jaipur foot belt is fixed on it.
10. After several testing the socket is given to the patient.
Still Updating .....
..