Week 12
Molding and Casting (Apr 20)
Assignment:
design a 3D mold, machine it, and cast parts from it- Note from lecture
- we'll do smooth tooling w liquid polimer
- machineable wax
-  alginate gel bio campatible. masks
- urethane rubber will meld with urethane based-plasic

- test the cast material
- mixing : sheering , not scooping
- -----
- centraggi (registration keys) - meglio centraggi sferici per via del limite del milling
- fresa la schiuma per fare i negativi (i plaster ?) dello stampo..
- mesh
- rhino -> stl file
- pot life = la durata prima che si solidifica (catalizzare)..
a volte si usa anche ritardante per ralentare il processo
- gomma siliconica (silicone) e' una crema va aggiunto un catalizzatore di circa 5%
(100g di gomma, 5g di catalizzatore)
ha una pot life di ~1 ora. e' molto piu' difficile mischiare bene. si puo' dare prima una pennellata

quindi per fare l'oggetto transparente posso usare la resina
il processo sarebbe schiuma -> gomma siliconica ->resina poliestere
1.Inspiration
I got inspiration by this magical Mountain View lamp by Dima Loginoff.
Another interesting project is Bas' insert mold but I decided to go with the first inspiration
I want to make a small interactive LED lamp. The input will be a temperature sensor and the output will be an RGB led

2. 3D Modelling & Milling
From the tutorial
here are some good questions to start with :
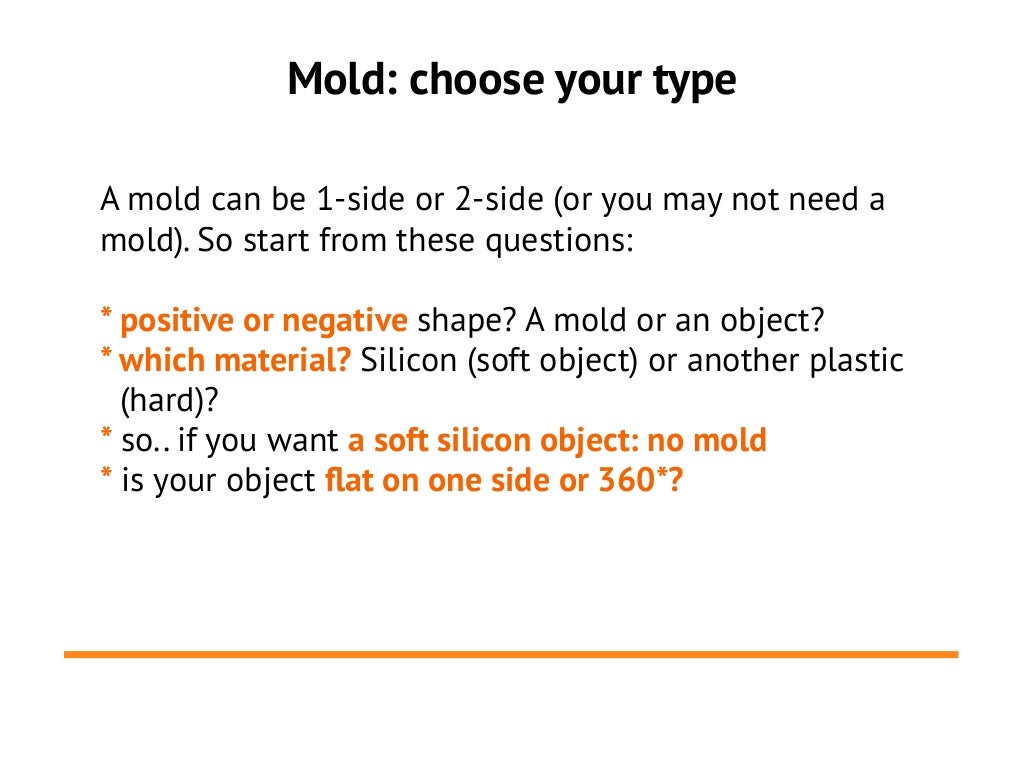
Since my object is not flat, I'll need a 2-sided mold. For the material, since I want the fianl result to be rigid & transparent it should be resin.
So the process would be :
a) foam as negative of the mold
b) rubber as mold
c) resin as final object
1.To model, I've tried Sketchup but with no success.. in the end I use Rhino to model the lamp. I drew outlines first and then make planes manually
 Then a series of boolean...

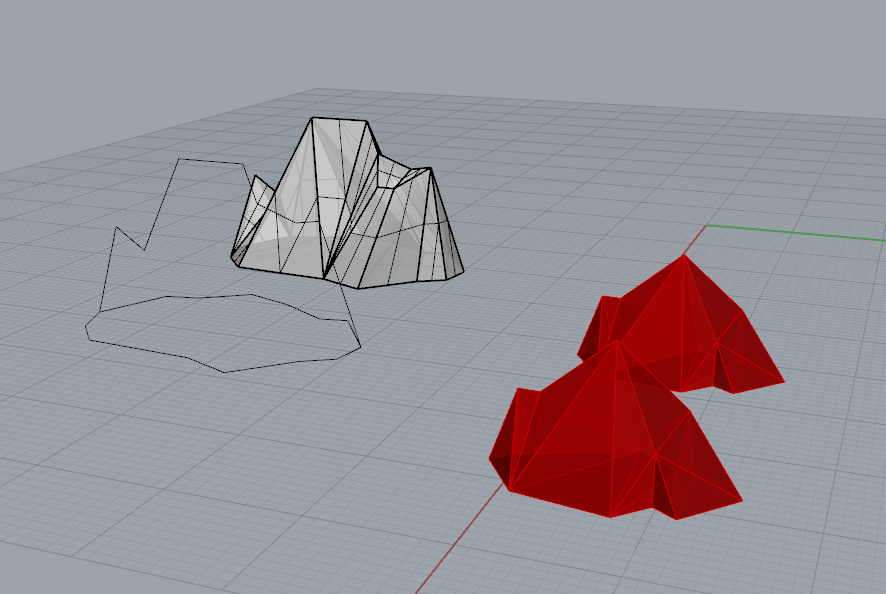
2. From its form I decided to seperate vertically, the half shpere and the mountain. I imagine to pour resin directly into the sphere part
and then press the mountain cap on it. I make also 4 holes for the air and for possible exceeded resin. This is the 2-sided mold I want

3. as material for the negative of the mold we use machinablefoam (schiuma). This is the final model

4. The machine is Shopbot CNC machine. For the rough cutting I used a 3mm end mill and a 3mm round mill for the finishing path


5. turns out good !

3. Molding
1. first thing to do is use wax as release agent for demolding

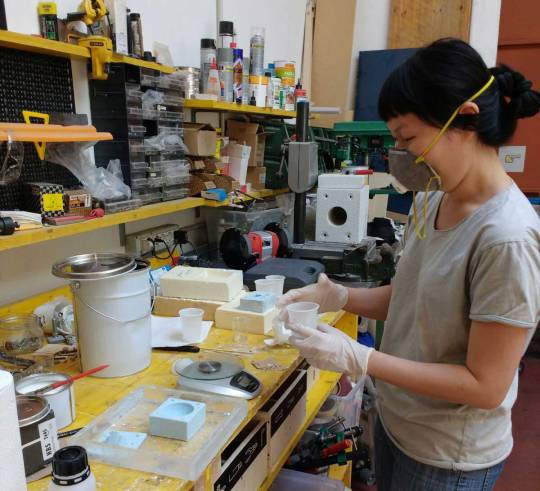
2. for silicone rubber it needs to be mixed with 5% weight of catalizer. it must be mixed well

3. I gently poured it, then left it overnight

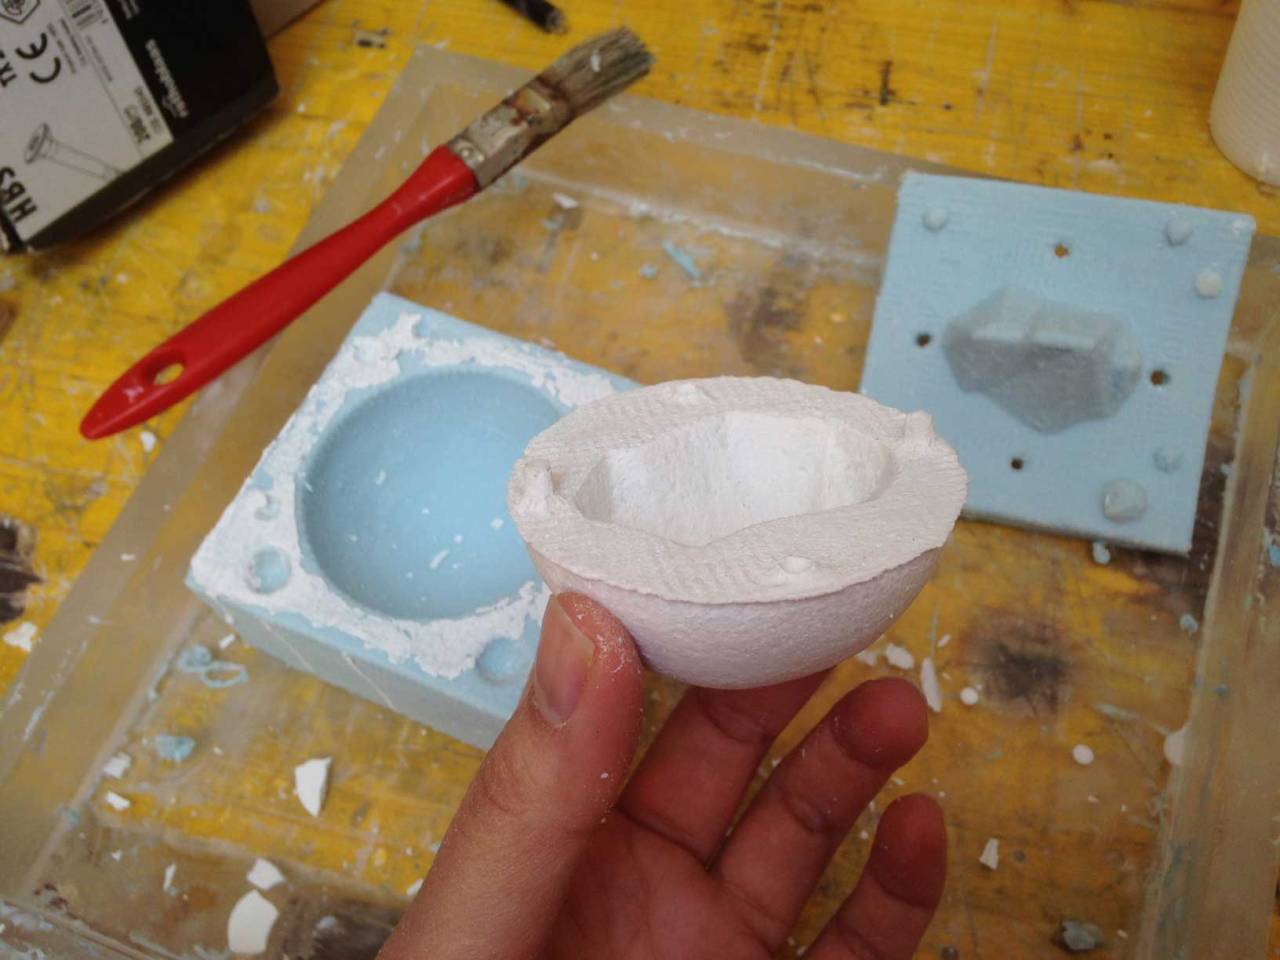
4. carefully take the rubber off

5. looks good !

6. both sides of the mold look fine

4. Casting
1. test with plaster. Sincerely I didn't weigh anything.. I mixed with around 1/3 water

2. after around an hour I demold it. Looks good. there'll be a lot of finishing to do once I use resin..

3. We have 2 kind of resins in the lab : epoxy and polyester. Without searching information I choose polyester for its shorter time to harden (2hrs compare to 24hrs)
As intruction said on the container, I mix polyester resin with 1% of catalyst.. the smell was really bad
even with the mast so unfortunately I didn't stop to take any photos

4. Theorically it should take 2 hours at 24c temperature to cure. I left it for 3 hours but it looks still quite sticky.
Then we had a regional revision with Saverio,
he told that it would take around a week to be totally hardened !

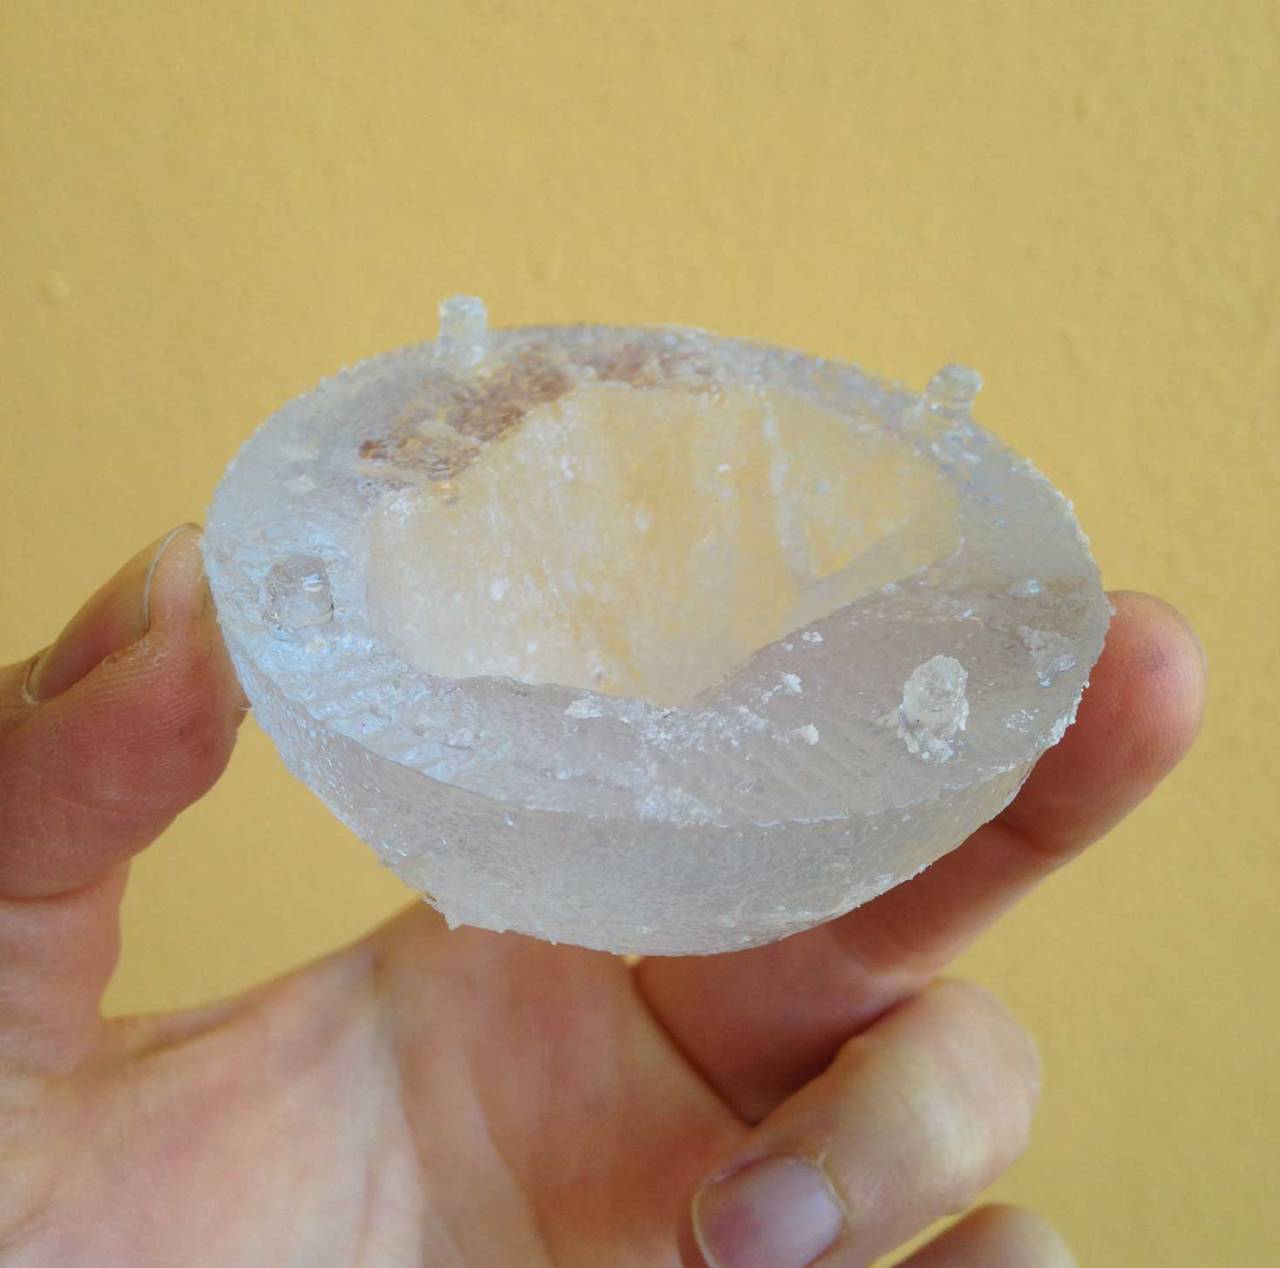
5. So I left it over night, this morning I took the model out of the rubber mold. Here is how it looks

5. Next step
- wait for a week before polishing / finishing - machine a wax as negative for molds for a better resolution. - for resin I should try polyurethane resin as Saverio suggested.some notes on different types of resins - Acrylic resin give clear meanwhile polyester is yellowish - Polyester resin is cheap, easy to use but very toxic and smells pretty bad - Epoxy does not smell that ad but is a sensitizer, meaning that you can get a nasty allergic reaction after repeated exposure ref - some say that Epoxy is the easiest to cast for these reason : longest pod time (2-4hrs), easy to mix (1:1 or 1:2), doesn’t require a respirator mask - hardness : Relatively speaking, epoxy is a ‘soft’ resin. Meanwhile Polyester and polyurethane resin both cure very hard. - clearness : Polyester nad polyurethane can have the hardness and clearness of glass. Both can be polished to a high gloss with a polishing wheel and the appropriate compound. (Epoxy resin won’t withstand the heat produced by a polishing wheel and will turn cloudy on the surface.)ref - for long use, even clear in the cast day, polyester will yellow with time. This yellowing is also sped up by exposure to UV light - polyurethane resin is VERY moisture sensitive but can be interesting - color : pigmenti di colore aposta o lo smalto per i modellini - pot time & cure time is a critical factor
Cool examples from other students : Mario fablab toscana | Fabio fablab Tecsup | Thomas fablab Woma | soft robot
downloads : mold 3d model (stl) | object 3d model (stl)
<< previous | next >>