
Week 3
Computer-controlled cutting (Feb 10)
Assignment:
- playing with Vinyl Cutter - design, make, and document a parametric press-fit construction kit- 10.2.2016 : Global lecture from Neil
explain how you make things..describe in words + images put model files : stl for 3d, dxf for 2d using Inkscape to make visual boolean. Antimony to what ?? Fab modules Vinyl Cutter paper, copper > flex, multi-layer circuits, glue film, cast epoxy film. *N.B. cutting depth. depends on temp, humidity, its tricky to find a right parameter. do tests. Use masking tapes to transfer back on the surface, then shear. try out Vinyl cutter: pc sticker ? carneval ? Laser Cutter raster & vector. screen print. GIK Chamfer makes better joint.. it pressure the piece.. friction holds pieaces. stick-slip, bistable, pinned. pinned joint is the best/ make a good joint ! then go back to your pj size of clearance matters. use parametric tools Making 2d that fold into 3d.cardboard flexure.carugation has direction.
- 17.2.2016 : Bruce Mau
Do what you love Inspirations is first If you can design the time, we create value
01_Introduction Laser Cutting
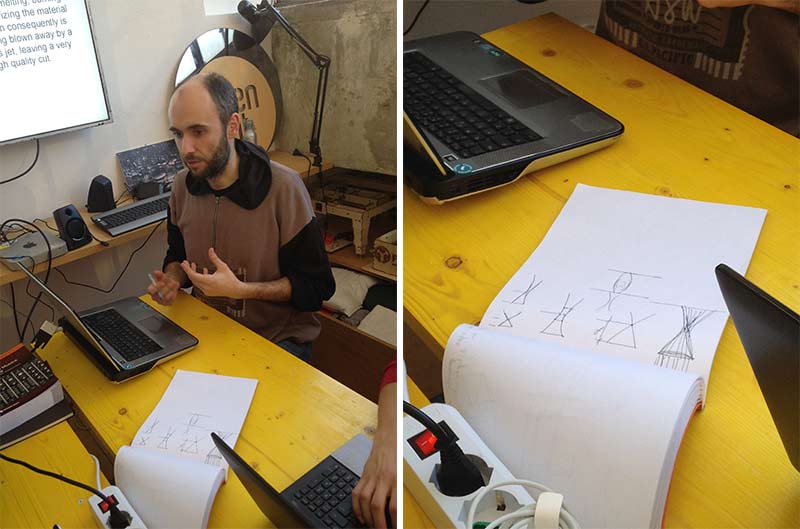 Enrico explained the how laser beam works
- laser heats .. the air is needed to carry out the fumes and make it burn well - focus kerf. lens with short focal length => more narrow range
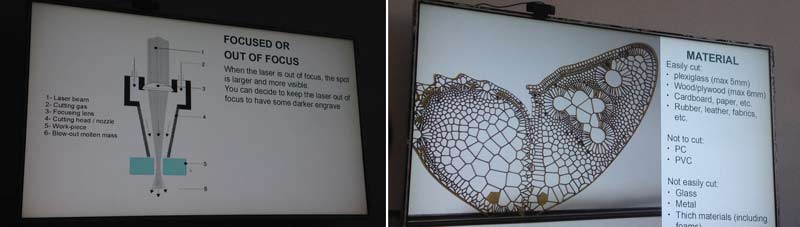 part of the slides today: laser structure, materials
- laser source : CO2 based (lampada neon, specchi, lente)
- galvanometer laser 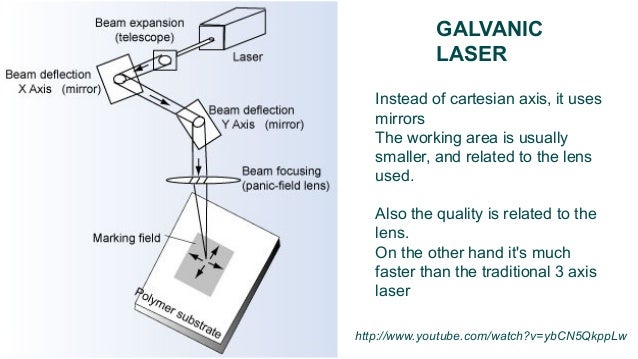 - materials that burn easily (e.g. foam) will melt in the middle
- a software for automation box' structure :
boxmaker or better makercase
- materials that burn easily (e.g. foam) will melt in the middle
- a software for automation box' structure :
boxmaker or better makercase
- an assembly is better when in symmetry. else it can be done asymmetry to differentiate better the sides e.g. a dice - the interlocking is used to harden the structure reference - design from cradle to crate: plan in advance how to disassemble
- joints not 90 > rounded teeth
- flat joints > comb shape(with glue) or puzzle shape (without glue)
- snap fit
this kind of joints helps acrylic fracture at corner problem.  image source
- keys, complex joints
image source
- keys, complex joints  - joints in 2.5D
: it allows a snap, keeping thickness. elegant solution
- joints in 2.5D
: it allows a snap, keeping thickness. elegant solution  - 123Dmake software to automate
- Pepakura for structure made of paper with folds & glue
- Hinges (perno)
- Inlay (intassio)
- dotted lines (linea tratteggiate)are very useful for folding lines on paper
- 123Dmake software to automate
- Pepakura for structure made of paper with folds & glue
- Hinges (perno)
- Inlay (intassio)
- dotted lines (linea tratteggiate)are very useful for folding lines on paper
- Gears : plugin for Rhino/RhinoScripts-Gallery better to simulate the mechanism first, with fusion360
Materials - for the compensated, we must consider the glue : the fact that fire-retardant can not be cut with heat.. - clear MDF can be cut easily but the border will remain carbonized and dark - synthetic fiber will clode the edges by melting - rubber => stamp - plastic : plexi, ptg, mailar, pp. not to cut : PC, PVC
- engraving
- dithering :black and white instead of greyscale
- you can engrave : anodized metals, varnished metals, glass, stone, ceramics.
- file export dxf 2004 "natural" / rhino4
- font can be a problem. Ernesto suggested a fontRyman Eco can be helpful
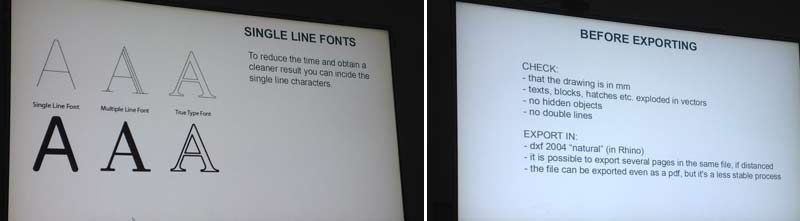 font problem, how to export files
02_Drawing a box with Rhino
Enrico taught us a clever process of drawing a classic box with joints for laser cutting. I've drawn a laser cut box before by myself and it took a lot longer ! I remember drawing it first on a paper with all the teeth and then draft it in Rhino !
Now, I will try to repeat what he did today
First, after creating a new file with setup "small.. in mm",I'll make the box at size 40x60x100 mm. with 2mm thickness.
Let's draw 3 bounding rectangles.then I make a first teeth. 10 x 2 mm.

and mirror(copy) to make it symmetrical, make a line in the middle and then join

mirror again for the opposite side

repeat the step for the other side

this time copy to make a perfect match on the other piece

repeat for the other sides

now, delete the bounding rectangles. Clean undesirable lines with trim

move the parts away from each other for comodity and trim the unused segment

now we have nice and clean pattern, lets copy them. done !

03_Cardboard Chair : Preparing file
Since we are lack of chairs at Opendot, I want to make use of the card board we have
I found a cardboard chair designed by Studio David Graas and it looks like this :

There is no 3D file for download and anyhow I want to try making 3D model from scratch so here it goes :
Starting from estimating the size, normally a chair should have 45x45x45 cm. Since the laser cutter at Opendot has a bed at size 60x90 cm I think we might be able to cut a bit smaller chair.
So I make a 60x90cm red rectangle work as border and start to make guidelines.

After some edits, the chair outline looks like this:

Some more modification to try to fit best laser cutter's bed size. Then fillet, then guides for teeth

to be short, I draw the second part, and more teeth. Notice the white lines that I use to make use they'll fit correctly. (I'm not really sure actully ! not until I cut it ! :D)

Alright, looks like I have every pattern I need. Just to copy and paste and layout them to save most space on laser cutter.

Now, lets check it in 3d mode. I extrude the parts and try to put them in place to see if it would work

ok.. it does not seem so comfortable.. so after another hour of modification, I have this

Looks good ! So, here is what the layout for laser cutter looks like :

ok.. in the end I decided to add another piece in the middle in order to hold better the weight

04_Cardboard Chair : Machining
The material we have is 240 x 240 cm cardboard. Since it is too big for the machine I need to manually cut it first.

In the end I cut all the cardboard in 60x90 cm pieces also for everyone else. Now the material is ready for the machine

Settingsopen the file in Rhino 4 from the pc connected to the laser cutter. Then select Print > choose move to define working area.
Select Property, there are 5 tabs of settings : Option, Pen, Advance, Paper, Language.
1 )In option, choose Manual color fill.
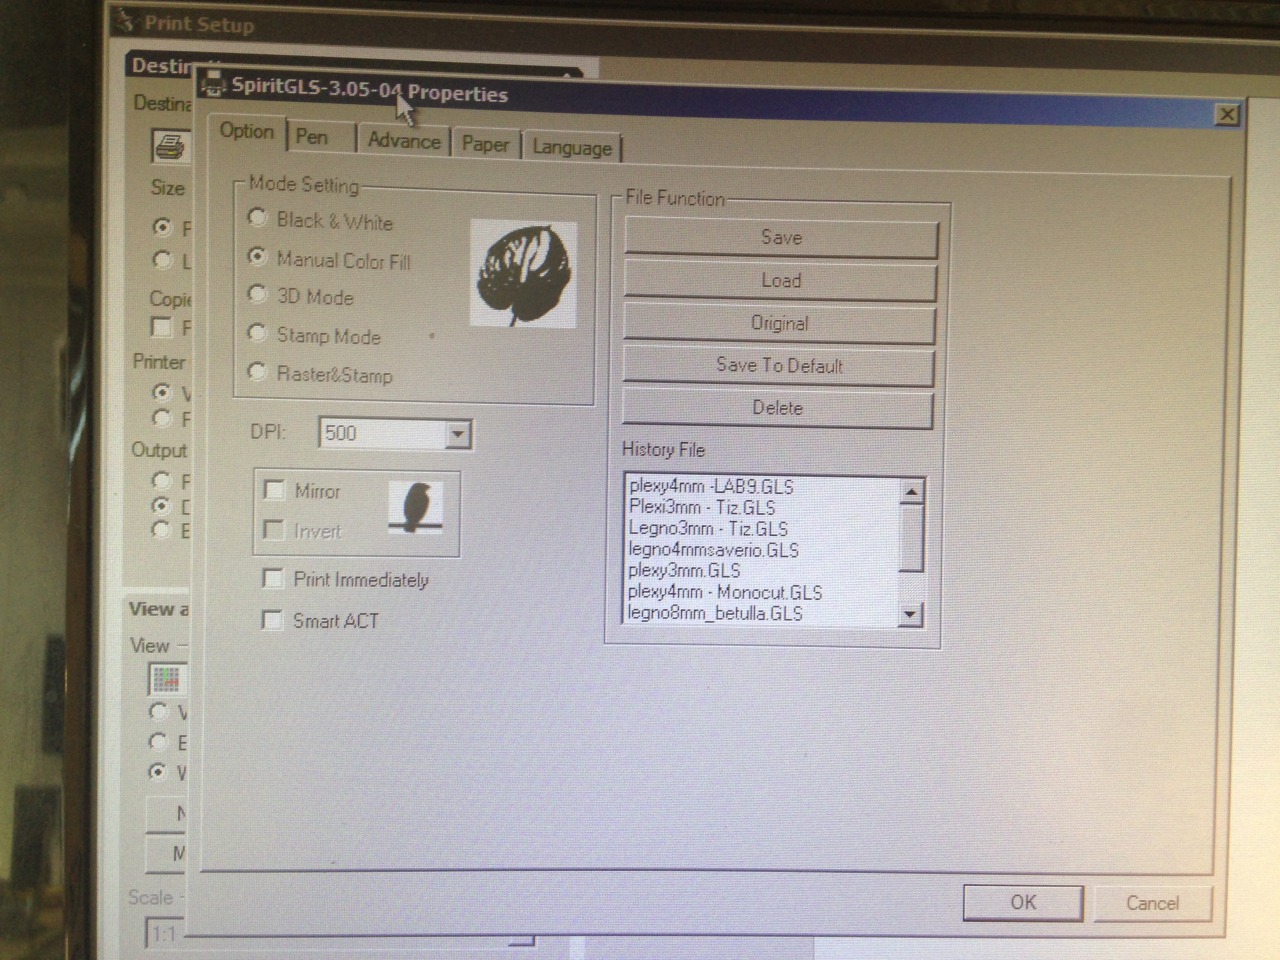
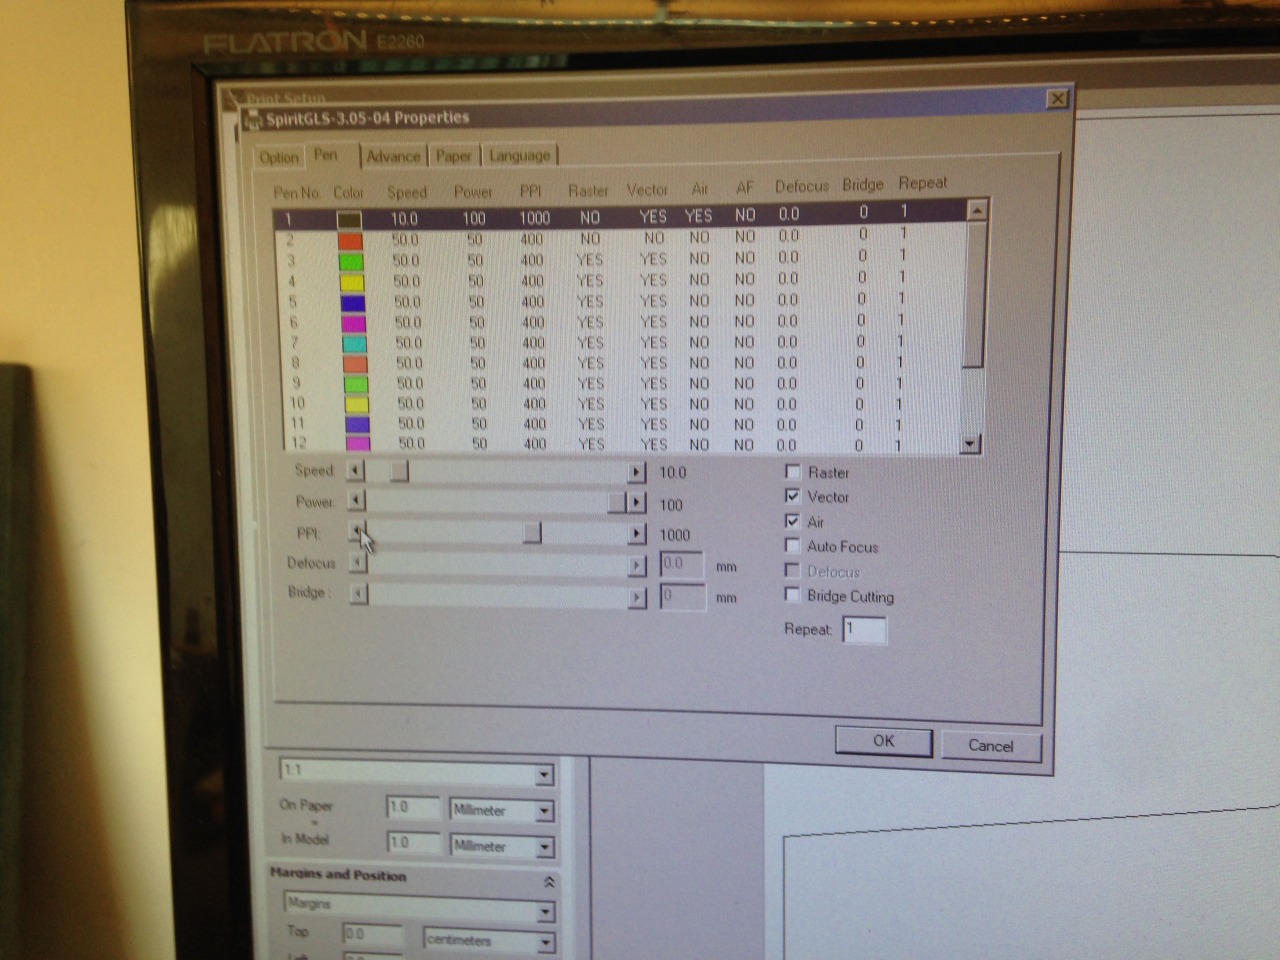
2 )Set pen parameters : Speed 10; power 100; PPI 1000 (or 400 if no round corners)
For every file you made, tt is important to have same layer's colors
as the one of the program connected machine.

The order is important. The logic is; First : incisive raster,
Second small inside cut and lastly the outer cut.
In my case I only have outside cut so I need only one layer.
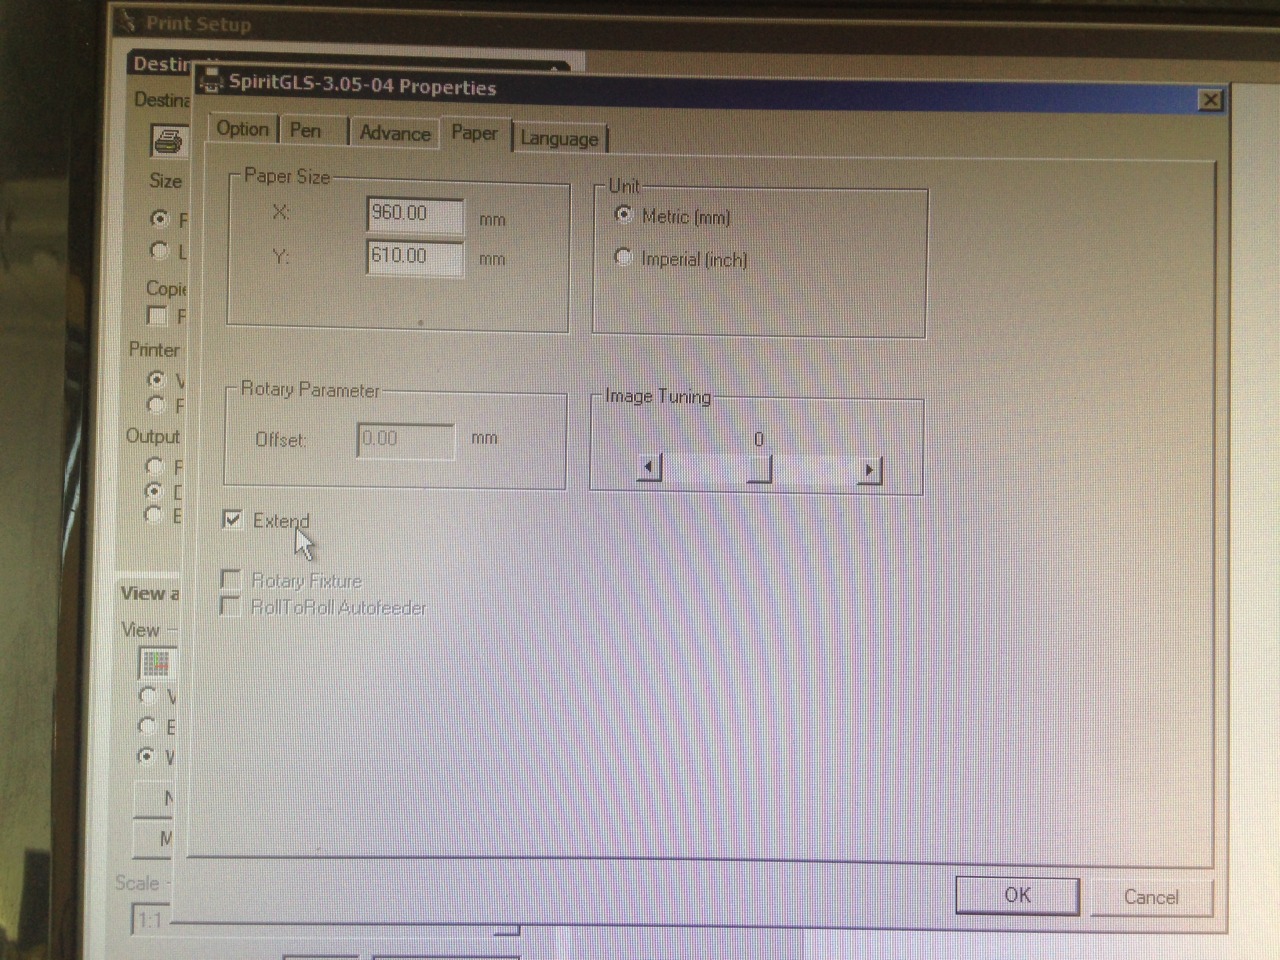
3) in Paper, select Extend to utilize the whole 960x 610 mm cutting area
Print setting is good to go. Dont forget to turn on the filter

Once the print file is sent, go to the machine so set the focus Put the material on the cutting area, try to make it as flat as possible. Use paper tape if needed. Attach the focus tool to laser head and press auto focus on the machine screen.
Then its good to go. On machine screen, select the file and press ok. If you are still not sure you can turn the key off to see the laser head movement before cutting it.

and there are the pieces !

Assemble time

and here comes testing time ! It does hold ! I was doubtful but in the end it hold the weight well :)

You can download a dxf file here

05_Vinyl Cutter
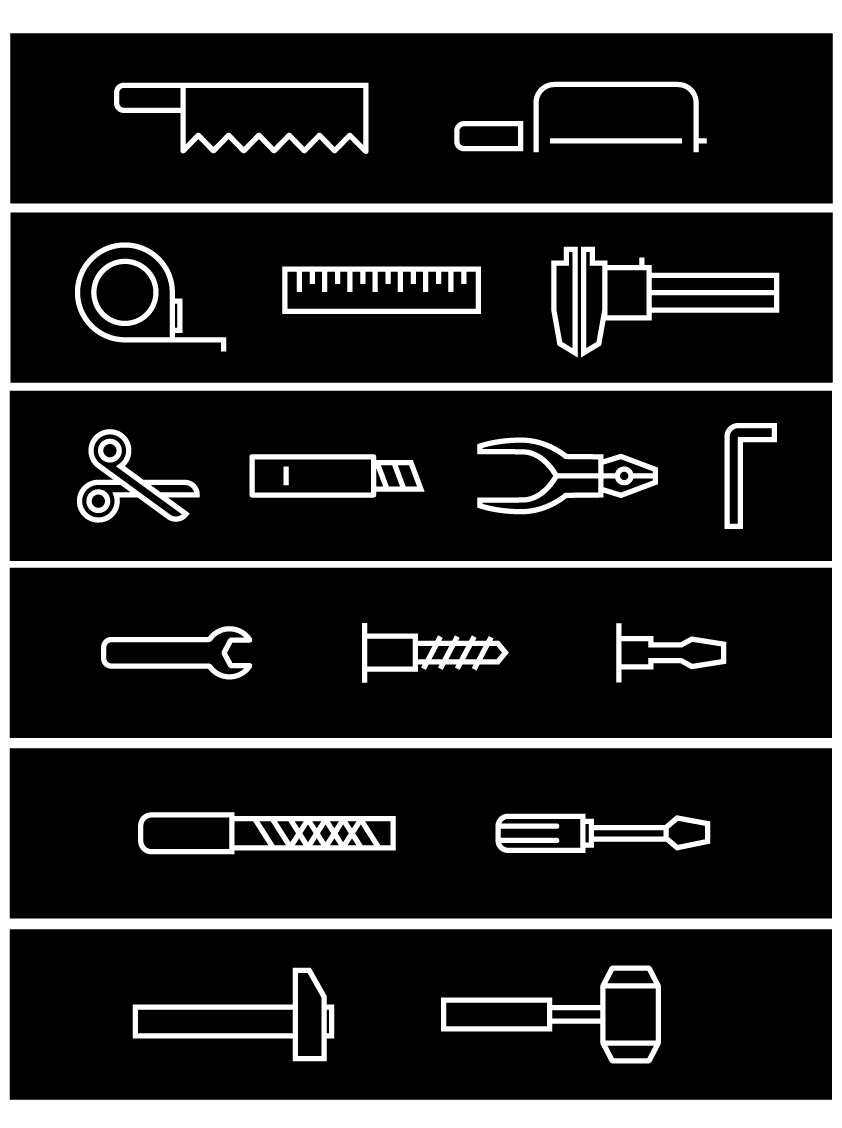
At Opendot, in the wood lab, there are many wooden drawers for the tools and everytime anyone wants to find something it took a bit of time
to find where things are located. So I want to make labels for these drawers.
This is what it looks like now :

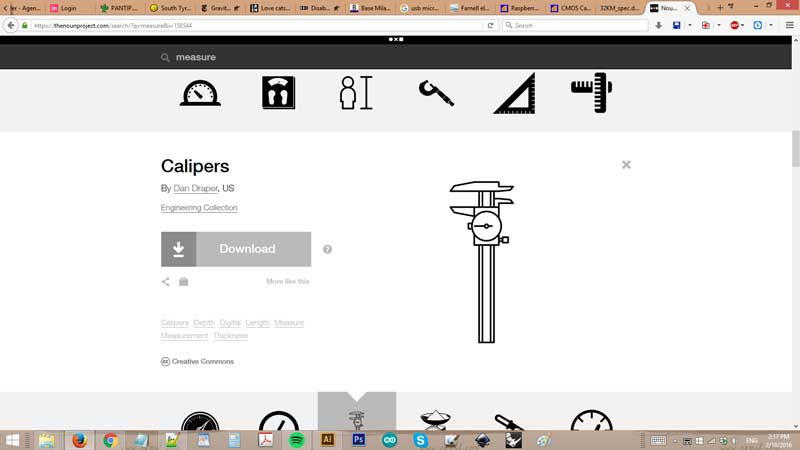
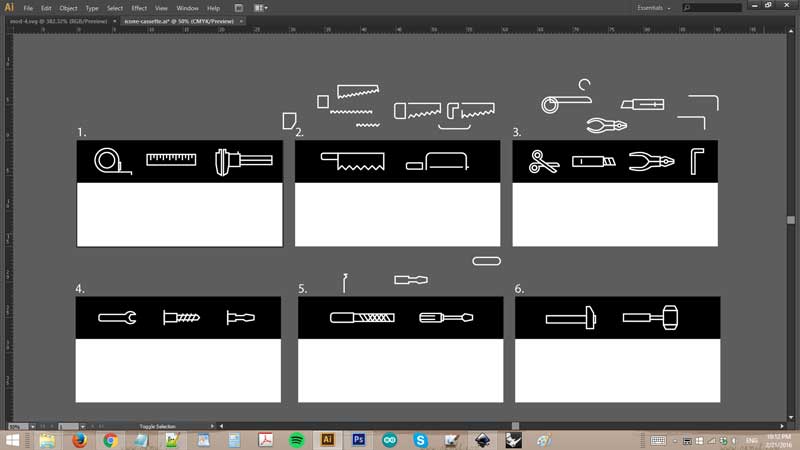
First I try looking for some icons from The Noun Project..
some icons are very nice but not every tools has the same style so I decided to draw my own in Illustrator
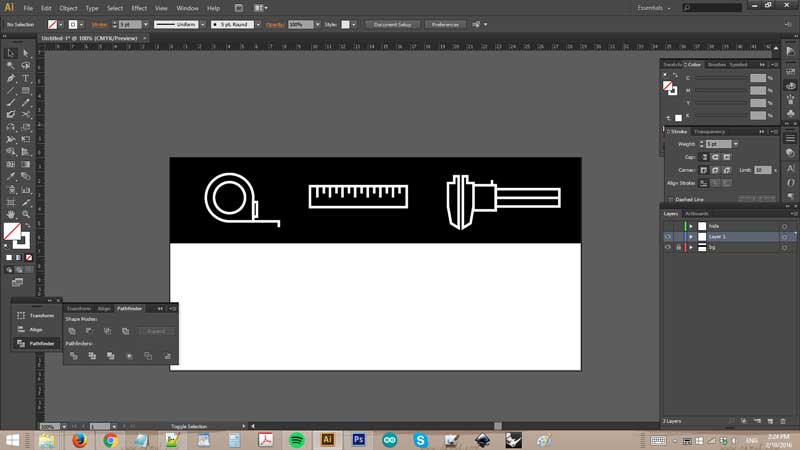
Now the file lines to be expanded and exported in Illustrator 3 (not CS3) to be readable from the machine's software.
How to set up :
- open the file with CutStudio on the PC connected to the cutter.
- at the cutter, turn the machine on, insert vinyl roll,
make sure it covers both 2 pressed points (white adhesive).
- adjust the wheels to assign initial and end points of working area.
- set the blade to origin point. adjust the force, you can click test
and the blade will make testing rectangles

Once you're ready, just click "cut" from the program! and here it is the outcome. looks good !

Put transfer tape and then peel it out before attach to the cassette

go with the drawer.. nice and slowly.. and there ! first label is beautifully done :)

the plan is to make for every drawers so.. to be continued !
Updated Done all the stickers !


Download files : Box(dxf) Chair(dxf) Drawer icons(dxf) Drawer icons(png)
<< previous | next >>