Week 14
Composites(May 4)
Assignment:
design and make a 3D mold (~ft2), and produce a fiber composite part in it- Note from lecture
- fiber + resin
- wood is composite
- short fiber makes bad composite
- epoxy
- 5 ply is a reasonable number...
- wet lay-up then compress or vacuum
- compression molding	.. you can use clamps, or a garbage bag full of water
- vacumm bagging(42 pound per kg): mold, release film, breather.... pump
- also use ful to fix a surface
- ventilation
1.3D modelling
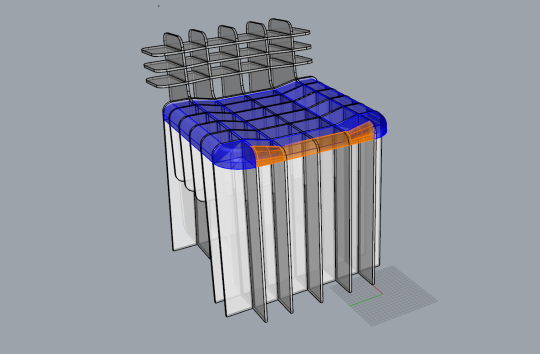
I wants to do something useful but since I don't have any plan on the form of final project yet I decided to make a support for my old cardboard chair I made for week 3
1.1. Here's the 3D model made in Rhino
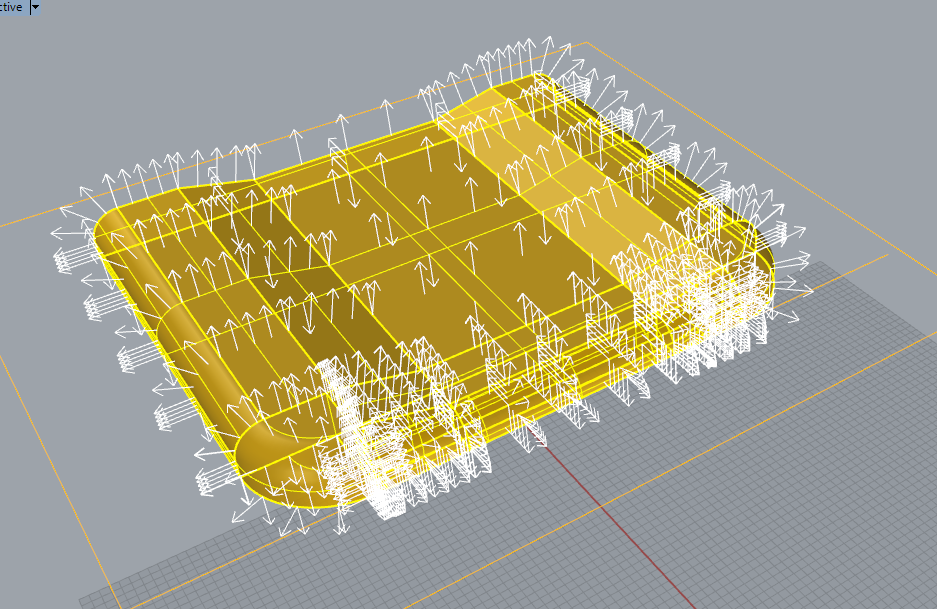
1.2. Model of the mold. At first I wanted to make 2 molds for compression lolding method but I had problem offsetting the 3d model..

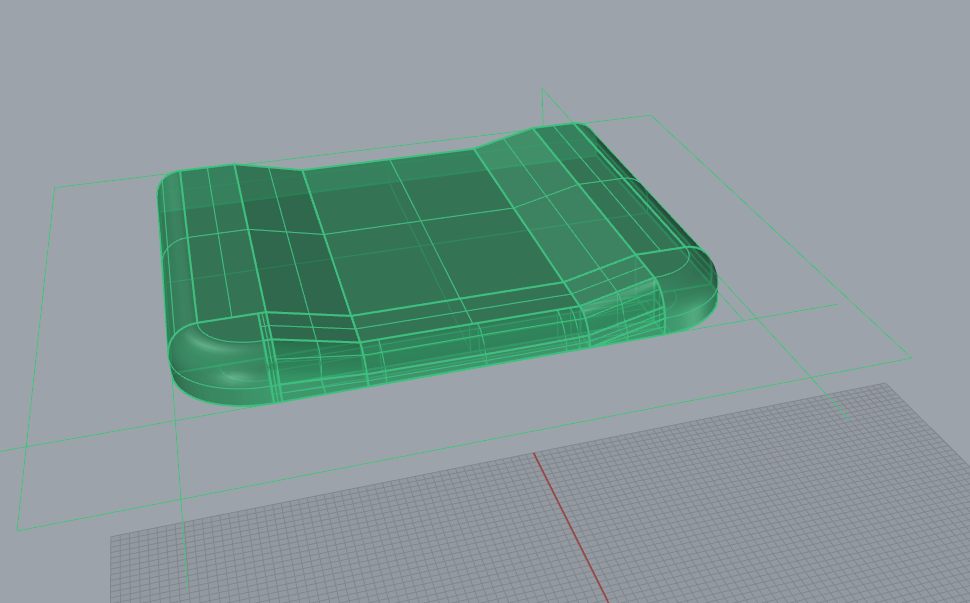
1.3 So after some hours of trying to fix it I decided to adopt vacumm bagging molding.
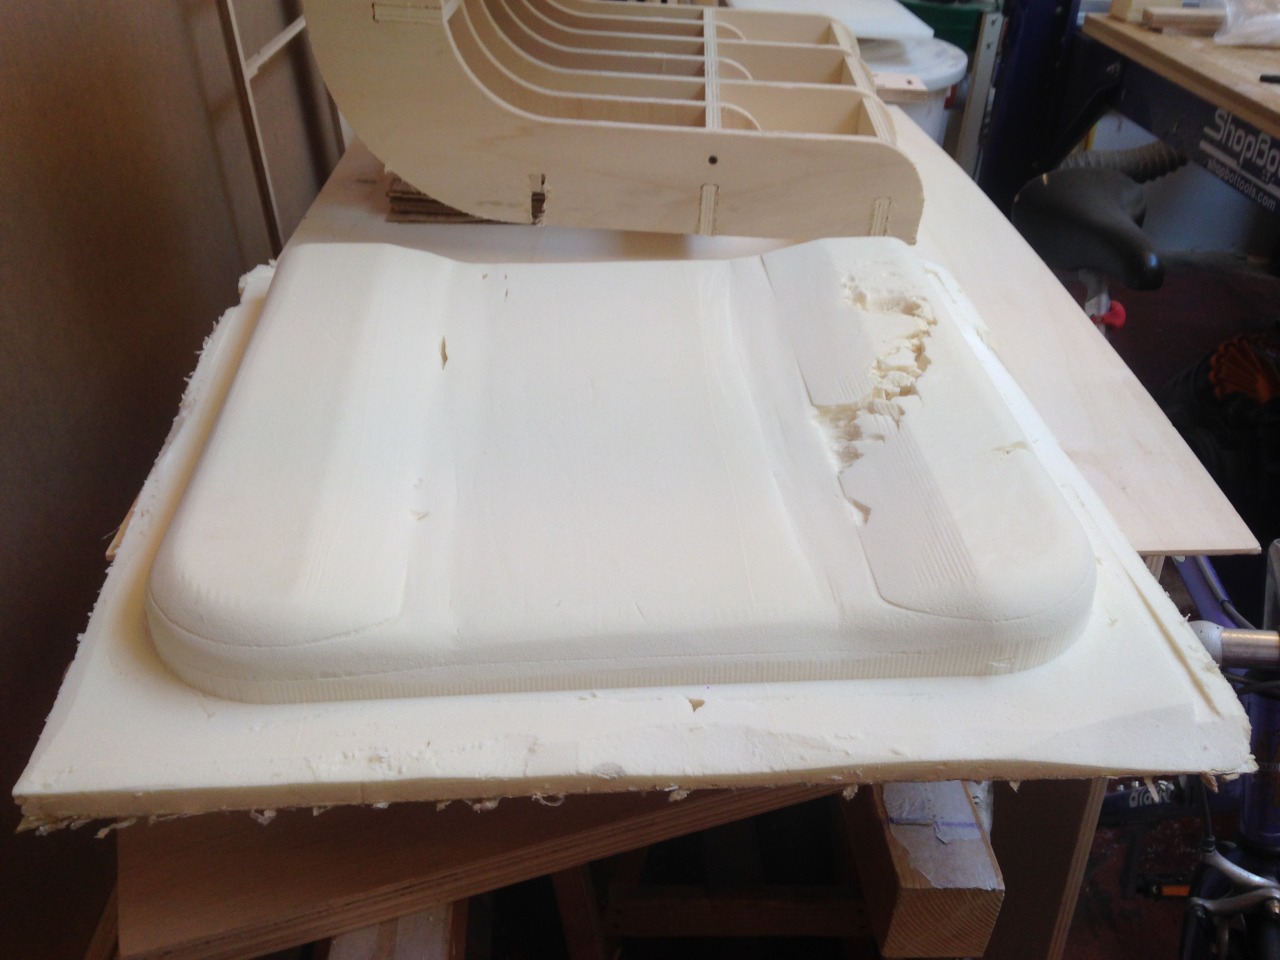
2.Milling
2.1 The roughing part with Foam went well

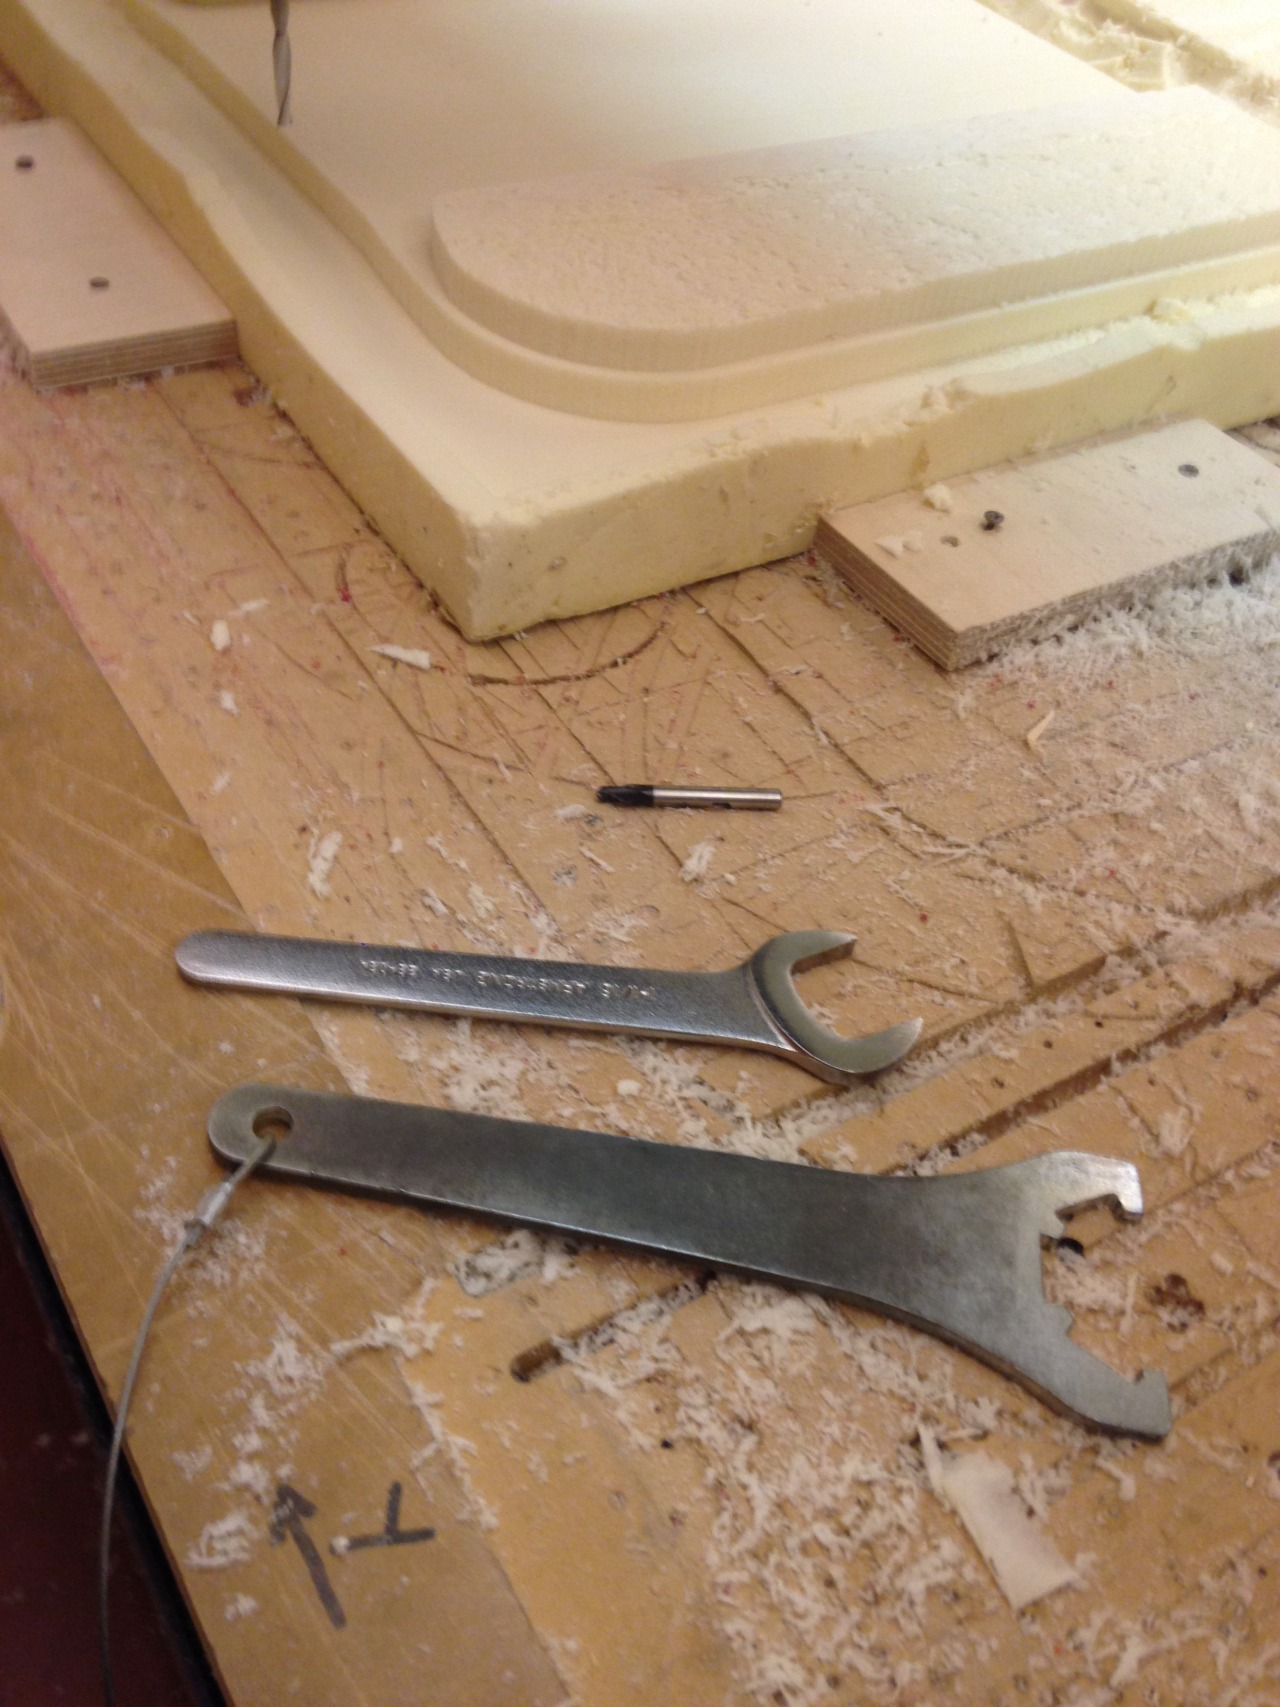
2.2 But then I changed the head but the round 6 mm mill we had is too short and it ruined the mold !
 : (
: (

2.3 There was no much time left so I decided to go on using this mold.
The only long mill we have it this flat 6mm. So I used it for finishing


2.4 with a little help with sand paper.
3. Layering
3.1 I fixed the ruined part with paper tape.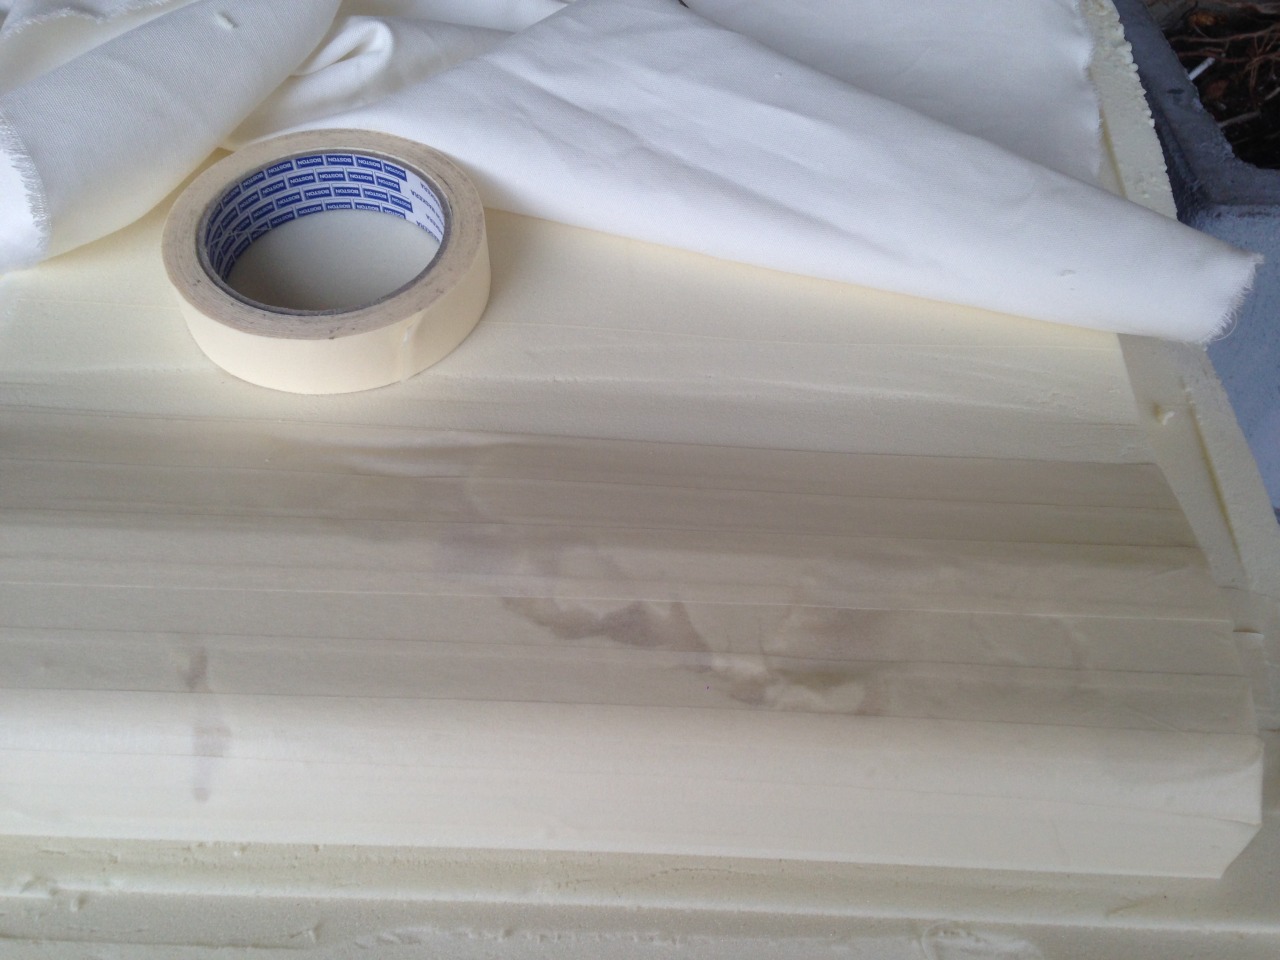
3.2 The fabric I use is cotton cloth. To use 3 layers, I position the cloth in 3 directions and cut the pieces.
3.3 Since for molding I used polyester resin this time I decided to use epoxy to try. The proportion is 1:4

3.4 Various layers
1)3 layers of Rigid cotton cloth 2)Punched plastic film to avoid the resin to get stuck to the bag
3)Soft cotton as last layer to absorb extra resin

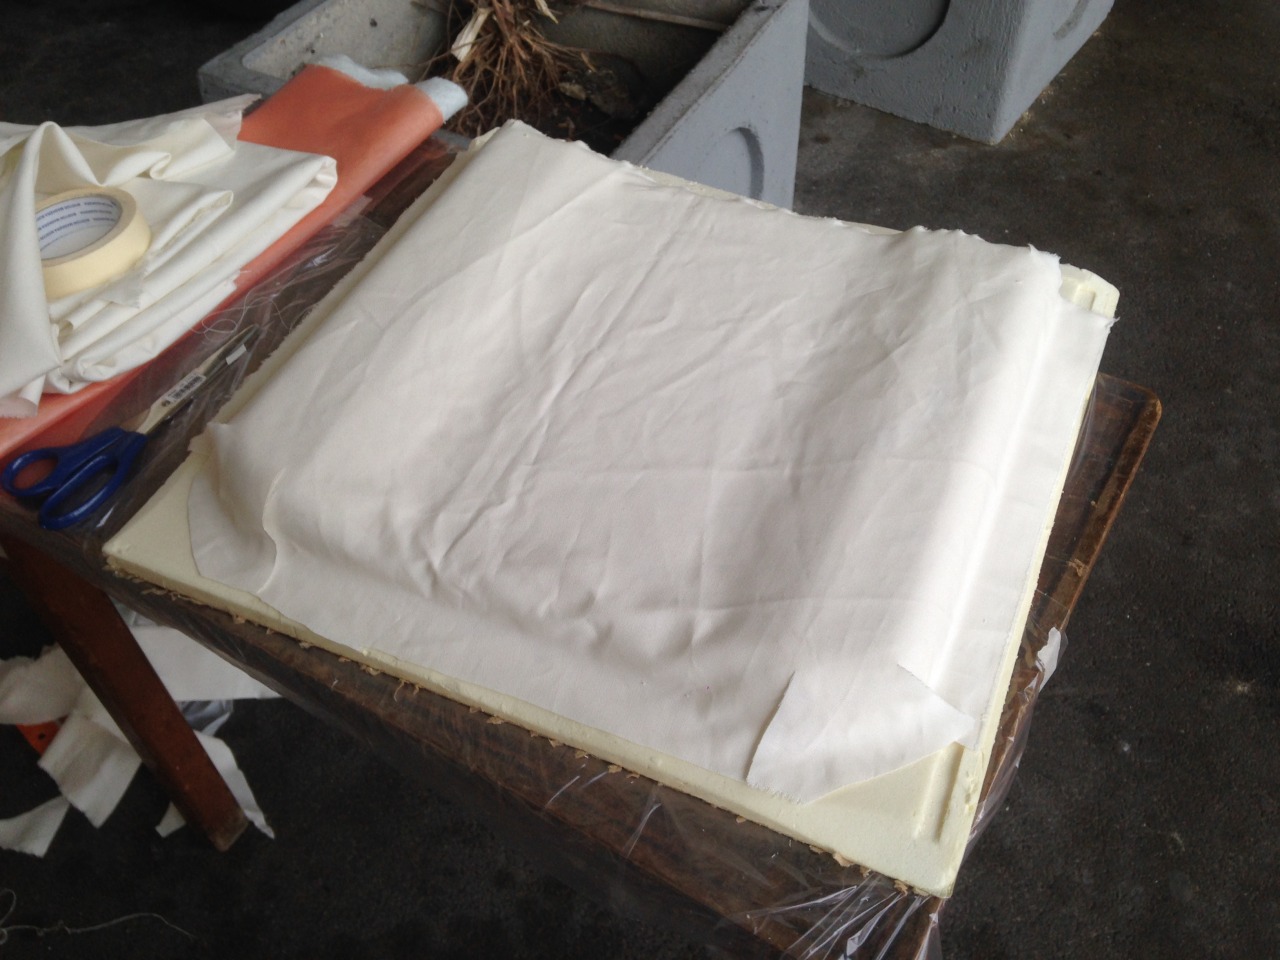
3.5 Unfortunately I was alone in the lab.. with hands in gloves and dirty with resin I had no chance to make pictures during the process. Here is what I did :
- spread wax onto the mold
- layup the rigid cotton onto the mold
- use brush to spread the resin . press it good to make sure resin infiltrate in the fabric
- repeat the process for the other 2 layers. Make sure all the layers cover the whole piece
- put the plastic film and lastly the soft cotton on top
- put everything inside the vacumm bag
- vacumm the air out

4. Demolding
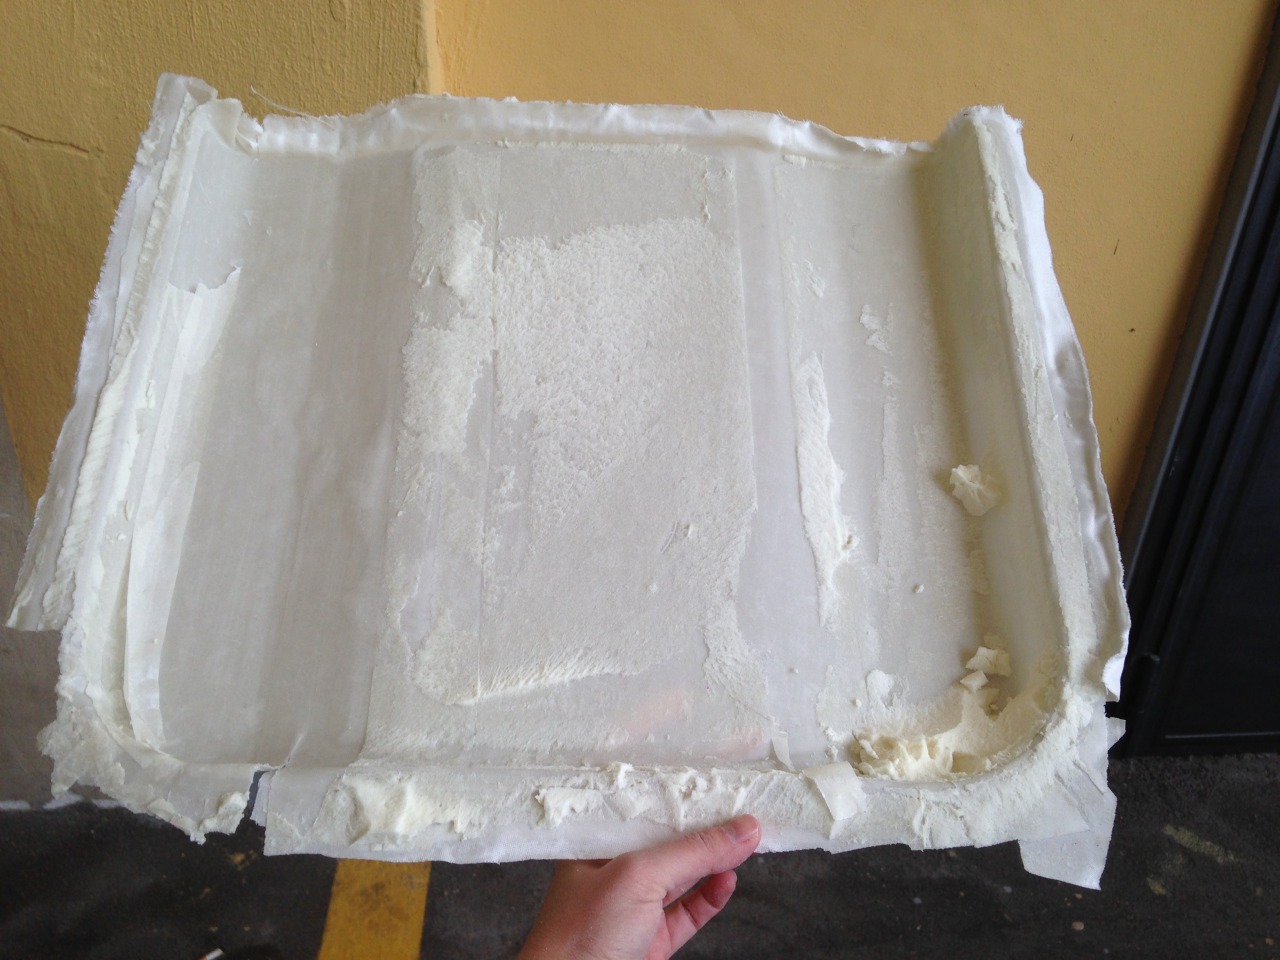
4.1 After 24 hours, it's demolding time. I took it out of the bag. Looks good so far.
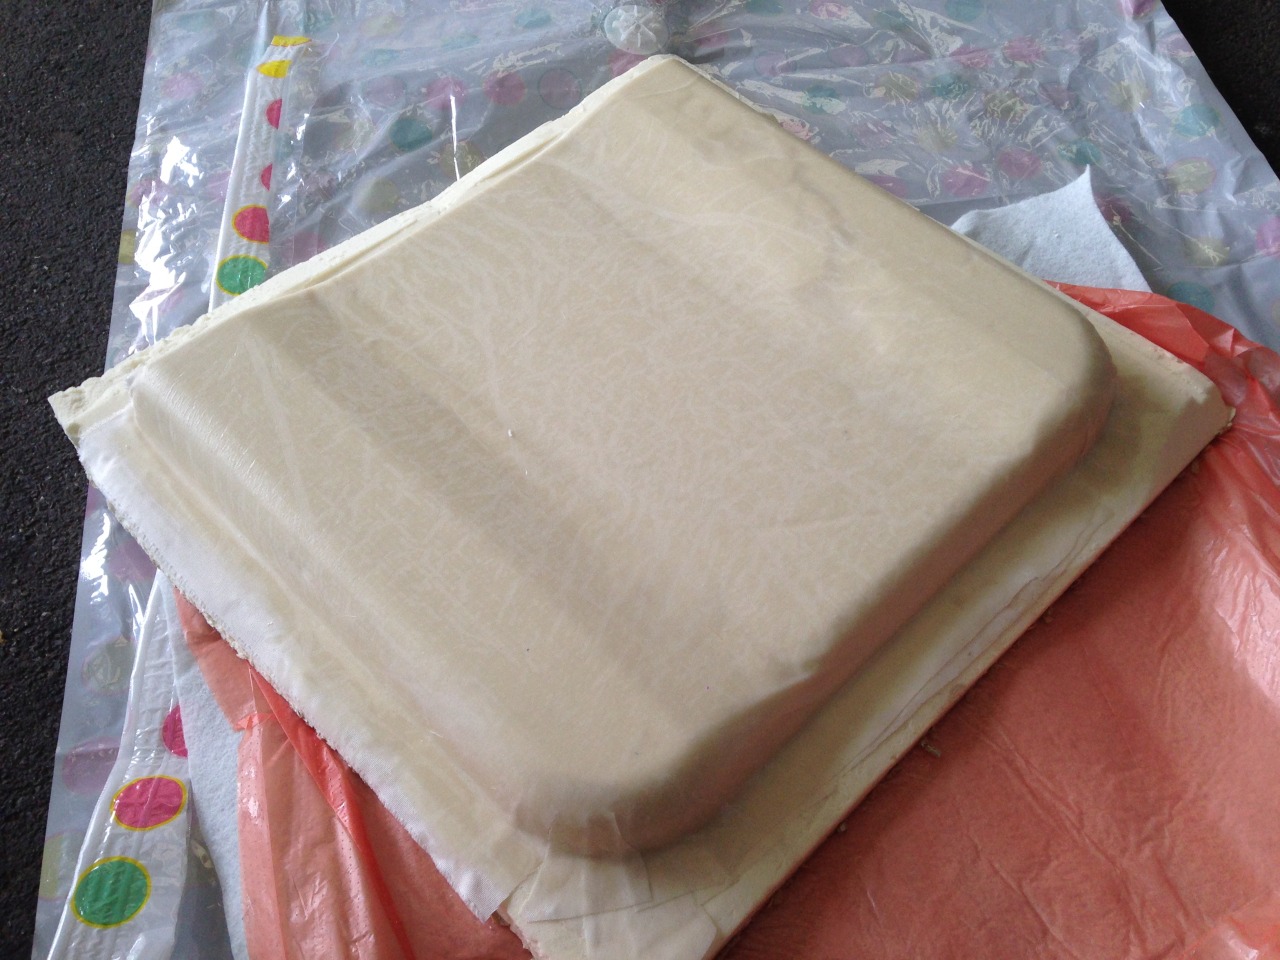
4.2 Trying to demold it.. it is quite difficult in the corners.. Probably I did not put enough amount of wax in corners

4.3 So i have to cut half the mold..

4.4 Eventually I got the whole piece out but the corner it torn !
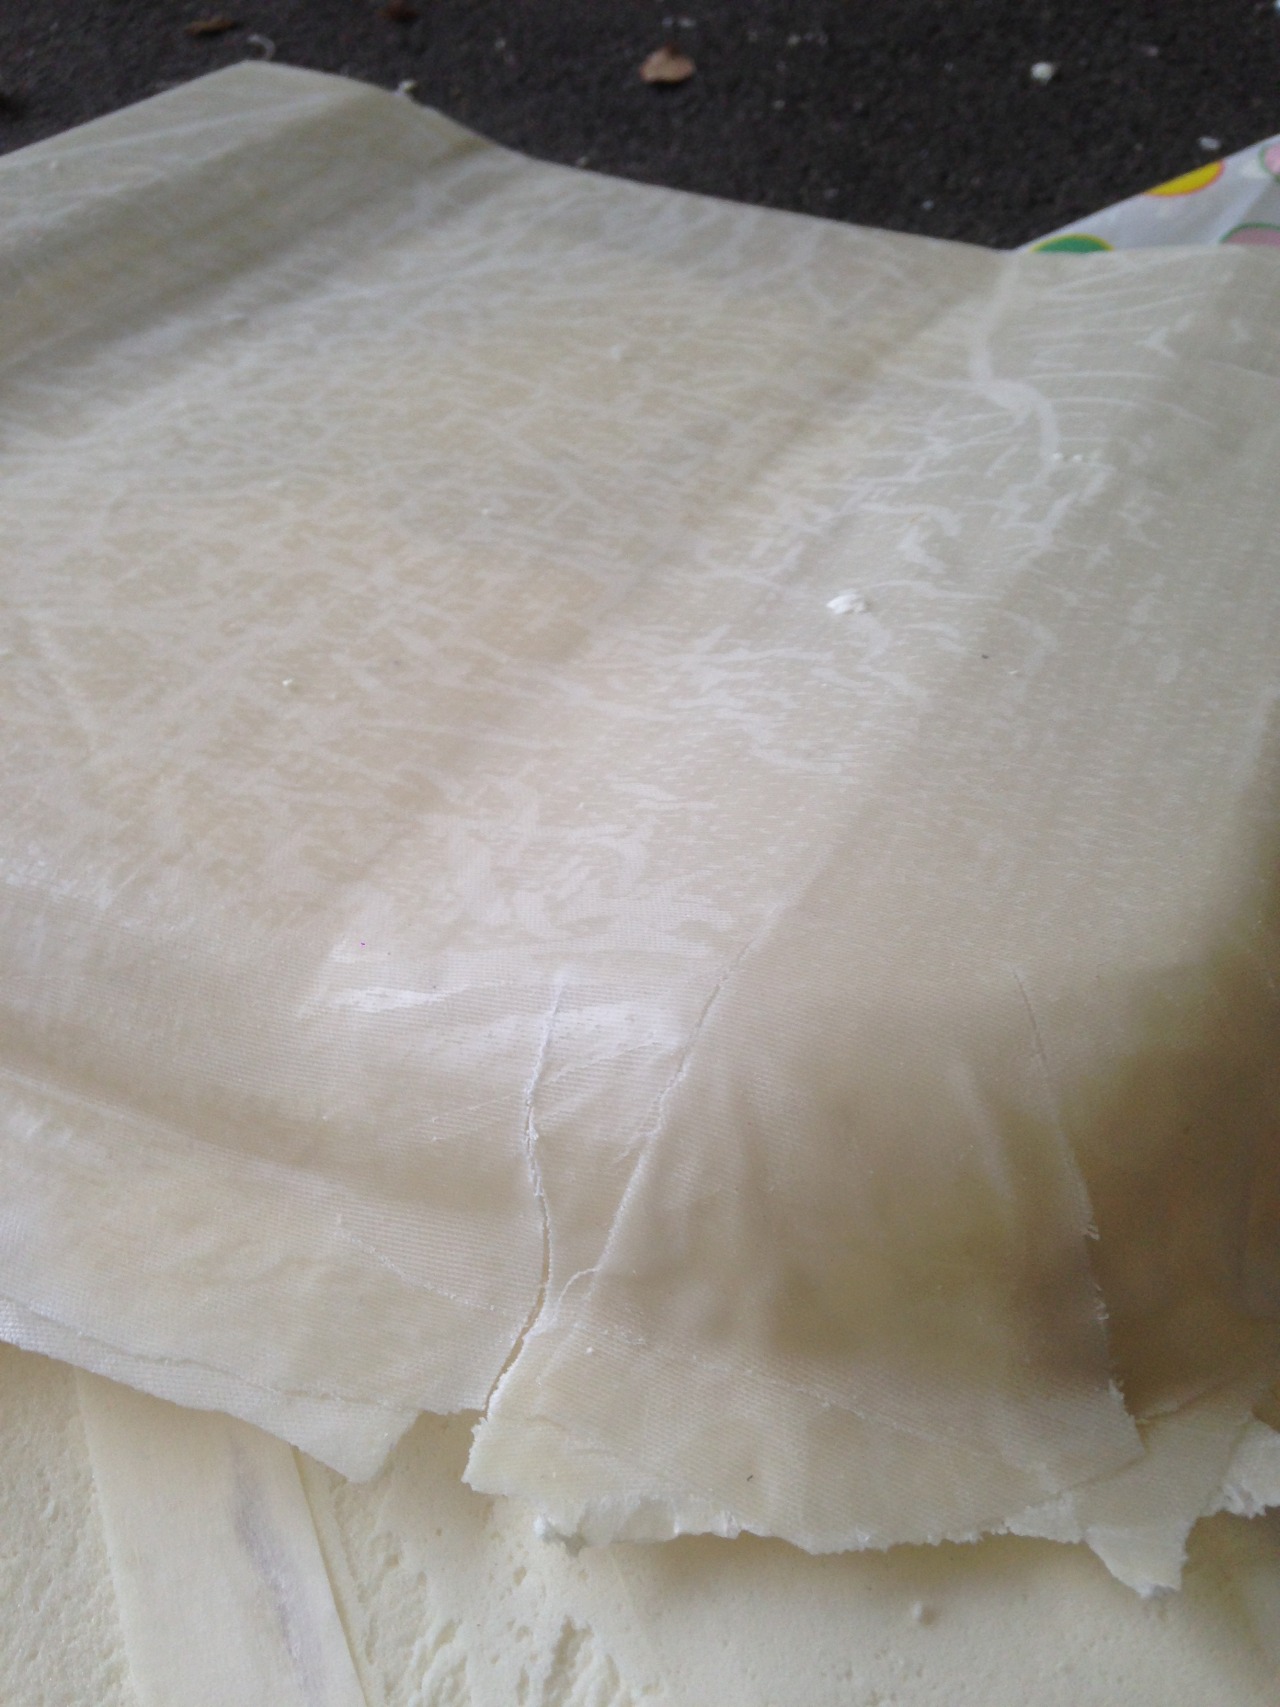
4.5 the rest looks ok..

4.6 the size seems correct. I'd fix the torn part one I have more time..

download file : 3d model(srt) | (3dm) << previous | next >>