Week 16 - Interface and Application Programming
comparing as many tool options as possible
- Laser cutter
- Raspberry PI Model 2
- Camera for Raspberry PI-NoIR B0036
Softwares :
- imageJ, a free and easy image processing software wrote in java.
- Python
- OpenCV
- Matlab
This week was the perfect week to accomplish a project that I had at the back of my head since a long time. I wanted to develop a workflow for live image processing that allows to interact with an experiment or a physical system (here a puzzle). Virtual reality can really change the way we interact with things and how we use our intuition. As I already knew about image processing and Matlab, I started from there and learned a few new tools such as Python, OpenCV, Raspberry Pi, the pi camera and live image processing. That was a great week that will be useful for my final project.
The motivation
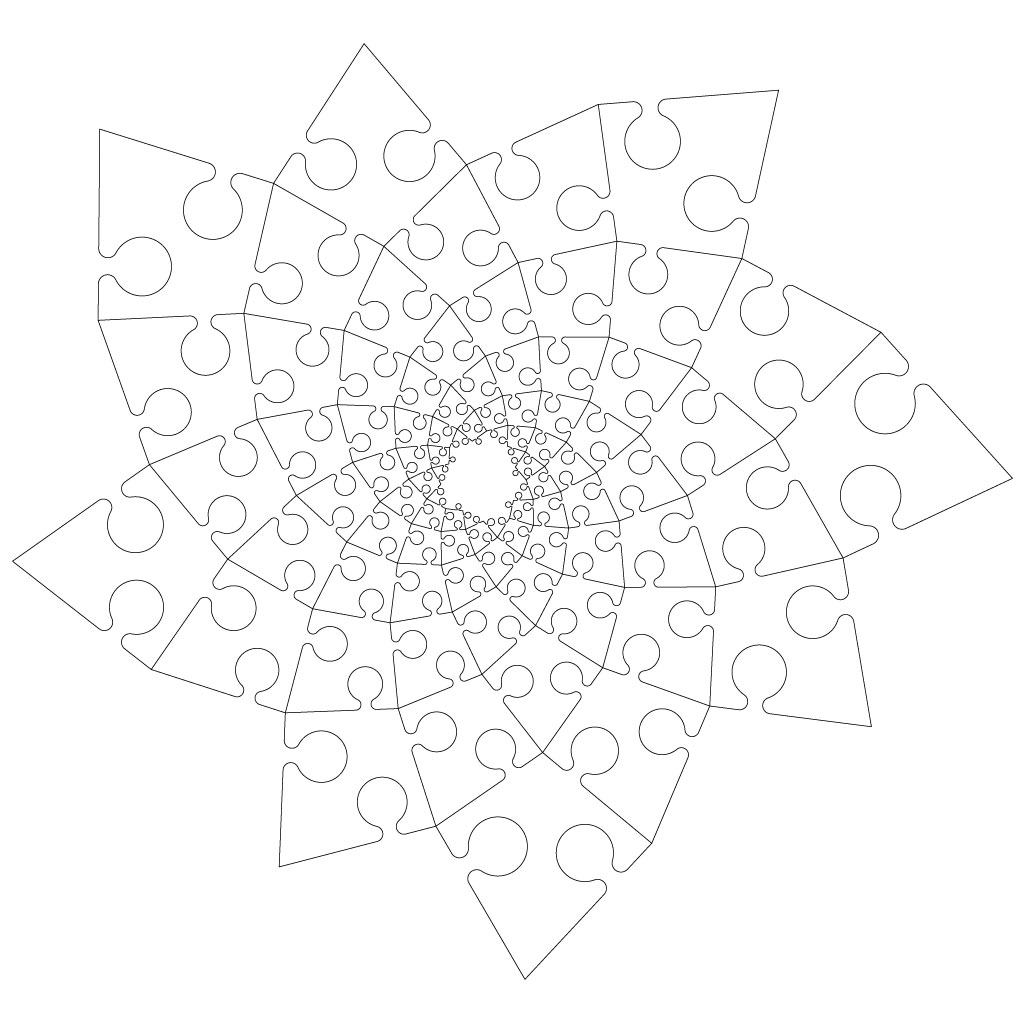
I had this project at the back of my head for a long time, this assignment was the opportunity to try and make it. A few years ago, Axel, who is a technician in my lab, had found and made a weird puzzle: a Fibonacci Spiral Jigsaw Puzzle (see image below). This puzzle is really difficult to make. The pieces have all the same shape but have all slithly different sizes. I struggled for about half an hour to make it, placing and removing pieces until all the pieces fit ! Fun but really difficult !
The challenge
I was wondering if we could get a little help from technology to help our intuition that would help us to make it. What if we could set a camera on top of the puzzle, that would measure properties of each puzzle piece and indicate in live information that would be helpful to make the puzzle.
The proof of concept
Preparing the image for image processing
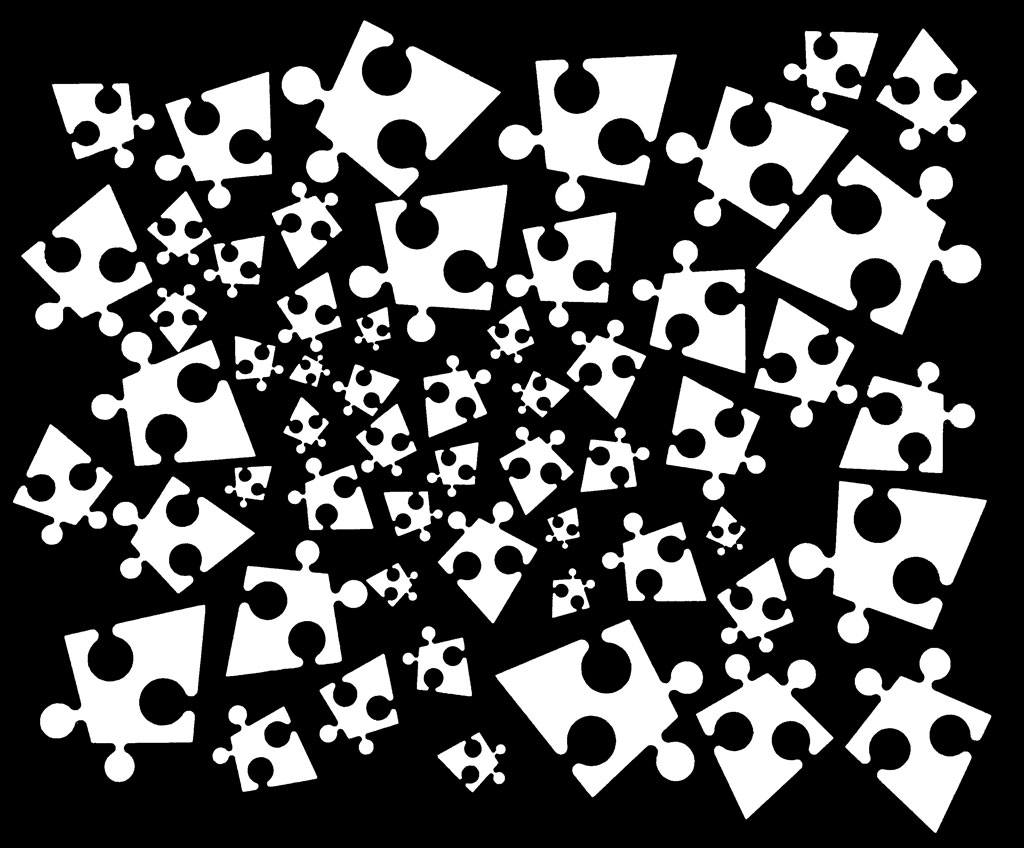
First, I used photoshop to make the following 8bits image of the puzzle.
Detecting and labelling each of the pieces
Then, I imported the black and white image in Matlab to analyze the properties of each puzzle piece and label them. I used 2 important functions: regionprops and bwpropfilt. regionprops allow to extract the white pieces and measure properties on each of them. I then used bwpropfilt to extract the pieces corresponding to a certain size and add a color and a number to it.

What the code does
Here is what the matlab code does
- Upload the image as a matrix I (imread)
- convert the image form 8bit to a binary image (black and white)
- When needed the black lines separating the pieces can be widened easing the shape detection. For that I did a morphological operation called erosion using imerode function.
- Then, I measured the properties of each white region using regionprops. I extracted the Area and the Centroid.
- I sort the shapes by area size using the sort function
- I then show a first image with the black and white image and the shapes numbered by increasing area.
- I extracted the different shapes from the binary image using regionprops
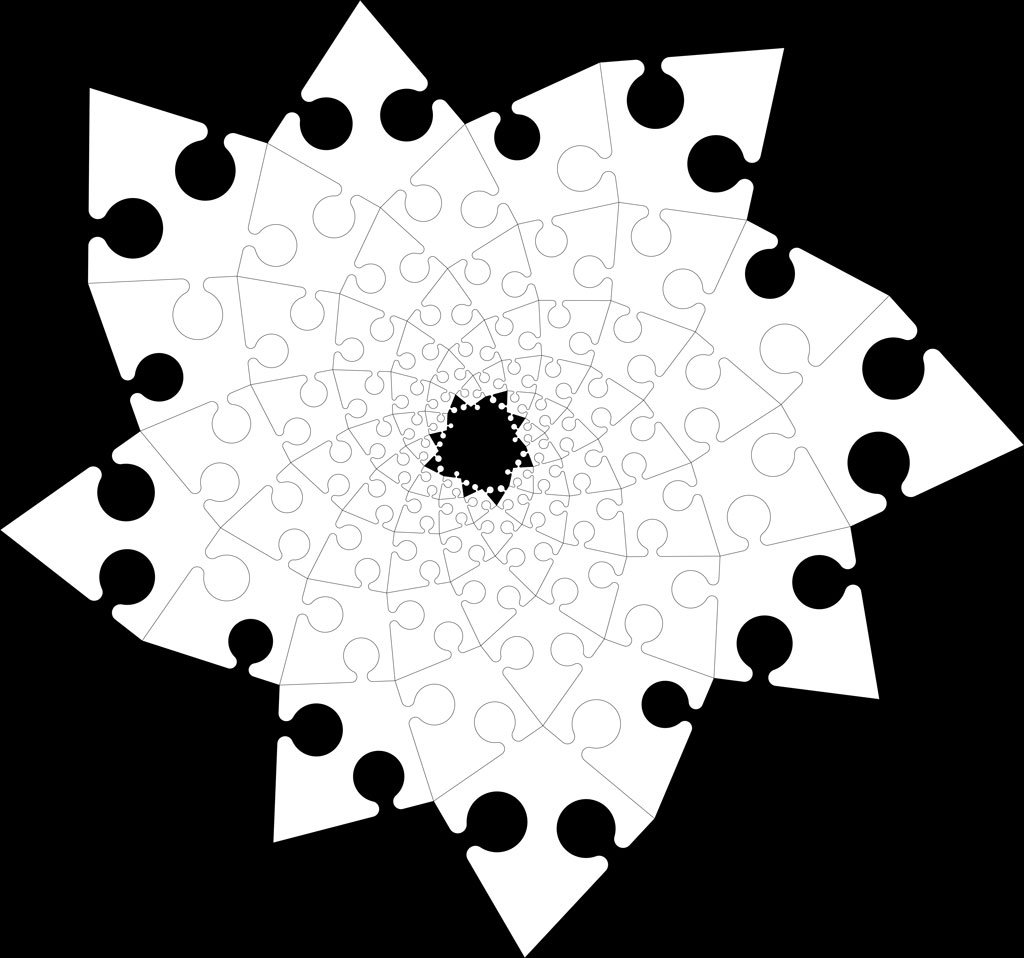
- Then, using the jet colormap, I built a colored image with the different shapes in different colors depending on their area value (blue being the tiniest, and dark red being the largest).
- Show the final image (see here below)
Matlab code
Here is the final image. Dark blue are the smallest pieces. Dark red are the largest. There is a number at the center of each piece, 1 being the smallest.

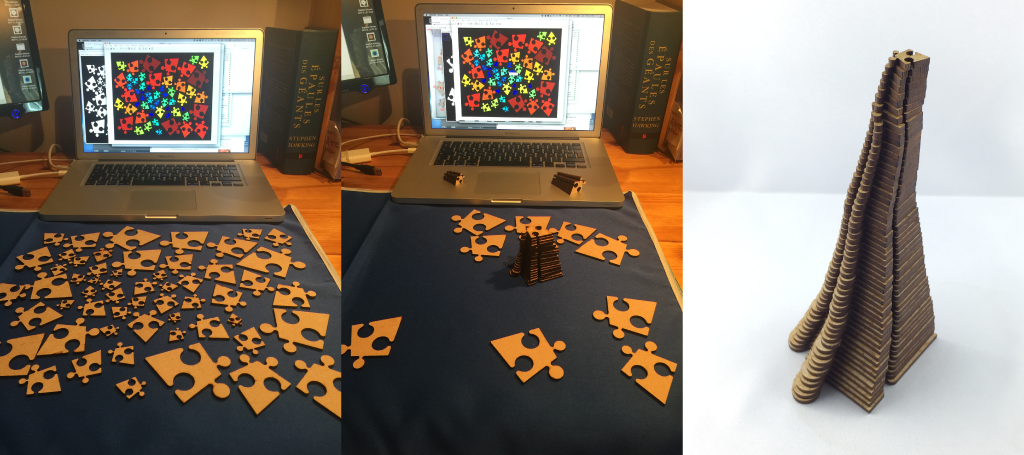
Fabricating the puzzle
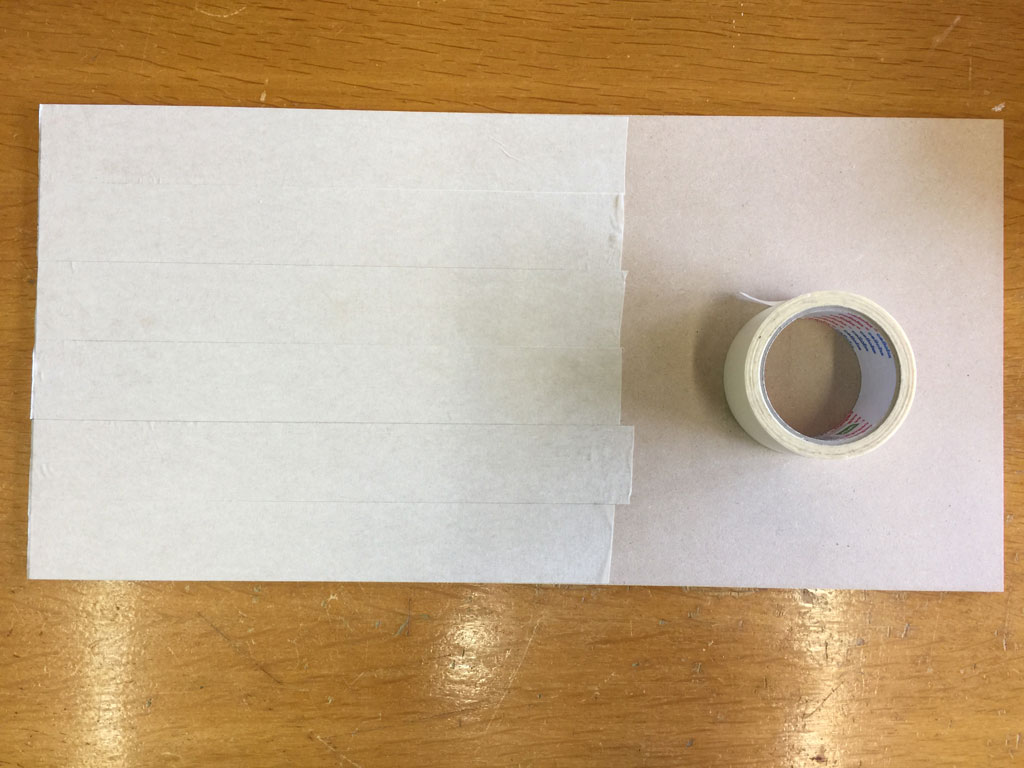
After having downloaded the file from here, I cut it in plywood at the laser cutter. Prior cutting, I put some tapes to protect the wood from burned resin traces. Tape that I will remove once the puzzle is cut.
Here is a video of the puzzle being cut by the laser cutter.
Here is the assembled puzzle

Making the puzzle, the slow way
So hard.
Making the puzzle through image processing, the effective way
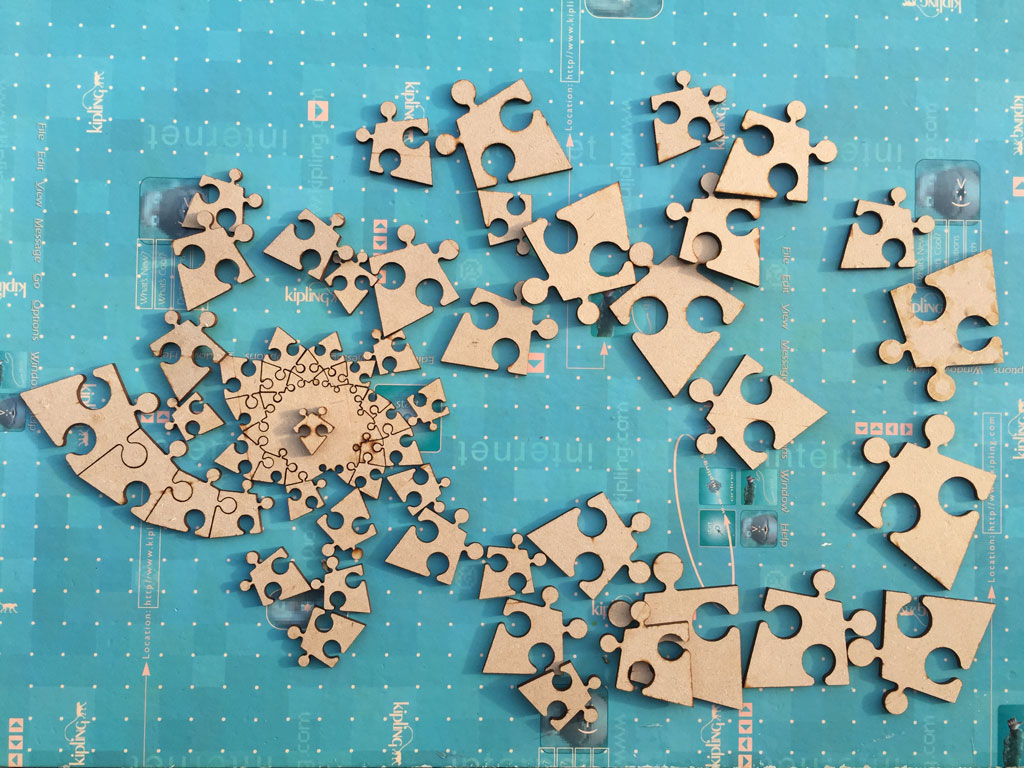
I set all the puzzle pieces in a light tent on a blue textile and I took an image using a camera.

I opened the image in imageJ and made a color threshold to extract the puzzle pieces.

From this color threshold, I've made a black and white image
Then I ran the Matlab code shown above and got this image as a result.

Making the puzzle
Then I displayed the labeled image in front of the real puzzle pieces. And I sorted the pieces by size, starting by the smallest one. This was easy.
Once sorted by size, the puzzle is fun and easy to assemble !

Done
Now, let's make the analysis in live !
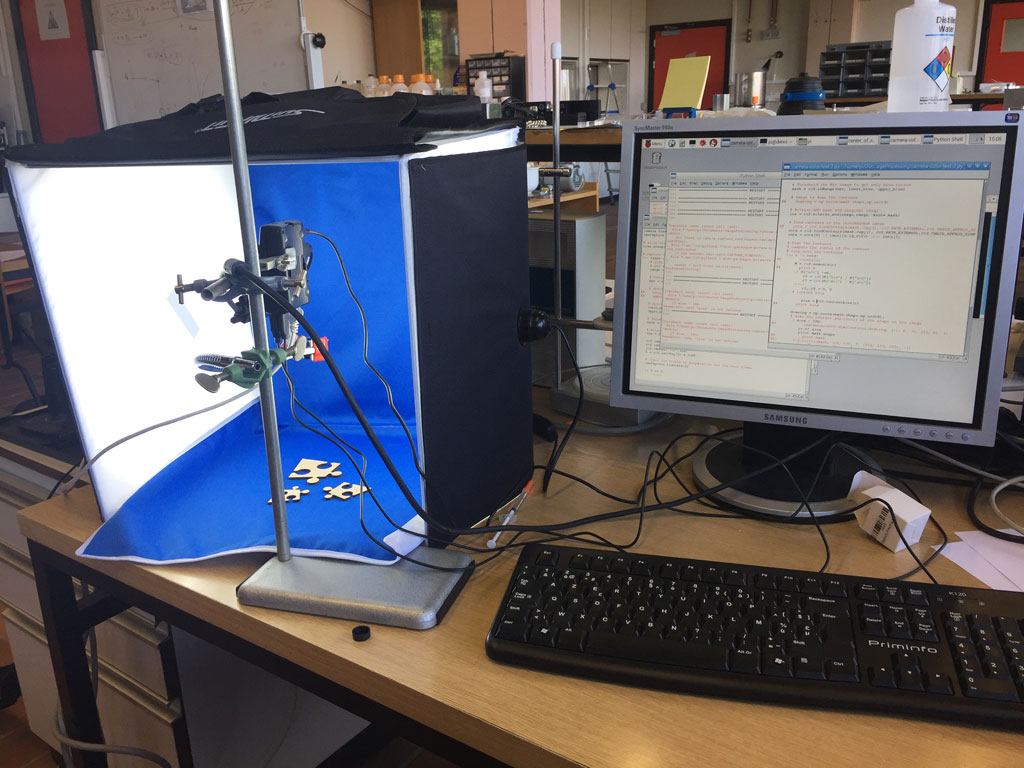
The setup
For this part I explored the use of a camera input device. I chose a pi camera and a Raspberry Pi model 2. As a language to interface it, I chose Python along with the openCV library and the Picamera.camera module.

Here is the setup: the light tent, the puzzle pieces, the pi camera, the raspberry connected to a screen, a keyboard and a mouse.
Extracting the pieces
Here I interfaced the camera and got a live feed.
Then, I wrote a code based on this tutorial XXX. I struggled a lot with the colorspace and the camera settings to have a stable a exploitable shape detection.
Here are two tutorials that really helped me to make the python code presented here below:Here is what the python code I developed does :
- Import the Picamera.camera module to interface the pi camera.
- Import openCV (cv2) for python for live image processing
- Import numpy package for scientific computing in Python
- Import the time module to make some time related functions
- I then initialized the camera, set the resolution, the frame rate, the resolution.
- Setting and fixing the white balance and the exposure mode was important, by default it is set on 'auto' and the camera adapts these settings when the scenery is changing. It's
- Then, each frame from the camera is captured and in a variable called image
- The RGB image is then converted in a HSV image that can be more easily color threshold.
- The blue textile background is then extracted using the color threshold to make a mask that is displayed on the printscreen below (see this tutorial)
- Another image res is made using a combination of the original image and the mask
- A close morphological operation is made on the mask to clean the noise and make the shape smoother. (for more information see this tutorial on OpenCV morphological operations.
- The original image, the mask and the combination of the original image and the mask are then shown in live on the screen.
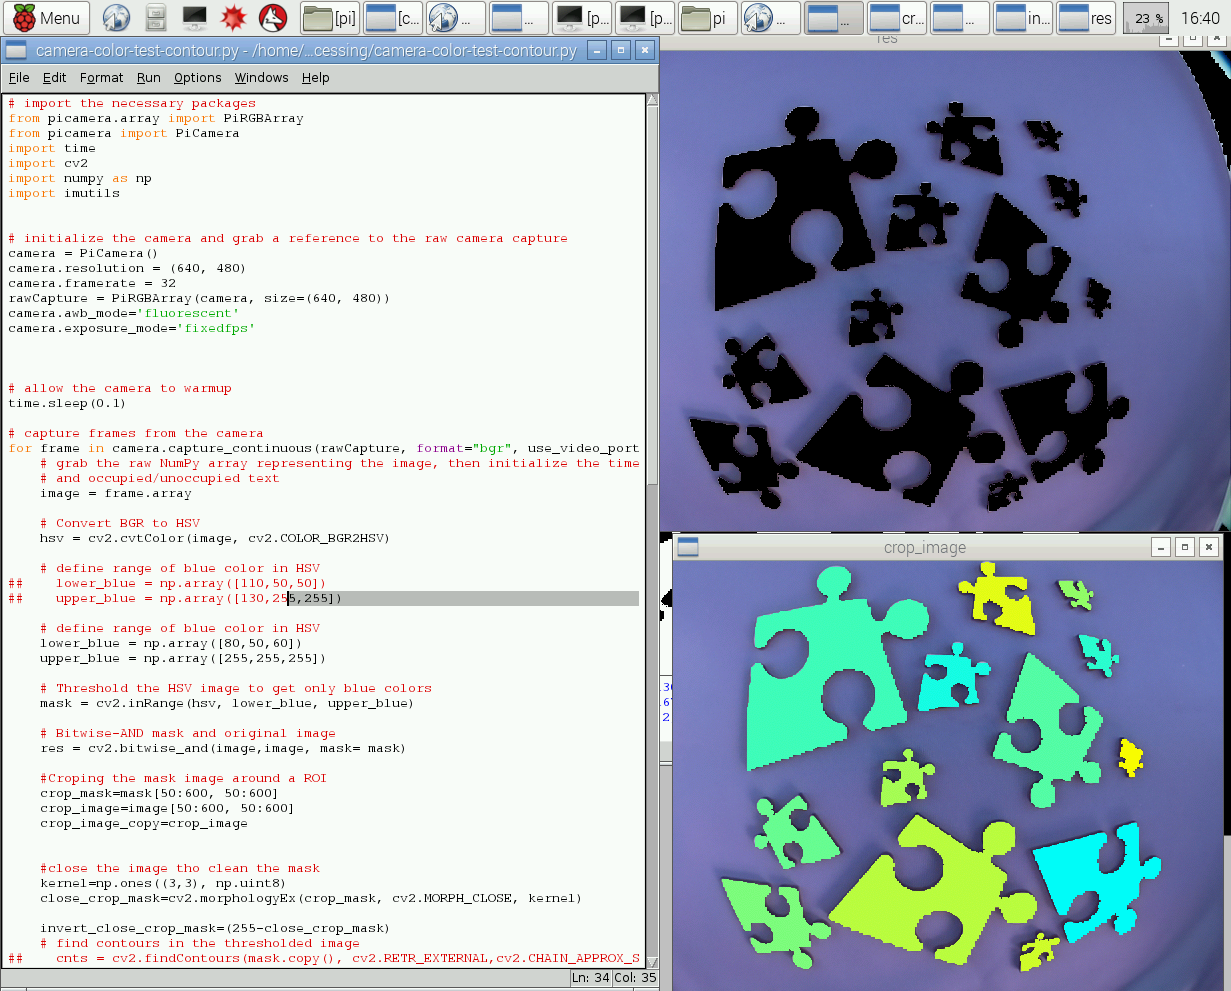
Python code for color shape extraction
Here is a screen shot of the running python code on the Raspberry PI

Here is a video of the live shape detection.
Analysing and labelling the shapes in live
For this part I used the OpenCV function findContours and manage to make a live detection. Different colors corresponds to different piece size.
I've continued the python code as follows :
- I've cropped the image to isolate the puzzle pieces from the background noise.
- I've inverted the mask to make the pieces white
- this allows to use the cv2.findContours function to detect the different shapes. For more information see this tutorial
- I then built an array containing the size area of each pieces
- I then build a custom colormap using the R,G,B values that I evaluate depending on the number of pieces on board.
- The area array is then sorted and each pieces is drawn using the drawContours function and the color that is was assigned depending on the size distribution of the pieces
- The original image combined to the mask and the colored labeled image are then showed on the screen and show live processing as can be seen on the video here below
Python code for color shape contour extraction
Here is a screen shot of the running python code on the Raspberry PI
Here is a video showing the live recognition of piece sizes.