

Final Project - Put it all togheter
HRW OpenHydroponicGrowbox
![]()
![]()
![]()
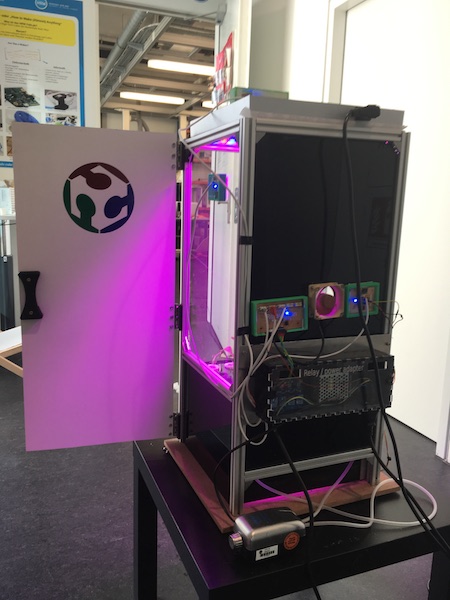
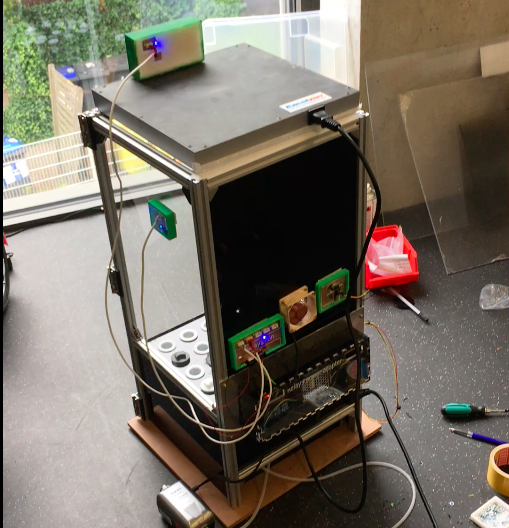
On this page I want to show how I put everything togheter.
The most work of this part you can find under Build the Box-housing and the nutrientsolution-container but here are the other components, that I build for the final-project:
![]()
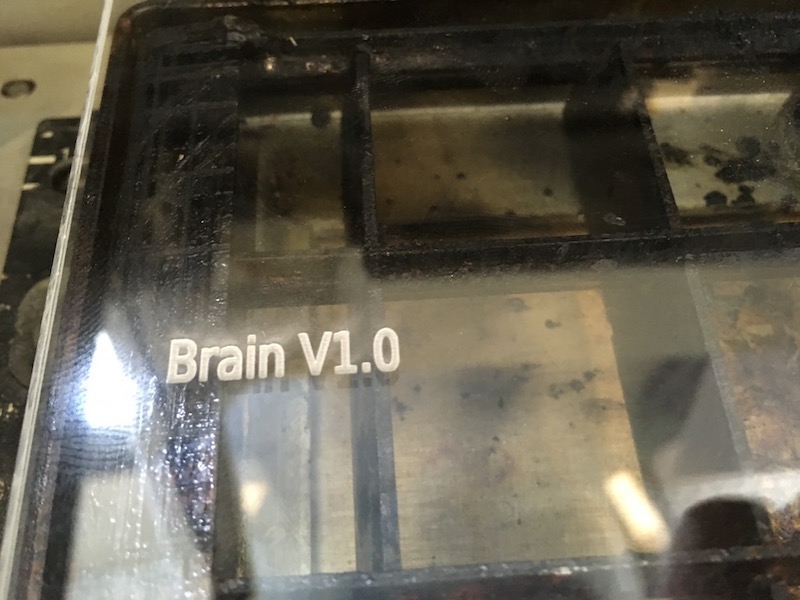
Here I show the Workflow for one of my controll-units (all parts can be downloaded in the download-section):
Engraving with the lasecutter:
![]()
Cutting the lid:
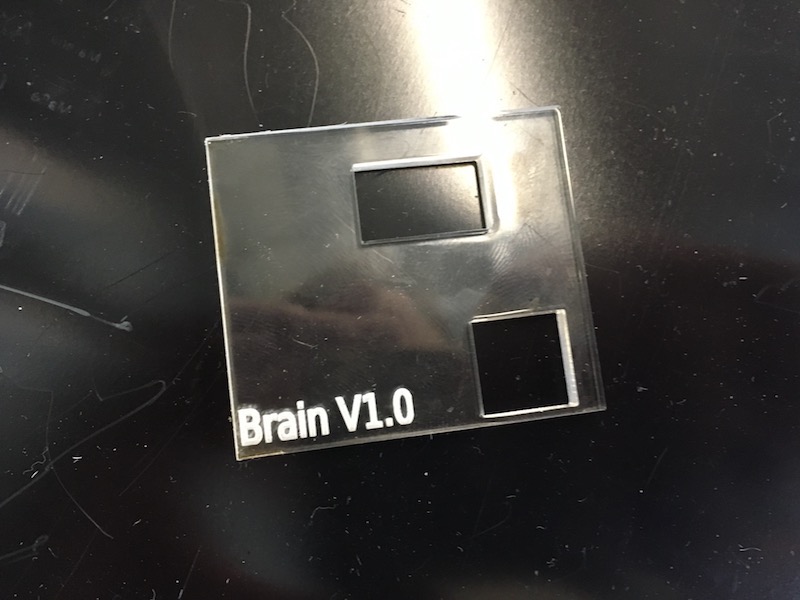
![]()
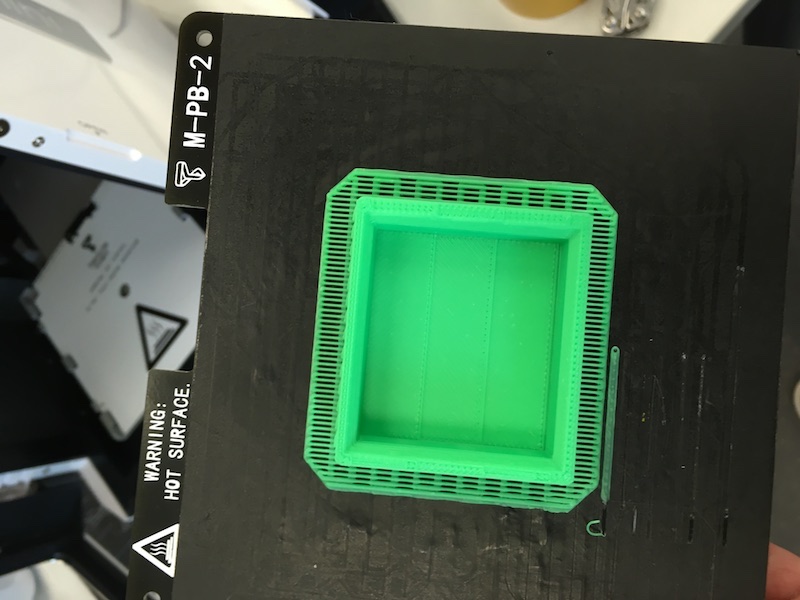
3d printing the case:
![]()
Here I print again with our new up2mini from Tiertime in ABS:
![]()
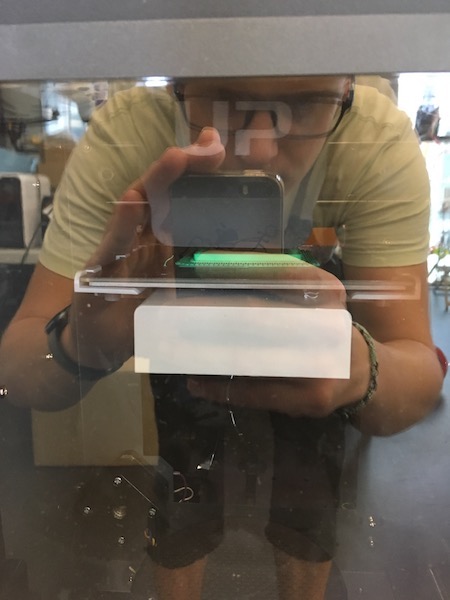
The pcb´s then were placed into the cases:
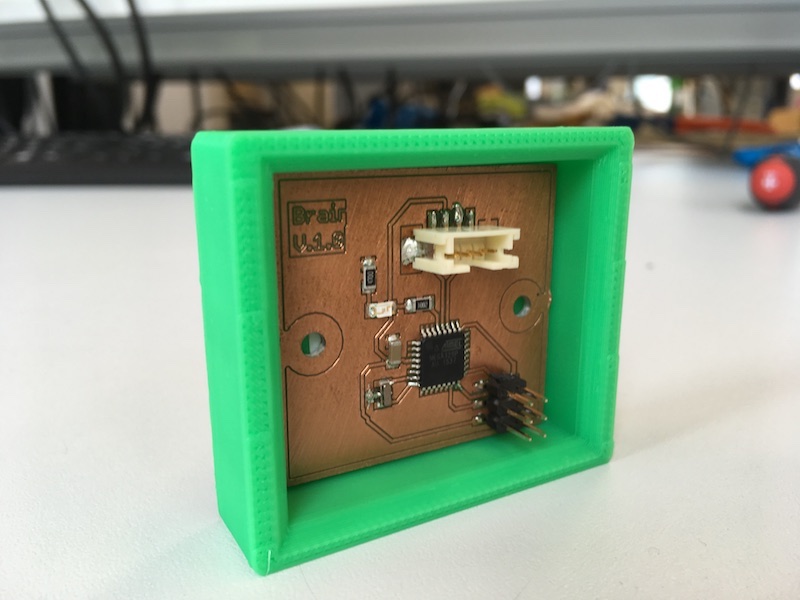
![]()
Put it together:
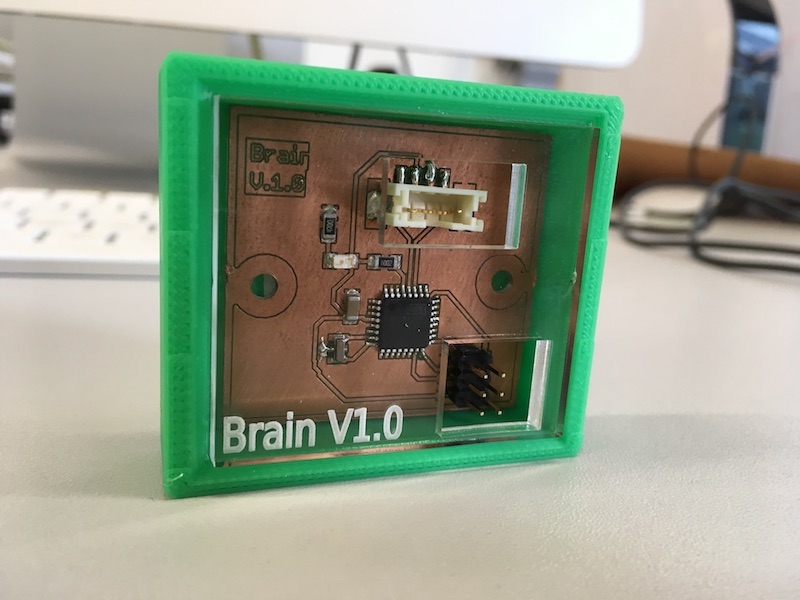
![]()
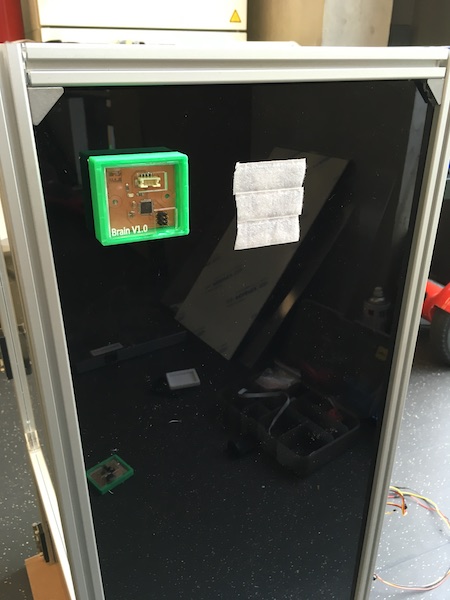
With the help of velcro tape I can put my contrullunits on the backside of the Box:
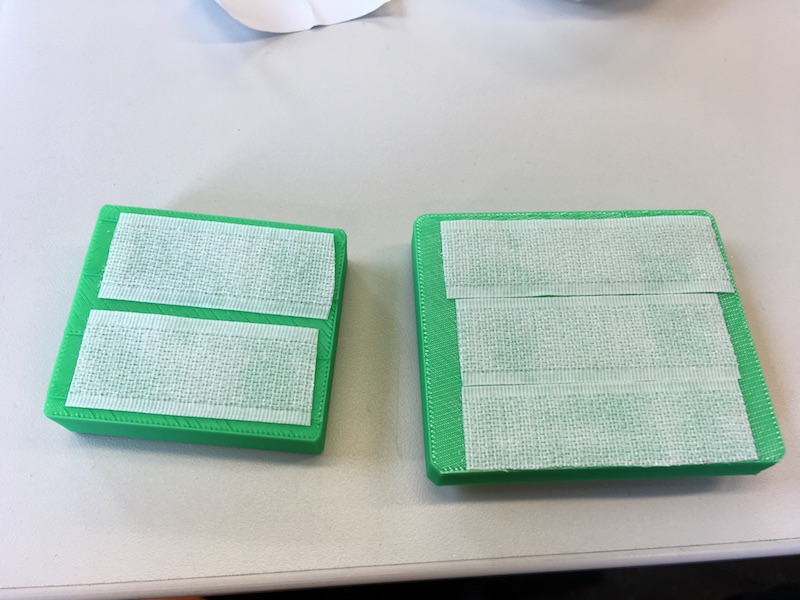
![]()
![]()
![]()
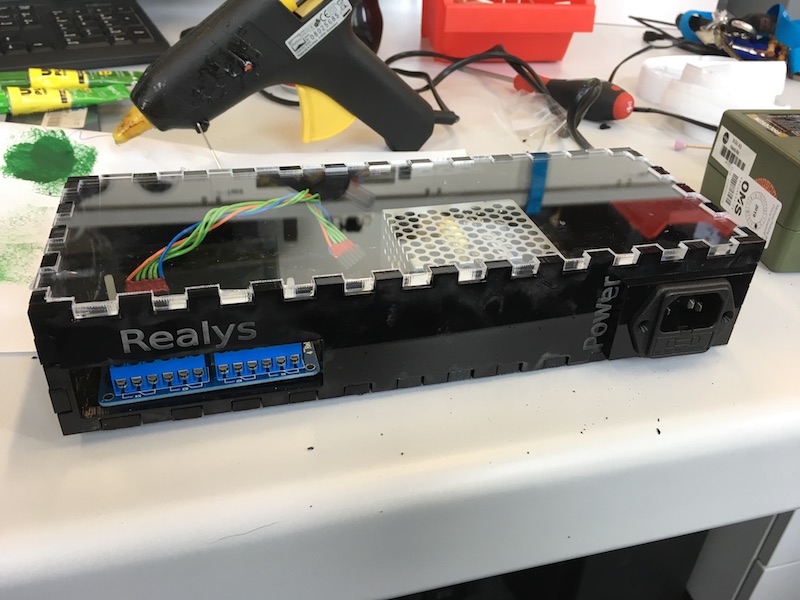
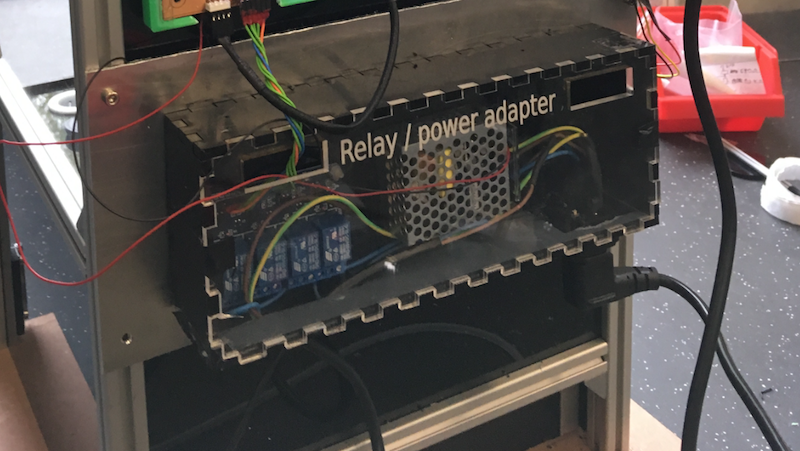
Relay / power-supply:
![]()
Schematic for the power-supply and relay-card:
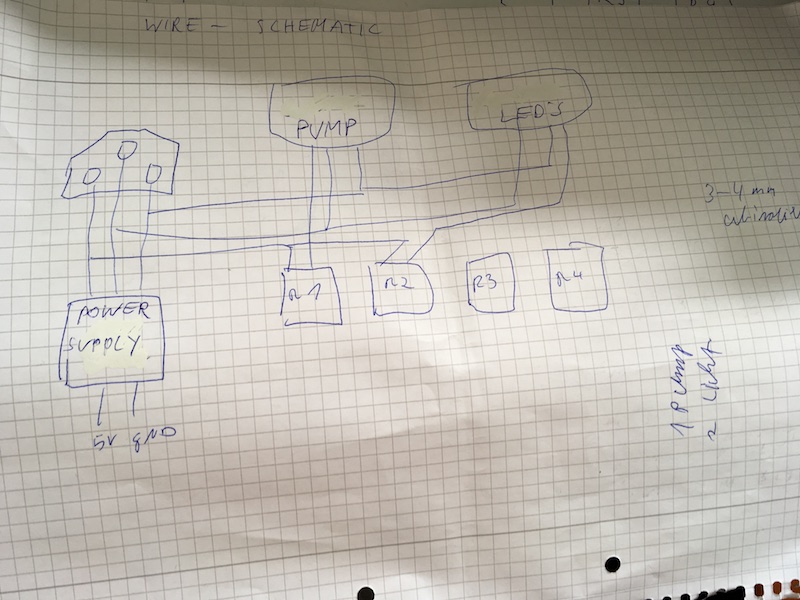
![]()
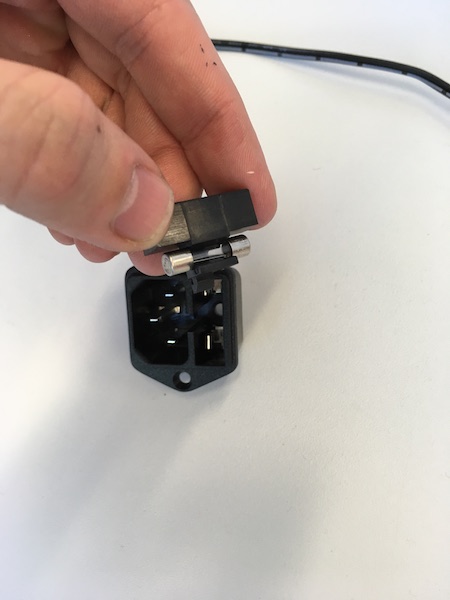
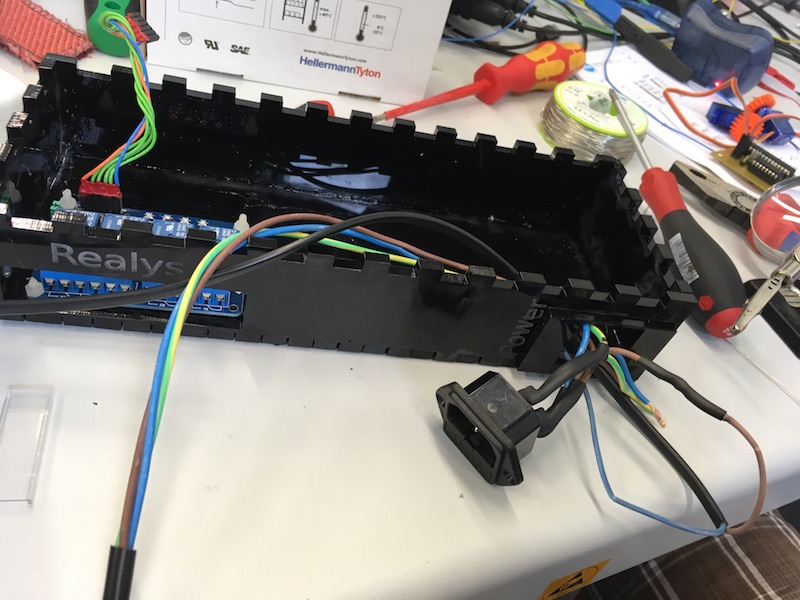
Here you can see that I build a housing for my power adapter and the relay-unit. The Plug has a fuse (500 mA):
![]()
![]()
Here you can see that I designed the box again in Inkscape. The red color is for engraving (first step). The green lines are for cables and should lasered at second step. The outer lines should be cut at the last step (all parts can be downloaded in the download-section):
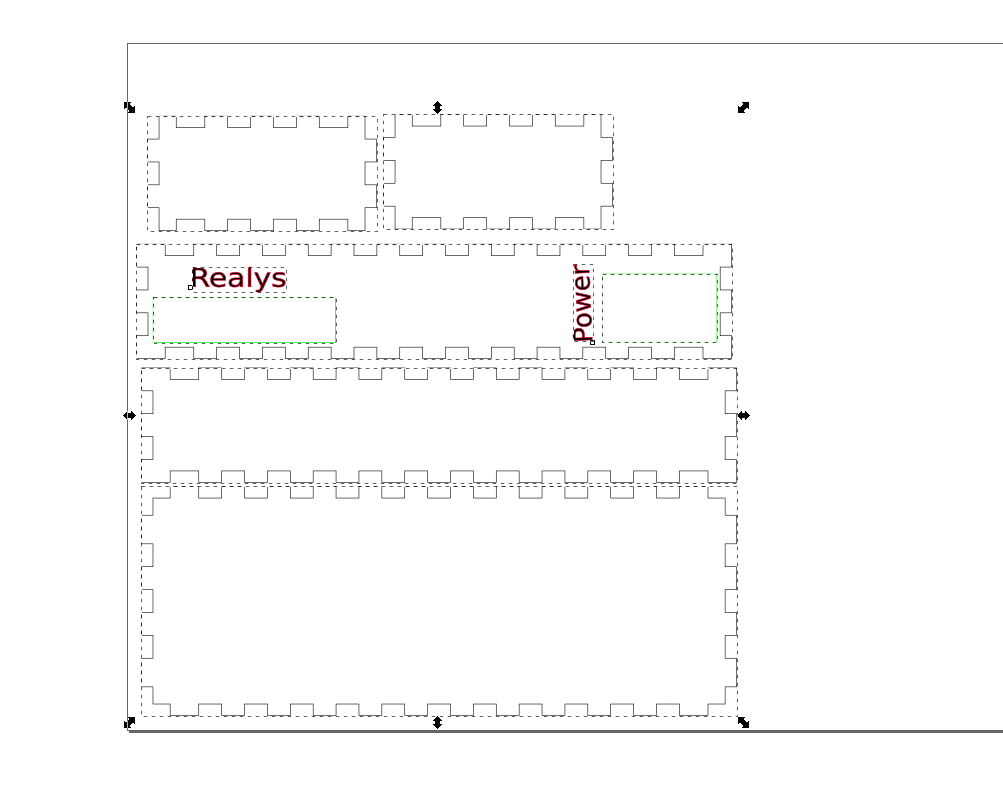
![]()
![]()
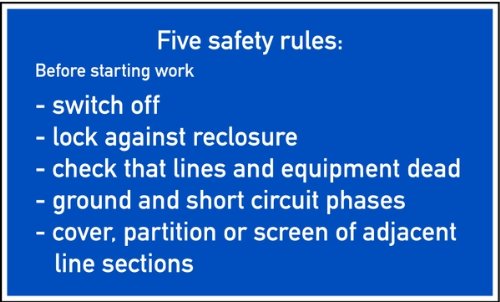
Ok at the following steps, my instructor has looked particularly strongly at my work, because here it is dangerous to work with high voltage. Never operate the circuits when the power is switched on! Cable everything securely and prevent anyone from escaping! Interrupt immediately the circuit!
![]()
![]()
![]()
All cables were insulated with shrink tube:
![]()
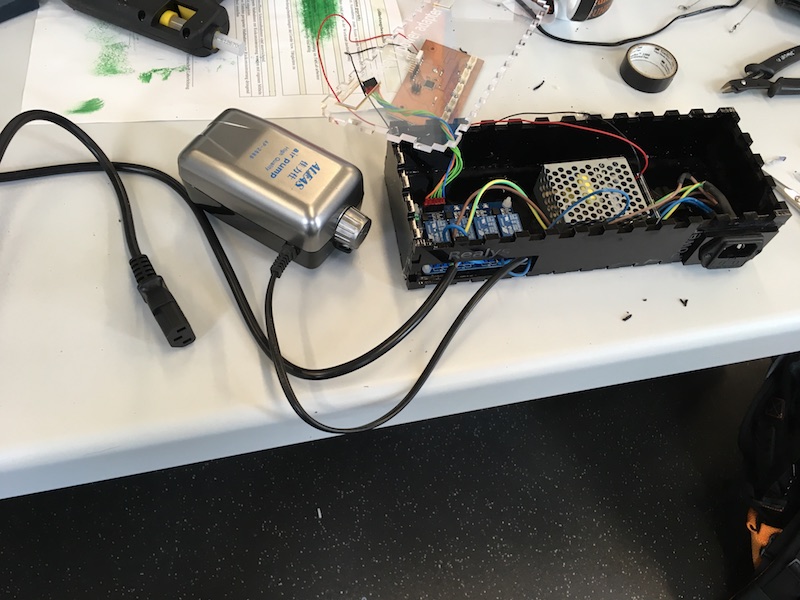
Here is the diaphragm pump from the Aquariumstore. The pump is together with a LED Panel integrated to the circuit:

![]()
Here is the mounted Relay/power-supply box on the backside of the box. Its also mounted on an aluminium-sheet:
![]()
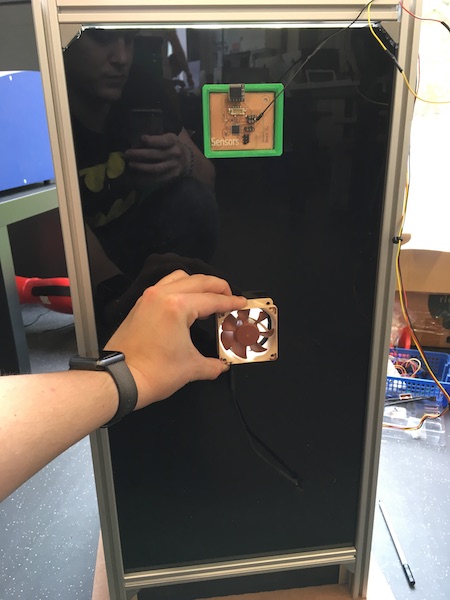
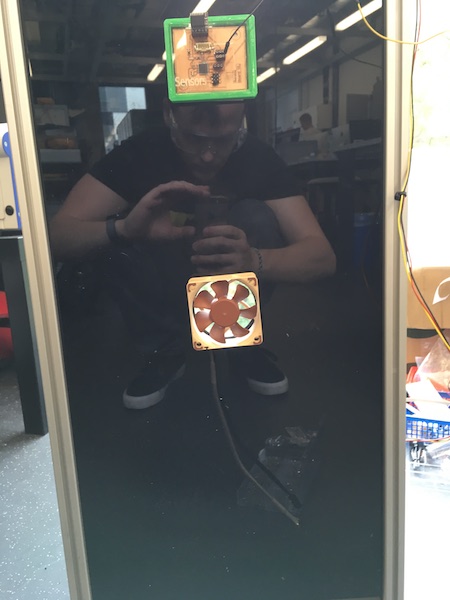
Install the Fan
Here I used again the Laercutter to cut a 55mm hole in the back of the Box. Then I mounted the Fan with M3 screws:
![]()
![]()
![]()
![]()

![]()
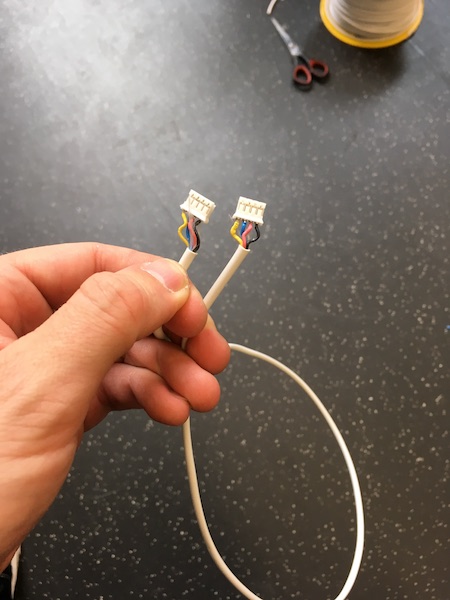
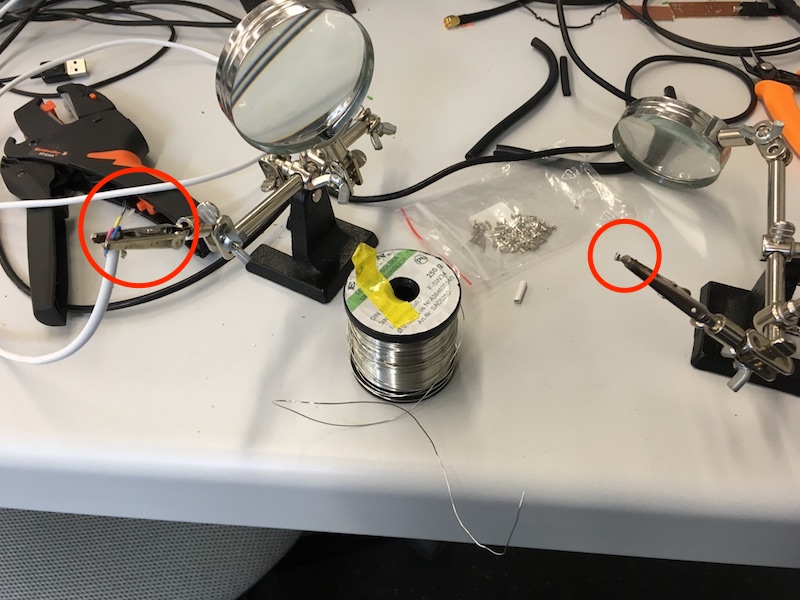
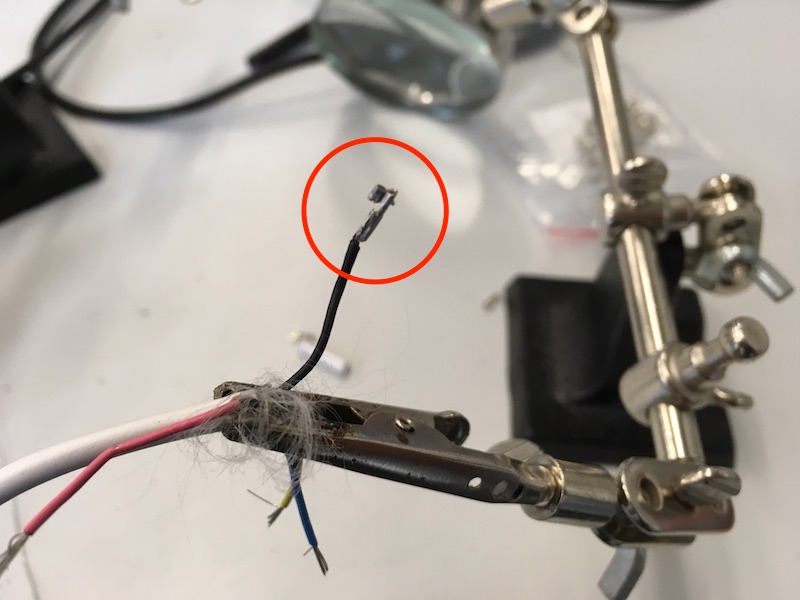
Make my own cables and plugs:
Because our crimping pliers (krimpzange) was no longer found in the laboratory, I had to solder my JST plugs. This was a time-intensive and strenuous work. So just before the end of the fabacademy no pleasant matter;)
![]()
![]()
![]()
![]()
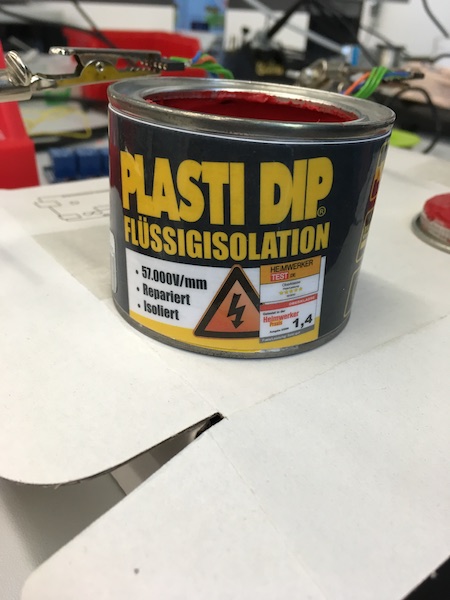
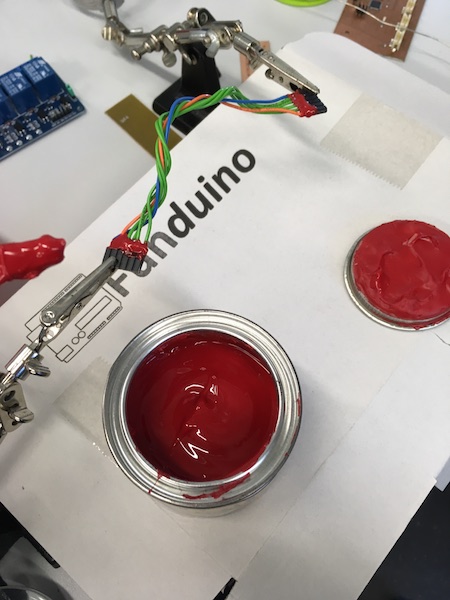
For insulation I have used "plasti-dip". It is a liquid insulation, which ejects very quickly and protects all perfectly. You can find it here
![]()
![]()
![]()
At the end I only need to clean up the wirering a little bit more:
![]()
This photo shows the backsided view with ready mounted door and the 3d-printed handle grip:
![]()
![]()
Download-Section:
housings_and_lids.zip
housings and lids2.zip
Interface.svg
![]()