Week Eight: Embedded Programming
The work for this week is to learn the nature of programming boards. This is the very first time I start to sense the pressure of this very course, "how to make almost anything". There are several important things that I learned from this week task: i. how to read datasheet; ii. how to program a board; iii. how to make a board talk to another
Datasheet contains all information relevent to any chip I want to use. Therefore whenever I want to try something fency about a chip, I can get functions and features from datasheet. One recommendation I received from my friends is to check out "Alldatasheet". It includes most datasheet information, including the one for Atmega328p.
-
Step1: Get to the right website
-
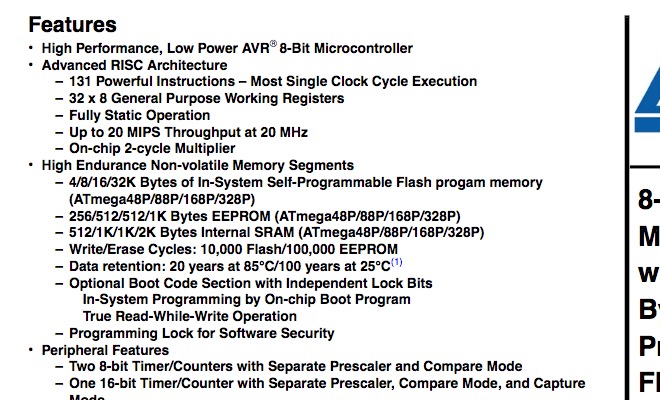
Step 2: Read the verbal information
-
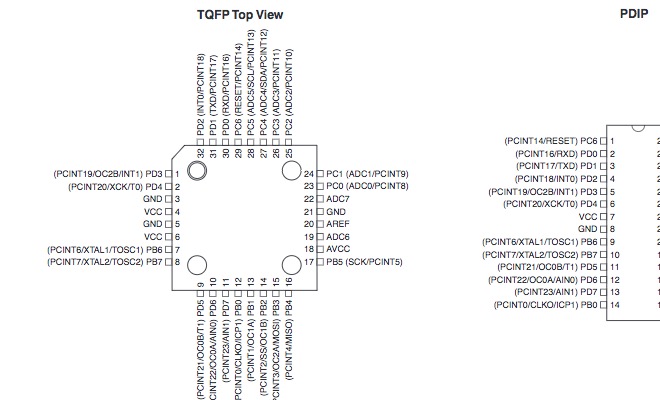
Step 3: The graph of Attiny44
In the second step, I digest the technical value of my valentine board and second output LED board, and think about the correlation between these two boards.
Then comes the detail of programming. The algorithm to run the boards is simple. It just took me some time to understand the language rule of this specific one. For example, how to define objects and include necessary functions in the program. I played with the program for several times, such as setting the mode of LED. Changing the way how the LED light gets delayed. I use the button as a trigger, and LED as an output. One sample program has been attached to this page.
-
Step 4: On the process of testing my program
-
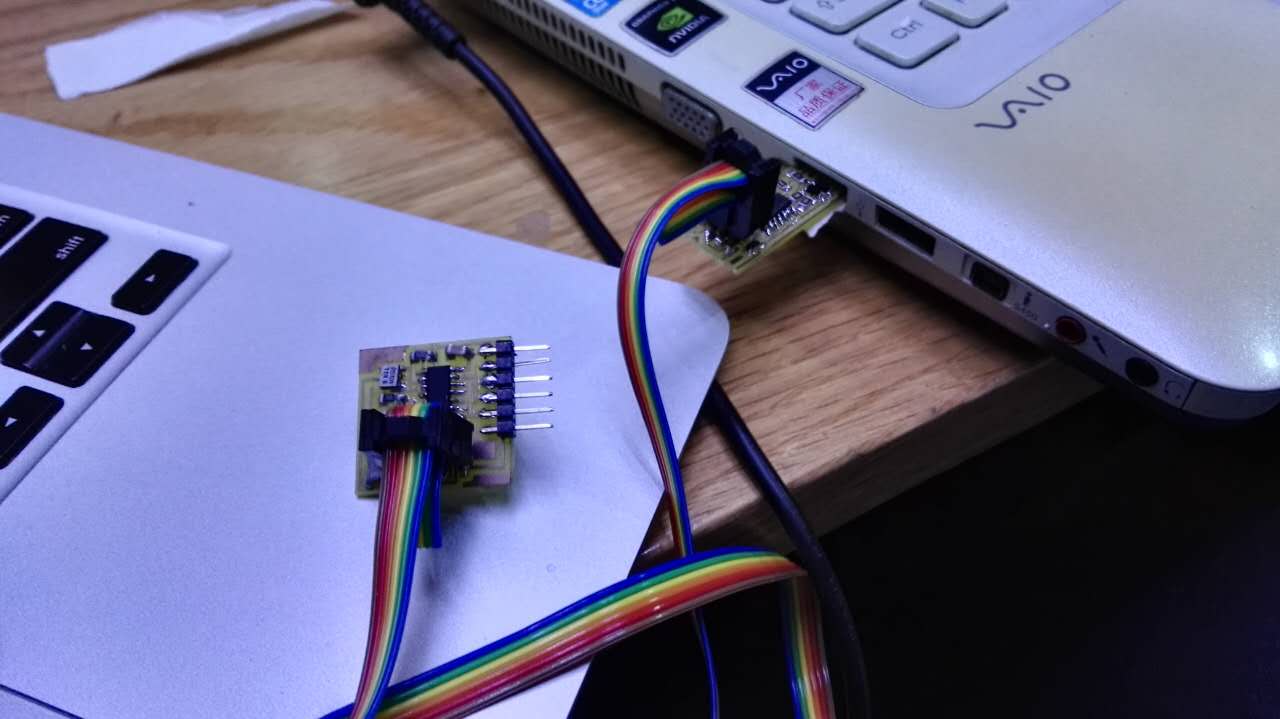
Step 5: How I connect my boards
-

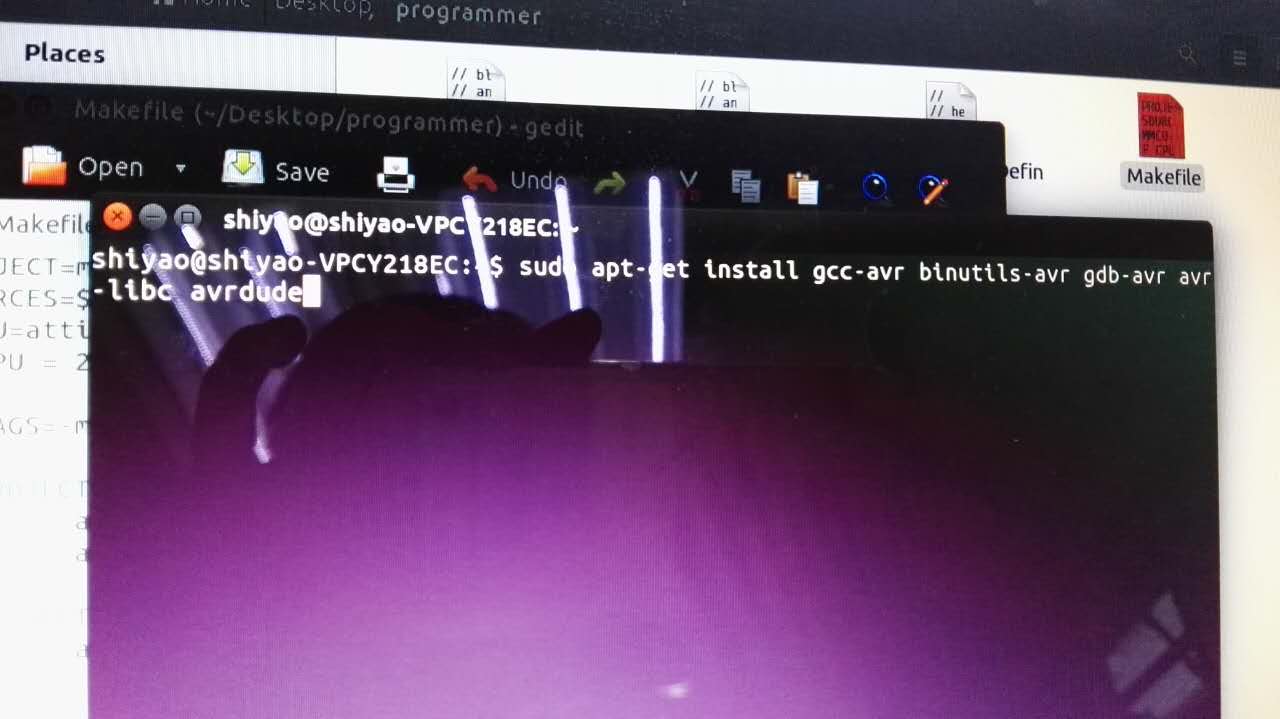
Step 6: Code from my compiler
In my code, I first include delay function, input, output and some registers. Then I define LED and time interval. In the main programming, I use a button as an input and LED as an output. I use a while loop to check the status of the button, and decide whether I should light up the LED. I attach the C-file with these words.