Week Three: Computer Controlled Cutting
This week, our major work is to learn how to use laser cutter and vinyl cutter. Laser cutter is a cool techonology, and it is even more interesting when someone wants to make a 3D design out of this 2D technology. What I decide to make is a laser-cutting heart. On the other hand, I also learn how to use Fab Module to do the Vinyl cutting this week. I will document in details what I have learned in the process. In the first step, I need to know the measure of the sloths that I will need in anchoring my final laser-cut product. Therefore, I made several different combs with sloths for testing. I use Antimony first to make combs, and then use illustrator to print. The way to make the comb(or press-fit kit) is simple. I create a rectangular shape with the length of 10cm and width of 1cm. I make small rectangulars with the fixed length of 0.5cm. However, I make them with a variety of width that varies from 0.4cm to 0.45cm because the thickness of the cardboard is 0.46cm. I want to make the width a little bit smaller so that the anchor can be firm. After I get all shapes into the right position, I use the effect of difference to reach the desired kit.
-
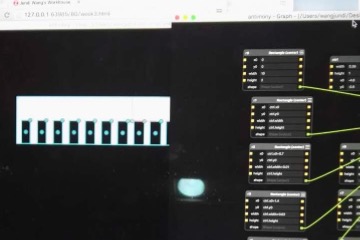
Step1: Learn to use Antimony to design to combs with sloth
-
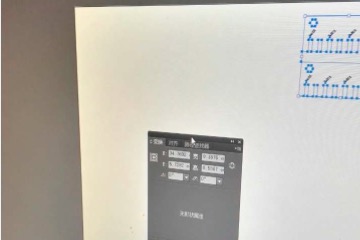
Step 2: Use illustrator and adjust the printing measures
-
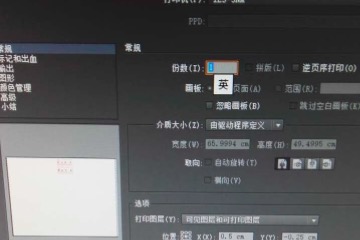
Step 3: Open the printing sub-window
-

Step 4: Adjust the parameters to the desired ones
-
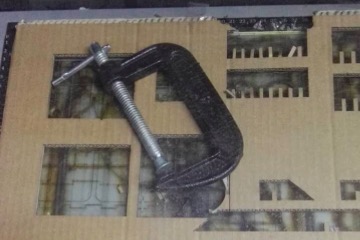
Step 5: I use a weight to cover the part that bends out so that my laser can focus
-
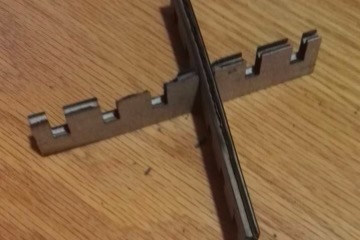
Step 6: Test the right sloth that gets prepared for my next-step project
After the experiment, I know that the best sloth to fit this thickness is roughly 0.40cm. Then I was prepared to make my further design, the inspiration of which comes from the idea of petals of a flower. A flower consists of petals and a stem. Maybe I can make different petals of heart and assemble them into a integral whole. I use antimony to make a core chip in the middle. Then I make six petals and attach them to this inner core. One nuance is that I make two kinds of petals. I think the outside petal should be bigger and the inside thinner. The final result is as shown in the pictures below. Regarding the core, it is no more than a combination of a circle and several rectangles. With respect to the petal, I first draw two overlapping circles to create the upper half of a 2-dimensional heart. Then I draw a triangle to create the lower half. They together form a pair of petals, which can be splitted through a "cut". The cut is actually a rectangle after applying the effect of difference.
-
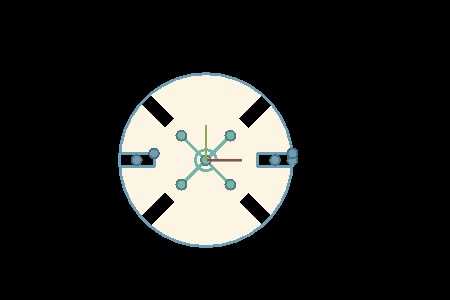
Step 7: Use Antimony to design the central core
-
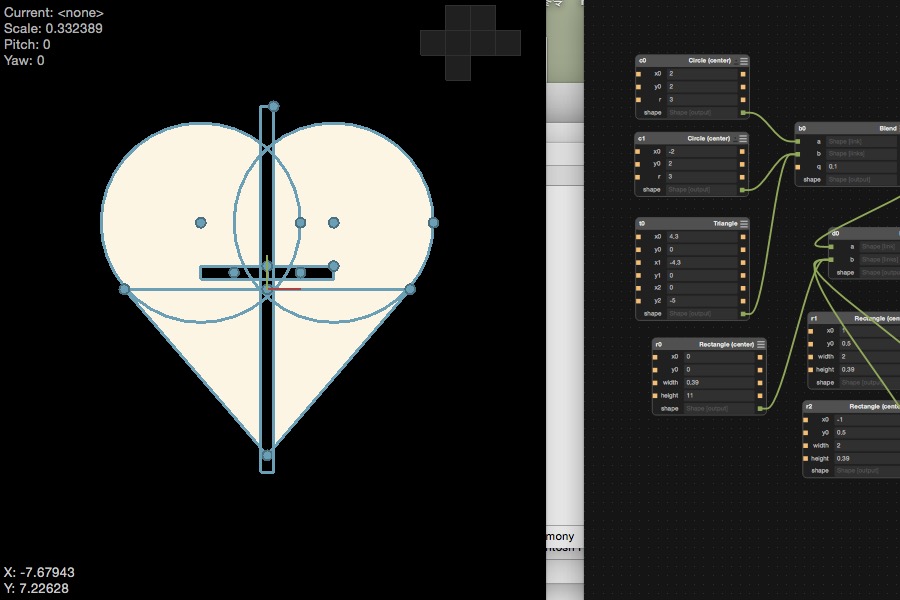
Step 8: To develop the exterior petal for a heart
-
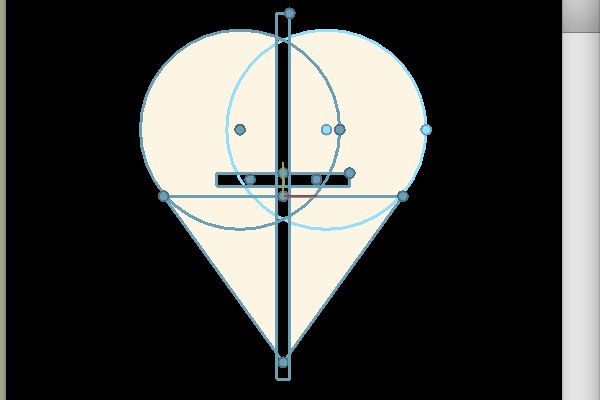
Step 9: To develop the interior petal for a heart
-
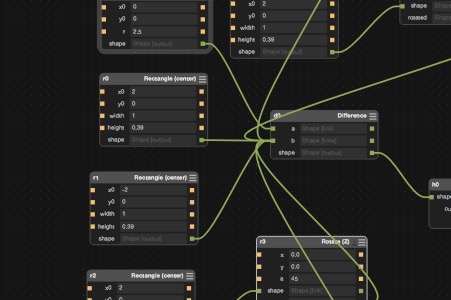
Step 10: Adjust the parameters of the core, exterial and interial petals so that they fit each other
-
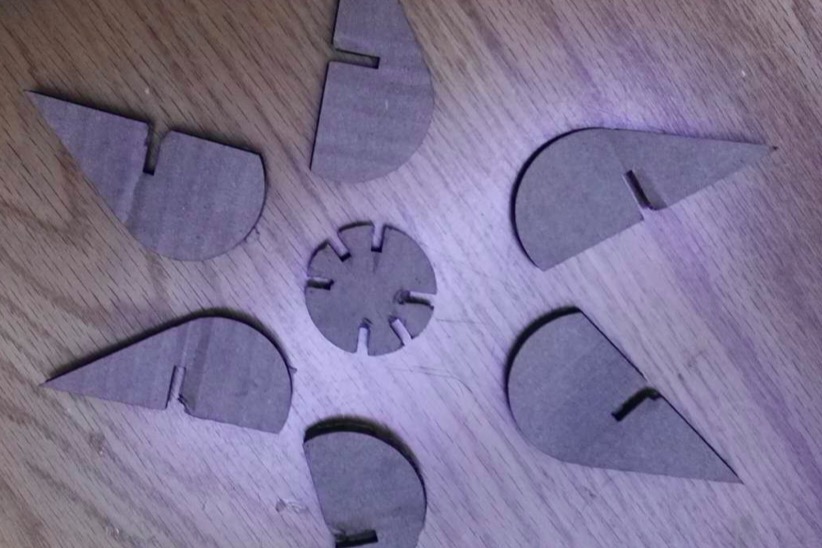
Step 11: The collection of all pieces
-
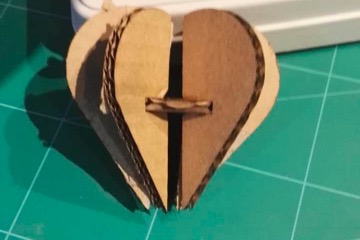
Step 12: The demonstration of my final integrated piece
I want to first introduce Fab Module which is a powerful tool in Fab Lab. It is an integral software that can 3D-print, vinyl cut, and does a variety of tasks. I first installed the Fab Module on Ubuntu, following the instructions on:
http://kokompe.cba.mit.edu/downloads.html
Then I test the Vinyl cutter. After getting familiar with the tool, I connect it to my laptop and set up things according to the following steps:
I. I open the page of "http://localhost:631/admin"
II. I add a printer and log in with my username and password
III. I find my printer and input the following information, Name: vinyl. Description: vinyl. Location: Shanghai.
IV. I choose Raw in the make list and complete the adding of the printer
-
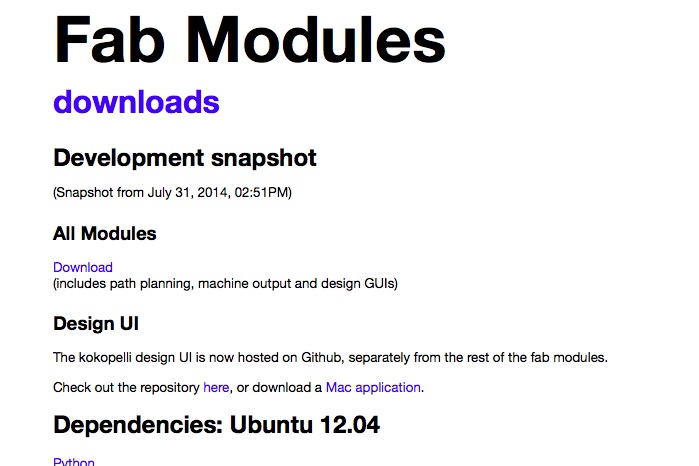
Step 13: Set up Fab Module on Ubuntu
-
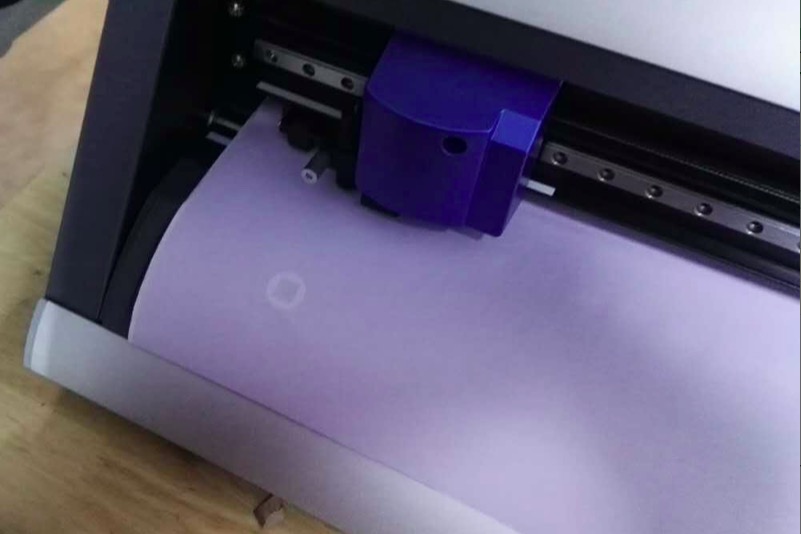
Step 14: Test the Vinyl Cutter
-
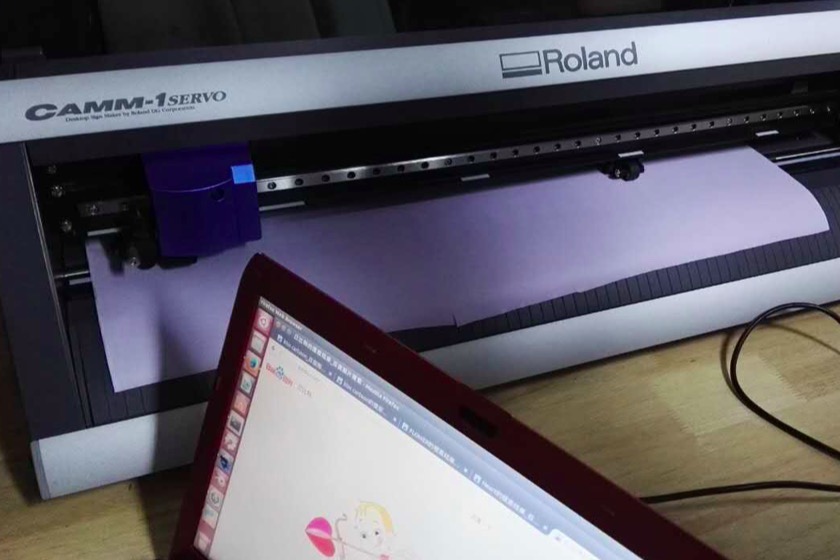
Step 15: Connect the Vinyl Cutter with my laptop and set up my settings
I create a variety of shapes, including heart, men with mustache, love envelope, and Cupid. The complex ones come from the internet, with simple ones designed through combining simple shapes in photoshop. I can easily vinyl cut it through using the Fab Module. Then I need to use a knife to cut off the whole trunk of the material. After tearing off unnecessary parts, I use a sticky film paper to extract my shape, and then attach my shape to my laptop.
-
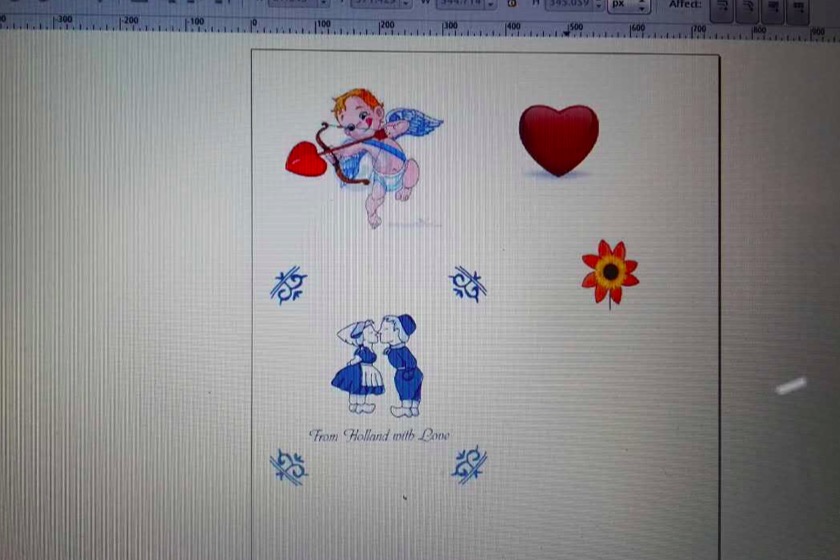
Step 16: Choose Vinyl Cutting shapes
-
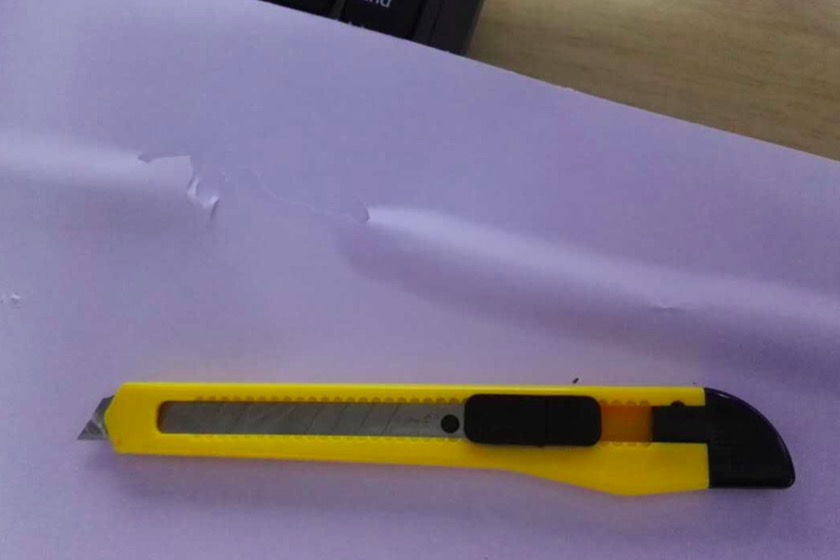
Step 17: Use knife to cut the whole part around the material I want
-
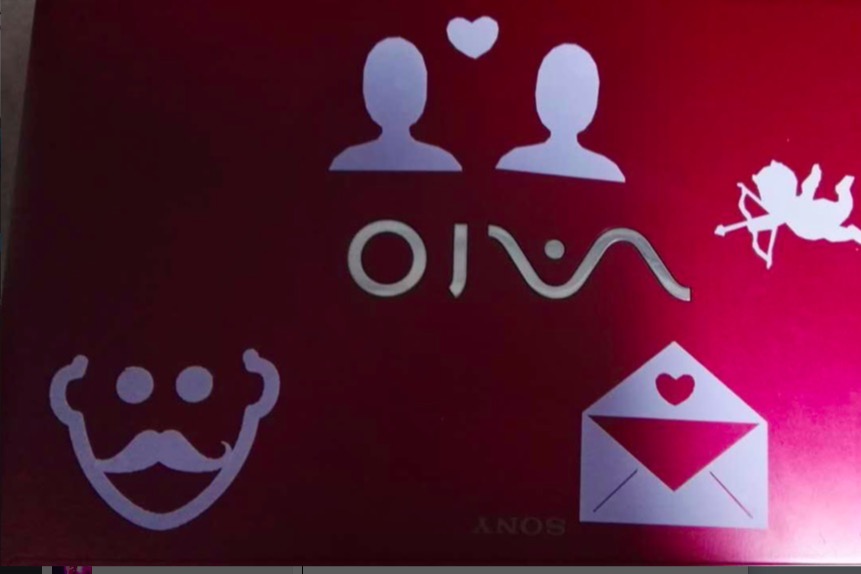
Step 18: The final outcome