Week Twelve: Casting and Molding
The assignment for this week is to complete a fabrication of casting and molding. The assigment for this week realy deepens my understanding of digital fabrication. Originally, I used to think digital fabrication is all about creating a machine or something electronic that can move. However, this week's project makes me understand that any integrated way of creating an object through a digital means is a digital fabrication. In the assignment, I first use Autodesk Inventor from Gezhi Fab Lab to make a 3D model design. I am very clear about the final goal, which is to create four characters carrying significant implication of awe towards my ancestor Yao.
-
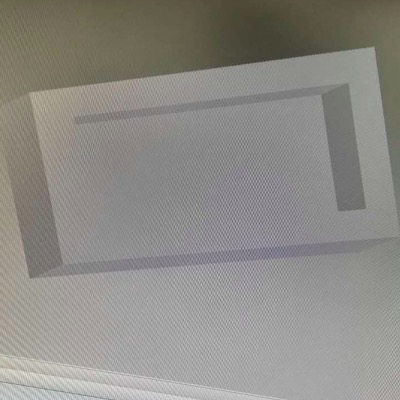
Step1: Design a Rectangular Shape with some Interior Space
-
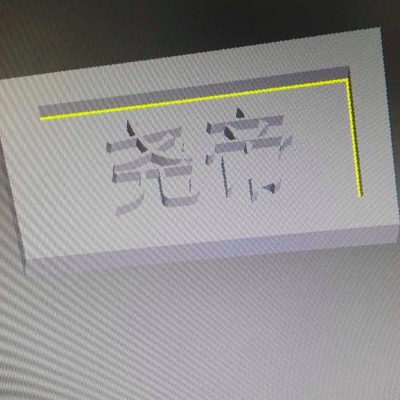
Step 2: This is Yao!
-
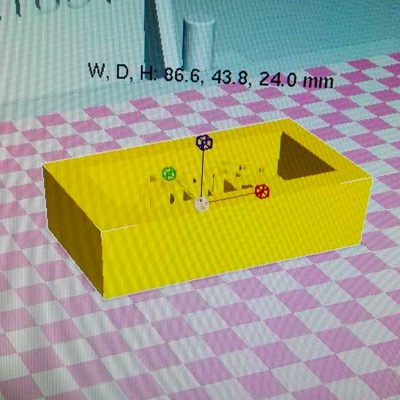
Step 3: I use a Chinese 3D printer to print the object
After completing the 3D modeling design, I am ready for the casting. The material has to be mixed with the exact ratio required, 1:1: PMC-121/30 URETHANE MOLD COMPOUND (PART A) and PMC-121/30 WET RUBBER MOLD COMPOUND (PART B) with a propotion of 1:1. Then I ceate a liquid that is going to be the molding part for the casting.
-
Step 4: The 3D printed object
-
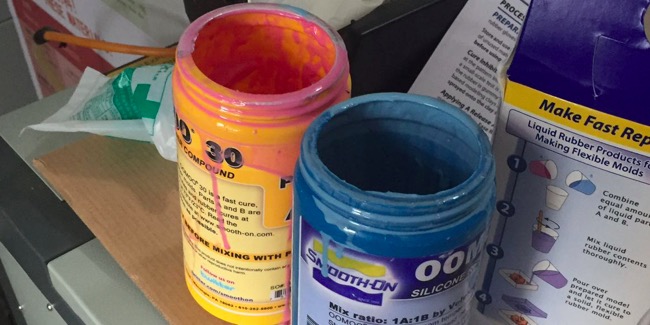
Step 5: The compound material
-
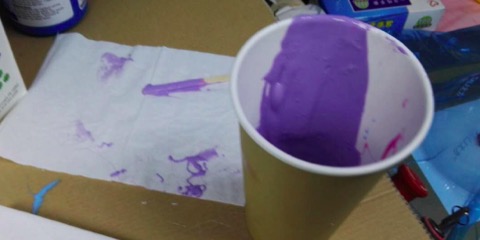
Step 6: The stiring
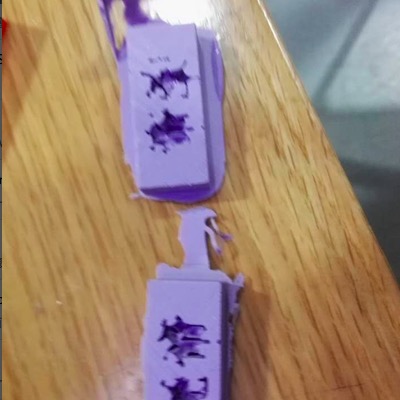
I need to metion here a crucial part during this process. I set my molding and casting inside a bag prepared for vacuum. I used the vacuum cleaner to vacuum the air from that bag so that there would be more tention, and the molding and casting are more likely to succeed. I brought the casting out in the end after a full night. They look like exactly as how the pic presents, with a sense of ancestry. I think this homework looks realy like an antique.
-
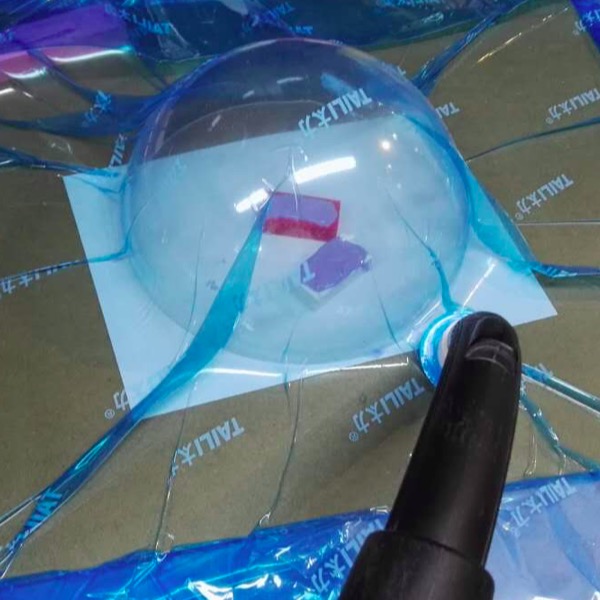
Step 7: The part of vacuuming
-
Step 8: The molding part for casting
-
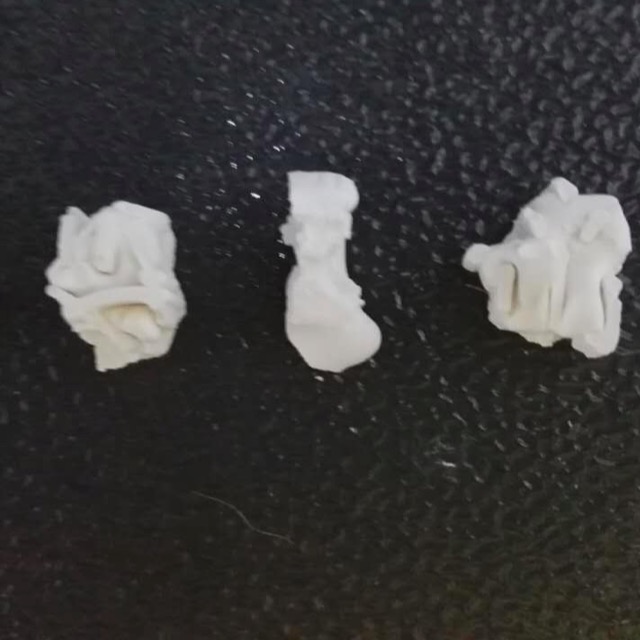
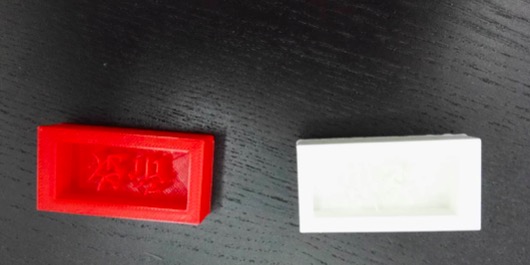
Step 9: The final masterpiece