Week Thirteen: Output Device
The assignment of this week comes as a continuation for the 11th week assignment. I decide to include a buzzer to my board so that whenever I receive a signal from my ultrasonic sensor, my buzzer will ring. The soldering part is simple. As I've already planned this out when I made my Input Device, I just solder a buzzer to the space leftover on my electronic board. The most difficult part is the programming part. I learned a little bit programming in college, but I haven't practiced these skills for a while. The same as last time, I checked the details regarding the connections of pins and some programming samples from the datasheet.
-
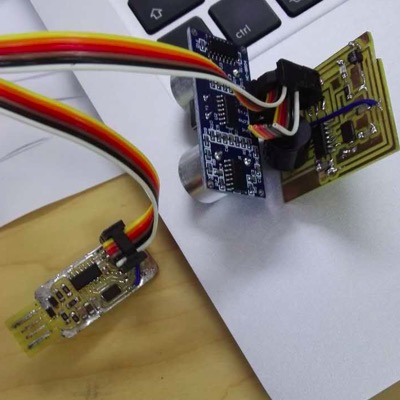
Step1: My board with the buzzer
-

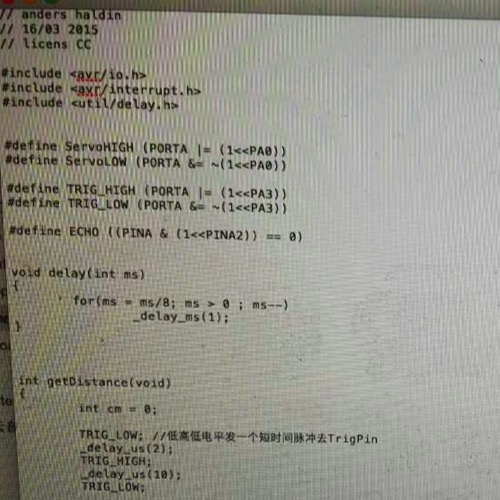
Step 2: Neil's Code to study
-
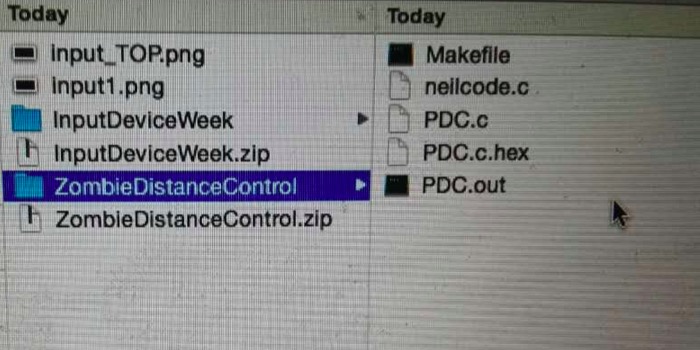
Step 3: My Code
After digesting the basic idea of Neil's code, I decide to write the code and has it compiled in mac. I first completed the part of making the buzzer ring. Then I include the concept of frequency into my algorithm. The basic idea for the program, as you find from my files, is to set a while loop, in which I constantly check whether there are objects within the reachable range of the ultrasonic sensor. I use delay function to extend the time interval so that sensor will rest for a resonable time before it runs again. After the sensor has a positive signal, it sends info to the output, which is the buzzer.I installed GCC in my mac, and make and test my program in Mac's terminal. According to my design, whenever there is a person appearing in the range of the ultrasonic sensor, which is roughly one meter, the buzzer will buzz for 0.5 seconds. I soon realize the frequency of the buzzer can affect the hearing outcome. I attach the video I record to this document so you can see how it functions. The input and output device have been put around the head of the zombie.
-

Step4: My further code
-
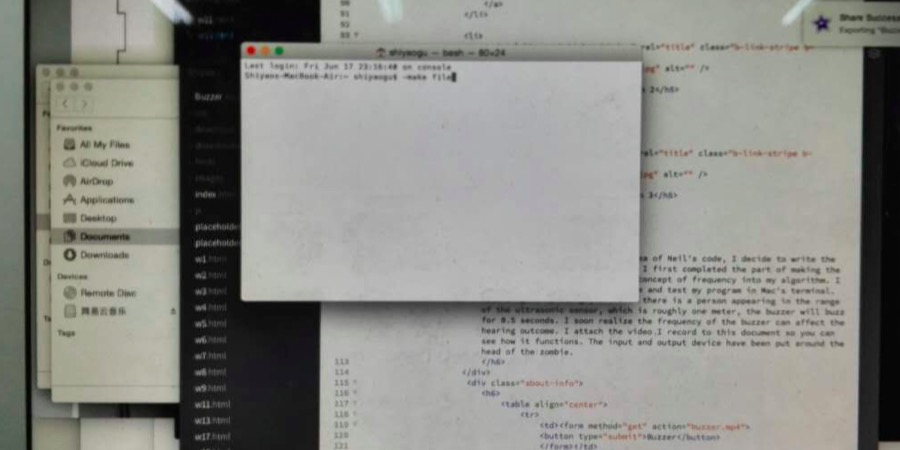
Step 5: I use terminal to make and compile my files
-
Step 3: The exhibition of relevent codes
I realized in the process that the boards usually became quite warm when they were plugged into the ISP. To program the boards, we typed the following in the terminal window:
sudo make -f hello.XXXX.4*.make
sudo make -f hello.XX.4*.make program-usbtiny
The boards this week used the AVRtiny44 or AVRtiny45 - an asterisk acts as placeholder for "4" or "5". "XX" refers to the input board you are using.