Study archive - Week 14
Composites
This week is about designing and creating objects made of self-made durable material: composites. The task is to design and make a 3D mold (~ft2 = about 30 cm2), and produce a fiber composite part in it.
It was not easy to figure out what kind of objects are suitable to create during this process. I wanted to make something useful and I thought of a garden box where to grow plants. I made a few mold designs in SolidWorks (both negative and positive molds). After seeing my colleagues work and ideas, discussing with Jani, and seeing also other people work, I reconsidered this and decided to make a smaller case as a proof of concept for later development into a garden box or firewood carrier. The design of the case is shown below.
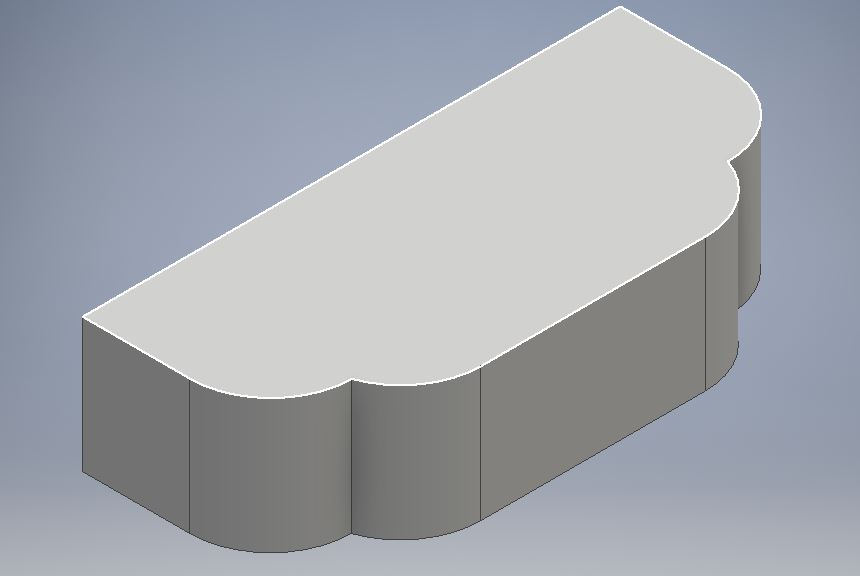

This can be milled multiple times and the parts glued in order to obtain a larger mold that fits a specific purpose. I had in mind to make 5 parts and to glue them together before applying the composite.
The process
The process consists of 4 main steps: 1) designing the mold; 2) creating the tool path file (the g-code); 3) milling the mold with a cnc machine; 4) making the composite. These are detailed below.
1. 3d Design. I created the 3D shape in SolidWorks. The challenges faced were: dimension of the stock (the foam material to be milled has 5 cm height); dimensions of the milling bits; choosing a shape that is relatively easy to apply a composite on it. The result of design is shown above.
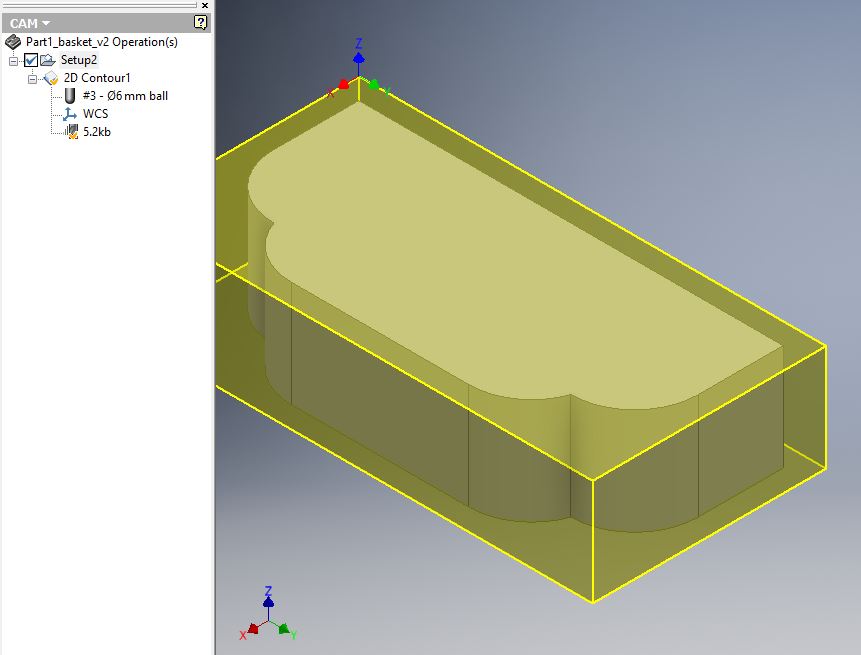
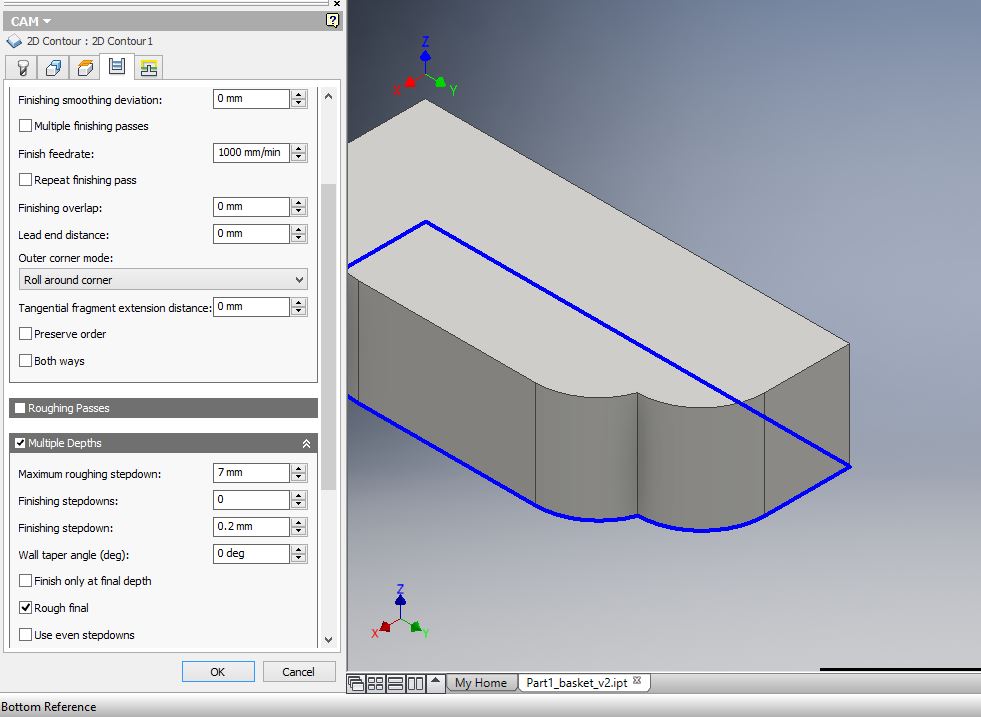
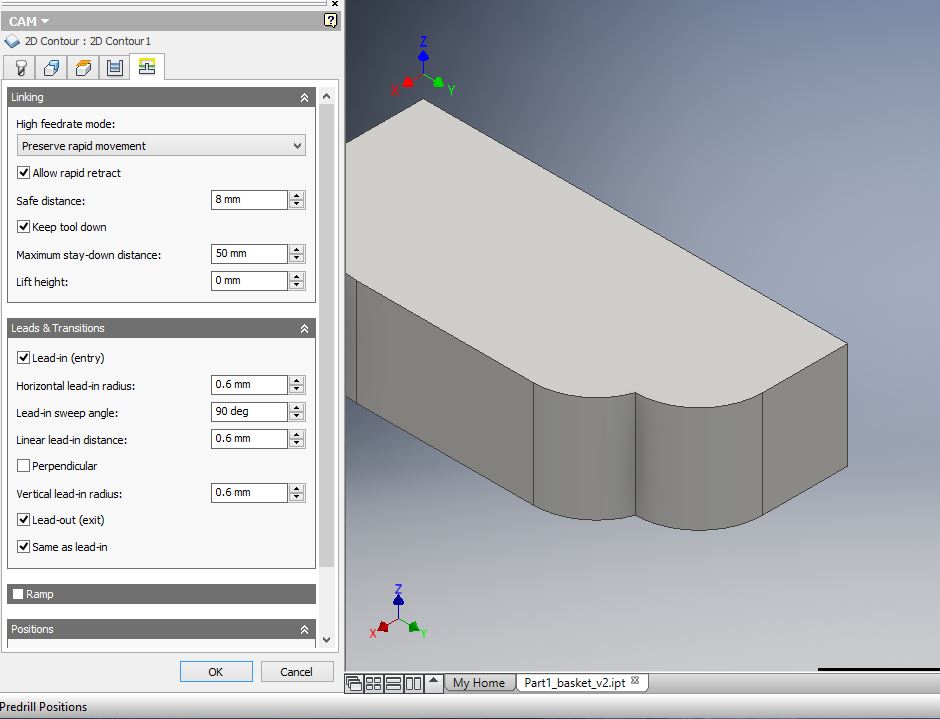
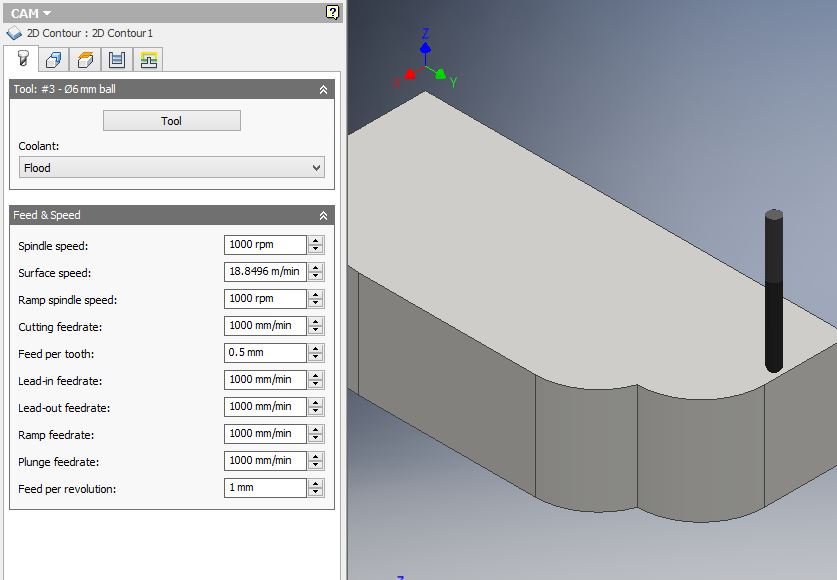
2. The tool path. The design file in SolidWorks has to be saved as .stl or .step and then opened with a CAM software in order to define the milling parameters and create the tool path file (the g-code). I have saved the file as .step and used Autodesk Inventor Professional 2016 with the plug-in CAM (the later was installed separately with Autodesk Inventor HSM Express; see link here). There are several parameters to be set (stock size, axes, origin, tool size, clearance and others); see pictures below.


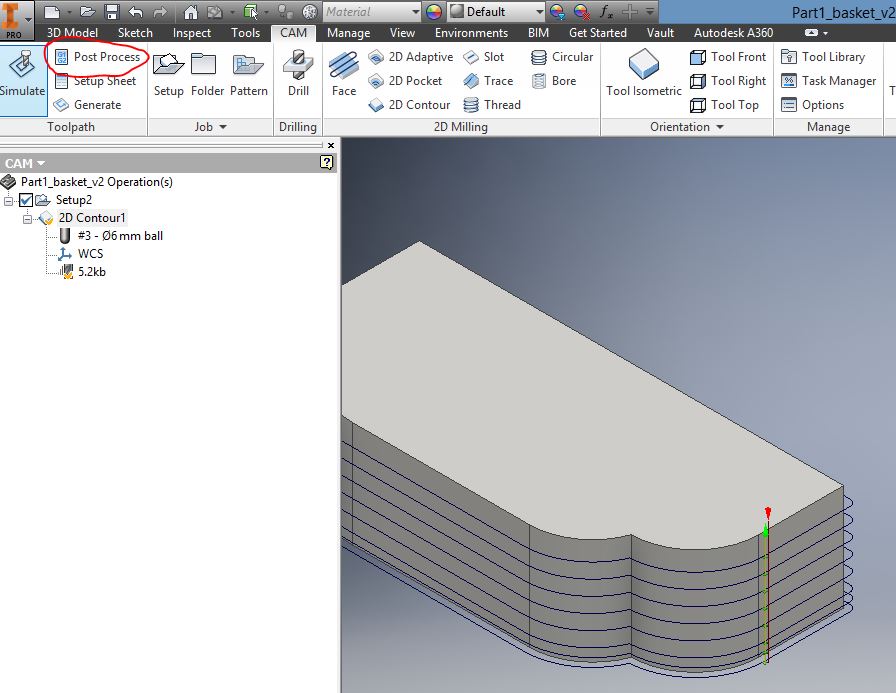
Simulate the milling.

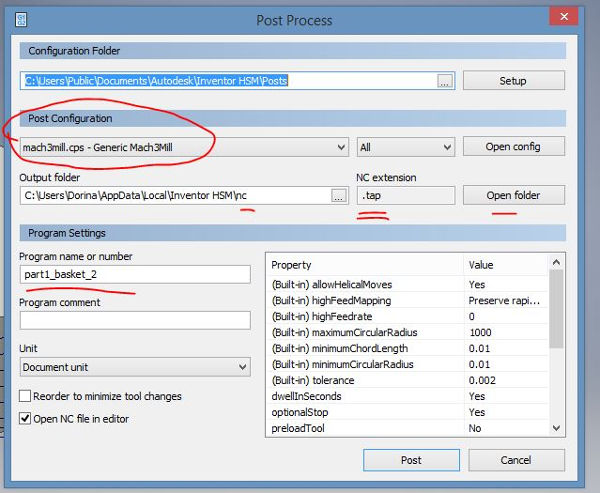
And press Post process to create the g-code file.
The estimated time for milling was about 5 min (the milling basically consisted in cutting).
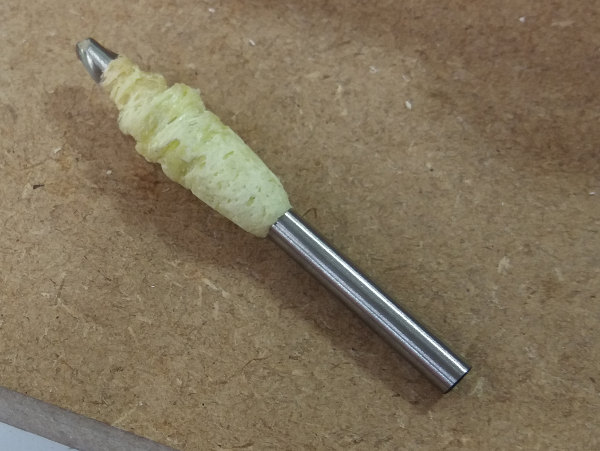
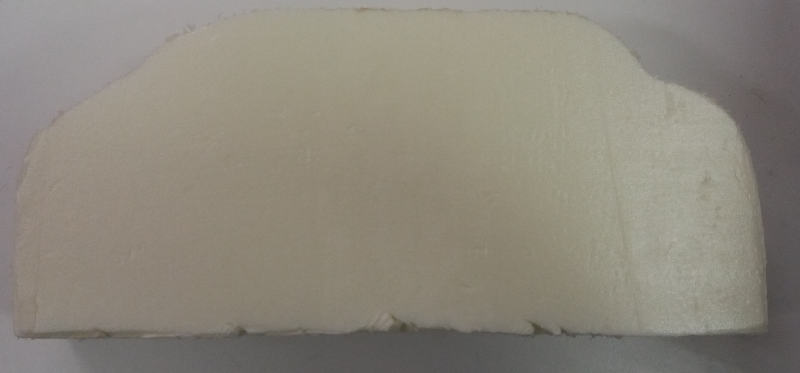
3. Milling. For milling, I have used foam stock with height 5 cm. The CNC router we used in FabLab Oulu is made in-house and it works quite well. The bit used was 6mm diameter ball type (the longest available). The milling was done with the supervision of Jani and Juha. During milling few problems were encountered at the first try: with maximum spindle for the milling, the bit got too hot and melt the foam stock around it; this caused the machine to stop. Morevoer, at the last step of milling, the bit reached the wood support. We had difficulties to take out the milling bit and clean it from the melted foam. Another problem at the first try was that when the bit moved to the origin point it went through the stock at cca 10 mm depth.
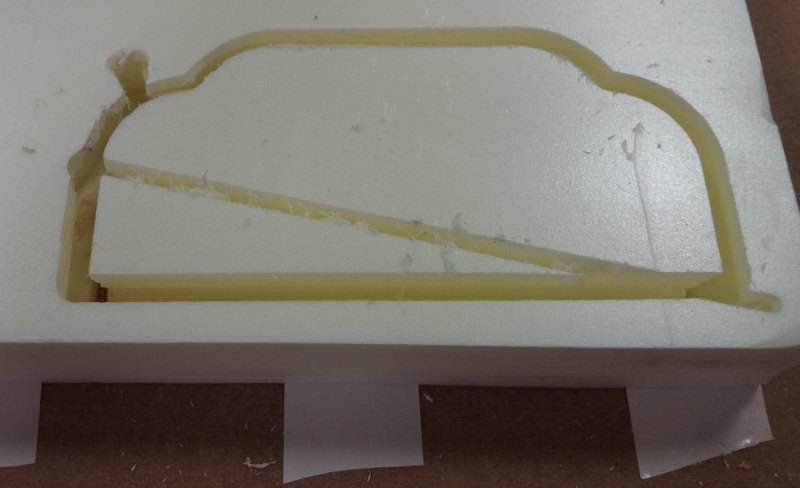


Juha and Jani helped with adjusting the tool path parameters in CAM. At the second try, this problem was remedied. We adjusted aslo the z origin to ensure the bit will not reach the table.
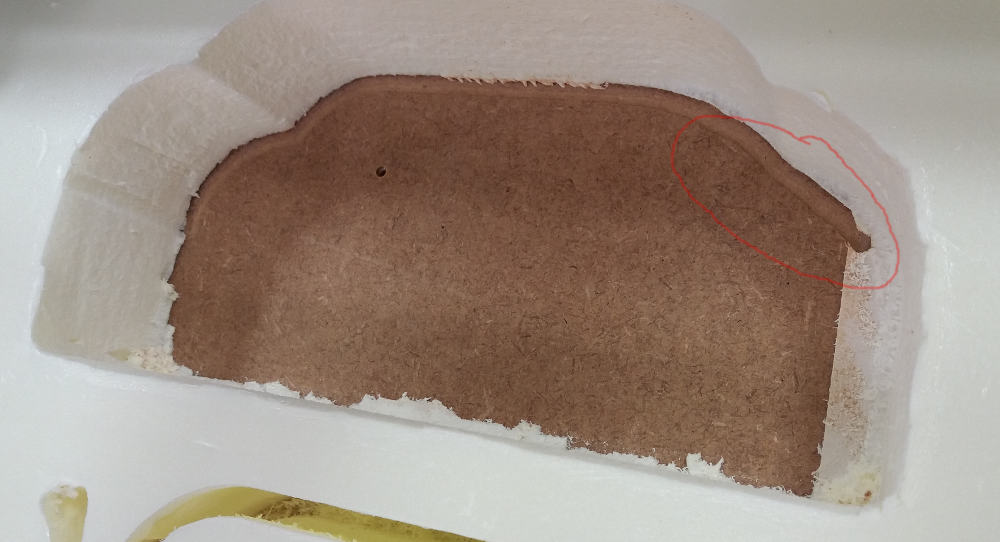
Antti has suppervised this time the milling and we set the spindle speed to half. The milling was successful, until it reached again the table support and the double-sided tape for securing the stock. The machine started to decalibrate and we had to stop it, but the cutting was quite good and we were able to take out the mold.
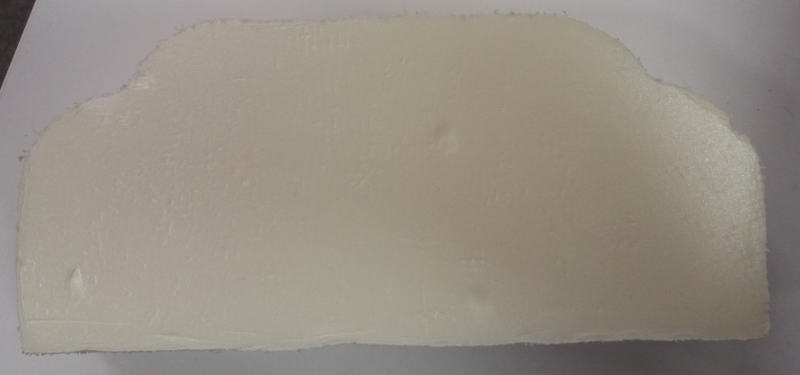
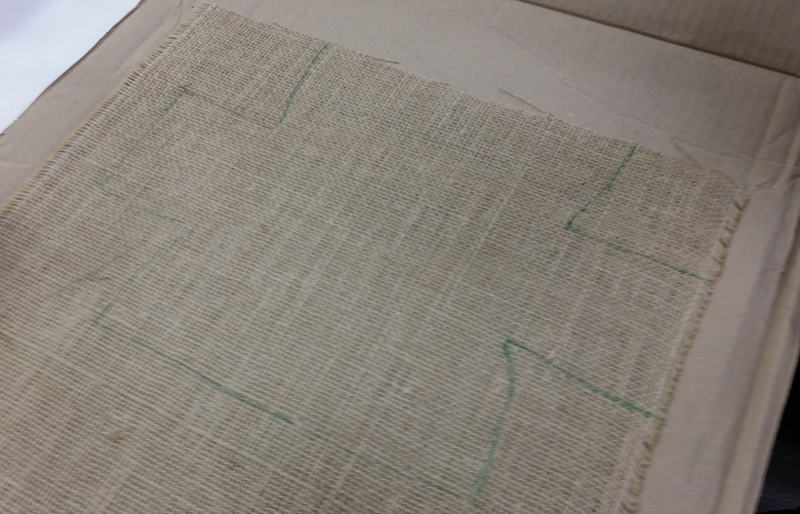
We decided to cut the other 4 parts using a saw on next day; the router had to be calibrated and seemed not to be robust enough. However, in the evening I tried to see whether the mold is good for applying the composite and I did different trials with the fabric to see how it fits the mold. Then I decided to make the composite on the part without waiting for the next day.
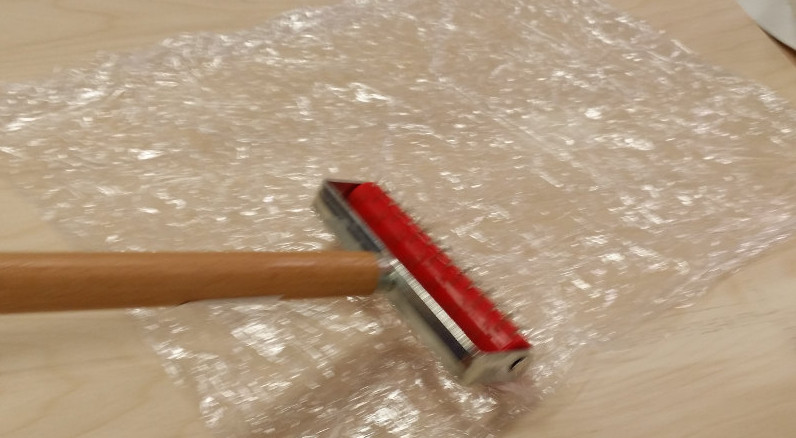
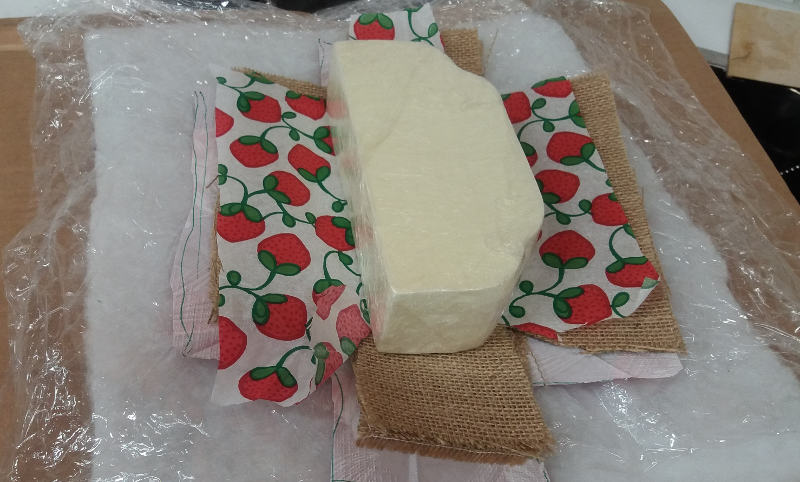
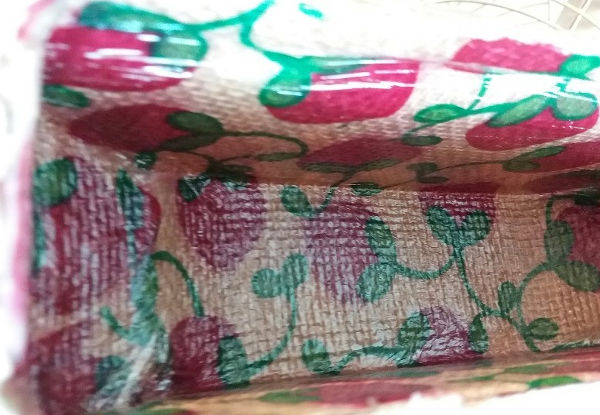
4. Composite. The first thing is to cut the fabric to wrap the mold. I decided to use 5 layers of fabric. Then I prepared all other layers that are used in the process: one plastic foil for covering the mold (the release agent); one plastic foil with holes for the extra resin; one layer of breath material to absorb the extra resin and to allow the air to go out from composite when vacuumed. I wanted to have some colorful patterns on the final product, so I added two layers of napkins (on the inside and outside faces of the object). One other layer of plastic foil was put on the of the breathe material.
The composite was done together with my husband, Mikko.
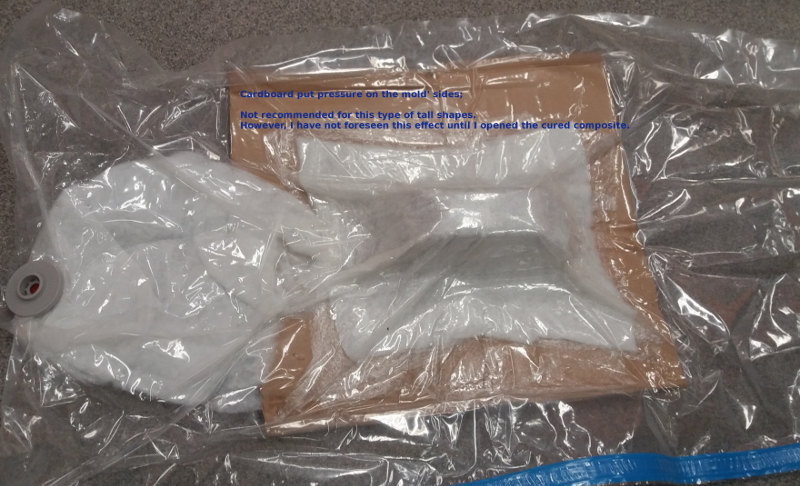
Demo trialTo make sure everything goes ok, I put a dumy package in the vacuum bag to simulate the curing process. On the bottom of the composite package I placed a cardboard. Everything seemd good. But in fact, this idea with the cardboard was a mistake. I did not realize during the demo trial that the cardboard will put pressure on the mold and composite and will affect the final shape of the object.

 The actual process
Making holes in a plastic foil.
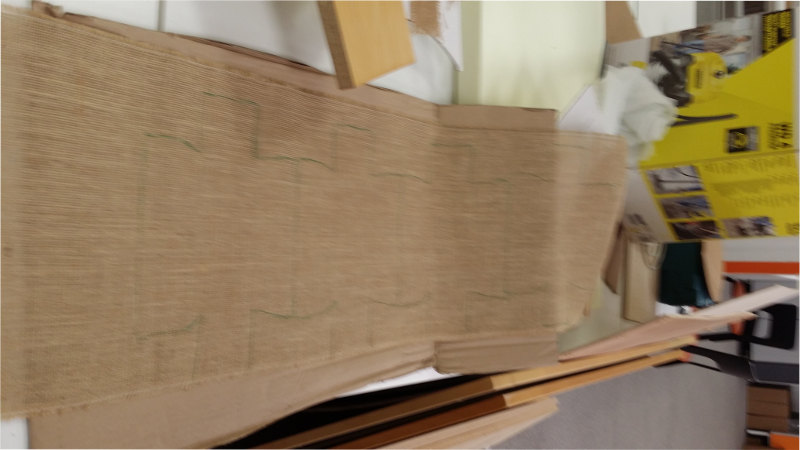
Cutting the fabric
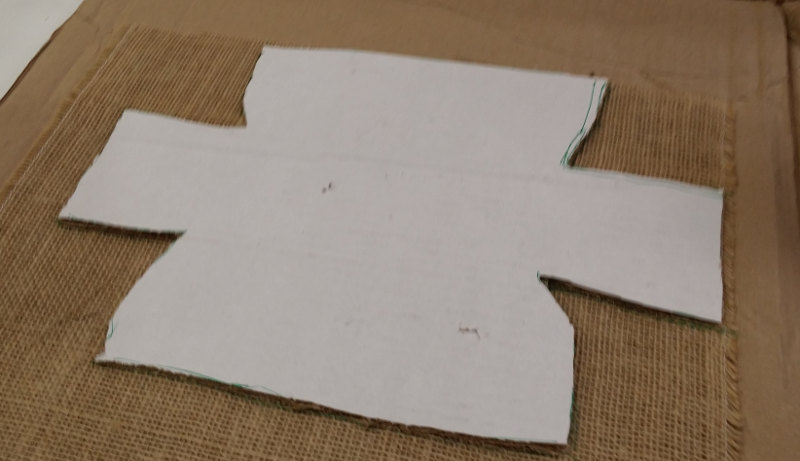
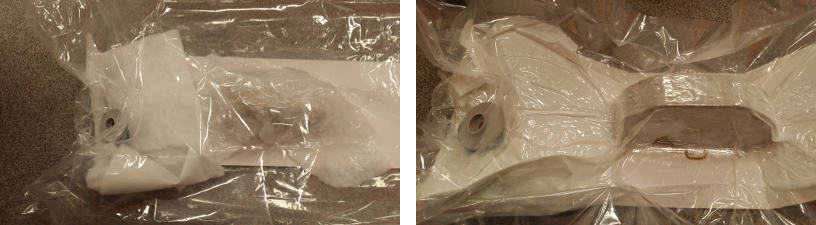
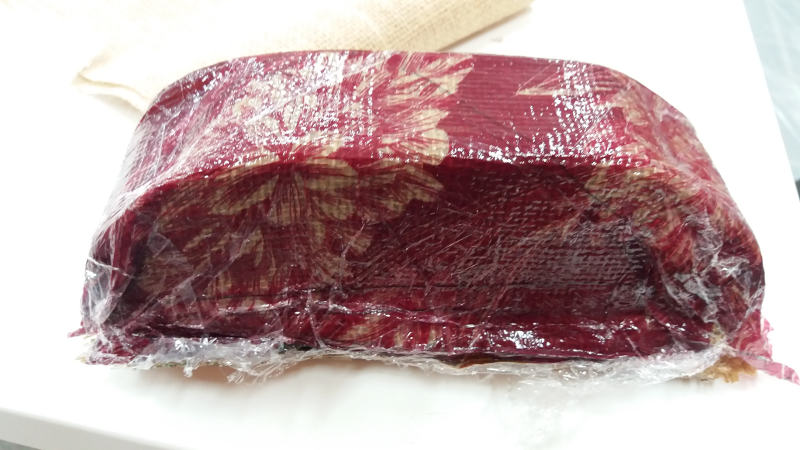
Then I prepared all layers. The mold was wrapped in plastic foil to protect it from the resin. First, I added a thin napkin layer "soaked" in resin. Then I added resin on 4 layers of fabric, one by one, and placed them on the mold. Last, I added another layer of napkin. I decided to use 4 layers of fabric instead of 5, because the composite seemed thick enough. I do not have pictures of this stage because it was impossible to take pictures, but I followed the same procedure as Antti and Juha.
Placing the composite in the vacuum
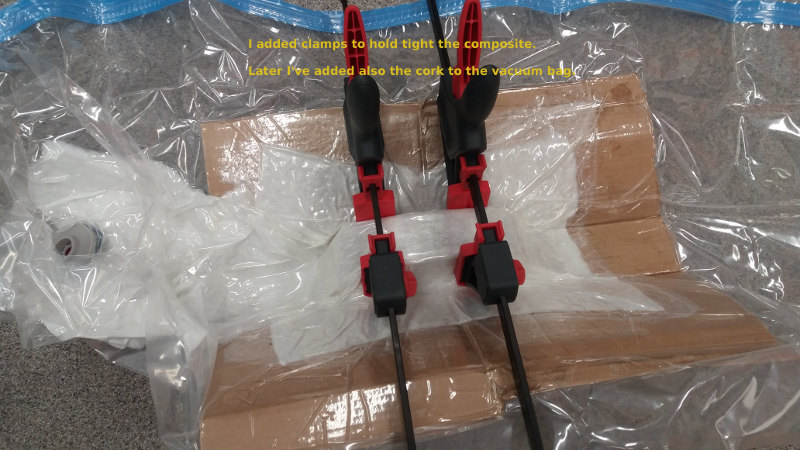
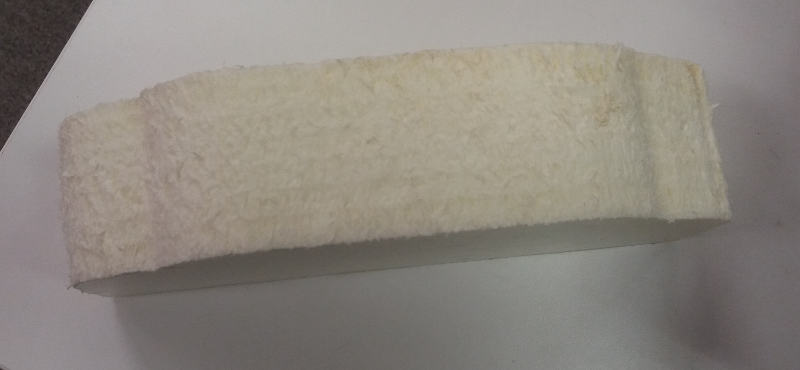
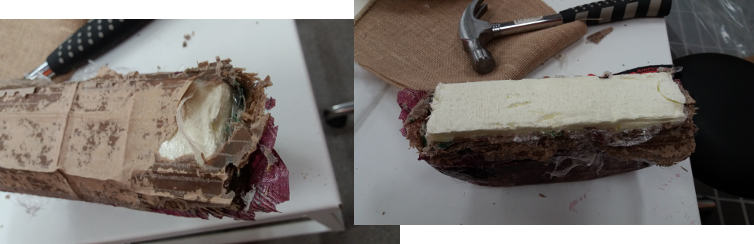
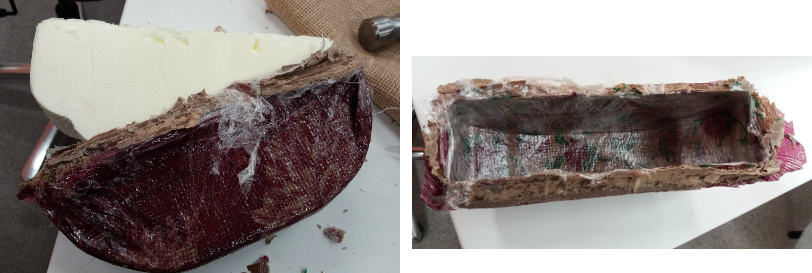
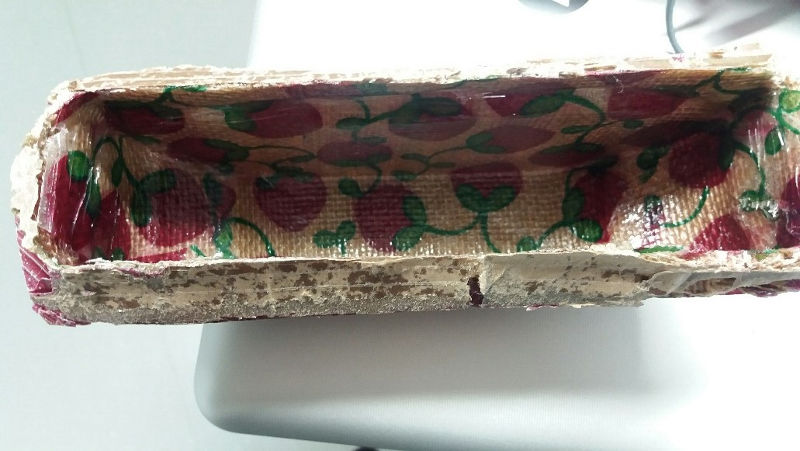
After about 12 h cure time, the composite was ready, but not easy to take it out of the mold :). The result is good with some lessons learned for future.
Learning resources
Summary of the week
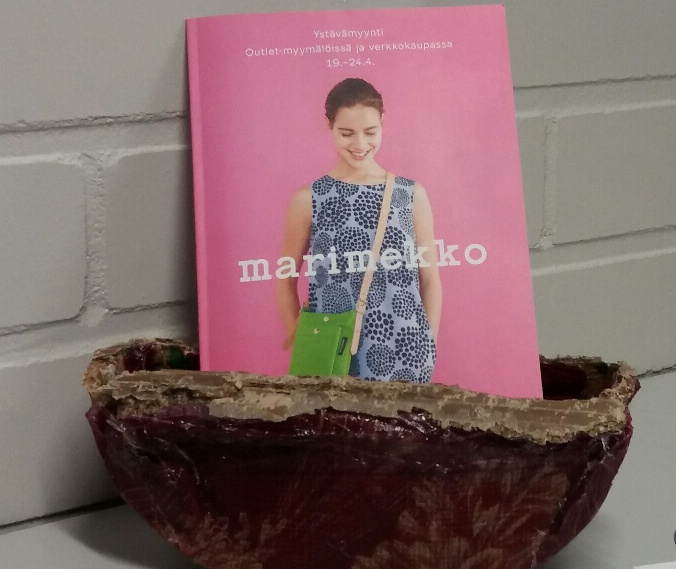
Again it was an interesting week assignment. It was difficult at first to come up with good ideas of mold. When the work was completed, I finally appreciated the rationale and possibilities of creating durable, solid, but flexible objects with composites. This simple mold I created has the advantage that is fast to mill (5 min) and can be easily adjusted and resized, thus making possible to create different objects: a bag, a suitcase, a firewood carrier, a gardening box. The challenging part is the composite itself and wrapping the fabric on the mold, but with some imagination and patience it goes well. I had none of these; I wanted to finish fast and I did some mistakes, especially adding a cardboard was not needed and created more troubles. Another idea of improvement could be to cut the plastic foil with holes so to match better the size of the mold and to be used also for holding the fabric on the mold.
Summary of Tools used
Software
SolidWorks for design
Autodesk Inventor CAM
Hardware
CNC router in-house made by FabLab Oulu
Source files for download
SolidWorks files
Autodesk Inventor CAM g-code files


