Study archive - Week 11
Input devices
The task of the week was to measure something: add a sensor to a microcontroller board that you have designed and read it. I chose to measure temperature and I added an NTC thermistor.
Design and fabrication
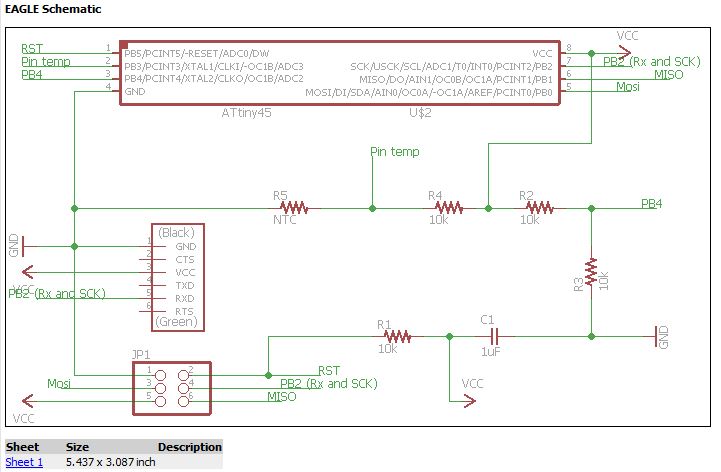
I designed the board in Eagle based on Neil's board example, milled it and soldered with reflow technique in a special oven.
The schematic:
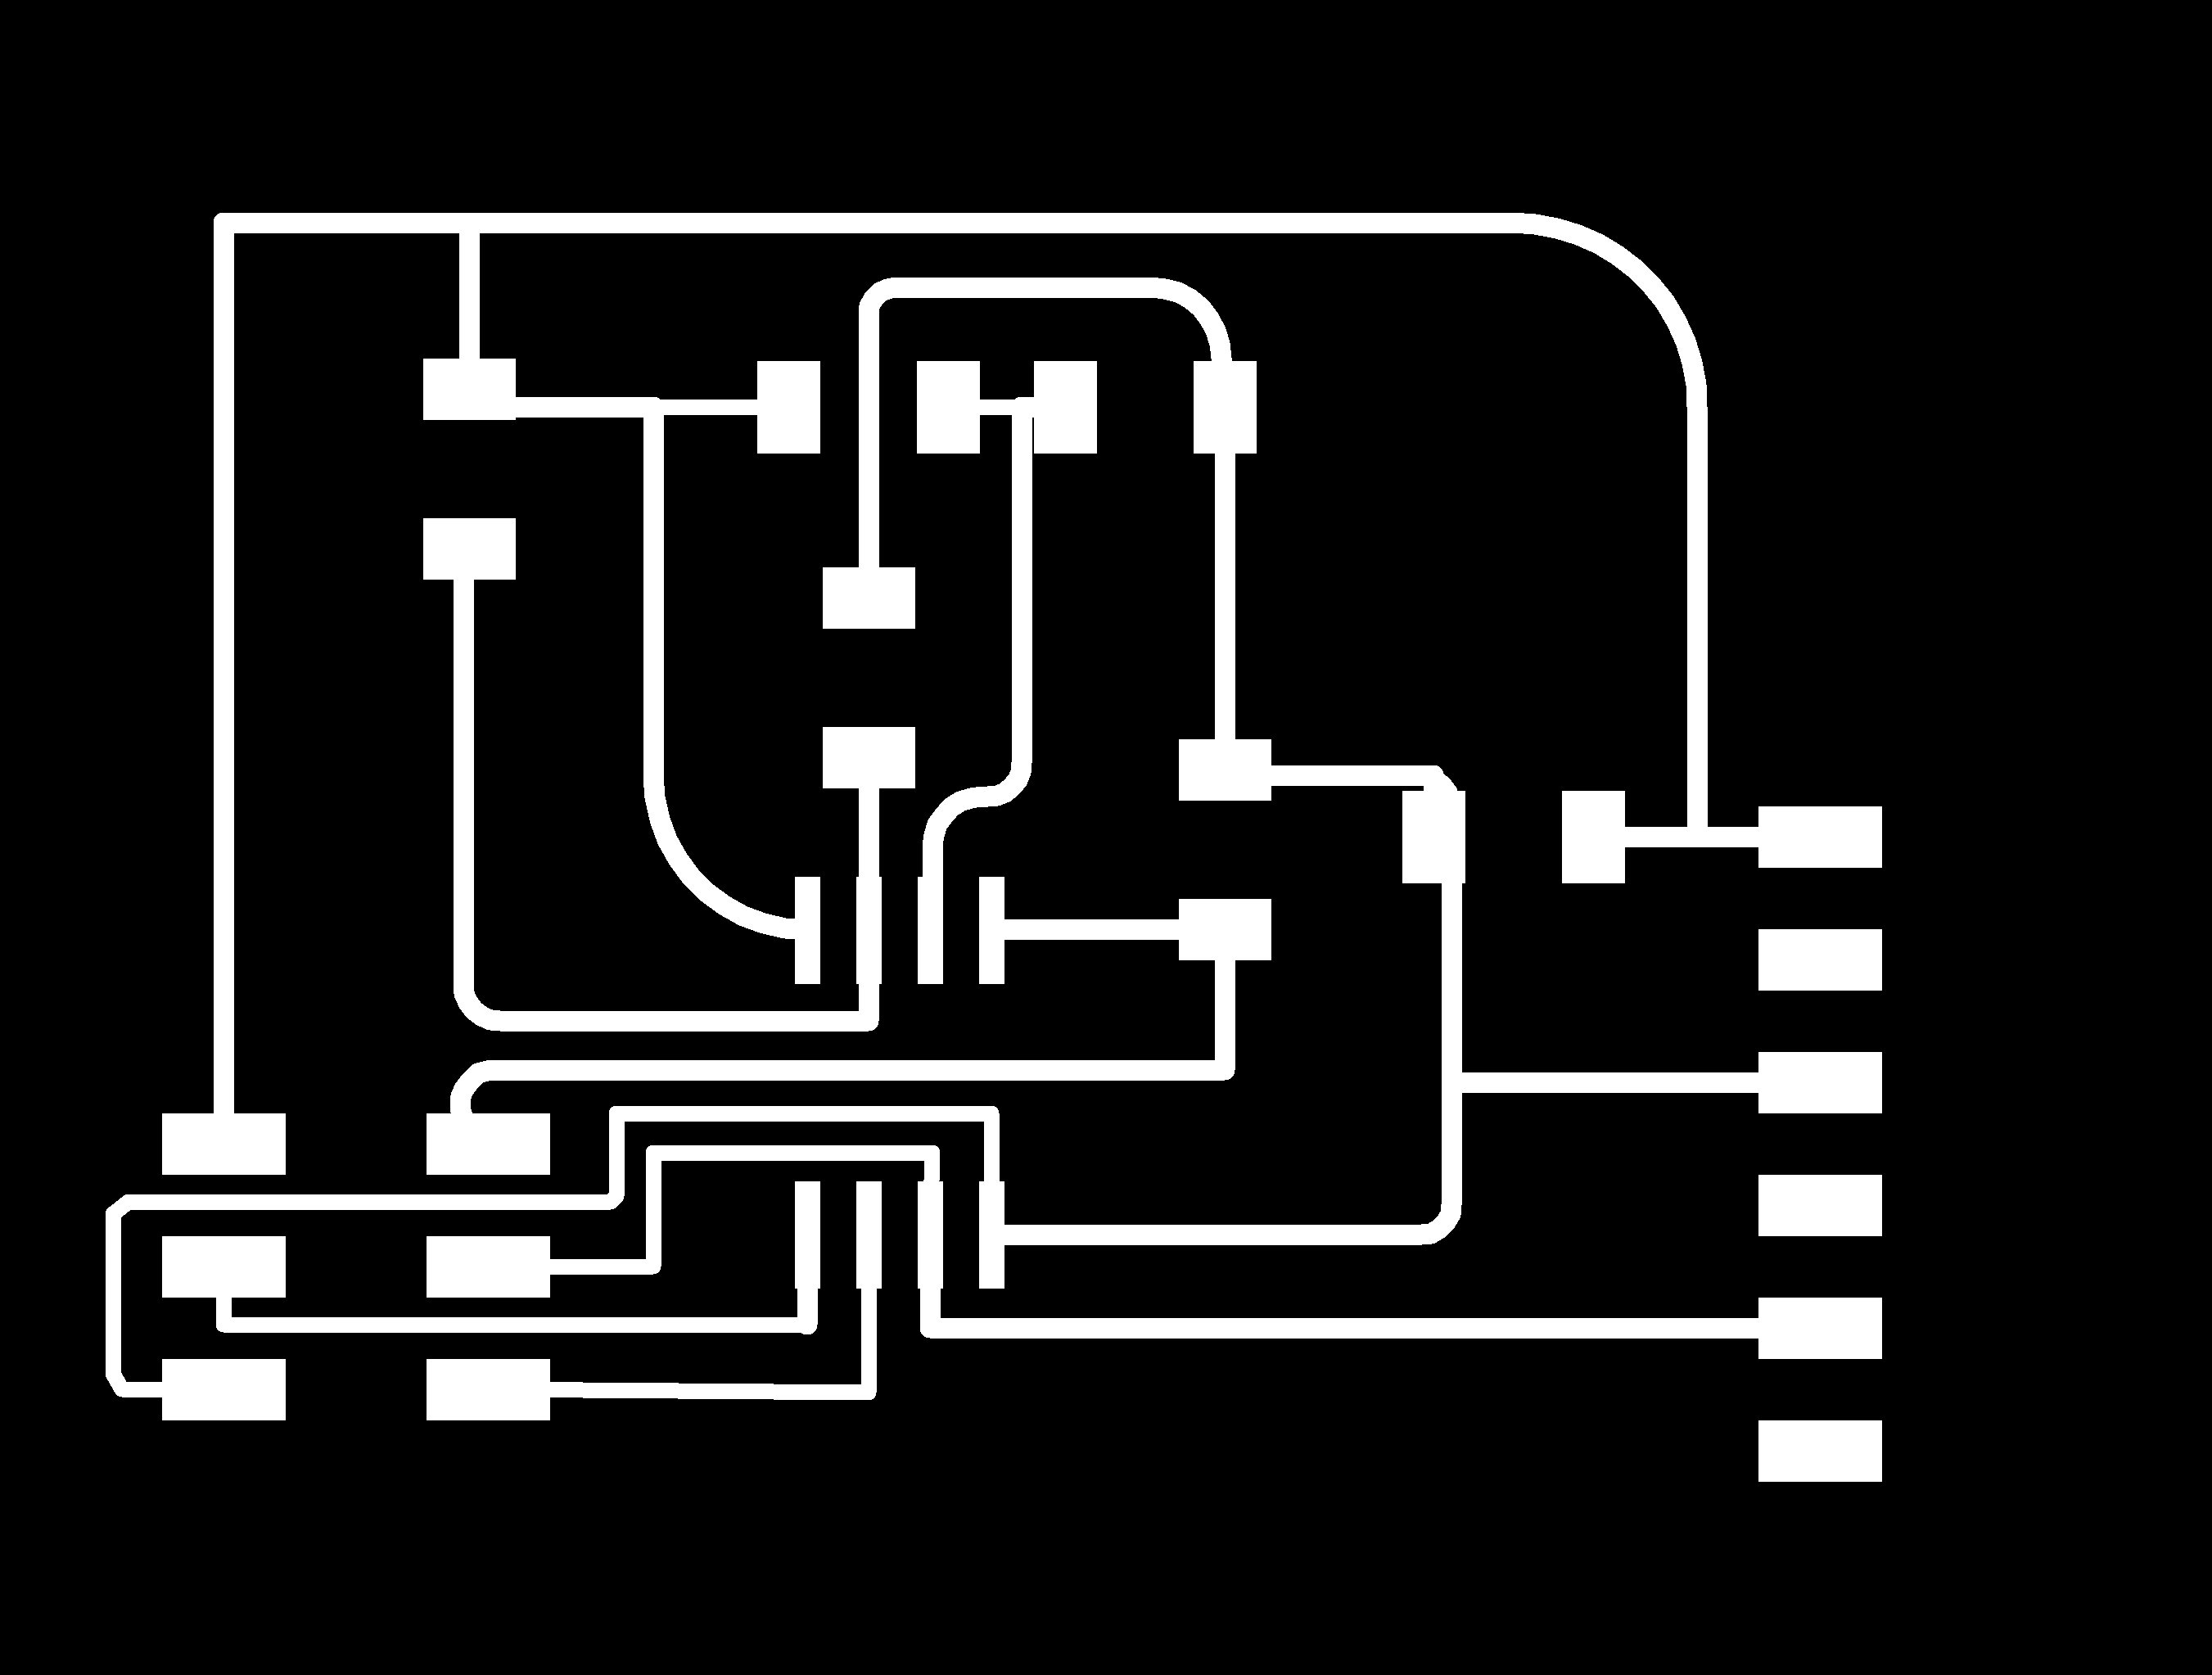
The board layout:
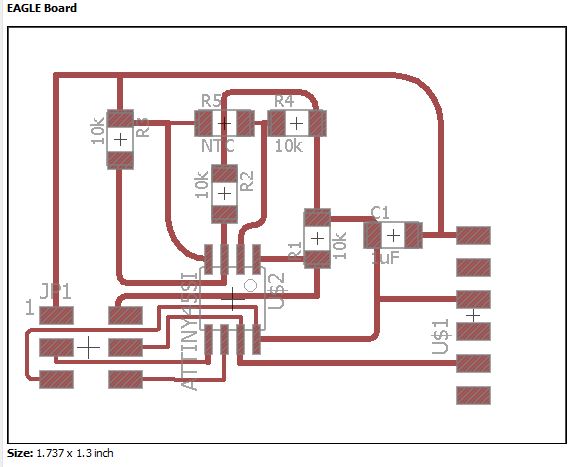
The board layout was exported as png monochrome; see steps at Electronic production (week4) and Electronics design (week6). Then it was processed in Gimp and converted with Fabmodules (fabmodules.org) in toolpath code resulting two rml files (one for outline and one for traces).

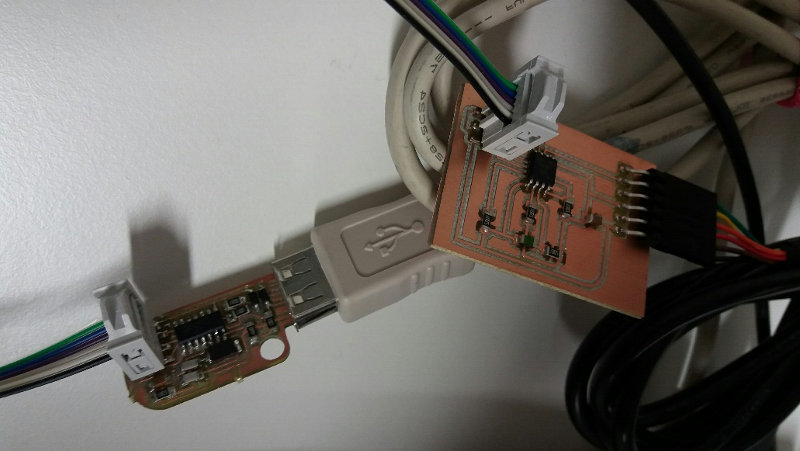
After milling, I have soldered the board using pick and place and reflow techniques. The result is shown below.

Programming
Next I used Neils's c code to program the board using Atmel Studio and avrdude. In the c code in Atmel Studio, I have added #define F_CPU 8000000UL line before #include <util/delay.h> to specify the clock frequency of the Attiny45 microcontroller according to the datasheet. This information about internal clock frequency was found on the datasheet.
The orientation of the cables was as follows (green on top).
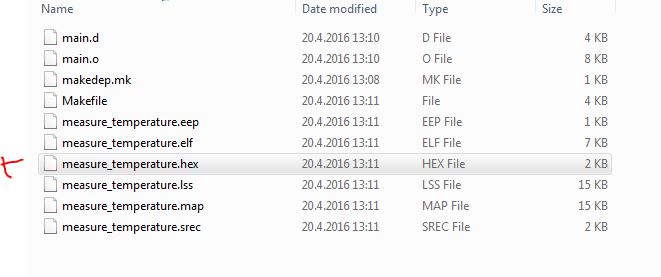
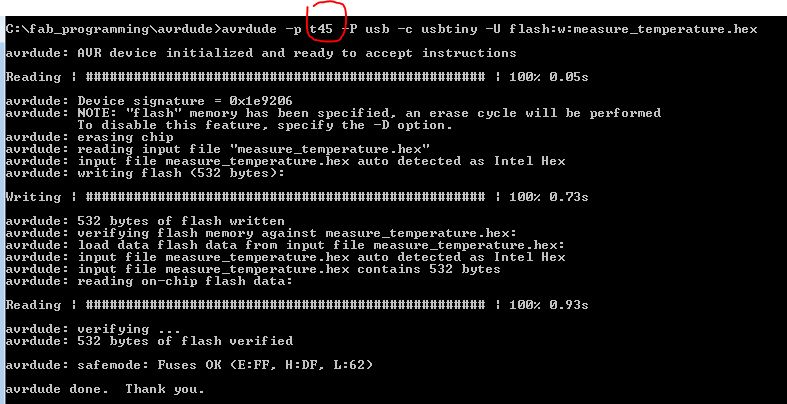
When writing the .hex file to the flash memory of Attiny45, the avrdude line should contain the correct name of the microcontroller (t45).
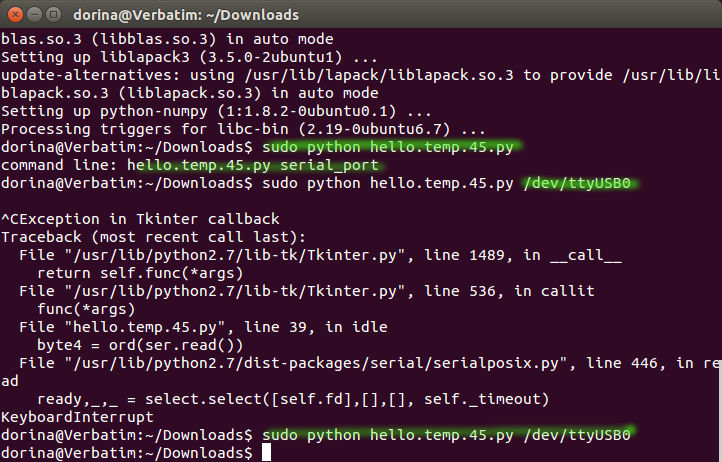
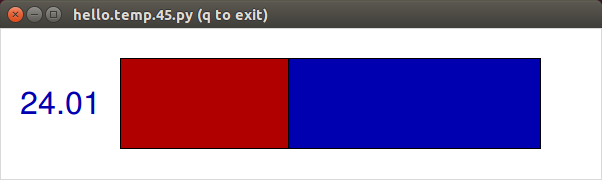
Next step was to test the temperature sensor using a Python interface code. I used again Neils's c code for this purpose.
For this step I used the linux computer which has Python installed. First I just entered the command sudo python hello.temp-45.py in the terminal. I was pointed to install the package python-tk; I used the command sudo apt-get install python-tk. Then I run again the sudo python hello.temp-45.py and I was pointed to install python-numpy package; sudo apt-get install python-numpy.
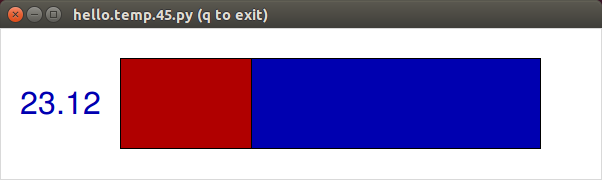
dev/ttyUSB0. The result was nice! The sensor senses variations in temperature and the python interface program displays the temperature.

Summary of the week
It was very interesting week and the outcome very nice! I had some problems at milling (the rml file was not created well, the settings were not recognized; after some trials the milling machine started, but the milling was not done correctly so I had to cancel the job. Then the bit got stuck. I continued the next day with the help of Juha. Many thanks to Juha for the troubleshooting; I learned also that the rml files can be opened in Notepad where we can spot eventual errors in the file (e.g., not defined values, Nans). During programming, I got also help from Juha and Antti (when installing the packages in python, spotting the error (t45 instead of t44) in avrdude, adding the serial port identifier). Many thanks to Juha and Antti for the help given.
Summary of Tools used
Software
Python
Atmel Studio
AVRDUDE
Source files for download
Design files (Eagle files .sch, .brd; image files .png)
Code files (.c, .hex., and .py)


