Composites
Have you:
- Shown how you made your mould and created the composite
- Described problems and how you fixed them
- Included your design files and ‘hero shot’ photos of the mould and the final part
Shown how you made your mould and created the composite
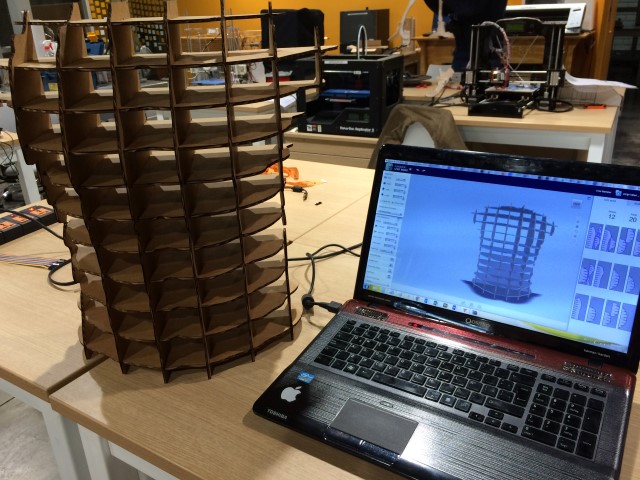
I downloaded a 3D model of a Male Torso from Thingiverse.
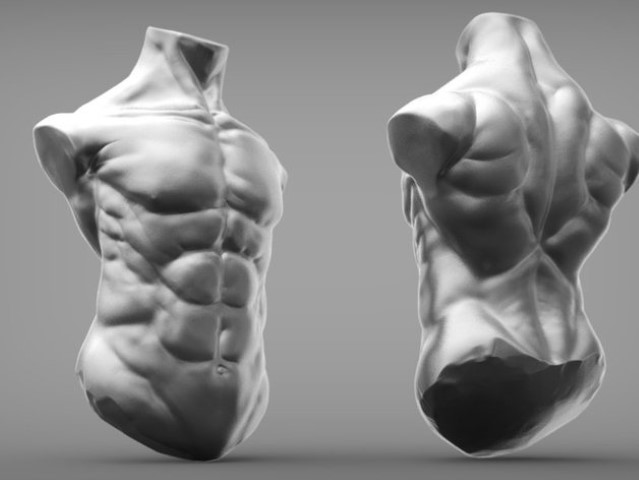
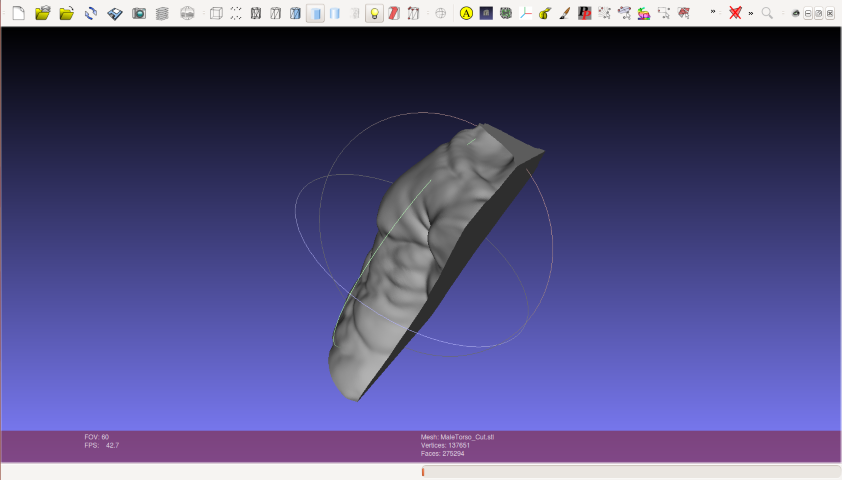
I edited the 3D model using Meshmixer, I made a few cuts to the neck and a lateral cut to flatten the back.
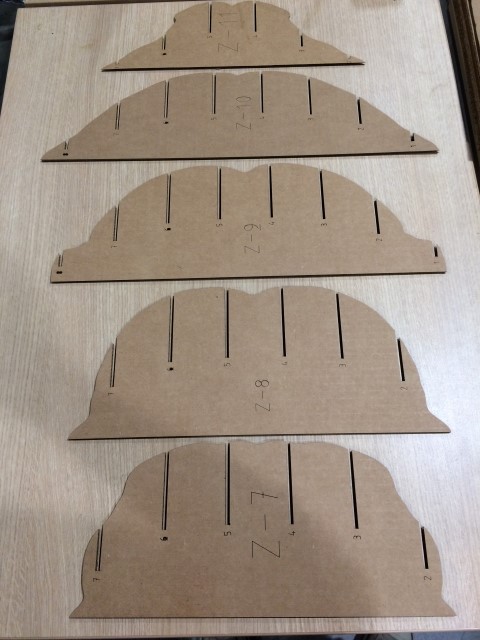
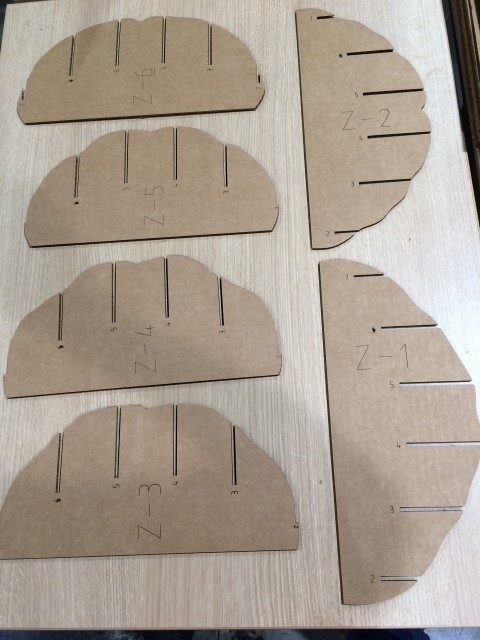
I used 123D Make to turn my 3D model into 2D build plans.
Scale the 3D model to my average measures.
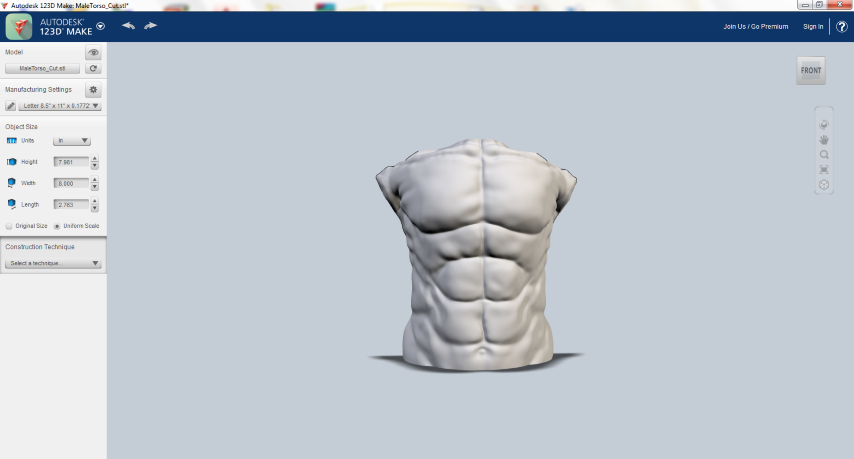

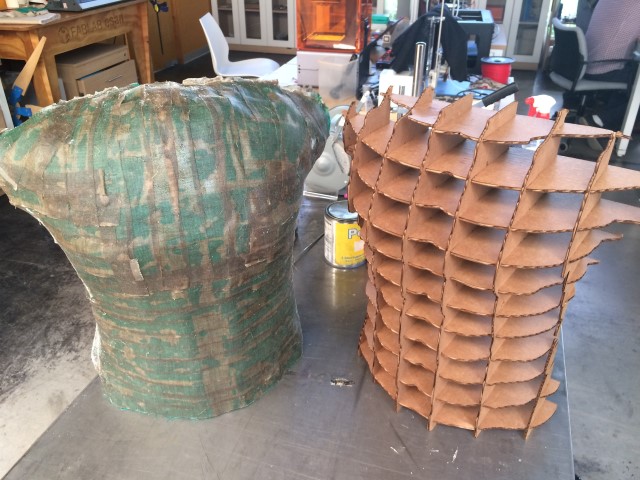
I choose Interlocked slices to get the parts needed to get a consistent model.
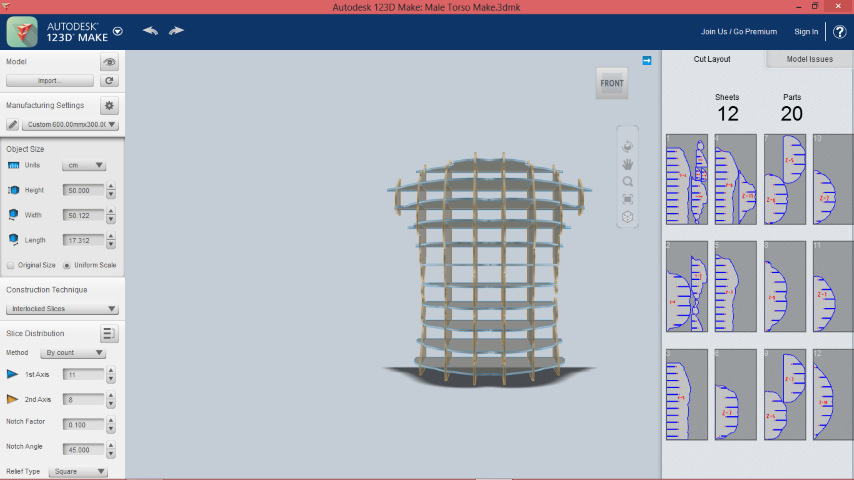
Then cut all pieces 3mm thick cardboard.
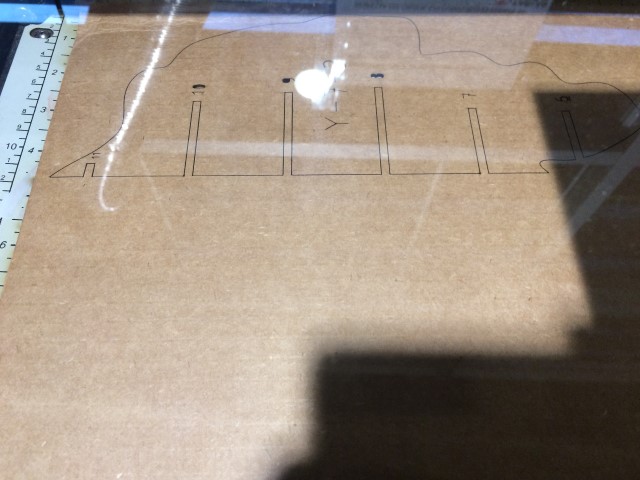
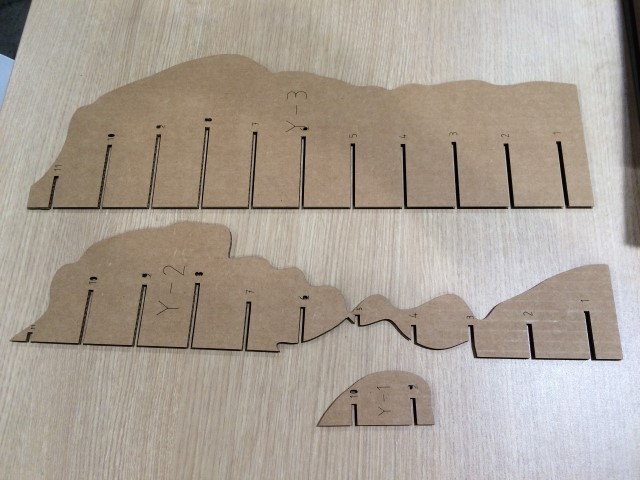
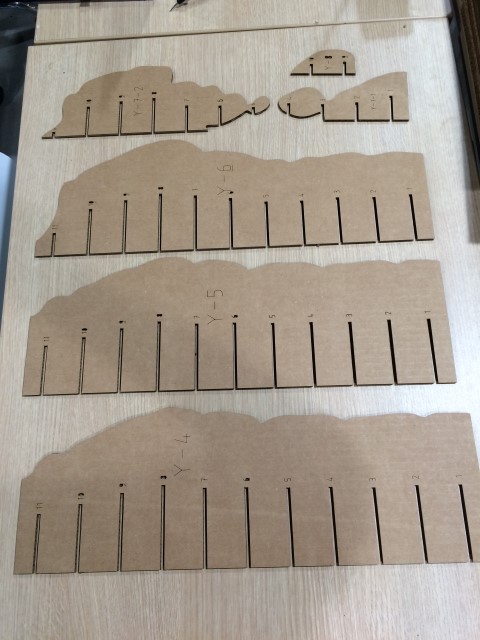
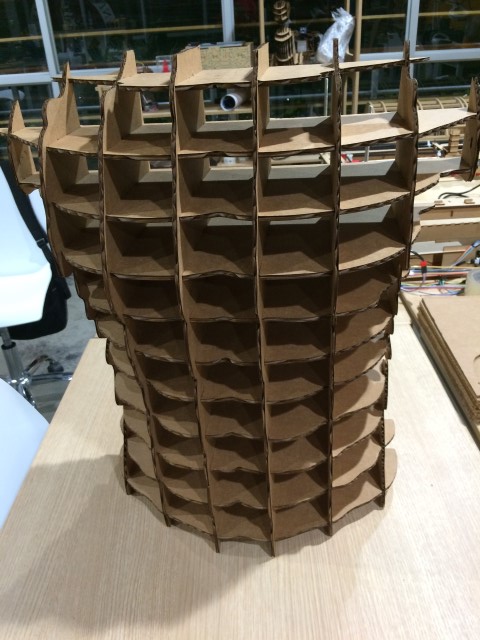
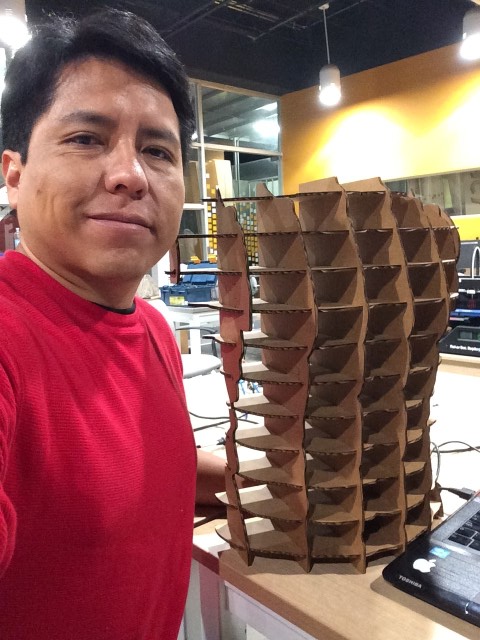
I order and I join all parts.
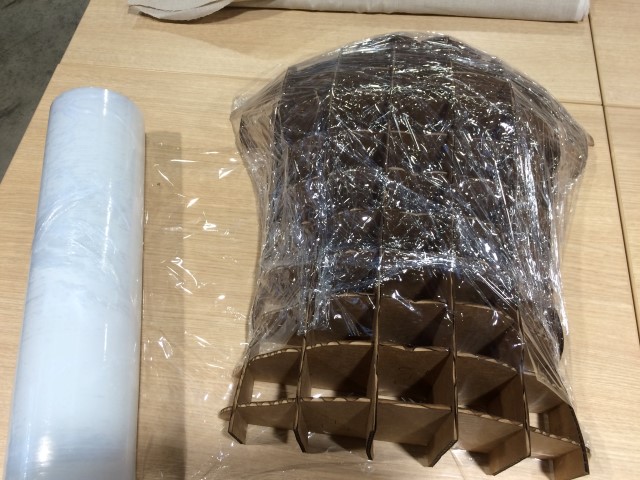
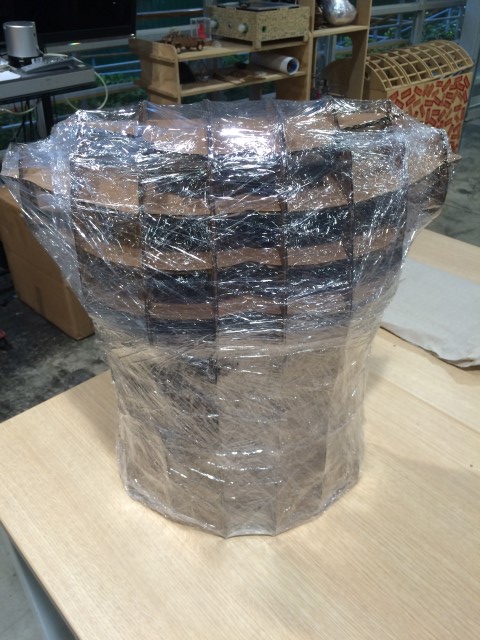
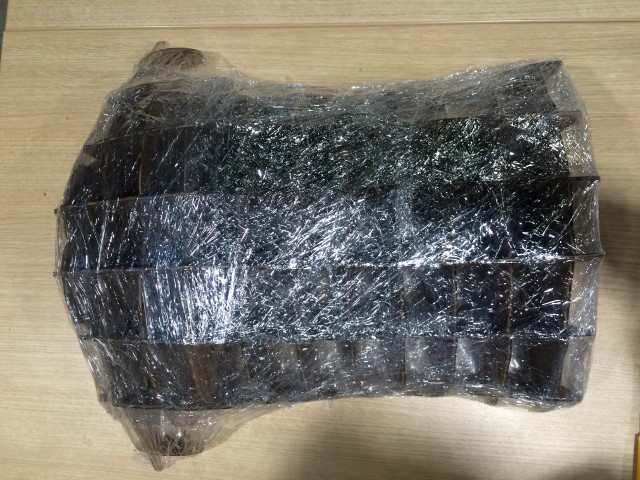
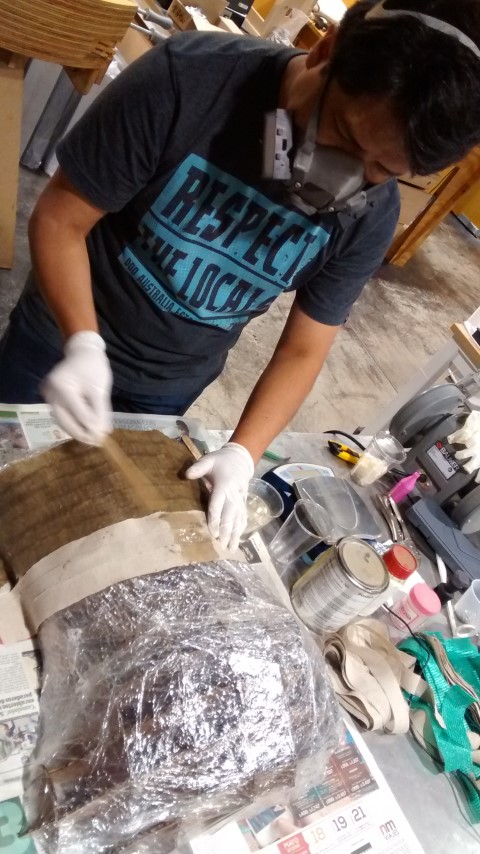
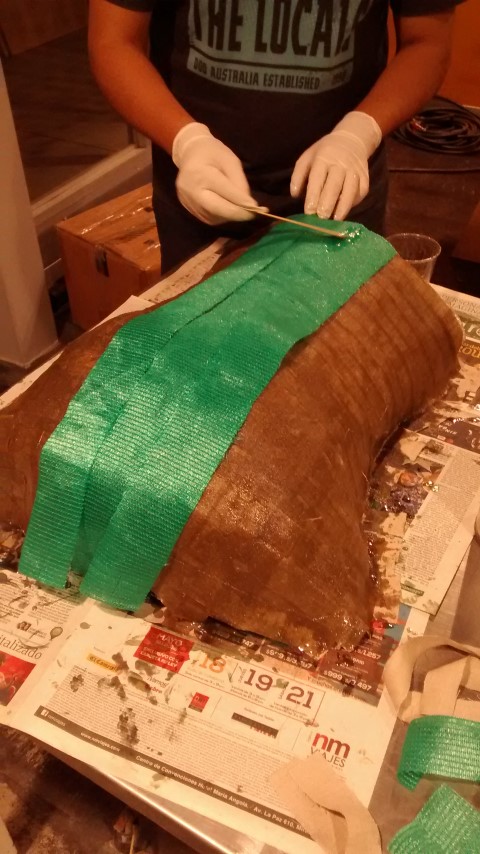
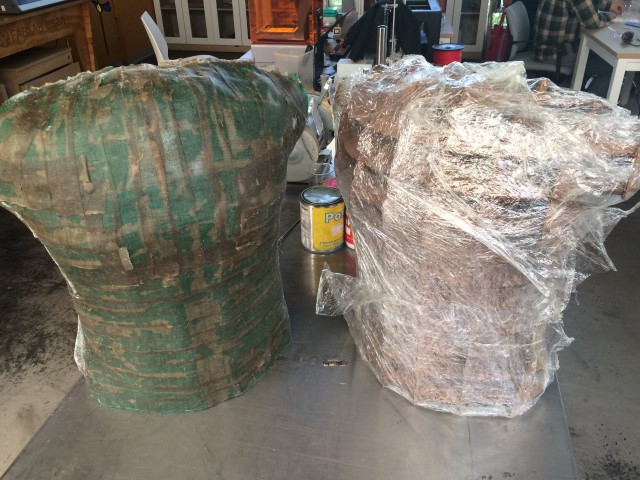
Wrapping with stretch film.
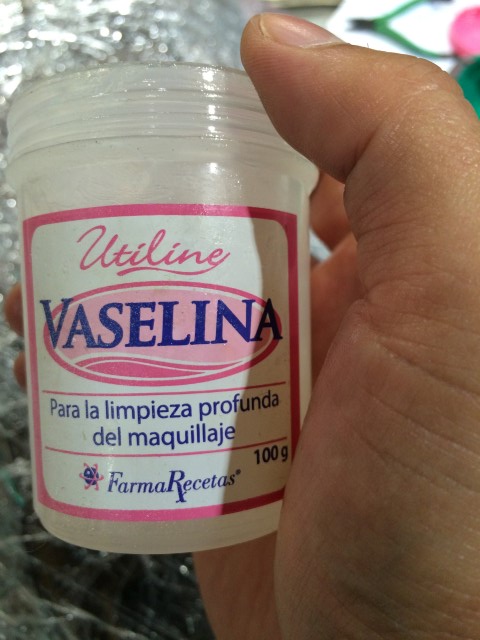
Apply petroleum jelly everywhere to prevent sticking.
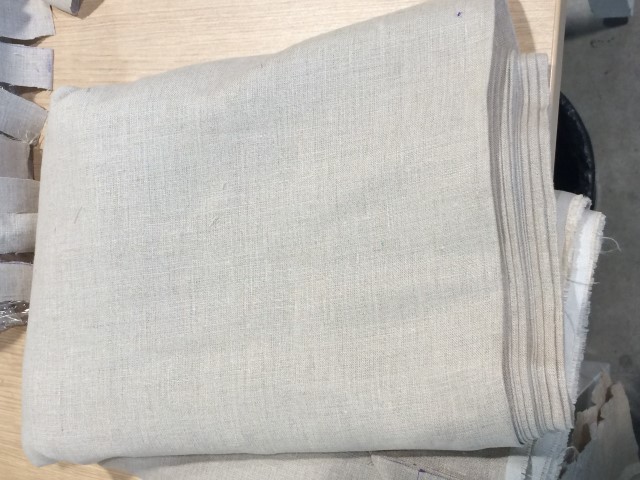
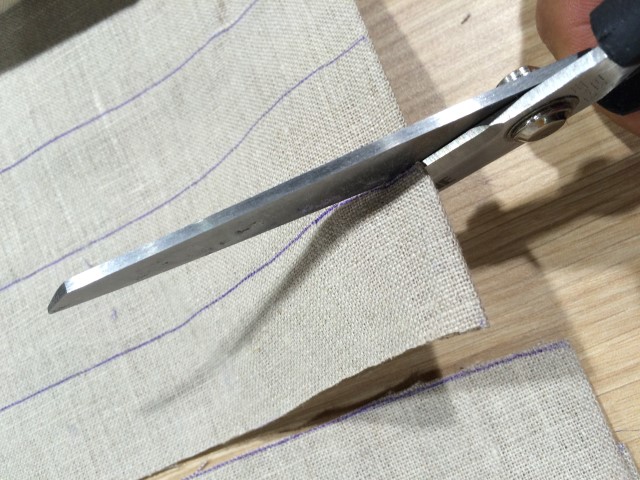
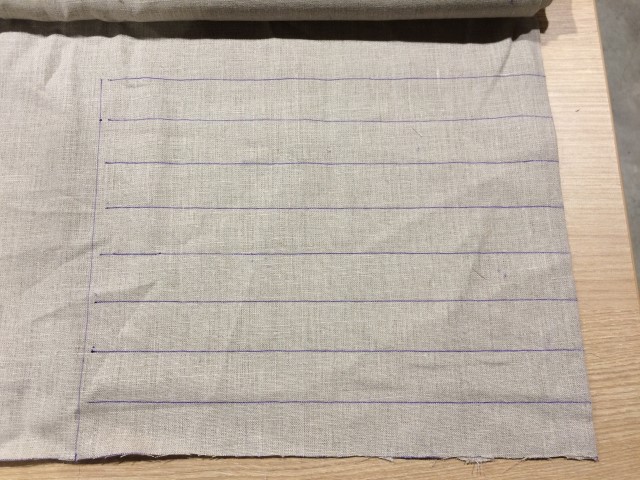
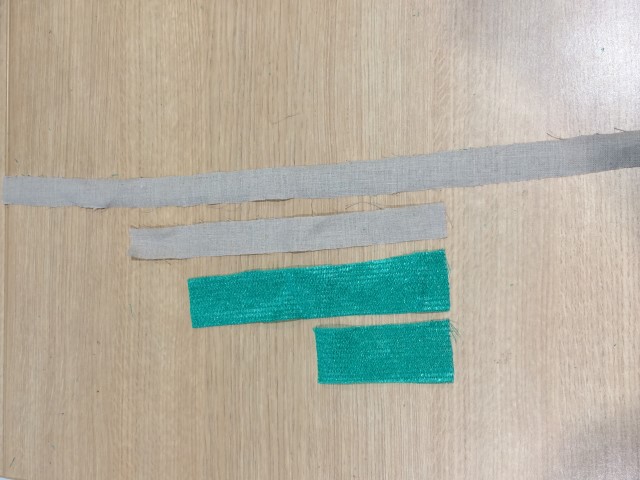
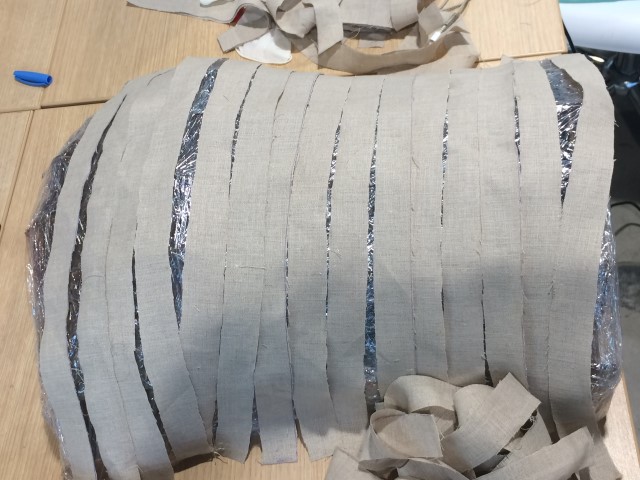
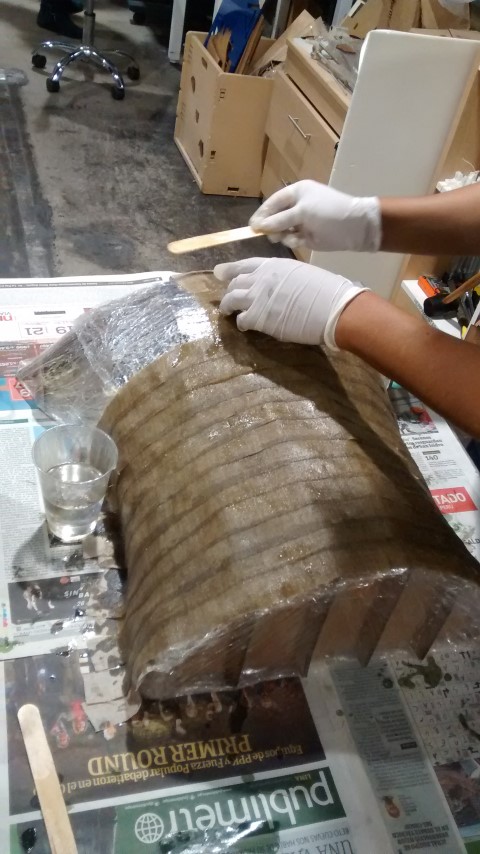
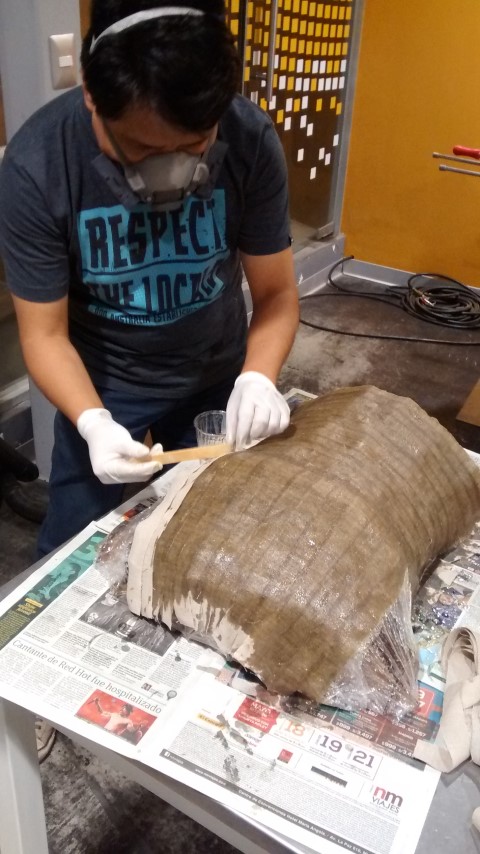
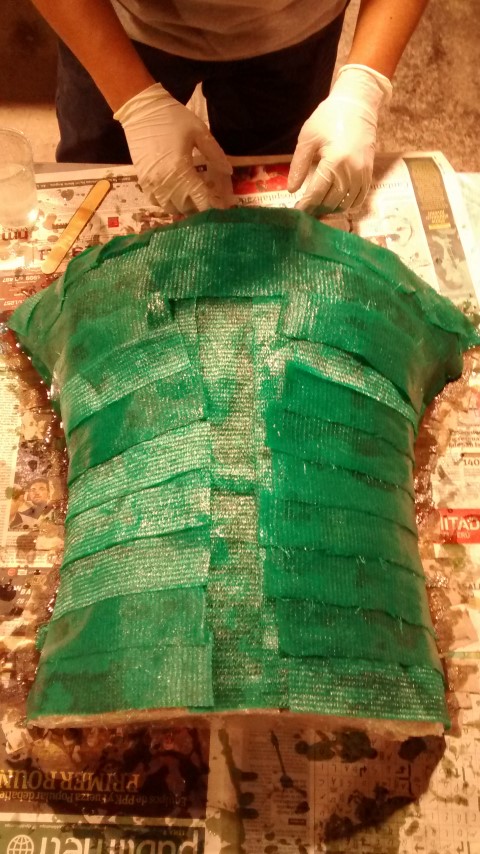
Cut strips of linen to cover the structure.
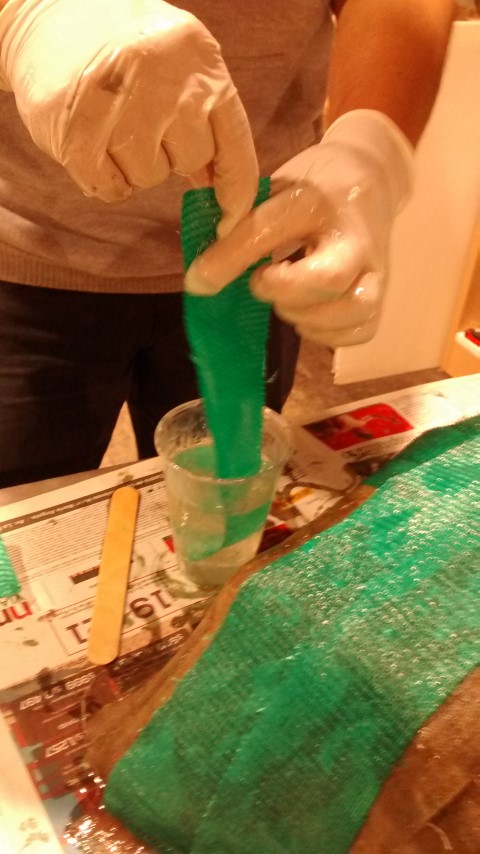
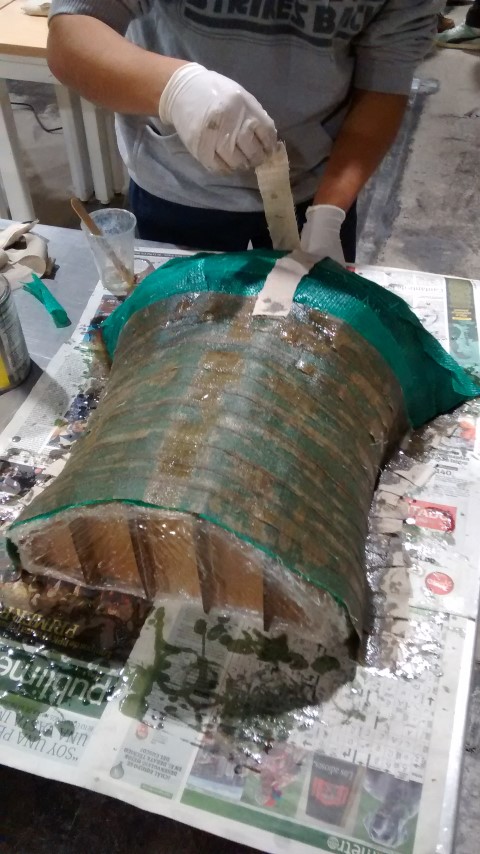
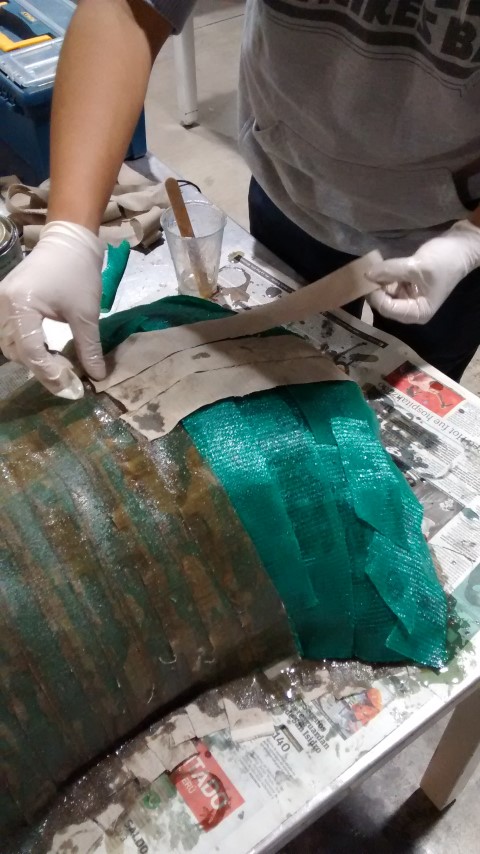
Galvanized woven mesh.
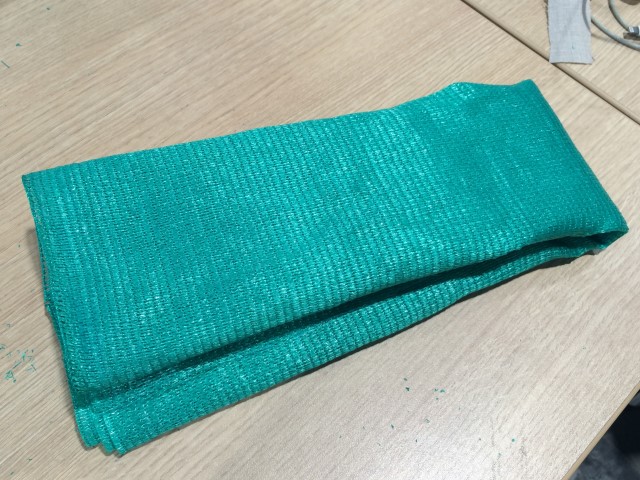
Pieces of different sizes.
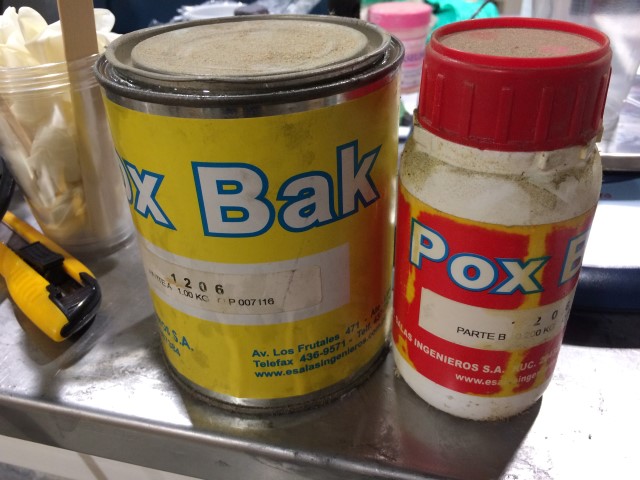
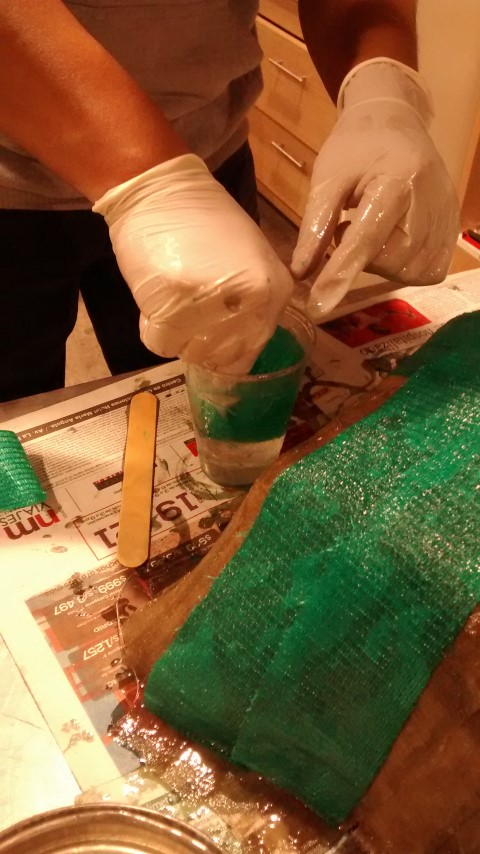
Use epoxy resin: Pox bak 1206 and in this case the ratios are 5 to 1 by weight.
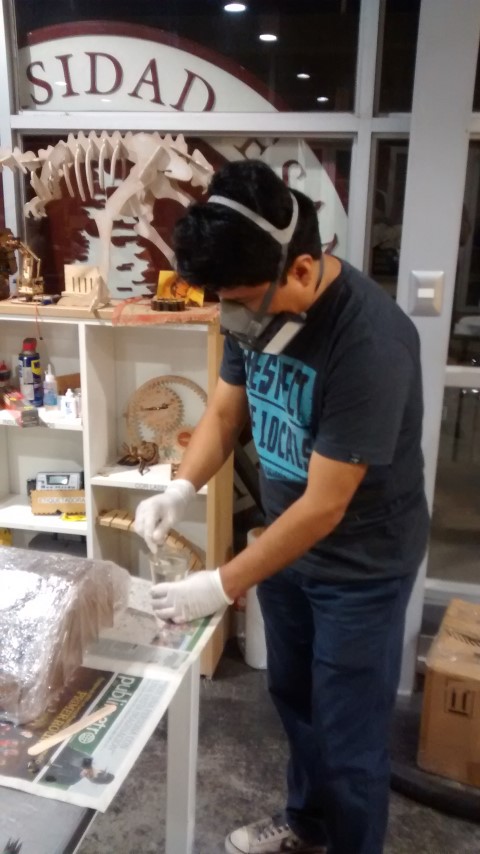
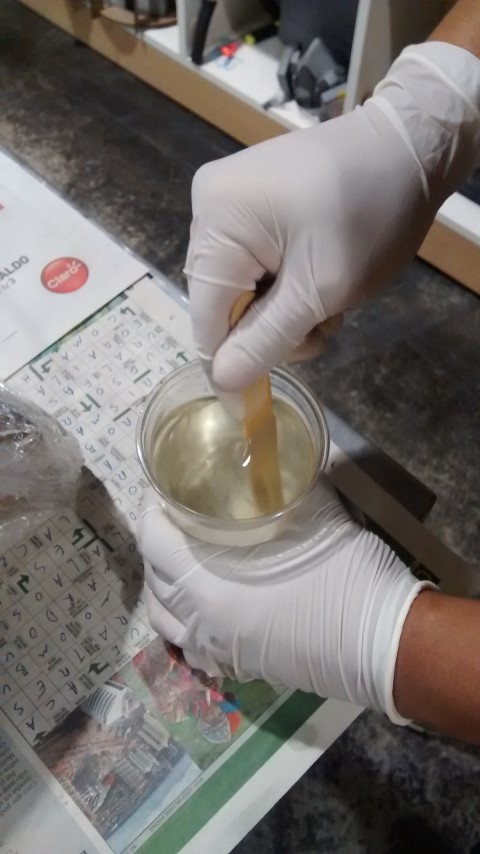
Beginning to cover the first layer with the resin.
Wear gloves and a mask for your safety.
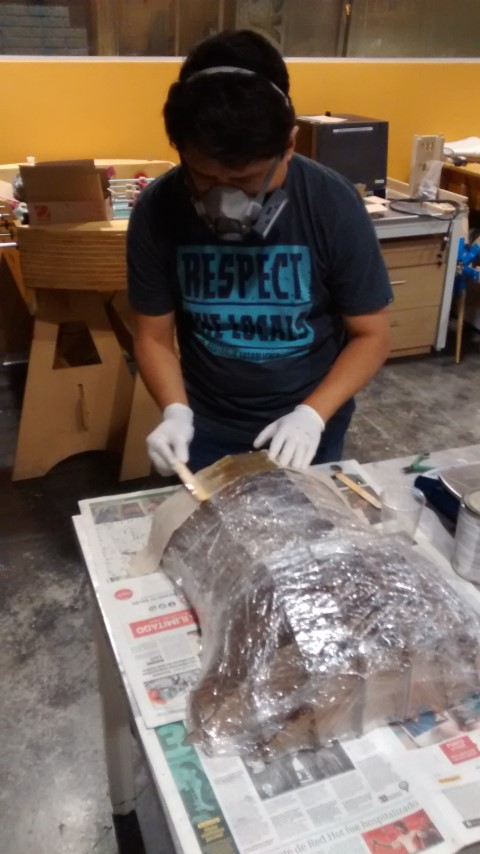
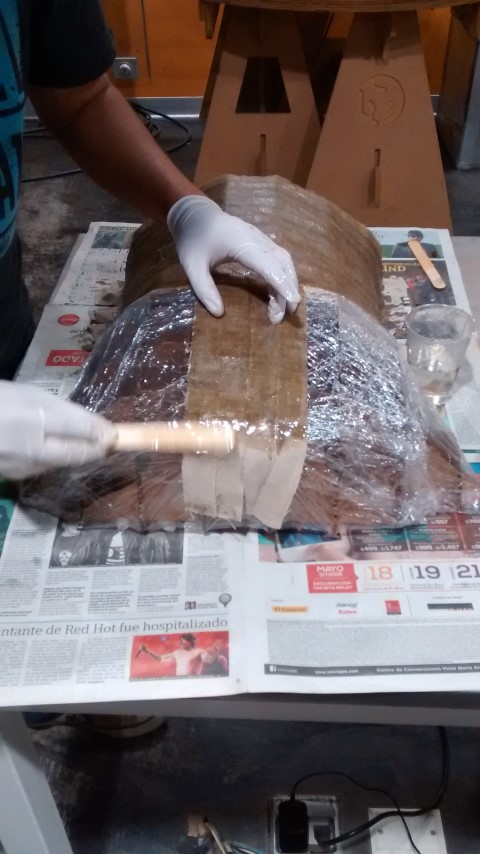
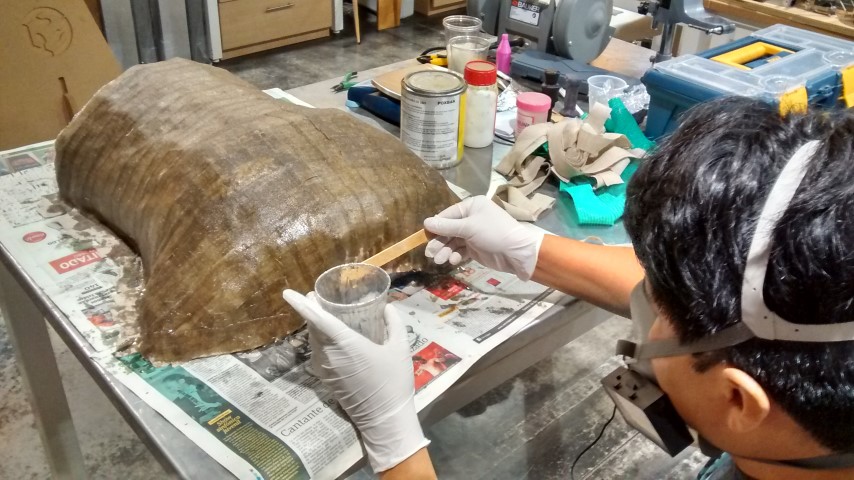
Start the second layer. You must have patience.
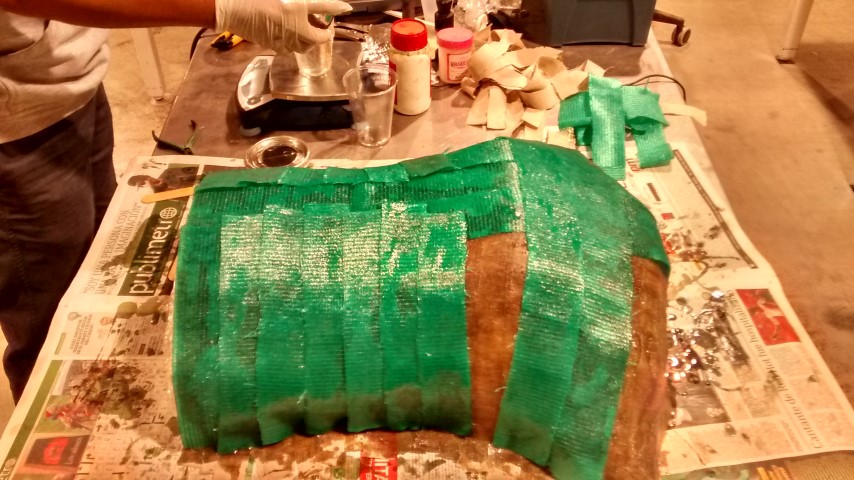
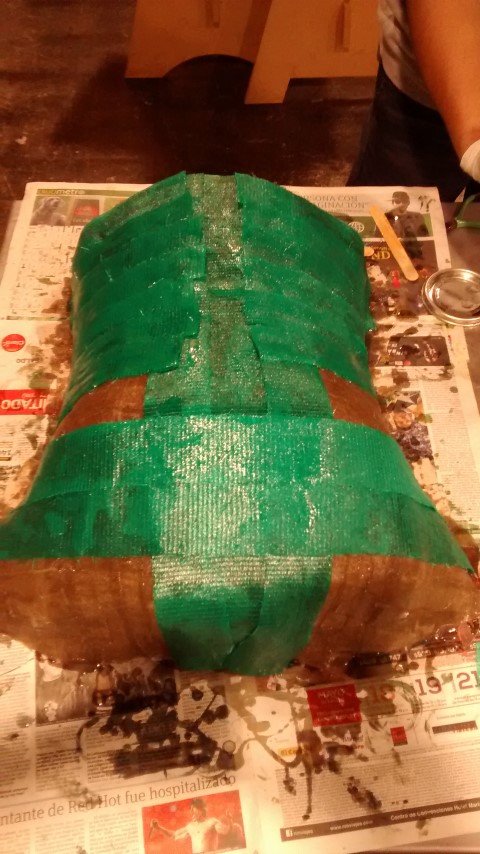
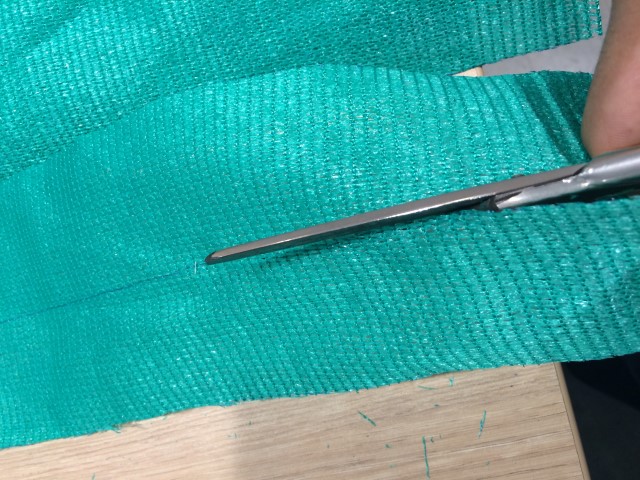
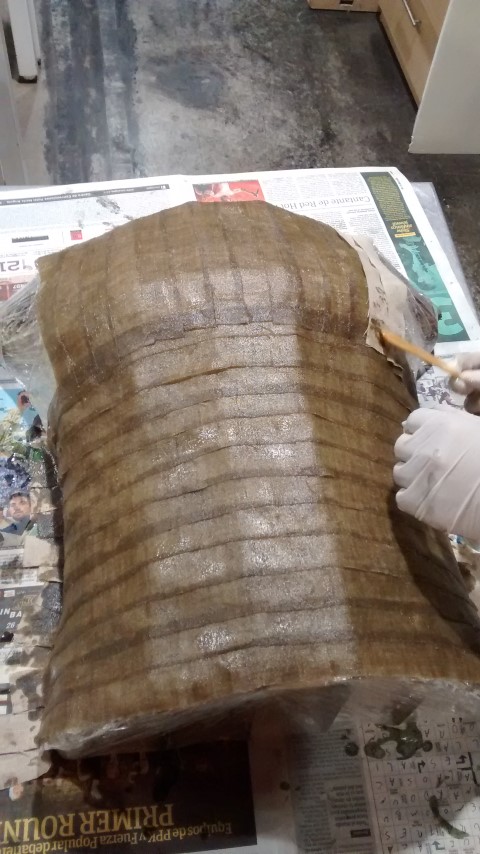
The mesh is thicker so I recommend dipping in the resin.
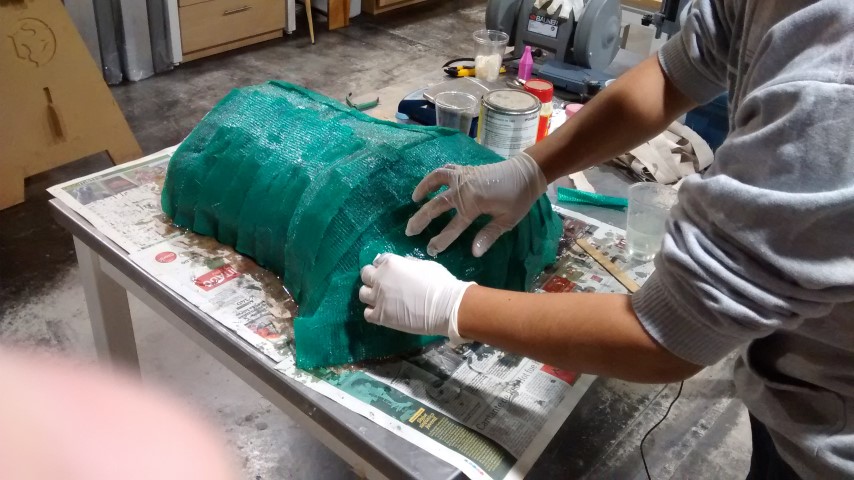
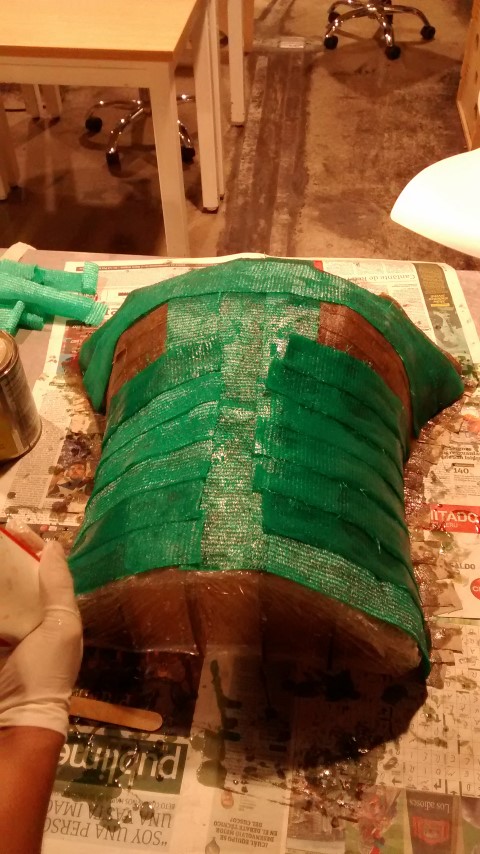
And the last layer.Applying the resin above the fabric.
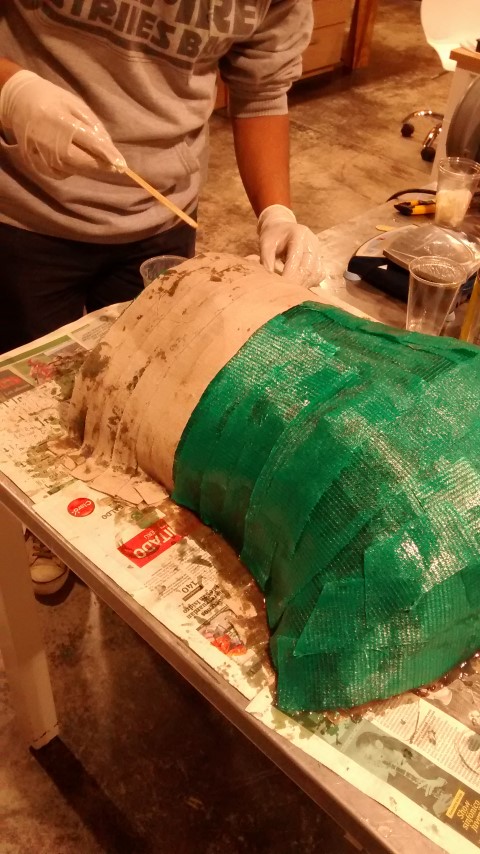
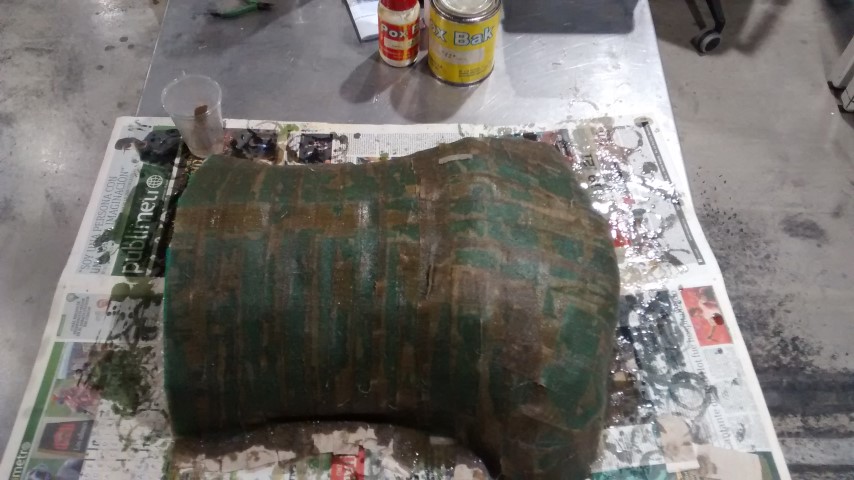
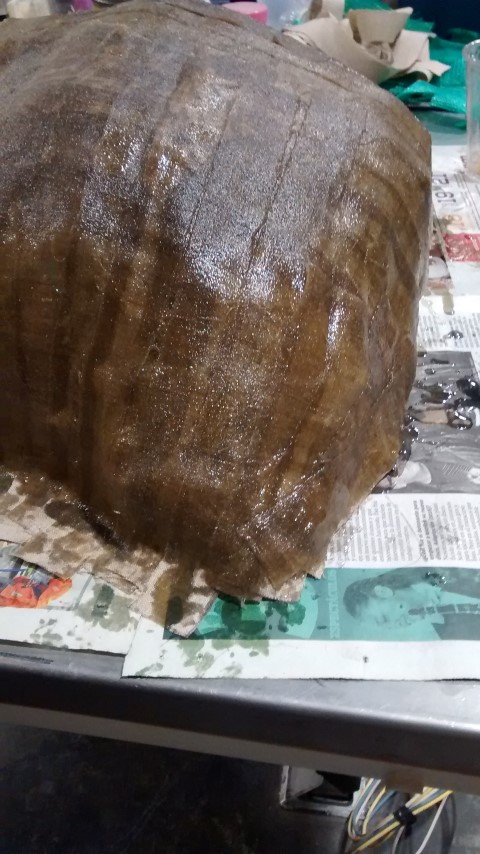
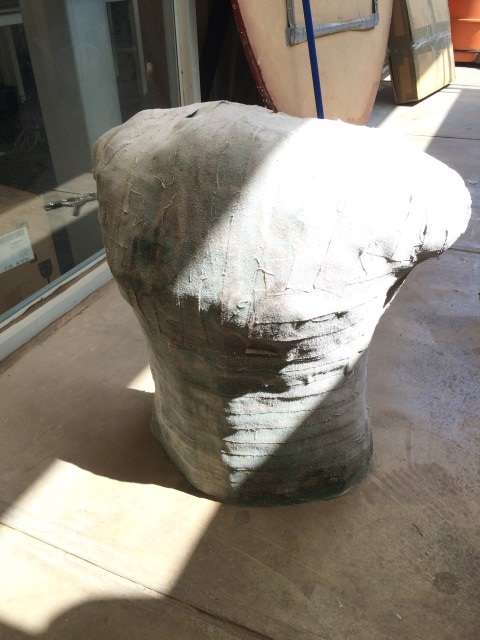
Ready, now let dry for a few hours.
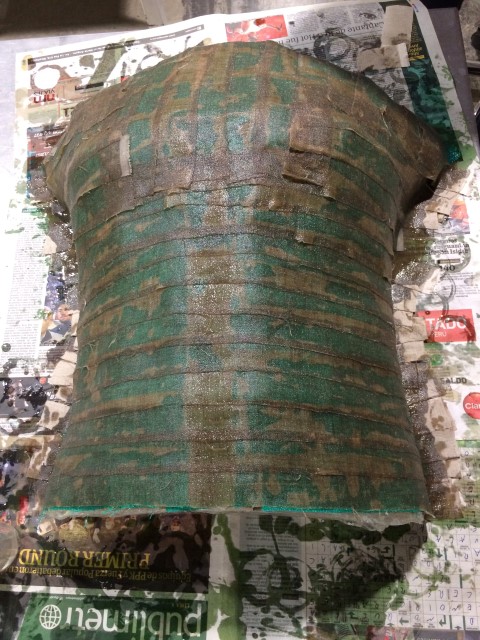
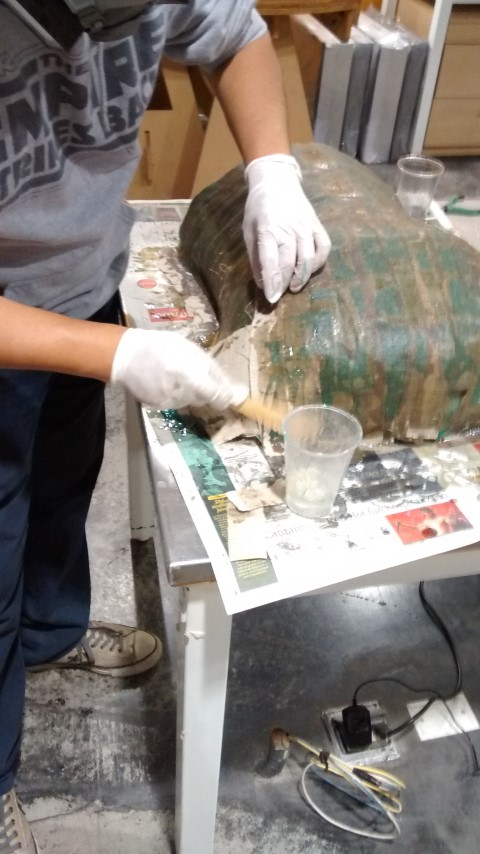
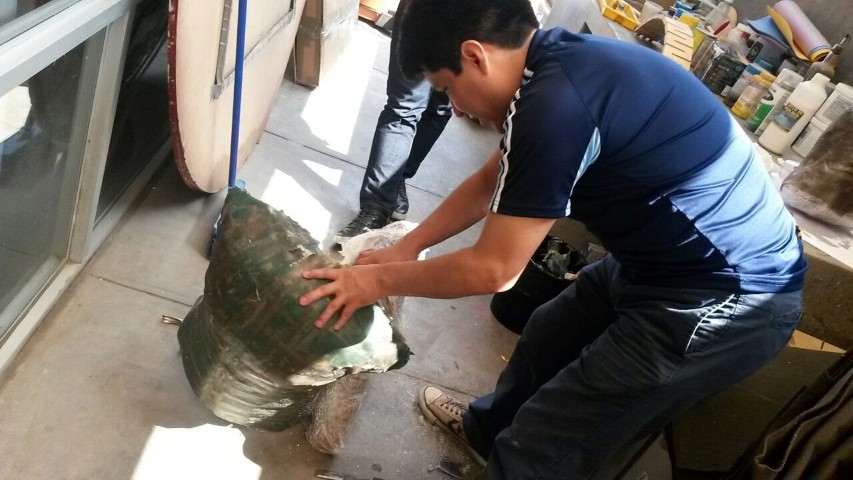
Once dry, remove the cardboard structure carefully.
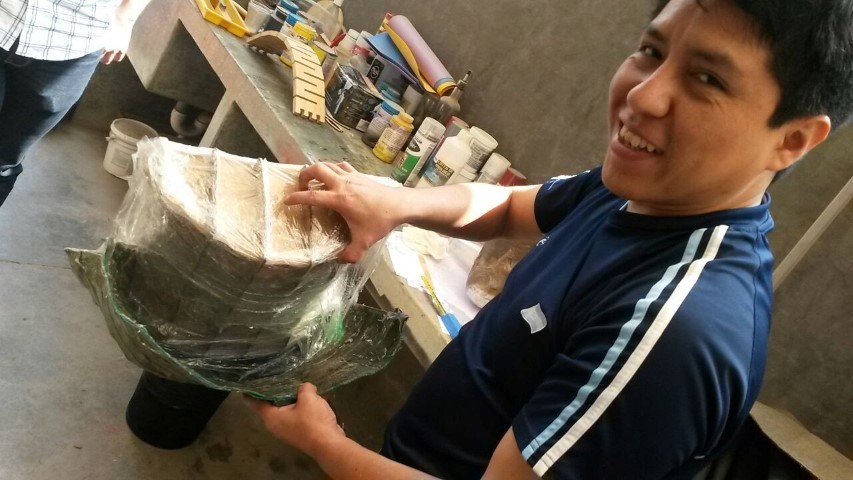
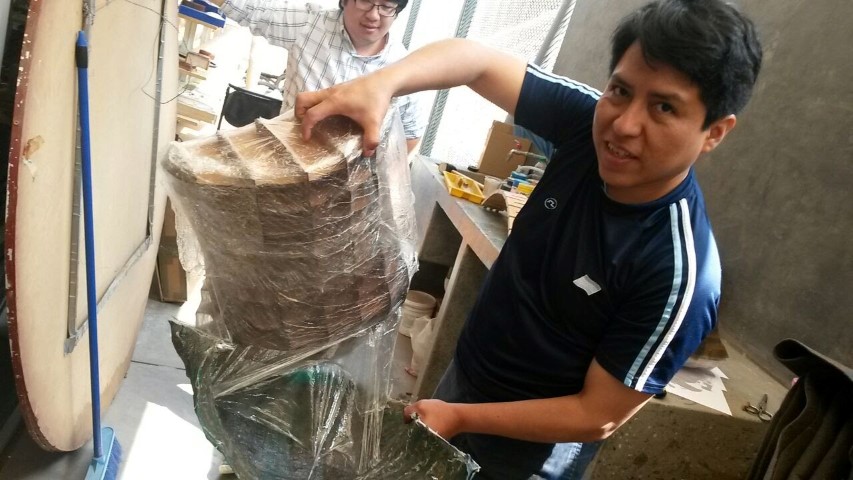
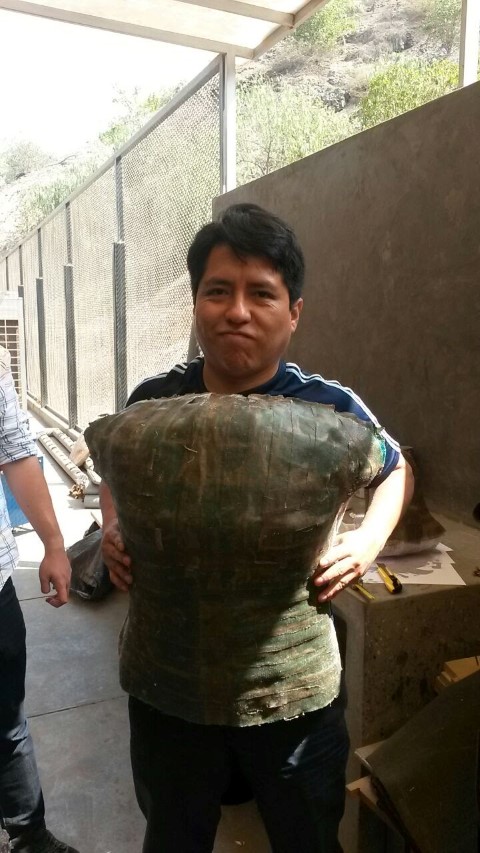
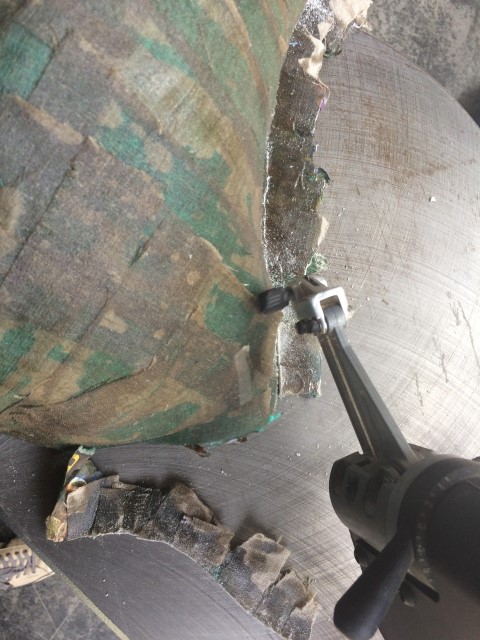
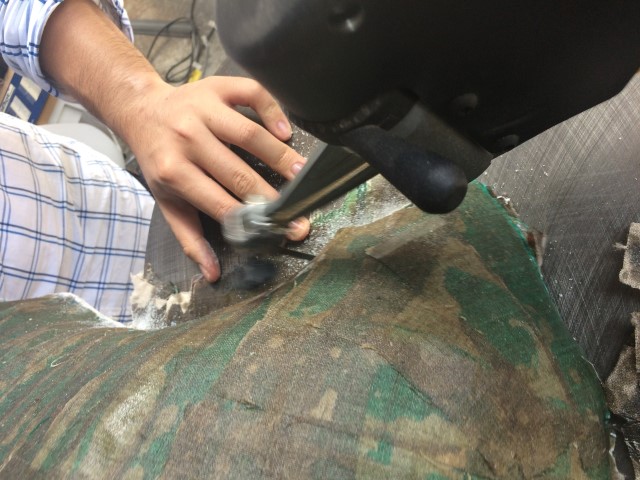
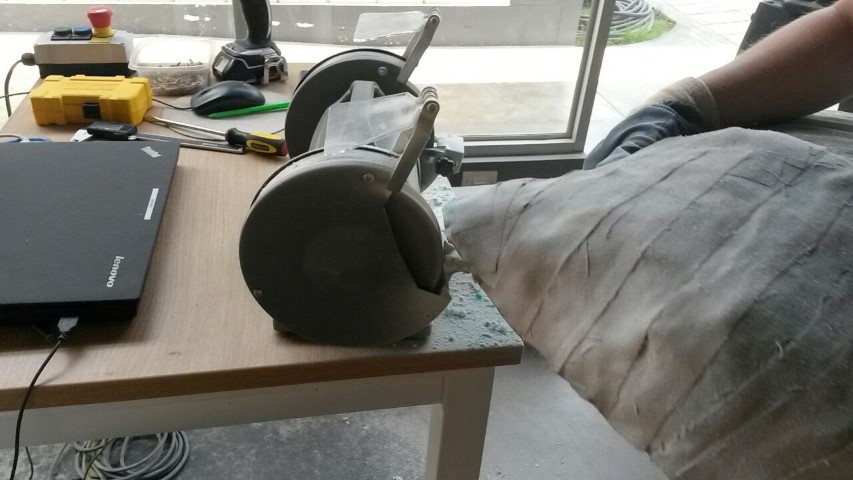
Using cutting tools remove some parts that were not uniform and match the edges.

Described problems and how you fixed them
I had problems with epoxy resin covering the galvanized mesh, so I preferred to dip into the resin.
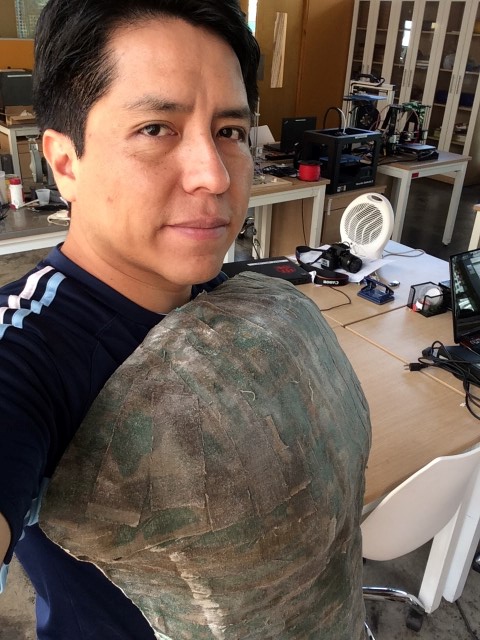
I also had some problems to remove the imperfections of the edges, be careful because cutting tools are used.
Included your design files and ‘hero shot’ photos of the mould and the final part
You can download edited 3D model from Here
And 123D Make Files from Here
.
Done!