Computer-controlled machining
Have you:
- Explained how you made your files for machining
- Shown how you made something BIG (setting up the machine, testing joints etc)
- Described problems and how you fixed them
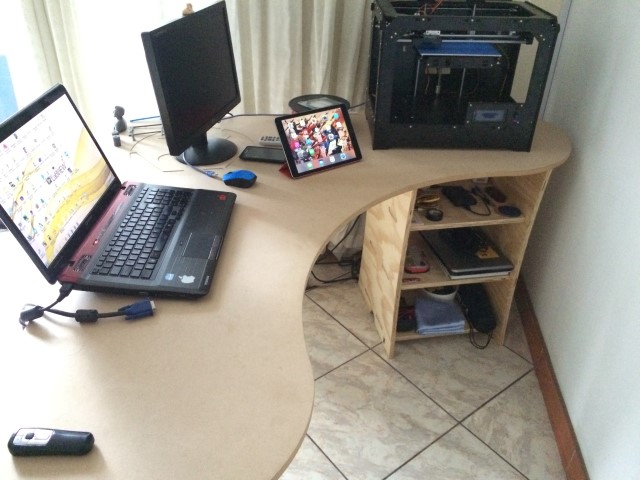
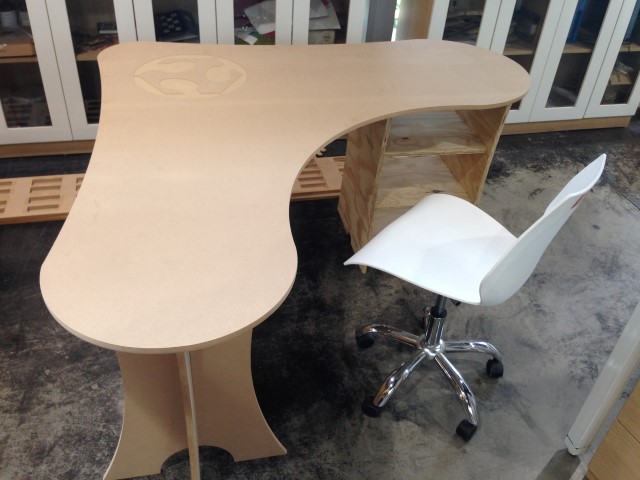
- Included your design files and ‘hero shot’ photos of final object
Explained how you made your files for machining
I used "Fusion 360" for its versatility, following their tutorials I designed my desk.
At the end of each component design I proceeded to export files in DXF format.
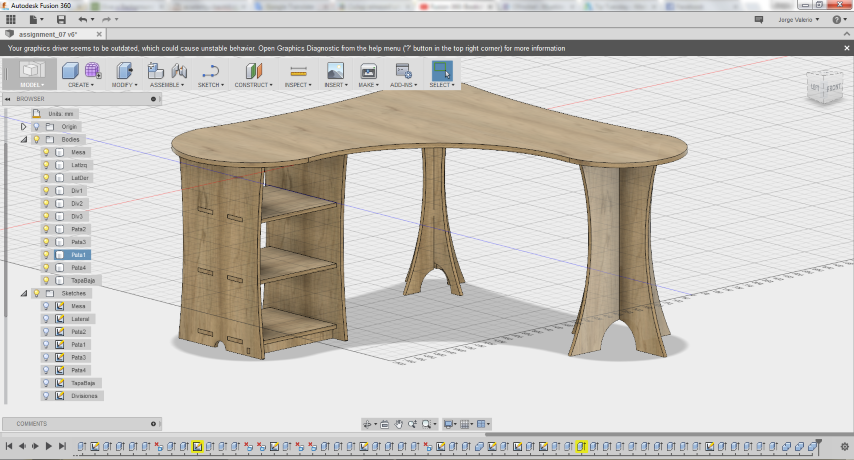
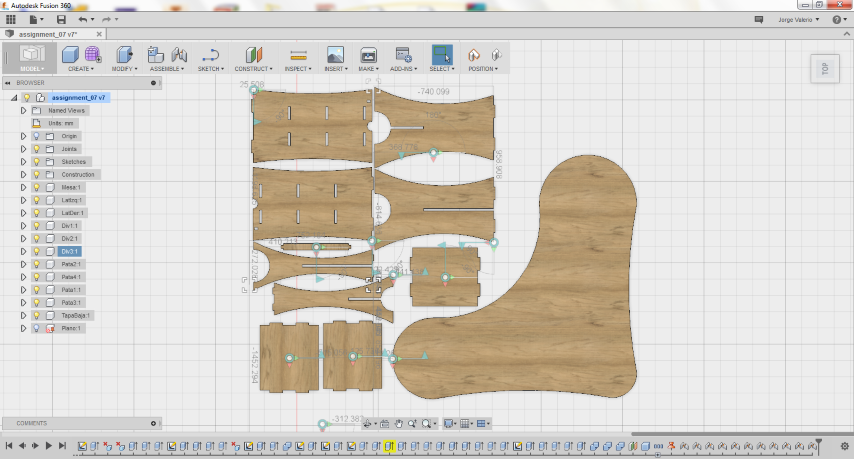
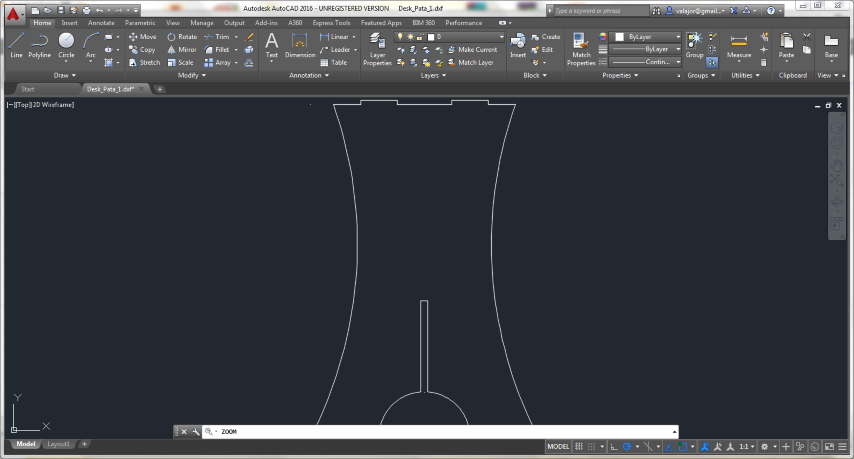
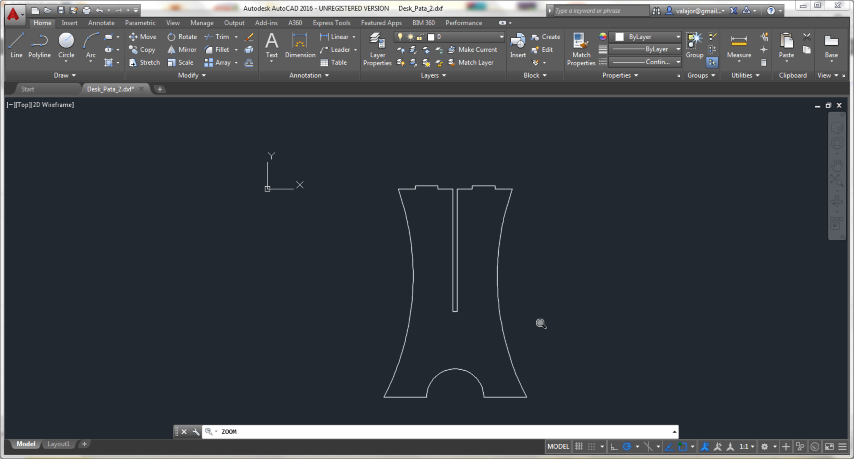
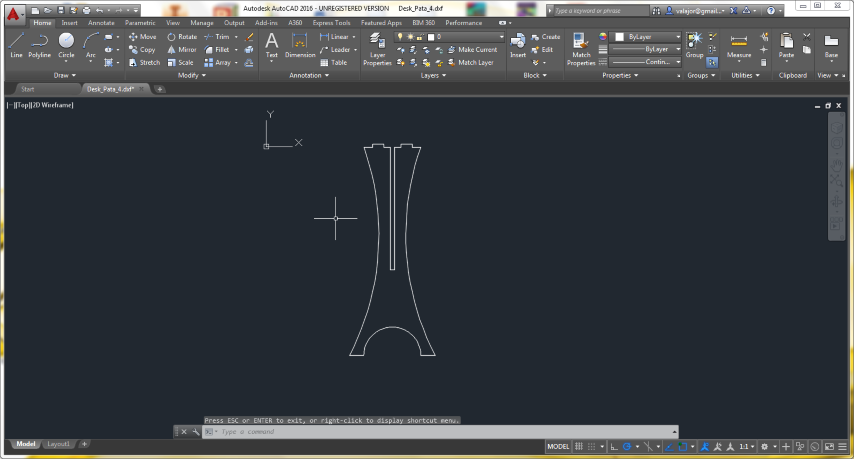
I used AutoCAD to check and make some corrections to the designs.


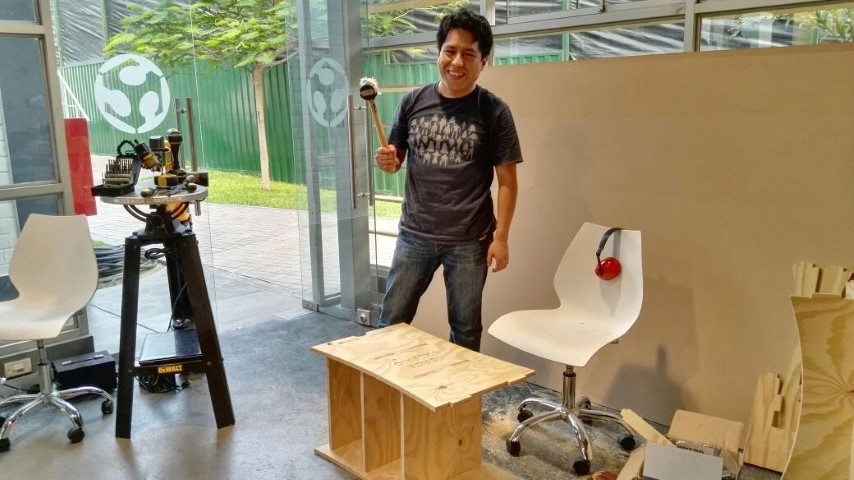
Shown how you made something BIG (setting up the machine, testing joints etc)
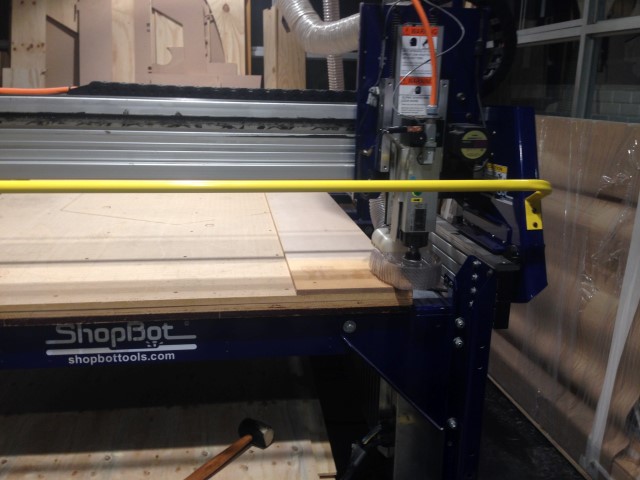
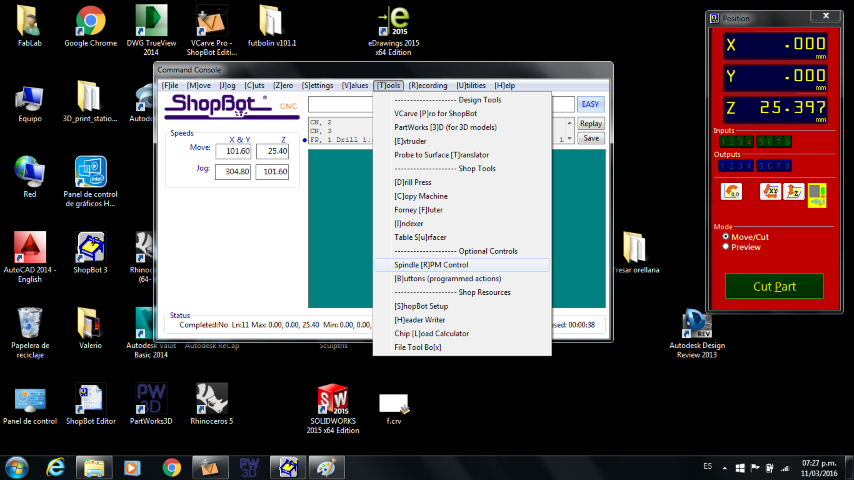
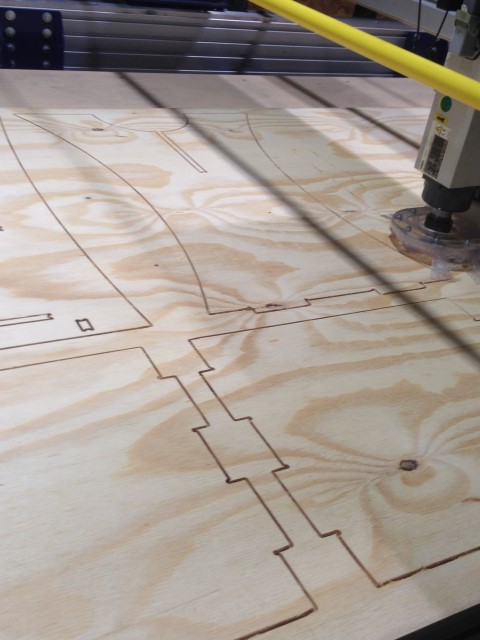
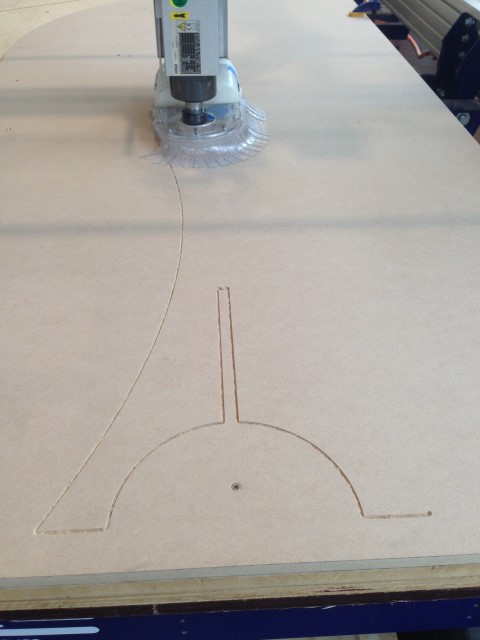
First the axes of the CNC (ShopBot) machine must be calibrated.
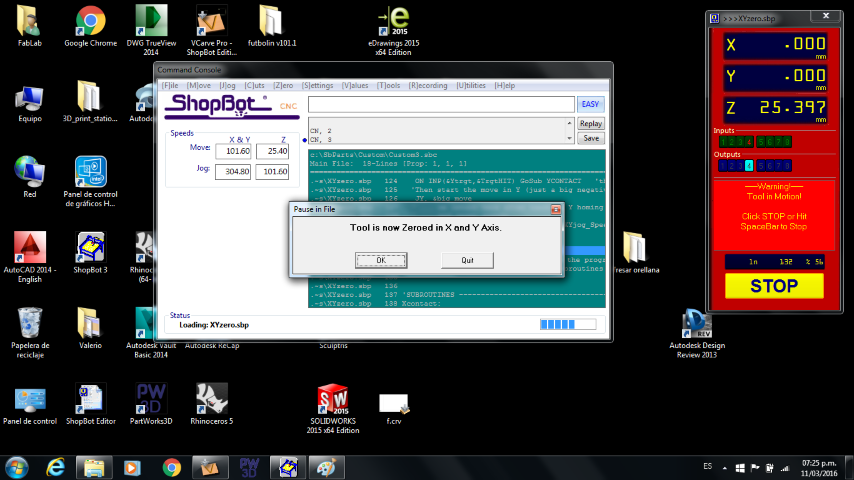

And check that the spindle speed is 12,000 rpm.
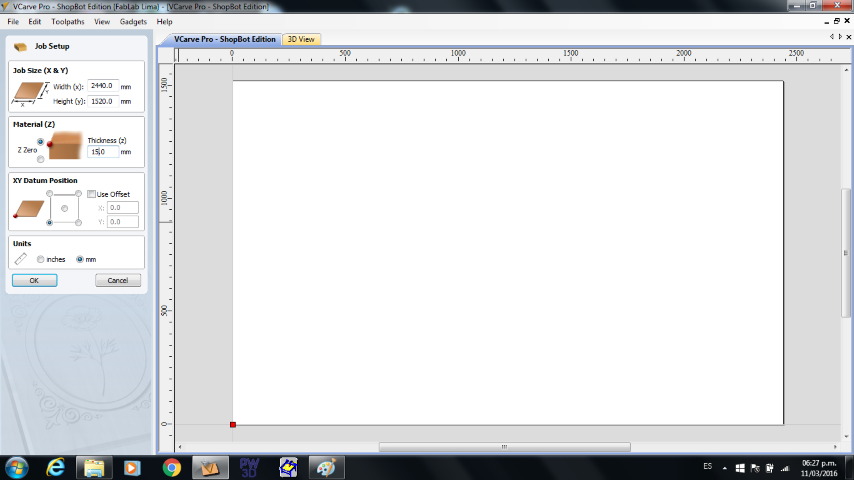
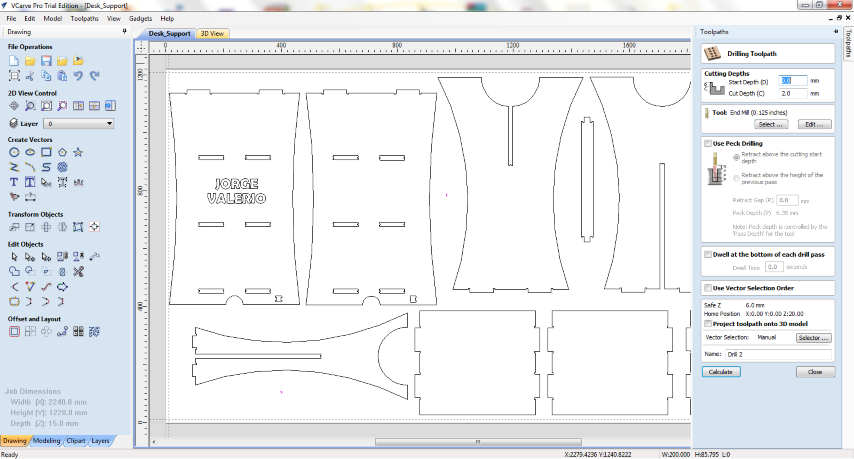
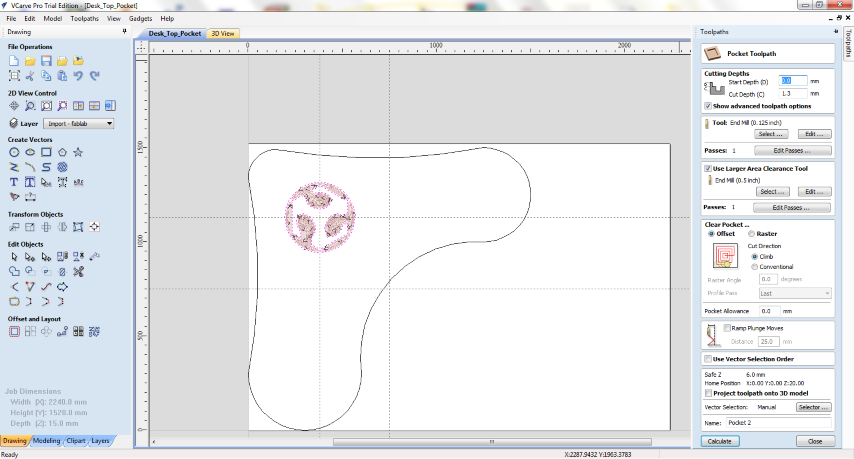
From the "VCarve" software we select a new project with the dimensions of the wooden board that we will use.
Width: 2440mm, Height: 1520 mm, Thickness: 15 mm
Import designs and order them on the worksheet.
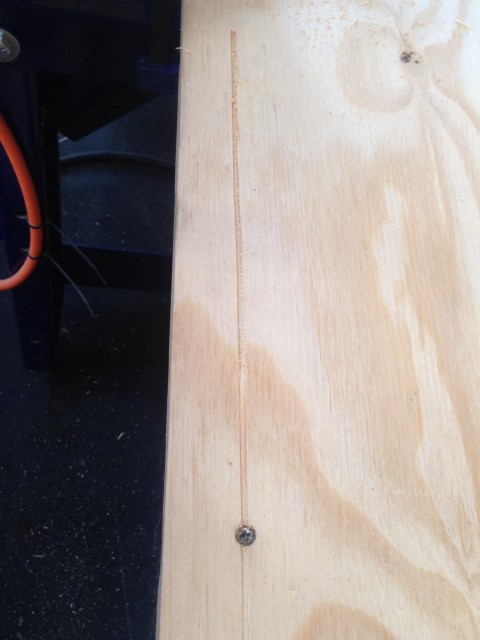
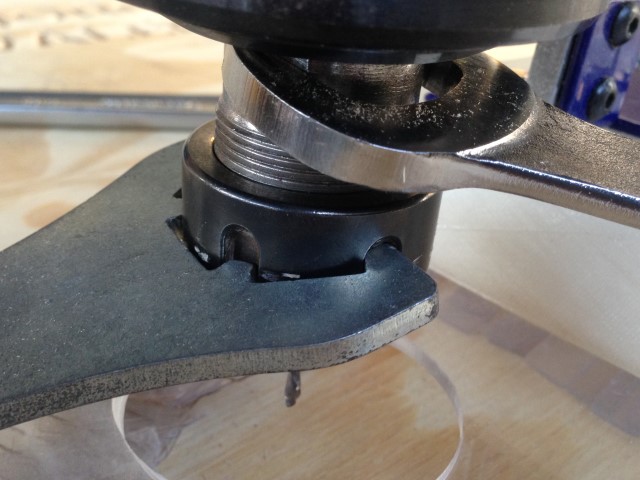
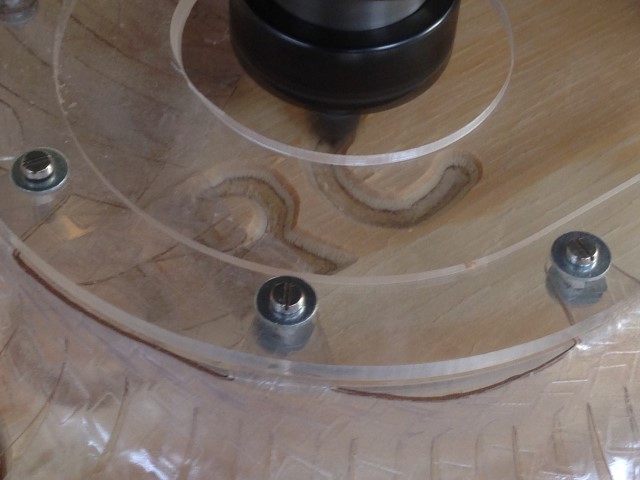
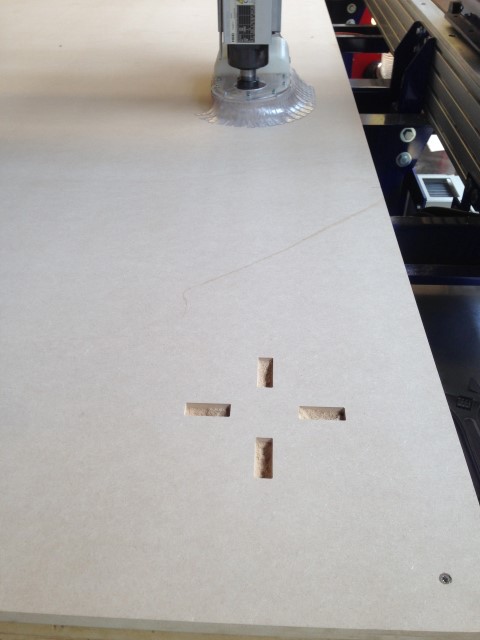
We must set the wooden board to which draw small circles and drilled to a depth of 2 mm, this serves as a reference,
then drilled with a 3mm drill and put self-tapping screws.
Using 1/8 drill.

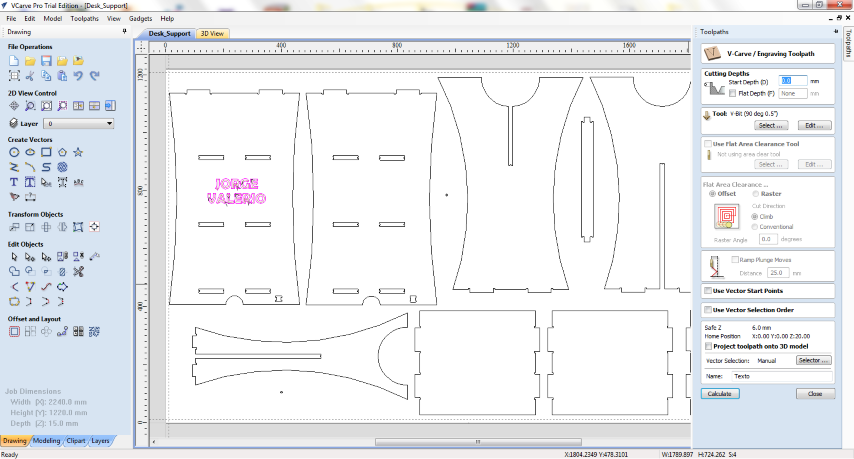
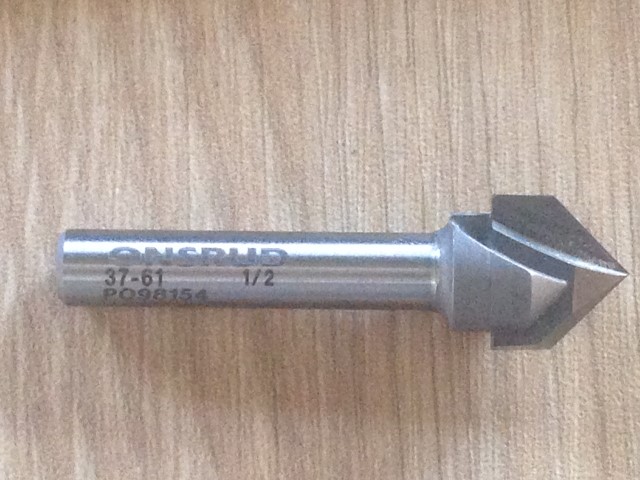
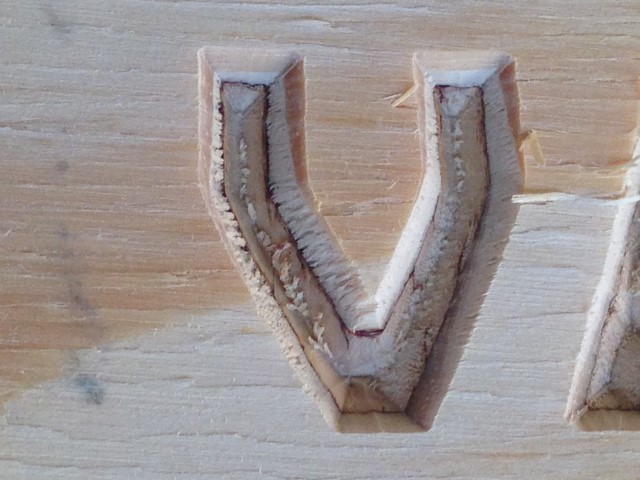
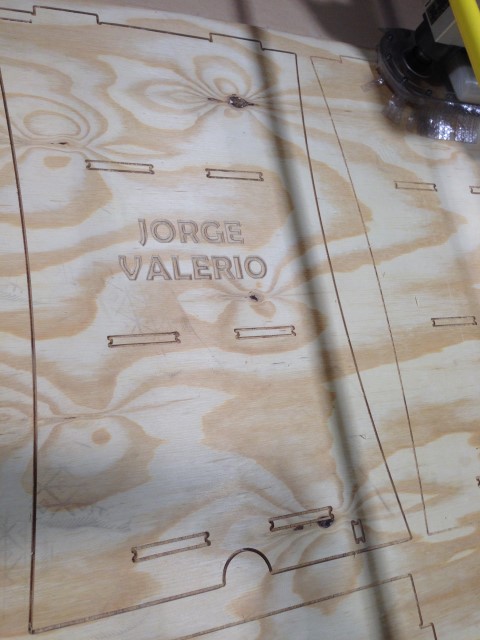
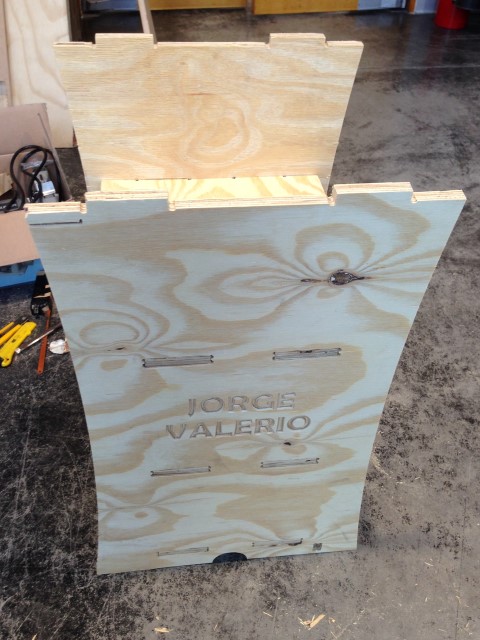
Then we mill the letters, for this I used the v-Bit (90 deg 0.5 ") tool and set the v-Carve toolpath.


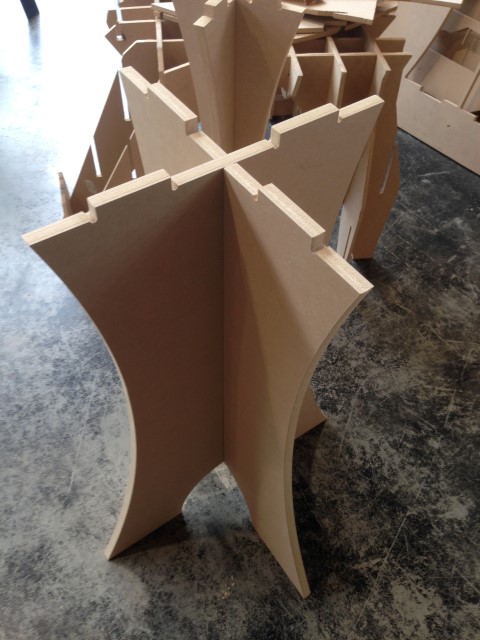
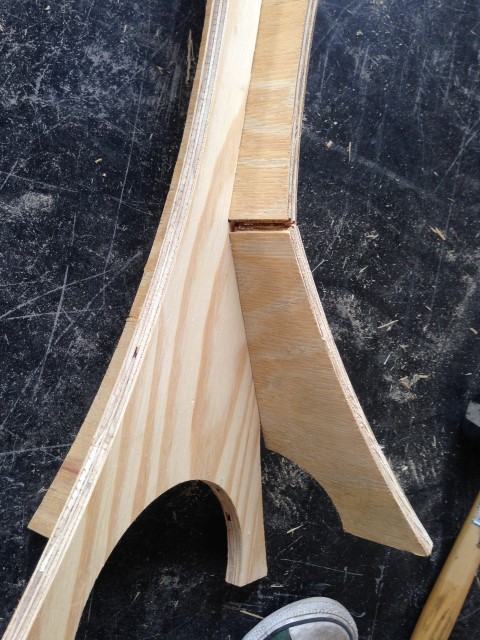
Then we mill interior, in this case the blocks will be where joints.
Cut Depth: 16mm (one mm more than the thickness of the wooden board). Add tabs 12 mm long and 3 thick.
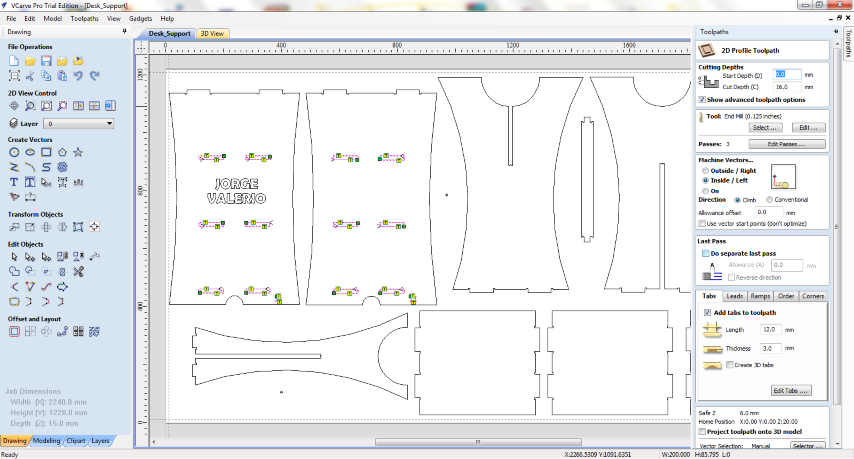
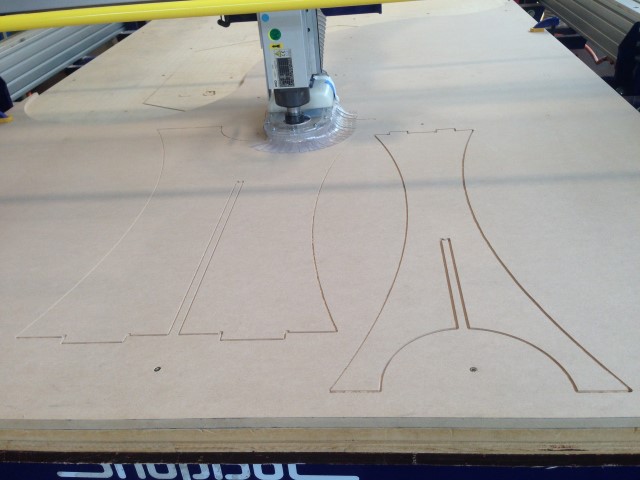
Similar to the above but no longer put tabs. The drill cuts with 1/8.
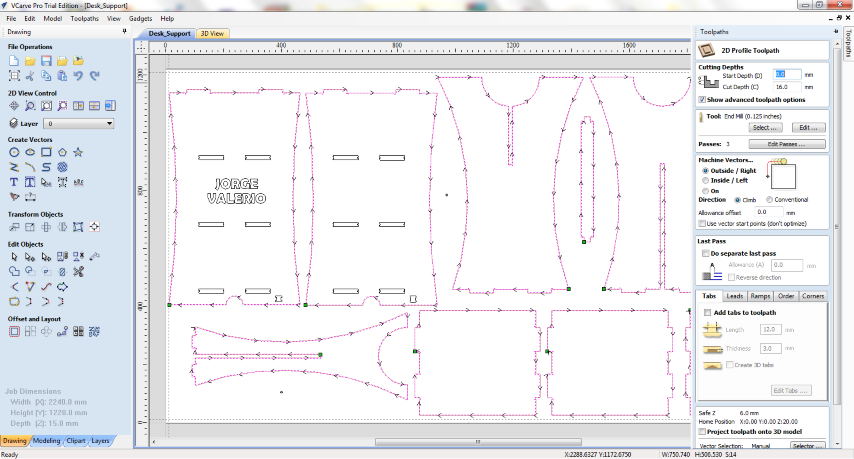
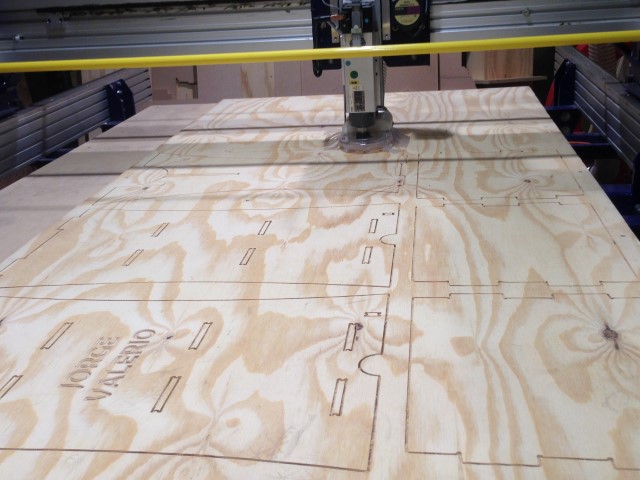

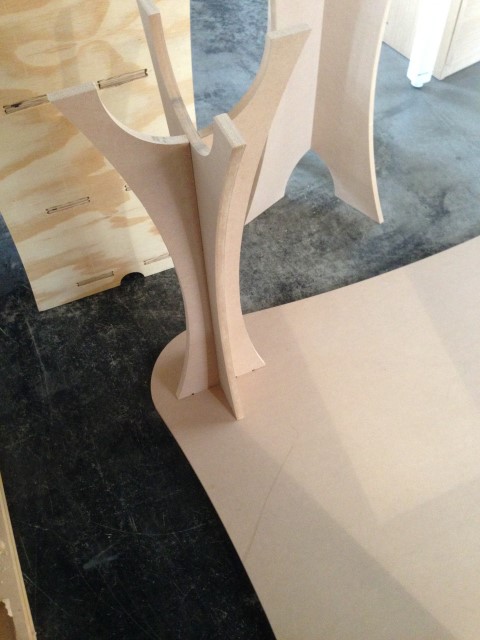
Same for the desk top, the difference is that no internal cuts for unions but few Pockets 12 mm was made.


And we cut the outside.

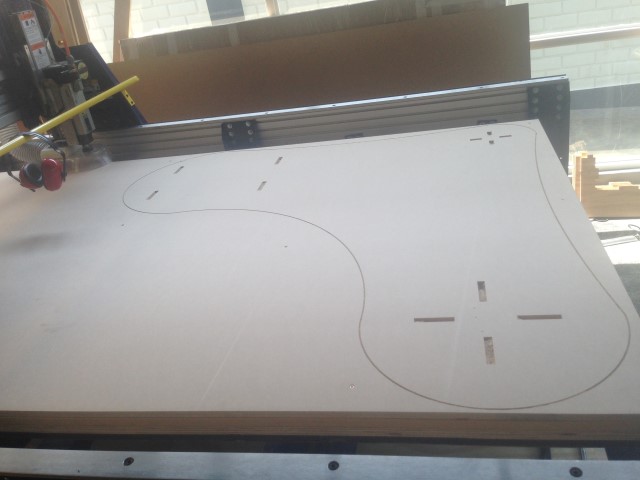
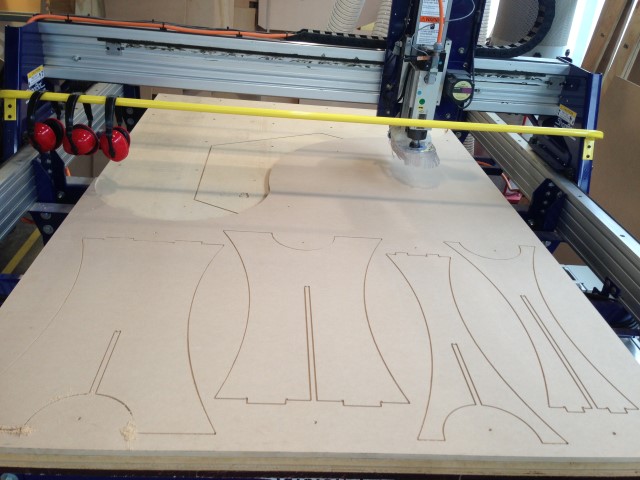
I added the logo of Fab Lab.
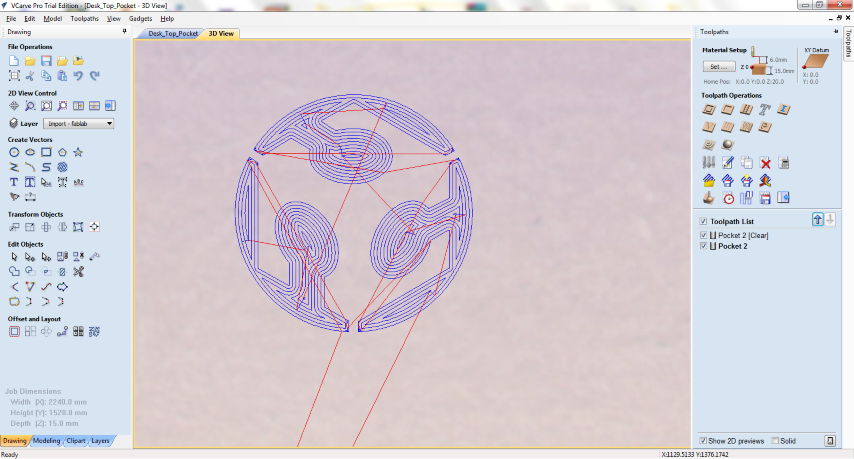
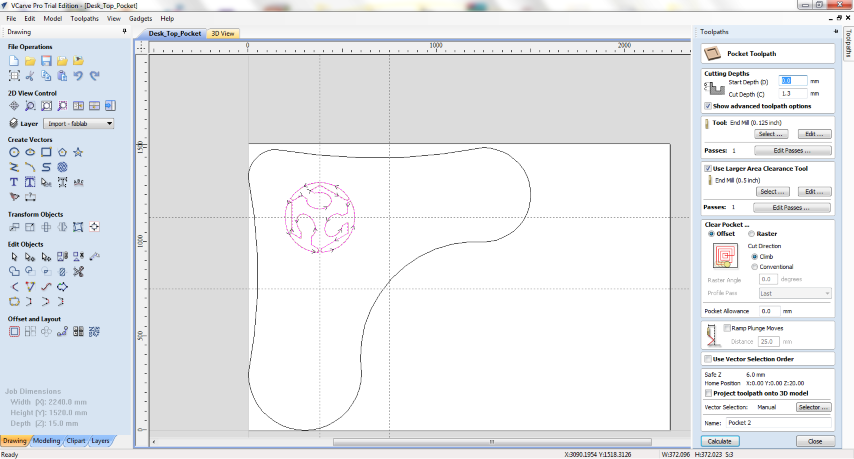
I made a Pocket Toolpath with a depth of 1.3mm.

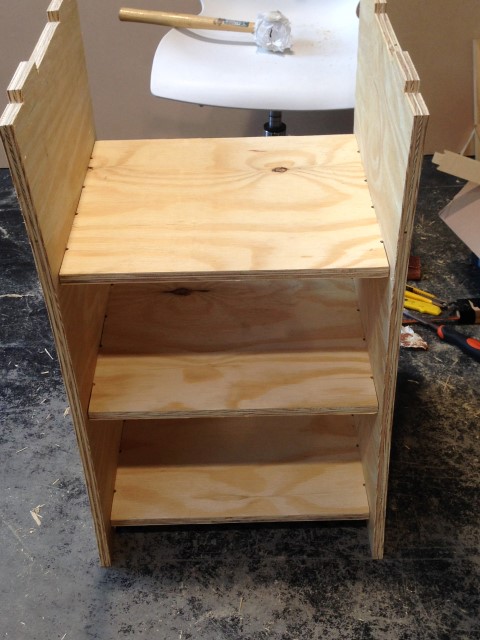
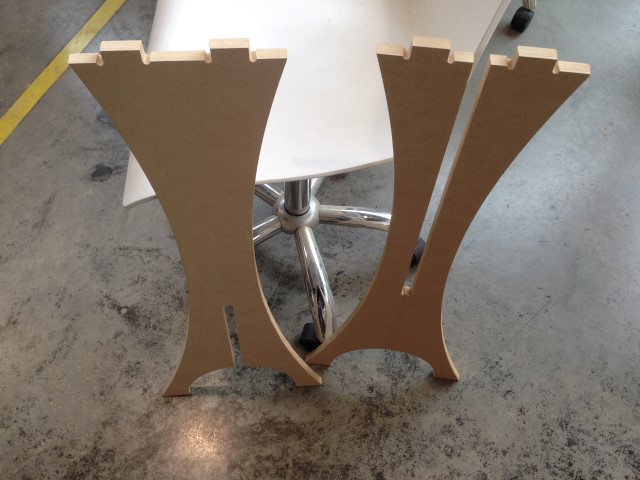
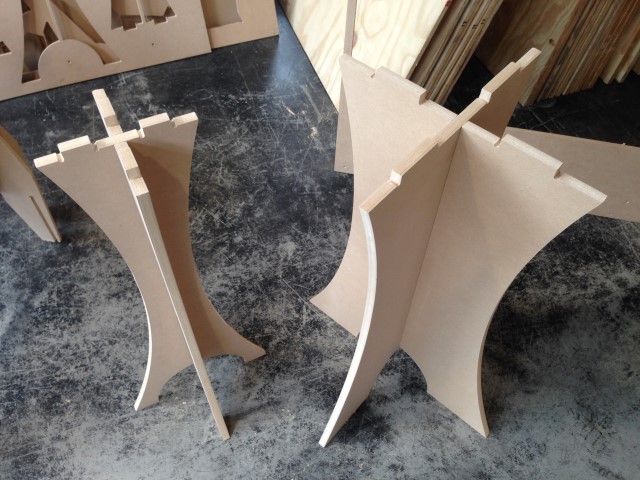
Finally, we must assemble all the pieces.
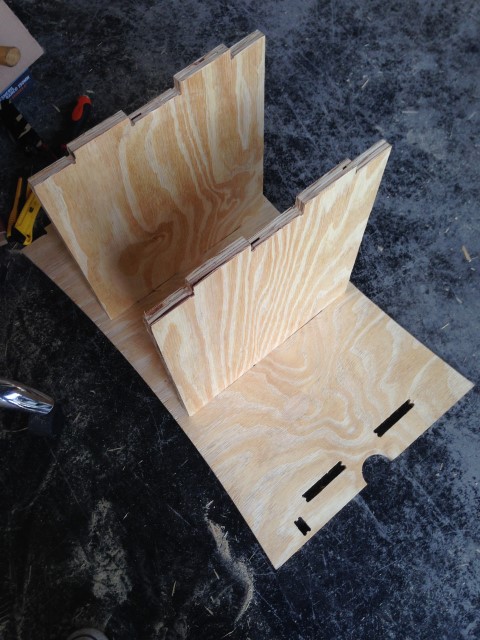
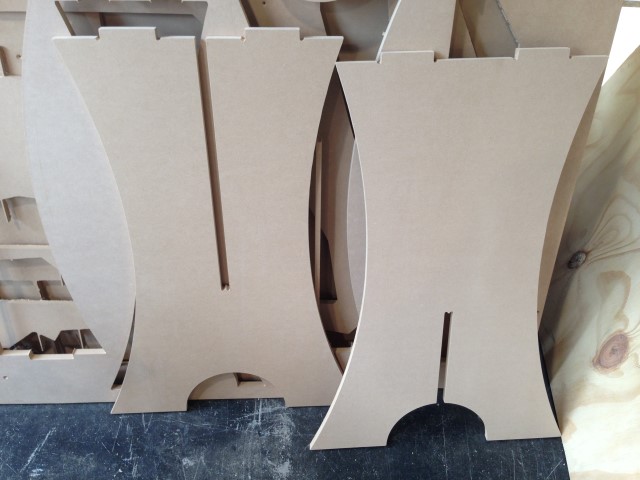
I had problems with the legs of the desk so I had to cut back.


Described problems and how you fixed them
I had trouble fitting the pieces, not considered good tolerances and thickness of the wooden board it was less than I expected (15 mm).
I used some tools to achieve assemble everything.


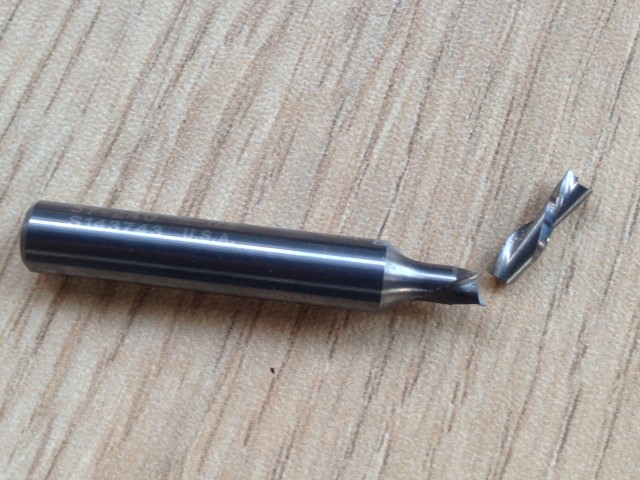
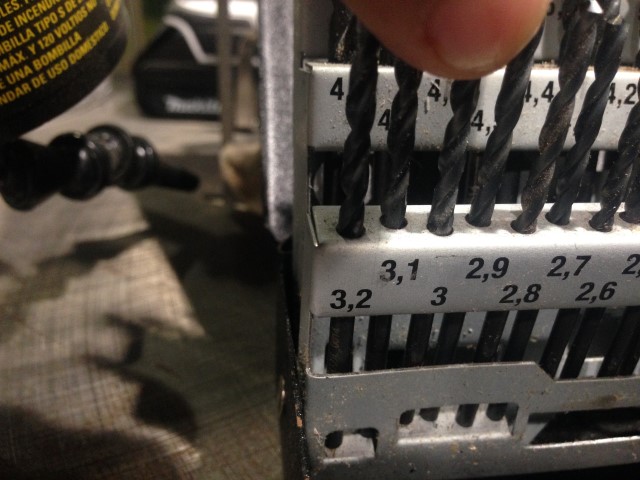
I broke a drill bit to drill the references, I did not realize that the wooden board was warped.