Molding and casting
Have you:
- Explained how you made your files for machining
- Shown how you made your mould and cast the parts
- Been surprised today
- Described problems and how you fixed them
- Included your design files and ‘hero shot’ photos of the mould and the final object
Explained how you made your files for machining
First you looking for an image that interests you on the web, preferably in PNG format.

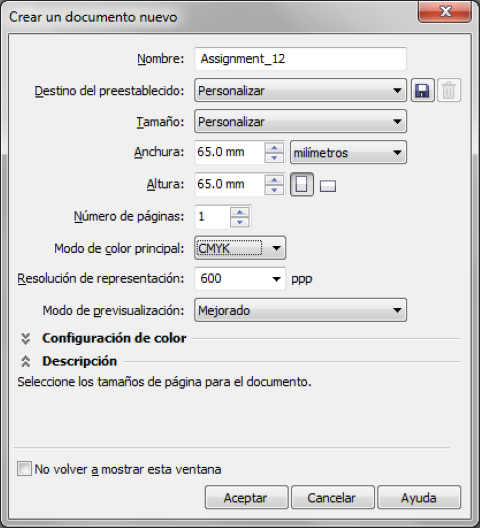
Then create a new project in Corel Draw with a sheet size of the object and choose grayscale.
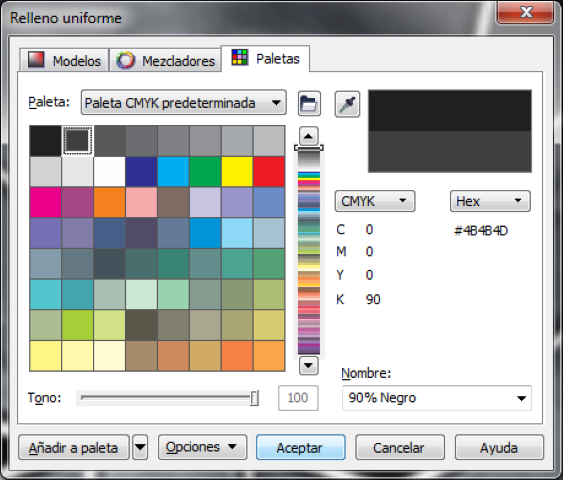
You have to edit, lighter colors on the object and black background.

Shown how you made your mould and cast the parts
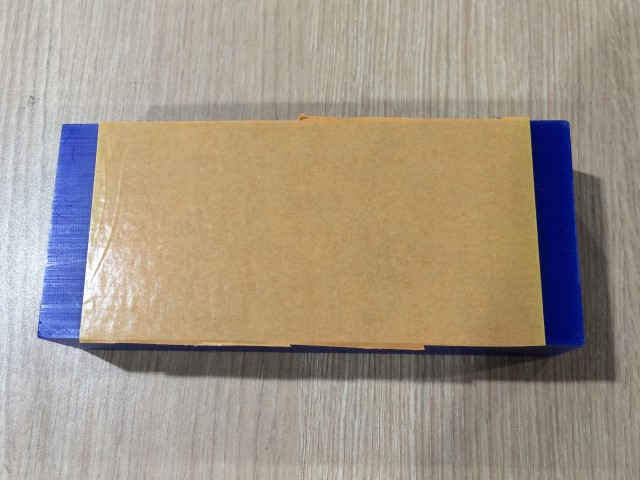
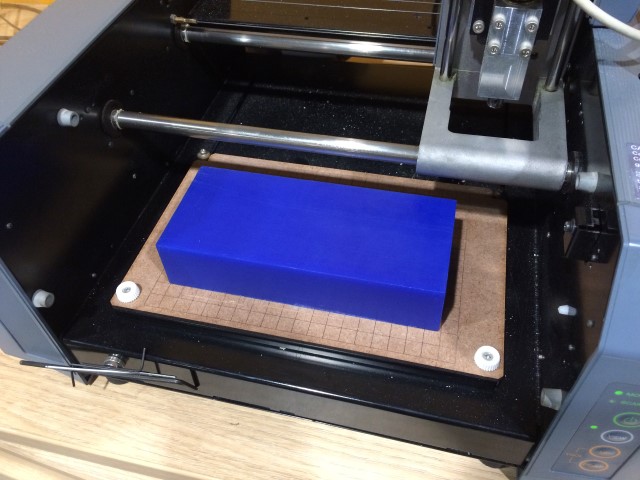
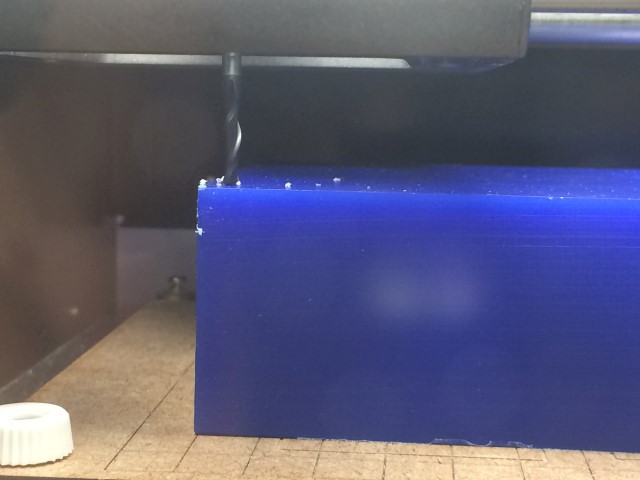
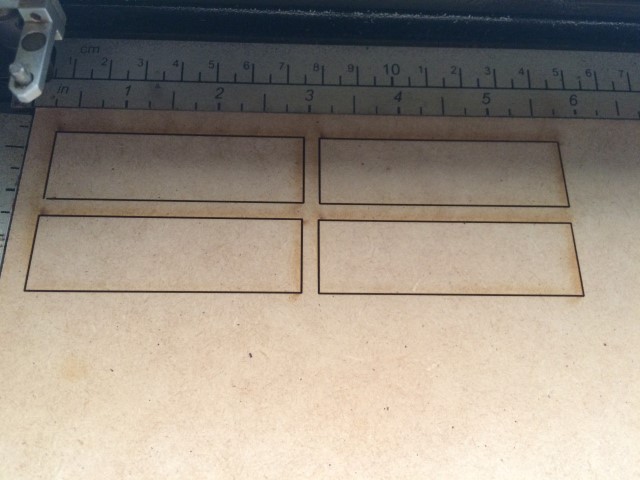
Use a wax that is not larger than the platform of the CNC. Attach it to the platform with double adhesive tape.
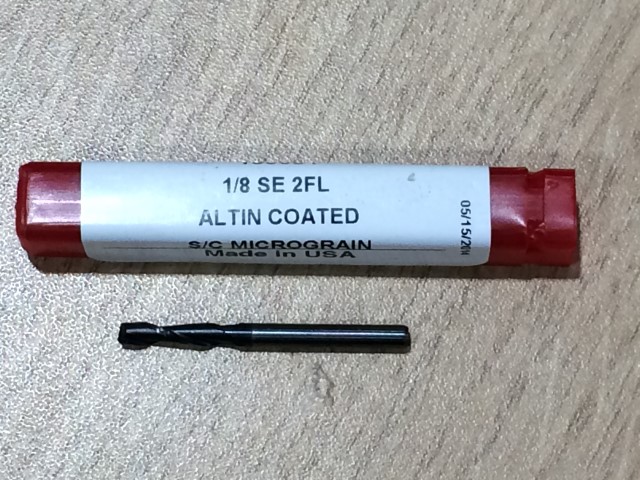
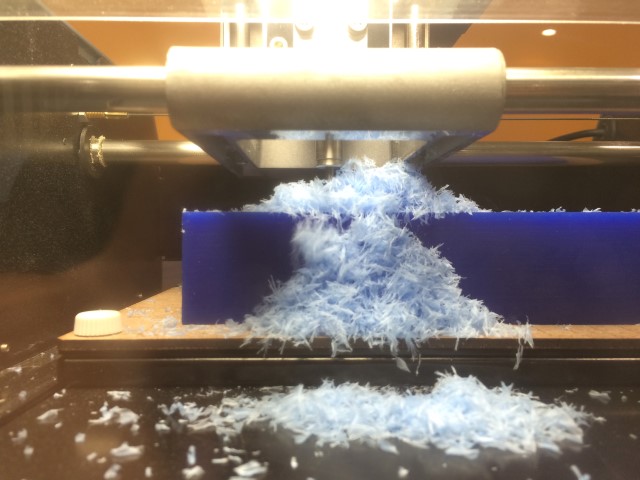
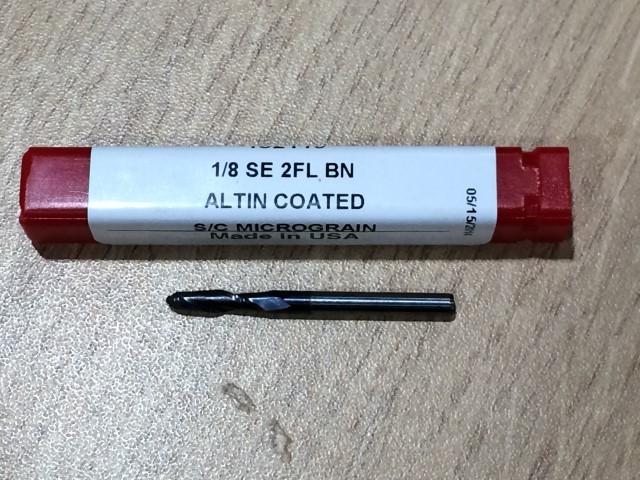
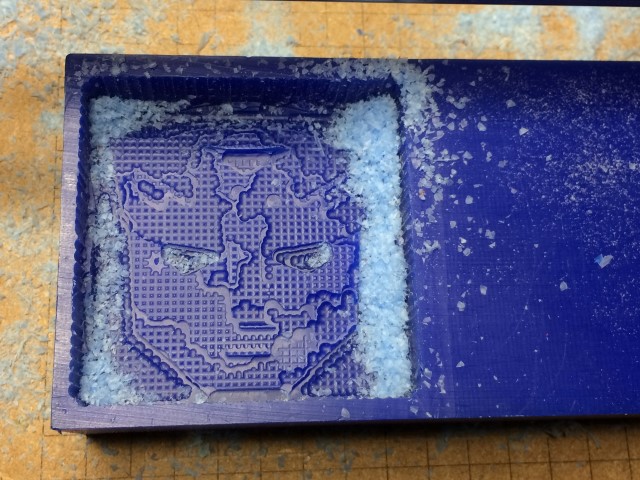
Use 1/8 inch flat end to remove the wax faster that doesn't need detail.
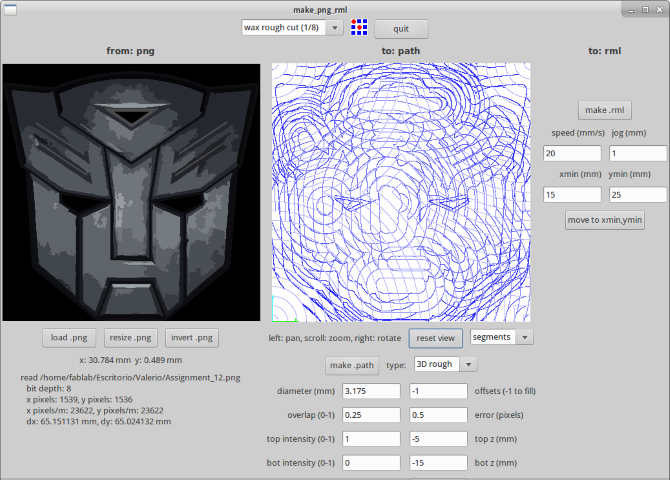
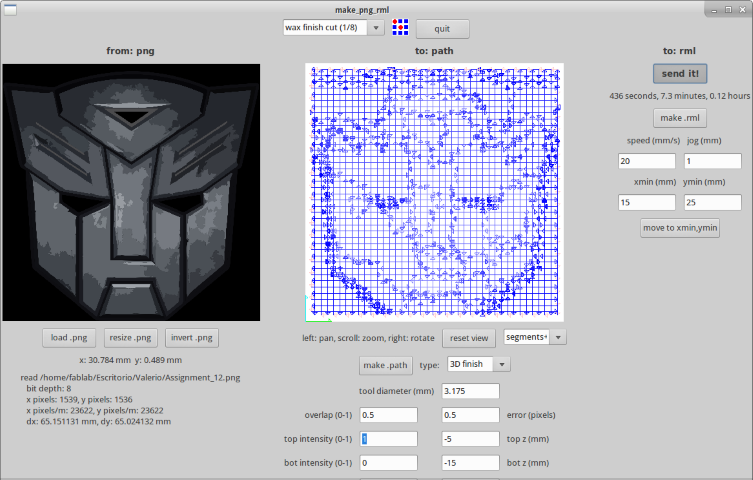
Upload the image and select the wax rough cut (1/8) option. The most important part here is to set the intensity levels.
In this case the top intensity is equal to 1 and the initial position of the Z axis is equal to -5, this means that
lighter colors will be on top. The bottom intensity is equal to 0 and the Z-axis position is equal to -15, this means that
the darker colors will be in the deepest part, dropping a total of about 10mm.
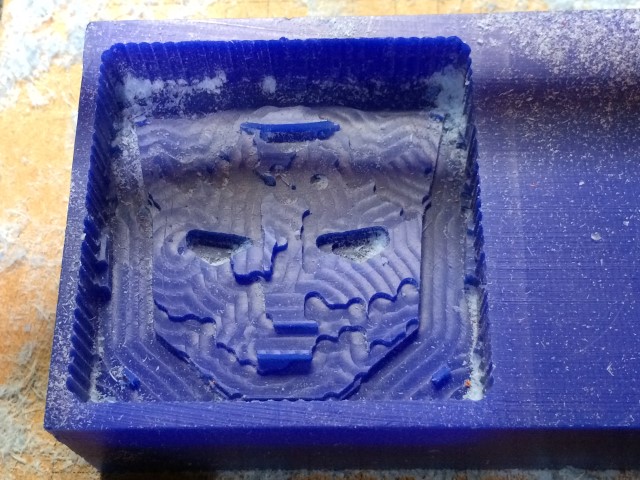
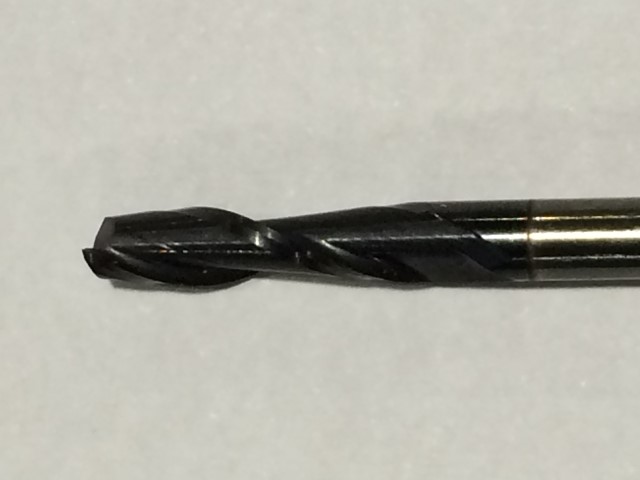
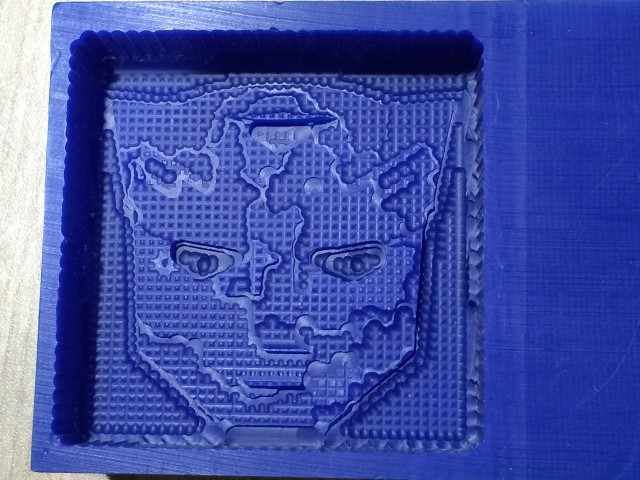
Use 1/8 inch ball end for details.
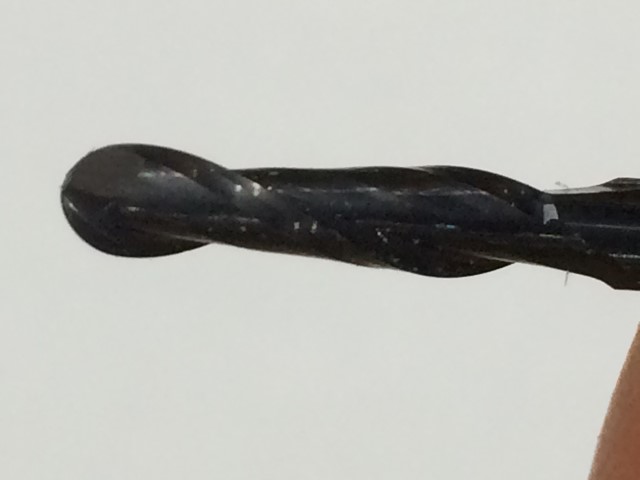
Select the wax finish cut (1/8) option.
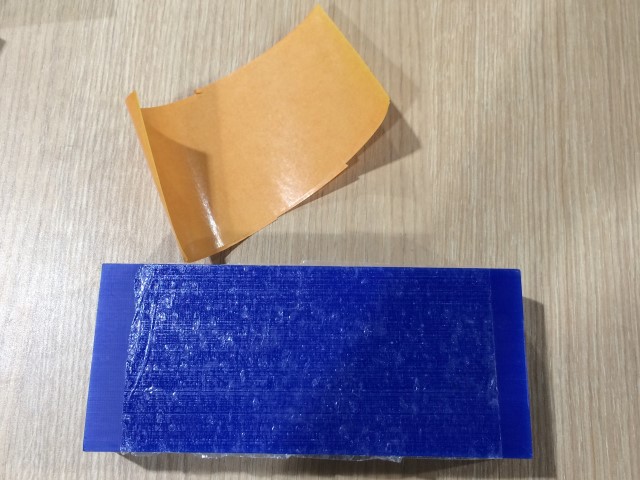
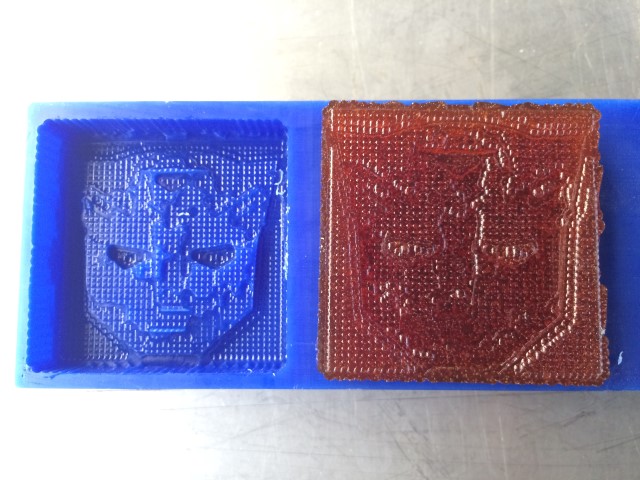
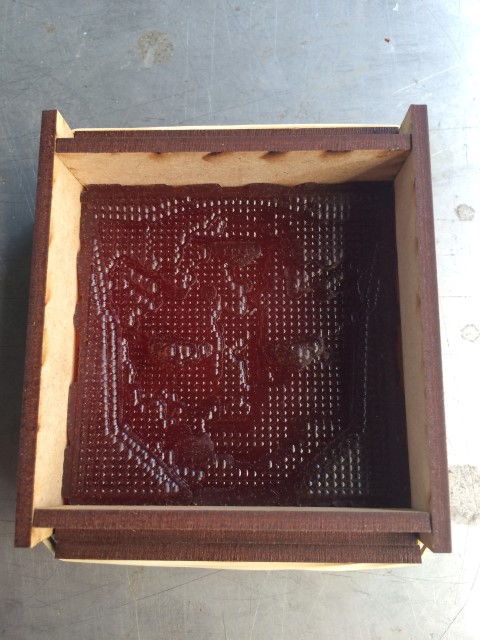
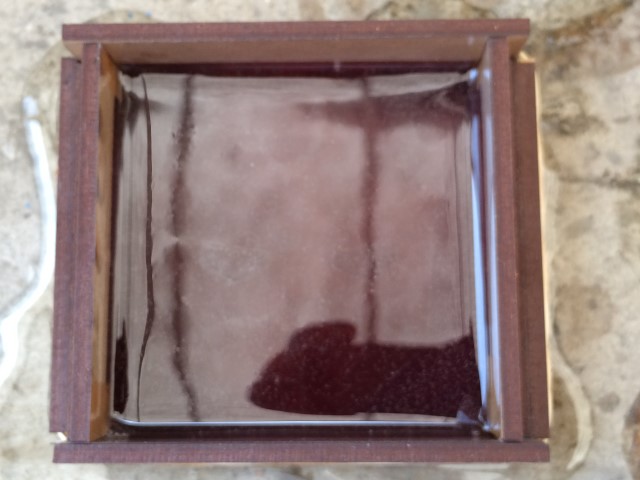
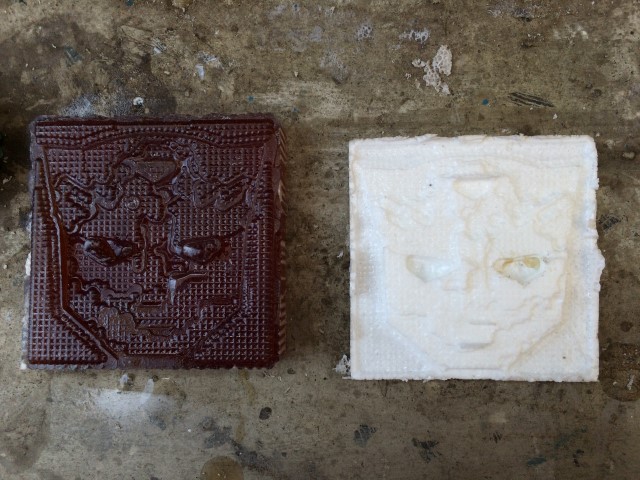
It's time to create the negative mold.
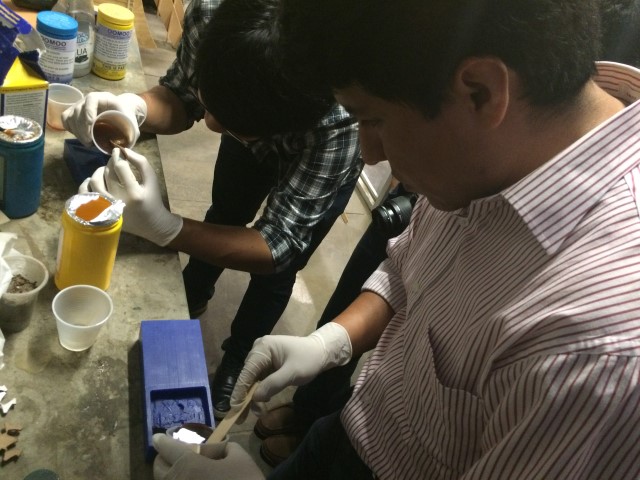
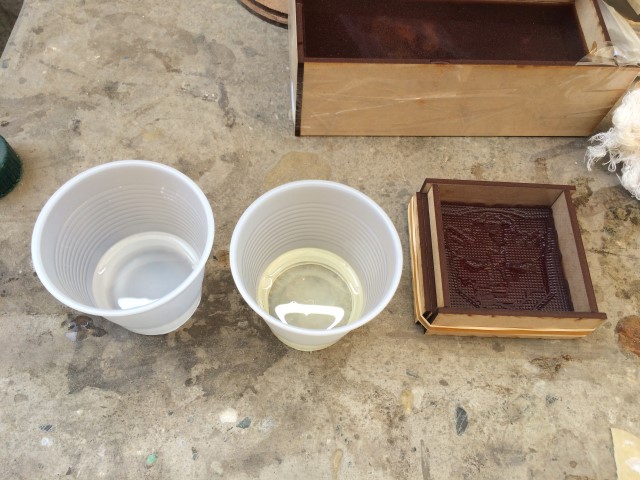
Use silicone PMC 121/30 WET, compounds A and B.
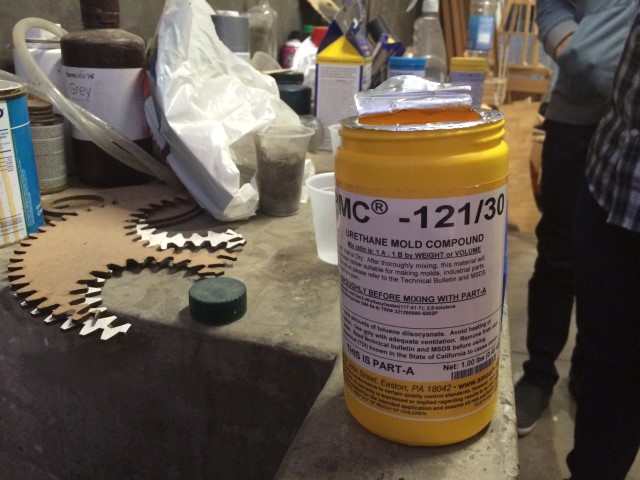
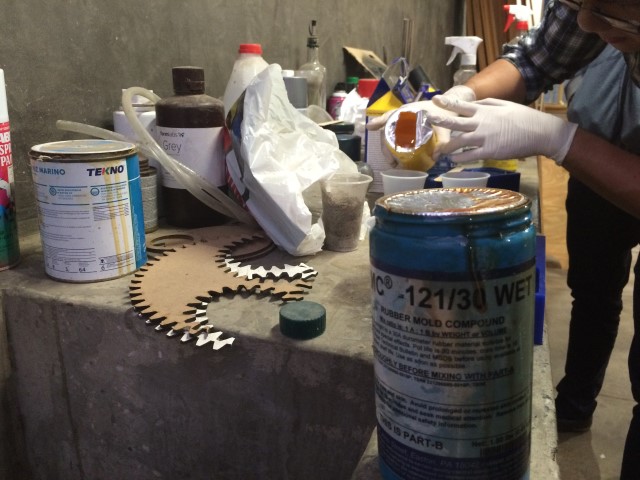
50% of both compounds.
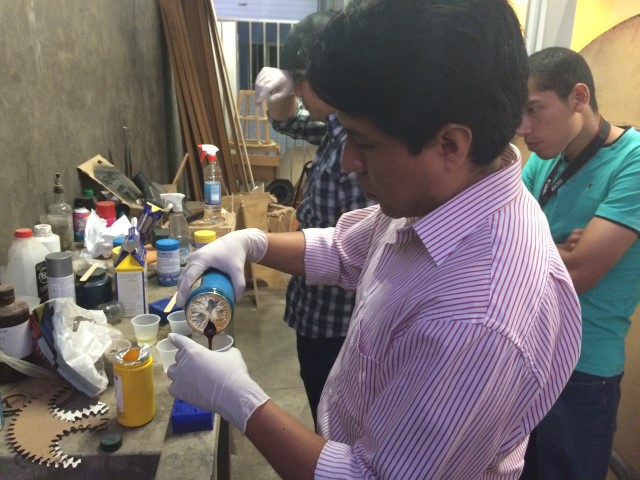
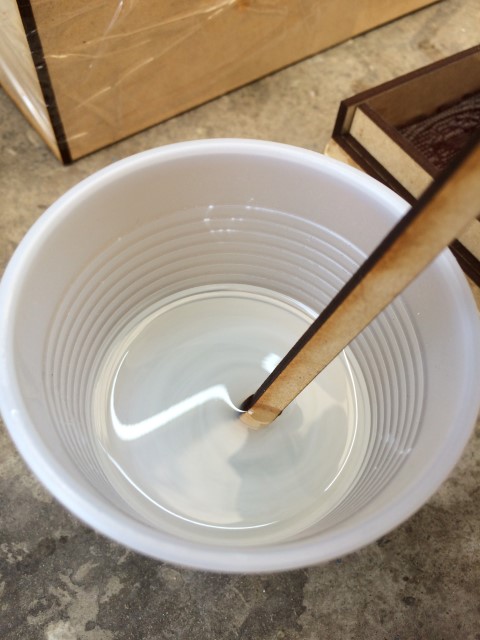
We cast slowly trying to avoid bubbles in the wax mold, to cover the entire design.
Let it dry for 12 hours.
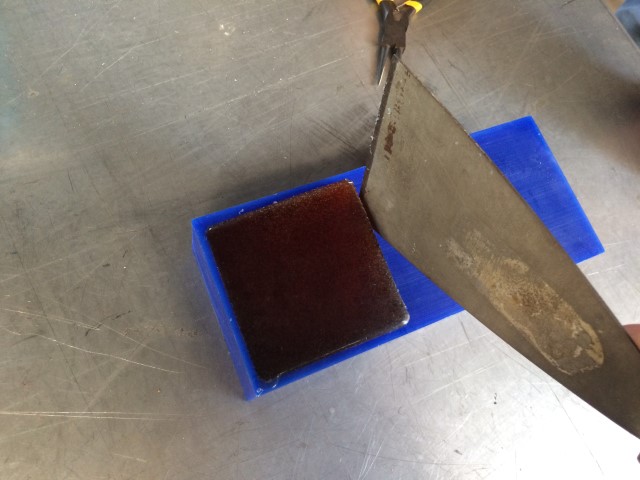
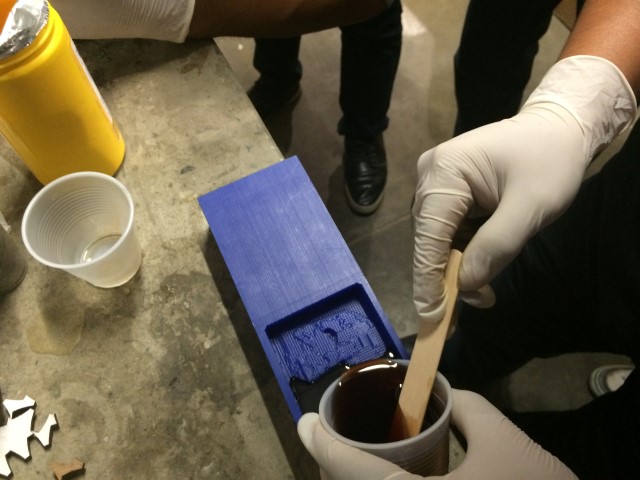
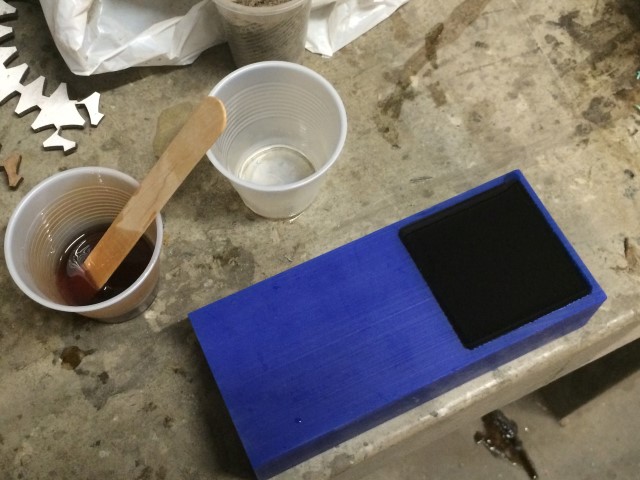
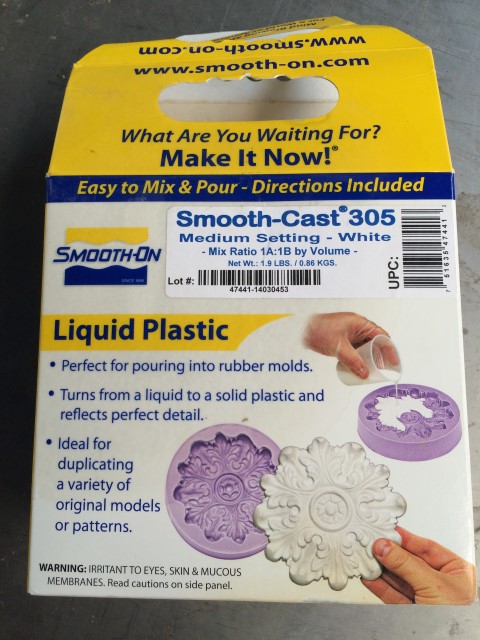
It's time for casting with the Smooth-Cast 305 liquid plastic. We cut side stops to prevent the liquid plastic spill.
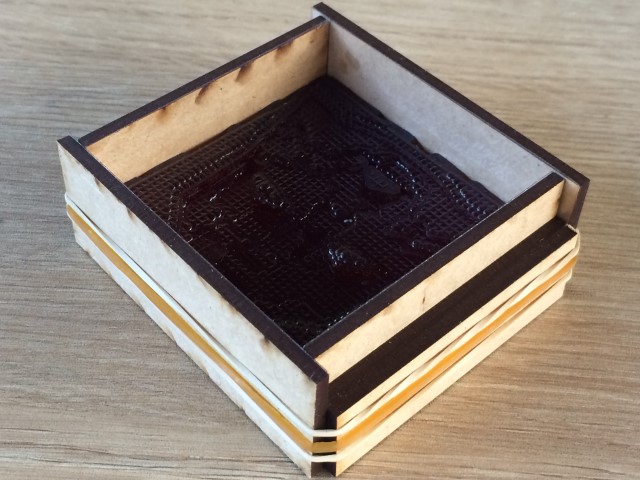
50% of both compounds, too.
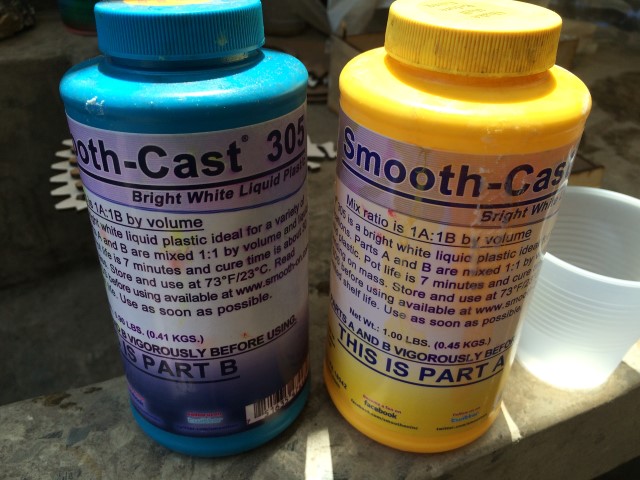
Apply slowly to prevent bubbles and let dry for 12 hours.
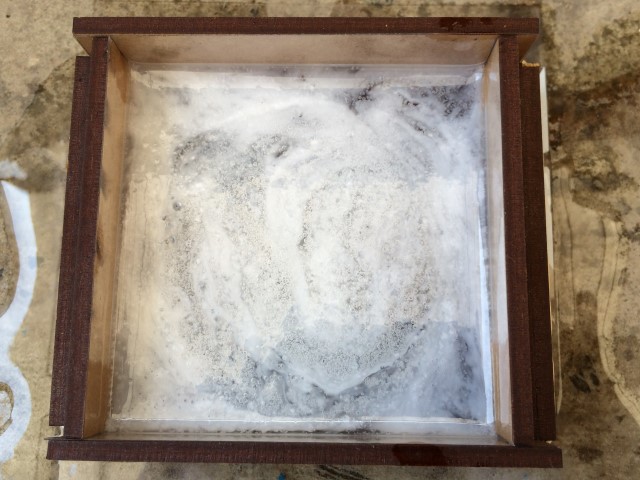
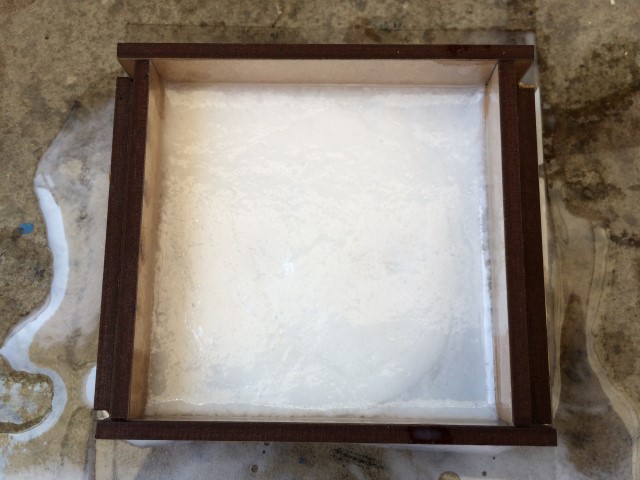
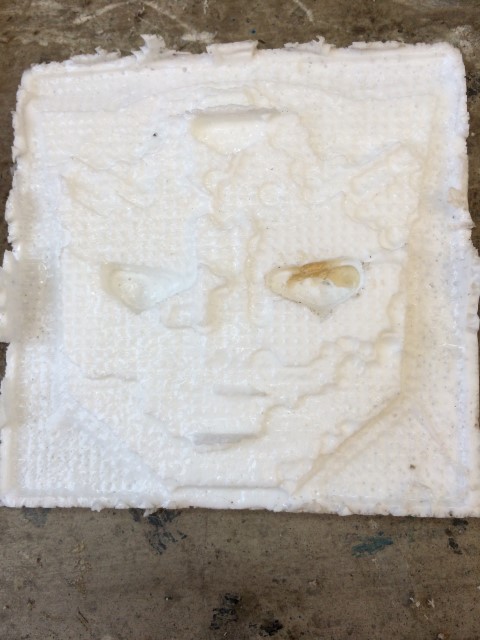
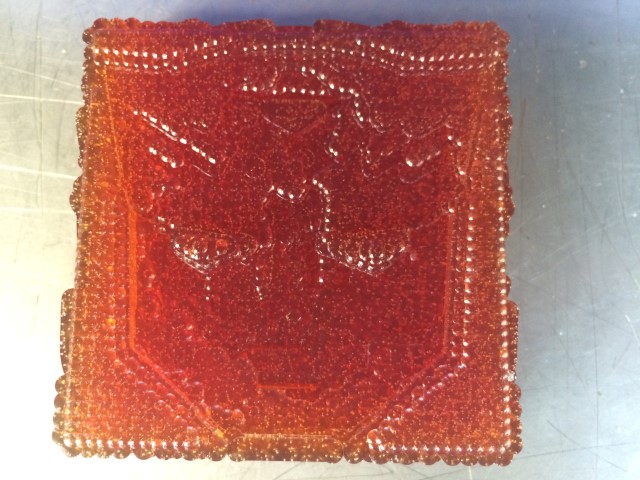
Done!
Described problems and how you fixed them
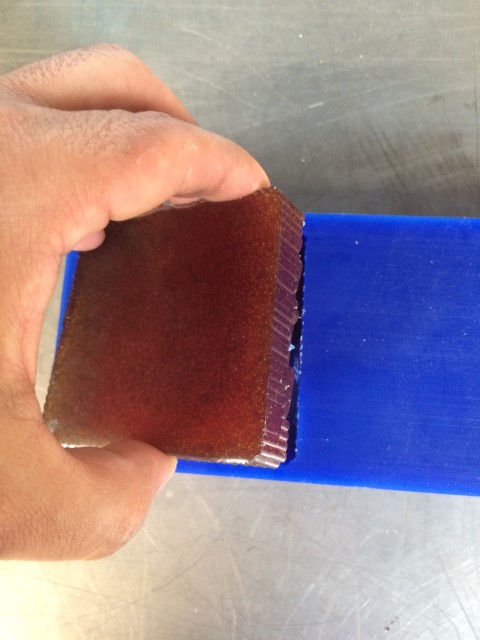
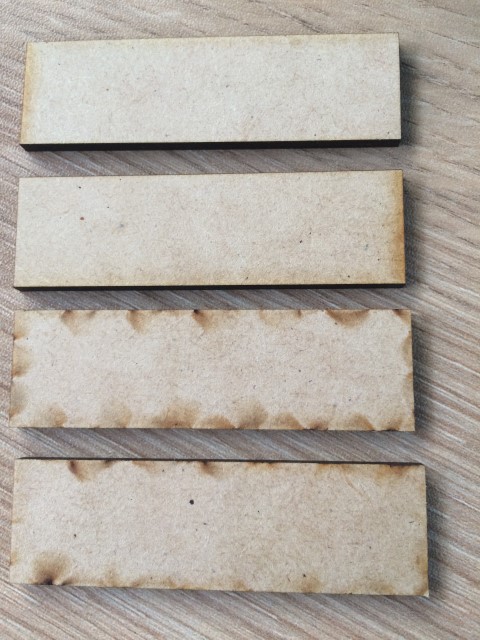
The final product is thin, this is solved by editing the image with light gray colors so that when the object is scaled the difference
between the black background and light gray object is greater, which means thicker.