Computer-controlled cutting
Have you:
- Explained how you drew your files
- Shown how you made your press-fit kit
- Eaten fresh vegetables today
- Included your design files and photos of your finished project
- Vinyl Cutting
- Explained how you drew your files
- Shown how you made your vinyl project
- Included your design files and photos of your finished project
Explained how you drew your files
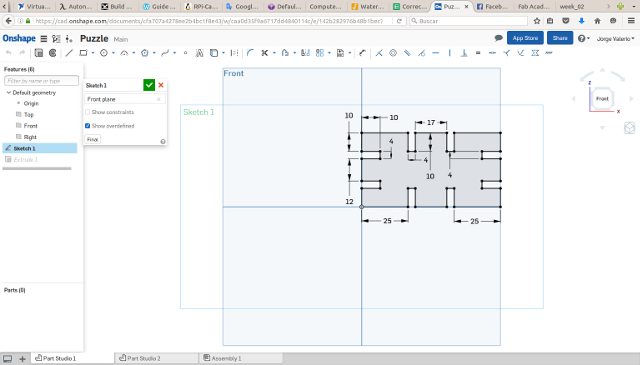
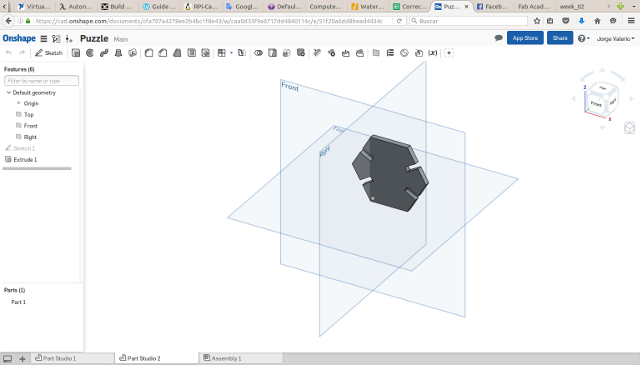
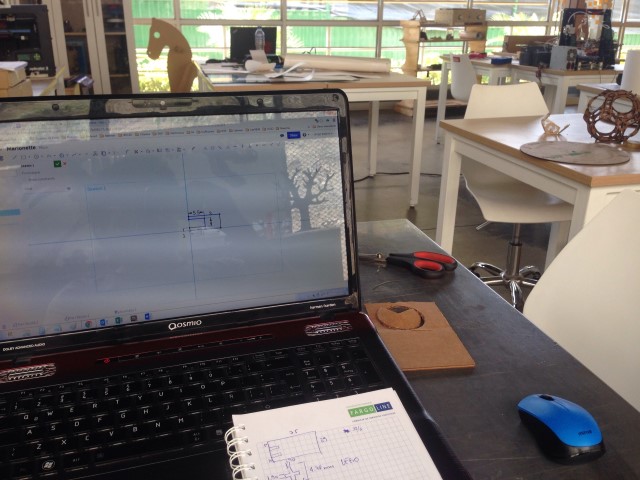
First I decided to work with OnShape, Fablab friend recommended it and taught how to use it quickly. I designed a basic
puzzle of cardboard. The results were good.
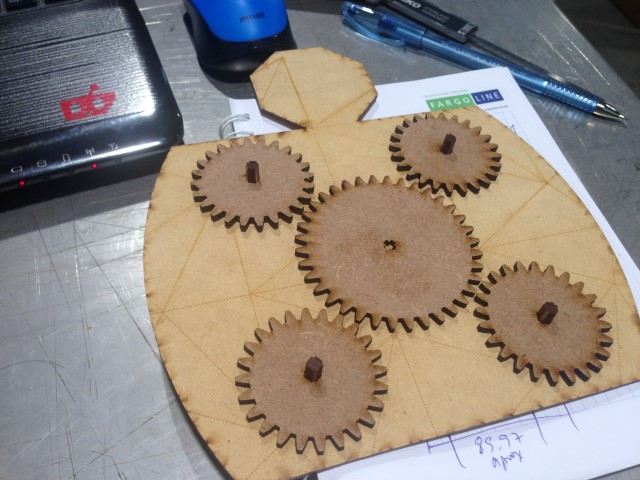
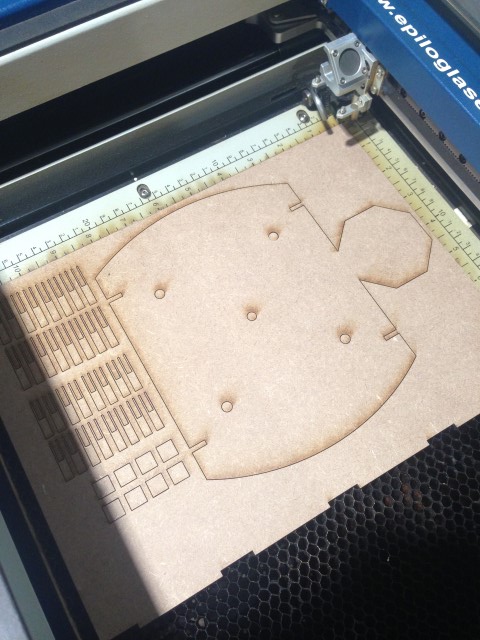
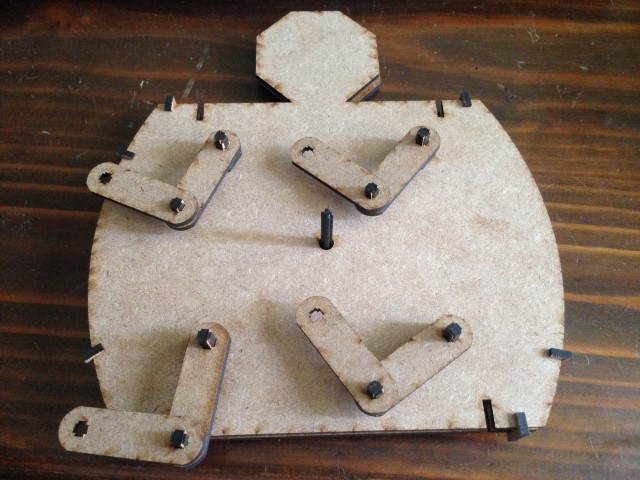
Then I chose to work with MDF, making a movable structure, a puppet, I designed some shafts and gears. The gears did not
work very well so I looked for another way to design them, I found that Inventor has an option to design gears, I designed
two gears and then exported.
The problems I had were:
- You must design the gears with multiple teeth and chamfered edges.
- Calculate the location of the gears.
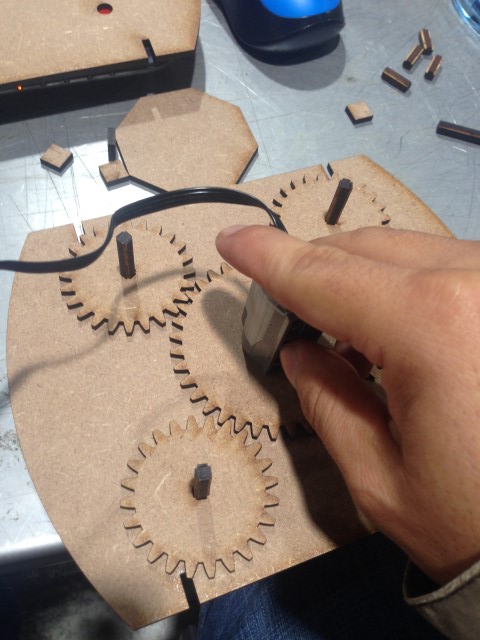
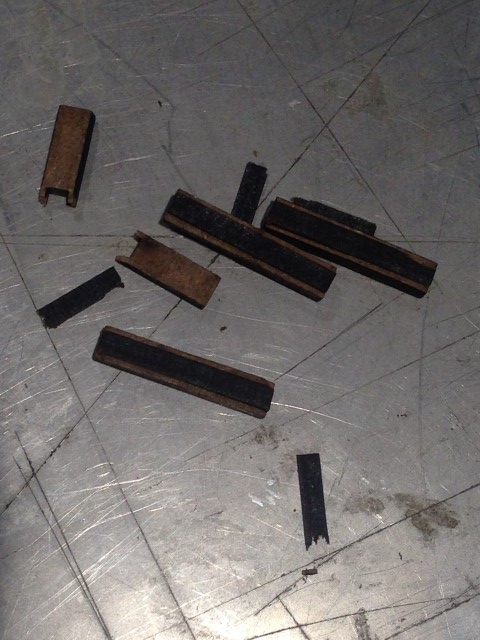
- Locate the rotating elements (arms and legs) so you do not collide with each other. I broke some axes to do these tests.
- Designing the tightest and the rounded contour bushings.
Your browser does not support the video tag.
Shown how you made your press-fit kit
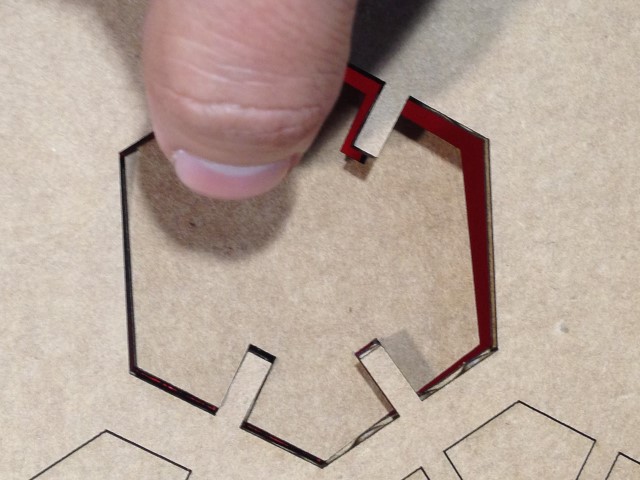
First you must design a pattern for the puzzle. I used the "OnShape" software to design the puzzle pieces.

You can create a sketch like any software 2D design and then export it in dxf format.

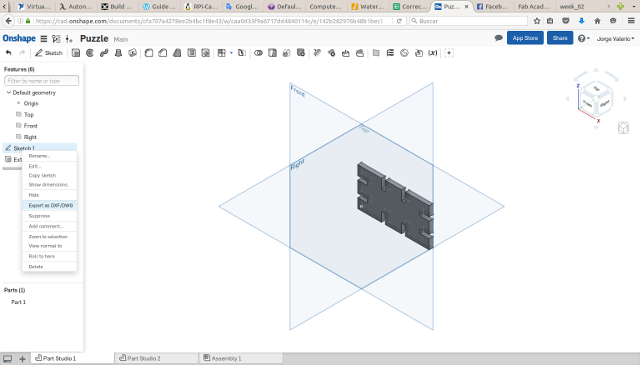
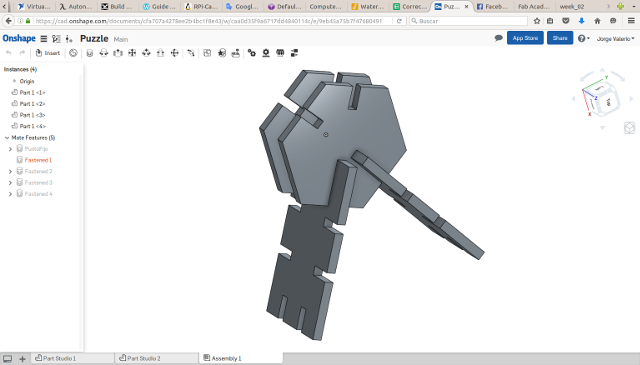
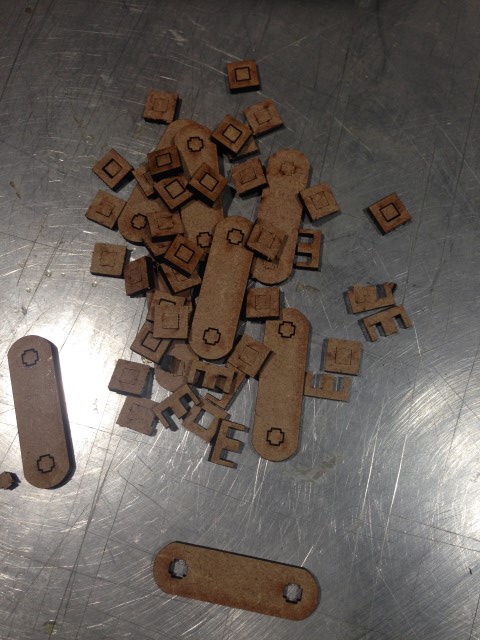
I designed another piece and then assemble the pieces to test the joints.
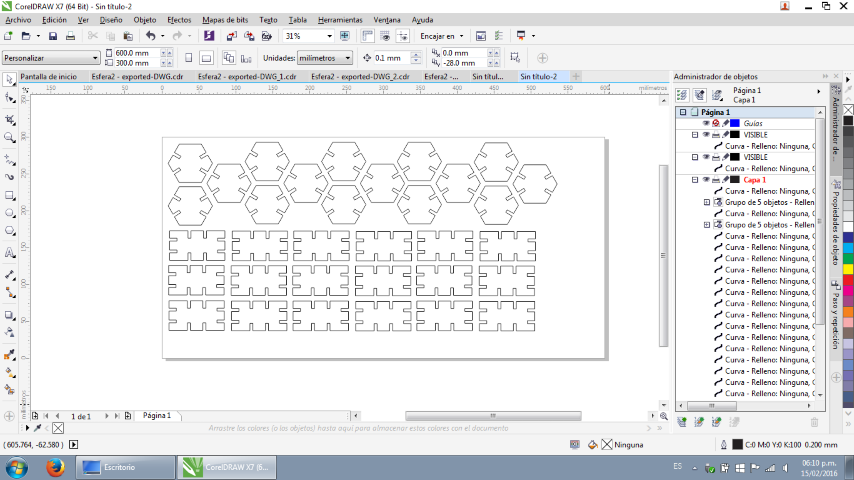
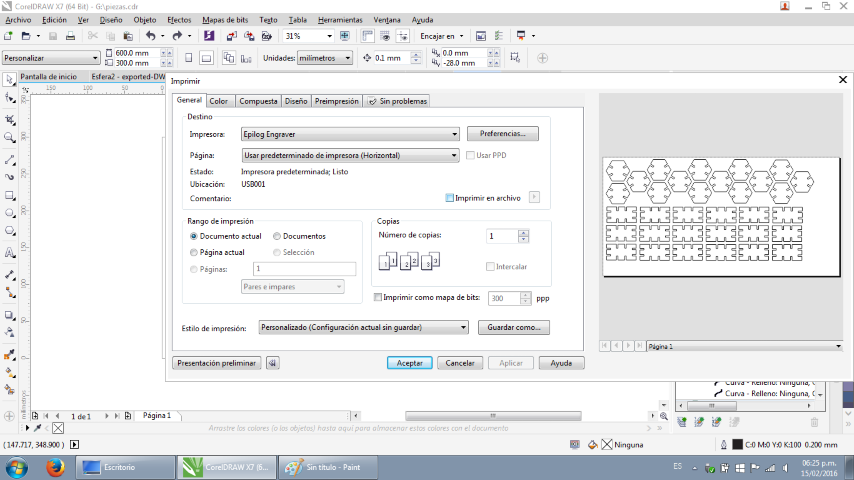
Corel opens a new sheet and patterns are imported,
multiple copies are made and then sent to be cut.
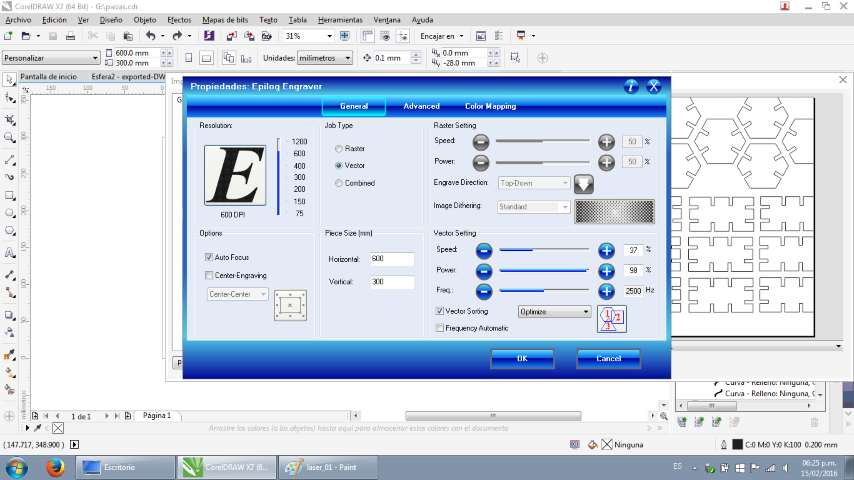
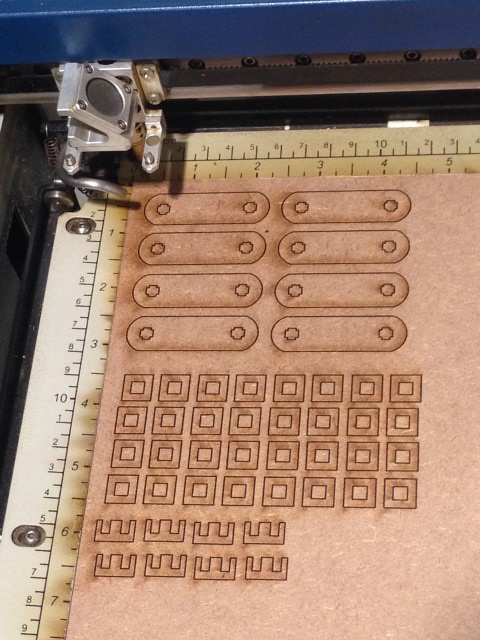
I chose to work with cardboard 3mm in preferences selected Epilog laser cutter Vector,
Auto focus and cutting parameters as follows: Speed: 37%, Power: 98% and Frequency: 2500Hz.
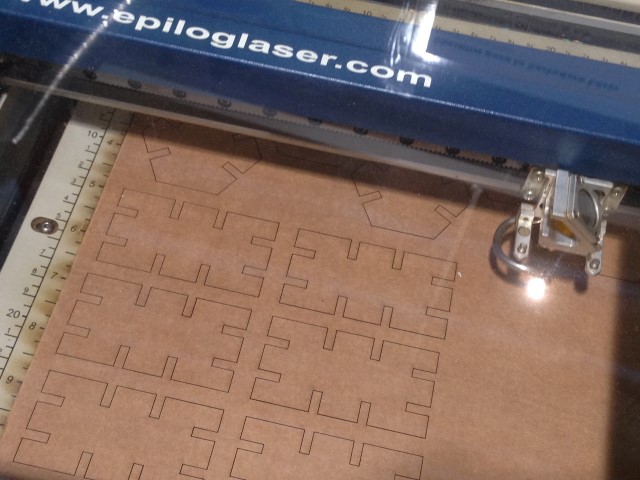
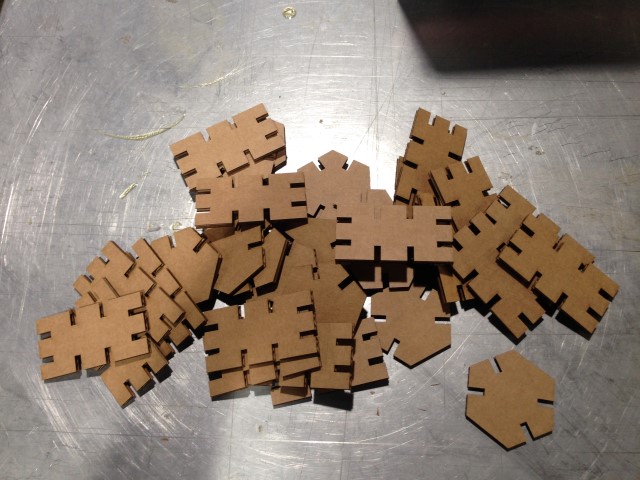
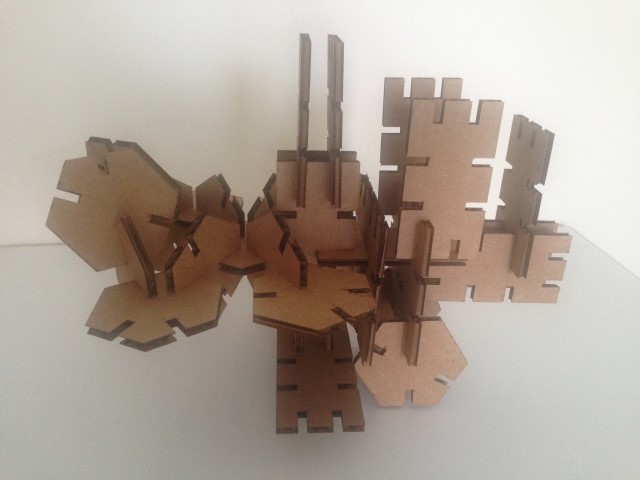
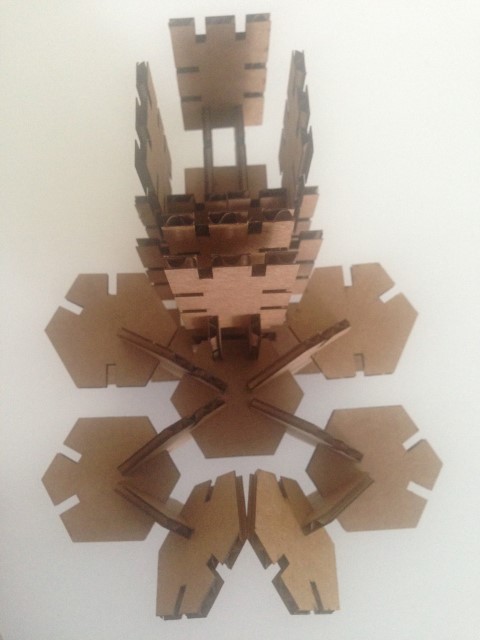
Finally, can unleash your imagination and build some structure.
Then I decided to try a movable structure and using "OnShape" I designed gears and shafts.
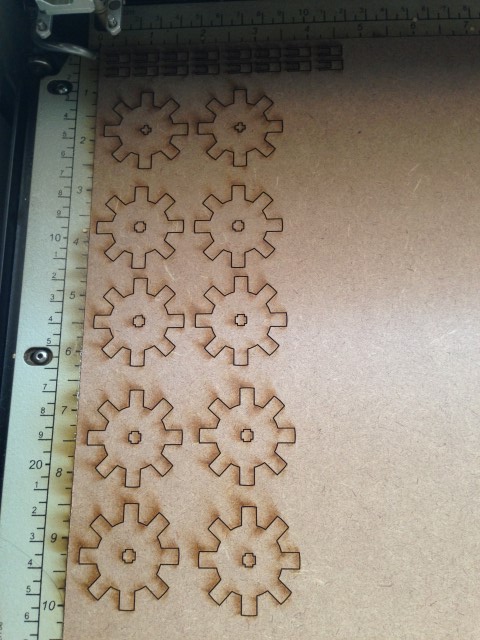
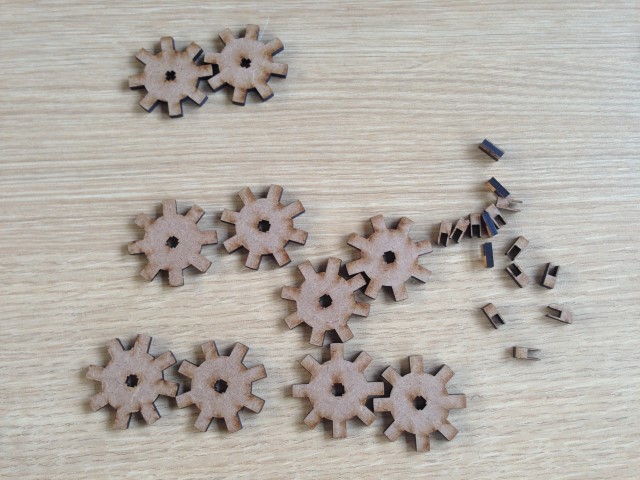
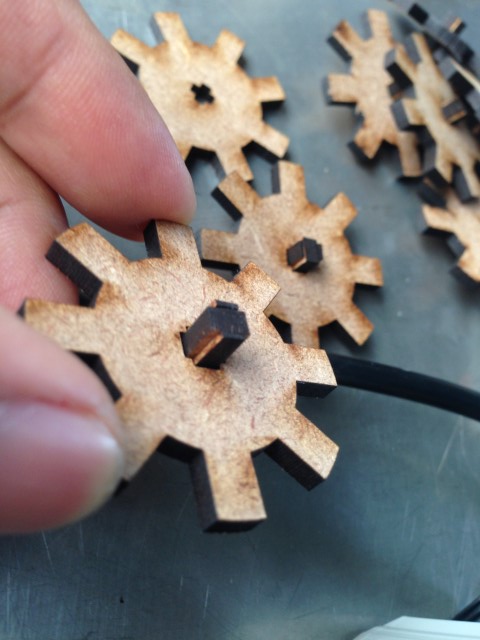
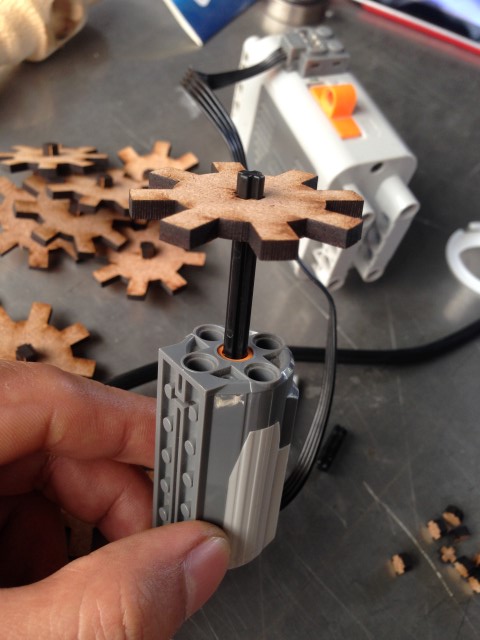
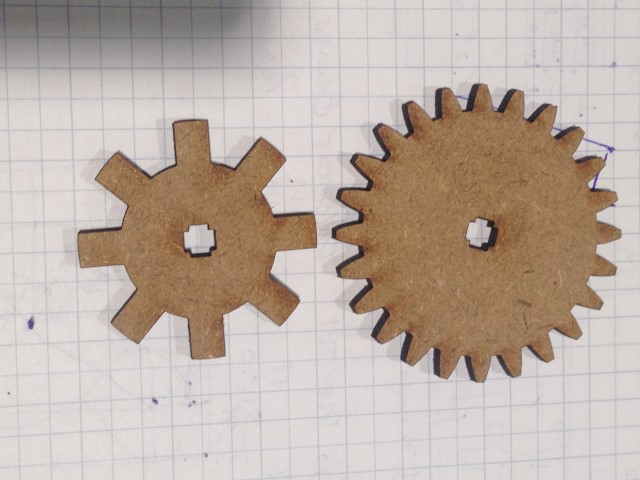
The gears did not work, so I decided to use the design tool gear of "Inventor".
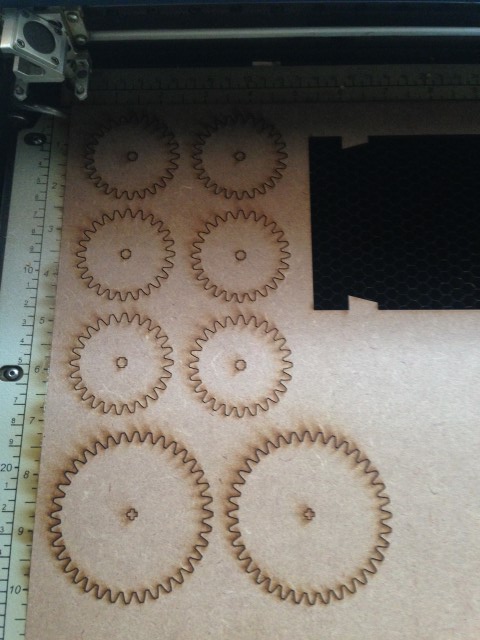
Comparison of the gears.
Finished puppet.
Included your design files and photos of your finished project
Vinyl
Explained how you drew your files
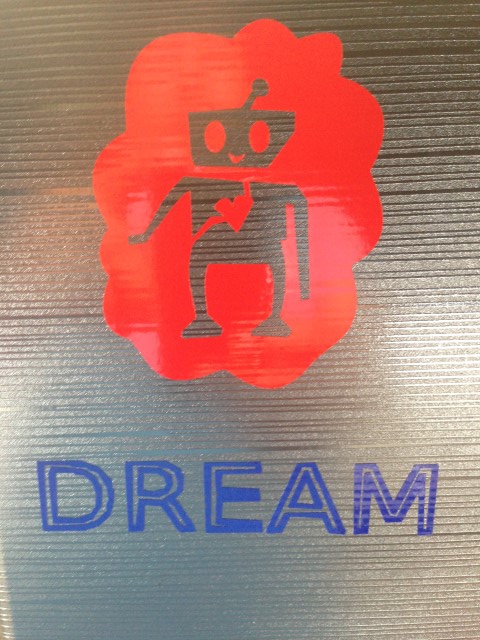
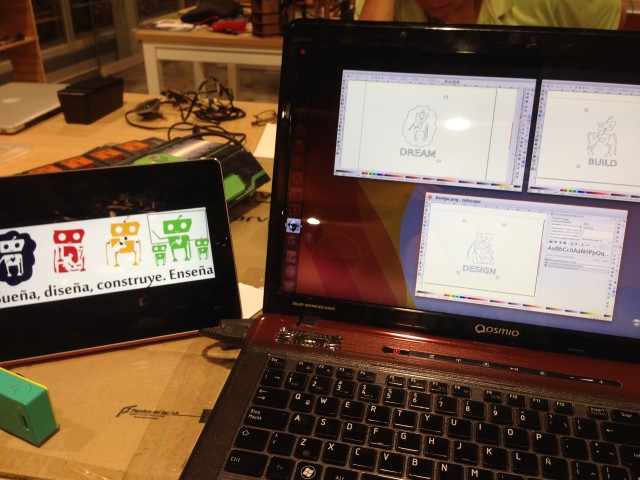
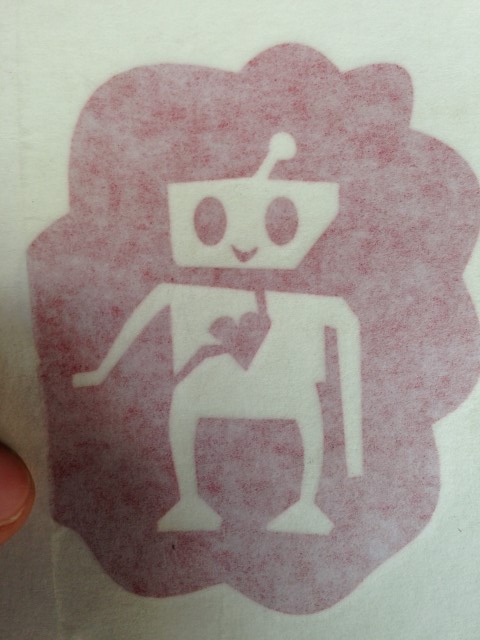
I decided to work with Inkscape, it was quite easy to learn and use, it is intuitive and practical, the learning cycle is quite fast.
I made some designs I saw in photos of a Maker Faire: Dream, Design, Build.
But I had some problems:
- Texts must be converted to paths.
- I do not recommend converting border to path when the design is small because it does a double line per line.
- You get different results when you work with the old and the current version of the Fab Modules, such texts do not go as you want it.
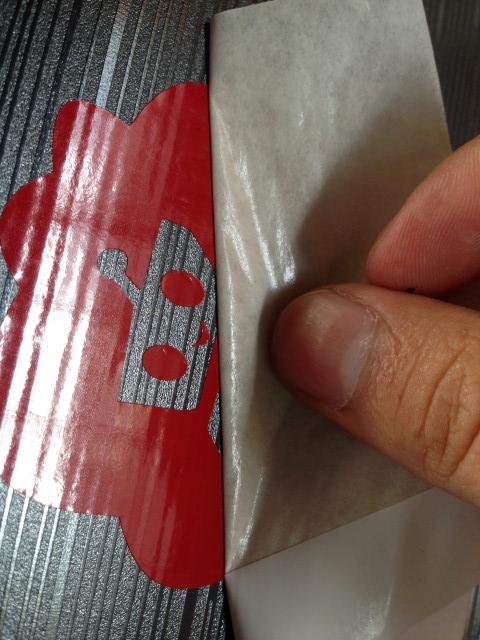
- You have to have patience to take off parts of vinyl that are not required, I recommend using tweezers and a magnifying glass.
Shown how you made your vinyl project
I made several designs in Inkscape.
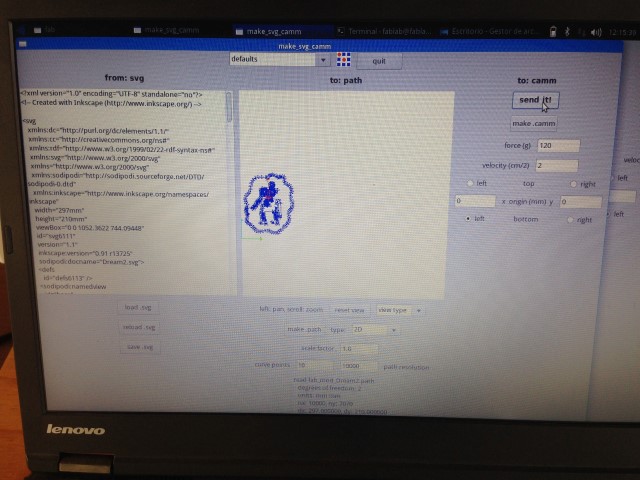
You have to place the vinyl and align, the file must be in svg or png format.
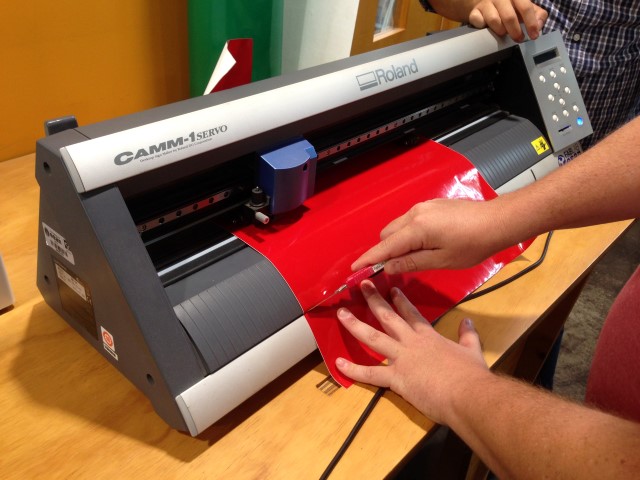
From fabmodules choose the file format (svg or png) and Roland Vynil machine.
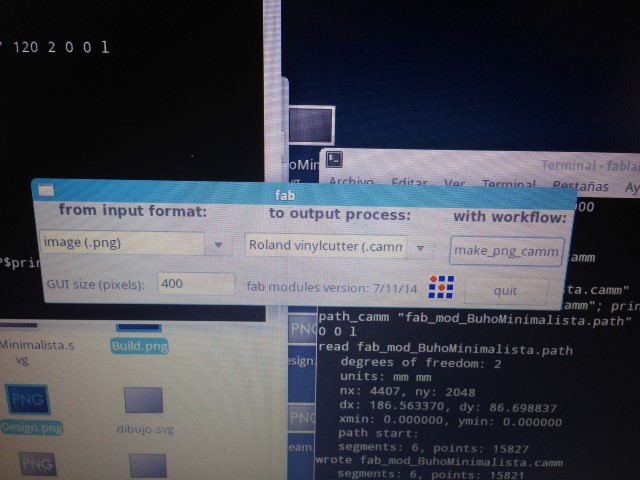
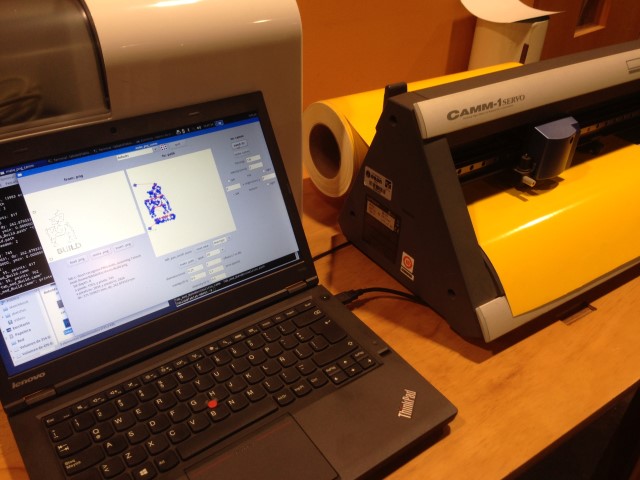
Choose output parameters:
- Force: 120gf
- Speed: 2 cm / s
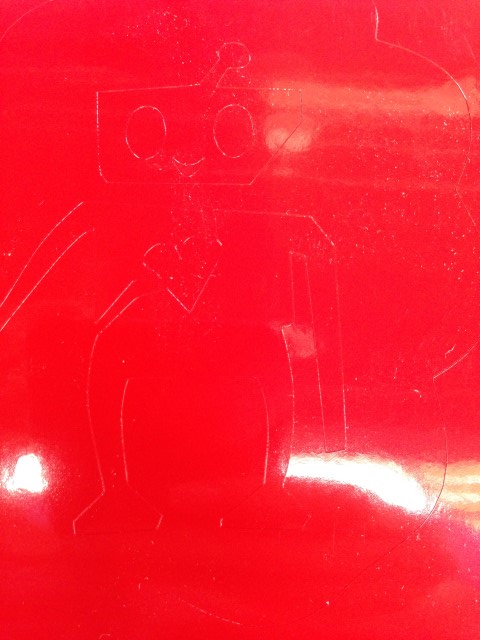
To end the vinyl of the machine is removed and the part that does not belong to the design is removed.
Then cover with paper adhesive vinyl remainder.
Carefully remove the adhesive without damaging the design.