Computer-controlled Cutting
For this assignment, I've designed a press-fit construction kit inspired from something I used to play with when I was a child.
Designing in Autodesk Inventor
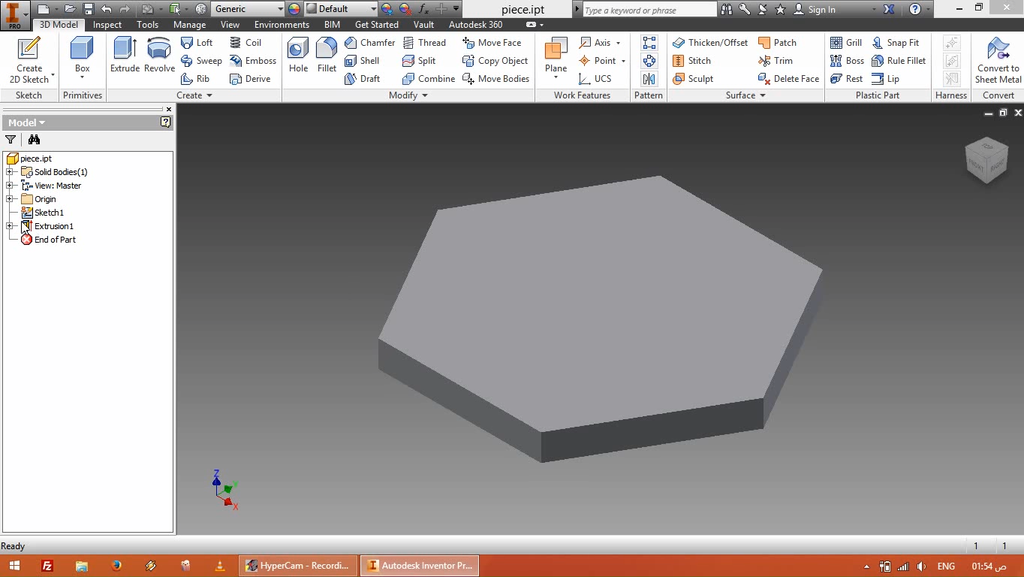
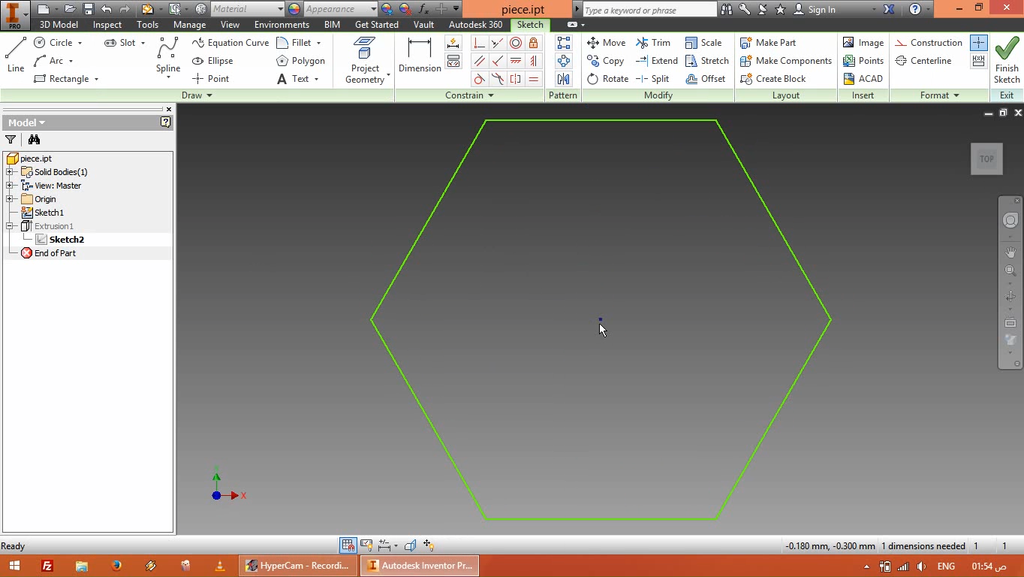
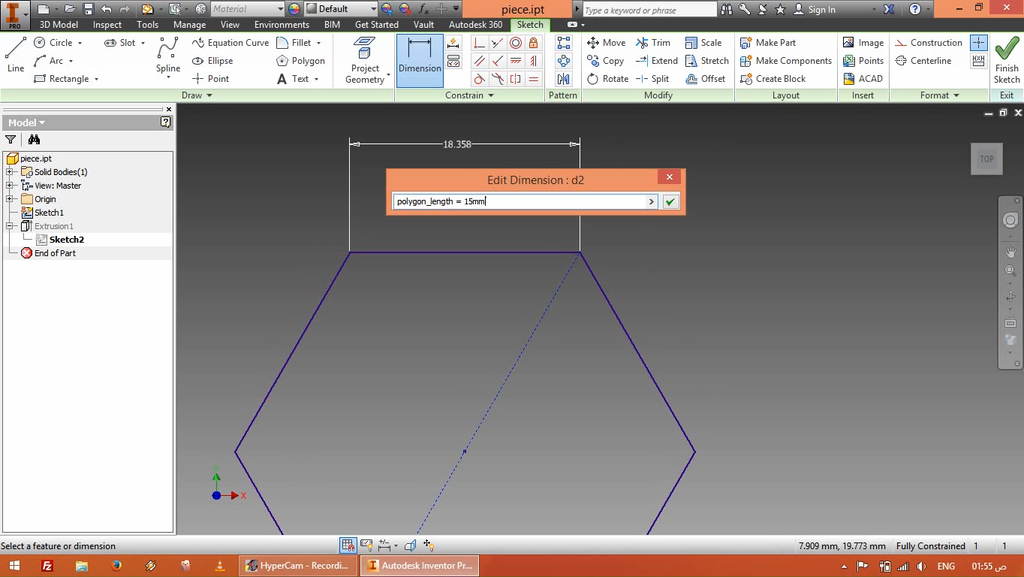
I started by 6-sided polygon and extruded it by 3mm (The thickens of the plywood we use)
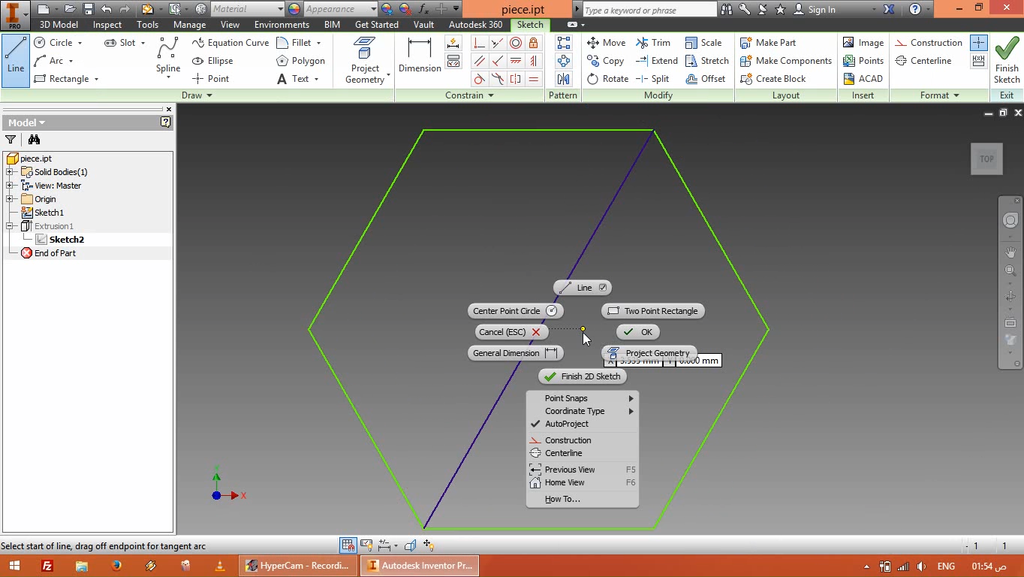
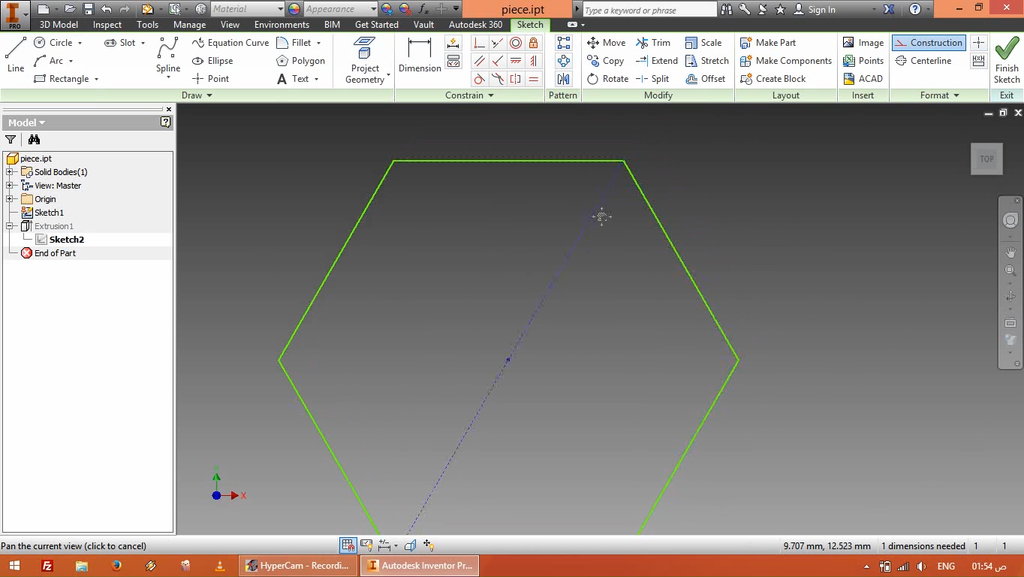
Added a construction line
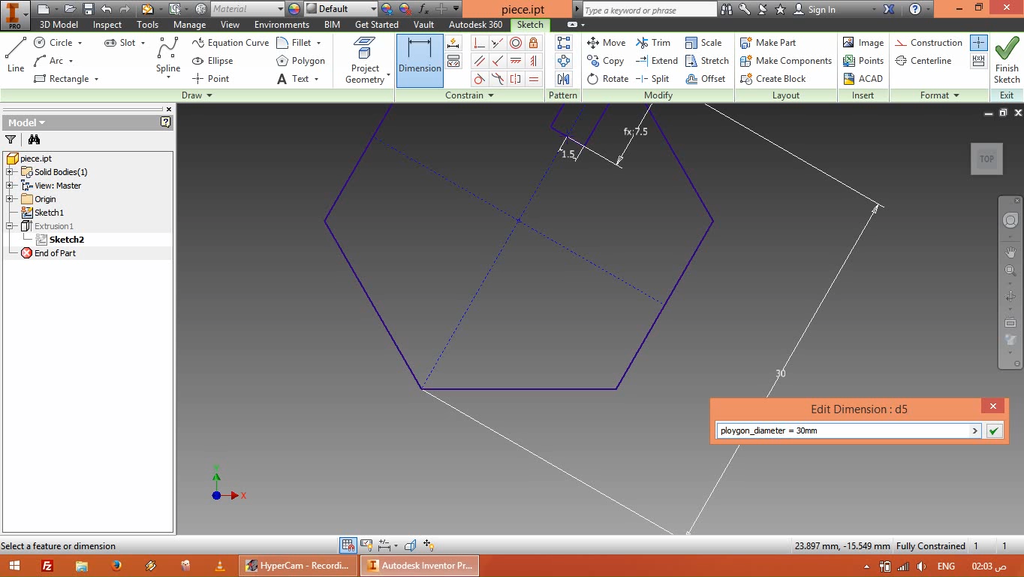
Set a polygon length dimension
Create a point on the construction line and set a dimention for it.
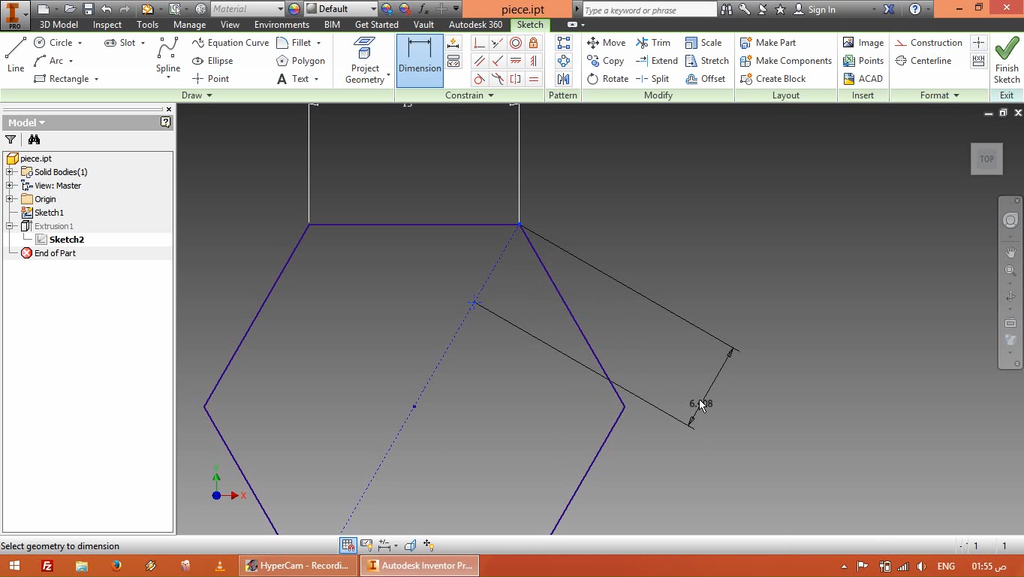
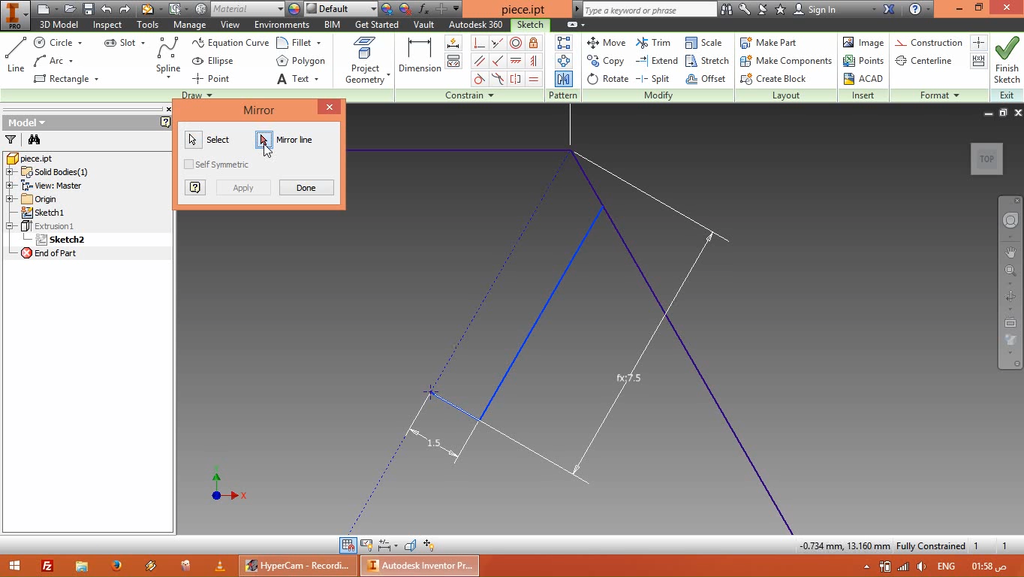
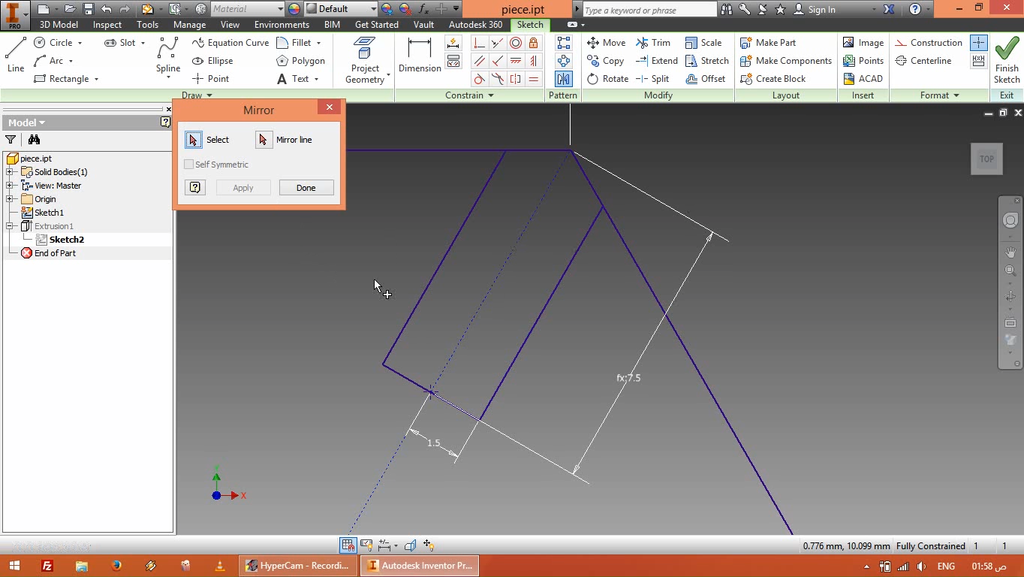
Create lines for half the slot and mirror it
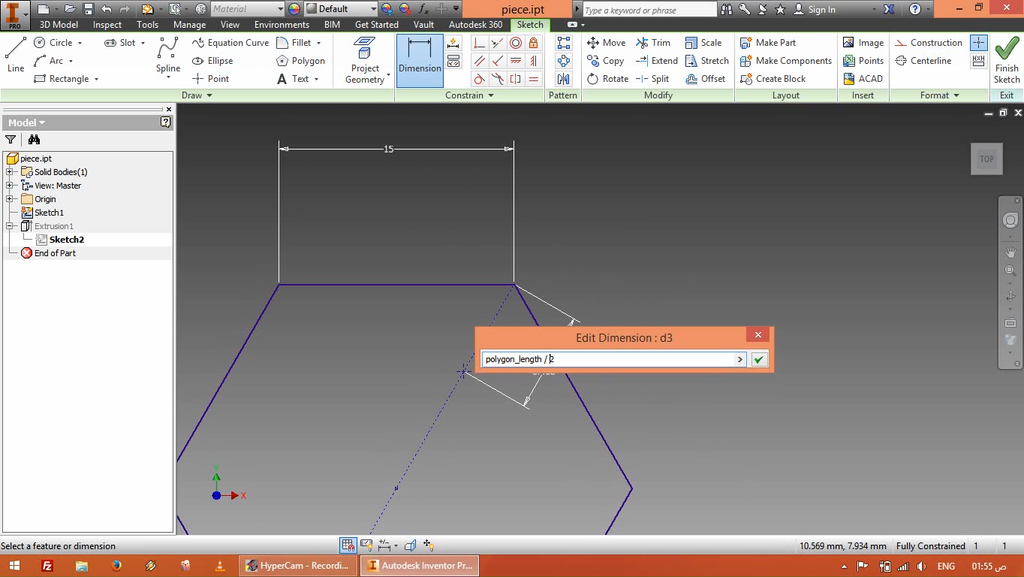
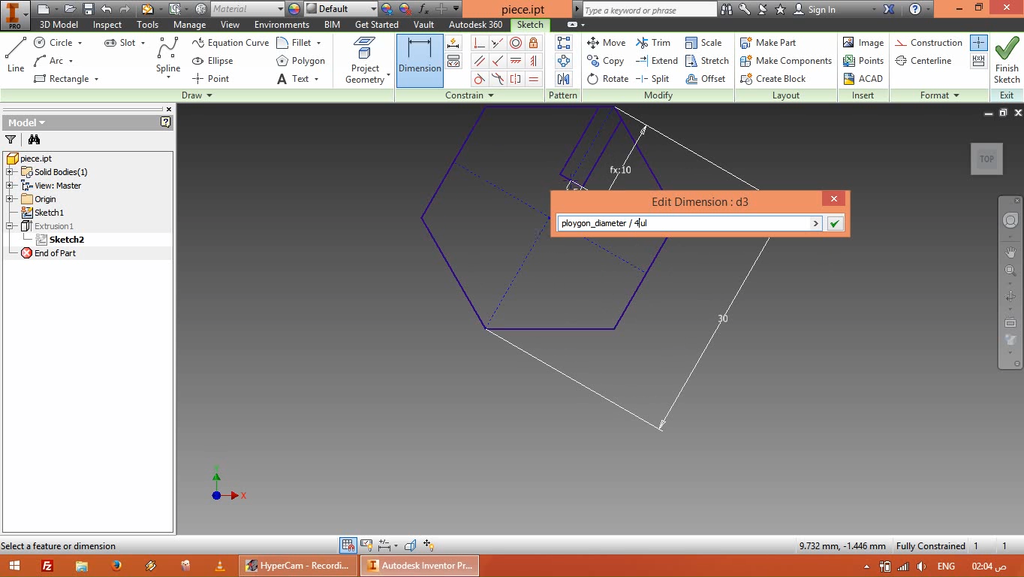
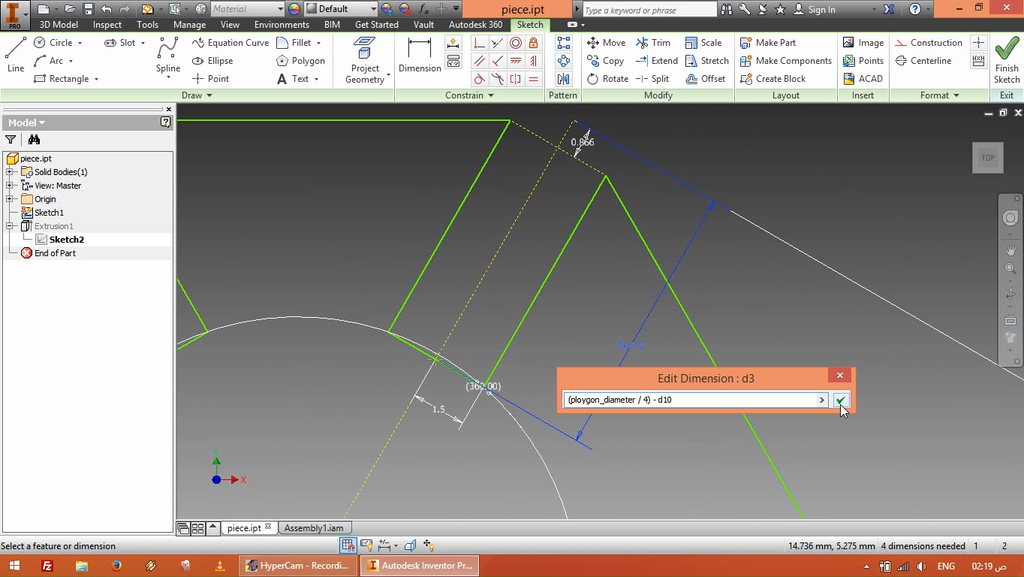
Create a construction line for polygon diameter and set a dimension for it then set the depth of the slot to be 1/4 of the diameter.
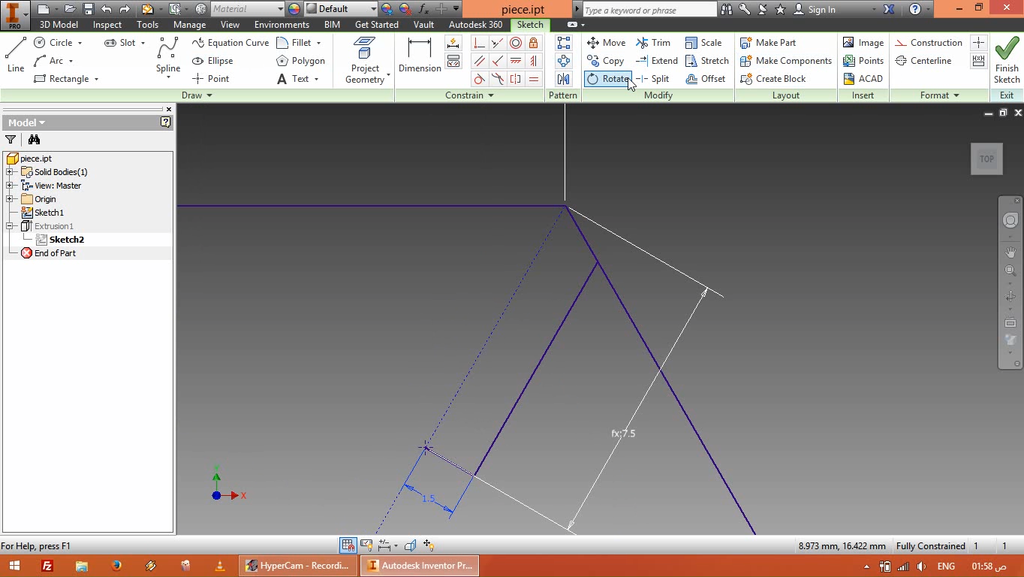
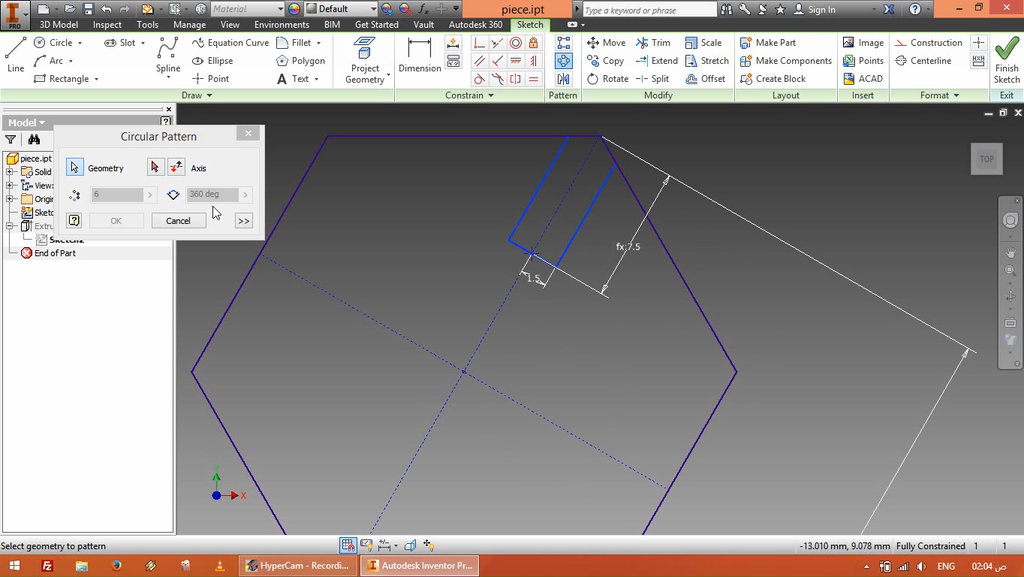
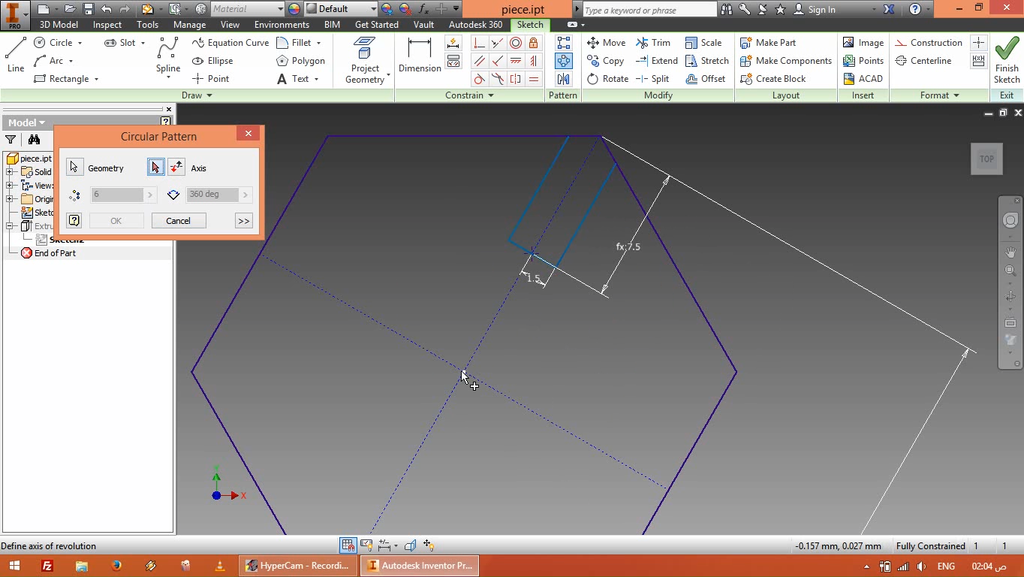
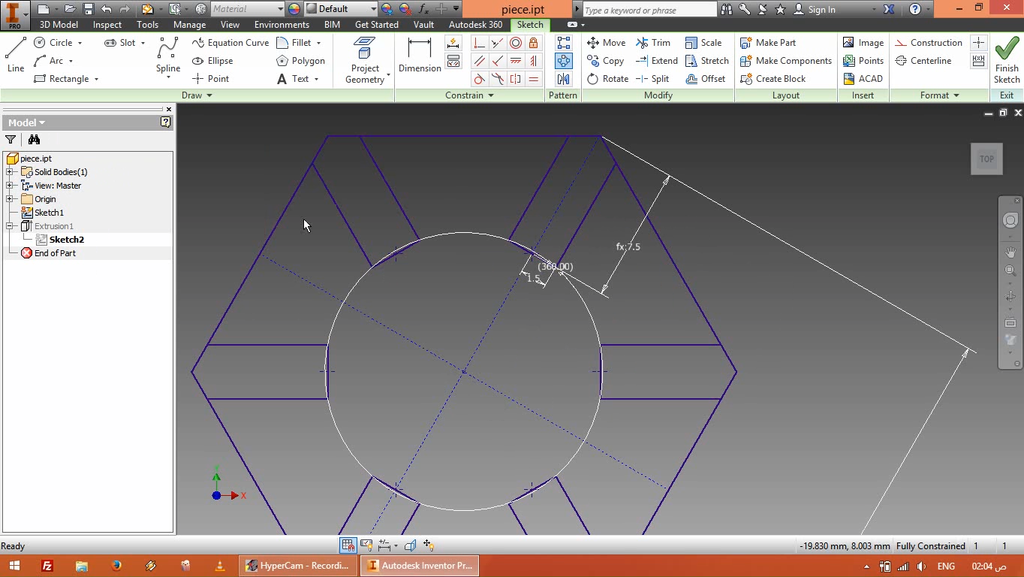
Selecting the lines for the slot and create a circular pattern around the midpoint
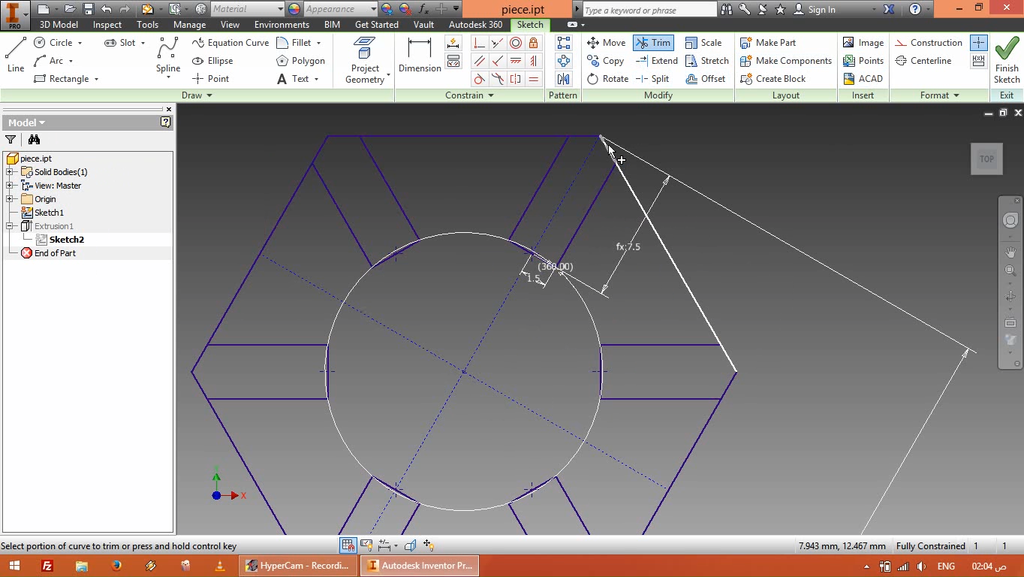
Trimming the lines
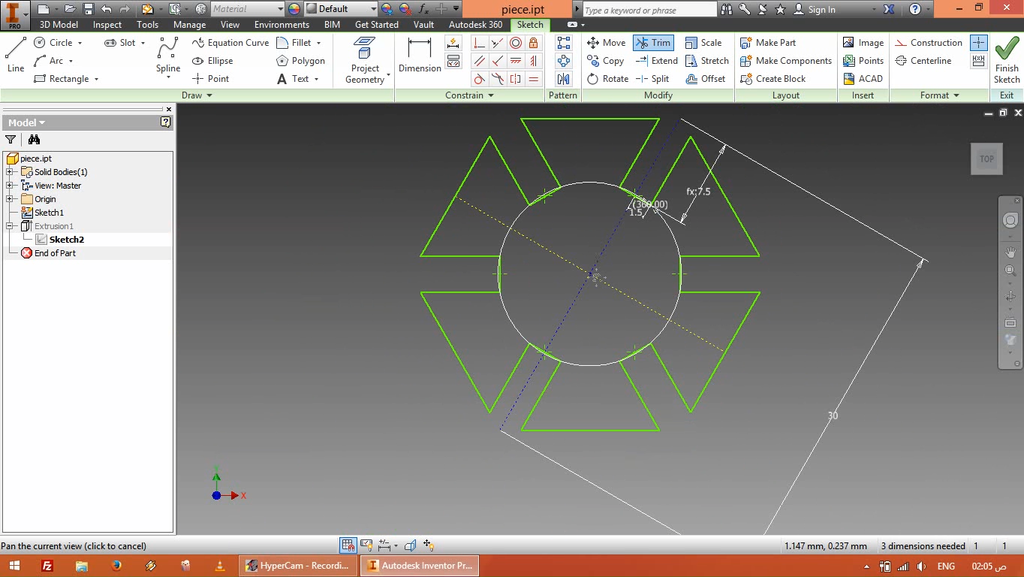
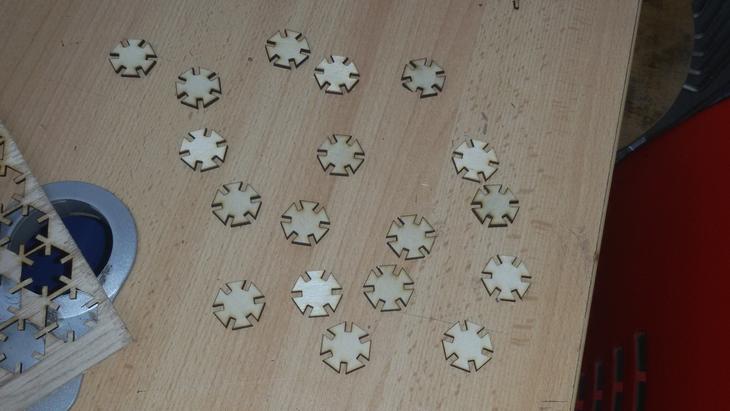
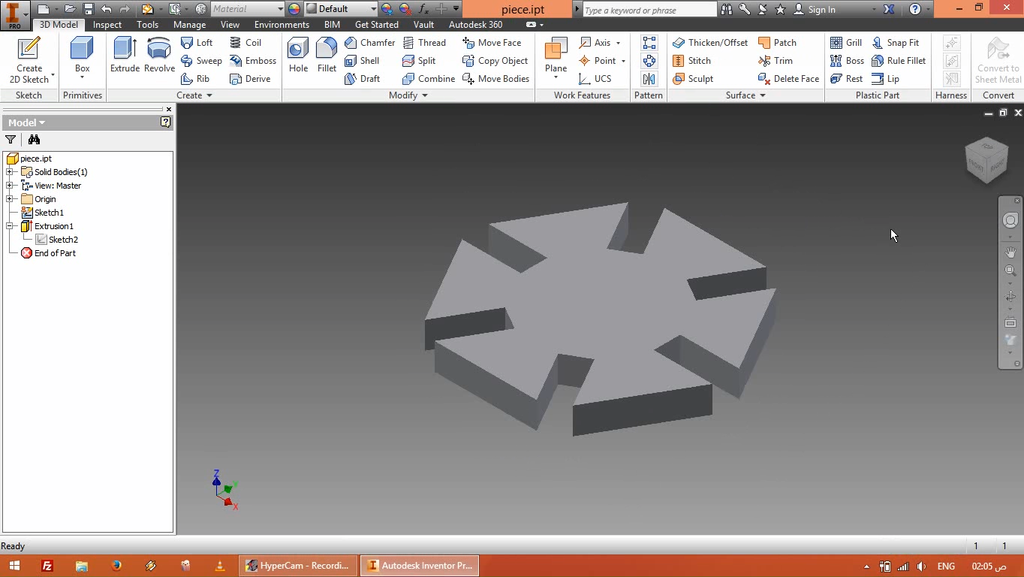
The finished piece
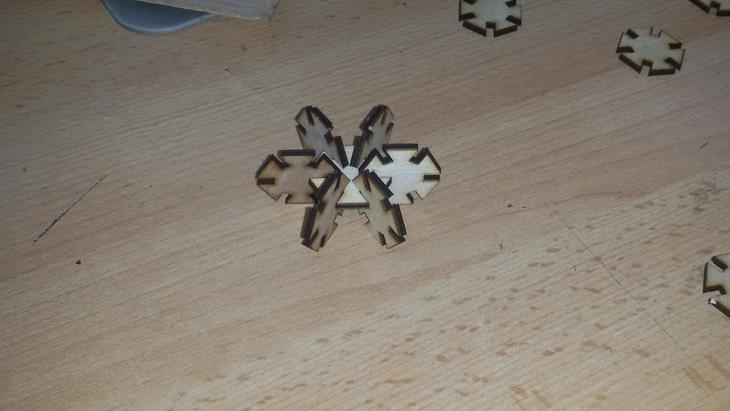
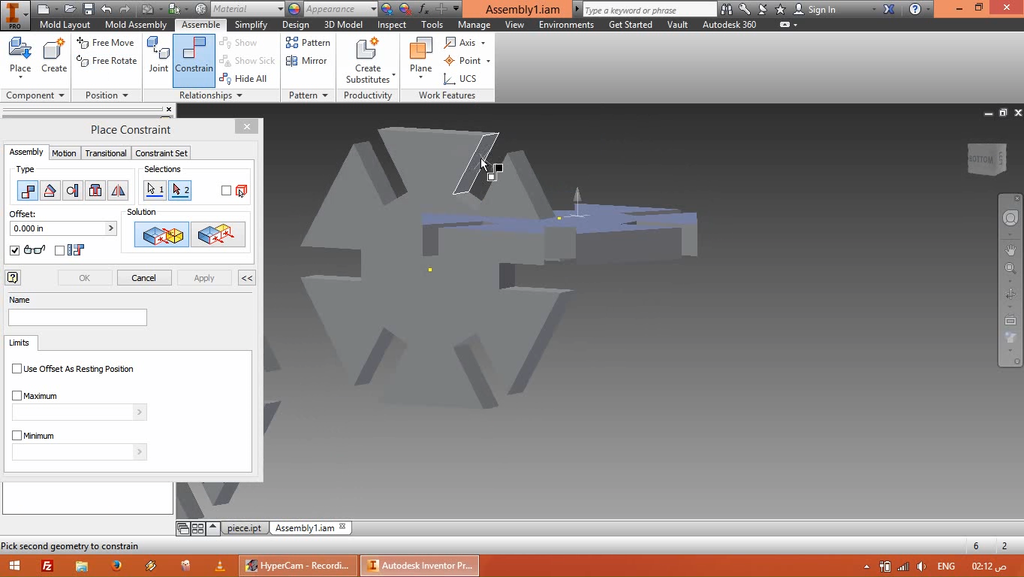
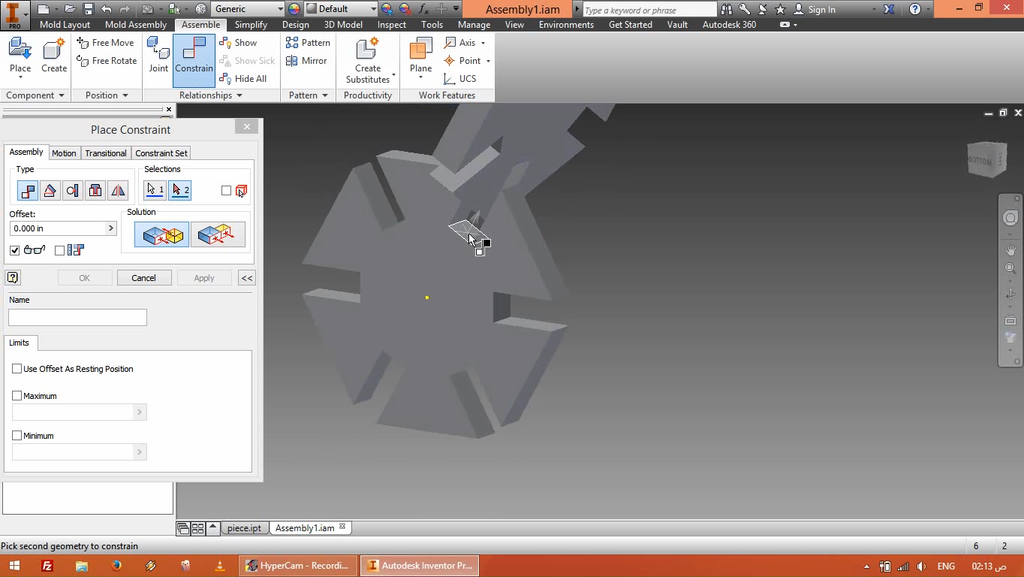
Assembly
Creating constrains to test the fitting of pieces

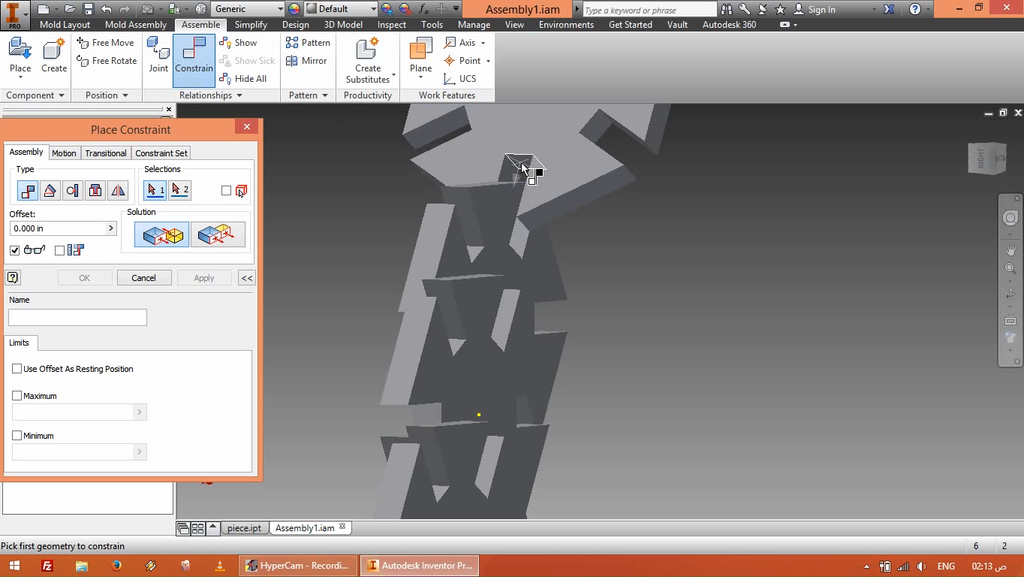
After inspection, I found out that the slot need to be more shallow so that all the pieces can fit together .So, I resized it by creating a reference point and resetting the dimension.
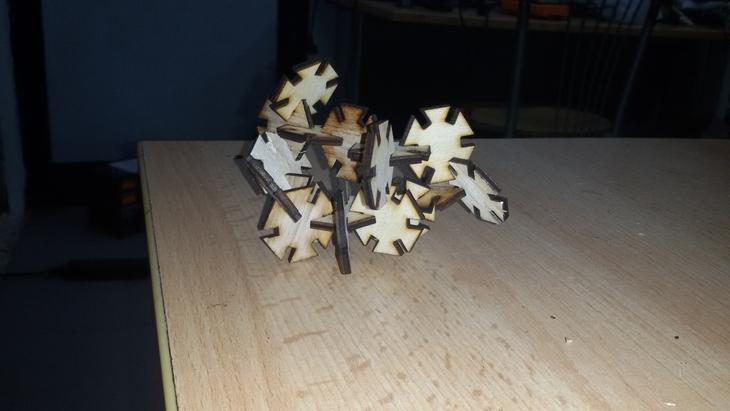
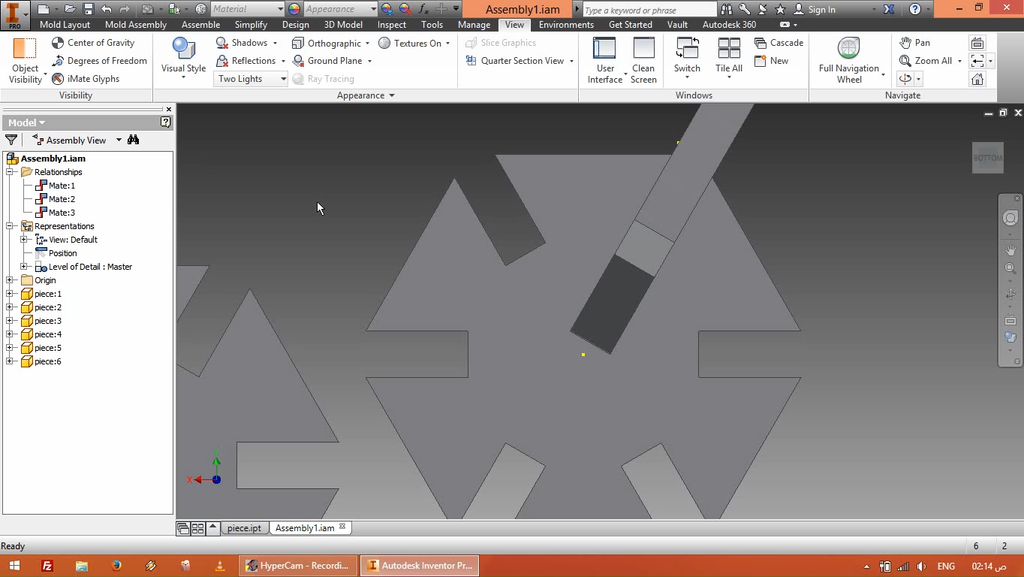
Multiple pieces assembled

Preparing file for laser cutting
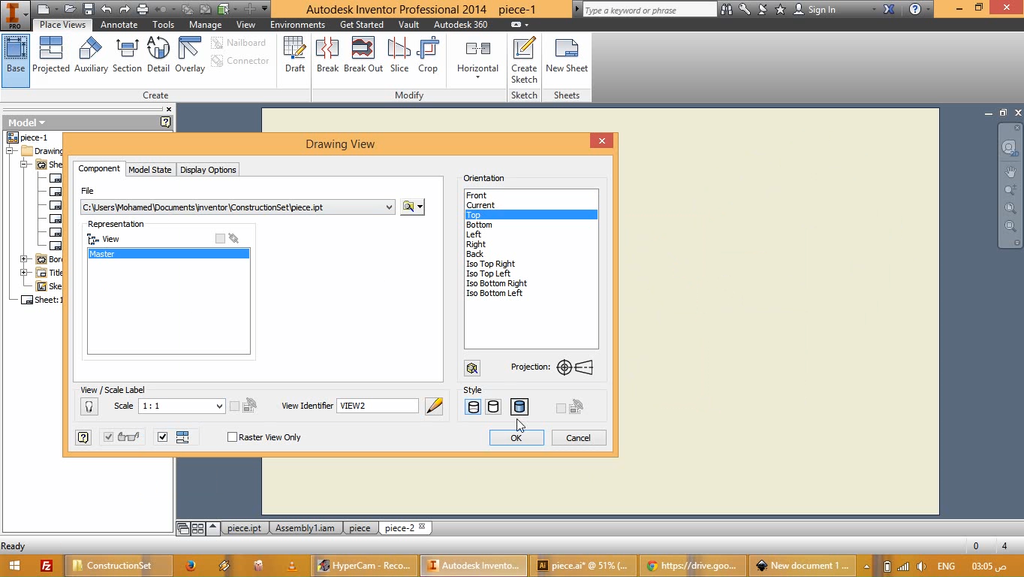
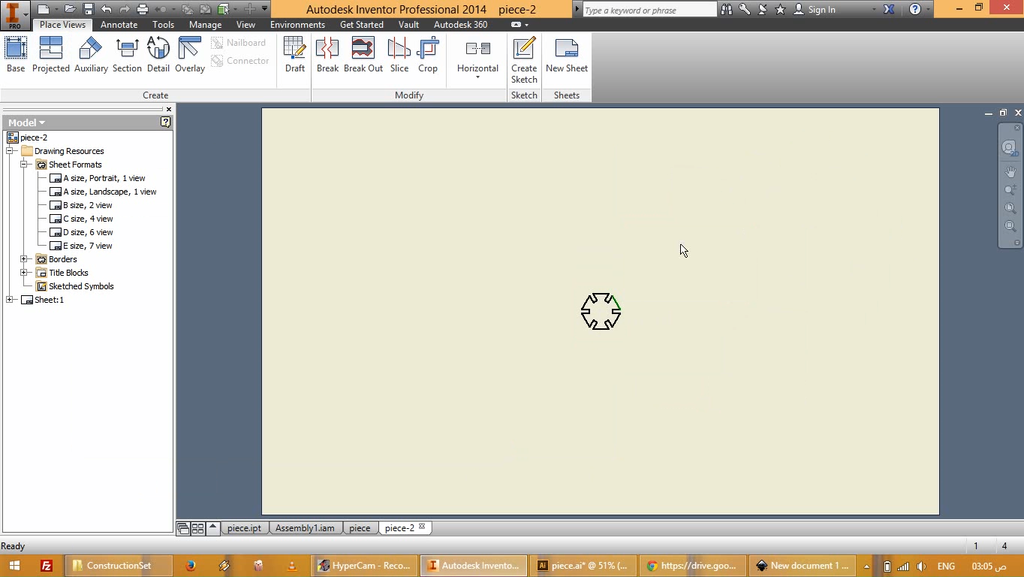
Creating a drawing in Autodesk
When creating a drawing views, I set the orientation to to Top and scale to 1:1
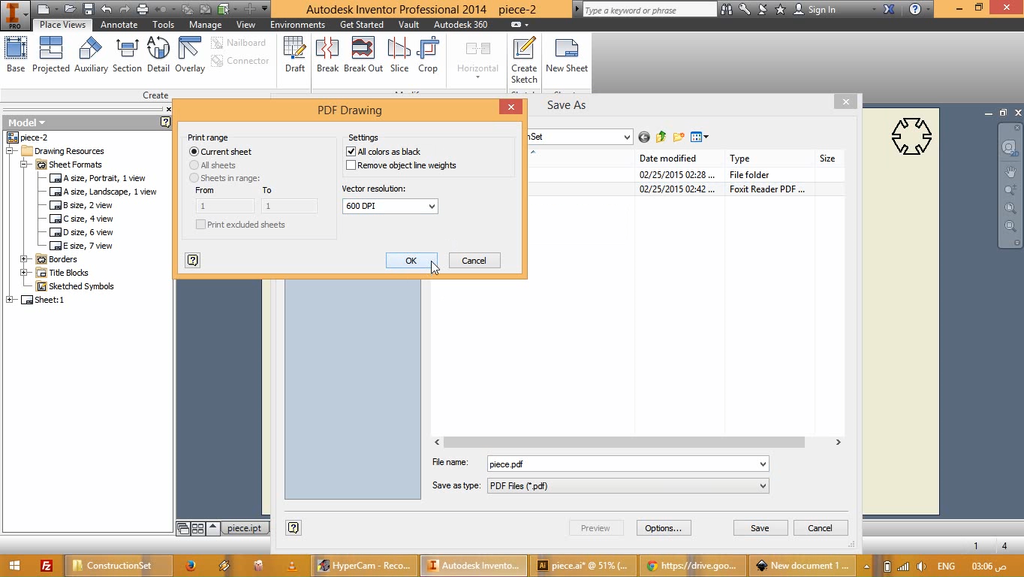
Export drawing as PDF
When exporting the drawing I set the DPI to 600
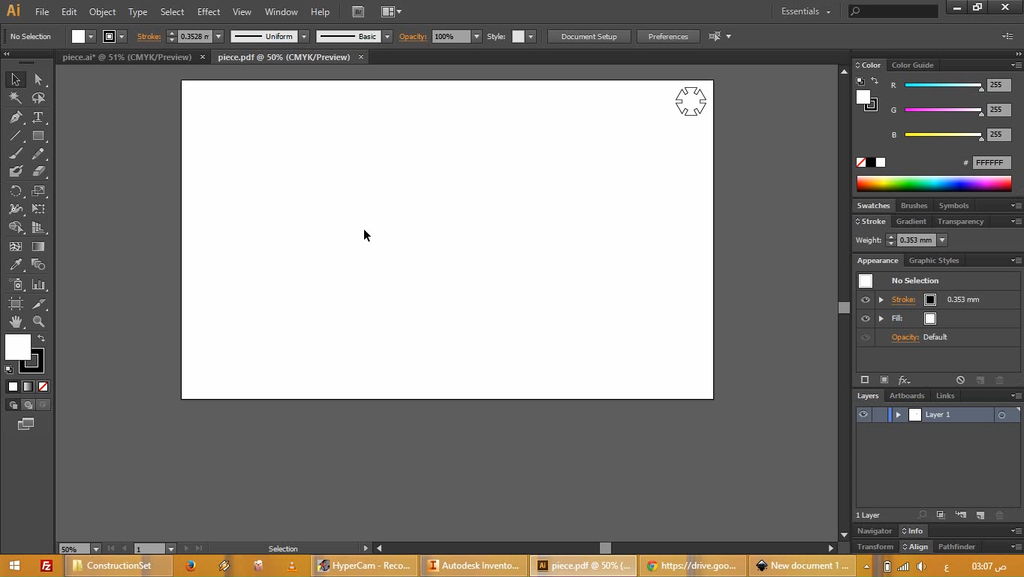
Importing the PDF into illustrator
I've exported the file into Adobe Illustrator to repeat the part.
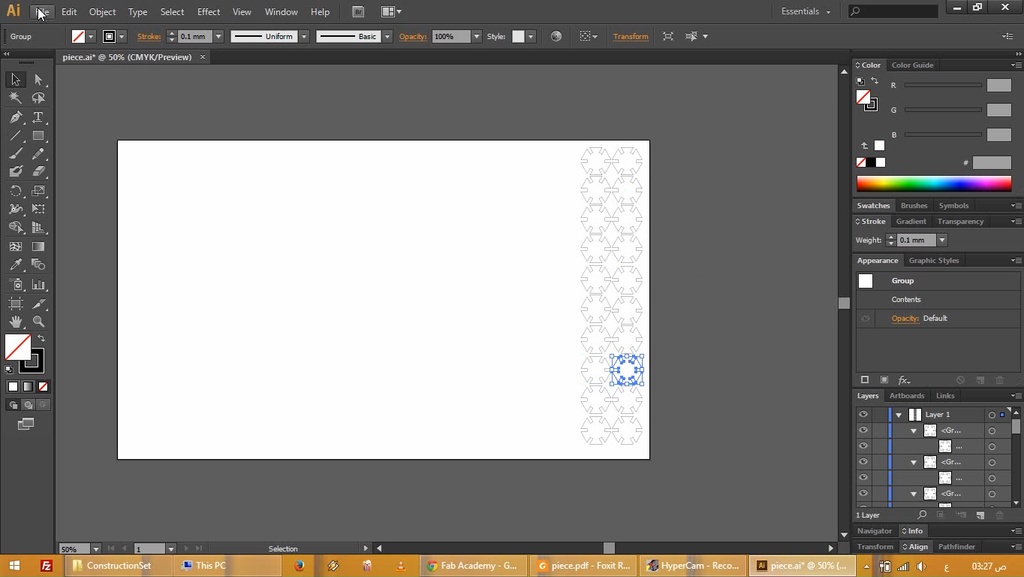
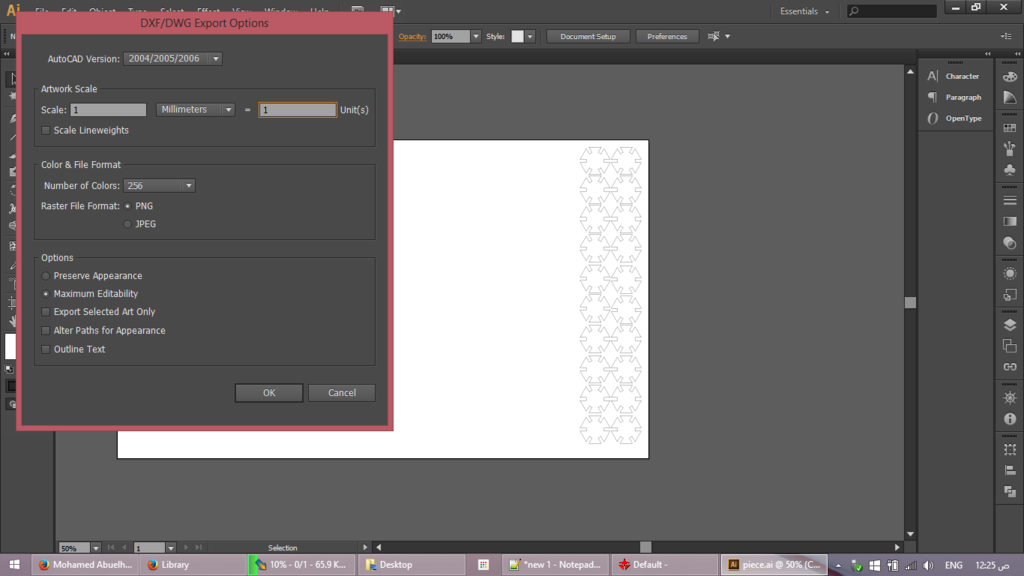
Export as DXF
In order to keep the dimensions, I set every 1 pixel to be 1 unit in the DXF export Options dialog.
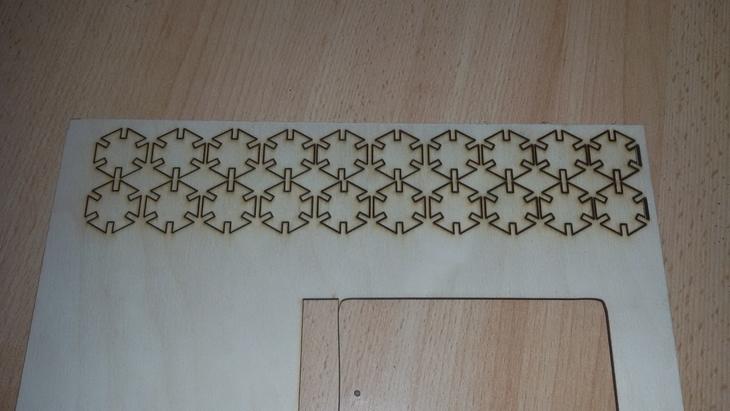
Laser cutting
At Fab Lab Egypt we have a Morn laser cutter which uses Laser Works to work. I had Laser Works V6 installed so I opened it to prepare the file to be sent to the machine.
I chose File->import and browsed to the location of the DXF file which loaded the prices in the middle which I then moved to the top right corner.
I set the values to be 12mm/s and min and max power for the laser to be 75 as these are the values I found to work with cutting the 3mm plywood we had at the lab.

Then to set the cutting parameters, I double clicked the black layer in the "Work" panel to display its option.
I set the values to be 12mm/s and min and max power for the laser to be 75 as these are the values I found to work with cutting the 3mm plywood we had at the lab.
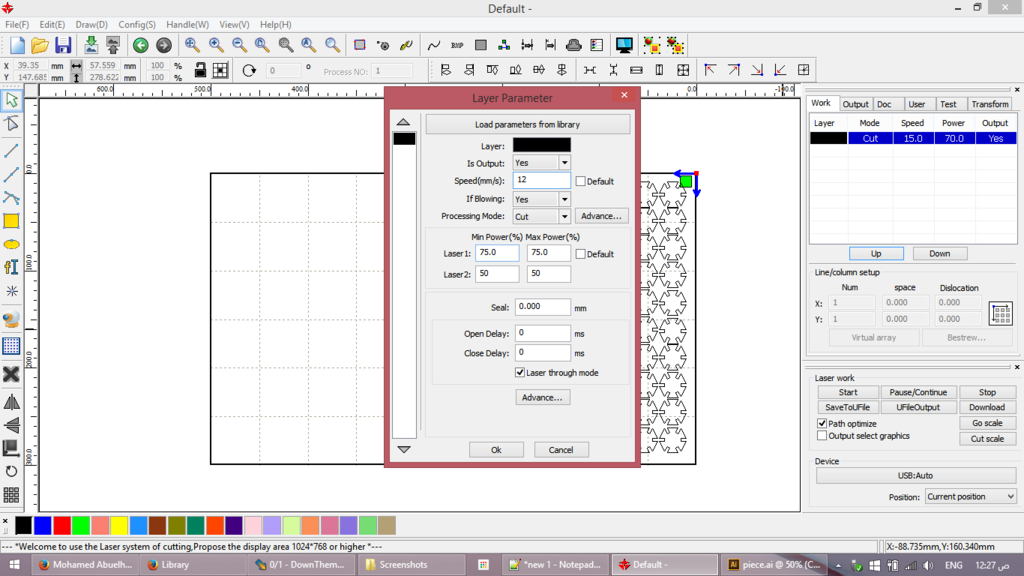
Then I hit OK the Start to start the cutting process.
Here is the output