
Week 1. Project management
During this week I created this website including my short bio, uploaded it to the Class archive utilizing Git and sketched my final project.
Tasks
- Work through a git tutorial
- Build a personal site describing me
- Describe a possible final project
Process explanation
Working with Git
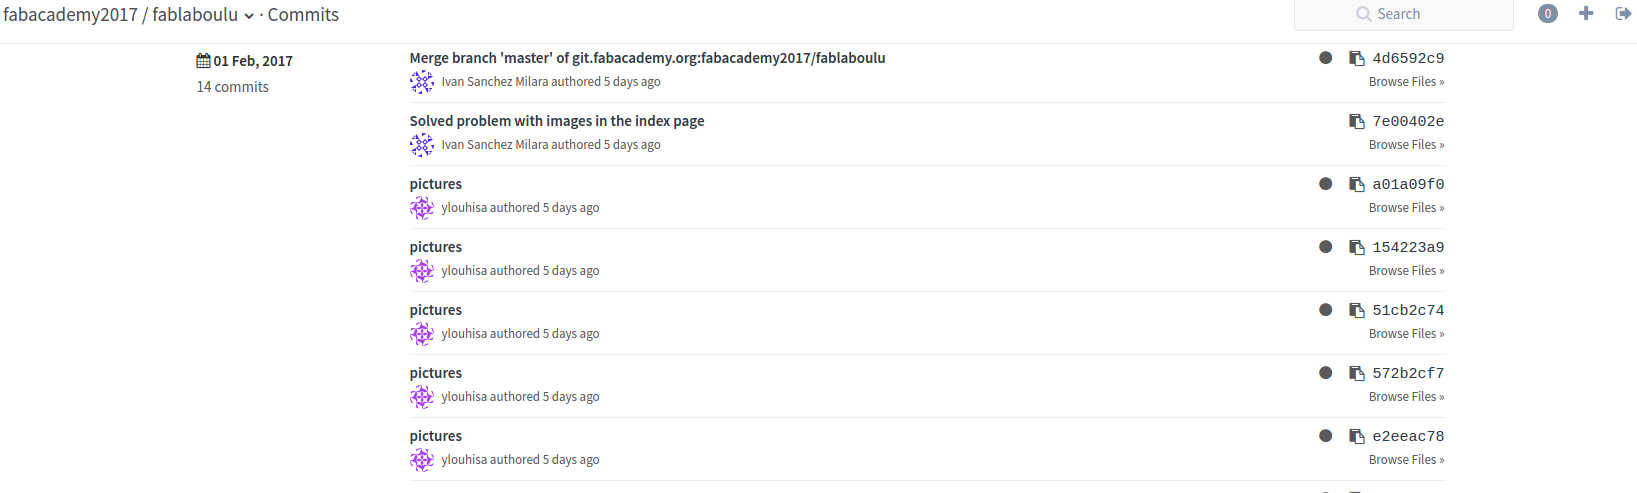
Jani Ylioja, our Fab Lab instructor, gave us a short introduction to GitHub and explained us the policies regarding the use of FabAcademy Gitlab account. He informed us that all members of our Fab Lab use the same repository. He strongly warned us to always check that we are not pushing big files to the repo. To shrink images size, I found in the Class Archive the convert command. I have used this command to use adequate size of images in this page.
Next, I will describe the process to clone a repository from Fabacademy git repository and upload a Hello World! website.
- First, I installed the last version of Git from its official webpage in my Windows 7 computer.
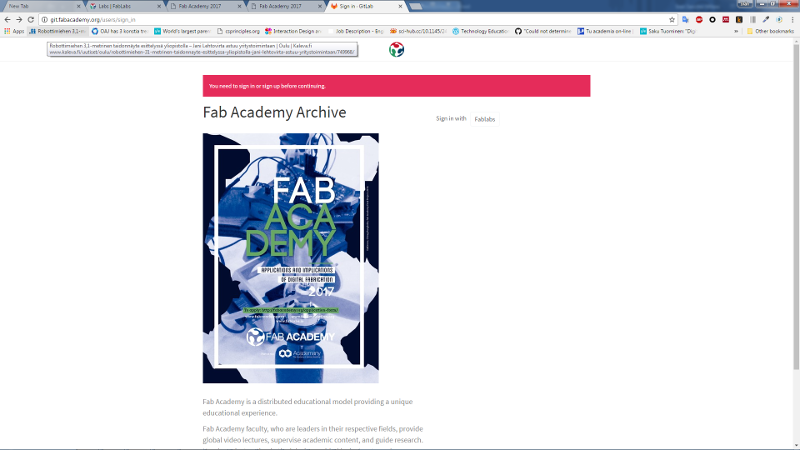
- Next, I created an account in fablabs.io
- Fabacademy repositories are stored in a GitLab version control system hosted at http://git.fabacademy.org/. In order to access the repos from the GitLab server I used the creadentials from fablabs.io
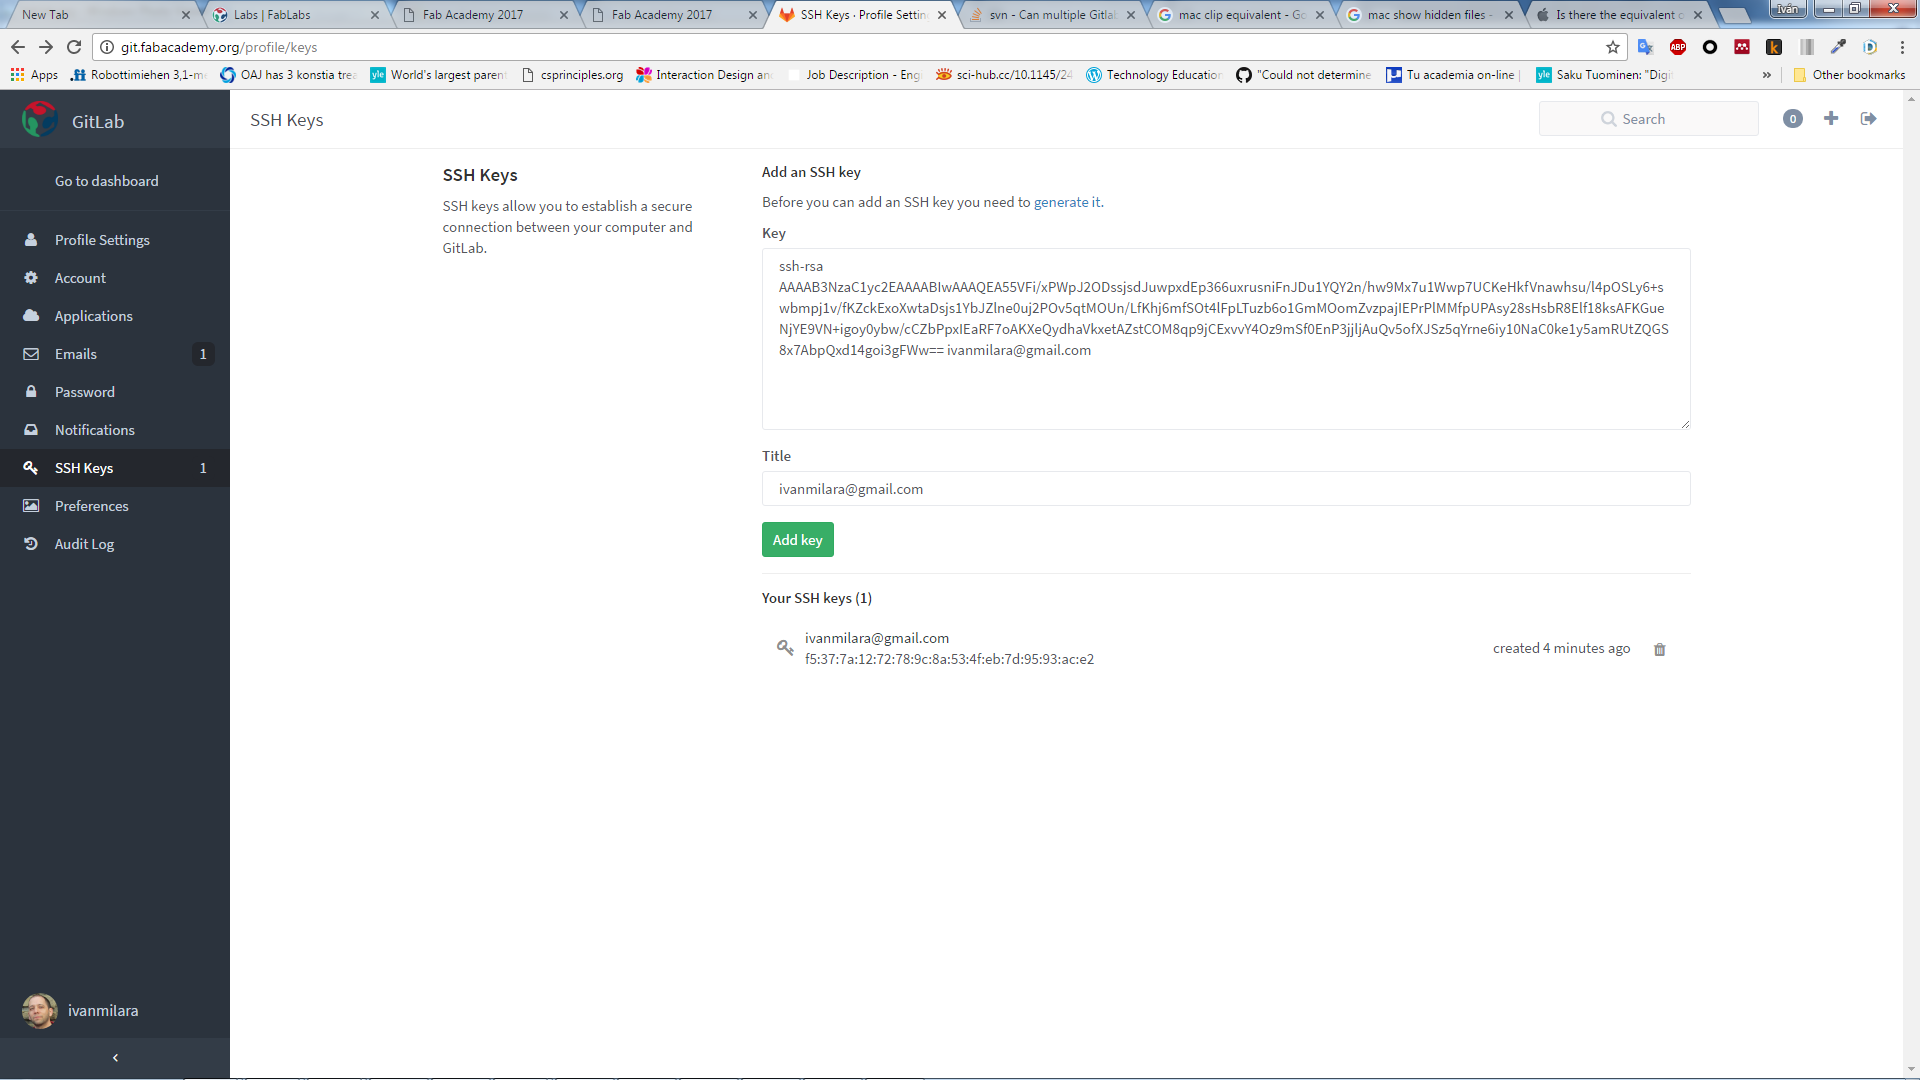
- Next step is to create a public/private key pairs in order to connect securely with remote repository using SSH protocol, instead of HTTP (more insecure). To do that I opened Git bash from Windows Init Menu and typed:
ssh-keygen -t rsa -C "<myemailaddress>"
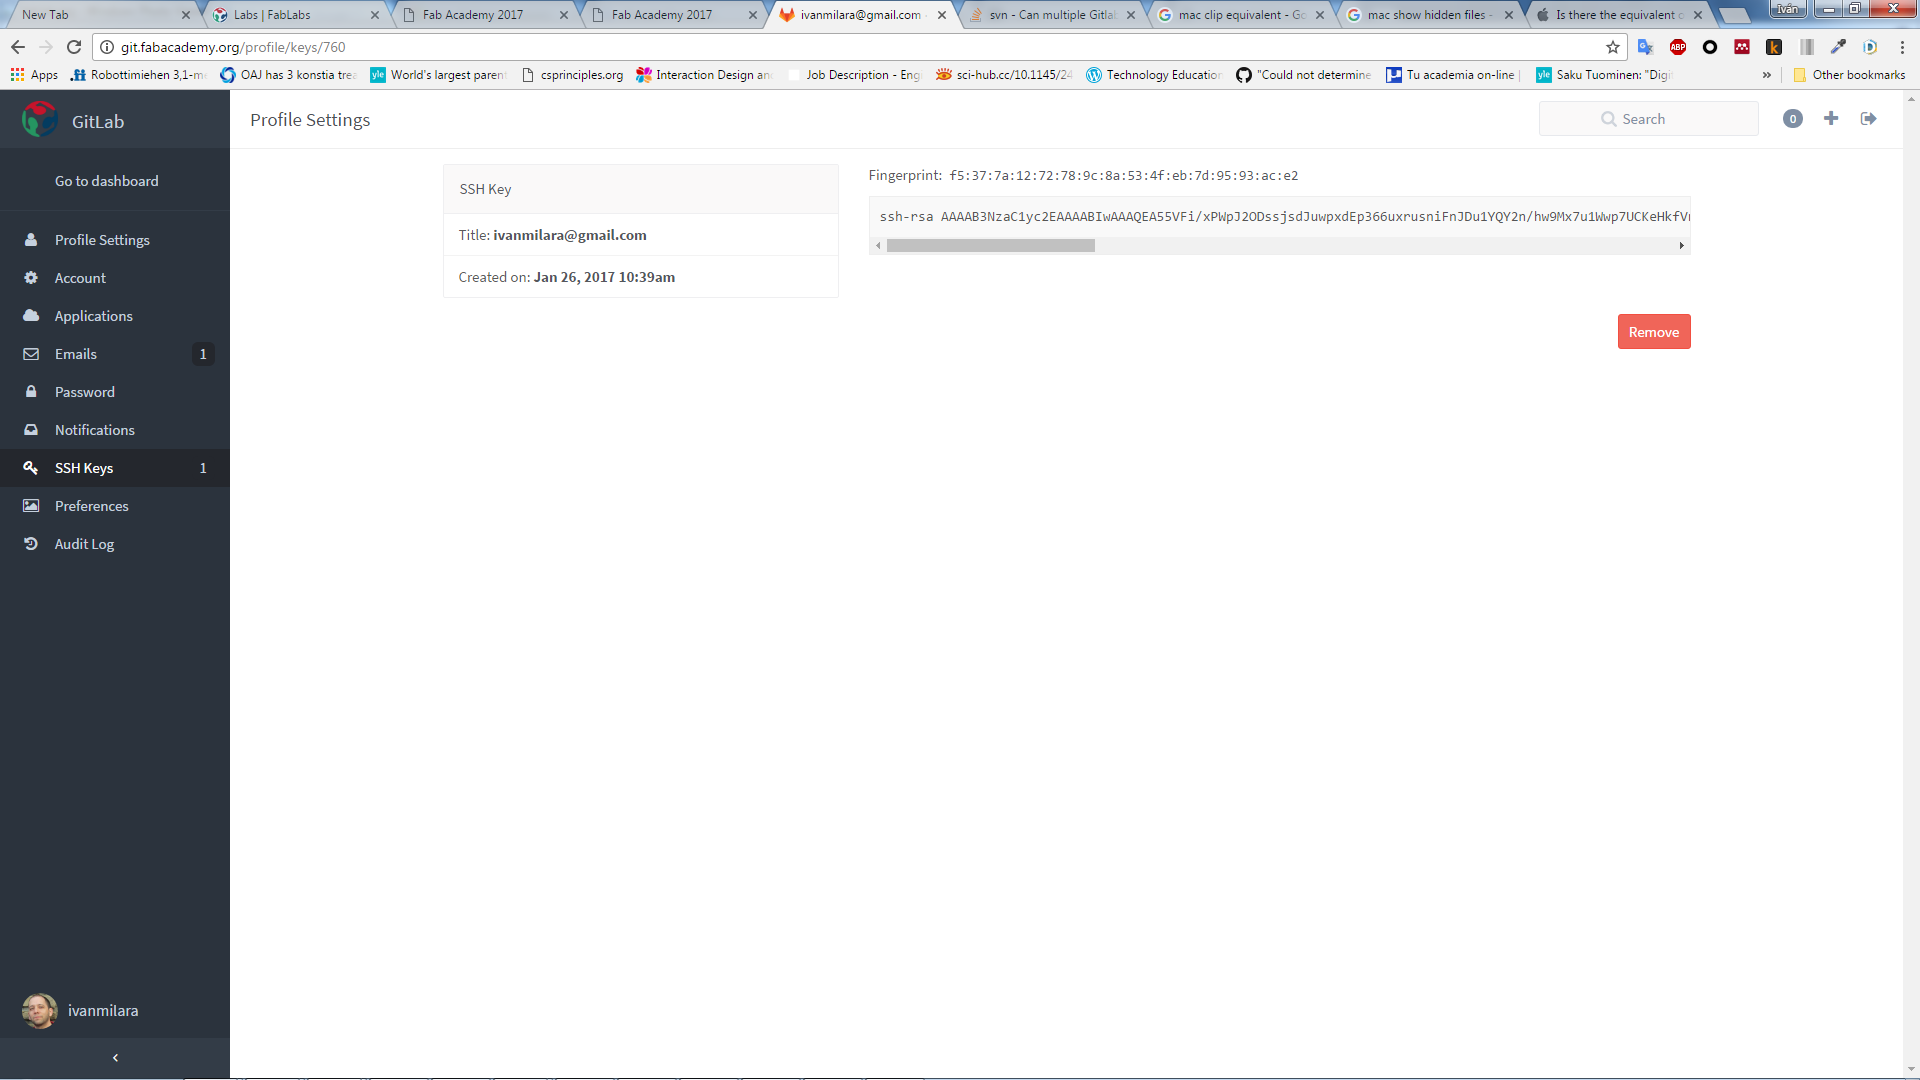
This command generated the pair public / private key in the default folder: C:/Users/<myname>/.ssh/<keyname> - After that I browse through the git.fabacademy site to access Profile Settings>SSH Keys. In this page I copied the content of <keyname>.pub in the Key box, and added Add Key.
NOTE: In order to copy the public key I used the following command to copy the public key in the clipboard.clip < C:/Users/<myname>/.ssh/<keyname>.pub
- In order to use the secure connection, we need to create a password in git.fabacademy site. New password can be created from Profile Settings>Password
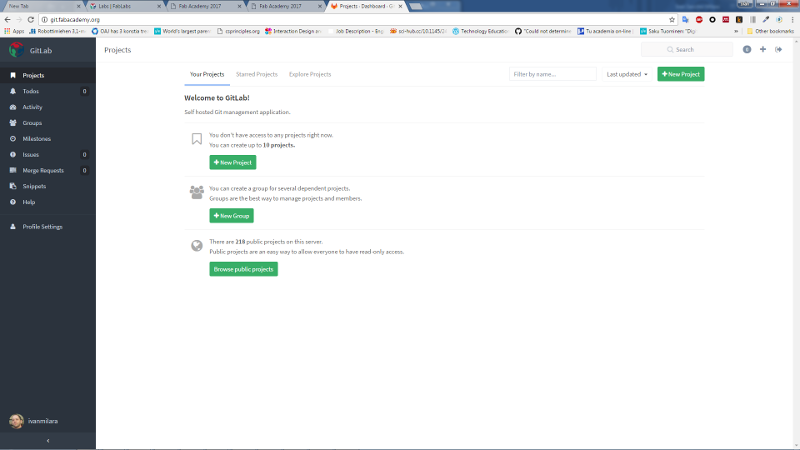
- After that we accessed our Fab Lab's project through the git.fabacademy site. Our Fab Lab tutor had to gave us permissions so we could access the repository.
- Next step is to clone the repository, that is to make a local copy of the remote repository in our own machine. The clone address can bee seen from the project page. From the command prompt i typed:
git clone <Fab Lab Oulu repository address>
The repository was cloned in my local machine. It contained different folders, one for each student in Fab Lab Oulu.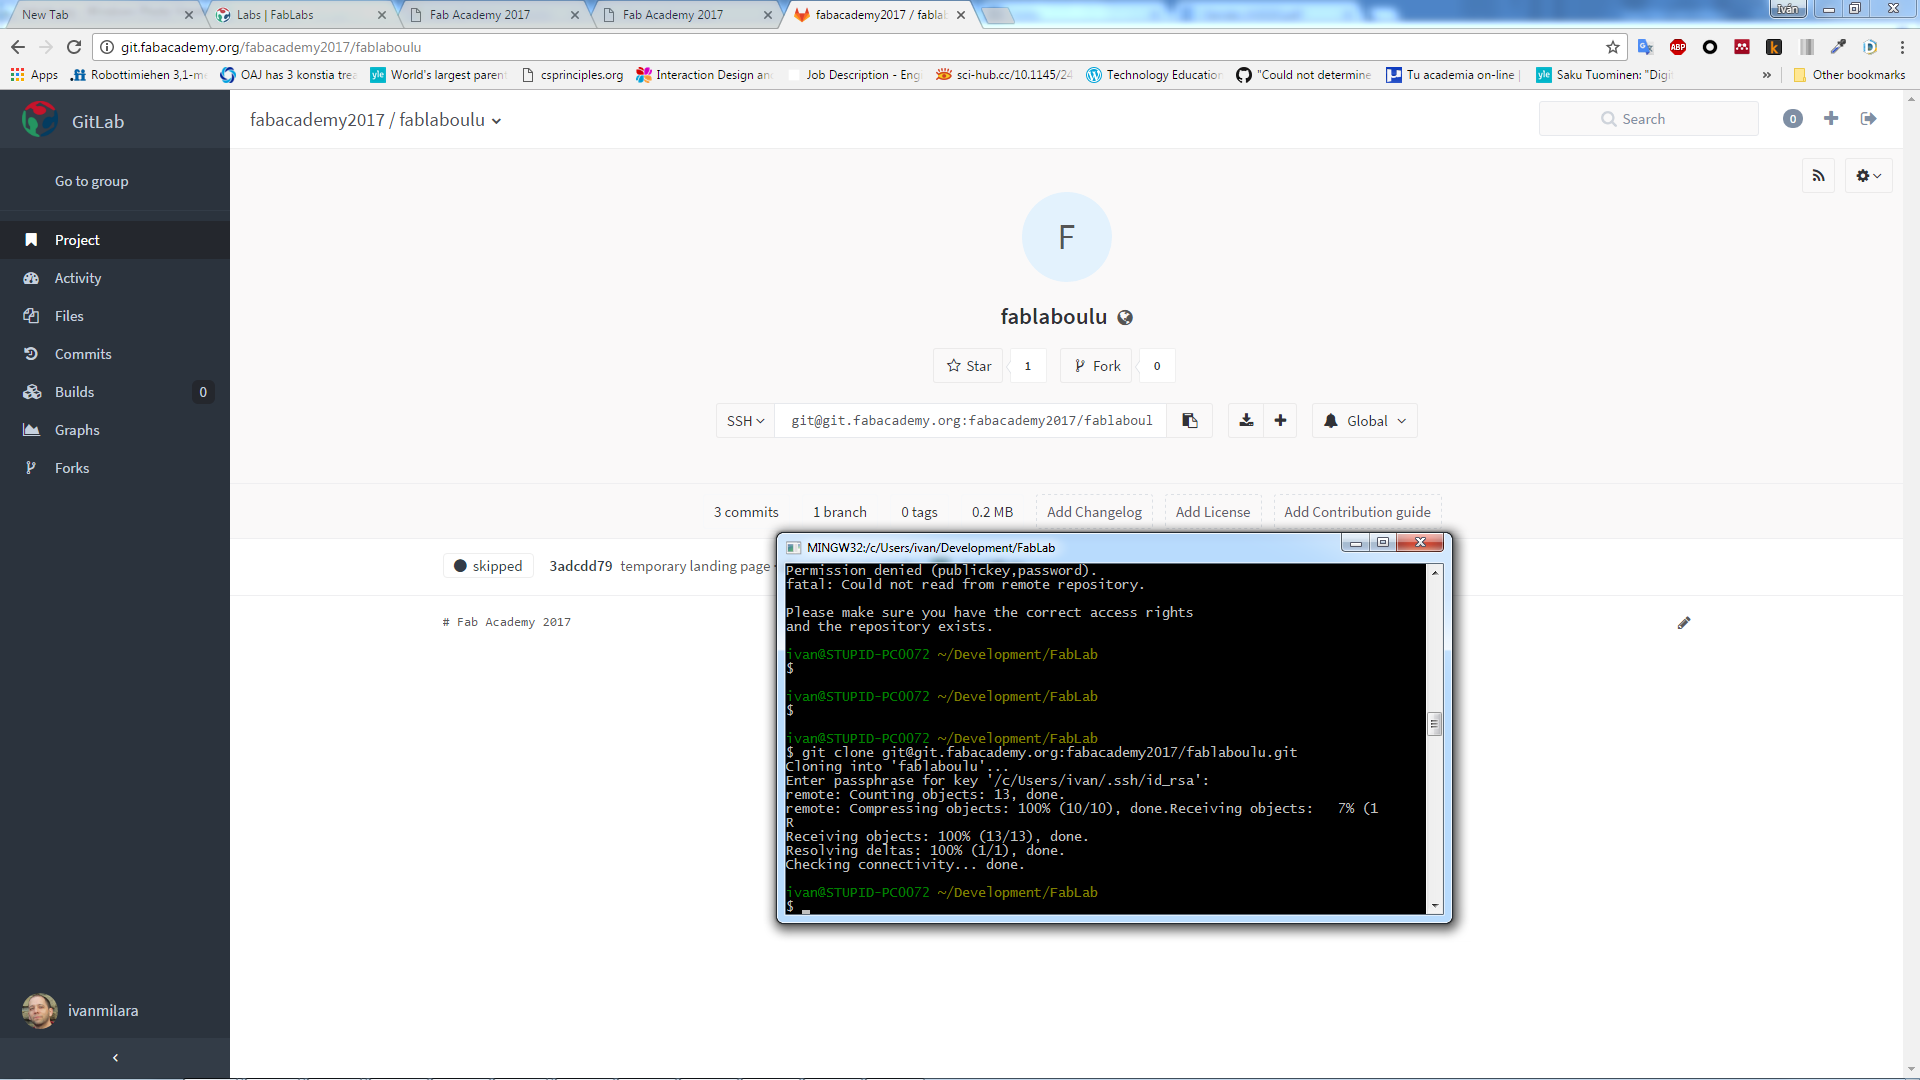
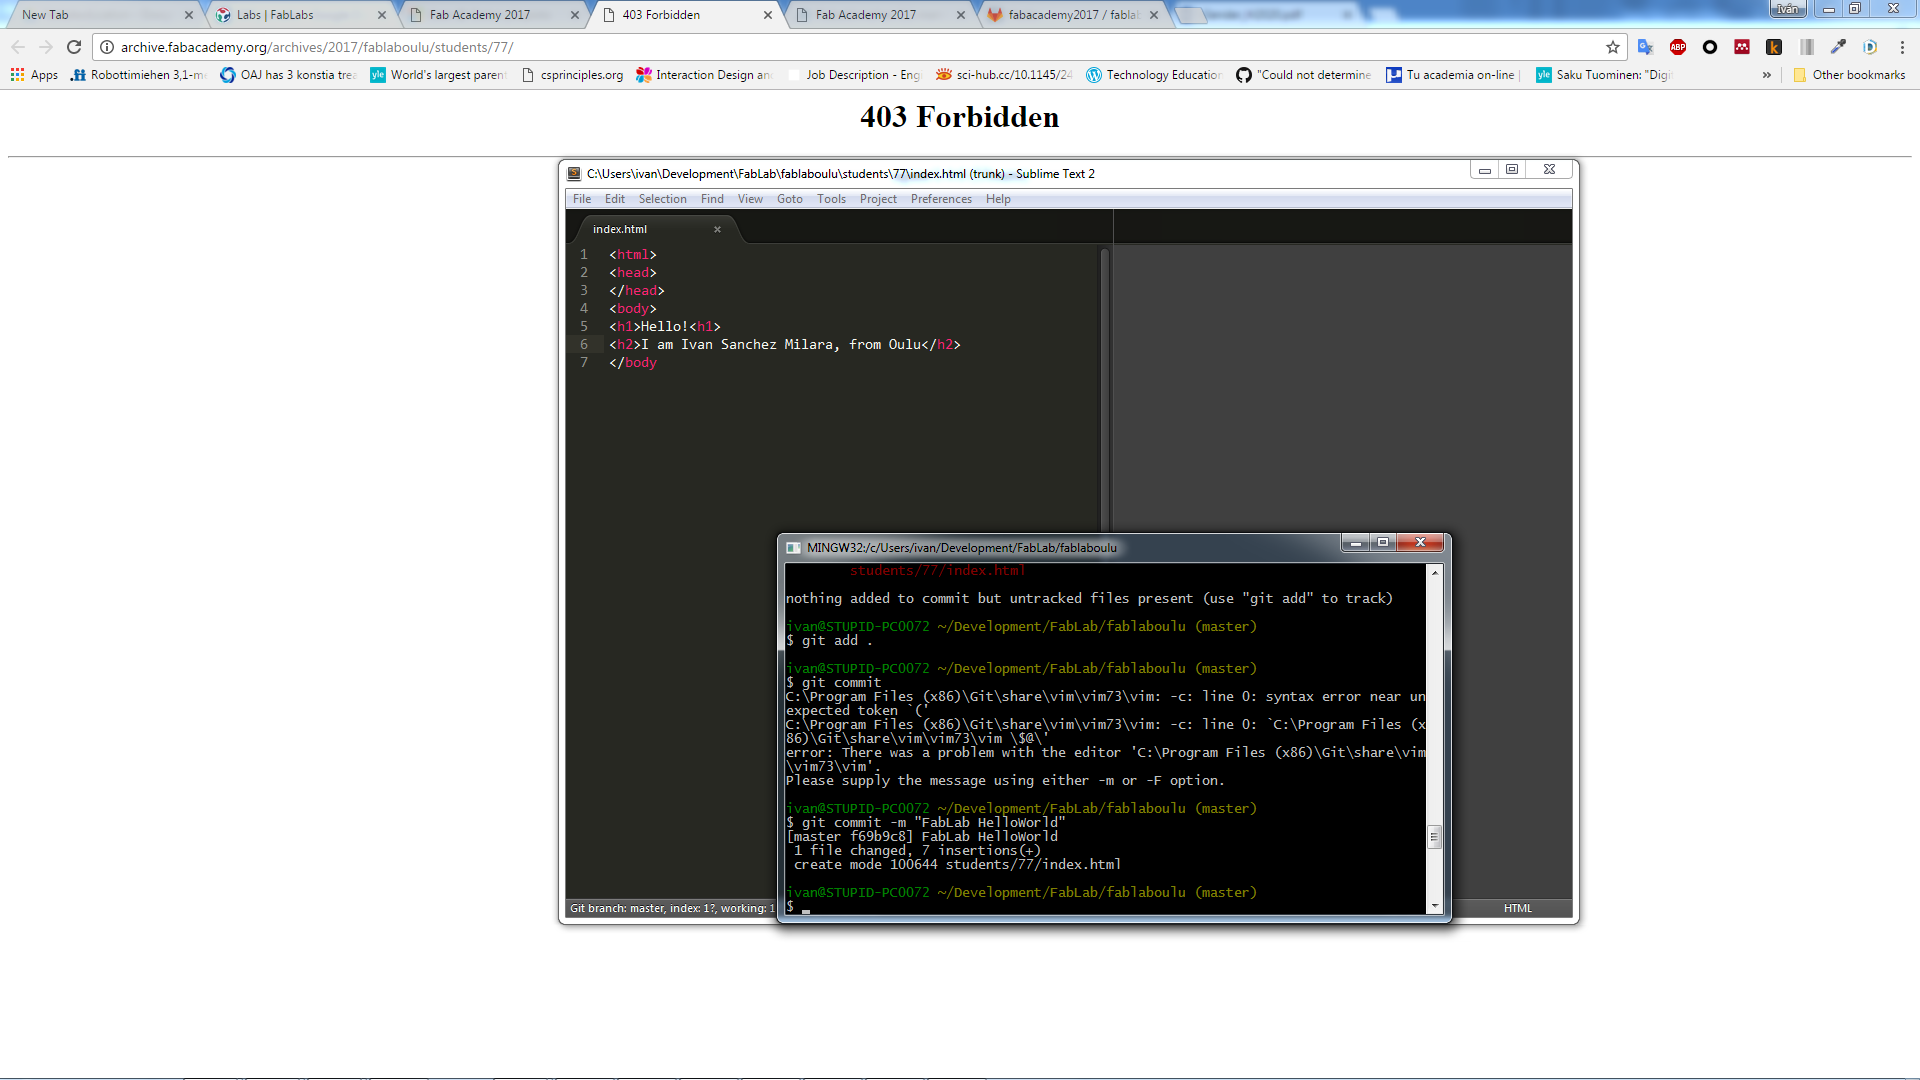
- After that, I created simple website with Sublime Text, a very powerful code editor, which I usually utilize to write code. I stored it in my local repository workspace. It is just a single web page named index.html
- Next, I wanted to upload the page to the repository. To do that I follow the following steps:
- Syncrhonize my local repository with the remote repository:
git pull origin master
- Add all the files that I create to the Git stage are. The git stage area, is a temporal place to group files and hence create a commit.
git add .
- Commit the files to my local repository (that is store all file changes to the local repo). Note that it is necessary to include a significant message
git commit -m "Initial commit"
- Synchronize the remote repository with my local repository by sending all my changes.
git push origin master
- Syncrhonize my local repository with the remote repository:
- I got my Hello World page up and running!!!

Creating the website
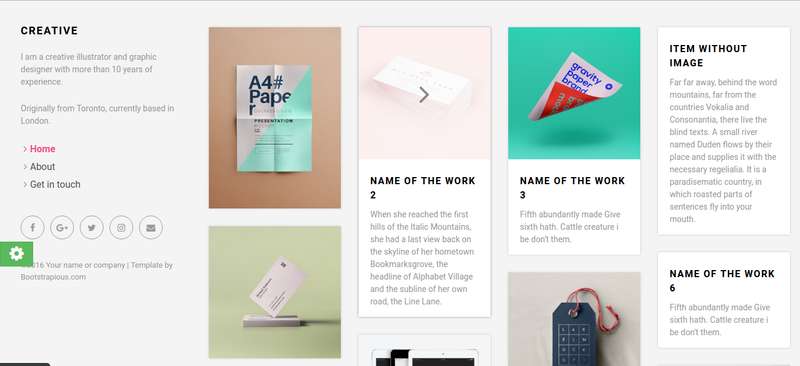
I had some previous experience on webdesign. I decided to create a simple and responsive portfolio-like website. I did not wanted to start from scratch so the first thing I did was to search for an existing template in internet. In order to make my life easier, and at the same time have a nice looking website I decided to use a frontend framework. I opted for Bootstrap due to its simplicity. Hence I searched in Google the keywords bootstrap template free portfolio. I scanned a bit the results and start searching for templates in Start Bootstrap, Wrap boostrap and Bootstrapious. After a few comparison I chose the Creative Portfolio template from Bootstrapious. The template is shown in following figure
I am familiar with Sublime Text so, in order to practice with another editor, I chose Brackets. I heard the first time about it during Neil's lecture, and I wanted to give it a try. The big advantage of this editor is that it generates the HTML view dynamically, so you do not need to reload the browser everytime you make a change to the webpage.
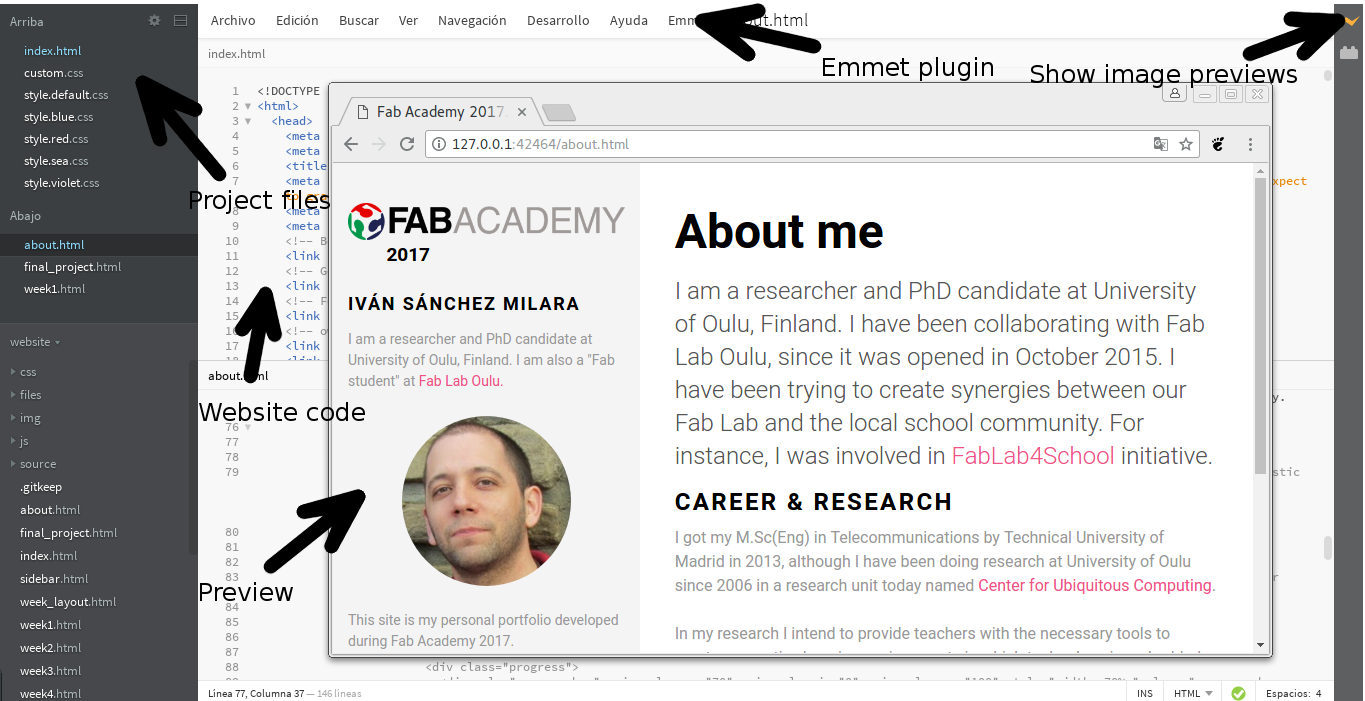
In Sublime Text i used quite often Emmet plugin which permits writing quickier websites, thanks to several tools including autocomplete.
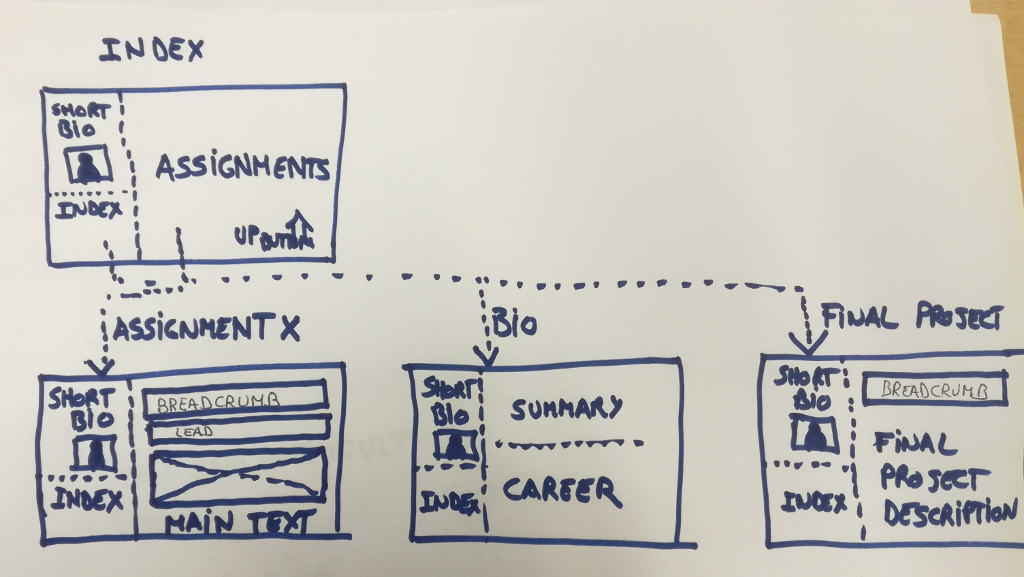
I had clear from beginning the structure of the site: the home page should contain a visual list of weekley classes. Clicking in one list element would access to the class information. I decided to create another static webpage with my bio and a third one to store the project information. The wireframe and the structure of each page is shown in following figures
A web structure can be divided in three different blocks:
- The content of the website that is written in HTML
- The presentation (how the website looks like) that is written in CSS
- The interaction with the user (website behaviour) that is written in javascript
The template that I used utilize Bootstrap, a framework to develop responsive websites (that is, websites that adapts to the screen size). It is based on a grid-based system of 12 columns, in which the column size is defined by the resolution of the screen in which the website is structured. Bootsrap includes HTML code snippets (e.g. widgets), javascript and CSS in order to achieve the responsiveness. Furthermore, it facilitates the construction of sites by the means of widgets which save a lot of developing time.
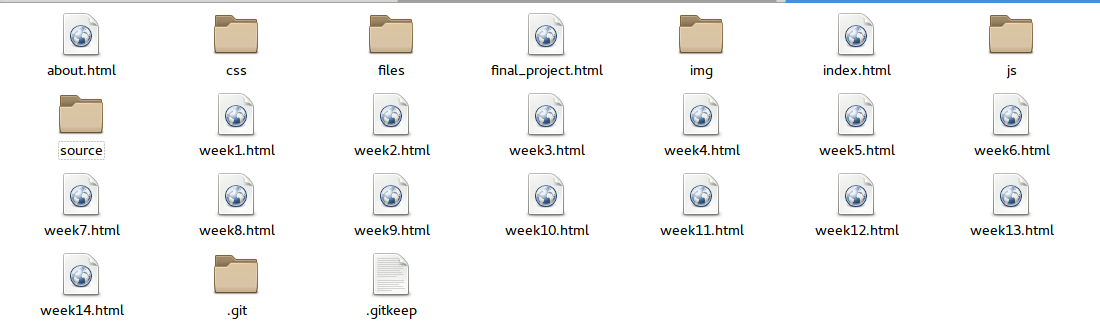
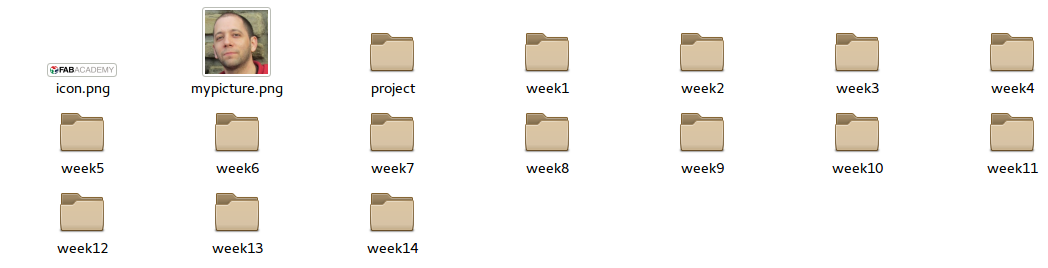
I have structured the files in the website as follows. The index, project files, and each week's documentation are stored in the root folder of the website. Then css folder contains all the CSS style files while the js contains the script files. The img folder contains all the images of each week while the source folder contains weekly 3d and 2d models, code libraries and similar files. Finally the .git folder contains the local version of the Git repository.
HTML structure of the website
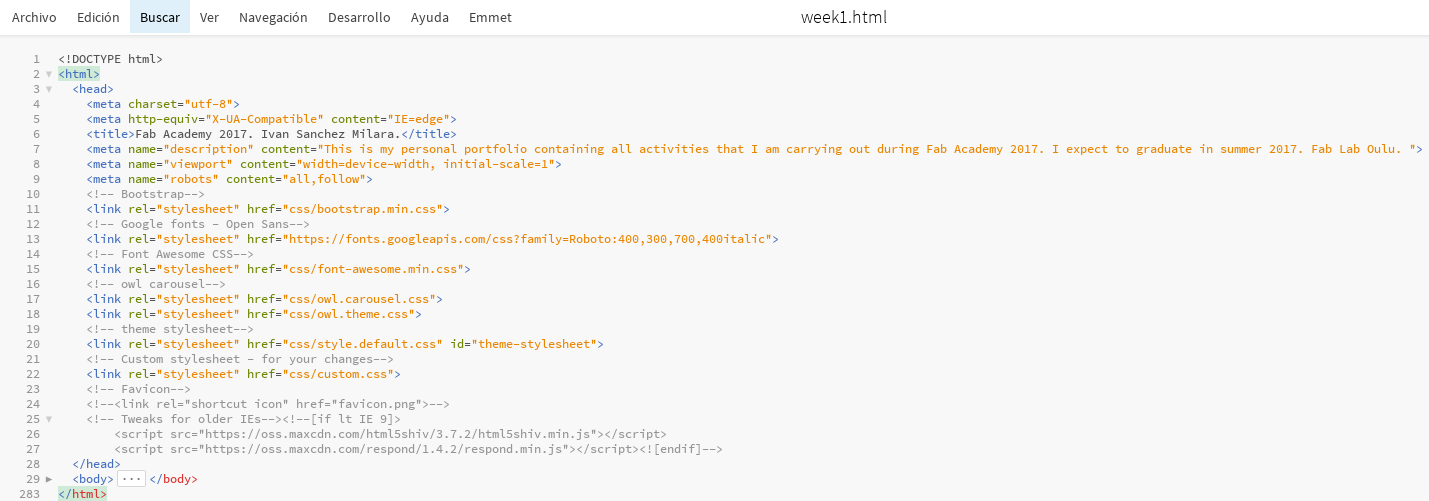
Each page of the site is structured as follows:
- The head element contains links to CSS style files, and metadata to help Internet indexers as Google, and the favicon.
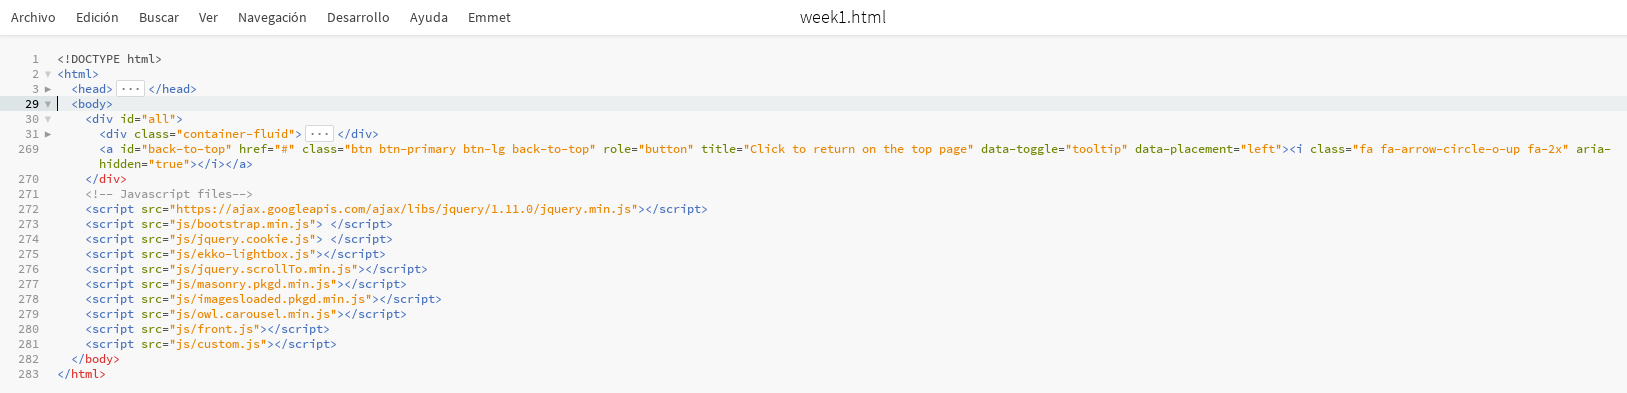
- The body which contains the content of the page, a button that appears when the page does not fit in the browser window, and that permits to go back to the top of the page and the script files. The content of each page is structured as follows:
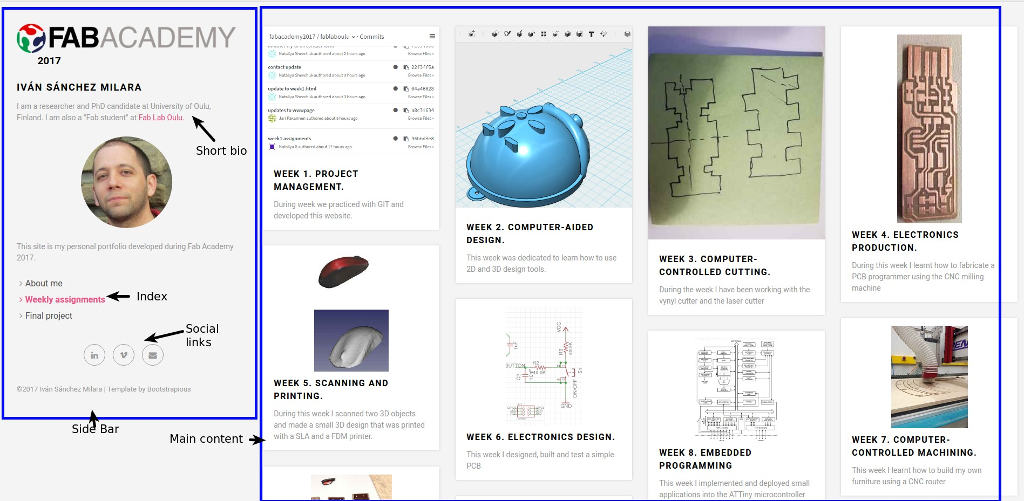
- A sidebar which contains information of the webpage author, a list of links to the different site pages (general index, detailed information about the author, link to the final project and to each weekly assignment) as well some social media icons. In my case, I am not very active in social networks, so I have just included a link to my linkedin profile, and to vimeo, the platform in which I will upload the course videos. I have added also info about my personal e-mail. I use Bootstrap to grid the page. The sidebar occupies 3 columns (out of 12) in medium devices (e.g. laptos) while 4 (out of 12) in small devices such as mobile phone screens.
- Each weekly page is structured as follows: the content is inside a Bootstrap column. The title is inside a
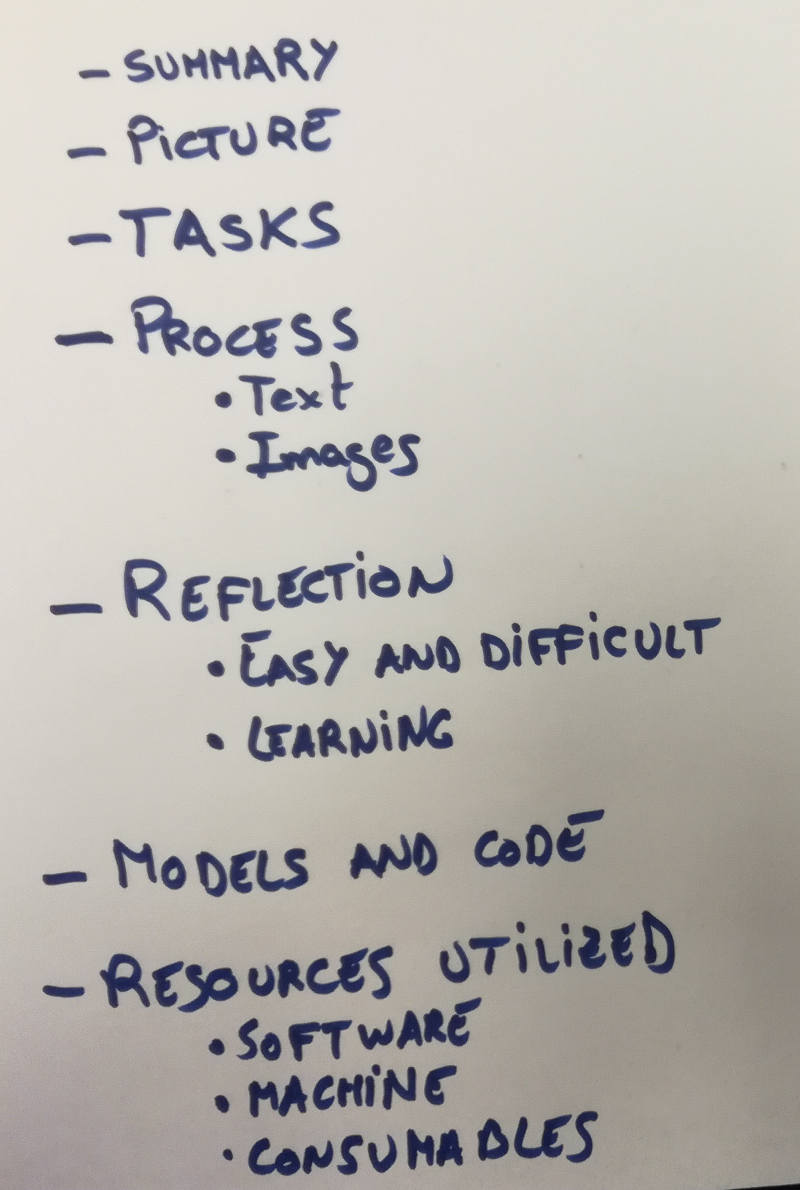
h1header. Then thenavbar-headerandnavbar-collapsecontains the code implementing of the breadcrumb to quickly access different sections of the site. It heavily use of javascript to scroll down gently the page to the desired content as well as to collapse and uncollapse the menus. After that the text inside the .lead div summarizes the week's tasks. Next, a hero shot ilustrating the work of the week is added in the title-img-container. After that, a an unordered list shows the different tasks that I performed (or not finished during the week). Finally, the week's process is explained under theh2header which id is process. The rest of the structure depends on each week's assignment. Usually h3 headers separate the main sections of the week. While h4 and h5 headers shown different subsections.
The index page has a slightly different structure. In this case I make heavy use of the downloaded template class named grid. This allows to present images and text in a grid structure, which adapts to the screen resolution. To that end it makes use of the javascript plugin named box-masonry. Each, week's link is inside a masonry-item and is composed by an image, linking to the weekly assignment, the name of the weekly assignment and as short description of it (that usually is the same as the lead element in the weekly pages.
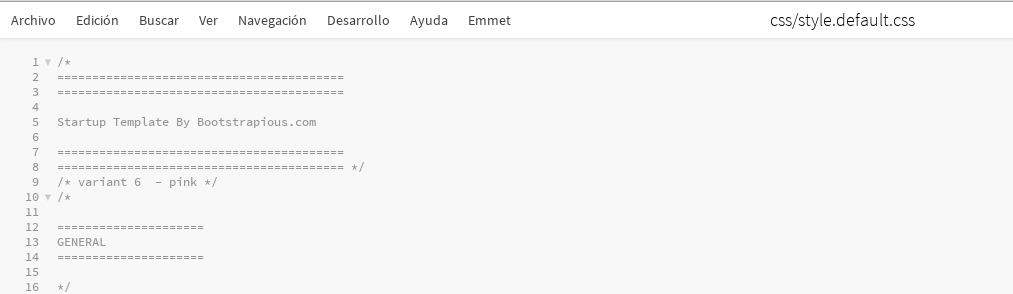
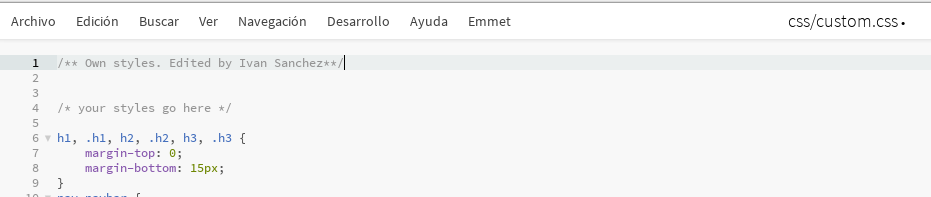
CSS of the website
I used mainly the CSS files that came with the template I chose (Bootstrapious). However, to fit my needs I had to edit heavily the CSS files in order to show the site exactly as i want. I had to do major modifications in the sidebar and in the way images are presented in the main content. In addtion I had to create my own CSS style for the go-to-top button. I made the changes in a separate files named custom.css so I do not modify the default style.
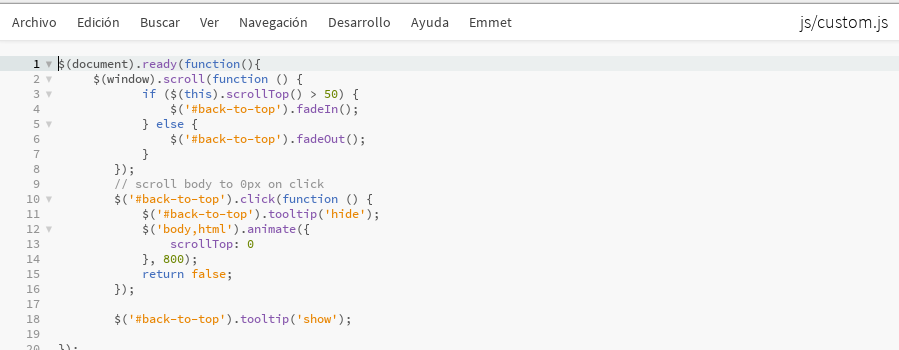
Javascript included on the side
I did not have to modify the javascript code coming in the template. I just added one javascript library jquery.scroolTo, to make the breadcrumb work. In addition I created my own library custom.js to make the go-to-top button working. The libraries that were utilized are:
- Bootstrap: to make the site responsive
- Custom: (custom.js) which implements the go-to-top button behaviour
- ekko-lightbox and masonry for the grid in the index page
- imagesloaded: to have bigger control on the way the images are downloaded
- scrollTo: to make the breadcrumb work
- main.js: which contains the main javascript code of the template

You are seeing the result of the work right now.. I am not totally happy with it, so I will do some minor changes in the future, specially to improve the usability
Working with images
I have also been struggling compressing the pictures to make them suitable for the web. To that end I am using GIMP and ImageMagick convert line tool. I have been using more heavily since Exercise 3. The operations using that command that have been more useful for me are the following:
- Resize a set of jpg images to 800x600 reducing considerably its quality
convert *.jpg -resize 800x600 -strip -quality 40 ../image_web/destination.jpg
- The same for png files:
convert *.png -resize 800x600 -strip -depth 8 -define png:compression-level=9 ../image_web/vynyl.png
convert origin.png -resize 800x600 -depth 8 -strip -define png:compression-filter=2 -define png:compression-level=9 -define png:compression-strategy=1 final.png
- Merge to images having a maximum width of 800px:
montage -geometry 400x300+10-30 screen1.png screen2.png out.png
Defining the project
This was one of the hardest part of the week. I decided to propose as a final project an automatic indoor irrigation system (mainly for home use). However, I am not totally sure that this is going to be my final proposal. I will decide in two or three weeks' time. The page dedicated to the final project will present all information regarding the project including sketches and the descriptions I made during this, and the following weeks.
Resources utilized
- Git: Version Control System
- Brackets and Sublime Text: code editor
- Bootstrap: frontend framework
Reflection
Summary
During this week I built this website and got familirized with Fabacademy git environment. Actually, I had certain experience programming webpages and I am teaching GIT to first year students, so I did not find many difficulties
Main difficulties
No big problems. Just setting up my Git in the different computers I use for work was the bigger mess (e.g. different operating systems)
I found difficulties to define the project. It is hard for me to have an idea of what I want to do since I do not have good skills in majority of the classes. It is difficult to estimate if a project is feasible or not.
Main learnings
I learnt how to use Brackets to create webpages. I also learnt useful Linux commands to resize images for the web as well as the du command to identify big files before uploading to Git.