#13week
input devices
tasks
- - measure something: add a sensor to a microcontroller board that you have designed and read it
This week we are back to electronics and programming - in the 10th week we had to use some output devices cooresponding to this it's now the turn for input devices. They are many inmput devices aka sensors we can use to interact with the world. Audiovisual sensors, temparature and hygrometer sensors, acceleration and position sensors and many more.
As I have used a LCD Display as output device last time, I decided to use a sensor to measure temperature and humidity.
This can be used also for sensing the humidity in the bathroom to switch on/off a ventilator.
For this assignment we have to use a microcontroller board that we have designed on our own. Instead making a new one because time is short I used my board that I made for the assignment on output devices - in the 10th week.
As I learned in previous assignments - I looked for some datasheets for the humidity-sensor DHT 11. The datasheet for the LCD I had from the output device assignment. You can find the links as usual to the corresponding sites at the bottom.
 all the components I used for this assignment
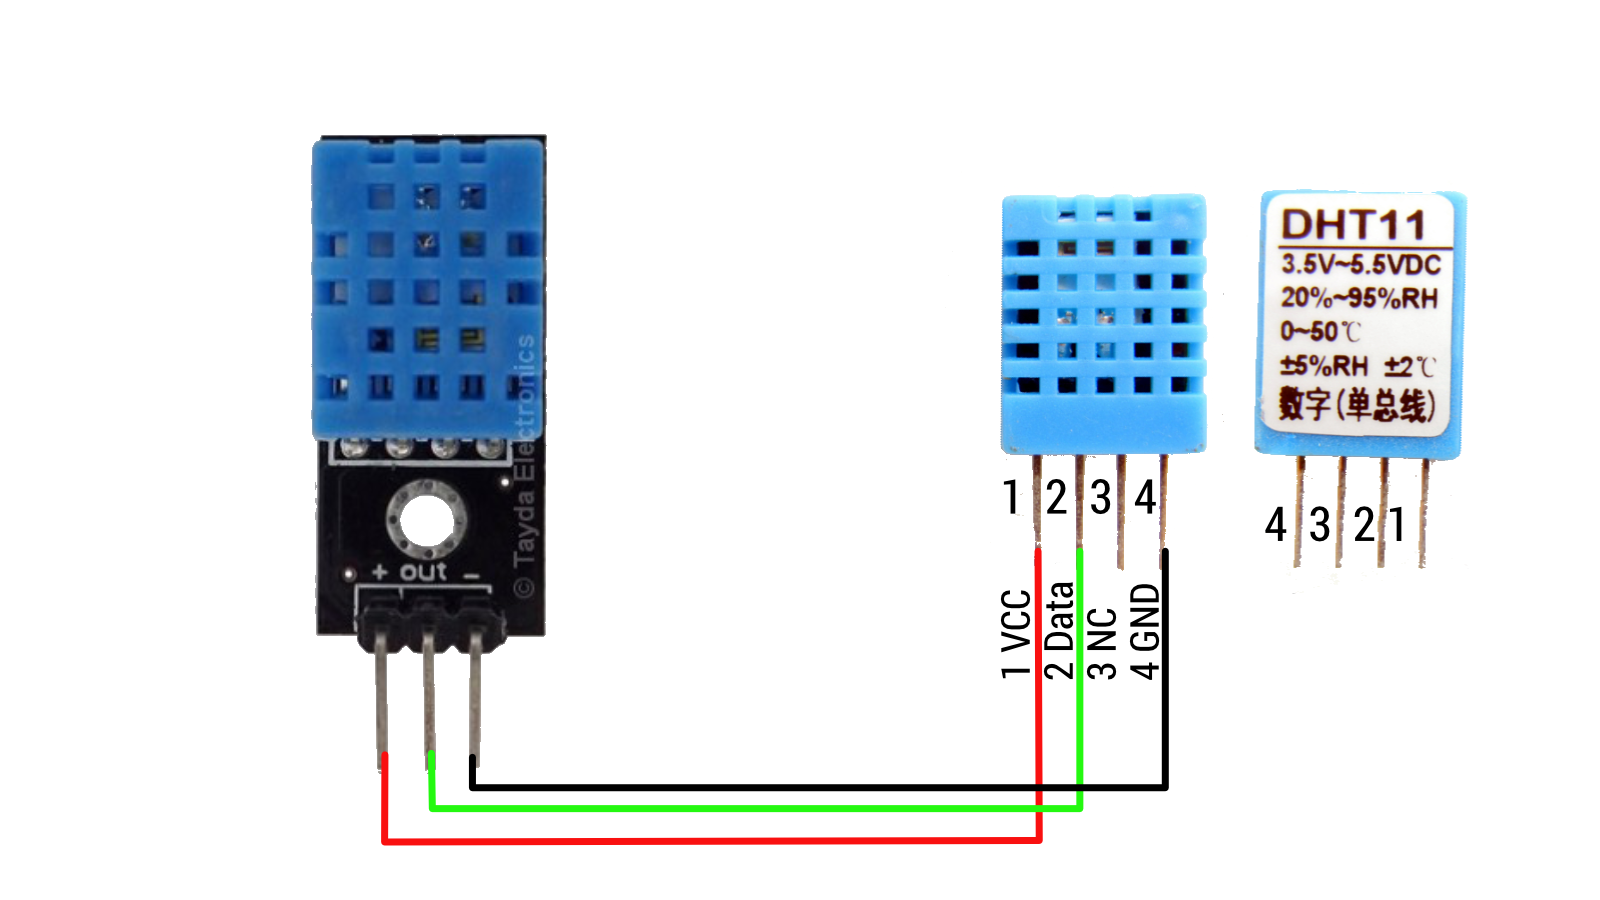 here the schematics of the DHT11 sensor
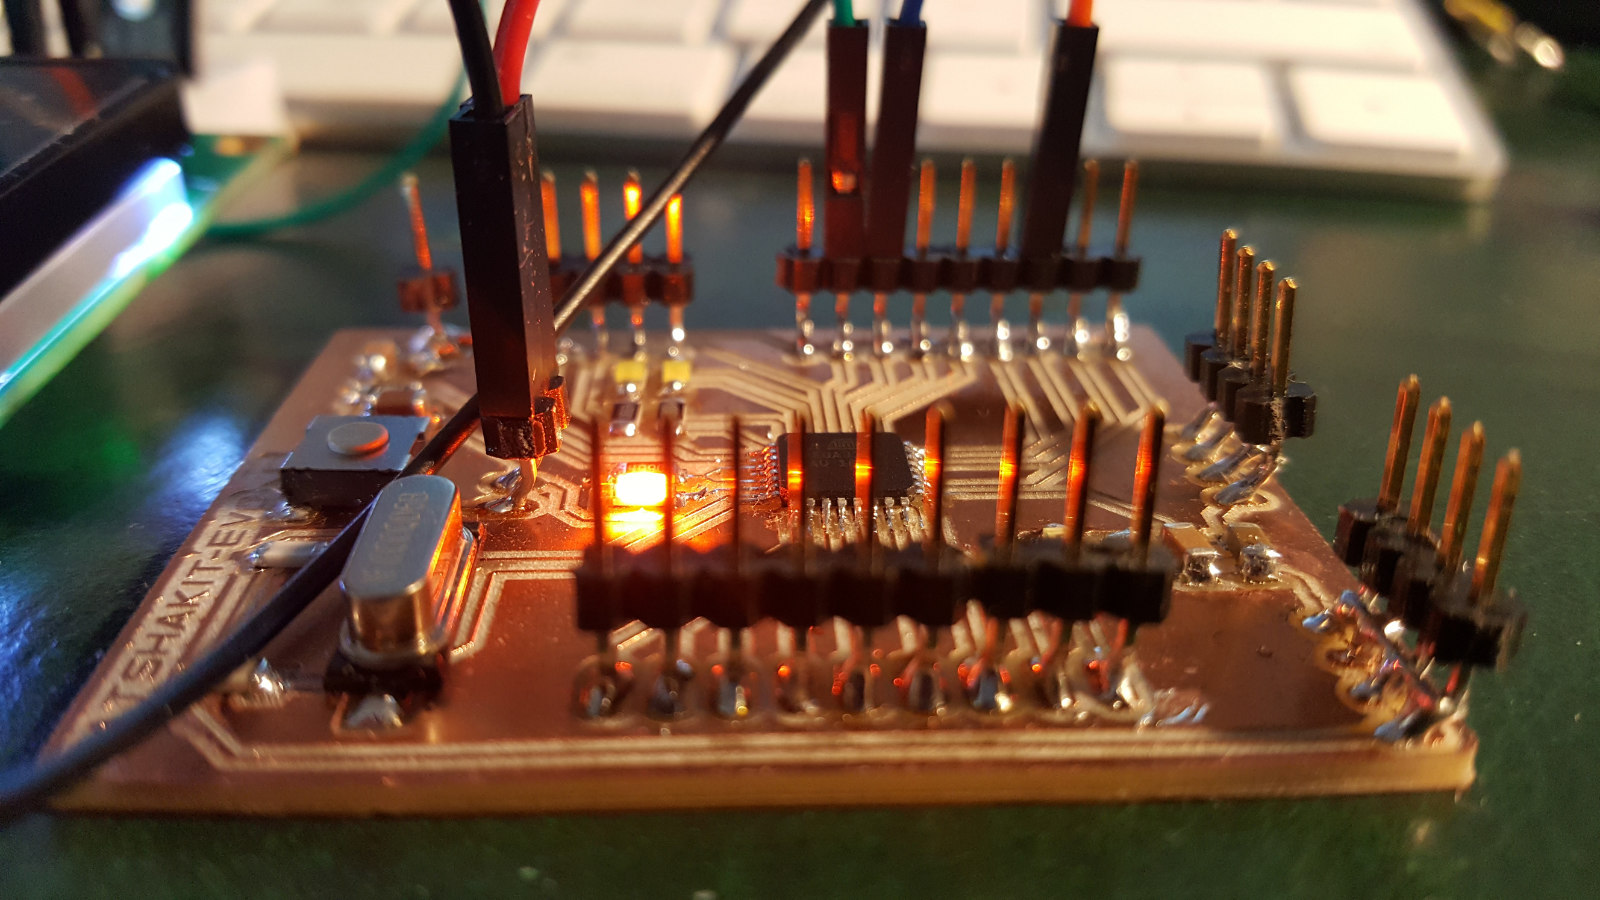
 ...my first setup - cold run
 ...uploading the code also worked fine...
 A test write to screen - succesfull!
 And here is the measured data printed out on the screen
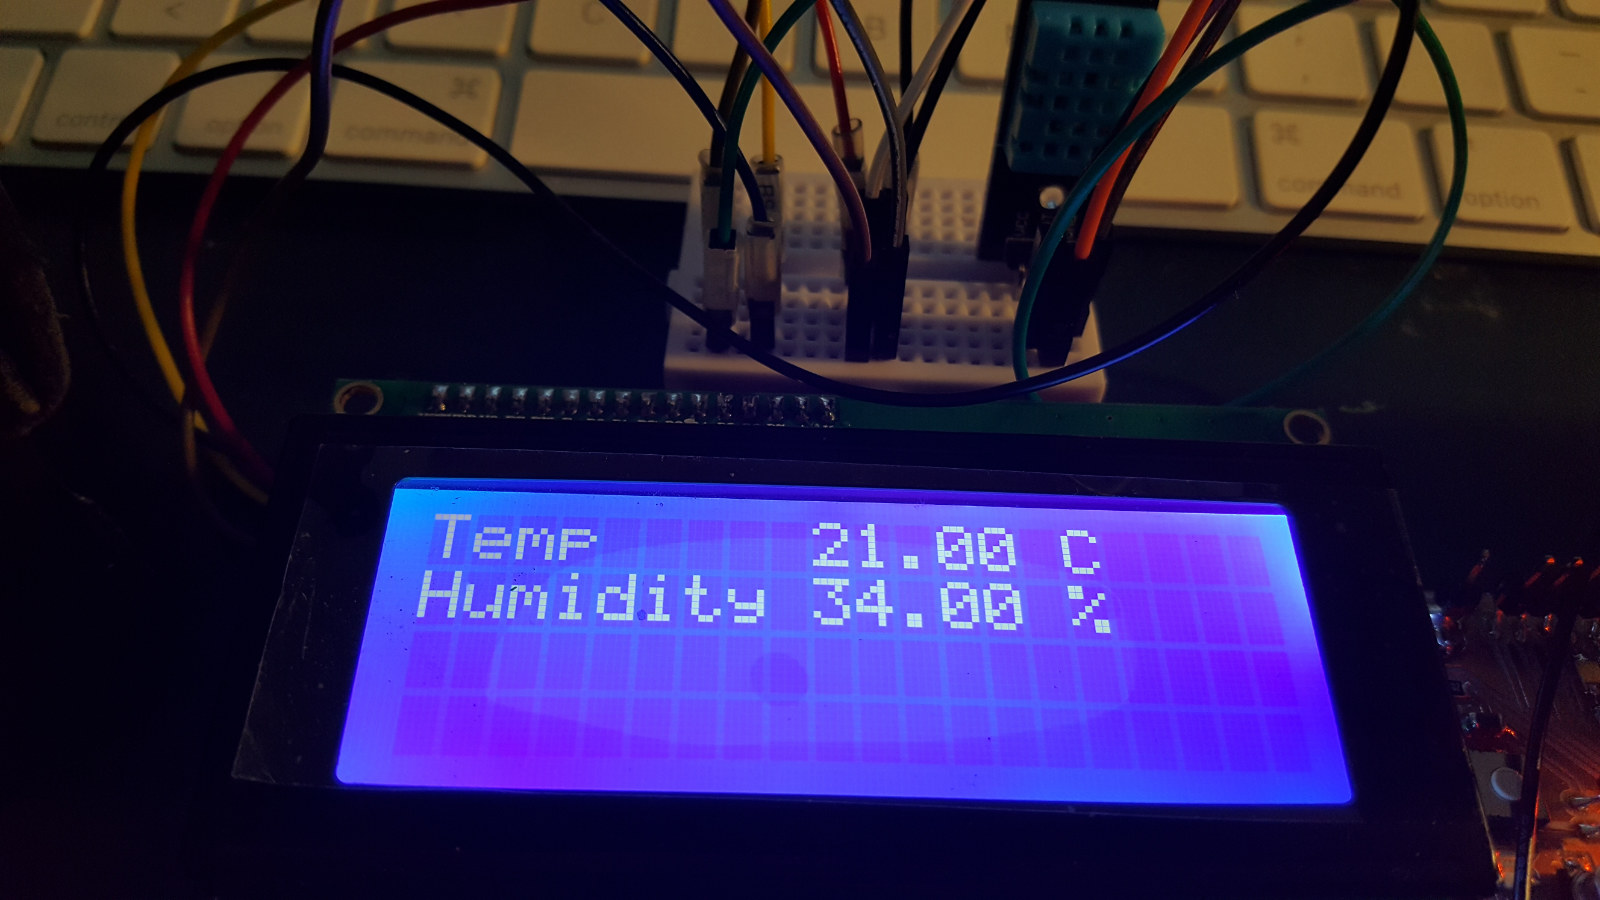 ...and here a second measurement with different values, because I changed the condition for the sensor with a hairdryer to see if it's really working!
 ...and finally here the schematics for the wiring setup...
This is my sketch that I used for this assignment - I put this together after I did some research on a couple of sites. During the research of one of my previous assignments (week #10, Output devices) I also found a handy sketch that can be used to scan for the I2C Address of a connected device - so that it can be integrated in the sketch. In my case I used it to find out (again) the I2C address of the LCD device.
/*
FAB LAB Test Sketch
FAB ACADEMY 2017
Konstantin Stamatopoulos
Input & Output device
*/

#include <DHT11.h>                         //this is the library for the humidity sensor
#include <Wire.h>
#include <LCD.h>                          //this is the library for the LCD Display
#include <LiquidCrystal_I2C.h>            //this is the library for the LCD I2C communication
LiquidCrystal_I2C lcd(0x27, 2, 1, 0, 4, 5, 6, 7, 3, POSITIVE);
                                          //setting LCD Addr, En, Rw, Rs, d4, d5, d6, d7, backlightpin, polarity

int pin = A0;                             // assigning the pin to the DHT11
DHT11 dht11(pin);

double Fahrenheit(double celsius) {^      //Celsius to Fahrenheit conversion
return ((double)(9 / 5) * celsius) + 32;
}

double Kelvin(double celsius) {           //Celsius to Kelvin conversion
return celsius + 273.15;
}

void setup() {
lcd.begin(16, 2);                         //initialisation of the LCD screen 16 characters and 2 lines
lcd.backlight();                          // backlight on
lcd.clear();                              // clears lcd screen

lcd.print("Fab Academy 2017");            //prints out message to LCD screen
delay(3000);                              // delay / wait for 3 seconds
lcd.clear();                              // clears lcd screen

lcd.print("Humidity & temp");             //prints out message to LCD screen
delay(3000);                              // delay / wait for 3 seconds
lcd.clear();                              // clears lcd screen

lcd.print("Starting.....");               //prints out message to LCD screen
delay(3000);                              // delay / wait for 3 seconds
}

void loop() {
int err;
float temp, humi;
if ((err = dht11.read(humi, temp)) == 0)
{
lcd.clear();
delay(500);           				// delay / wait for half second
lcd.setCursor(0, 0);  				//assigning the position of the temp value 1st position and 1st line
lcd.print("Temp");

lcd.setCursor(0, 1); 		                //assigning the position of the temp value 1st position and 2nd line
lcd.print("Humidity");

lcd.setCursor(9, 0);  				//assigning the position of the temp value 9th position and 1st line
lcd.print(temp);
lcd.print(" C");

lcd.setCursor(9, 1);  				//assigning the position of the temp value 9th position and 2nd line
lcd.print(humi);
lcd.print(" %");

delay(10000);         				// delay / wait for 10 seconds
}
else
{
lcd.println();
lcd.print("Error No :");
lcd.print(err);
lcd.println();
}
}


}
Ressources
- ● the Datasheet for the DHT11 Humidity sensor
- ● The Datasheet for the LCD 1602 Series
- ● The Datasheet for the LCD 2004A Series
- ● A good site with HowTo's arduino/compatibles sketches
- ● I2C ADDRESS SCANNER FOR ARDUINO/FABDUINO
- ● KS_satshakit_evo EAGLE pcb board design
- ● KS_satshakit_evo EAGLE schematics design
- ● Here is the Arduino sketch for this assignment

This work is licensed under a
Creative Commons
Attribution-NonCommercial-ShareAlike 4.0 International License.