#12week
molding & casting
tasks
- - design a 3D mold, machine it, and use it to cast parts
This week we had to use some skills we've learnt before to mill a modell in machinable wax and use this to make a silicone mold. The silicone mold then has to be used to cast the object in different materials in our case some resins.
Below the first images from my CAD apllications, I used Rhino to design the Ring because I am more familiar with doing this kind of design within Rhino and the I moved over to Fusion for the CAM part. I had to segment the ring in three parts for milling because we don't have the possibility to mill in 3D - the head part of the ring has some letterings that are oriented around the head in an angle. So I had to unfold or unwrap the part with the lettering flat to have the chance to mill it with the machines we have here in our FabLab. After this is done I have to assemble it manually into the head part and make then the mold of silicone.
Actually the workaraound was not that bad, but it is or was still a problem to mill the lettering in that small scale. So I decided to produce my mold without the letterings - but I will do this later in a 1:1 scale - just to compare the different processes.
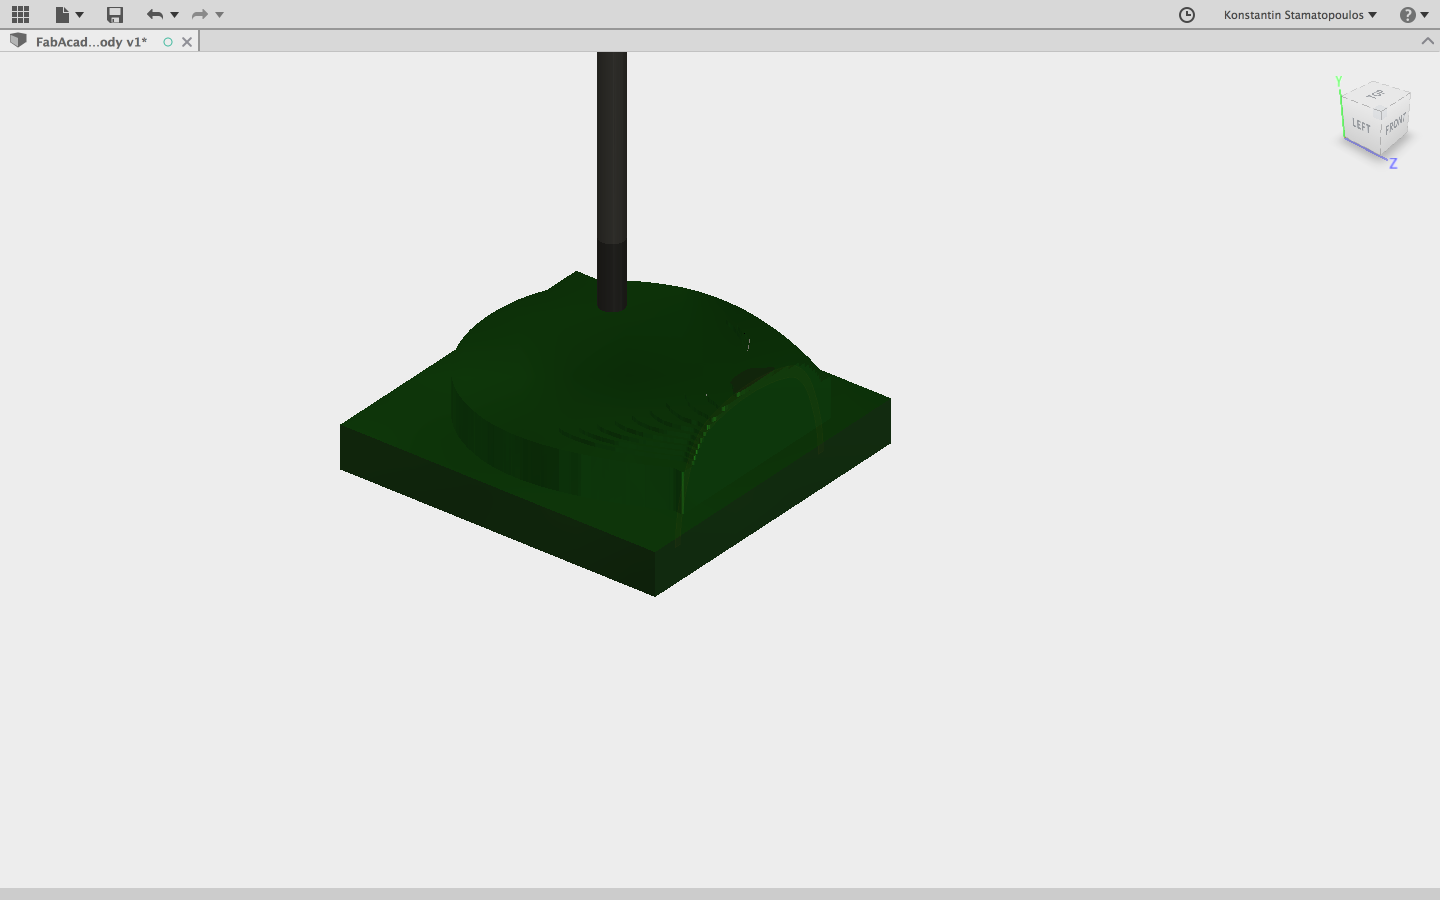
Again, because of some problems with the milling I had to manually fix some issues with the wax models - but the final product looked fine. Then I tried a view positions and decided to place the ring on top of a plate with attached cast & ventilation tubes for later casting.
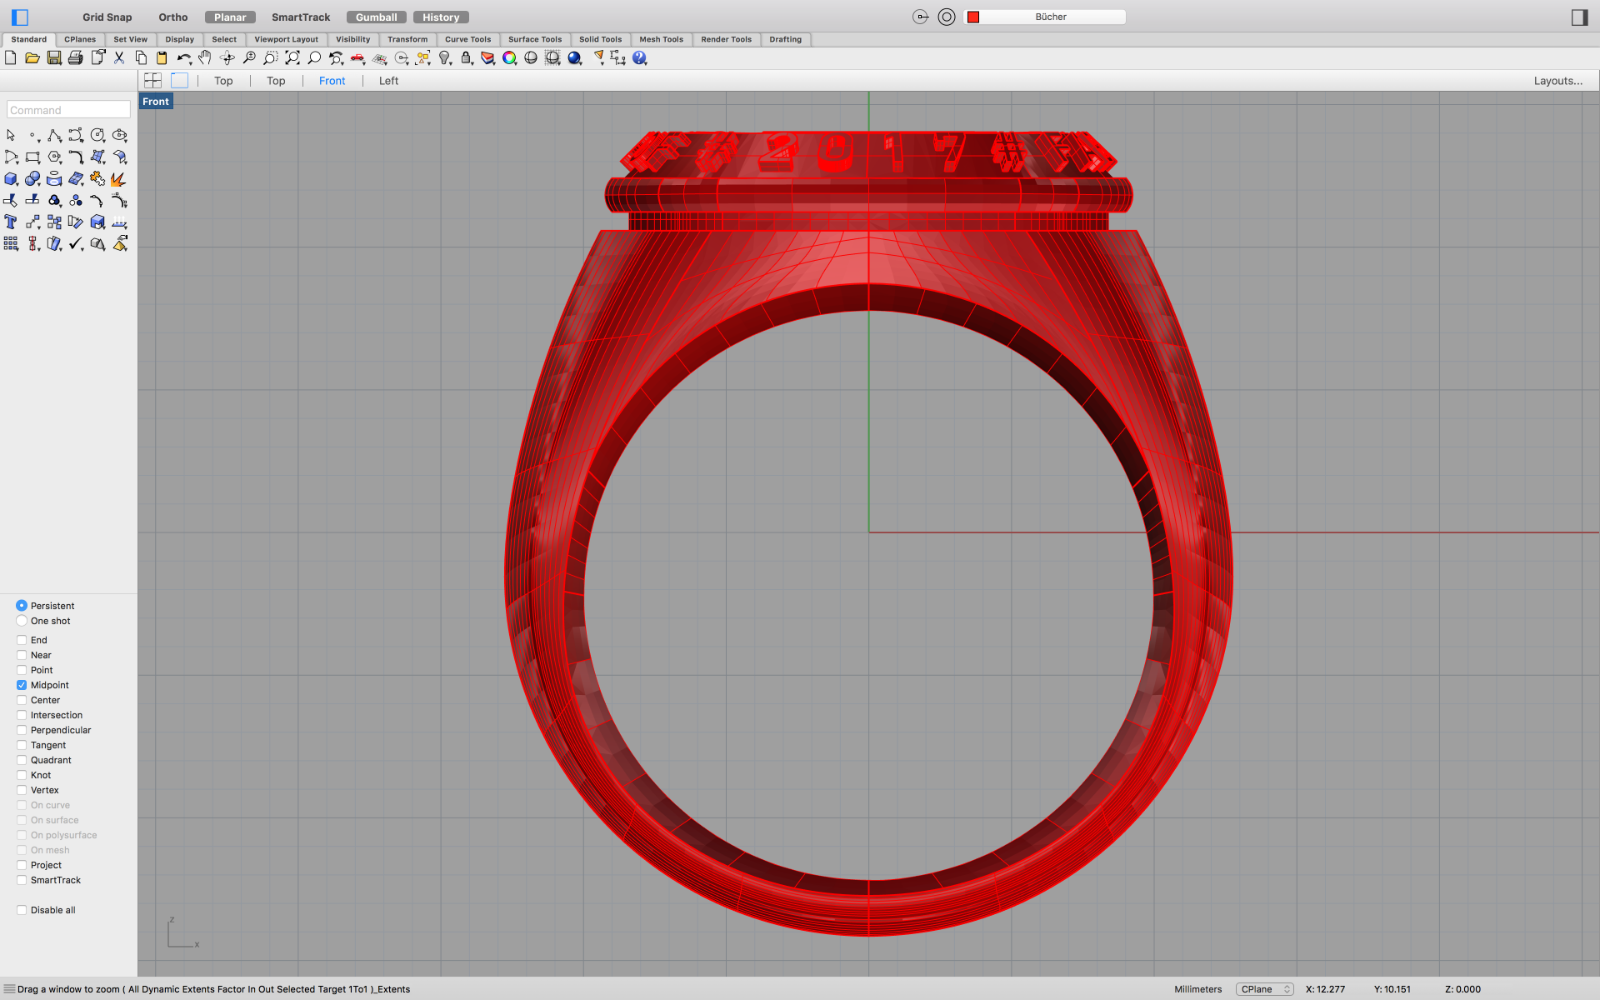 here the front view of the class ring
 ...the side view...
 ...and the top view.
 Here a rendered view where the lettering can be seen better...
 ...in a perspective view...
 here is the view where I segmented the ring for milling...in Fusion
 ...and the side view...
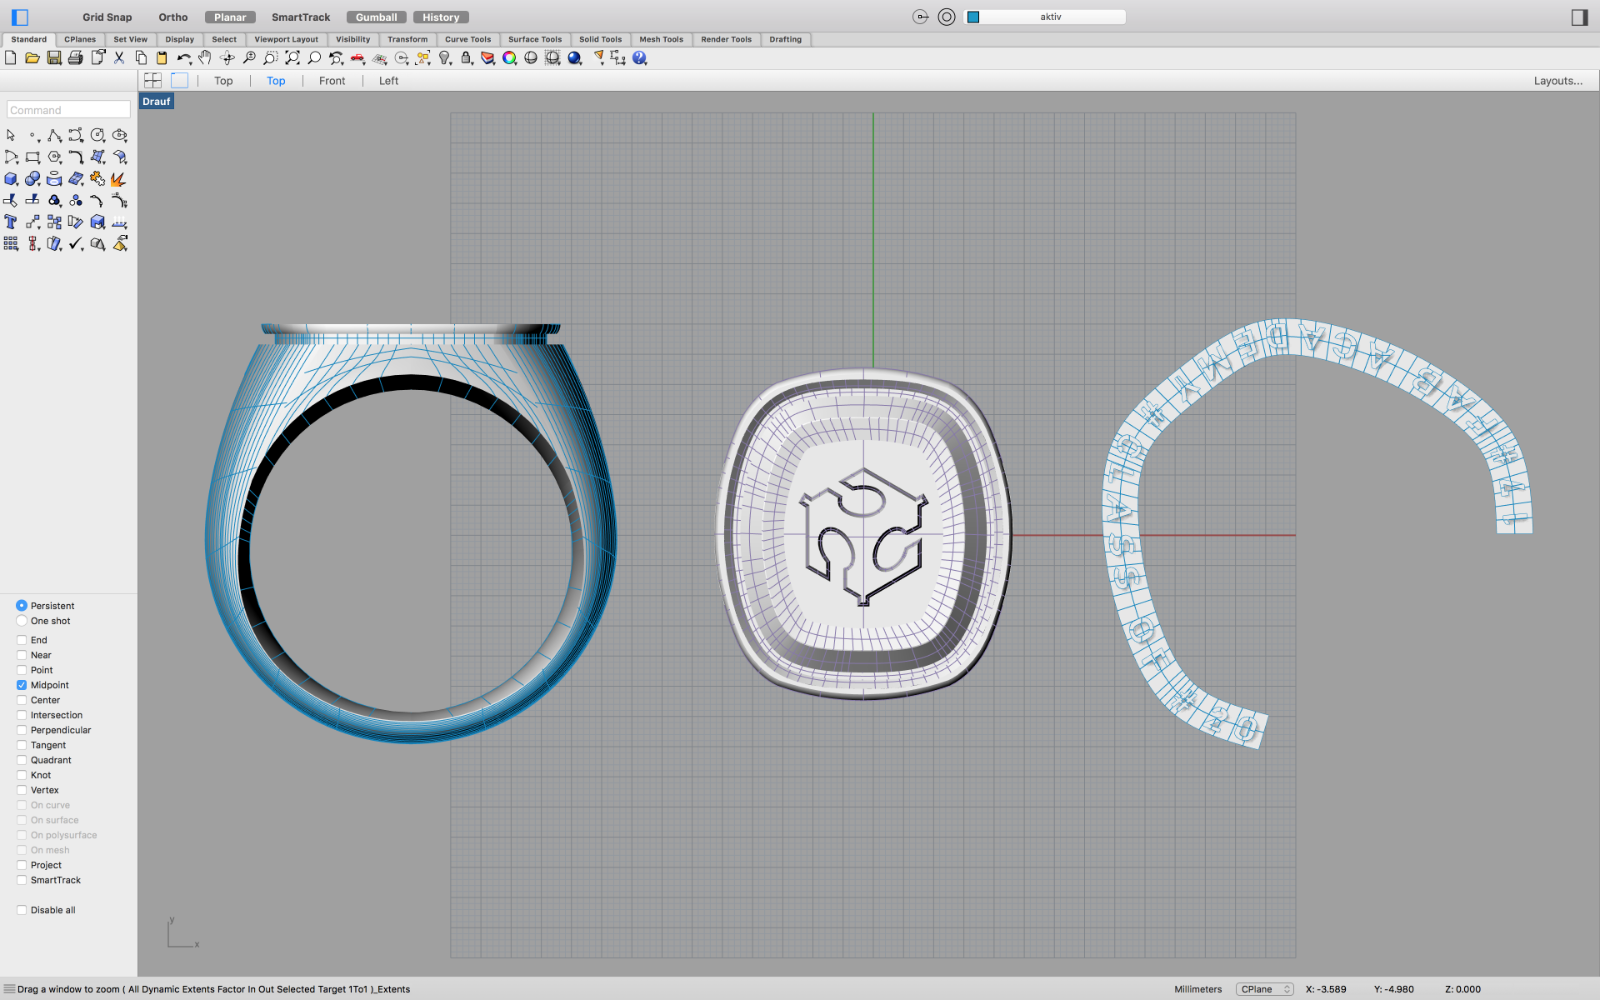 ...the top view... there three (four) parts that I have to mill.
 ...this is the simulated milling within Fusion...
 ...this is the setup sheet from fusion for roughing
 ...and the simulated process - roughing
 ...and for finishing/smoothing...
 ...and the simulation for finishing/smoothing...
 Here the two parts of the ring body - unfortunately the second part of the milling went wrong - the wax block moved.
 Nevertheless - I cut both part out of the restblock to go on with the process - time is short!
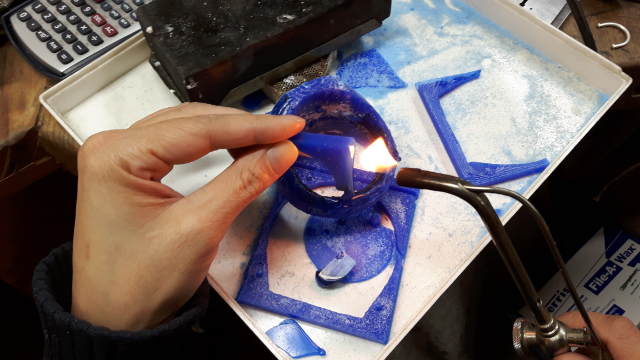 ...here I am trying to fix the broken part manually, by melting wax and putting it on specific positions where later I can grind or hone down to fit it to the needed form
 Luckily my wife is also Productdesigner and Goldsmith so I could use some of her tools - like this modified solder iron especially made for wax melting...
 This is how it looked after the first rough wax applying
 ...and this after using the wax iron....first smoothing.
 ...and here some views after grinding and polishing...
 ...perspective view
 ...still needs some more smoothing/polishing, but first the head plate and the lettering has to be done
 And here the final model... took some time but it worked!
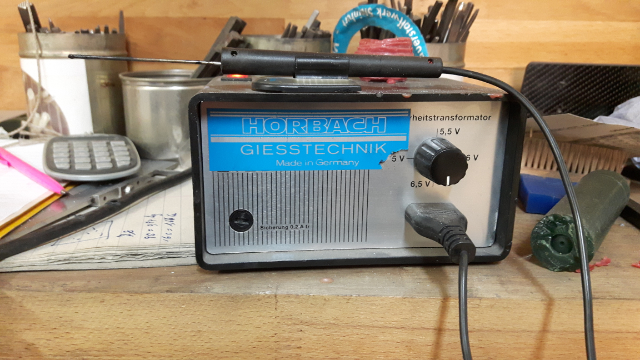
 This is my setup for the siliconemold process...
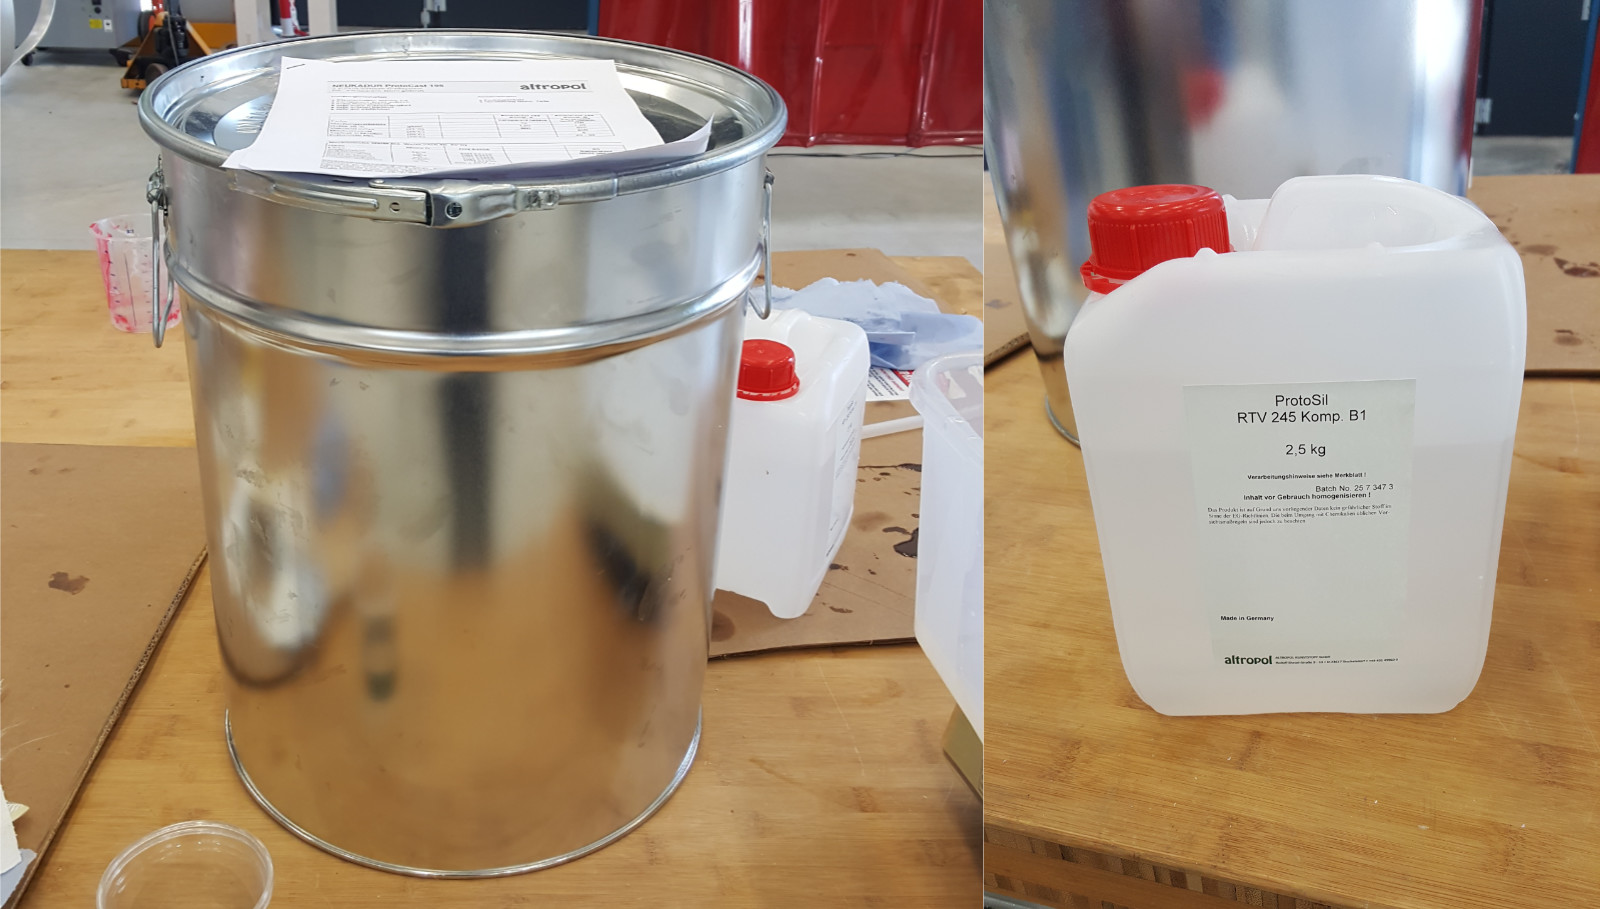 This is the silicone material we use in our FabLab a Protosil RTV 245. It is a 2K silicone, below is a short description and the datasheet.
 To achieve a good silicone both components have to be mixed in a ratio of 100:10 - therefor I am using a digital scale.
 Also it is necessary to get rid of all air in the mixture, for this we use our vacuum chamber.
 This is the reaction in the chamber - the volume can rise up to 4 times of the original temporary. So make sure that the box is big enough!
 Now I filled the silicone into the prepared box, until my model is entirely covered in it.
 Then I had to put the box back again in the vacuum chamber - just to be sure that no bubbles willdestroy the result..
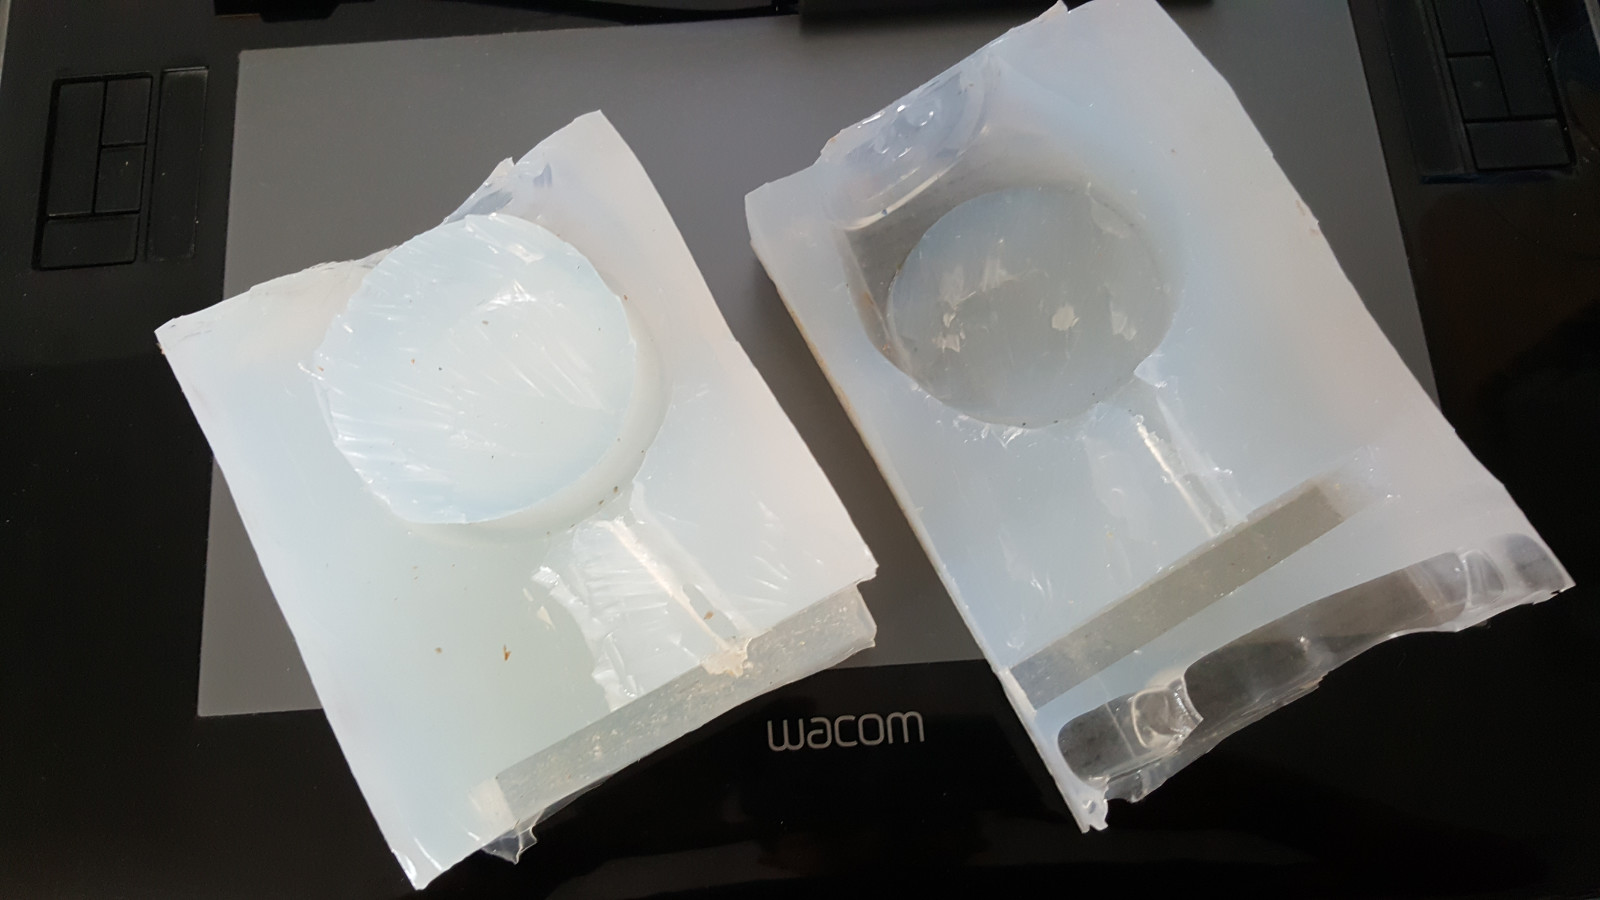 The silicone form itself was ok - but...
 ...because i've forgotten to fix my model at the bottom of the box, the silicone pushed the model up...so the wall thickness on top was too thin - I have to do it again...
 This can also happen when releasing the model out of the silicone mold..
2nd run
 I managed to fix my waxmodel that broke in the first run.
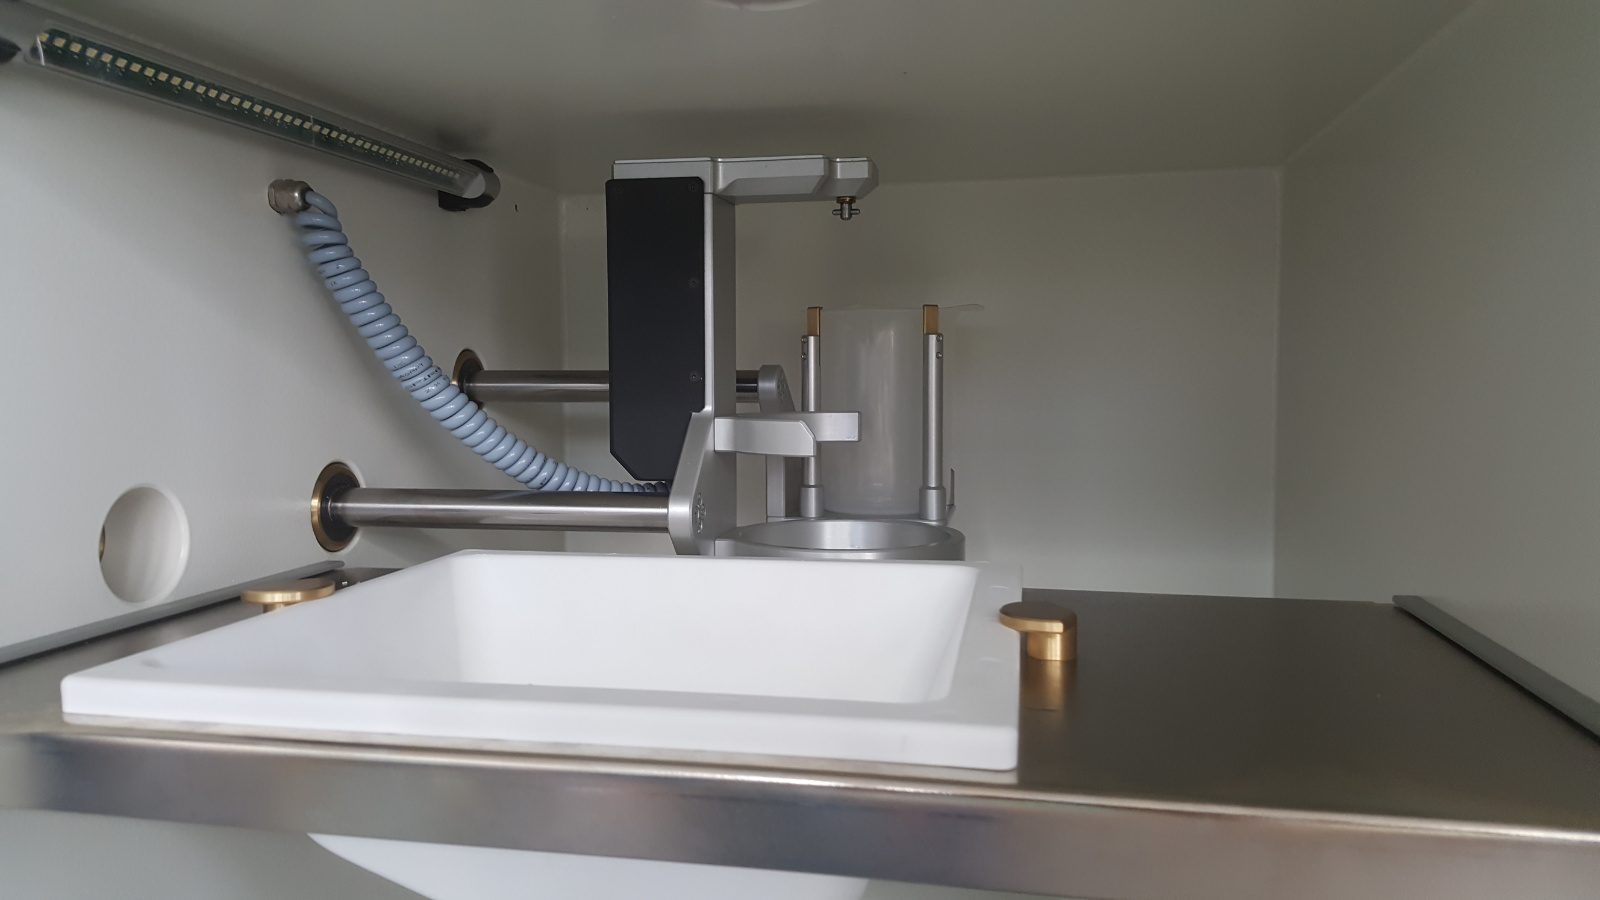
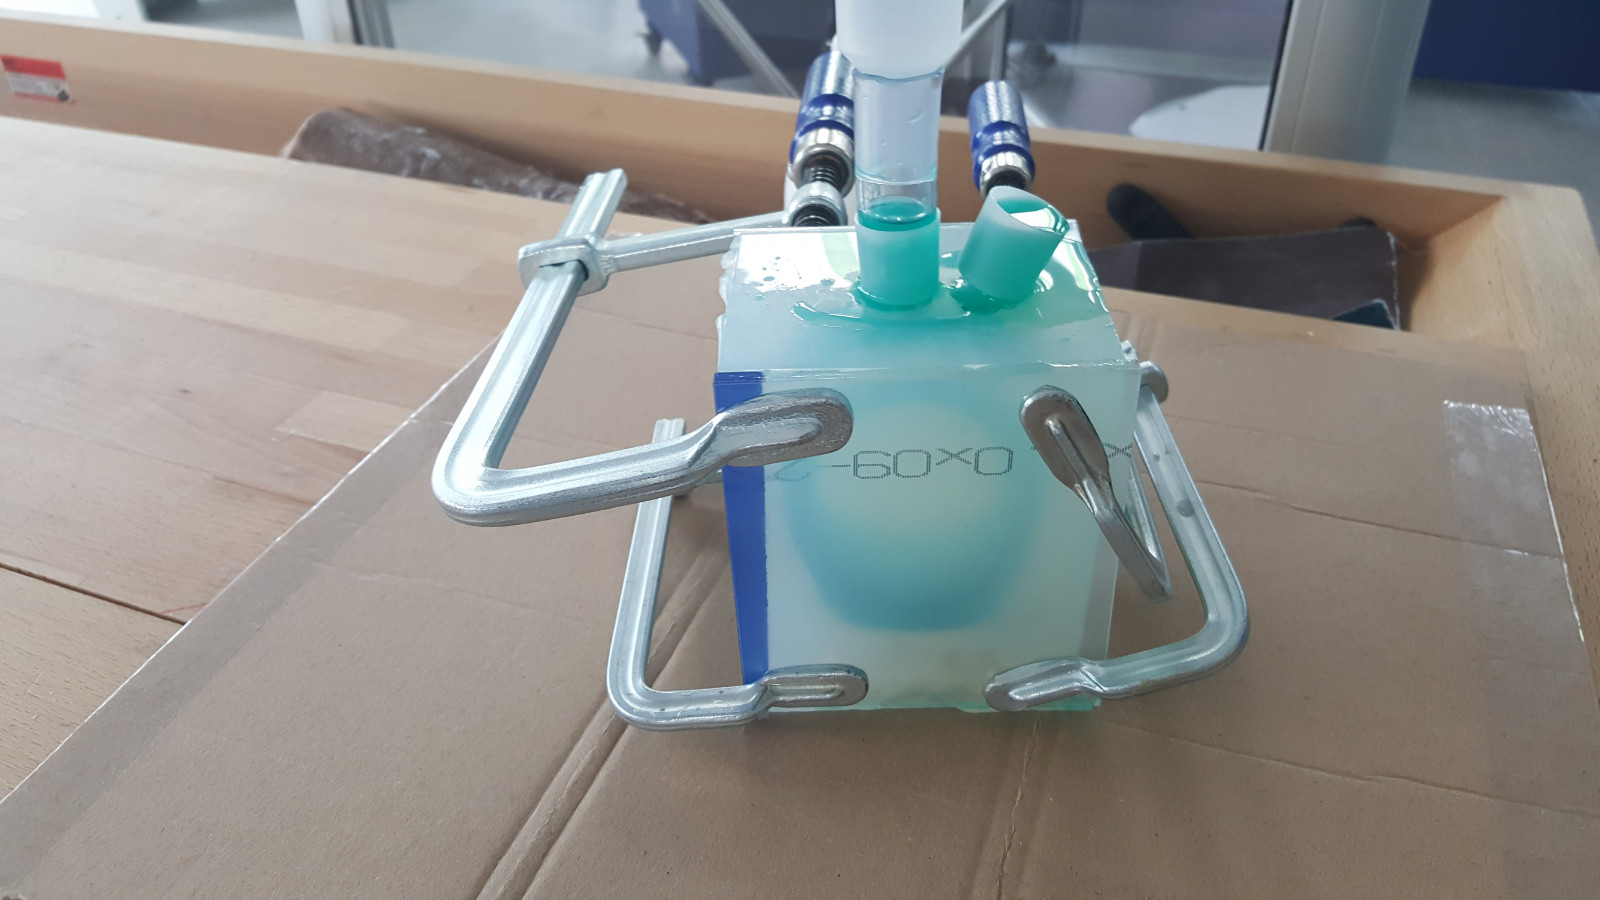
 This is the last view of the setup in the vacuum chamber, before I start pouring in the epoxy
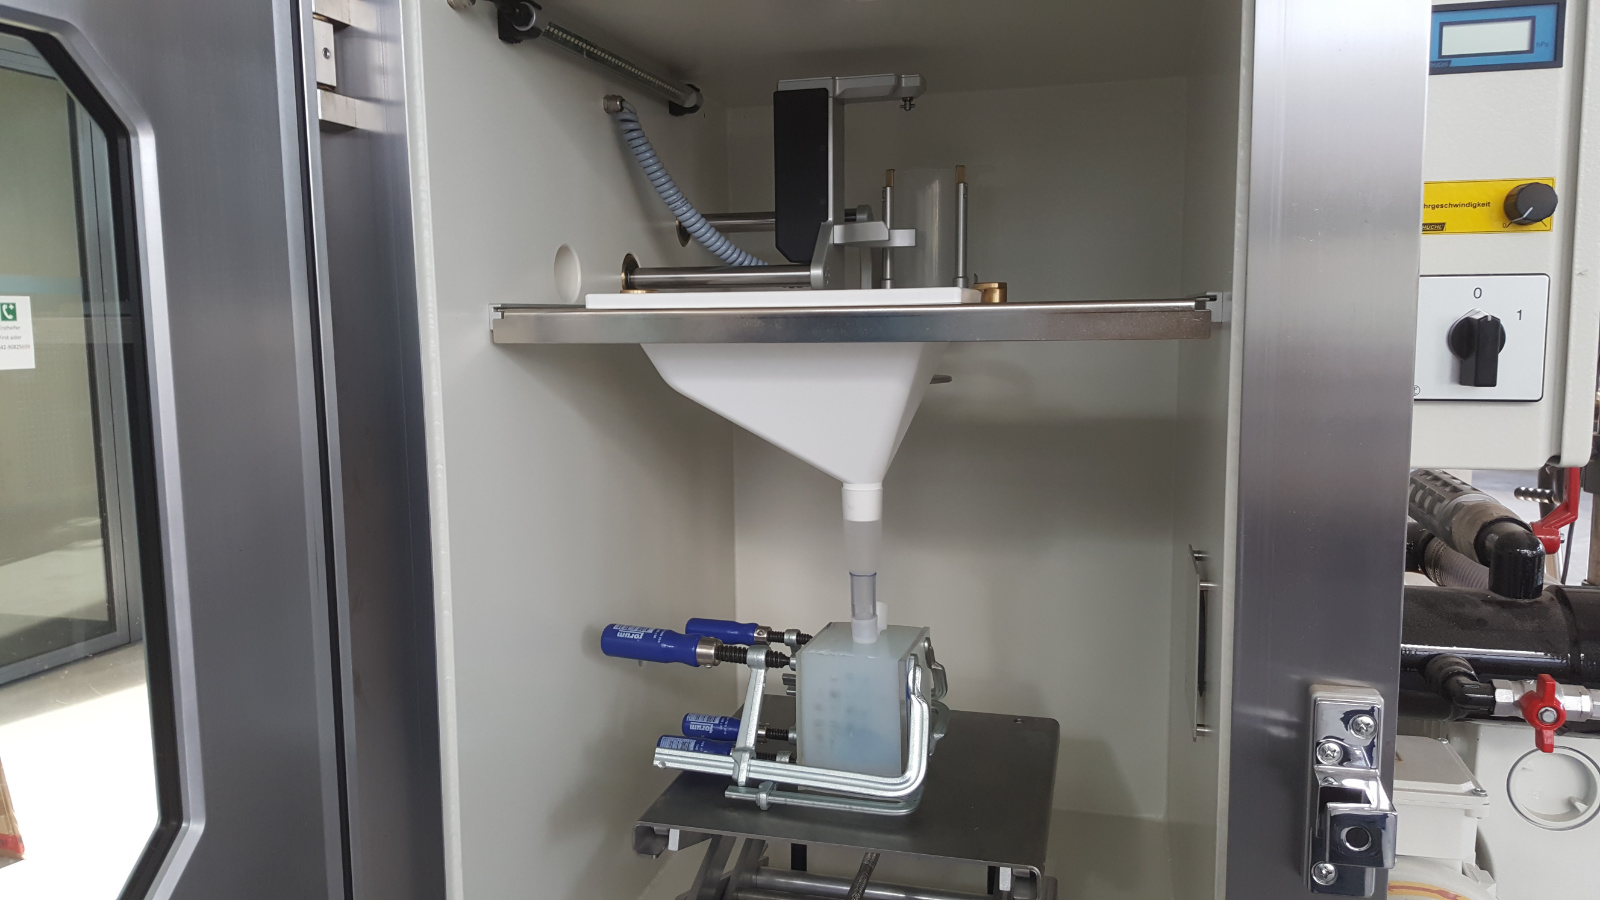
 This is a close-up of the mixing & pouring section of the vacuum chamber
 ...and a close-up of my silicone mold underneath the hopper
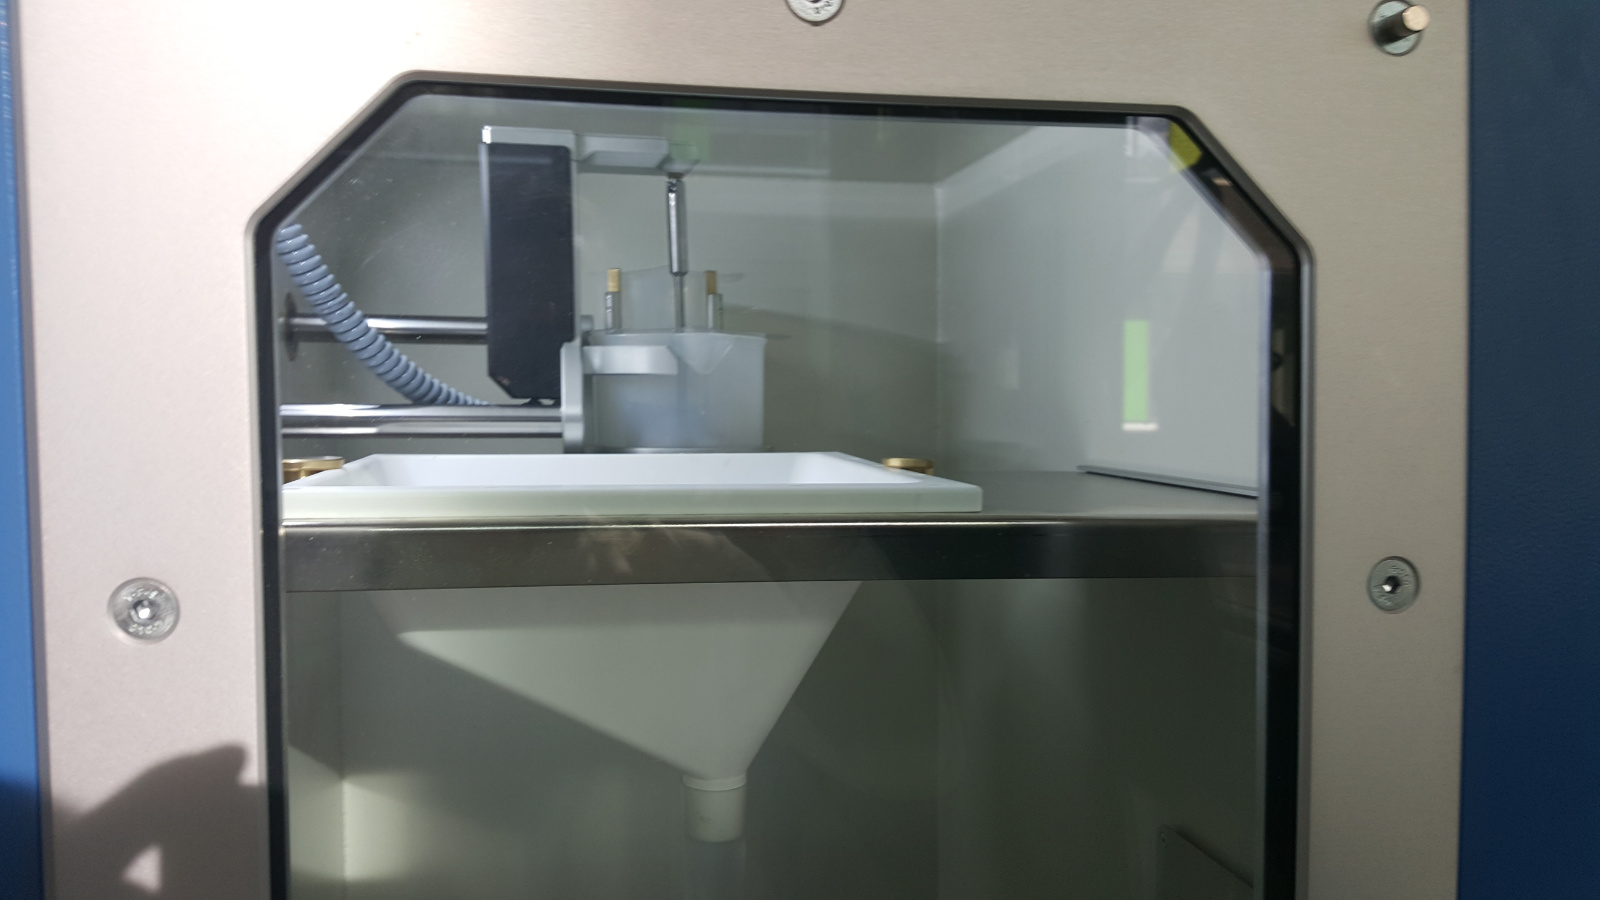 Now the door is closed and the process of mixing and creating the vacuum to degas the epoxy mix can start
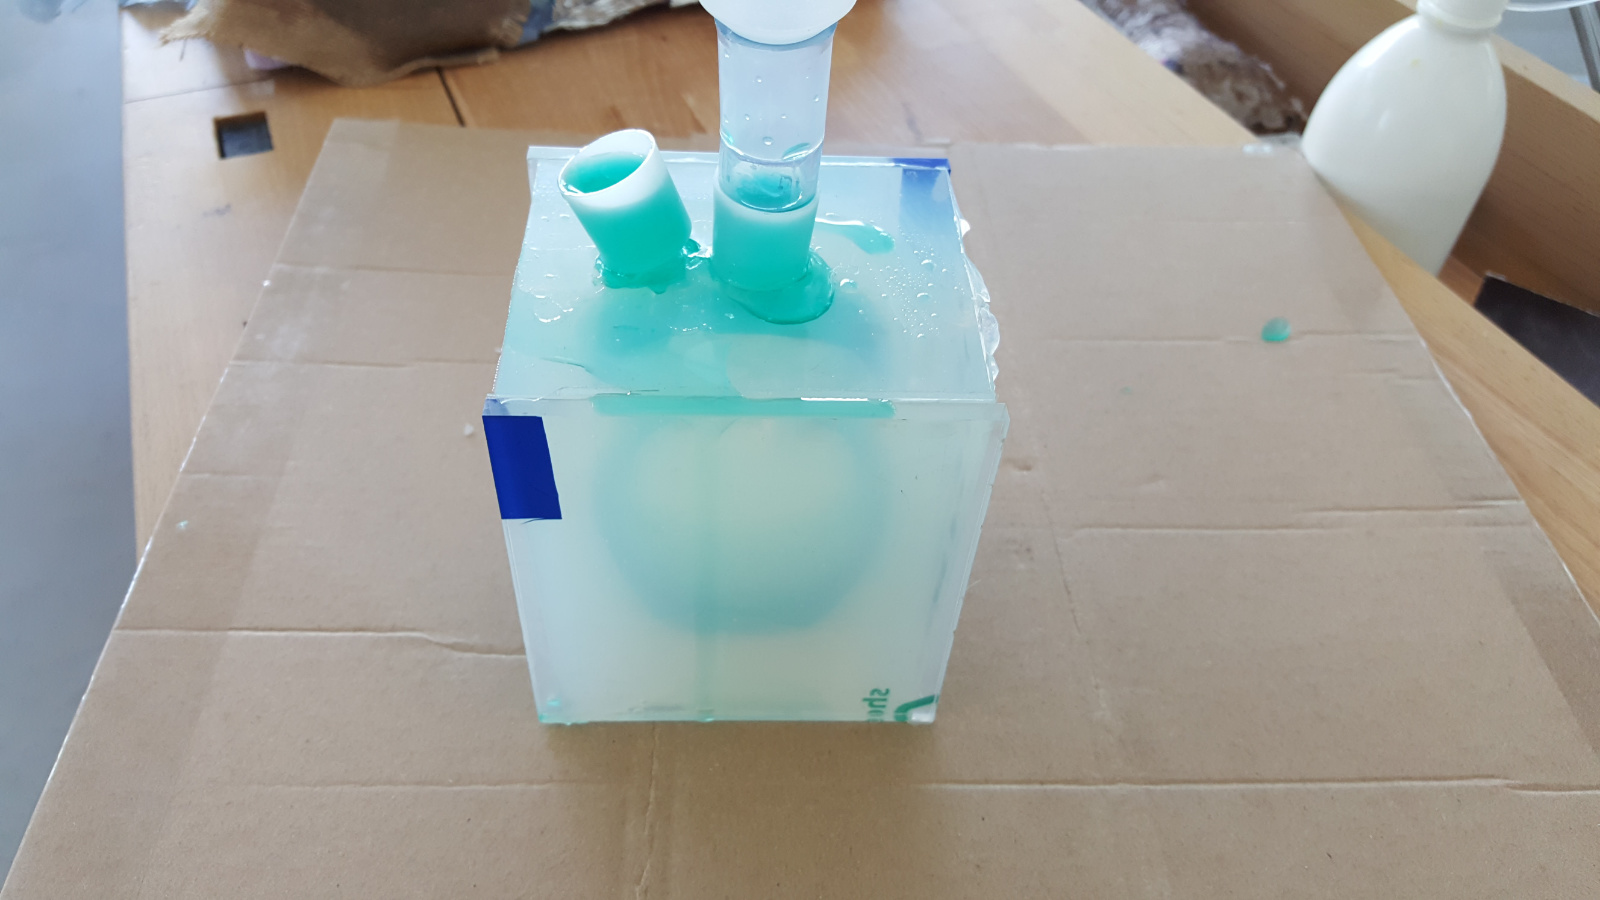
 Slowly I poured the epoxy into the mold and waited then a bit that the epoxy settles
 The next day I took the mold out of the chamber - everything looked nice
 I released the clamps..
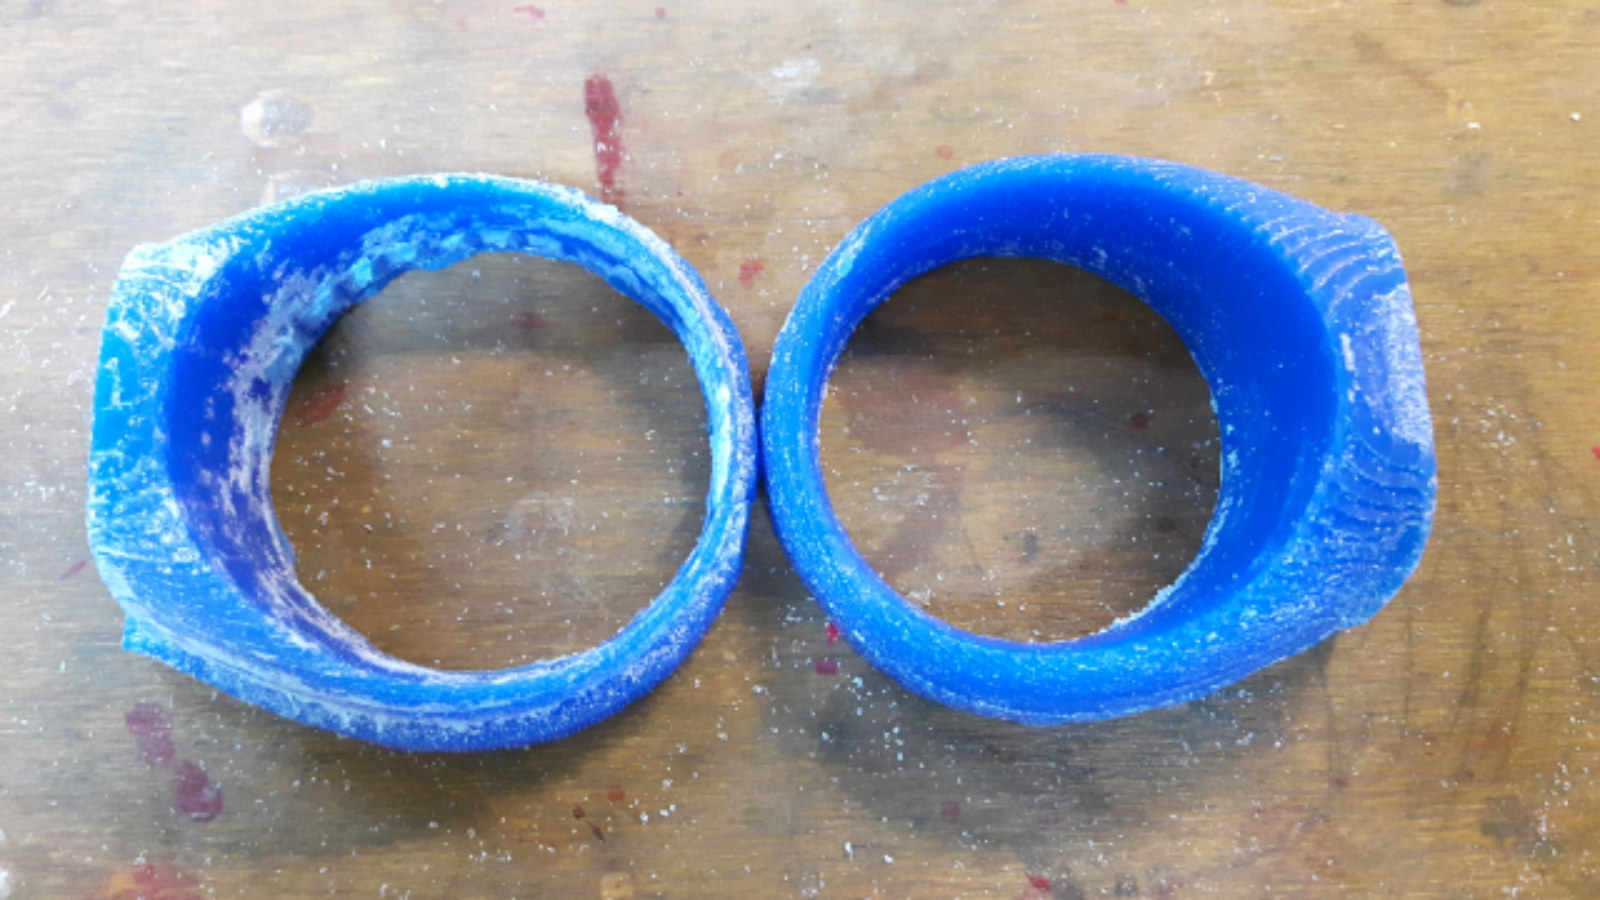
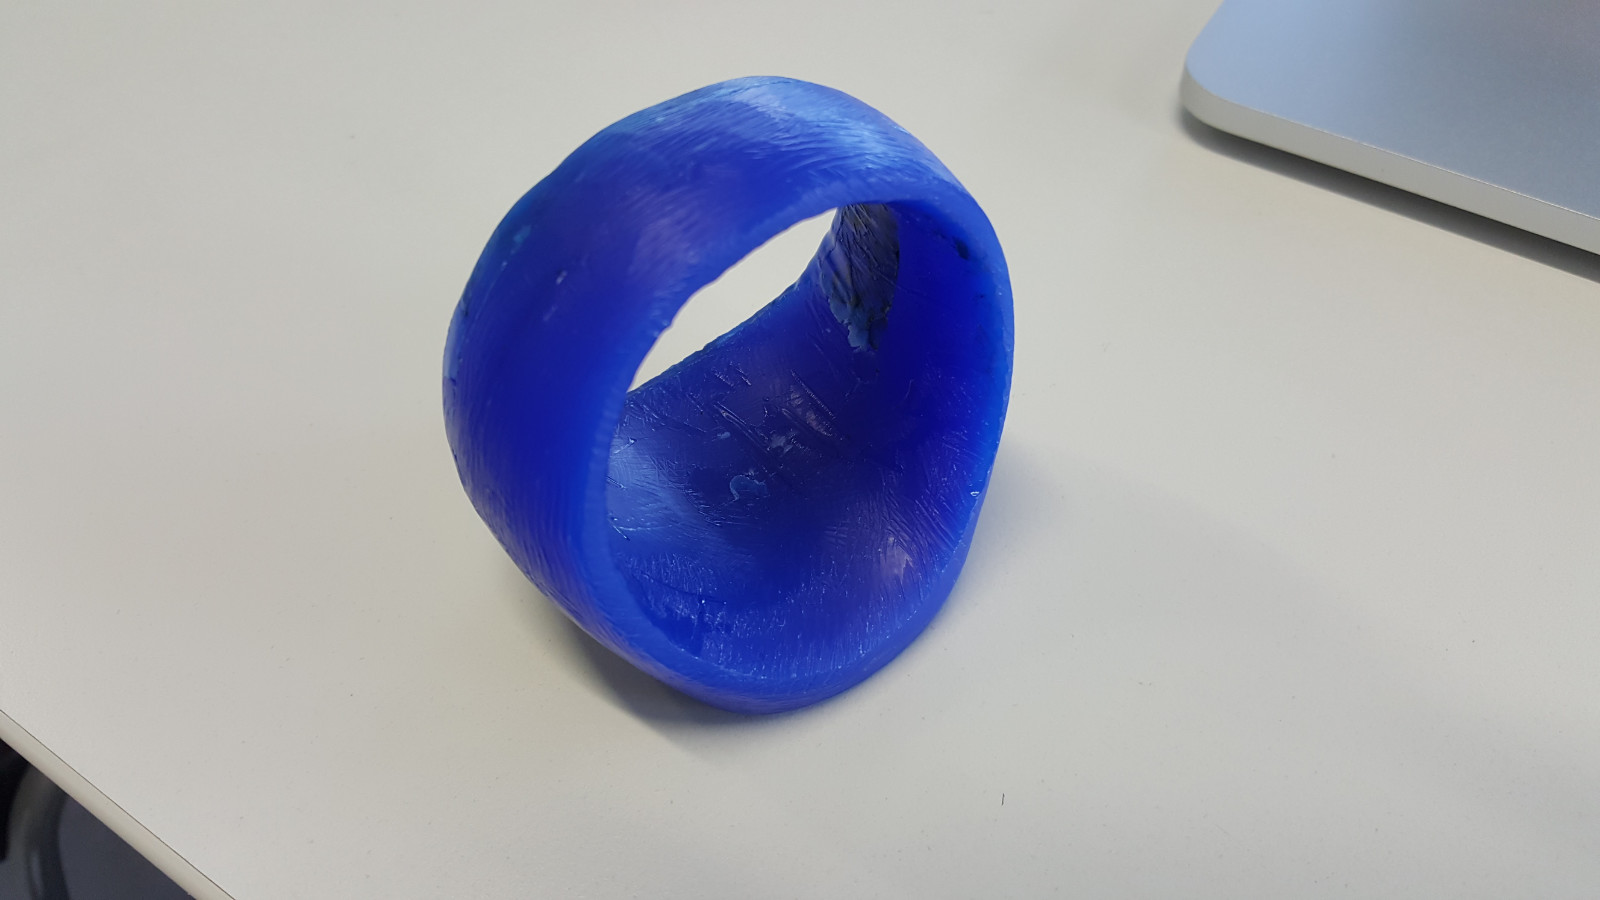
 The first look at the casted ring after cutting it free from the silicone
 The first complete free look
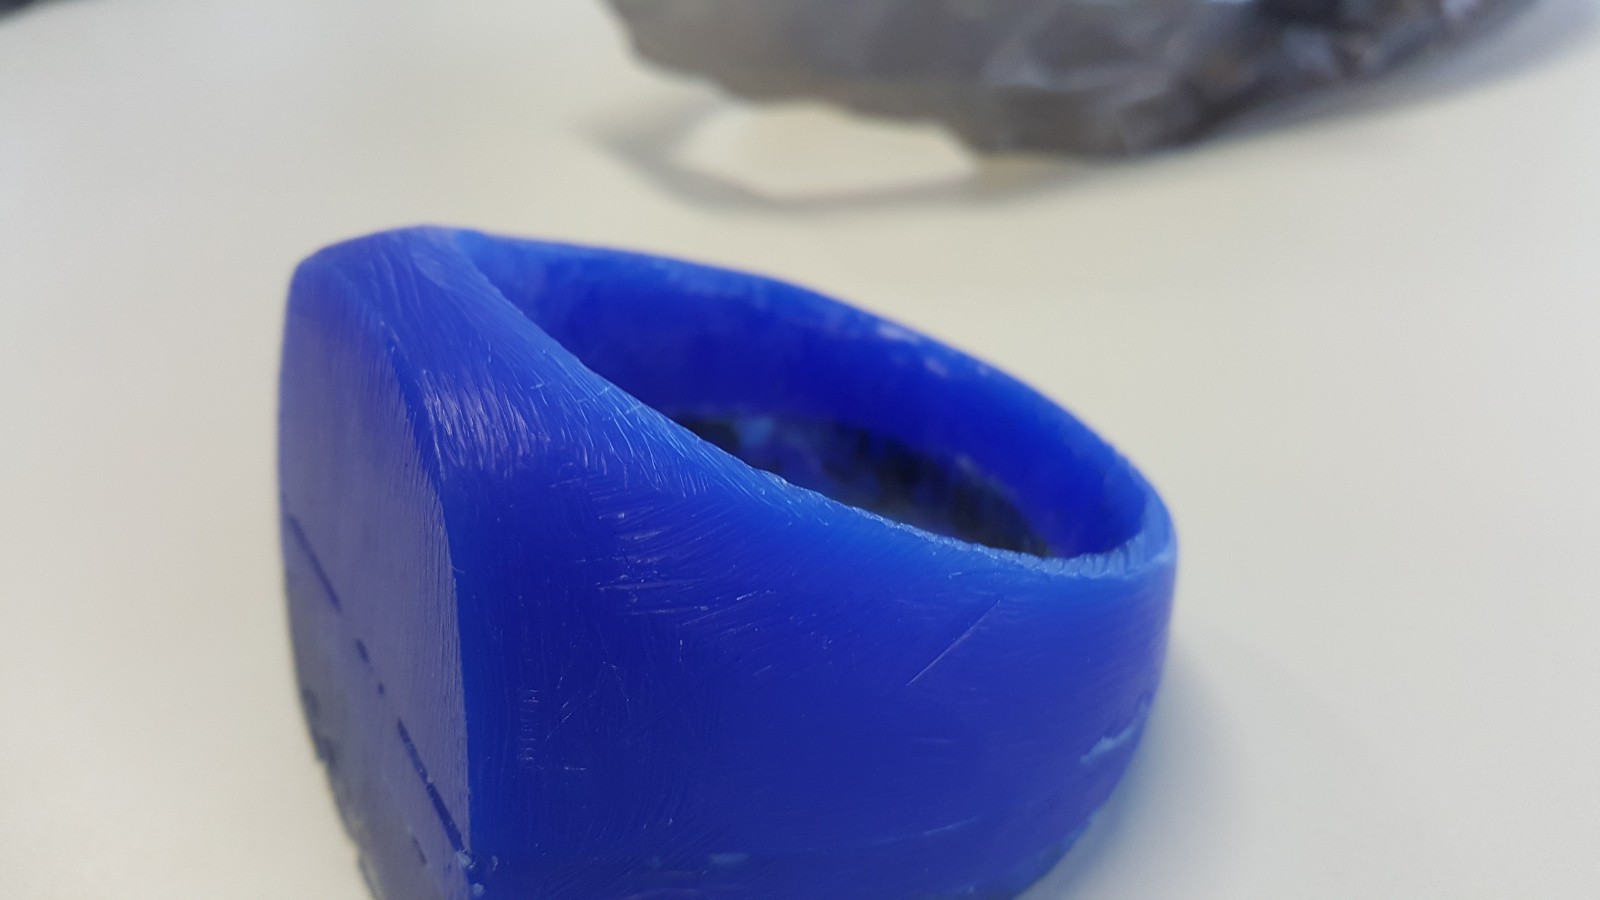
 the first side view
 Yes! Finally I have it done!
Resumee
To achieve a good and clean result with the resin, after mixing the hardener with the resin the mixture has to be degased. That means that with the help of the vacuum chamber the air in the resin is sucked out. This process takes a while because of the viscosity and has to be observed carefully. Especially the timing is important depending on the amount of hardener the pot-life of the resin is varying more or less. By watching the degasing process it reminded me on boiling something or making caramel sirup in a pot. But in a more slow motion action. This bubble action slows down more and more until most of the air is gone, that is the moment when the release valve is opened very slowly to release the door for further processing.
This degasing process is not necessary when the resin is used as "glue resin" for composite structures, if a numbers of materials are processed with high pressure than the degasing doesn't count in - but if a defined amount of resin will be used - let's say as a kind of gel coat for a shine and smooth surface or for castin like in the assignment, than the degasing is recommended if not mandatory.
Ressources

This work is licensed under a
Creative Commons
Attribution-NonCommercial-ShareAlike 4.0 International License.