Molding and Casting
In this assingment i've made a desing candle with my mom.
With Mothers day in the horizon I thought that will be nice to my mom if she apeared in my Fab Academy somehow and since my mom make candles for a hobby for quite some time now i tought that this will be perfect opportunity.
For this assingment you will need:
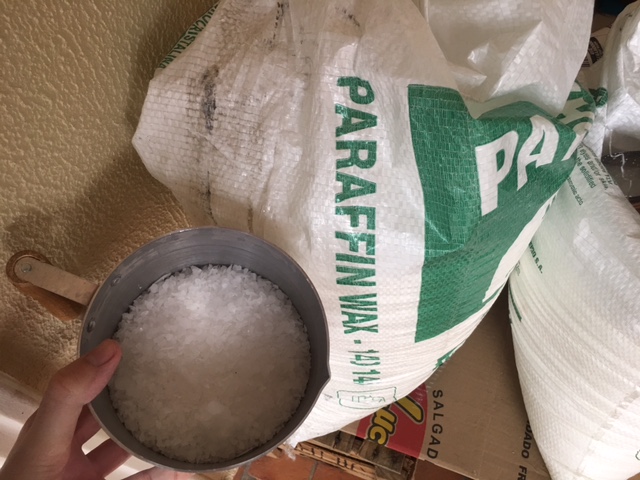
Parafin Wax
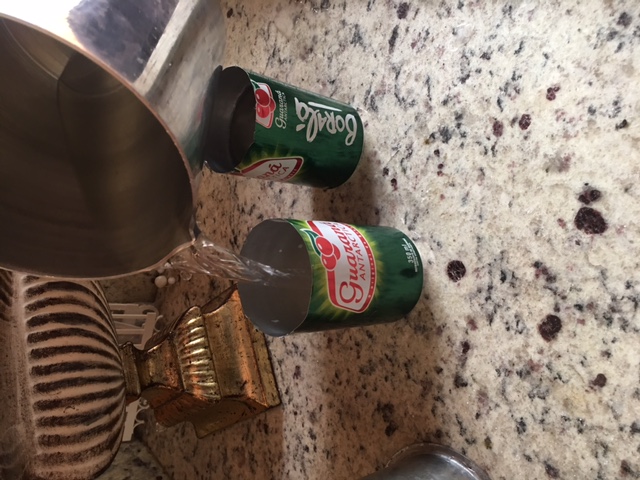
A Cilindric Object
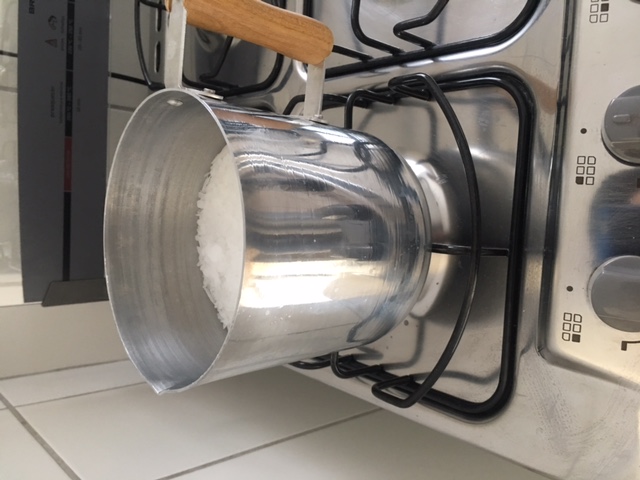
Heat (for melting the wax)
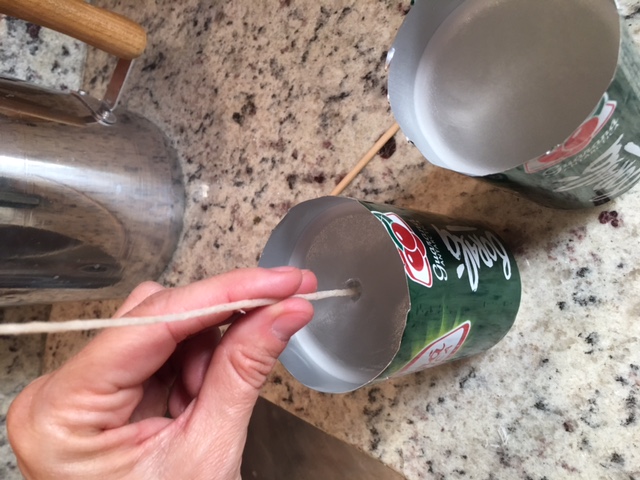
String
Ornaments
Kitchen oil
Put the Parafin on low heat and let it melt until it become a clear liquid
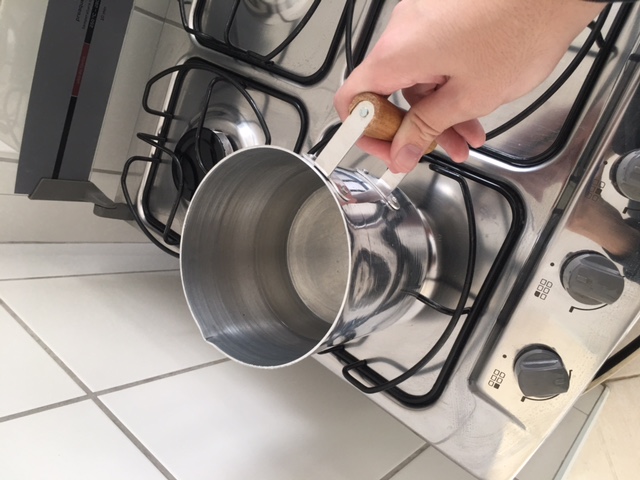
While the parafin melt, grab the kitchen oil and spred on your recipient as shown
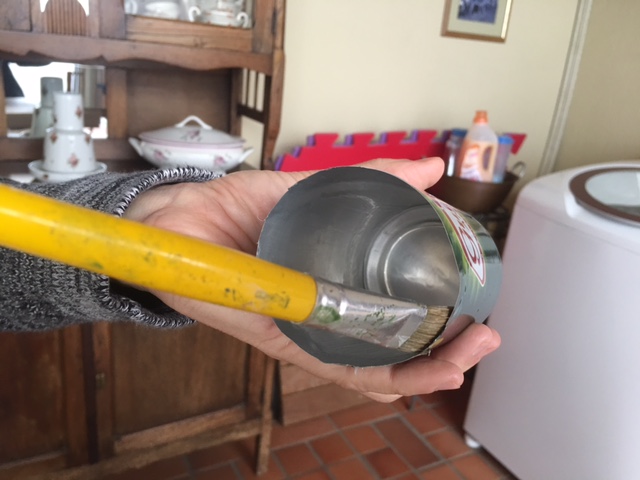
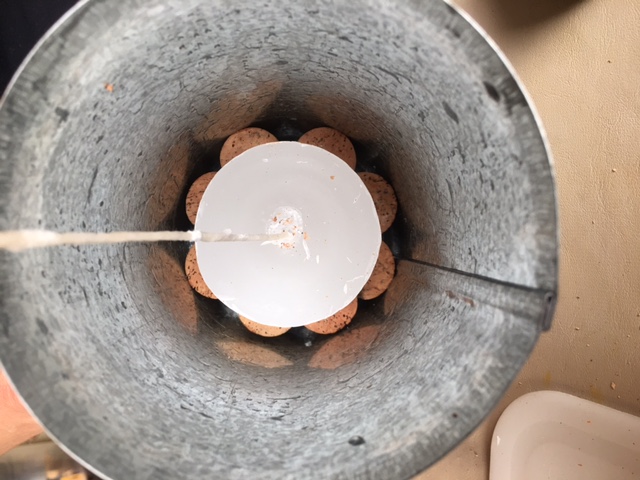
Remove your now melted wax and grab your string, pour it on your recipient and make sure to leave your string center and upright all the time until your wax is cool and hardened
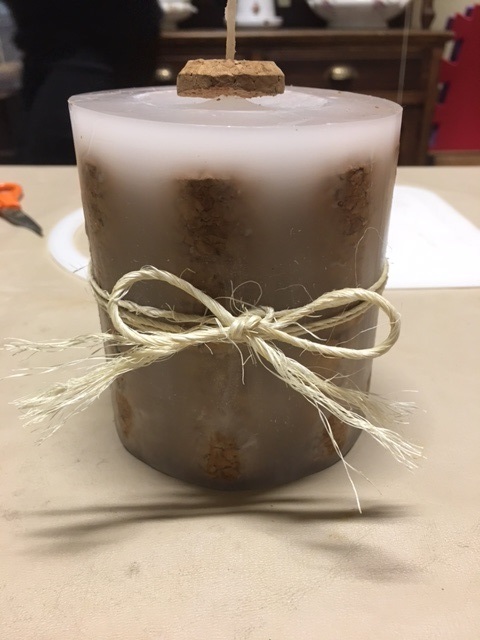
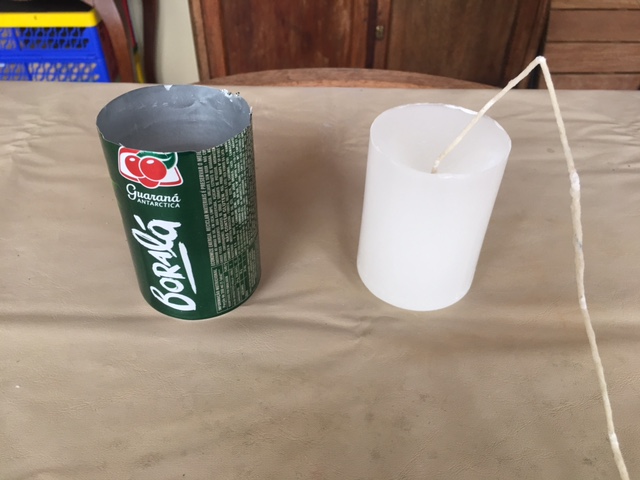
After some time, the wax should be cool to touch and hard, when that happen remove from the recipient and you shoul have something like this
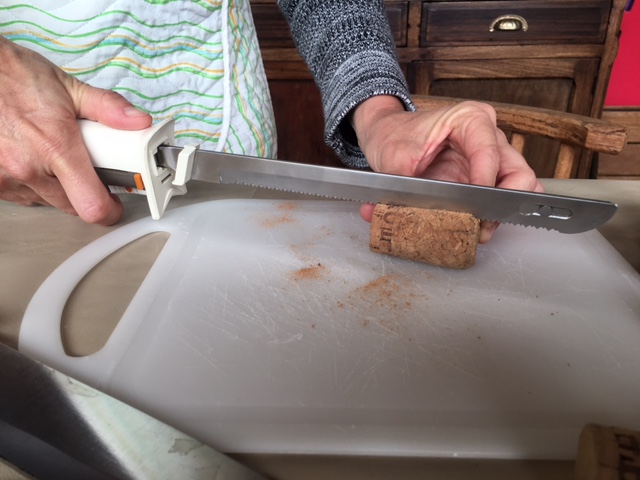
If you wanna take some steps further you coul add some ornaments to it, in my case i've used wine cork cut in half

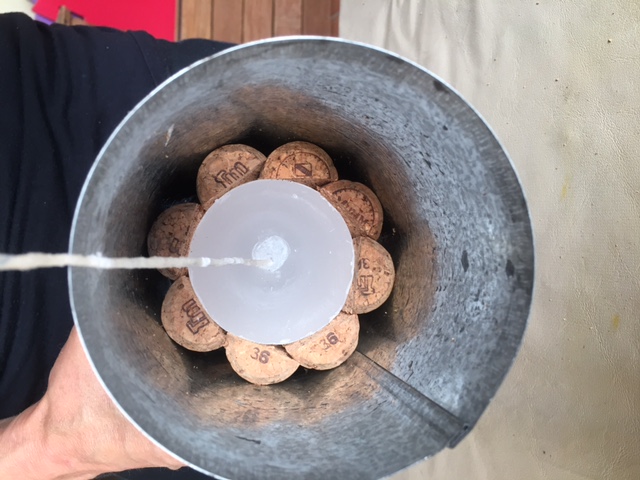
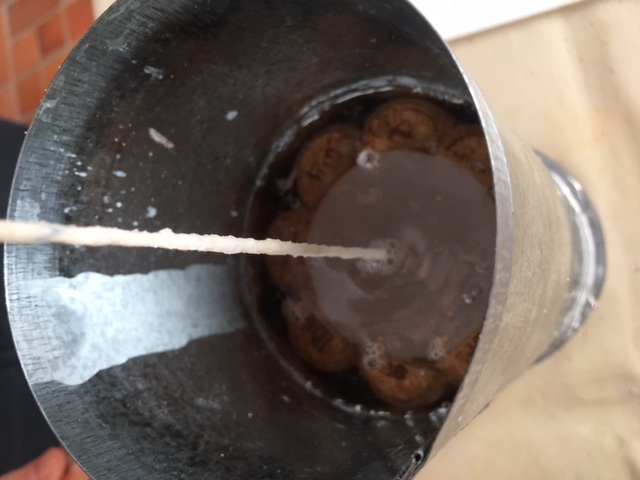
When you are happy with your ornaments just pour more melted wax to your recipient, make sure to shake every now and then to remove bubbles
After everything cool down its time to remove and reveal its final form!
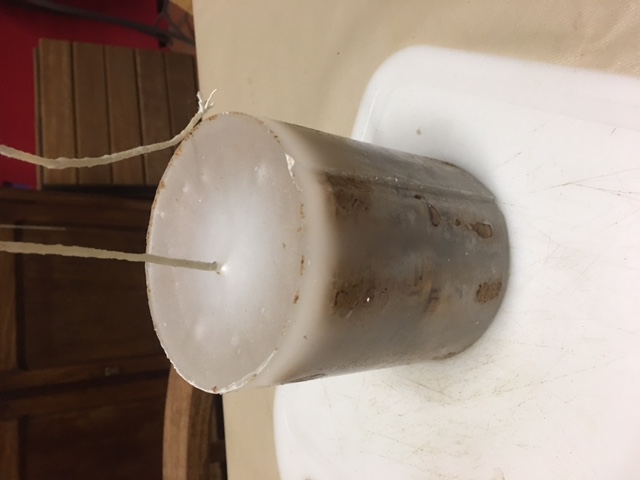
In order to have a better look to it you can use a Iron to re-melt the edges and corners to remove any inperfections


Make sure to have something under the candle in order to avoid any wax falling to your table or your feet
Add any other ornaments and you have finished your candle