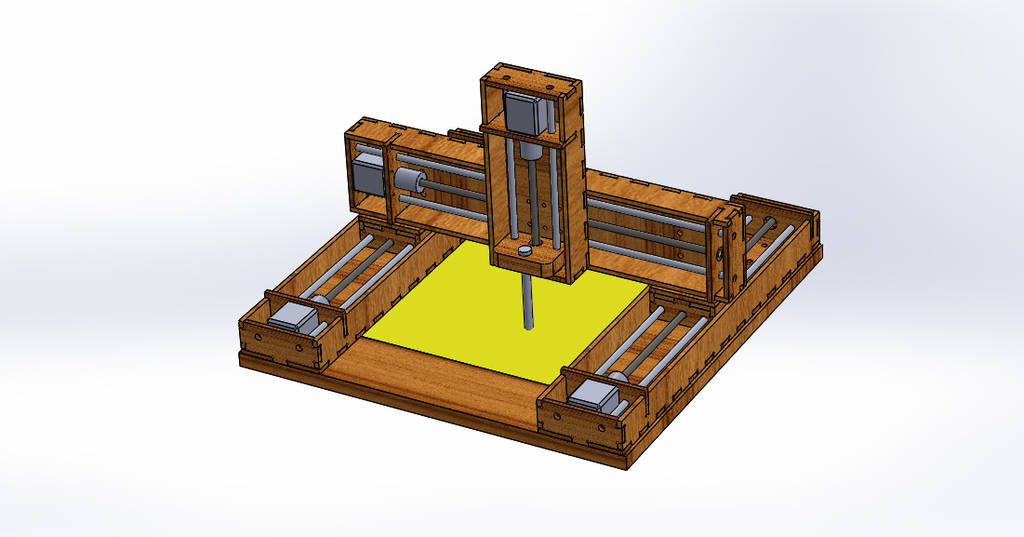
The idea is always to do the brain storming of the idea that is going to be finalized for the conceptualization. An idea which can be implemented by using our previous weeks learning from FabLab & also our work experience to some extent. We all finalized to make a sand-marking machine with 3 axes. This concept can be extended further where we can write on the canvas as well.
Week 1 activities
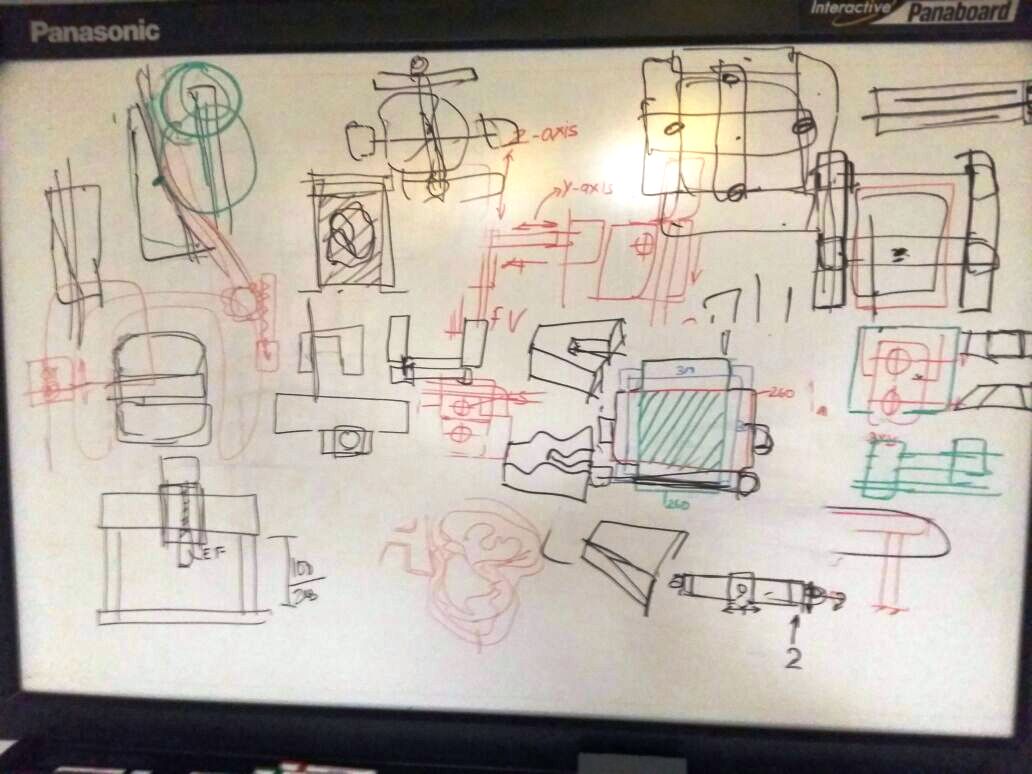
As shown in the above picture, 3 members Sudarshan, Abhinay & Ruchir started sketching on the board about the idea of the machine to which all others agreed after a long session of discussion.
We had to conceptualize the design keeping in mind the cost required to develop the machine as well.
Explaining the Design
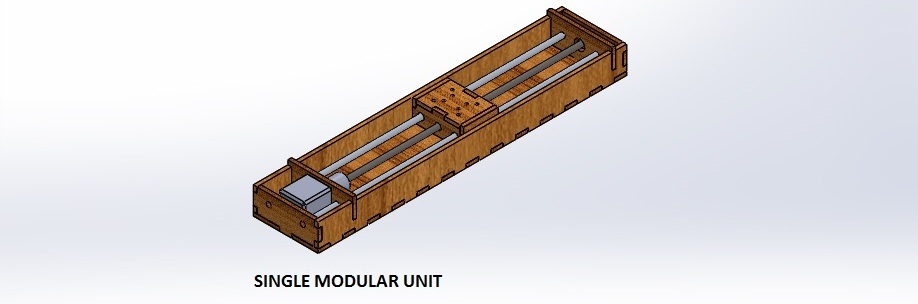
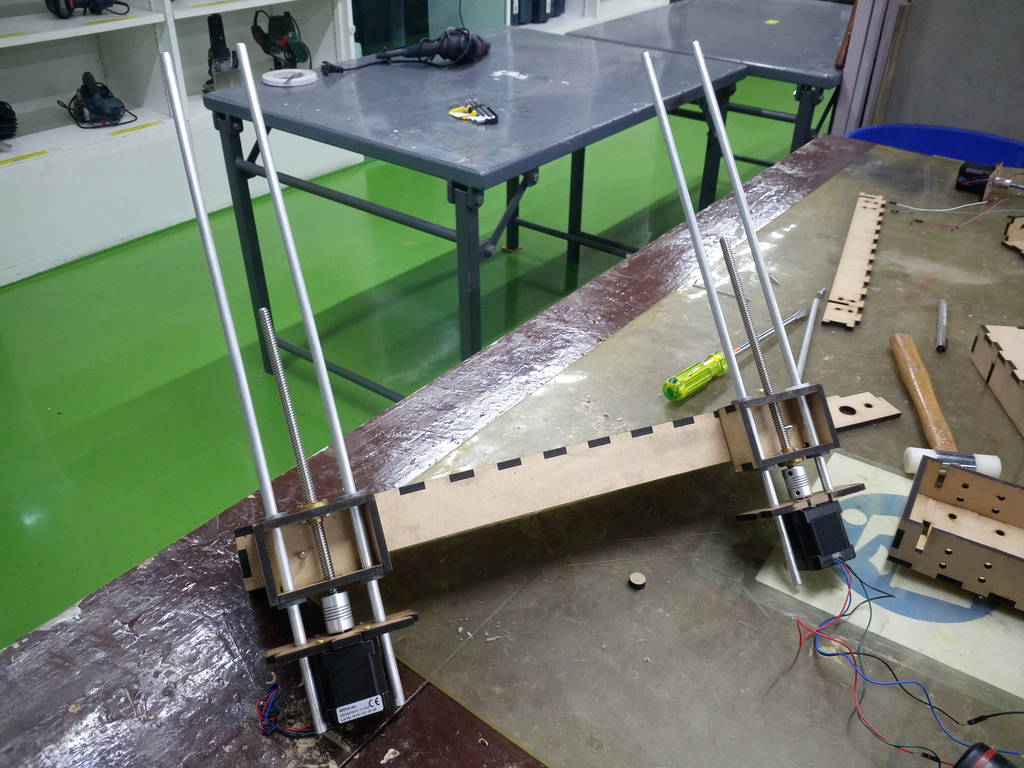
The assembly of the single modular unit will be done with a snap fit design. In some places we will be using adhesive & screws as well.
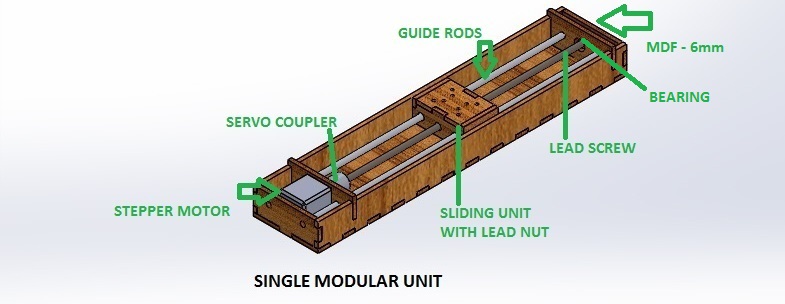
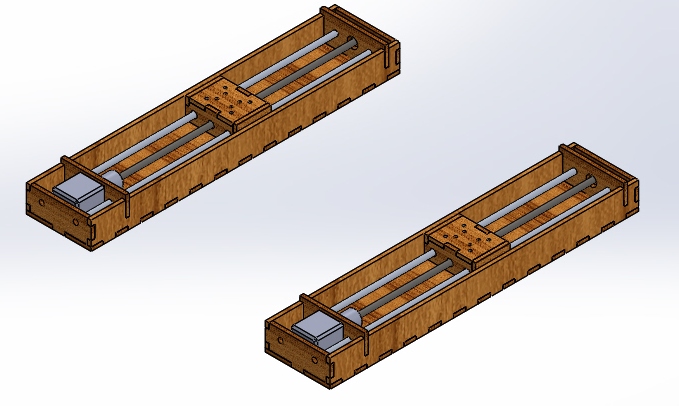
The elements that we used in the single modular unit are listed below:
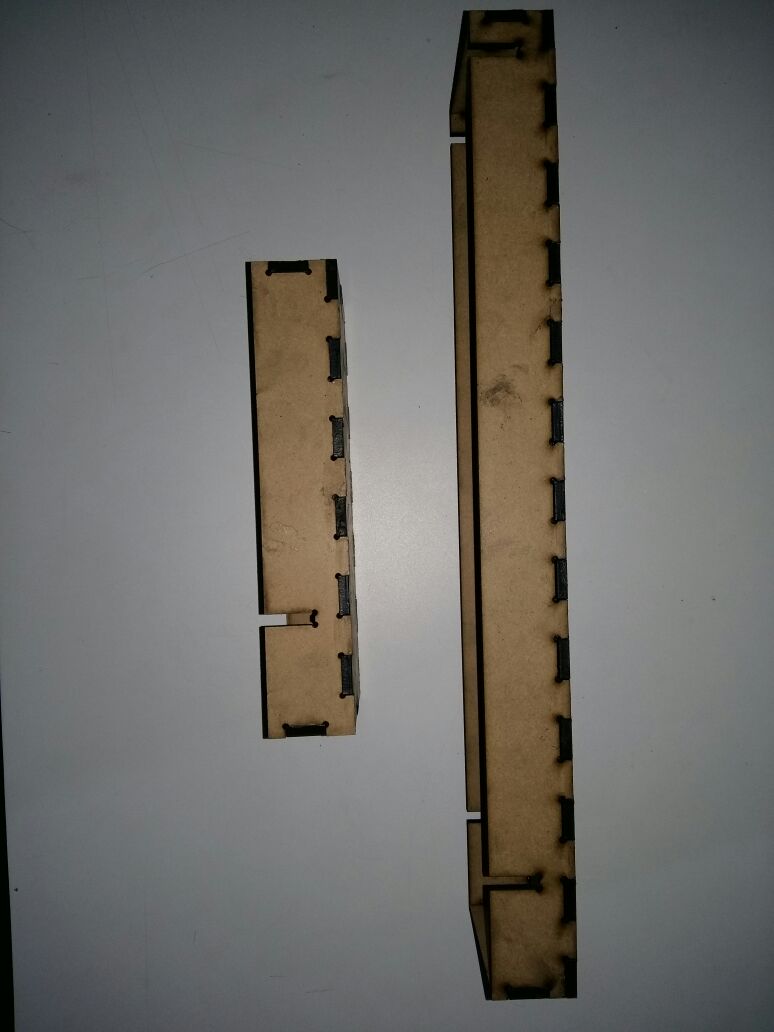
- MDF - 6mm THK.
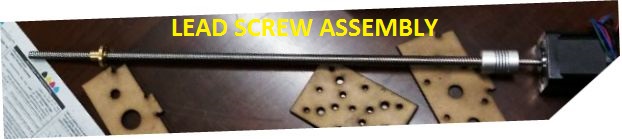
- Lead Screw - M8 pitch
- Lead Nut
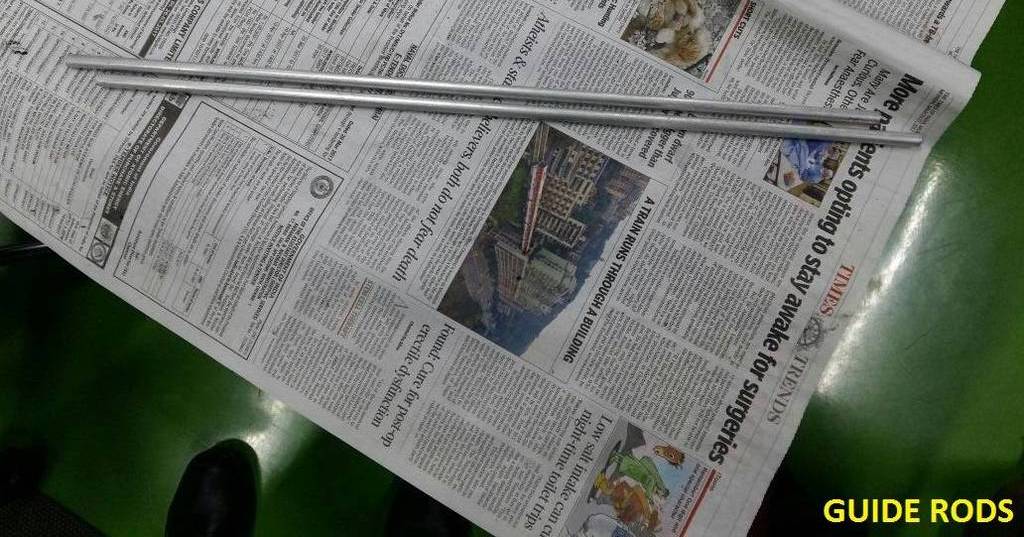
- Guide Rods of Dia.8
- Stepper Motor - 4.9Nm Torque
- Bearings for Lead screw
- Coupler
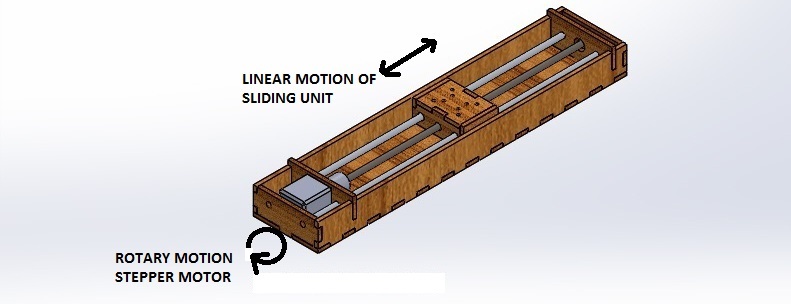
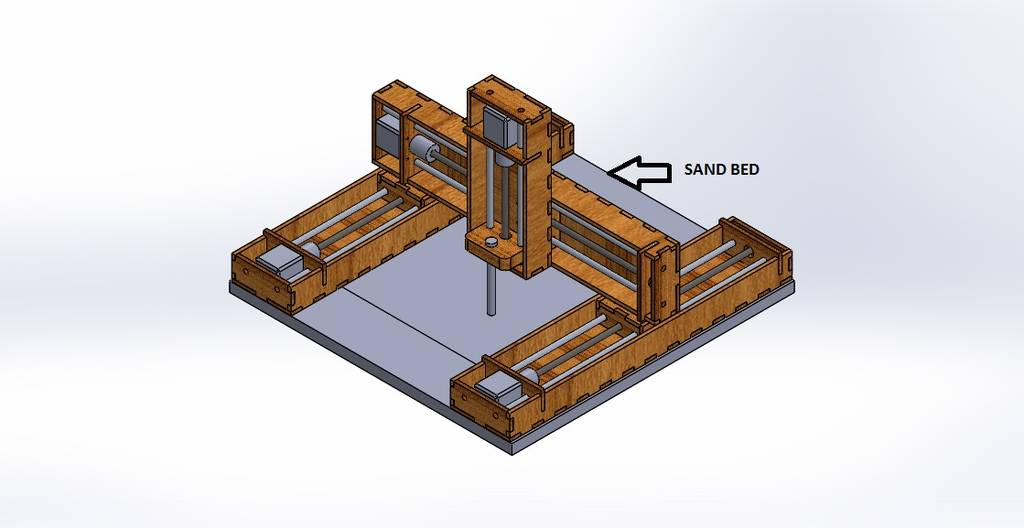
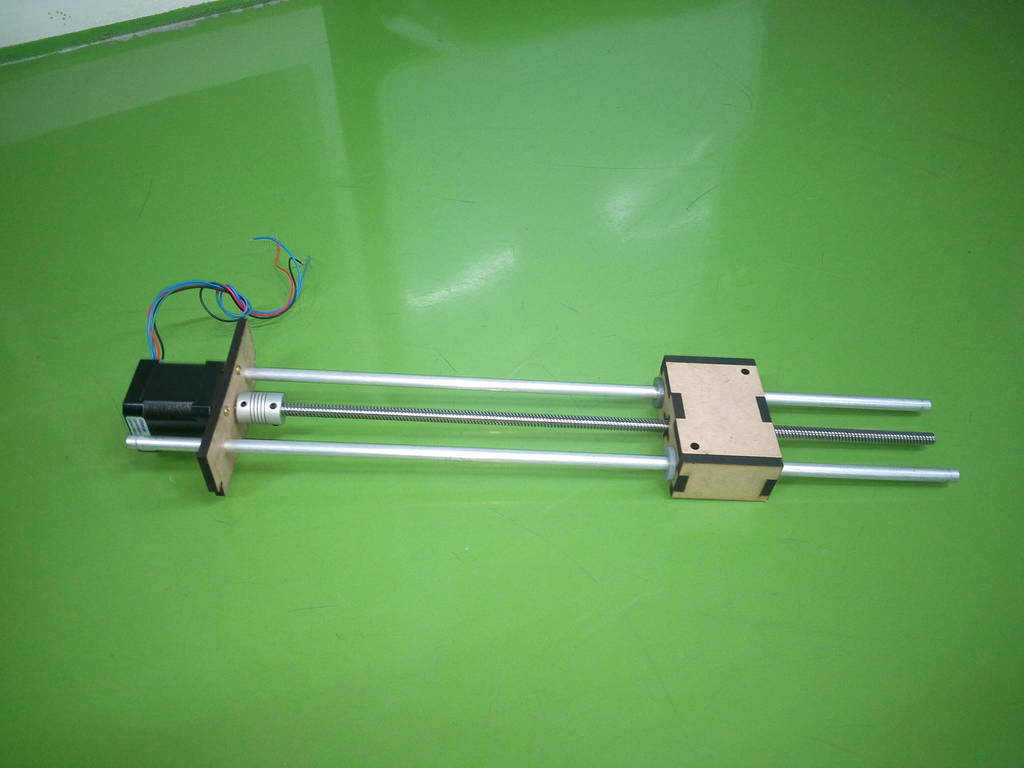
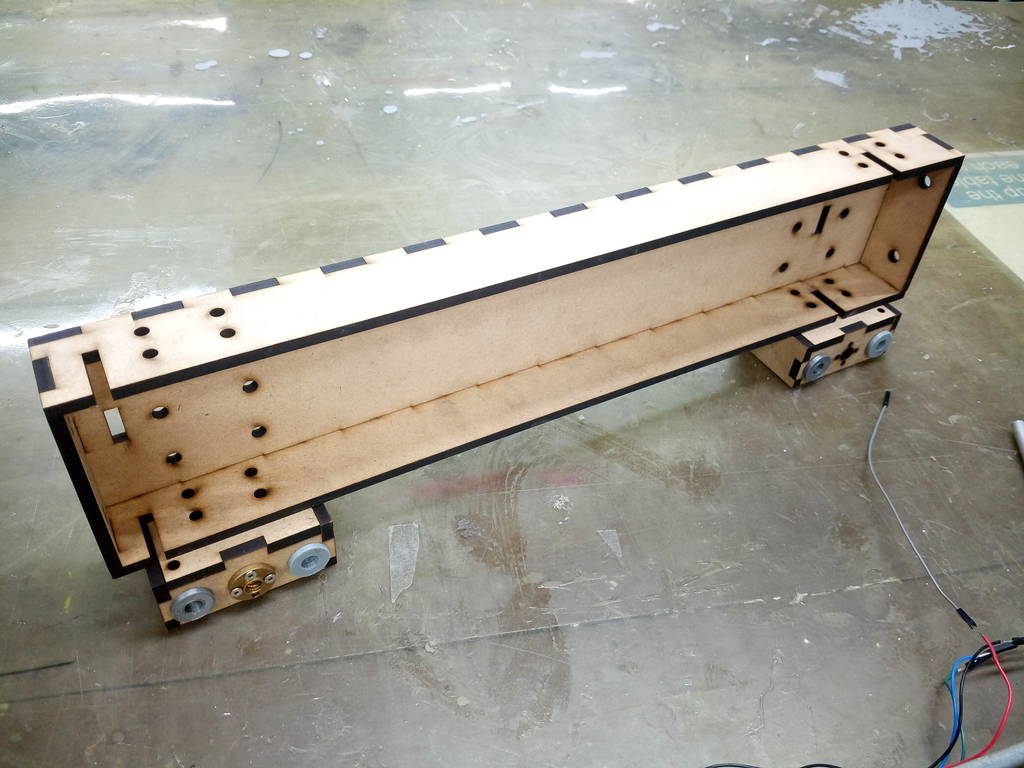
The rotation of the stepper motor will be used for sliding the unit linearly as shown in the picture below. 2 units like these will be used for moving another modular unit which will be explained below.
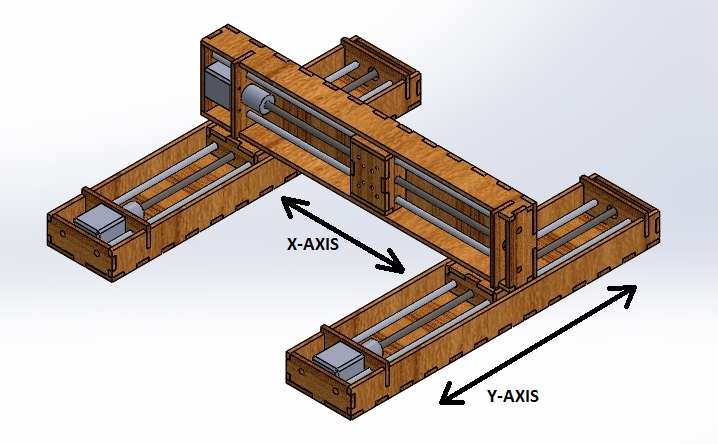
2 stepper motors will be programmed to rotate simultaneously. Another modular unit will be mounted on top of these 2 units & fasten them with M5 screws.
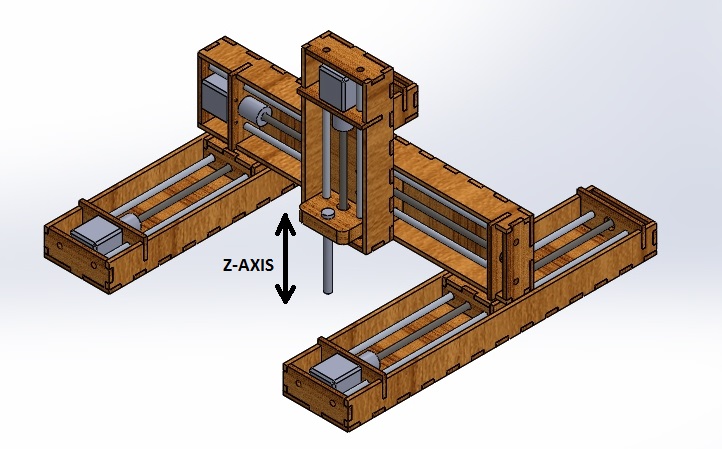
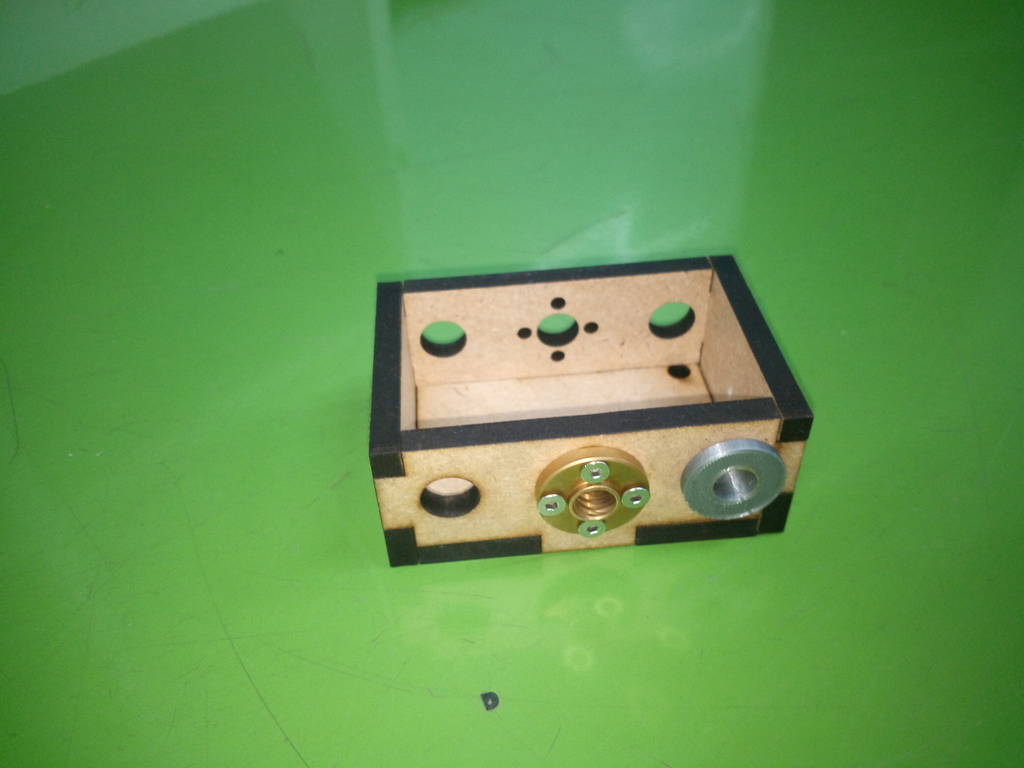
The next step was to add a z-axis which will carry the end-effector that can do the marking on the sand. The below picture shows the z-axis unit. The z-axis unit also will be fastened with M5 screws.
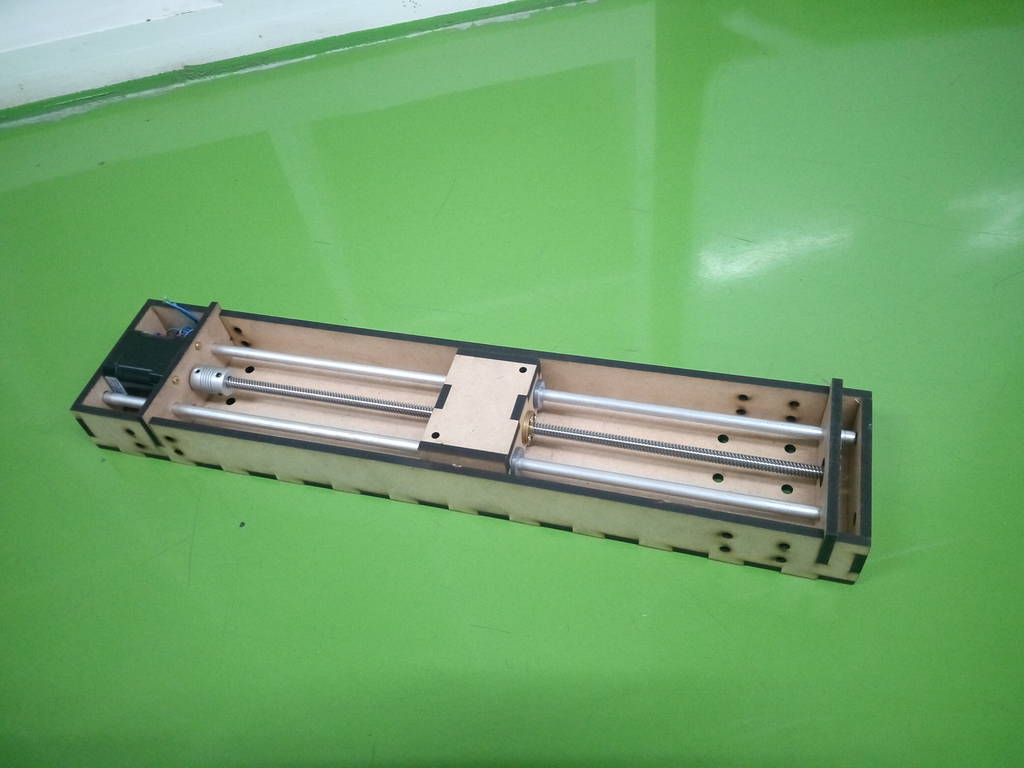
This completes the assembly of all 3 single modular units.
This Sub-Assembly will be fastened to a sand bed which we have thought of making using 18mm plywood with a pocket in the center to hold the sand. The sizes of the sand area were selected based on the standard lengths of lead screw available. The allowable moving area of the Y-axis is decided by the size of the sliding unit.
This week we will be showing the working of the model manually. Later in the coming week we will do the programming to make it complete automated.
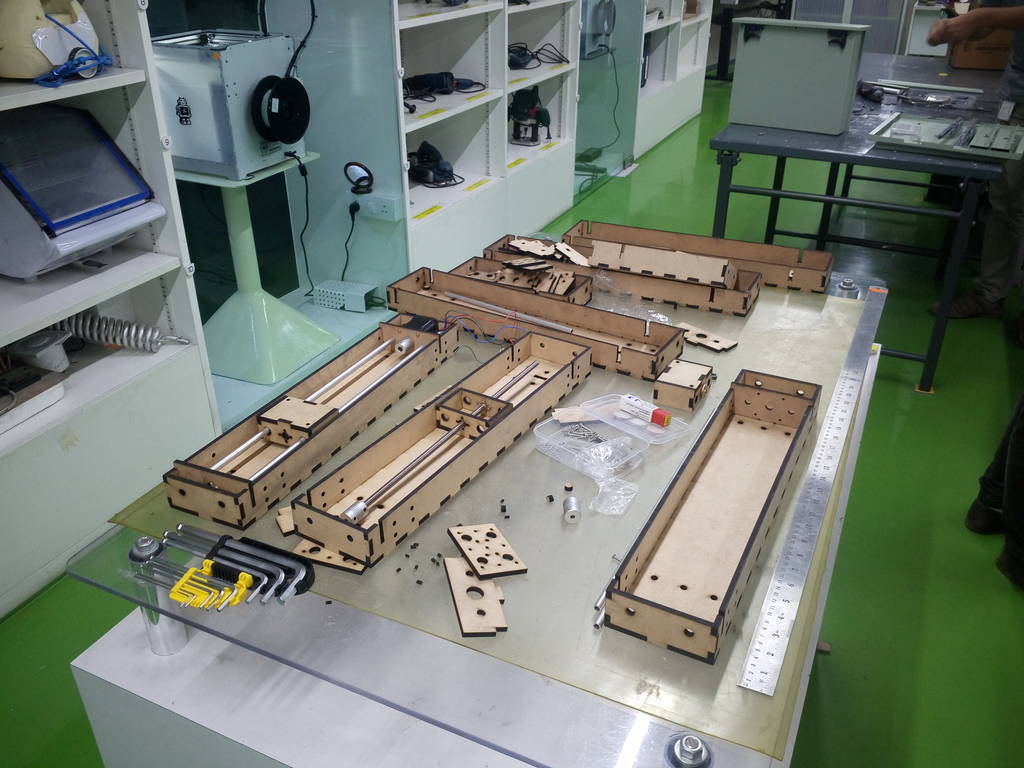
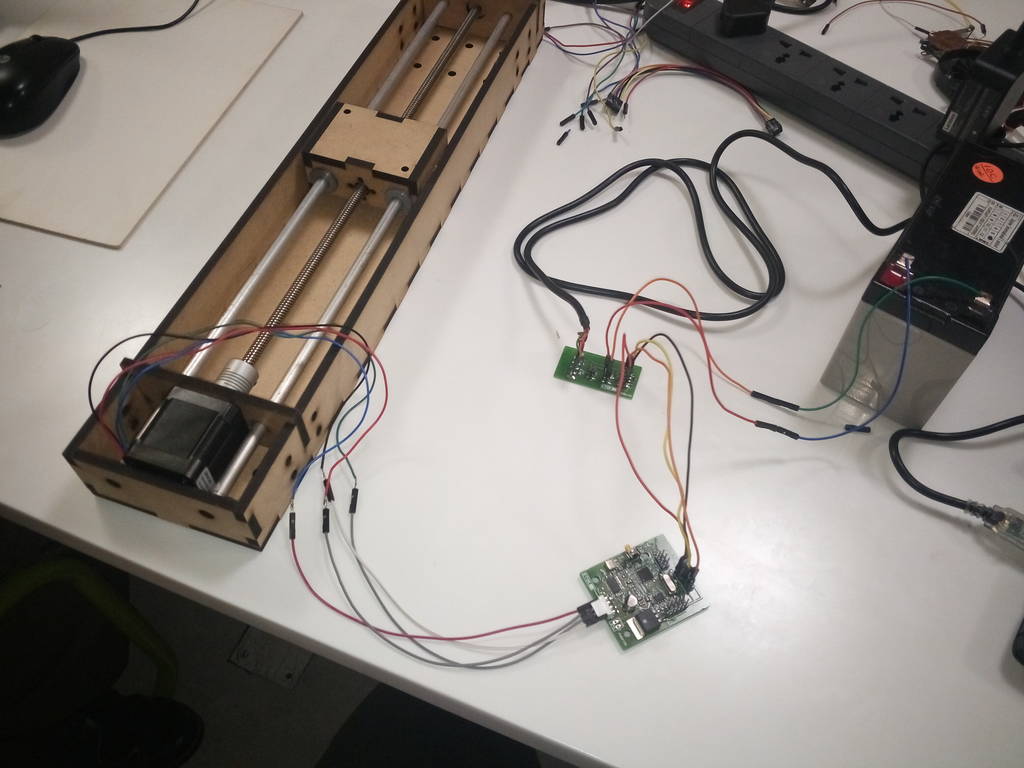
After getting all the individual parts from laser cutting our team members Amol, Chaitali & Sudarshan started the assembly of individual modular units assembly.
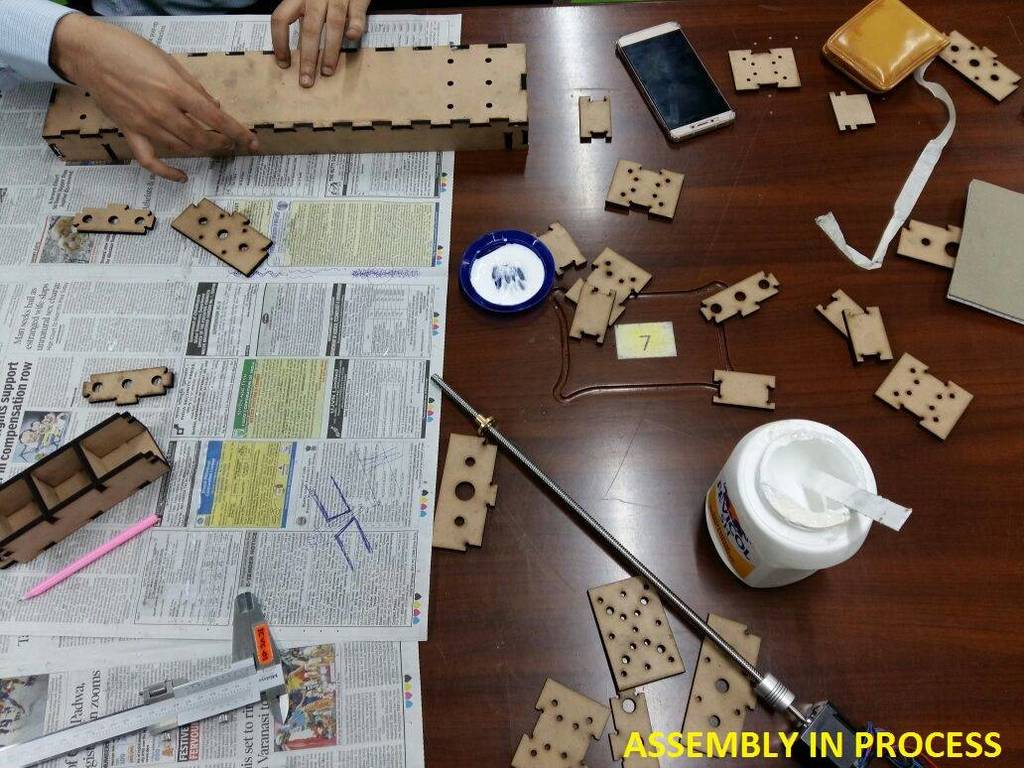
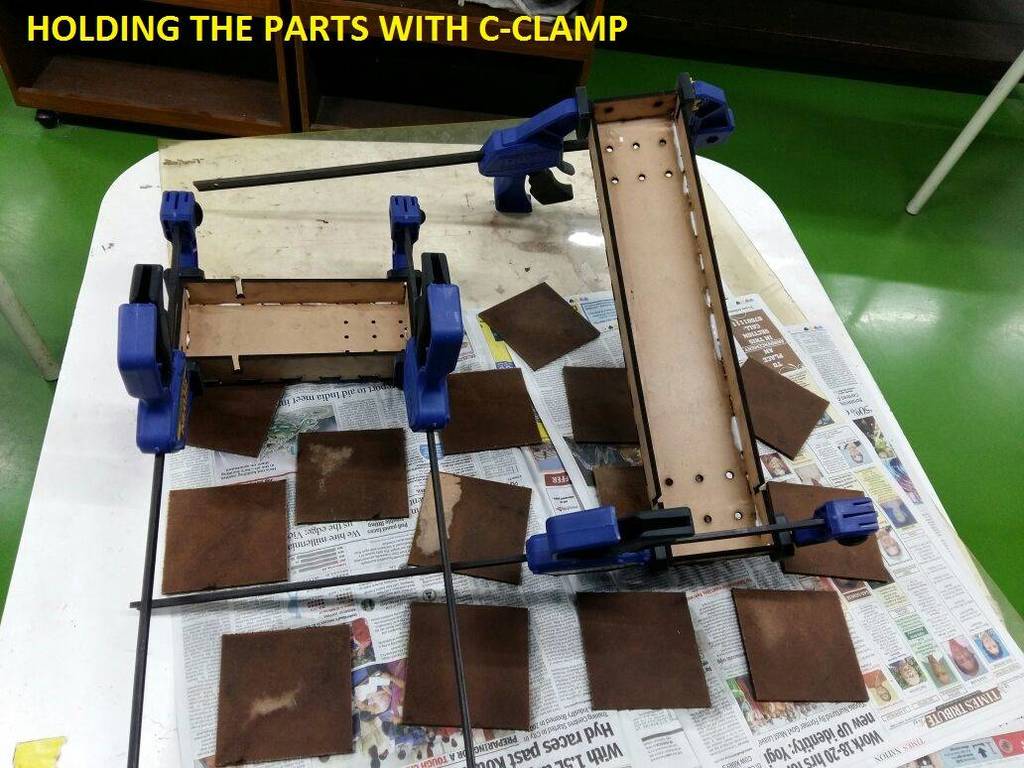
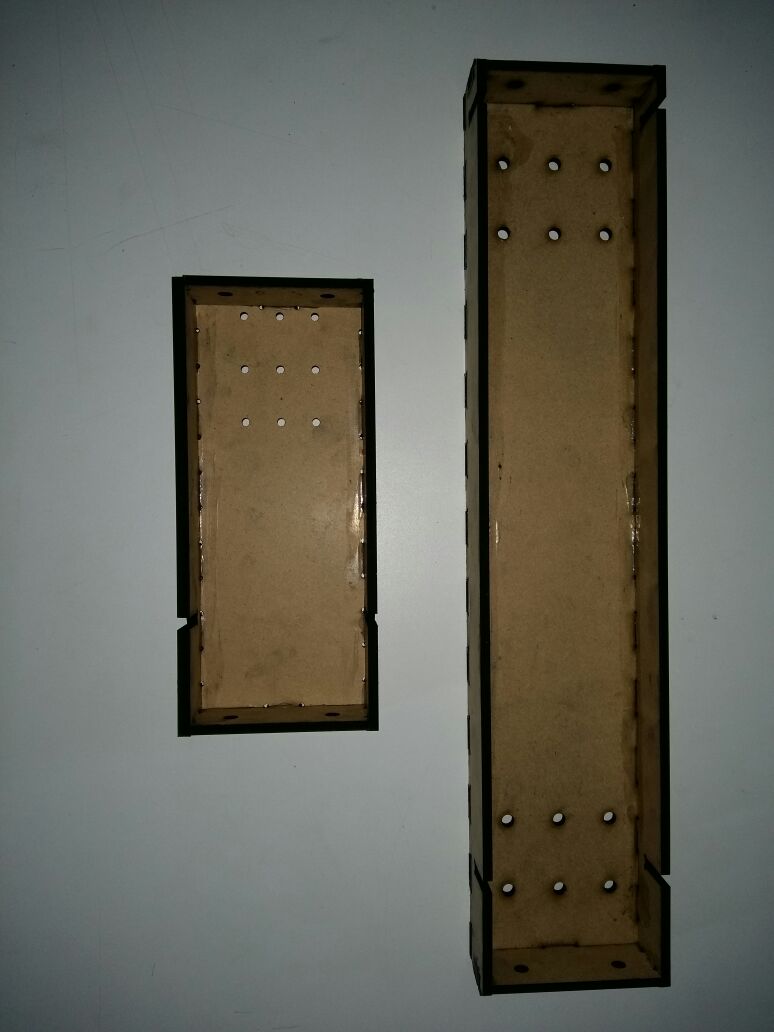
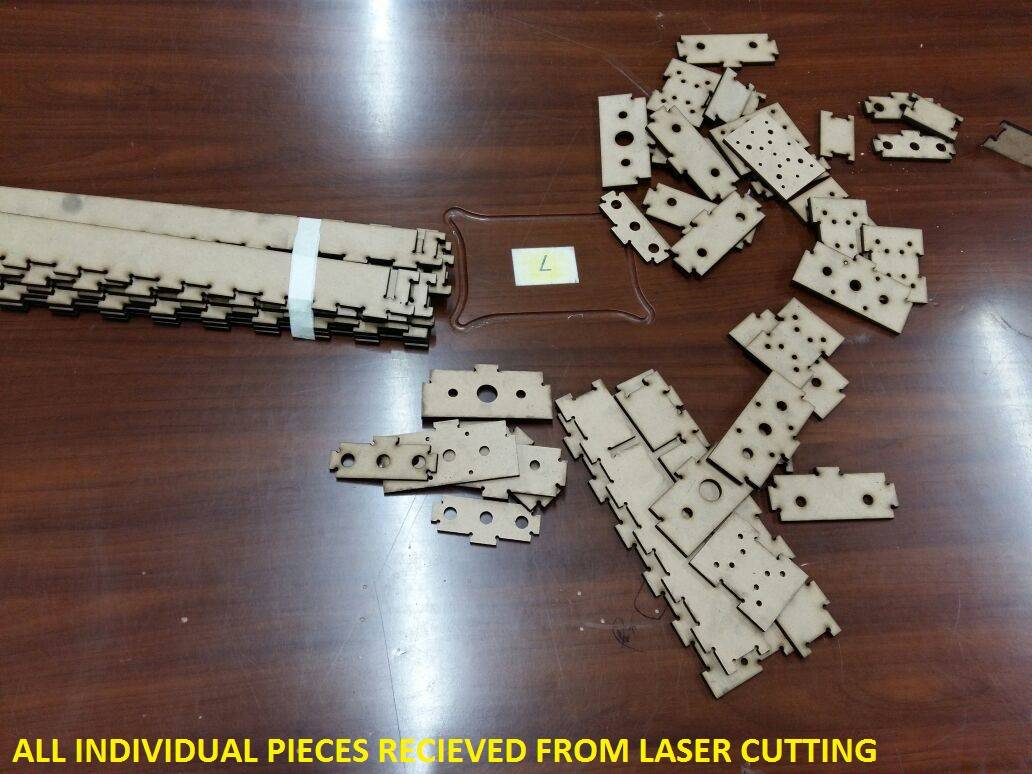
Collated all the images during the assembly of the machine.


learnings of this week
- Learnt to build a small machine by getting along with new team members of the Fablab team
Files to download

This work is licensed under a Creative Commons Attribution-NonCommercial-ShareAlike 4.0 International License.