The design of mold
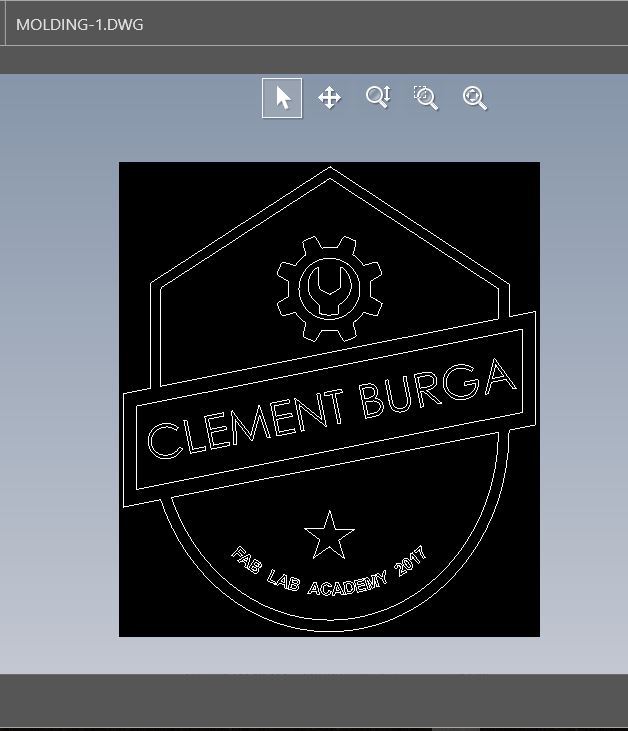
To start the design I converted the design of my Logo done in Inkscape during the Vinyl Cutting assignment to AutoCAD format. I then imported this dxf file into Solidworks to make the 3D model.
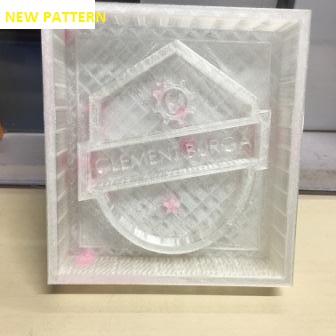
Making of the Pattern
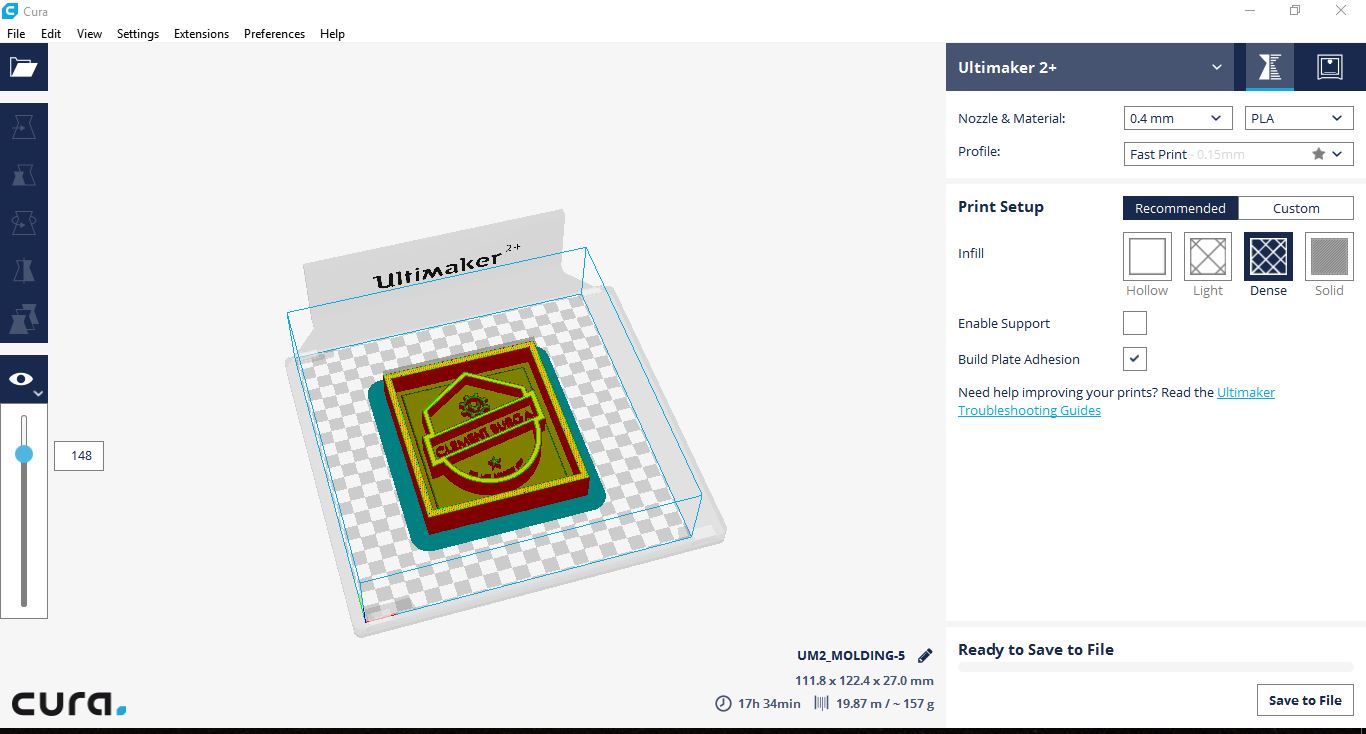
The model made in Solidworks, I converted this to .stl format. Then I opened the .stl file of the mold in CURA 2.0 to do 3D printing.
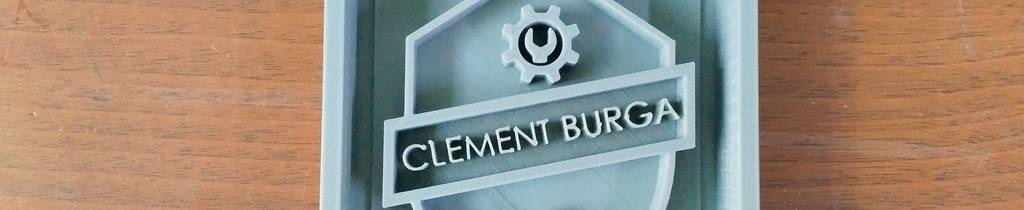
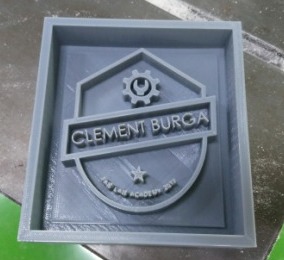
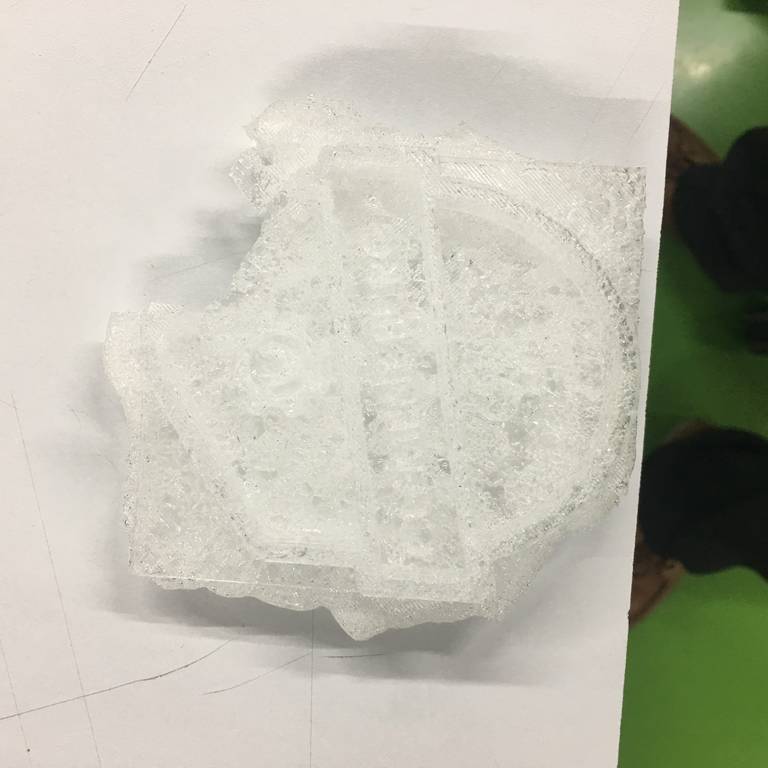
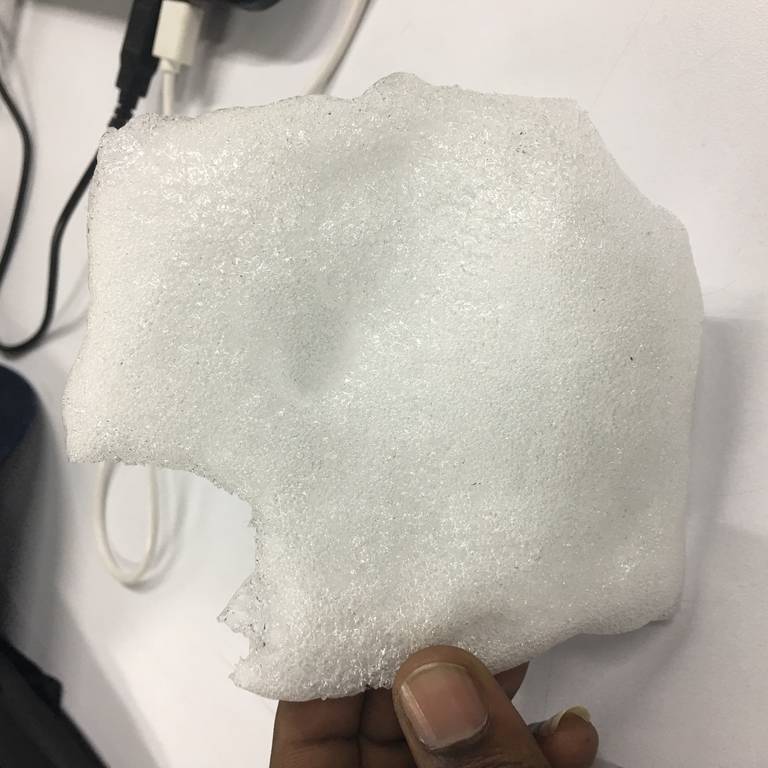
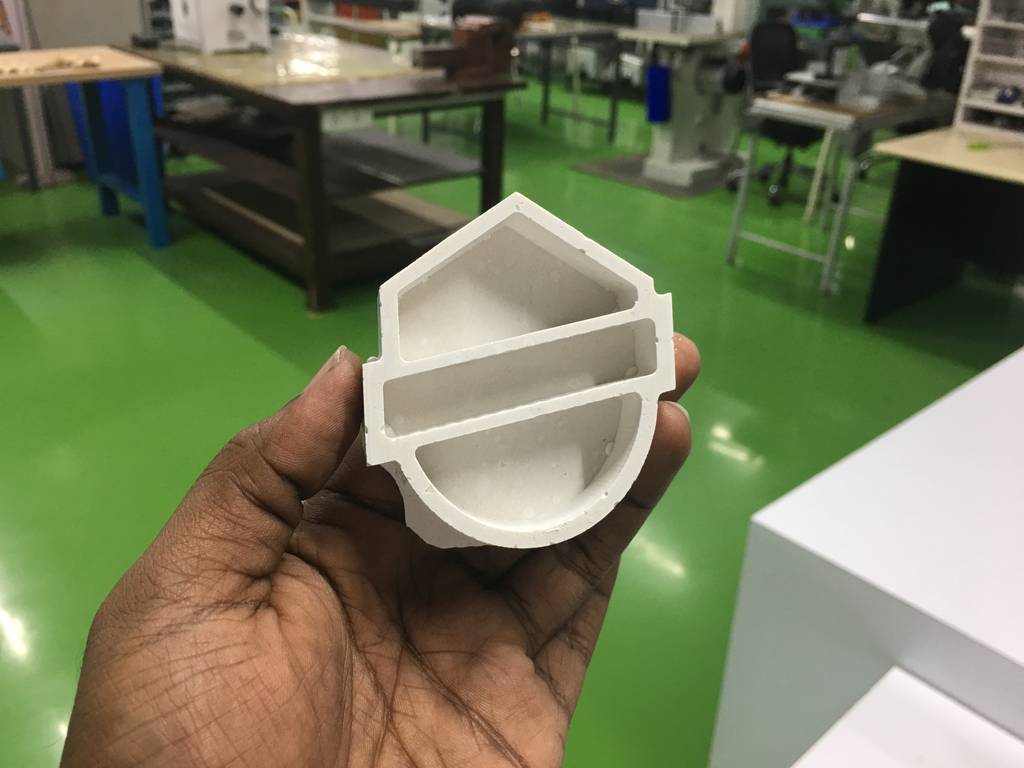
The below images show the mold after 3D printing is done.
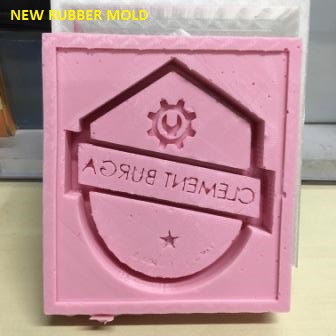
Making of the Mold
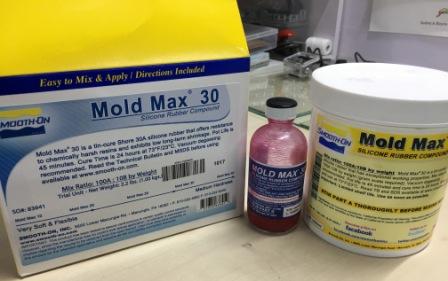
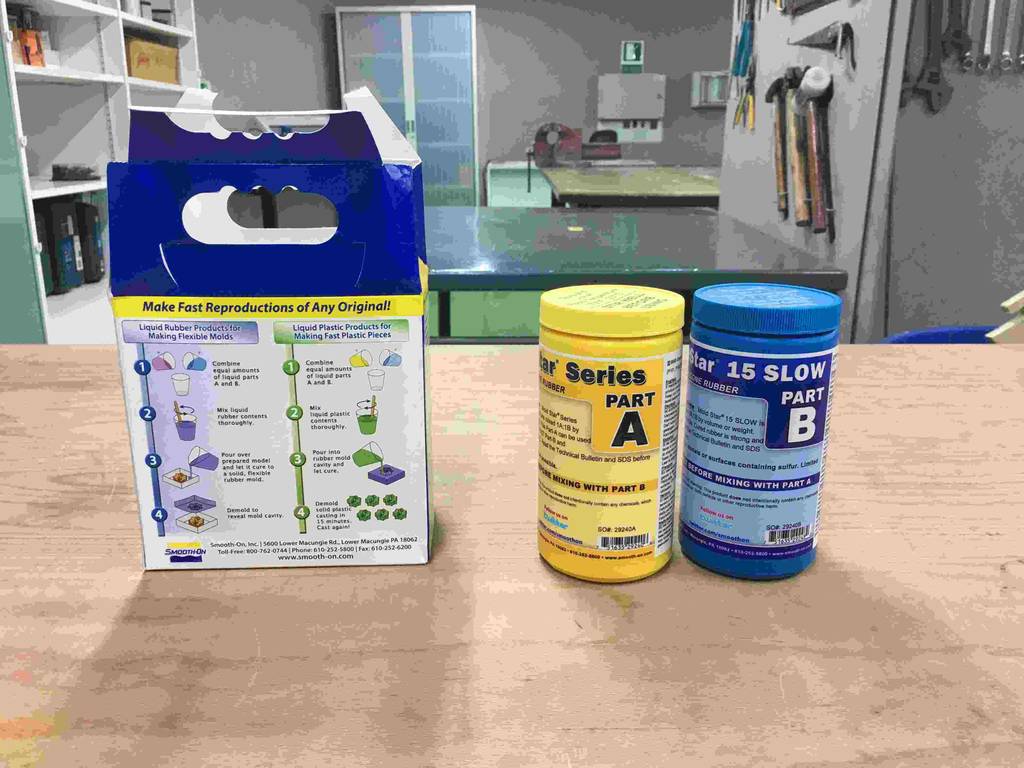
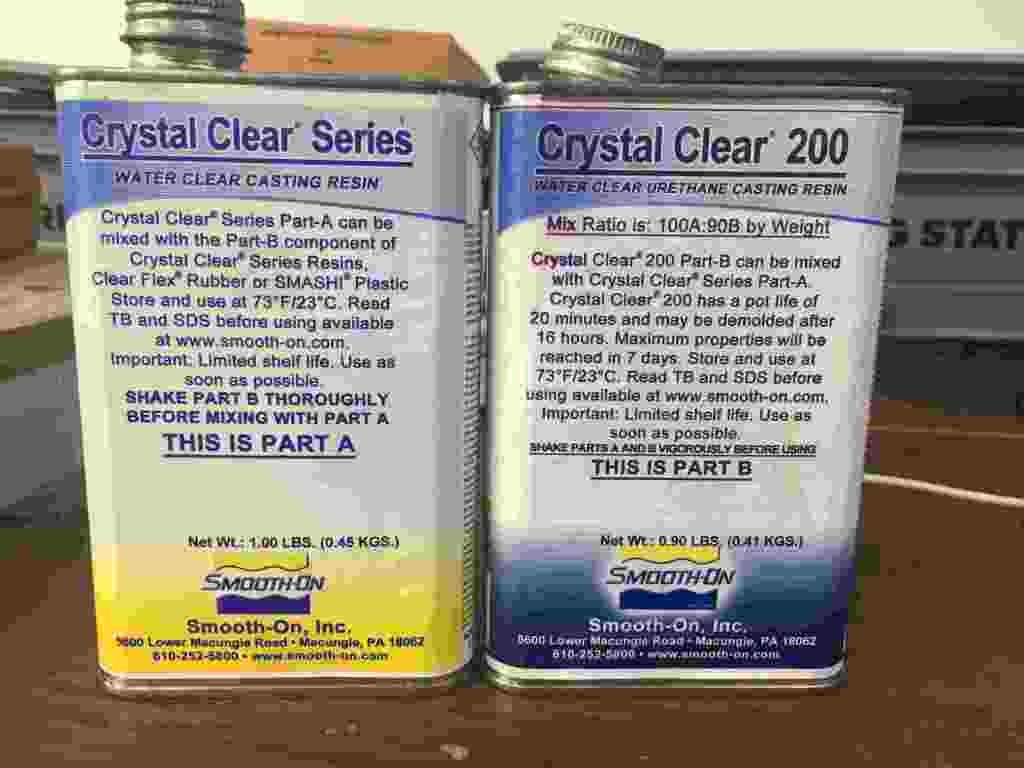
To create the desired Logo of my name, first I need to create a heat resistant mold. For creating this mold, I'm using Mold Star 15 Slow Platinum Silicone Rubber compound. The ratio to be mixed is 1A to 1B by weight or volume. The mold star series rubbers are easy to use platinum silicones which need no weighing machines. The technical Bulletin and SDS before using is available at www.smooth-on.com
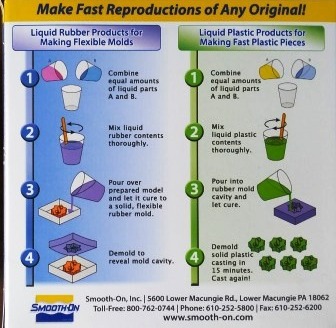
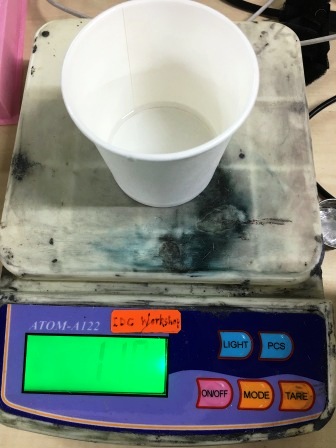
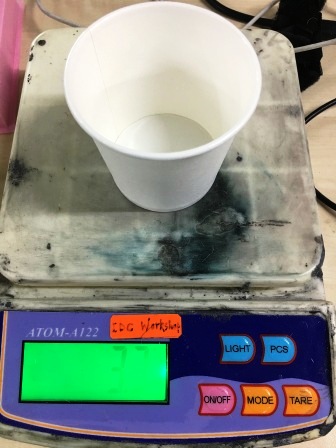
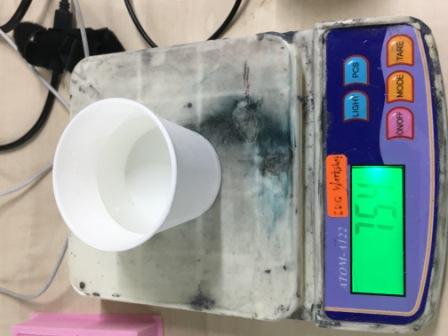
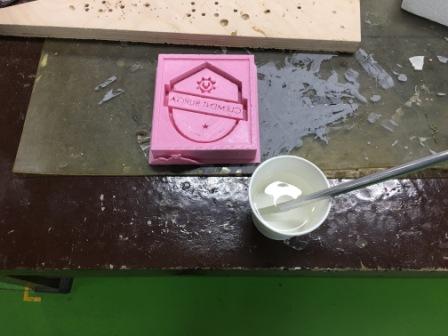
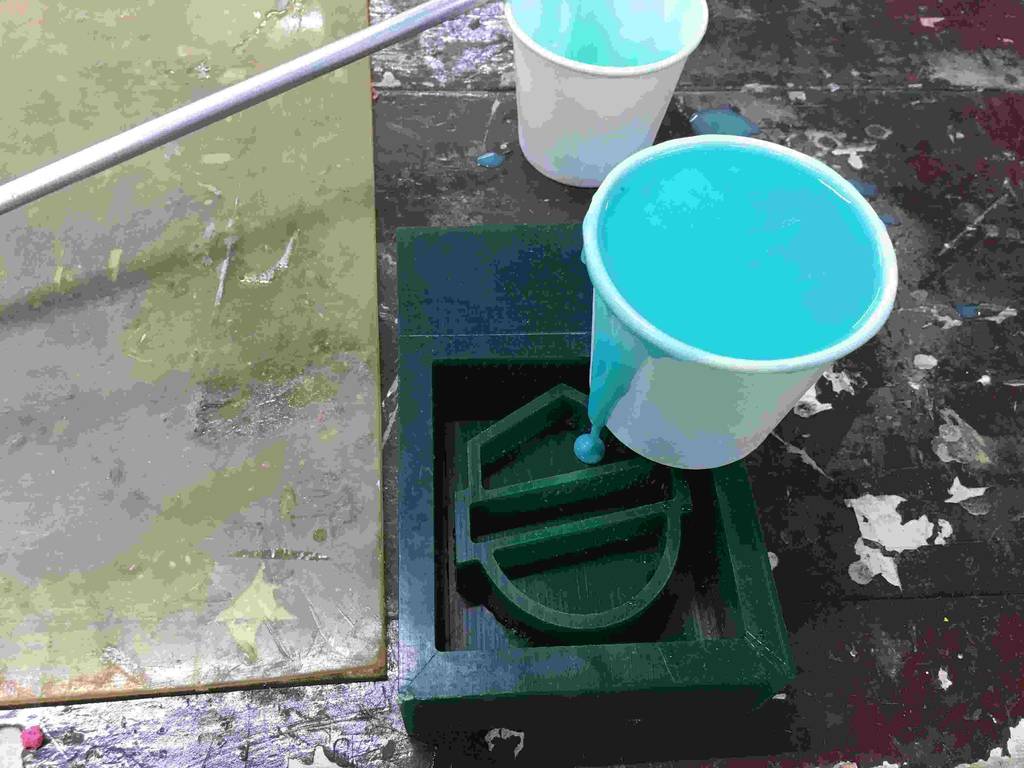
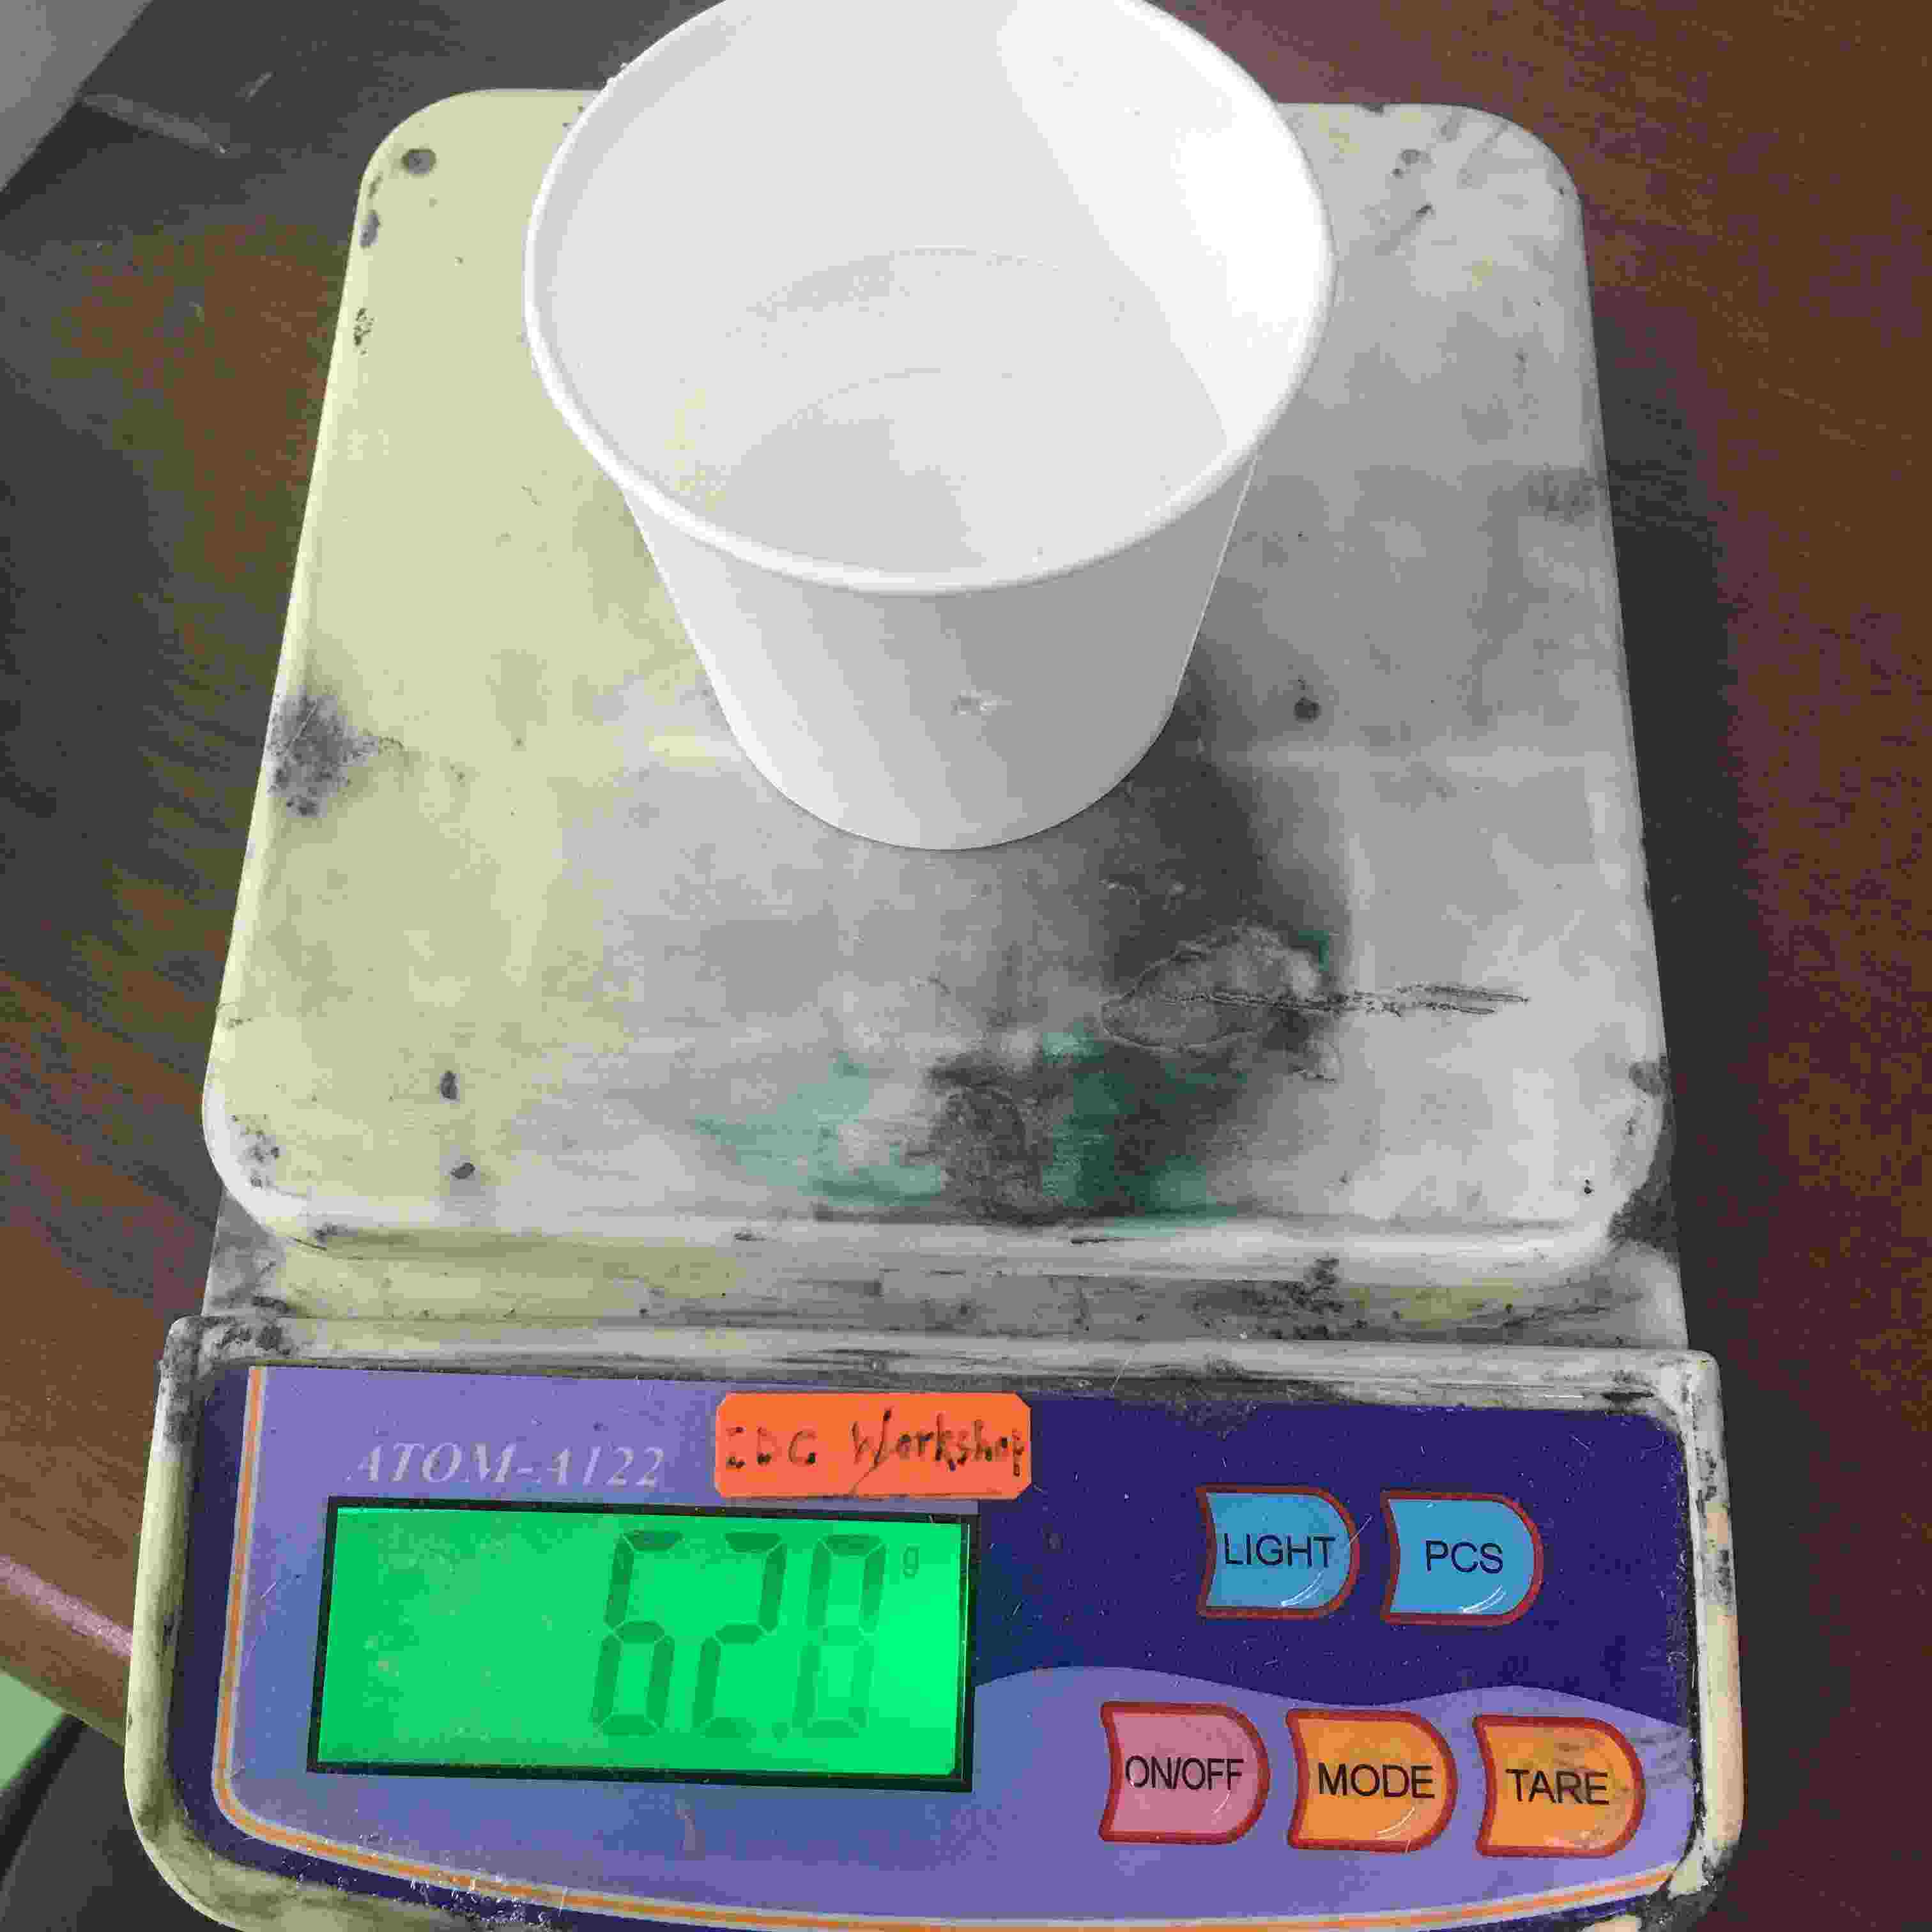
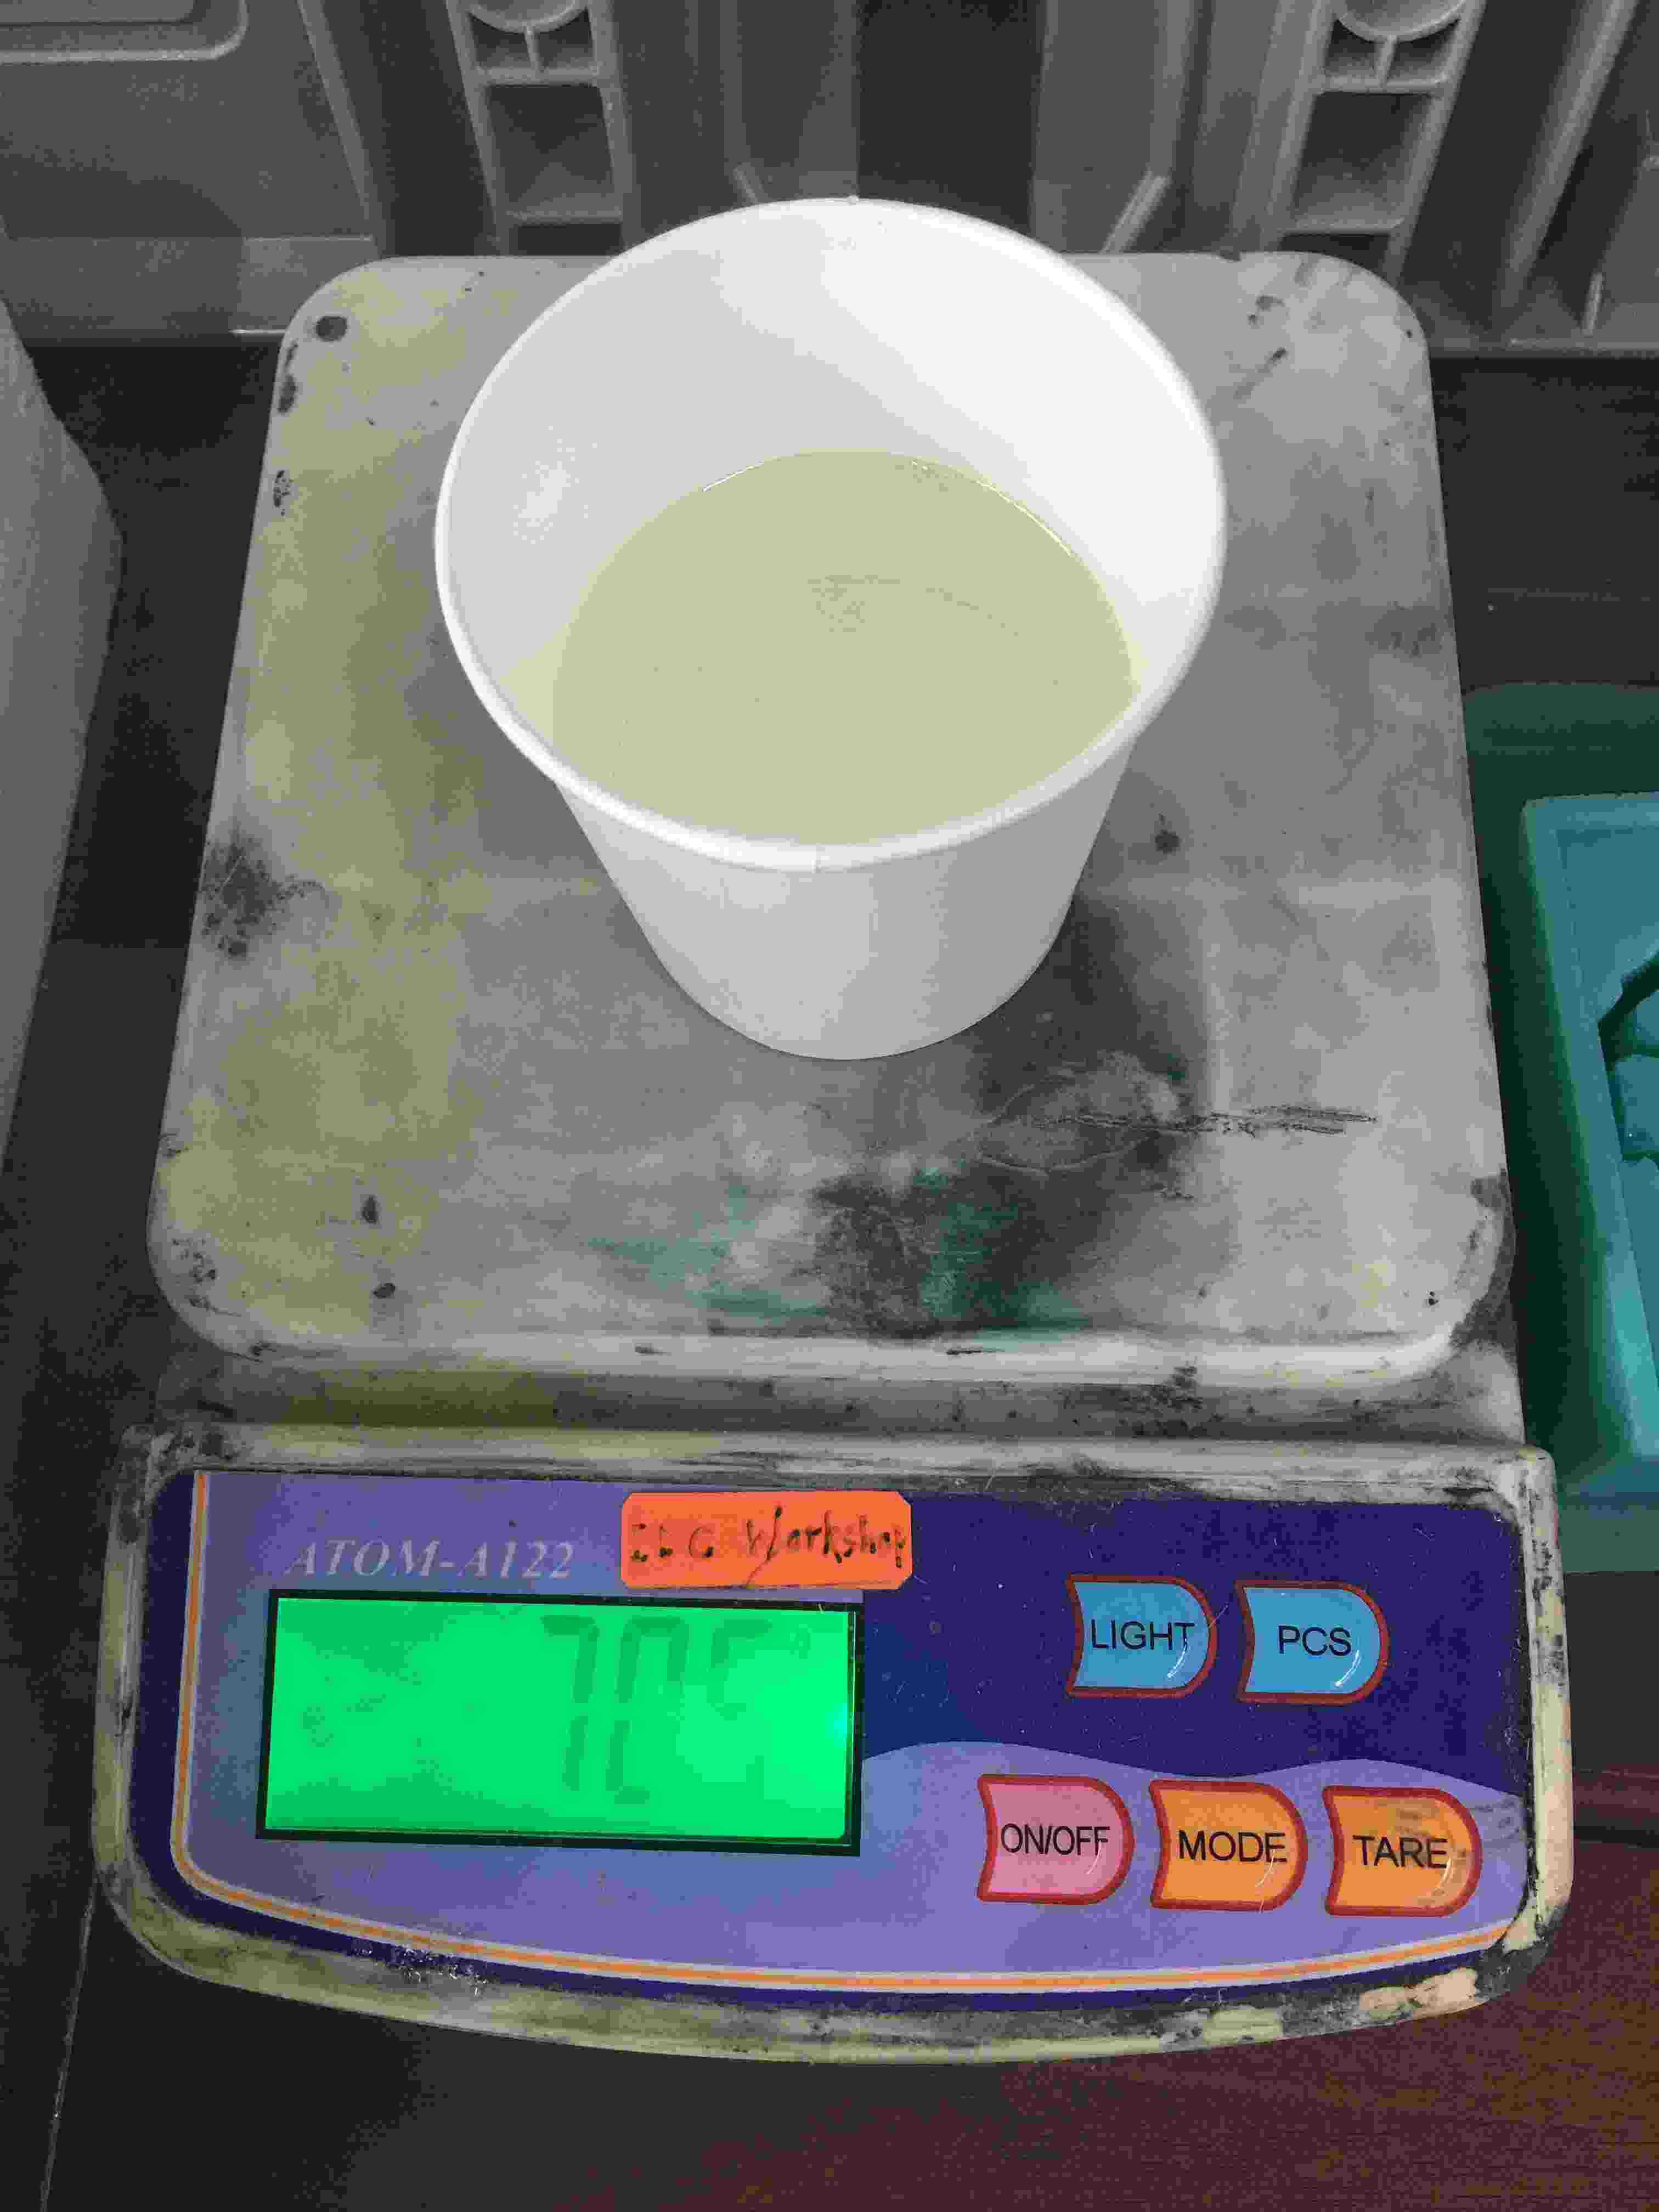
To decide the volume required to fill the mold I first filled the mold with water. I then poured this water into disposable glasses to decide the volume required for Part A & Part B liquids. The below image shows the volumes to be used on the backside of the packing box itself.

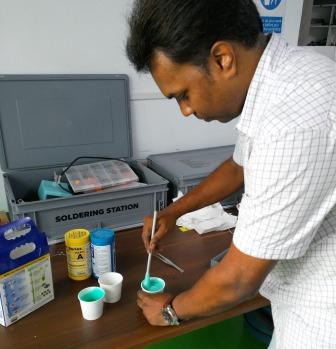
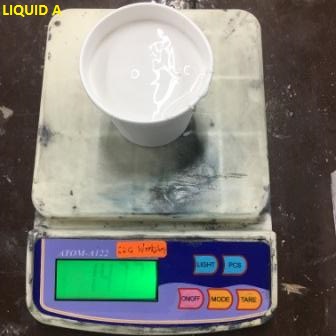
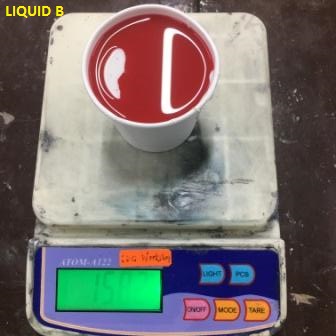
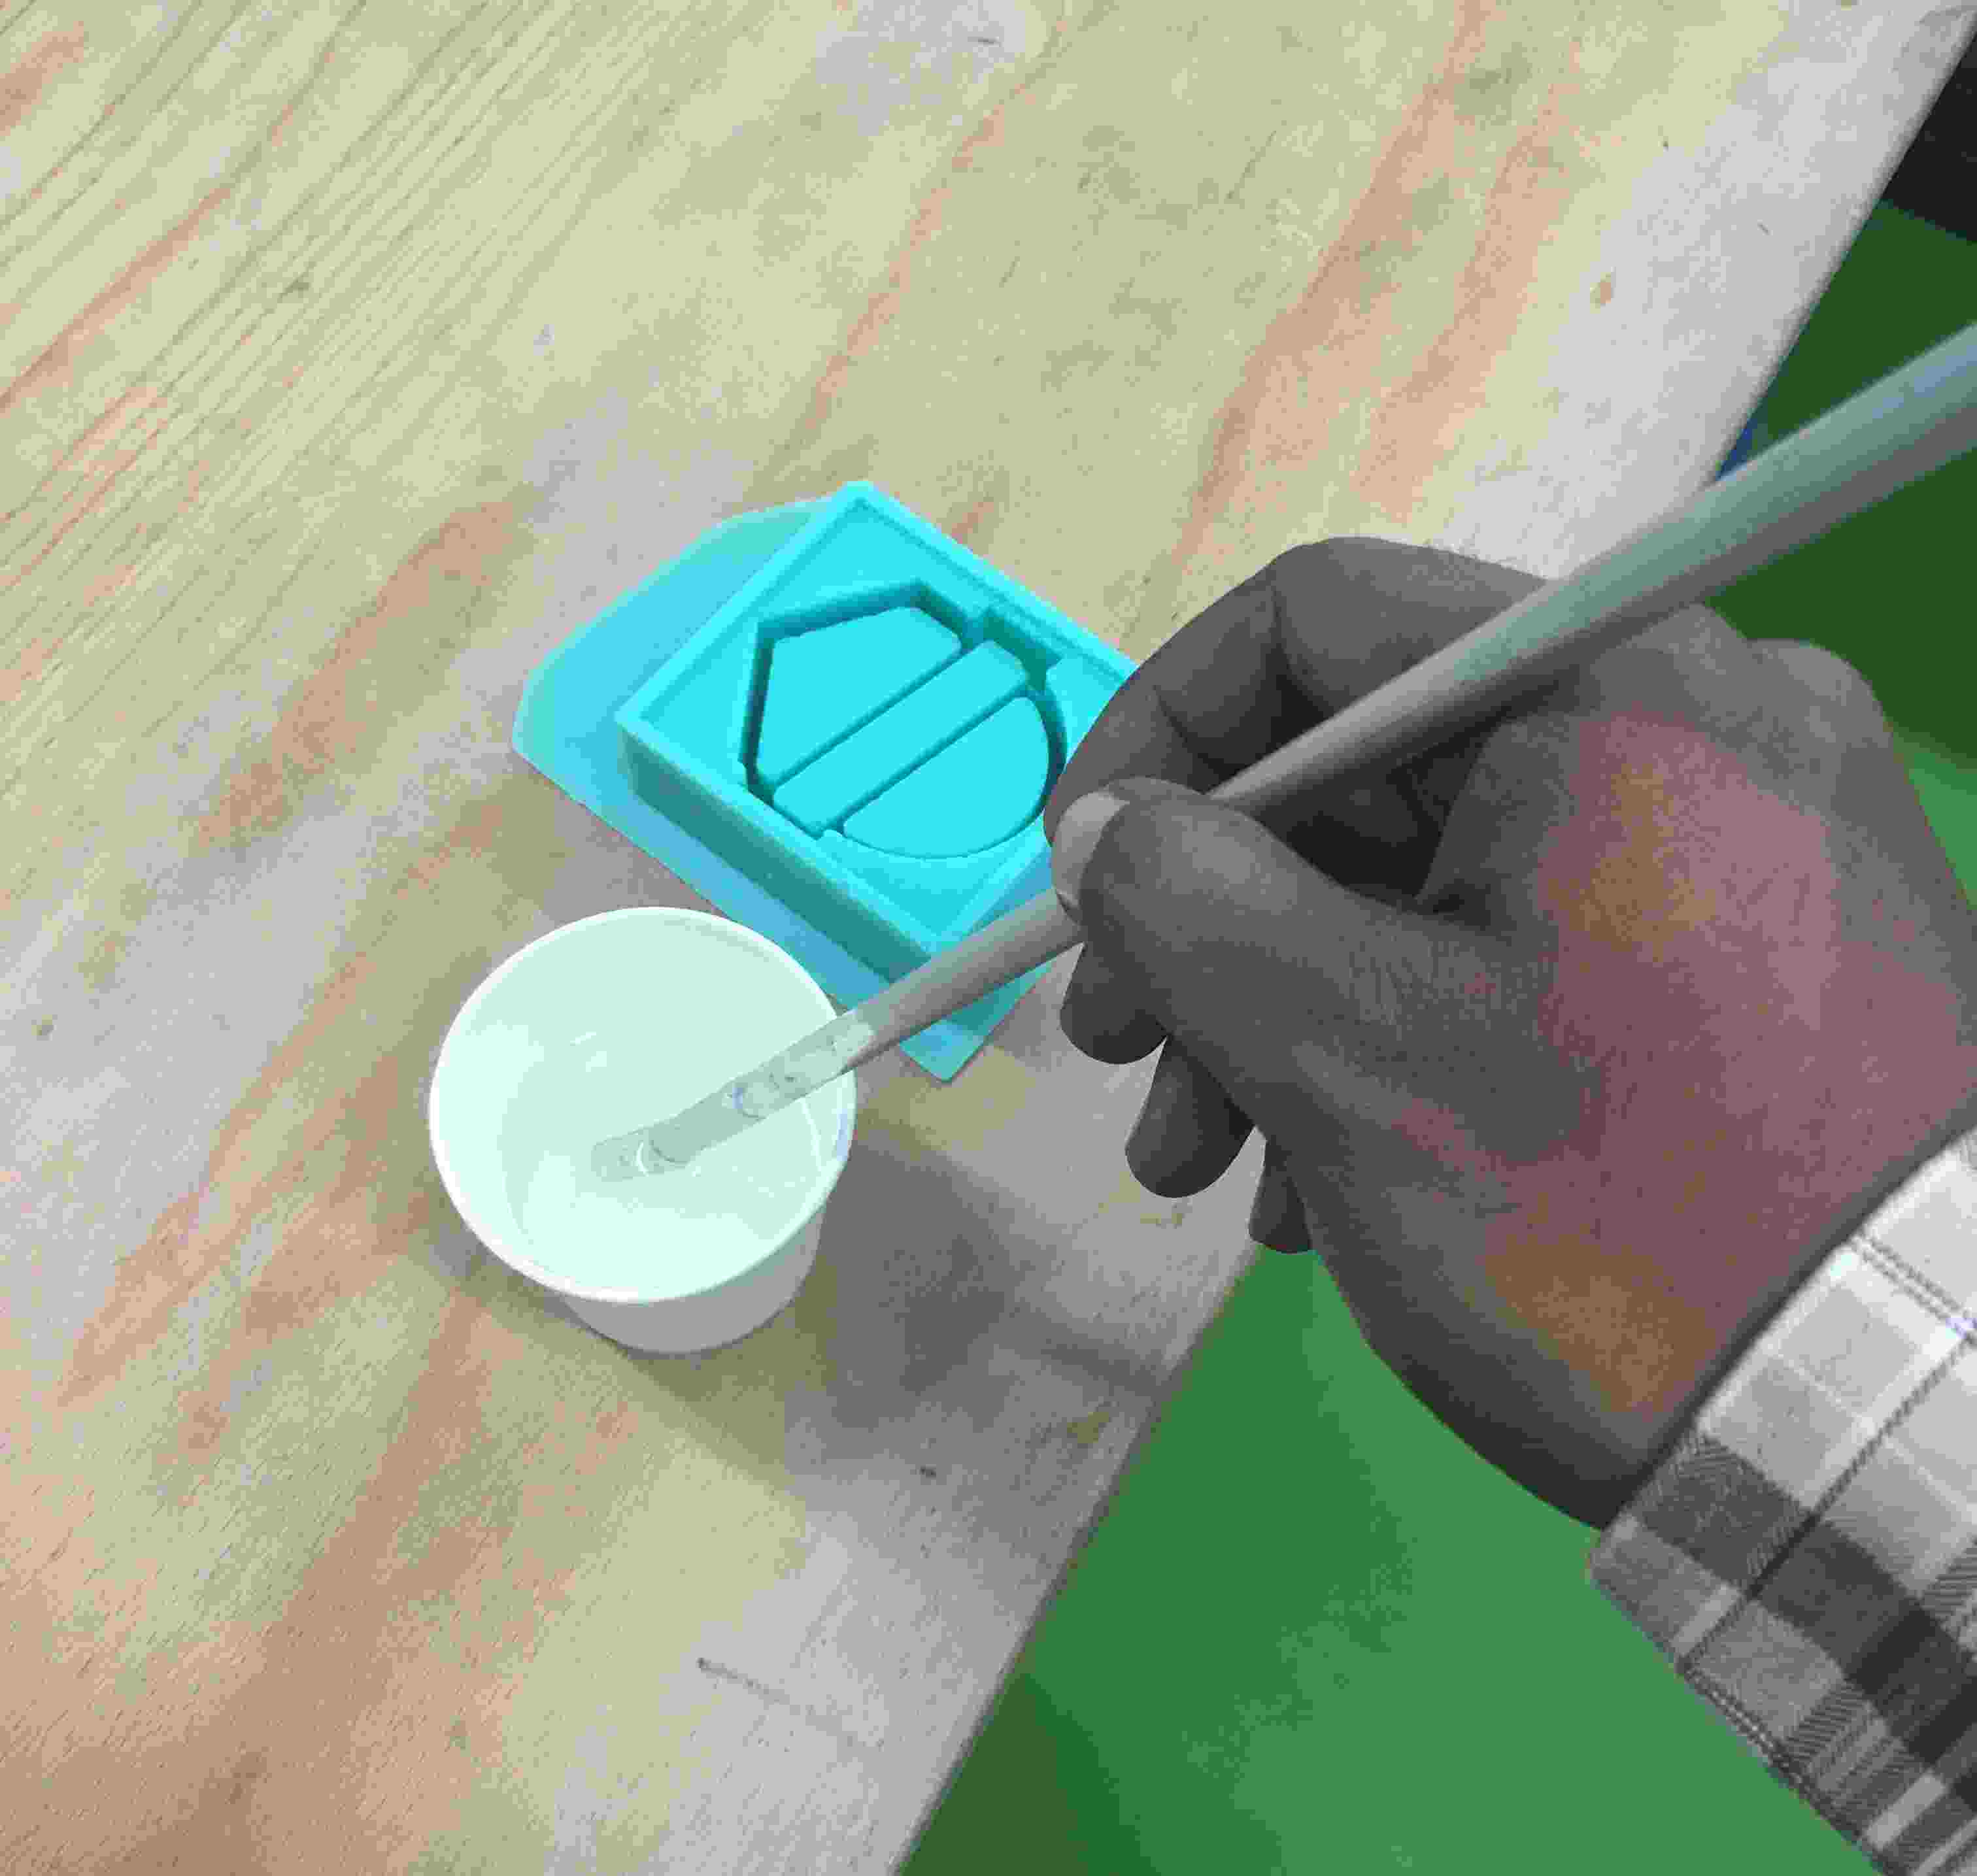
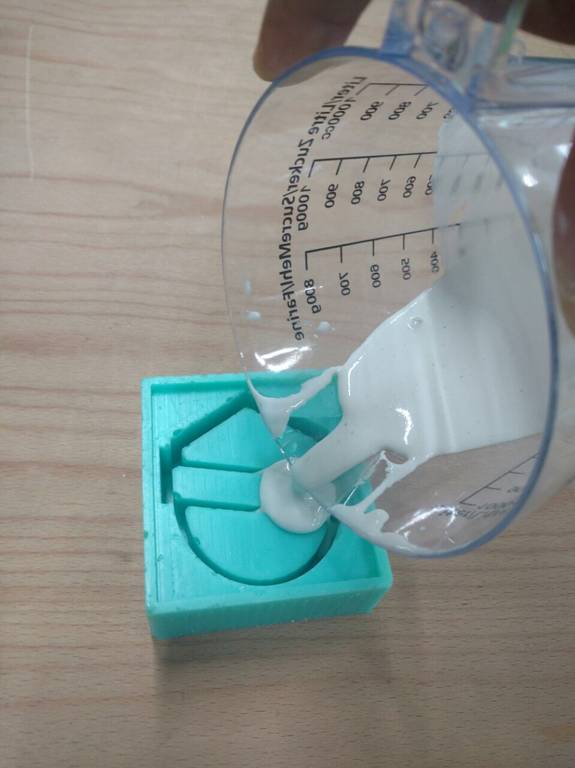
I then measured the same volumes of Part A & Part B in 2 separate paper cups & mixed them thoroughly before pouring the mixture into the mold.
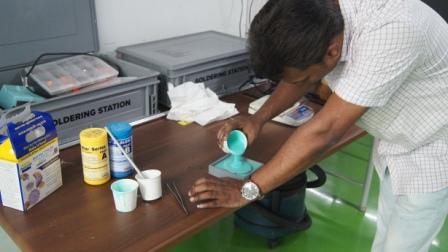
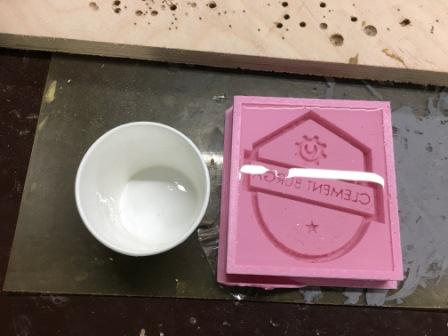
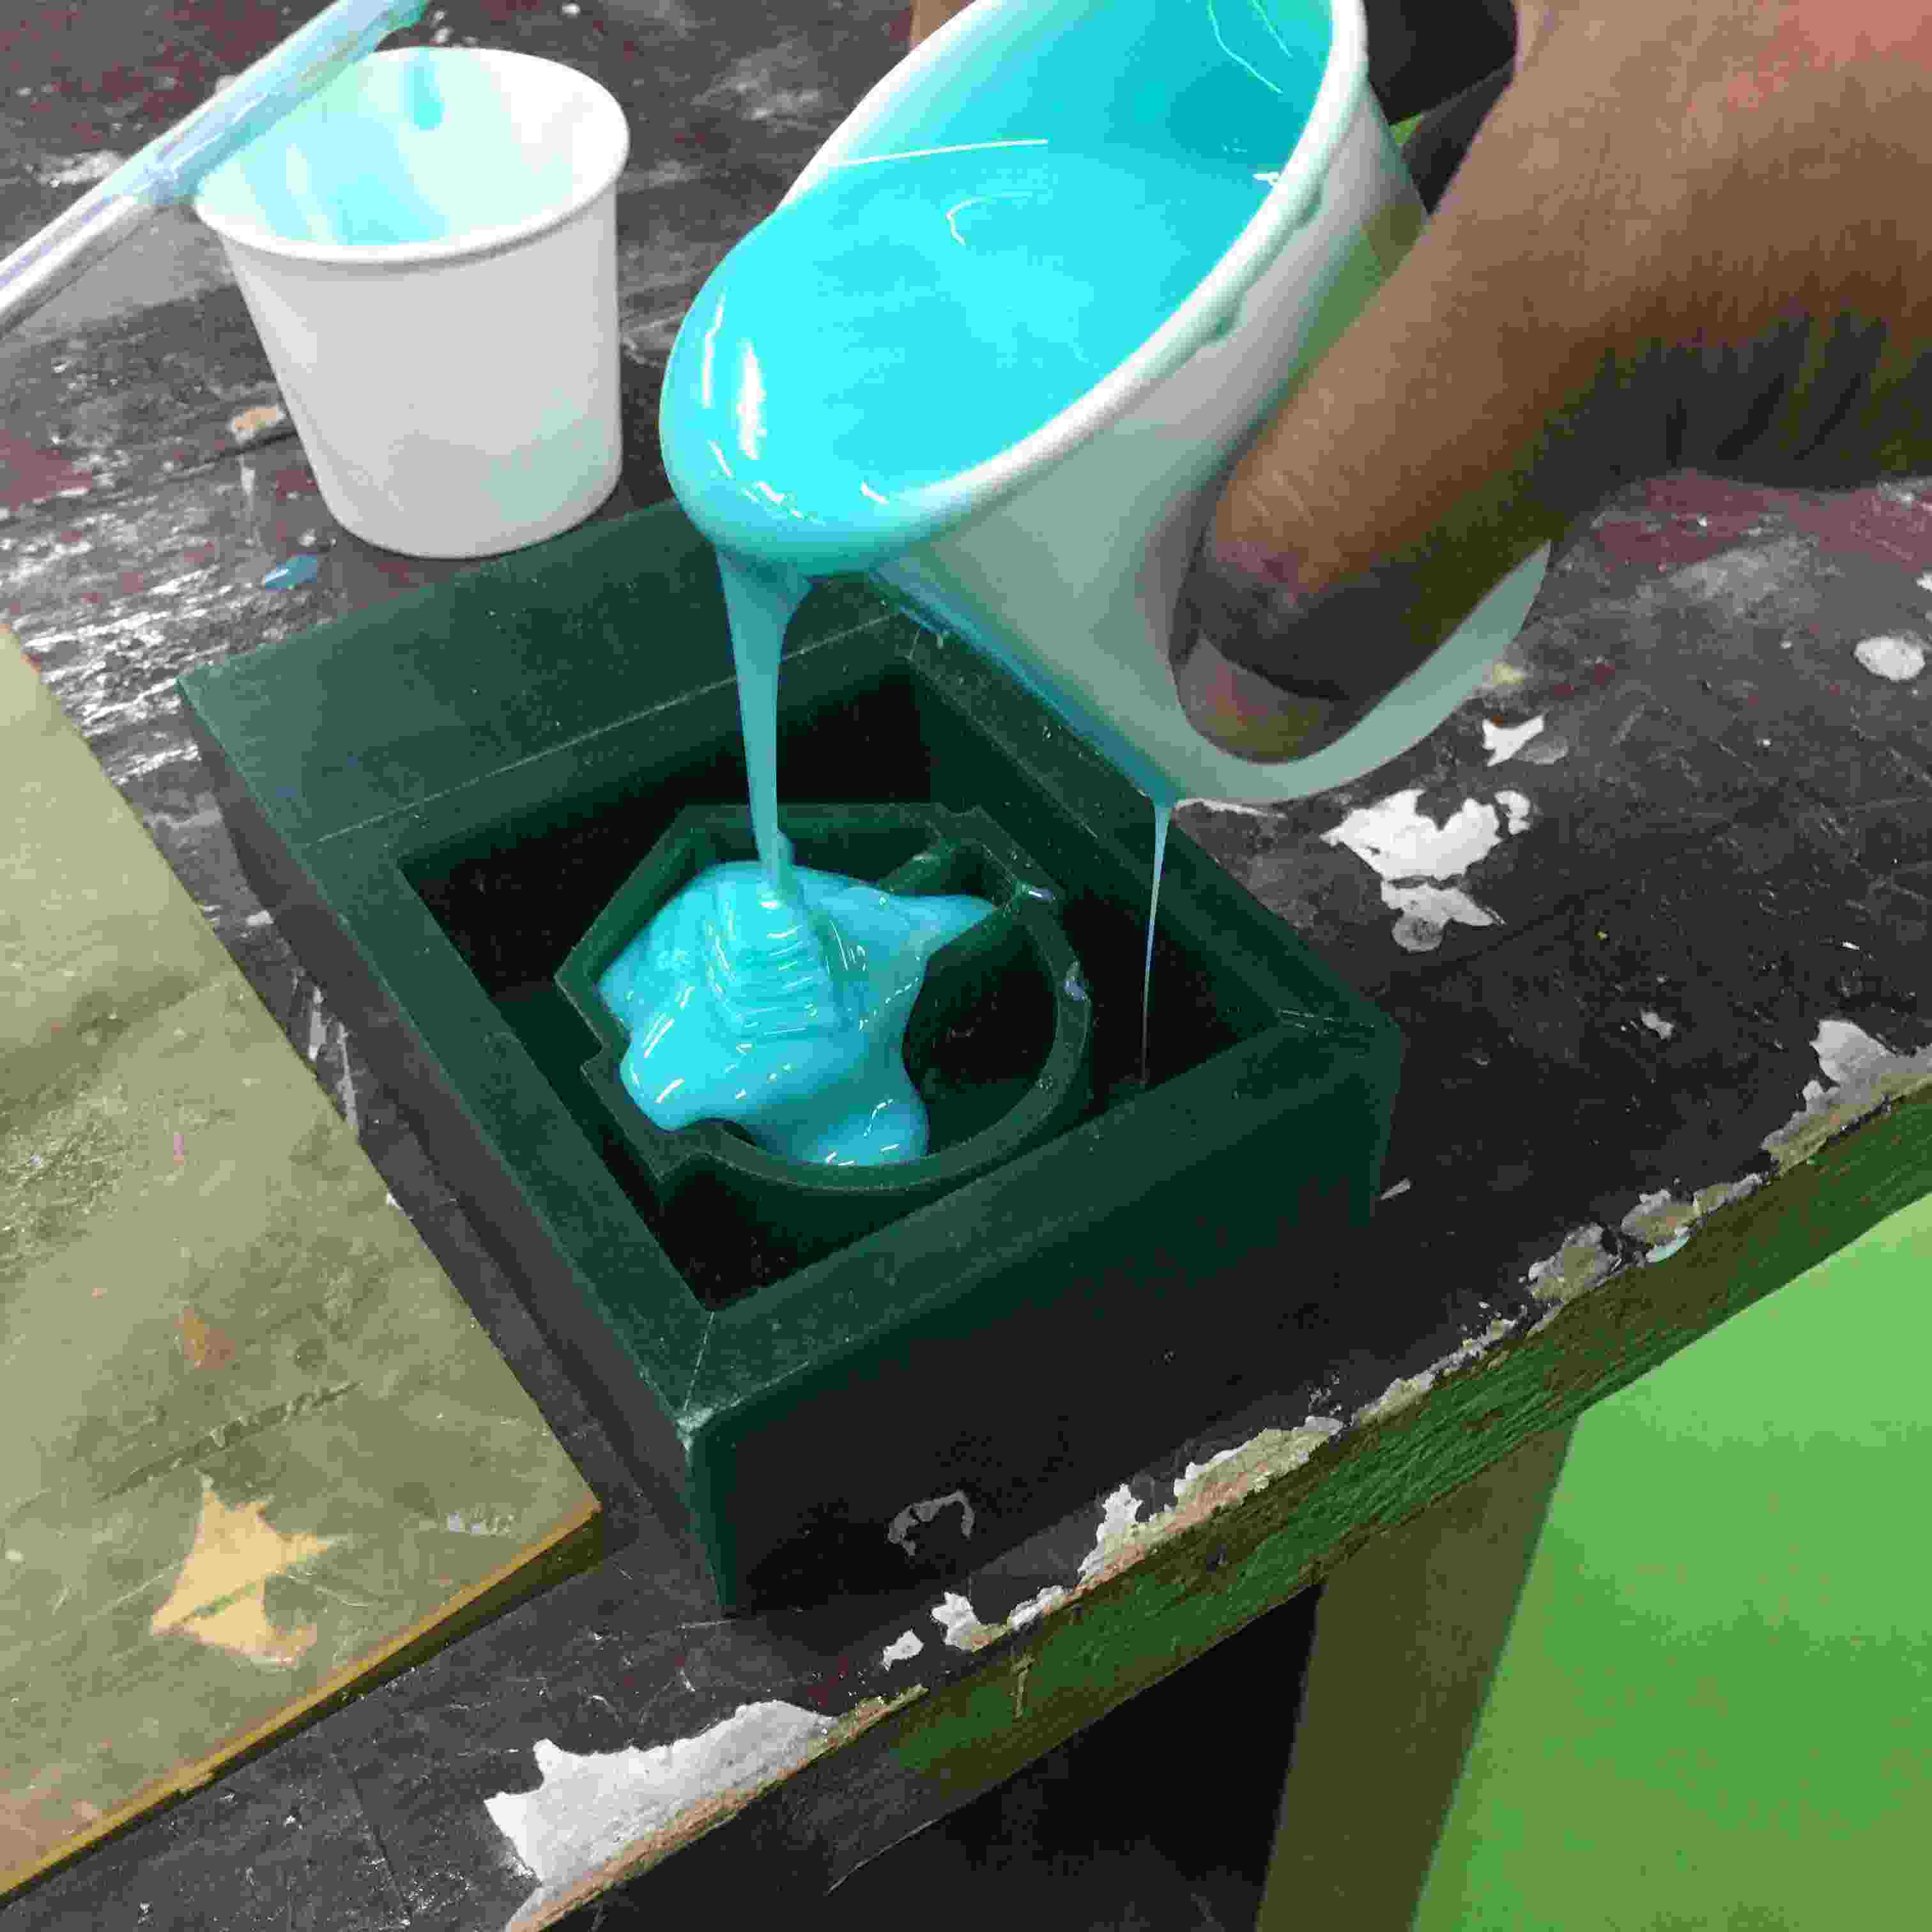
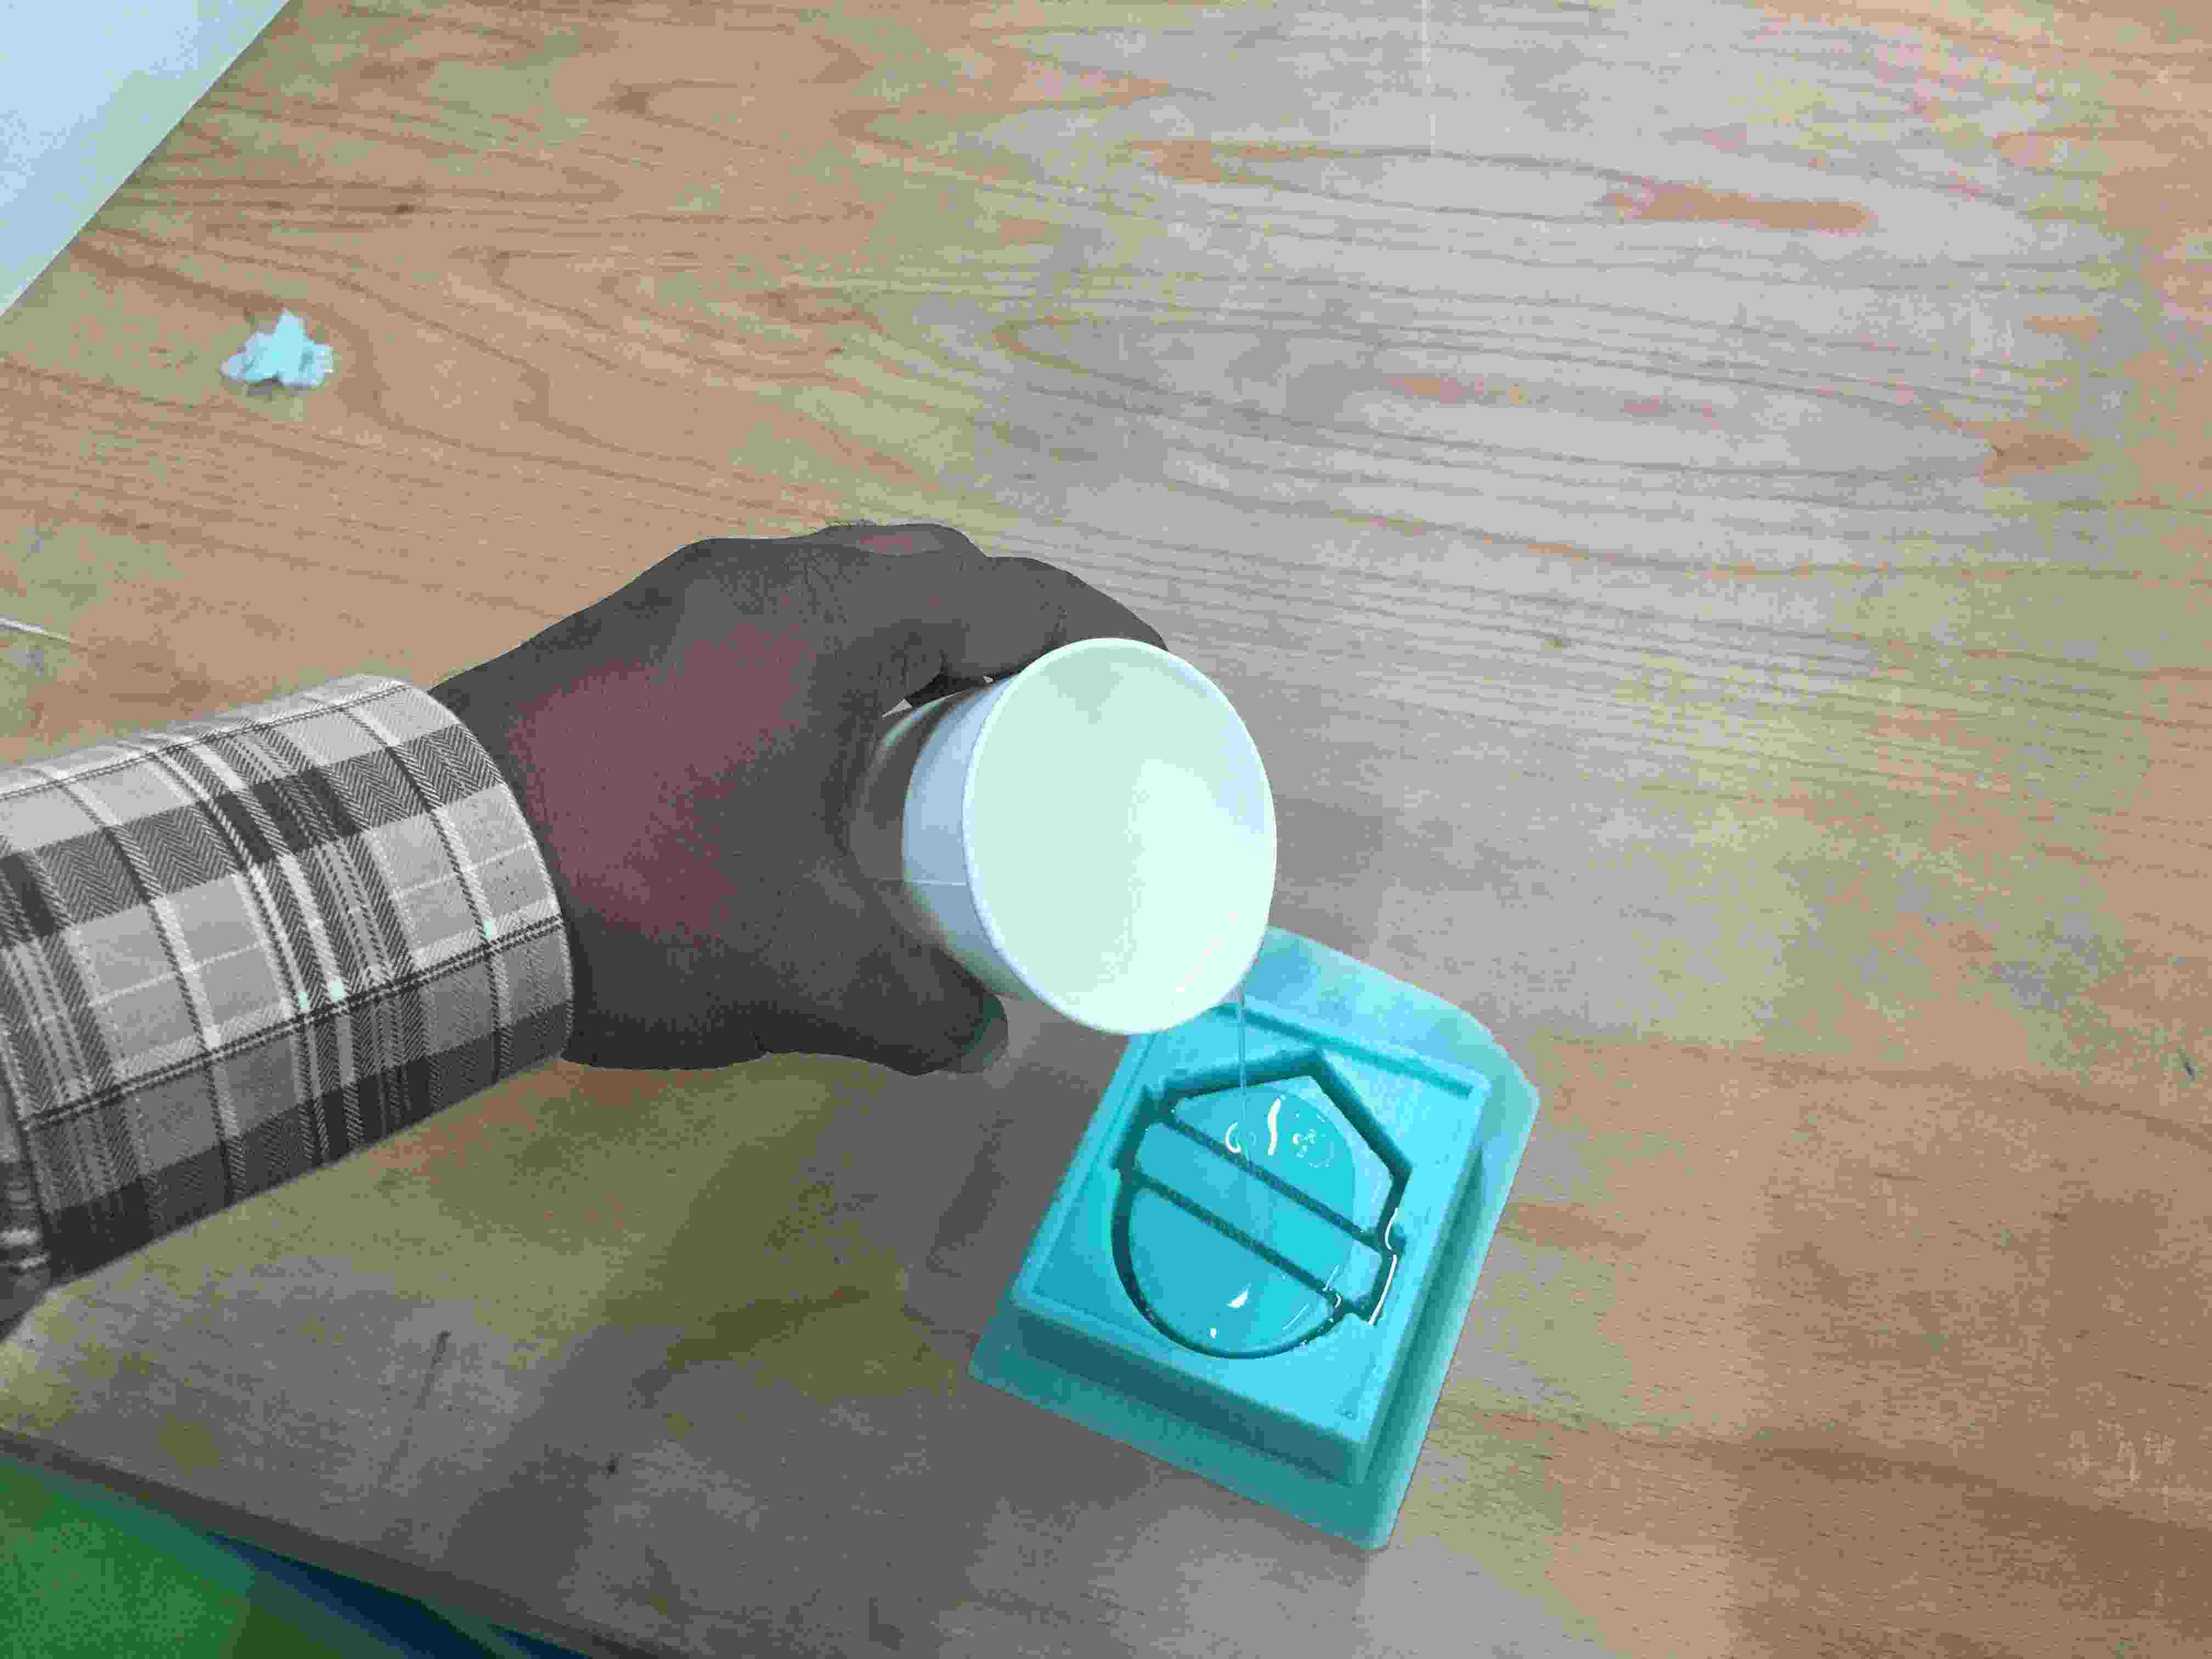
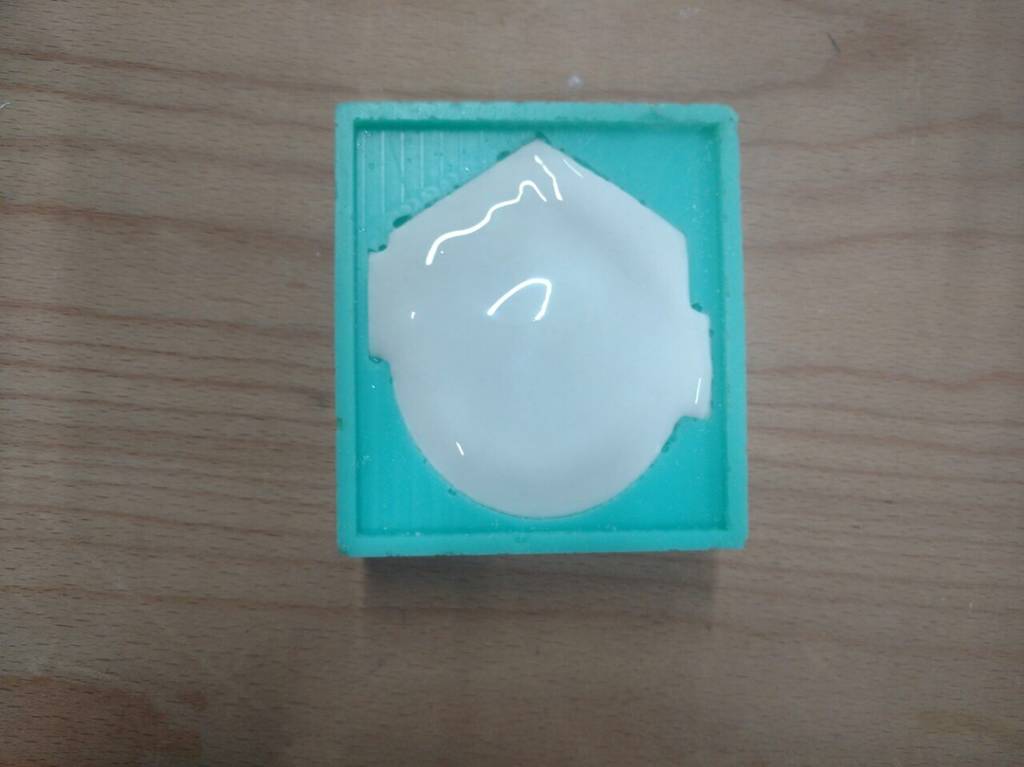
Then I poured all the mixed liquid into the mold as shown below.
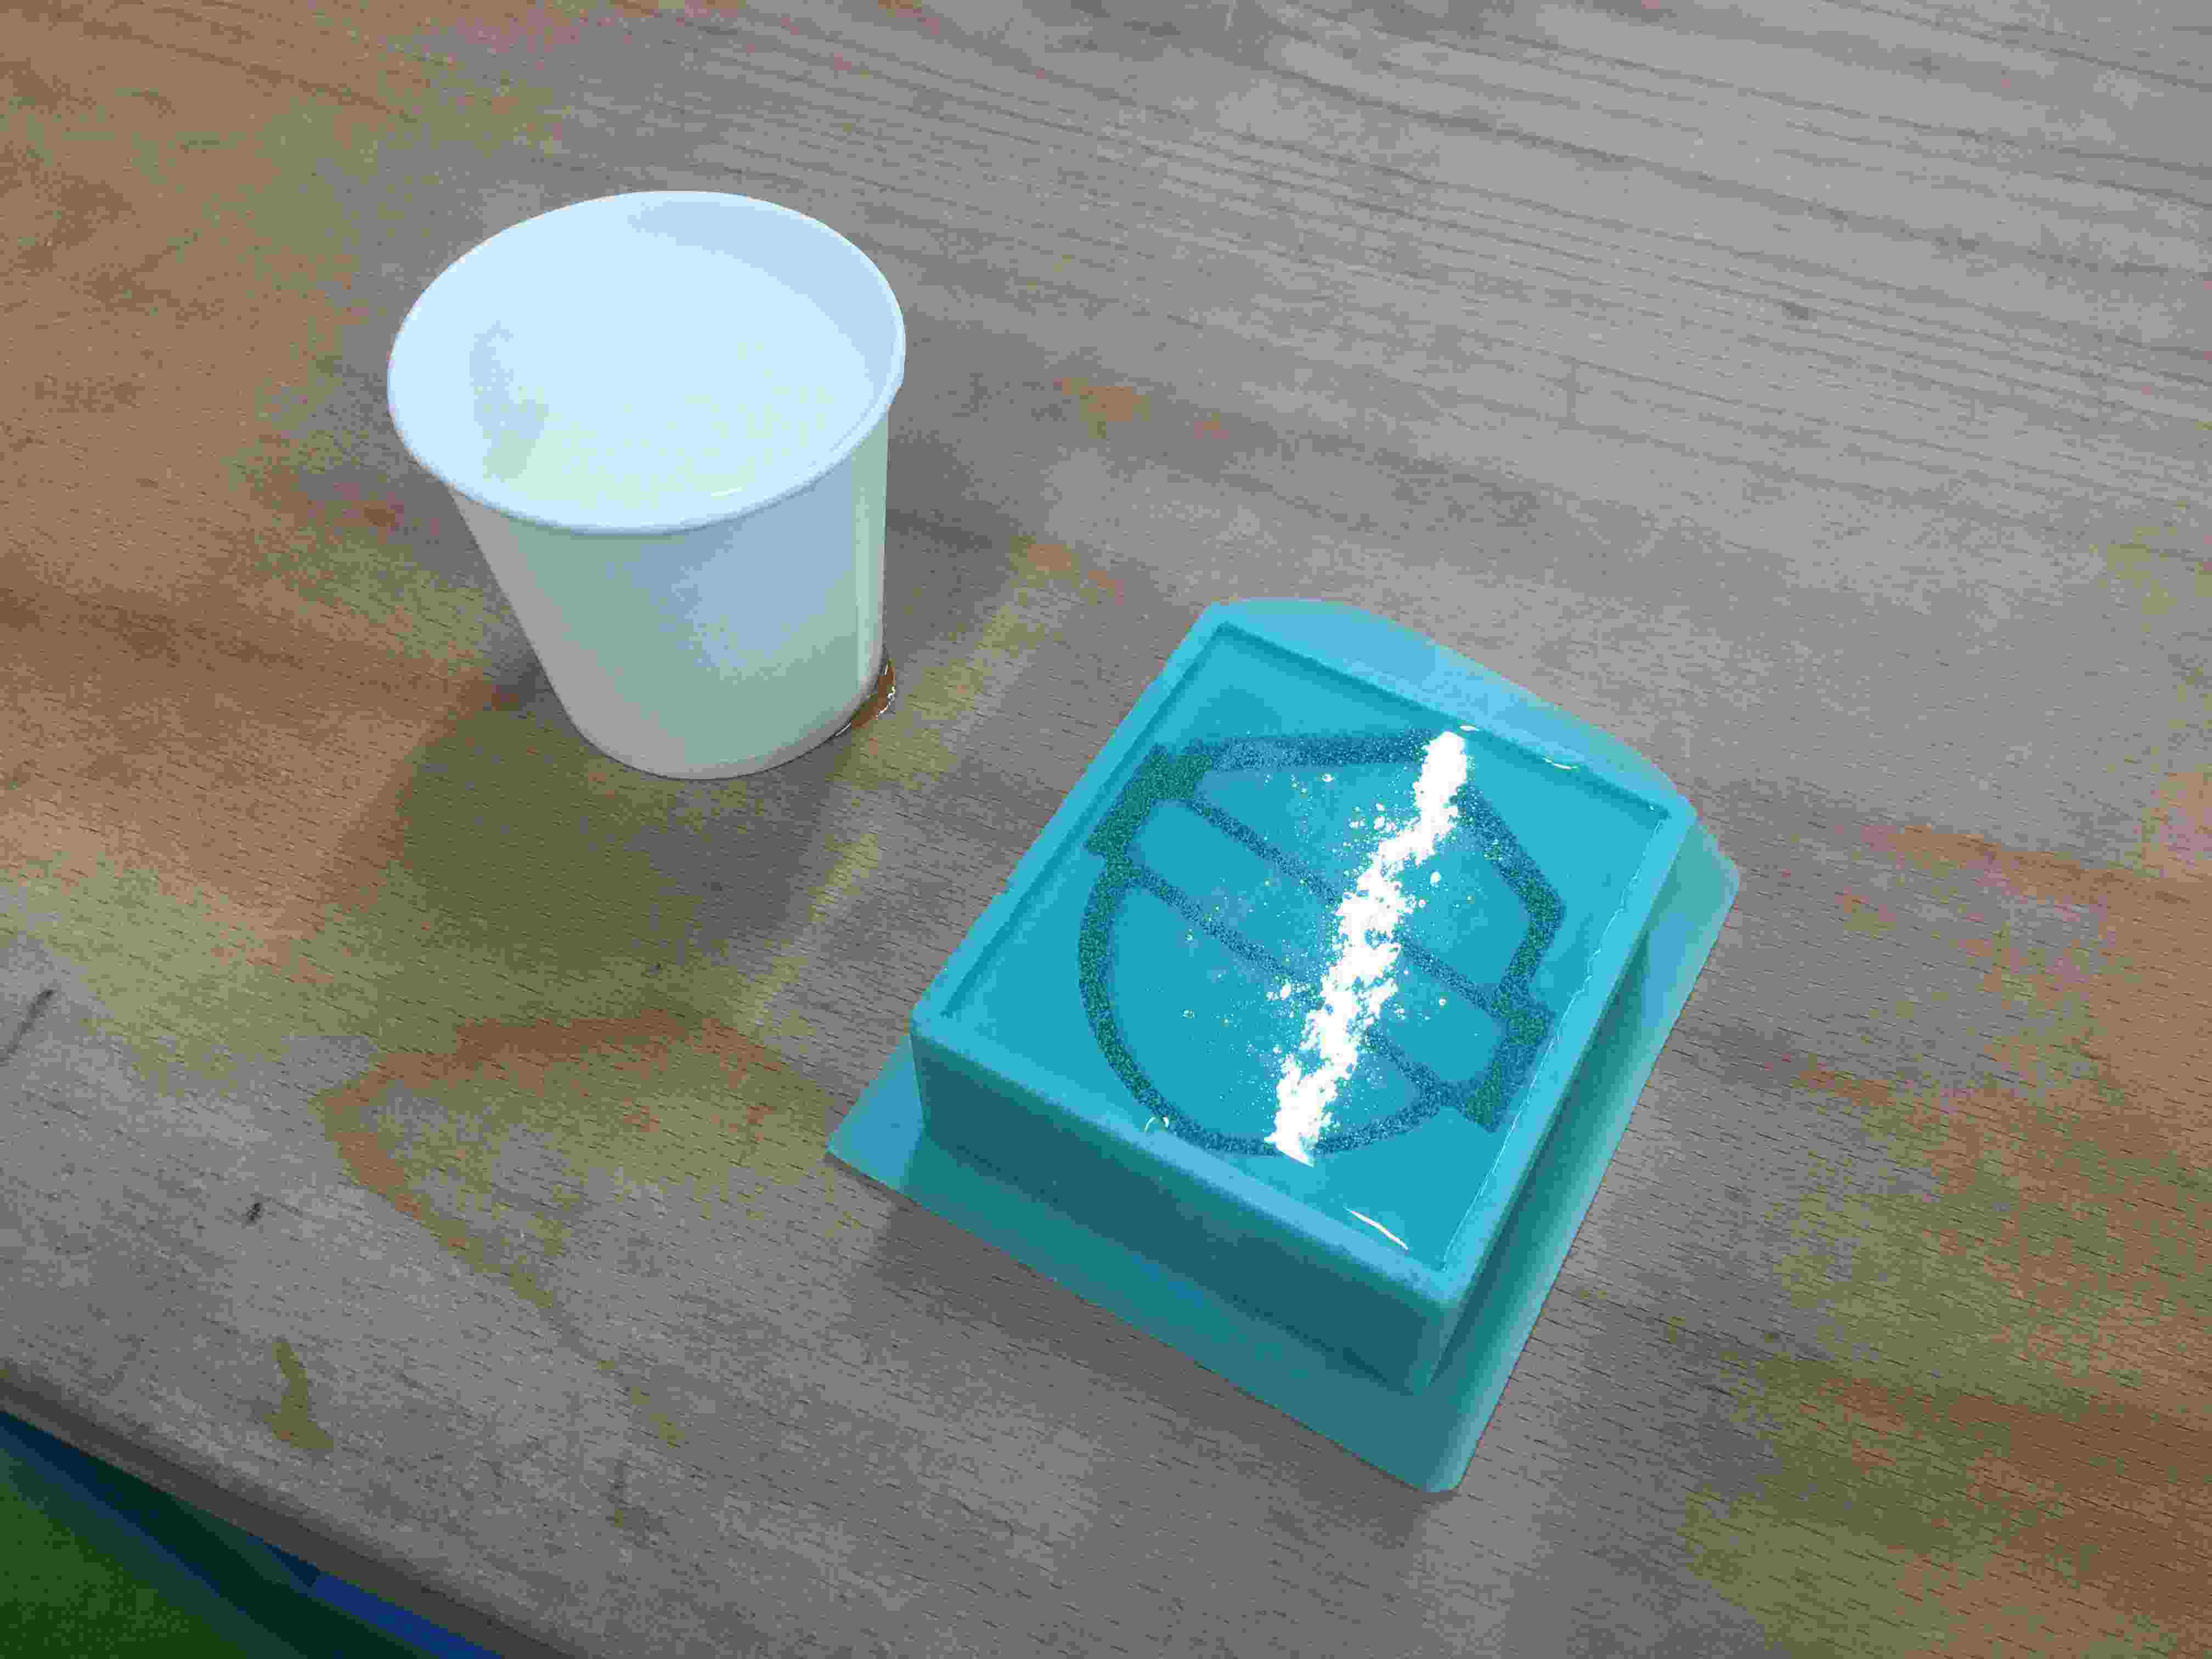
There I go, the mold is ready to take up the resin into it.
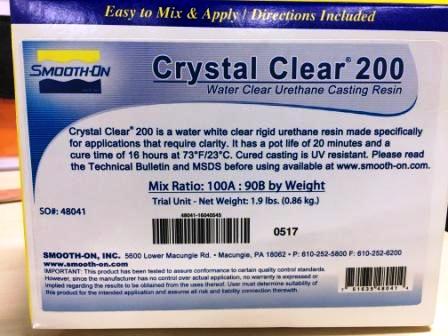
After the mold was ready. I prepared the "Water Clear Urethane Casting Resin similar to the method used for preparing the rubber silicone. But here the mixing ratio is 100A:90B by weight.
Below images shows the weight of the resin I used to pour into the mold.
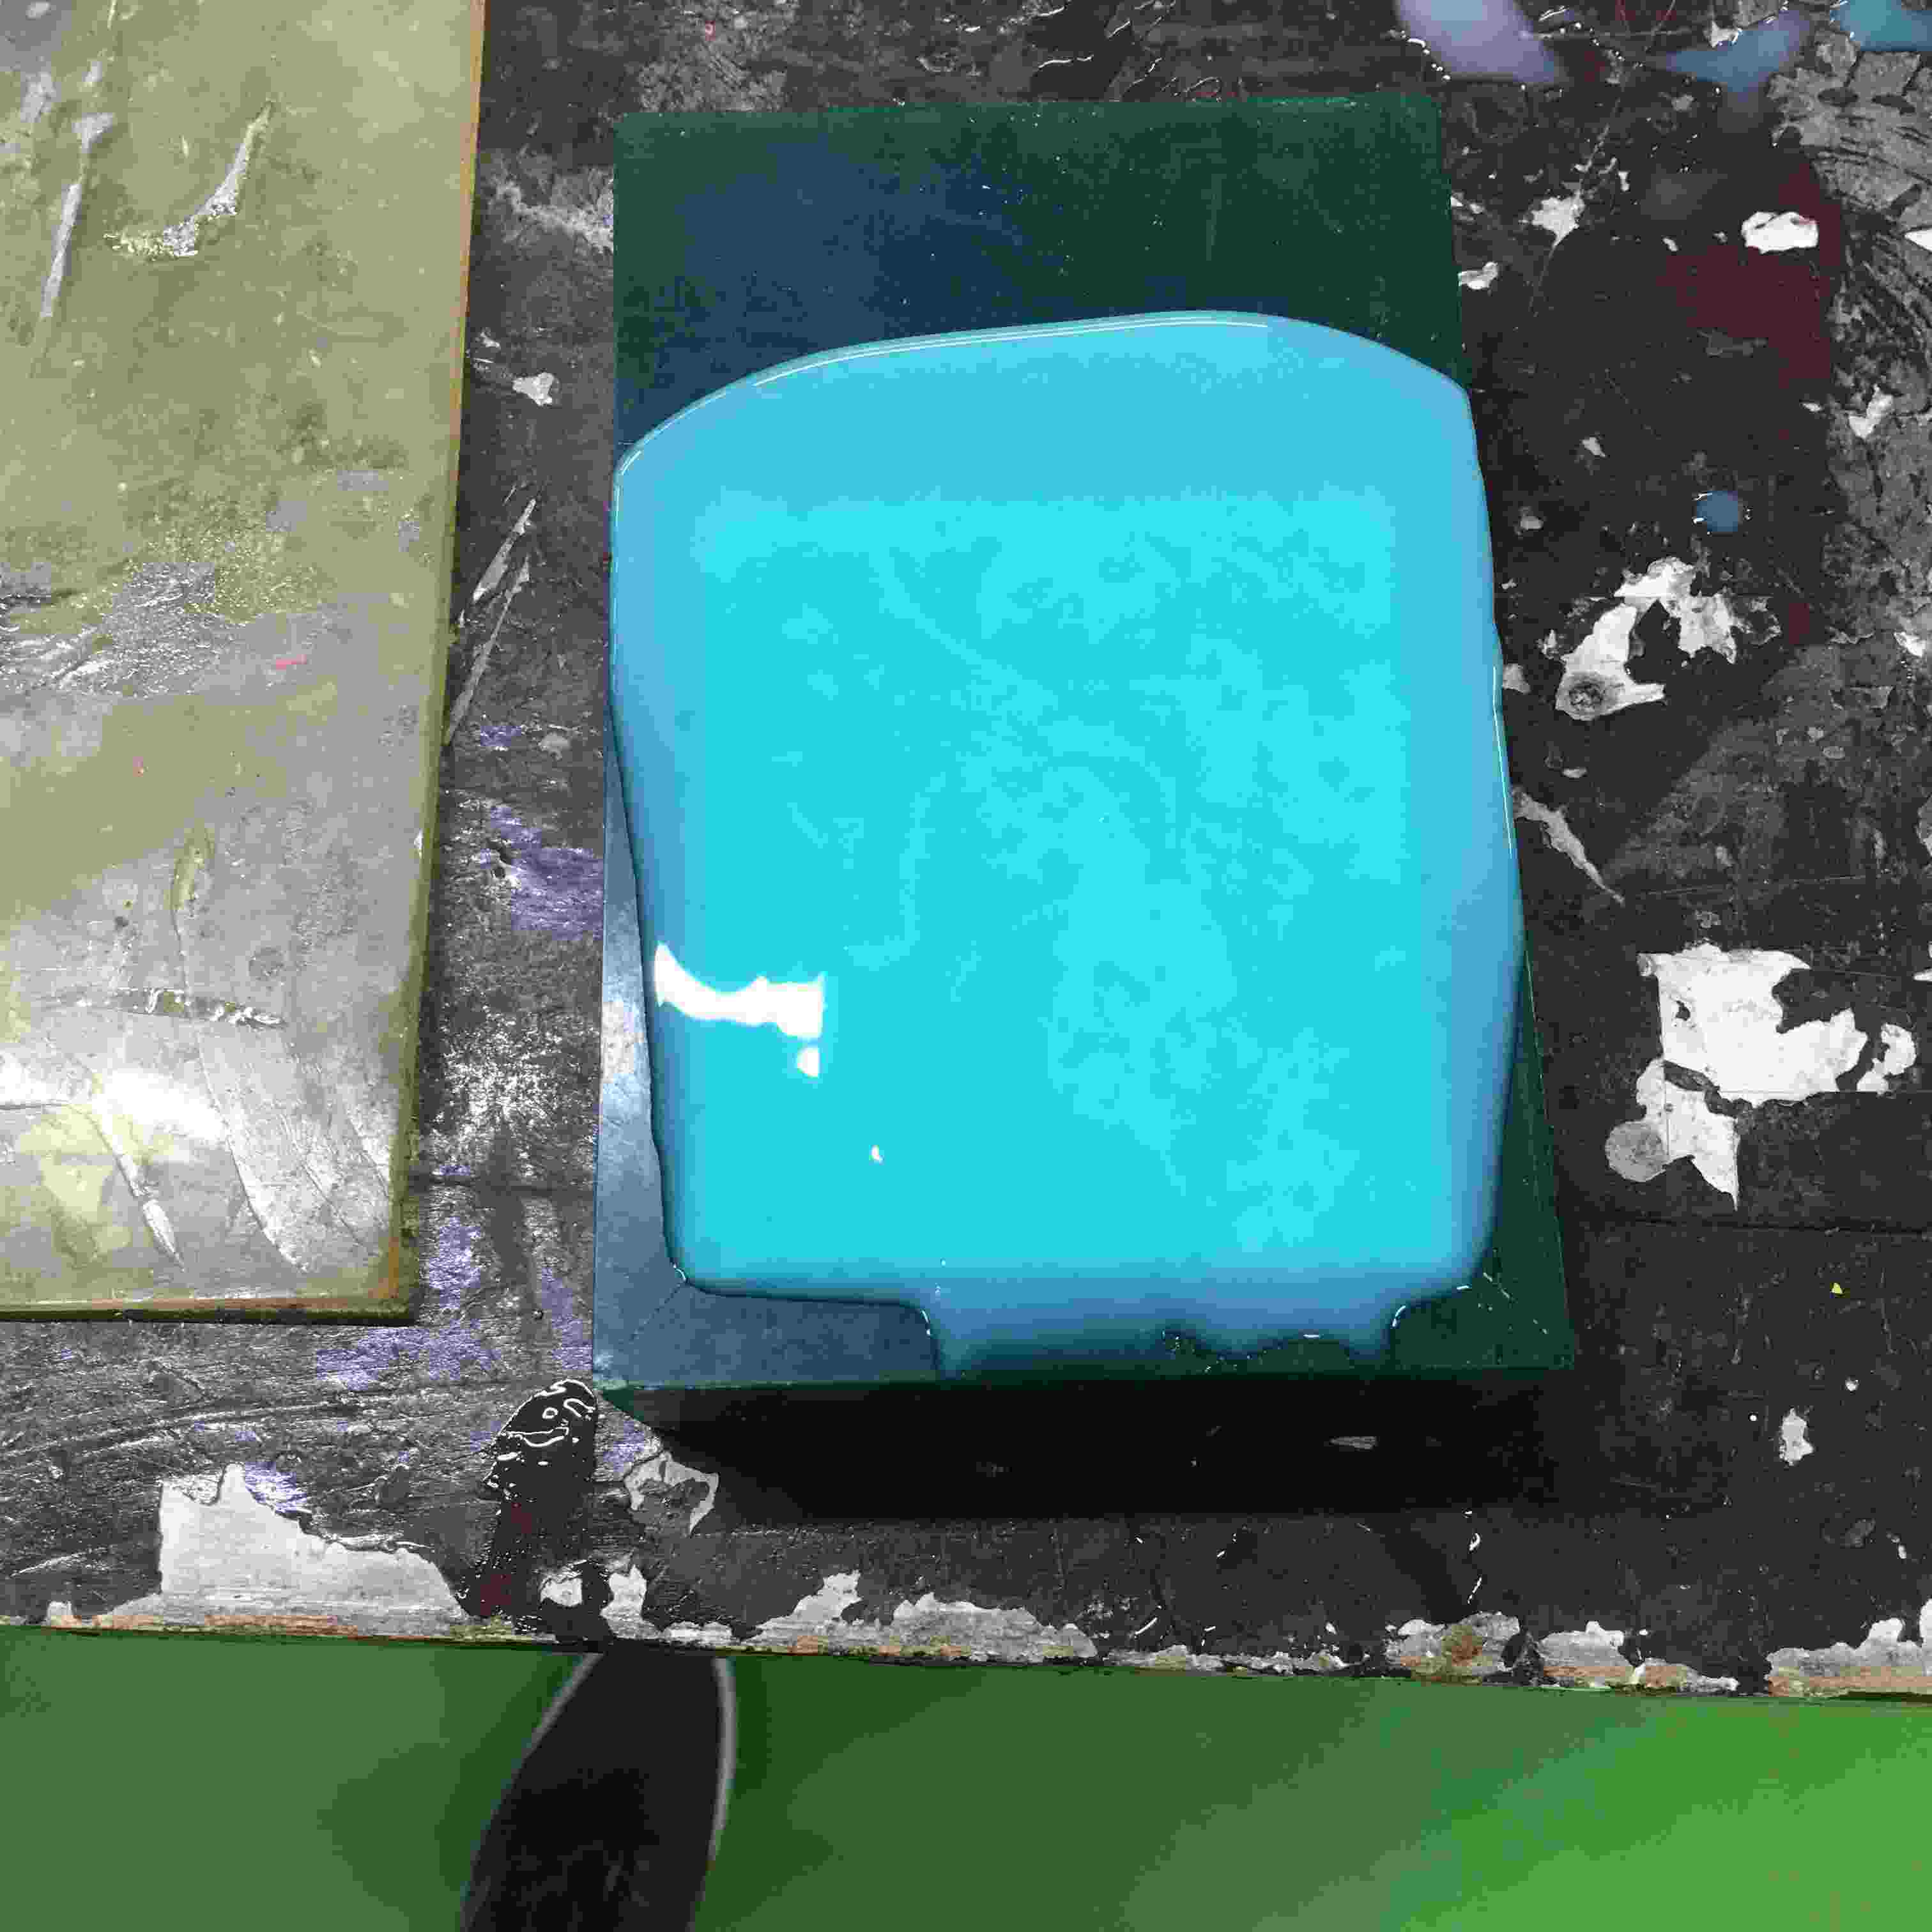
After mixing the resin, I poured the resin into the mold & the outcome after drying of 24hrs is shown in the below image.
The outcome was not satisfactory as the resin had not impregnated to all the corners of the mold.
Troubleshooting
The outcome was not satisfactory as the resin had not impregnated to all the corners of the mold. This may have been the result of the mold that I designed. The projections height was 10mm. So the resin has not gone to the depth of 10mm.
Then I changed the design of the mold & decreased the projection height so that the resin can floe to the bottom of the mold easily. Again I followed the same process to prepare the pattern & mold. The pictures of the redone work are displayed below.
But this time I used a different silicone rubber "Mold Max 30". This mixture has to be mixed in the ratio 100A:10B by weight.
Just like the previous time gain I mixed the resin in the required proportions & poured into the pattern.
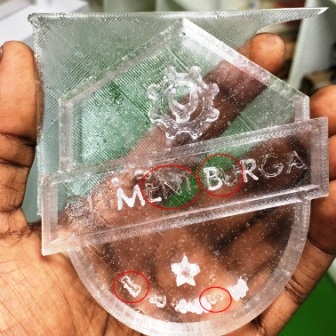
As seen below the images shows that after pouring the resin & after curing was completd the Mold didnt come out well as expected.
As seen below the images shows that after pouring the resin & after curing was completed the Mold didn't come out well as expected.
After one more failed attempt I modified my model & as shown in the below images. pic to be changed
This time I prepared the mold with wax. I milled the wax piece on the MDX-40 milling machine in the Fab Lab.
After the mold was ready I mixed the mold star to the required volume as per the instructions given & then poured the mixture into the mold. The images below show below the working of the mold pouring
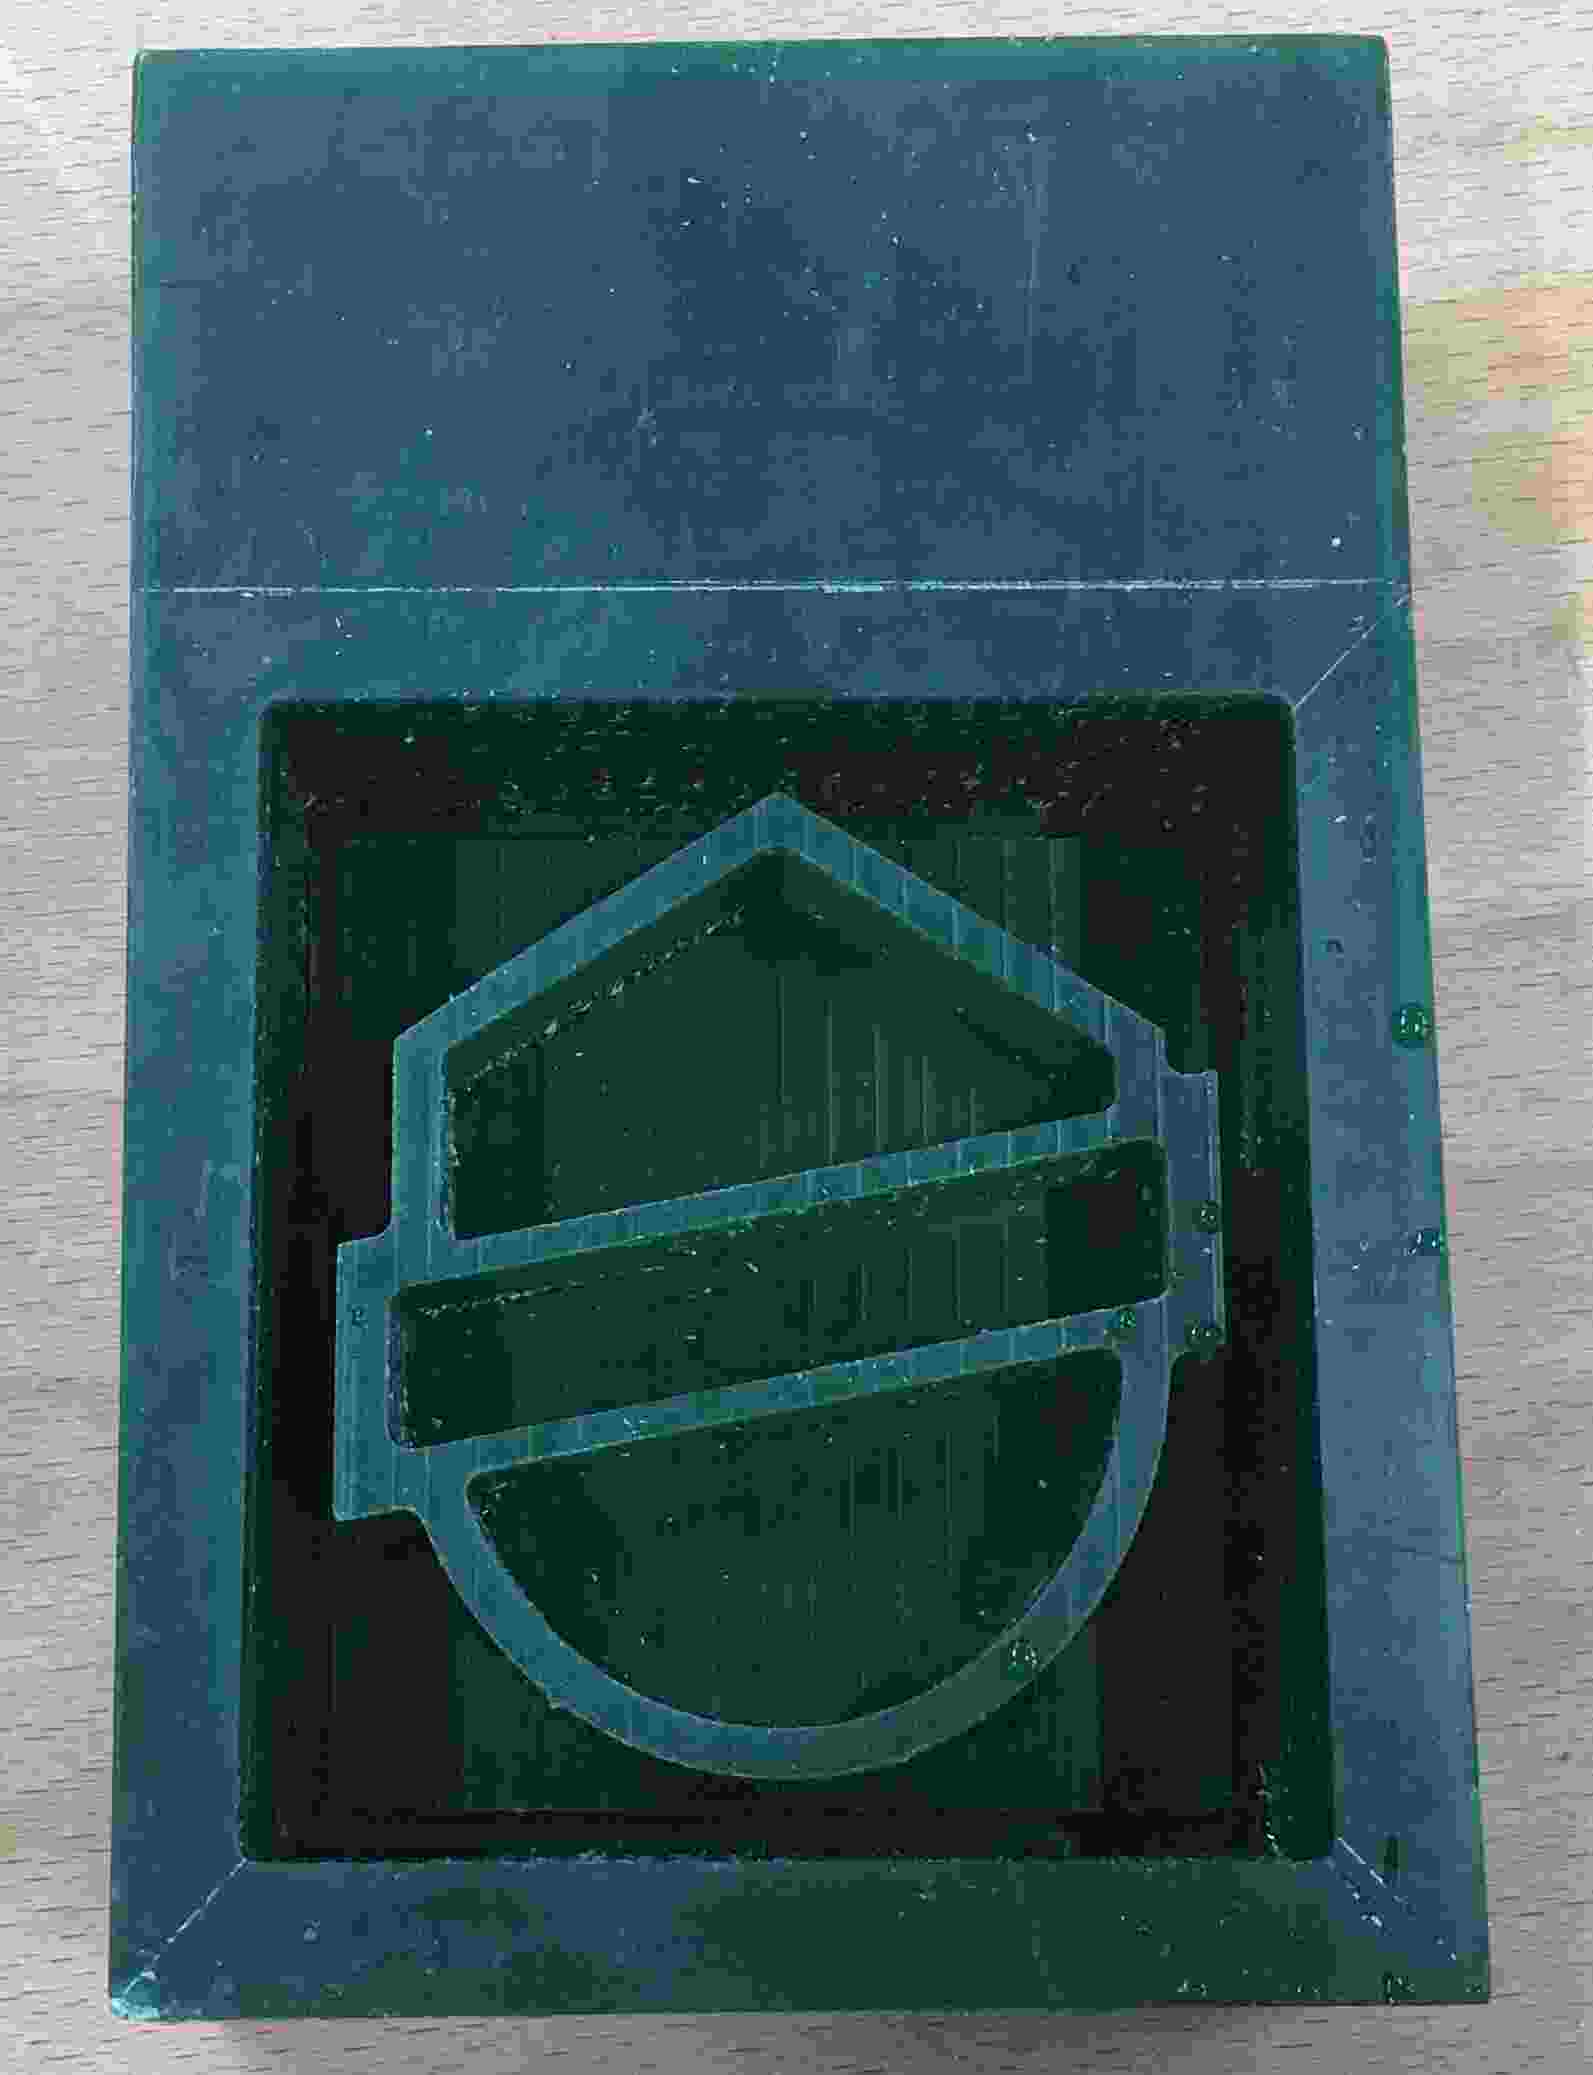
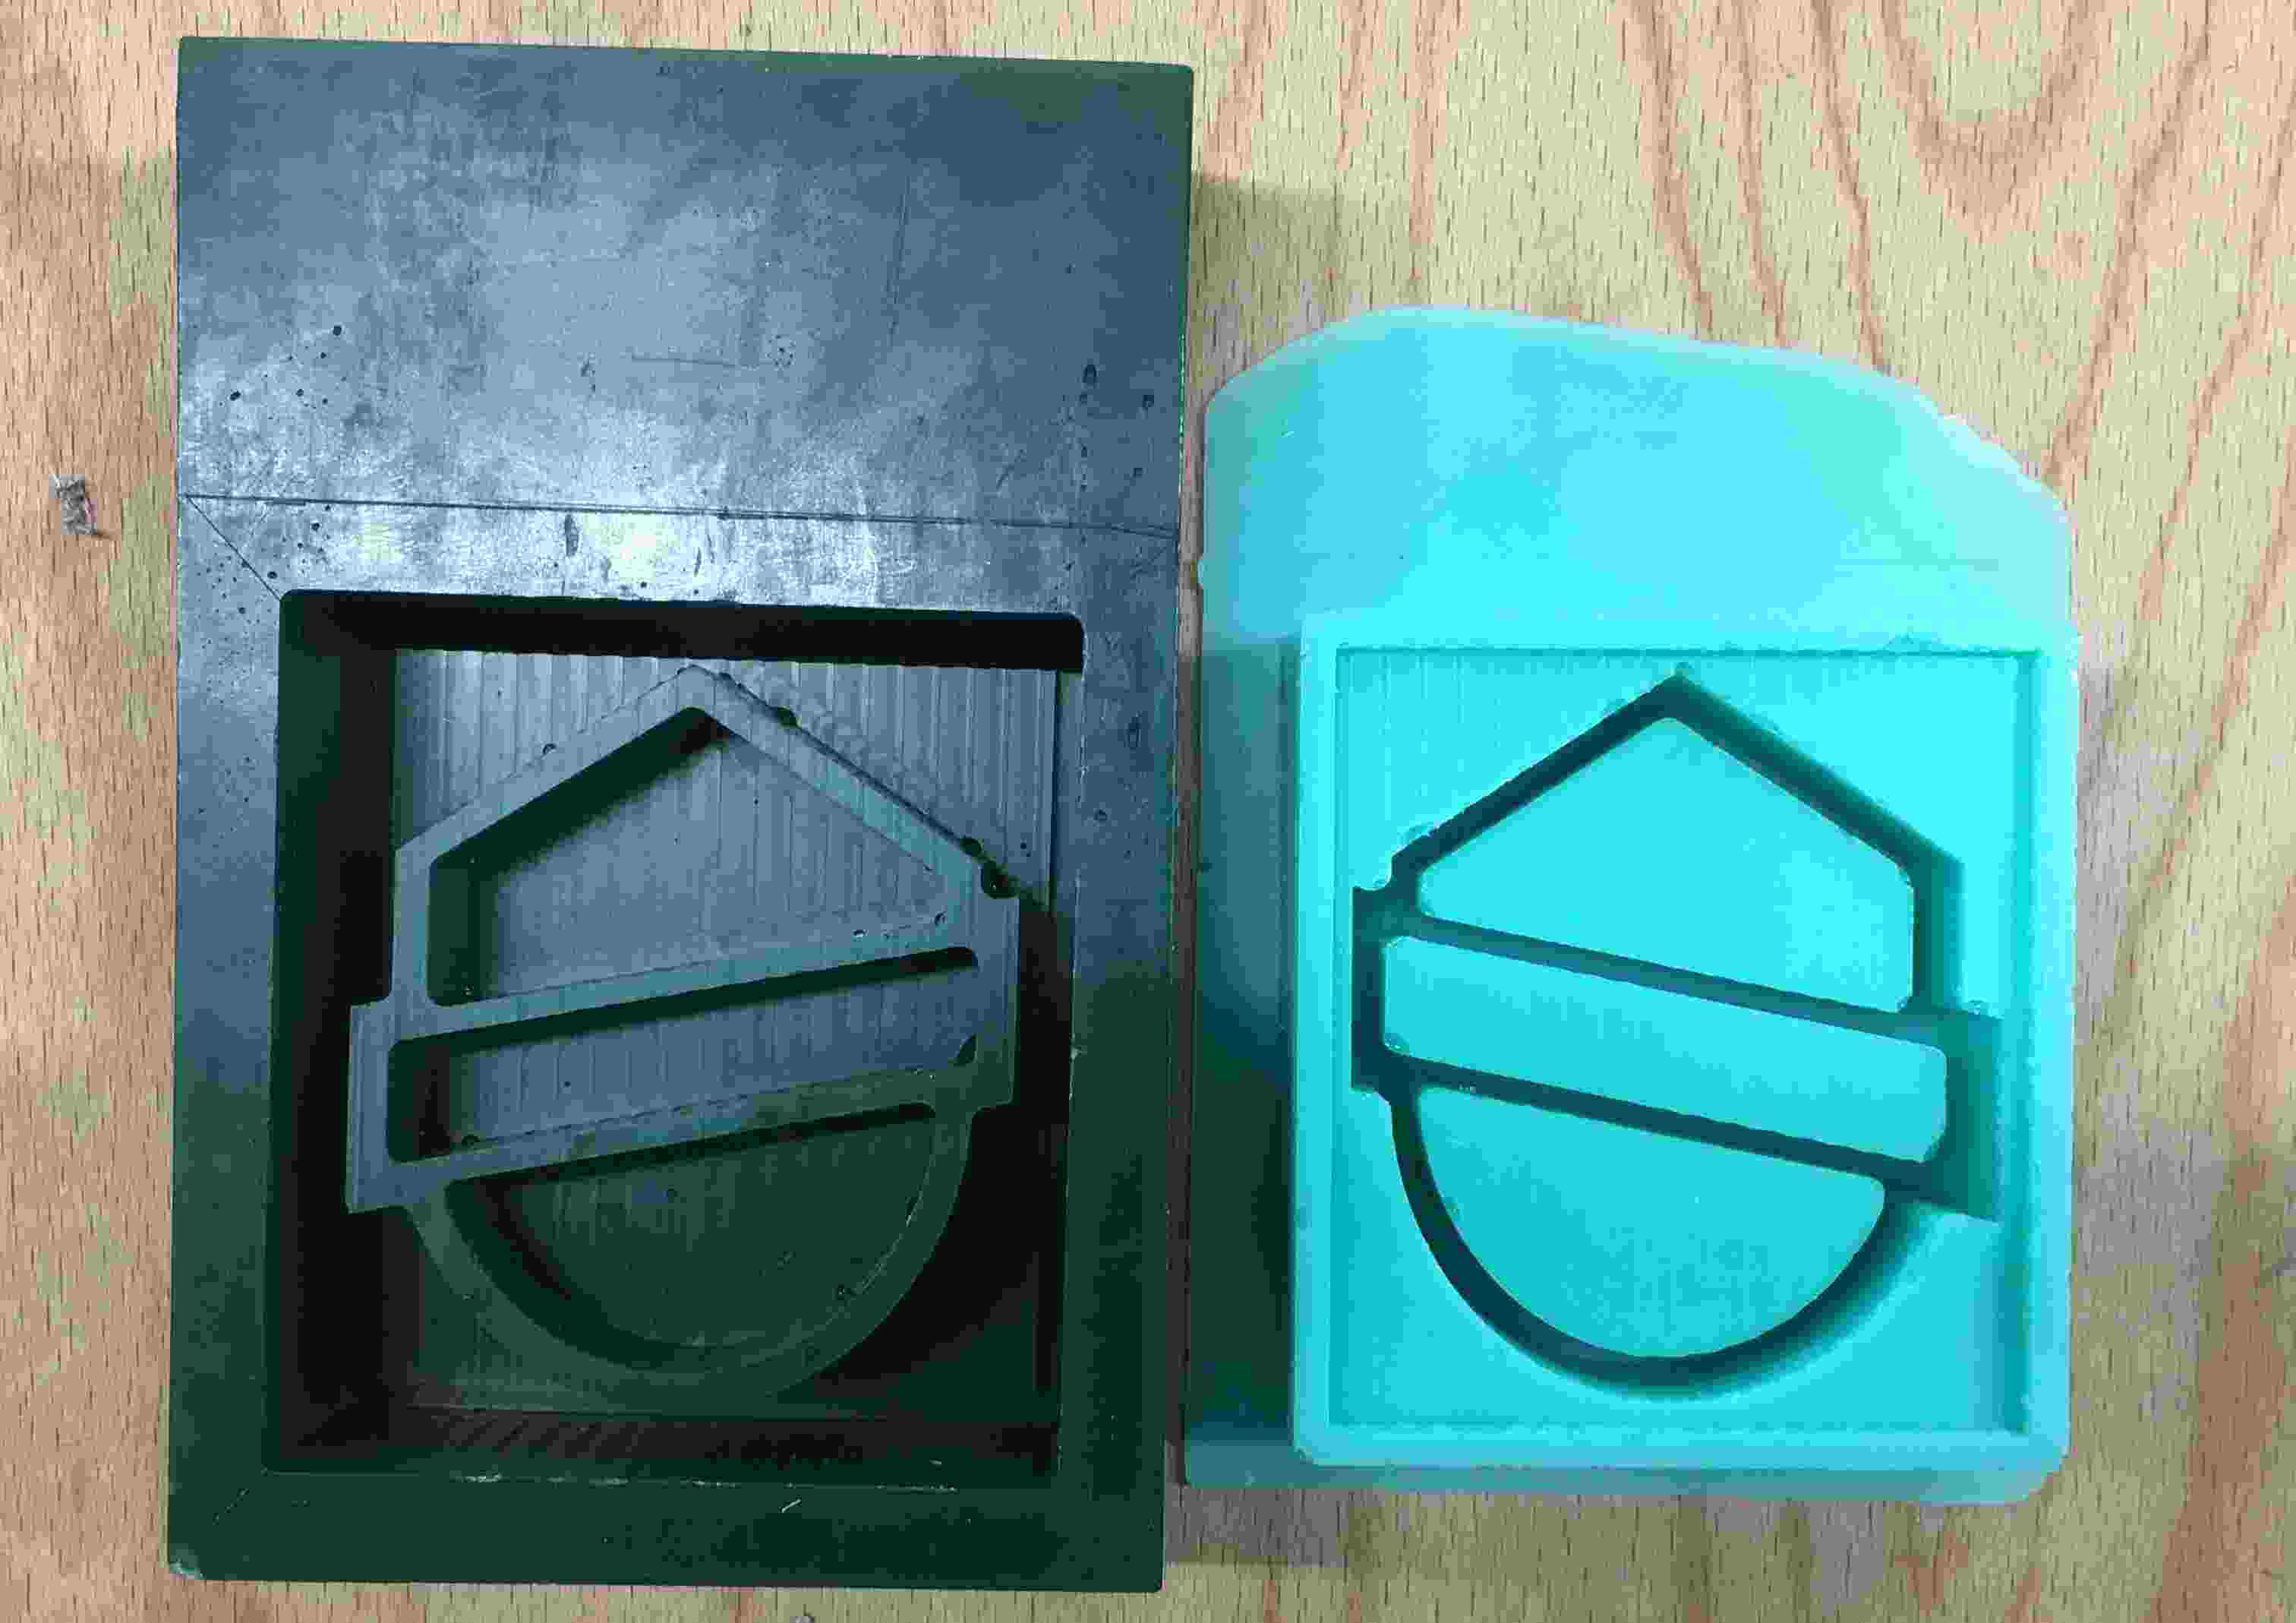
Below images show the patter is ready for casting the model.
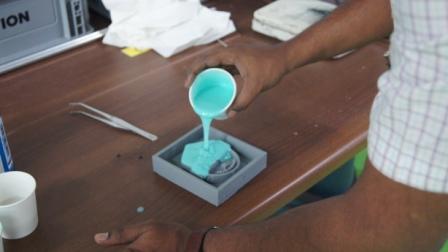
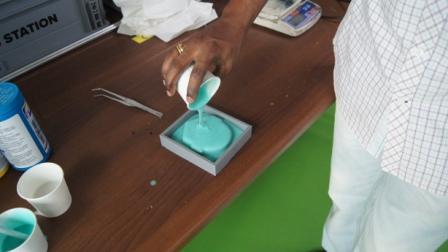
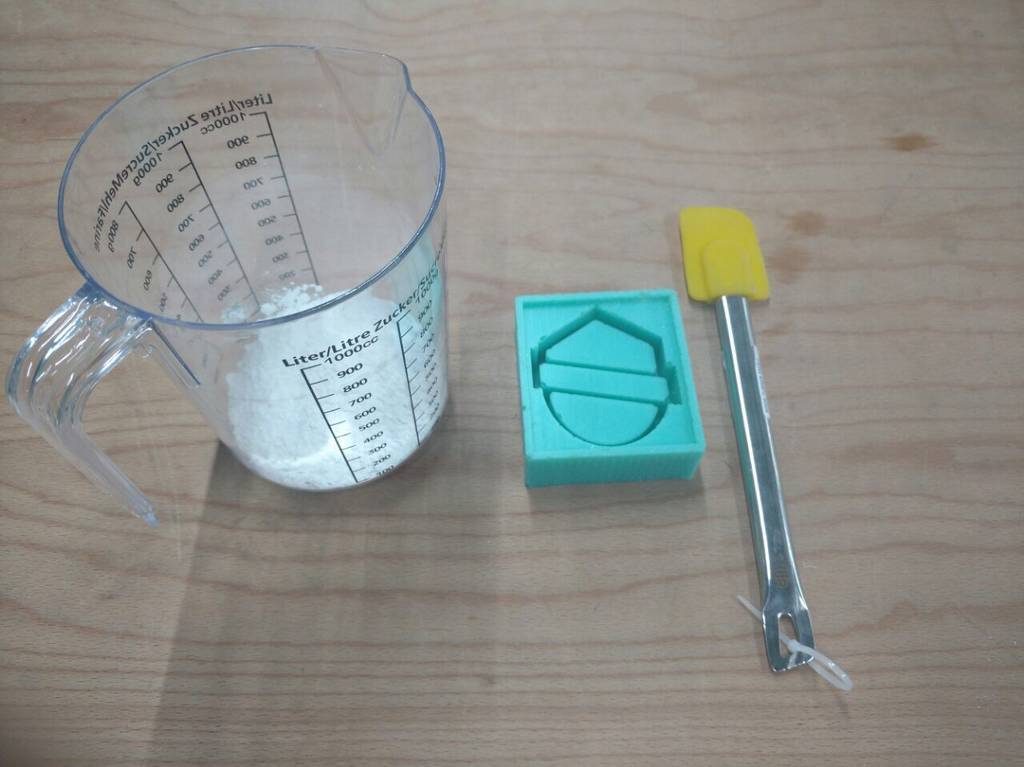
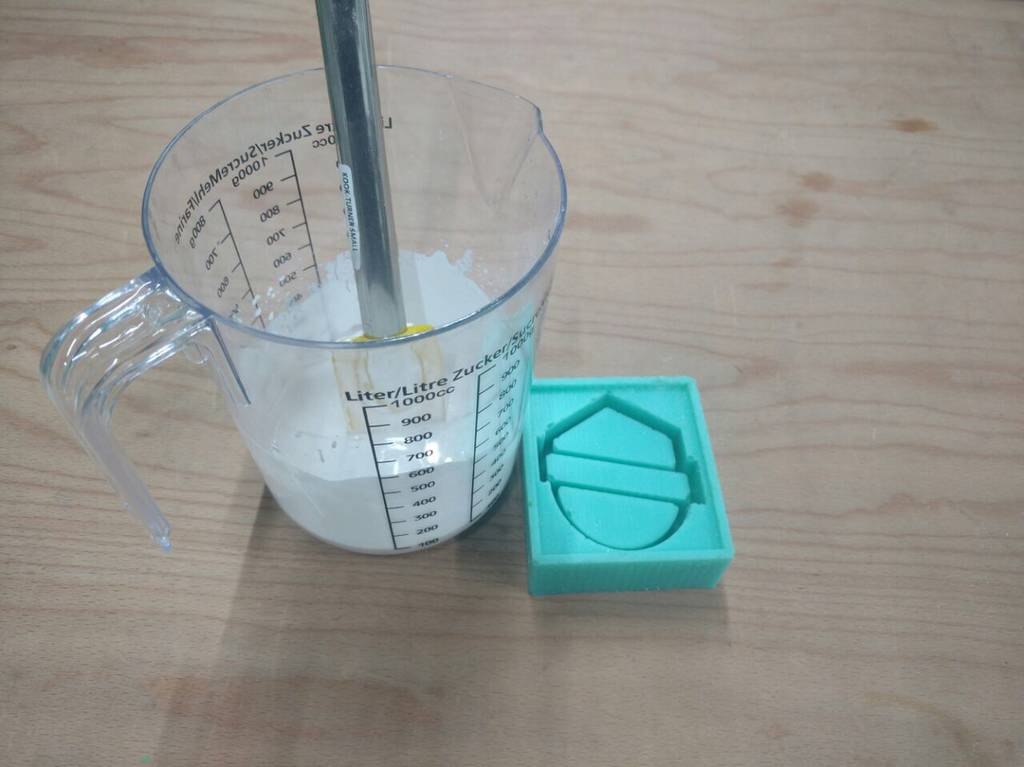
Then I measured the volume required to fill the mold first with water. The volume I measured was 68gms on the weighing machine. Then I measured the same amount of resin mixture as shown in the below images. .
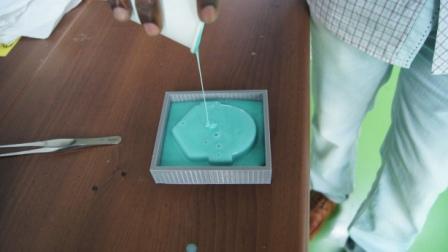
Then I poured the resin mixture into the mold & kept it for curing as shown in the below images.
This time around also the casting was not as desired then I tried to do it with Dentist Plast. The images of the activity are shown below
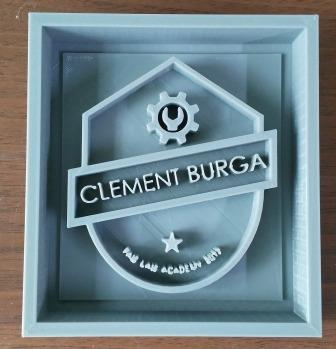
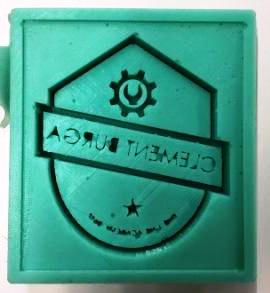
The final output of the cast is shown below in the image
learnings of this week
- This week was very interesting to learn few of the many things of the castings & molding. I have learnt to build my own mold & cast out a part from the mold.
- I learnt to build the mold using rubber & cast out parts using Epoxy Resins
- Te very important realization was that Molding & Casting still will remain to rule the world of mechanical industry amongst the inventions of 3D printing technology
Files to download

This work is licensed under a Creative Commons Attribution-NonCommercial-ShareAlike 4.0 International License.