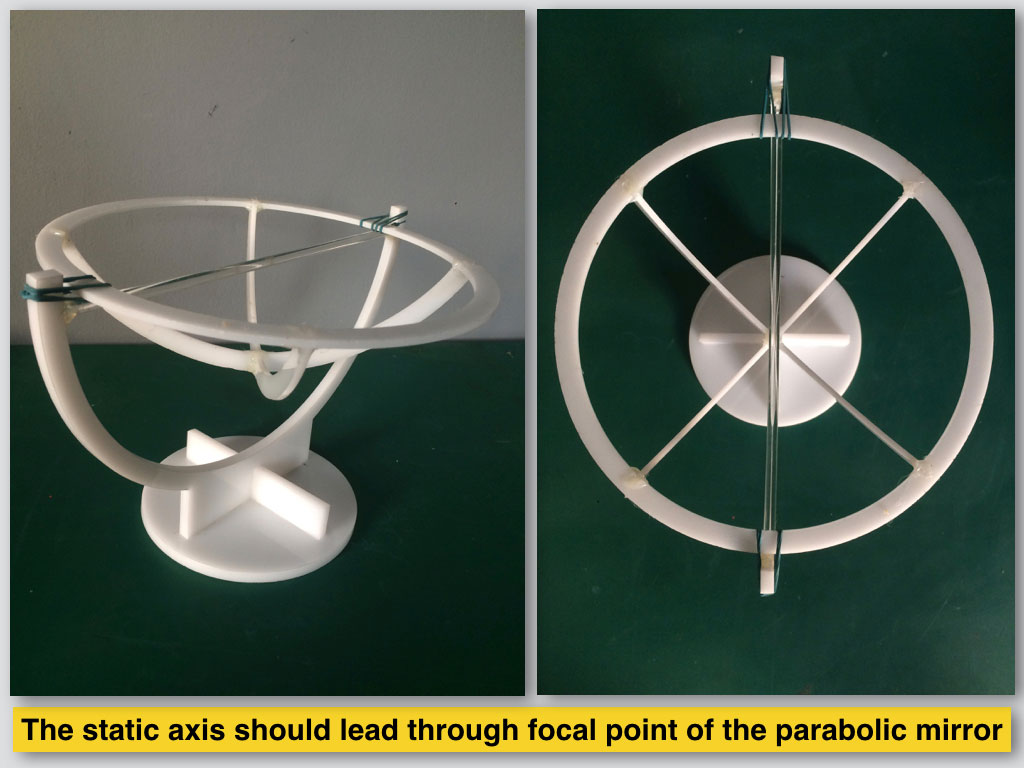
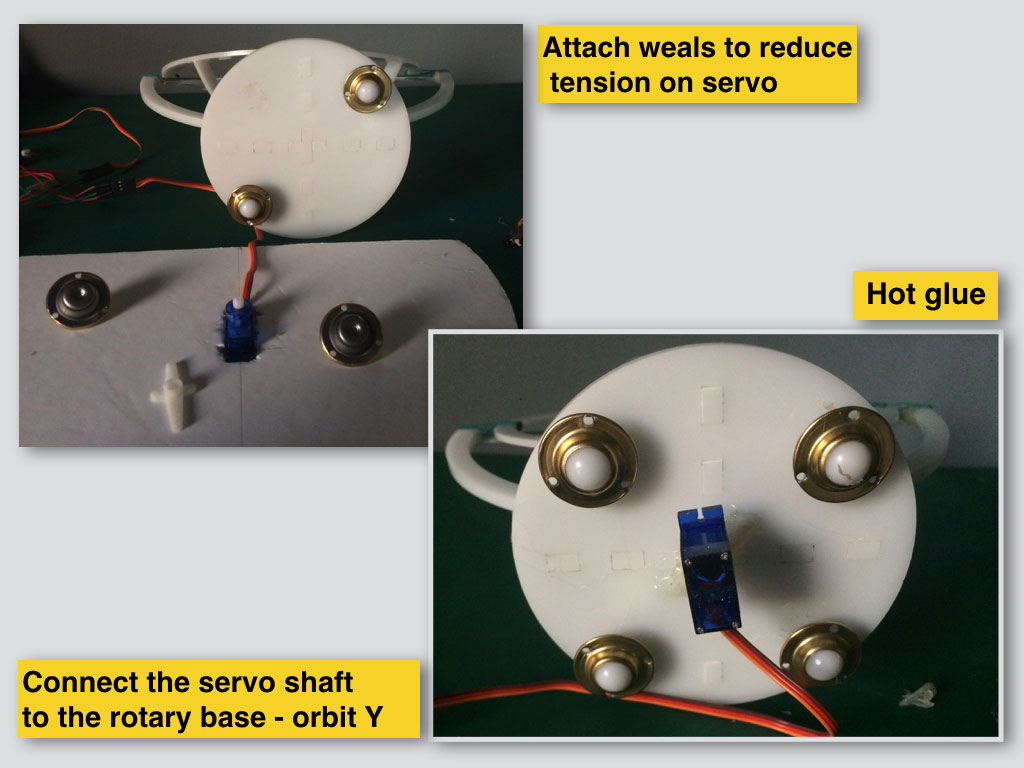
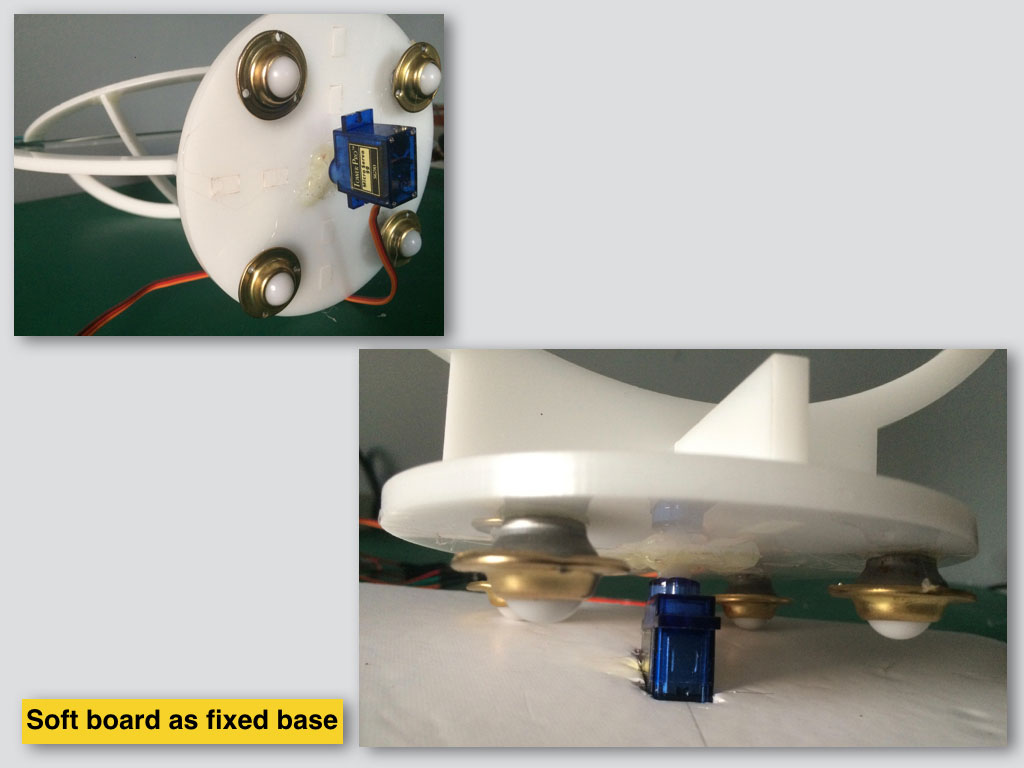
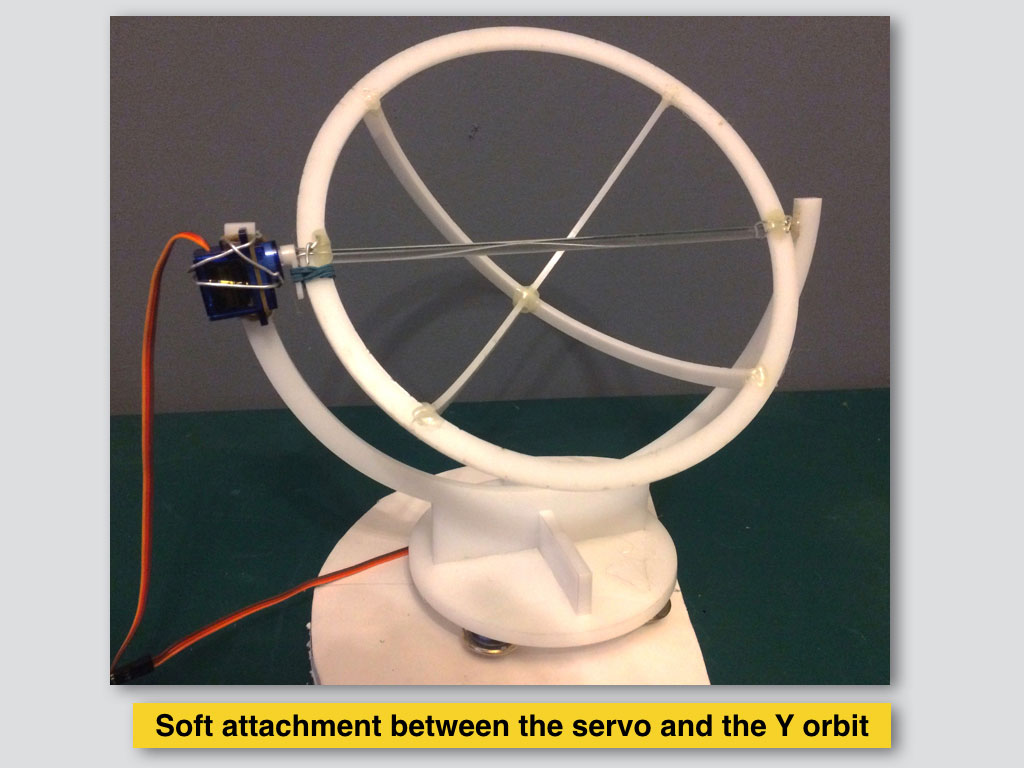
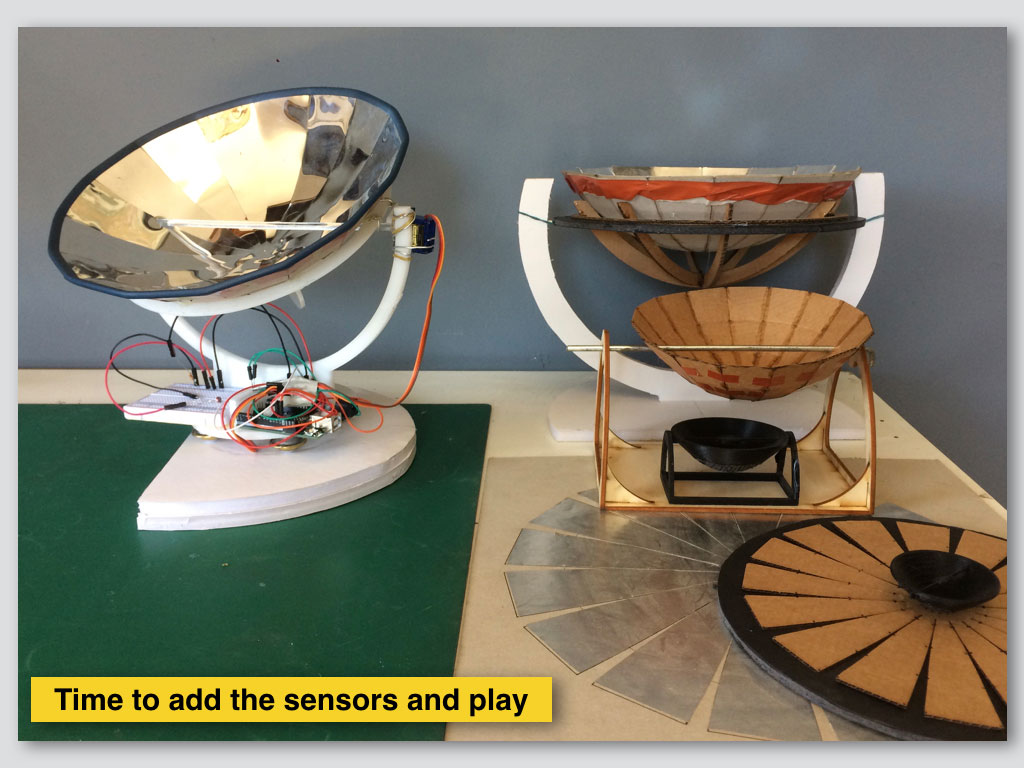
Final Project Process

During the weekly assignments I tried to stick as possible with my final project as the main mission motive.
At weeks 2nd, 3rd, 5th, 7th, 10th, 12th, 13th and 14th I achieved progress in it.

Week 2: Computer-aided Design

3D modeling helped me to know better the parametric future and potentials of the project. I learned about the supporting structure options and about how to brake big shape in to machinable/fabrication scale.
Week 3: Computer-controlled Cutting

Laser and vynil cutted 2D shapes that becomes in 3D in to parabolic shape. The supporting structure of the mirror also had been born here.
Week 5: 3D Scanning and Printing

"Mini me" of the final project, printed with turnable axis.
Week 7: Computer-controlled Machining

That suposed to be the final project 1:1 scale rotary table.
Week 10: Output Devices - servo

As an output mission I tryed to bring alive one of my scaled mockups that were create earlier at the course.
Week 12: Molding and Casting

With CNC milling machine I created two wax molds for silicone components that will be used as soft spacers of the parabolic mirror shape. They will hold all the slices of the mirror together.
Week 13: Input Devices - photortansistor

Four of those sould be in use in the sun tracking system.
Week 14: Composites

This mold is used also as vacuum forming mold for PVC/ABS fast fabrication of the parabolic mirror slices.

First mockup

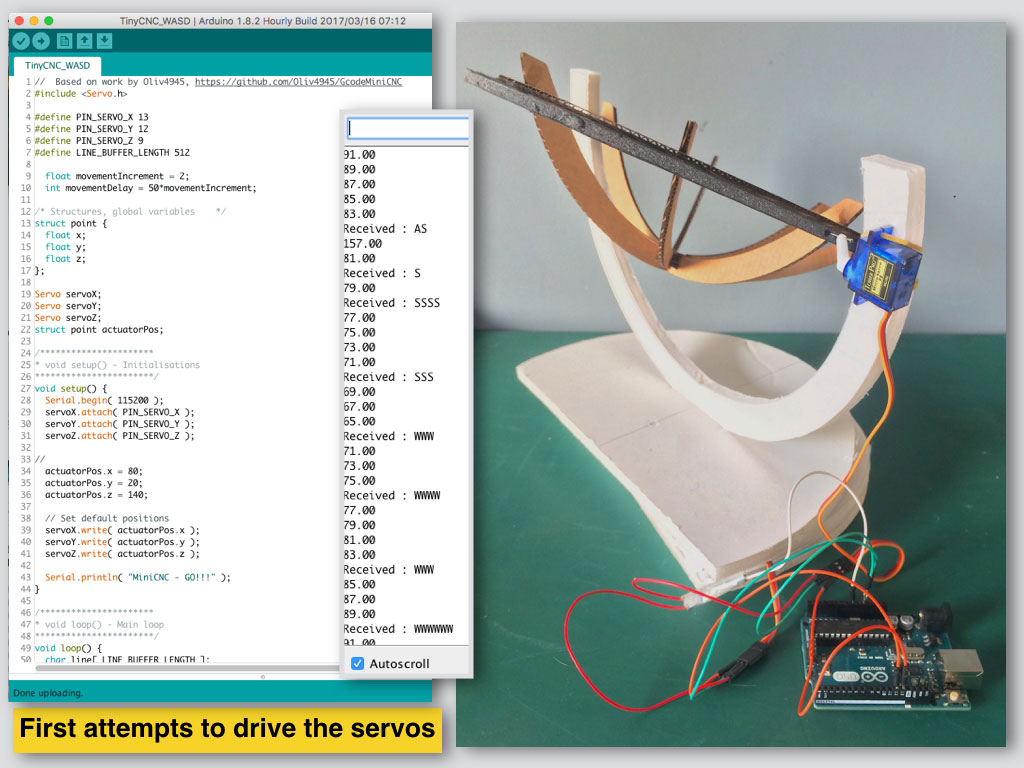
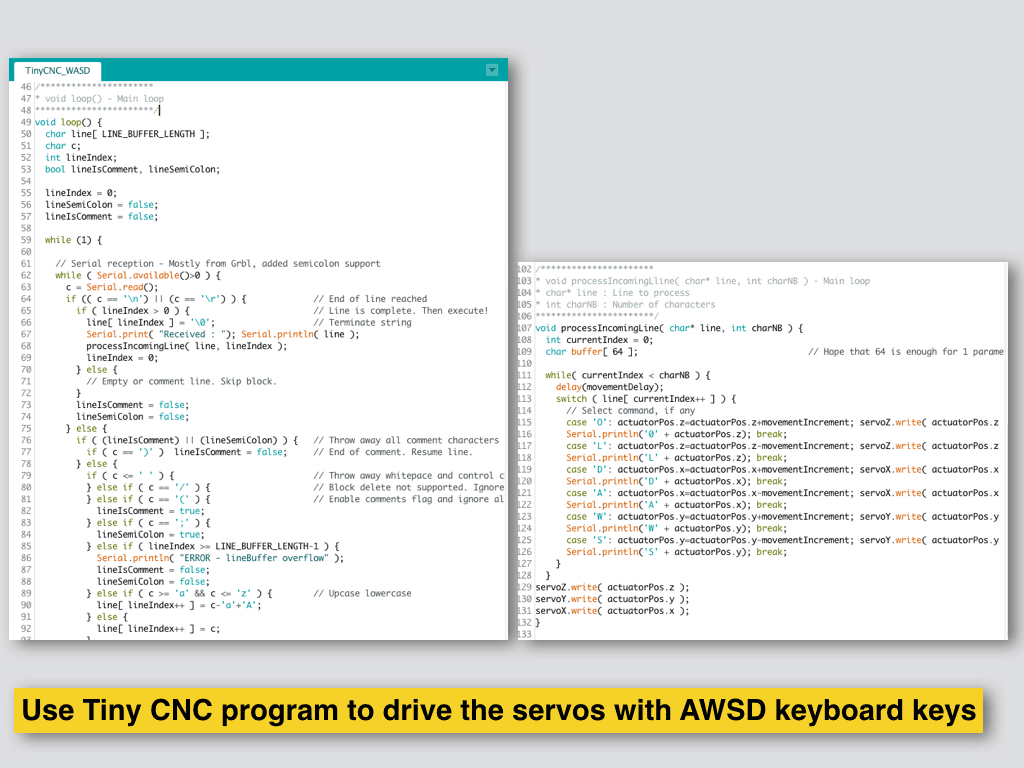
Programing - motion check

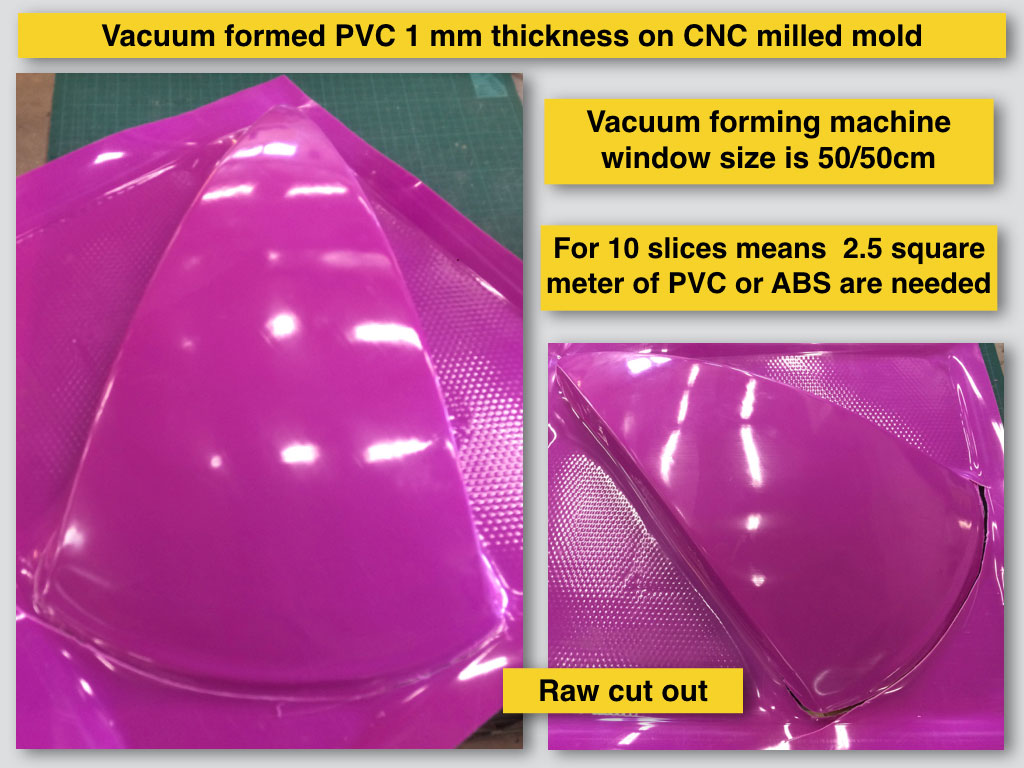
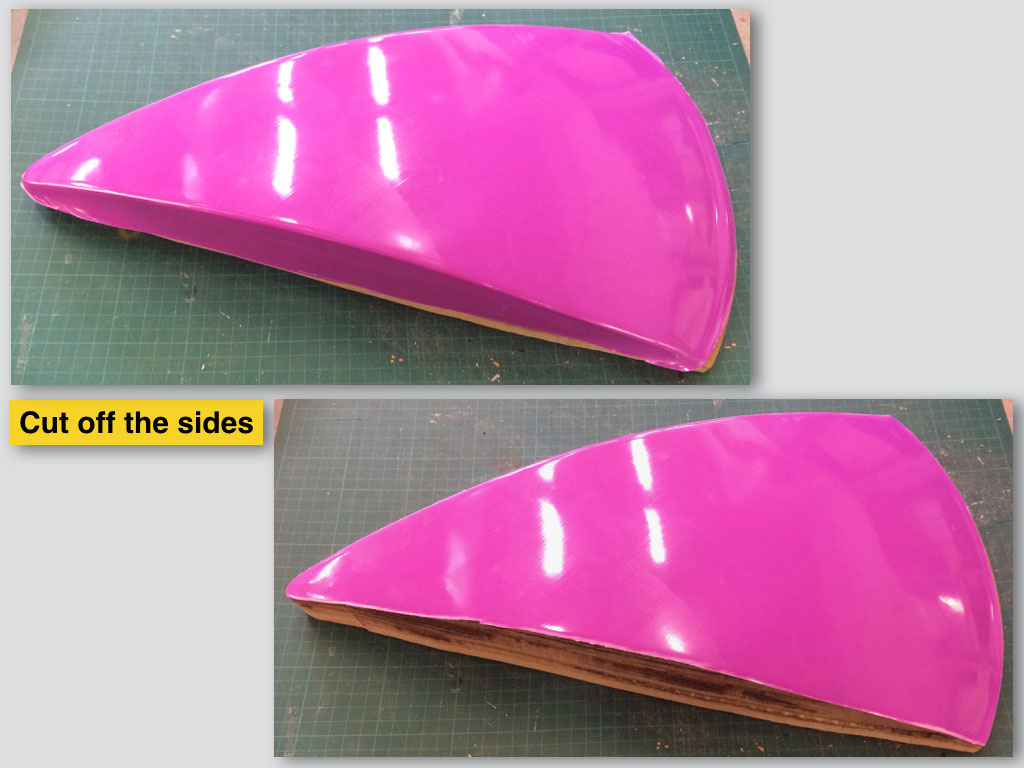
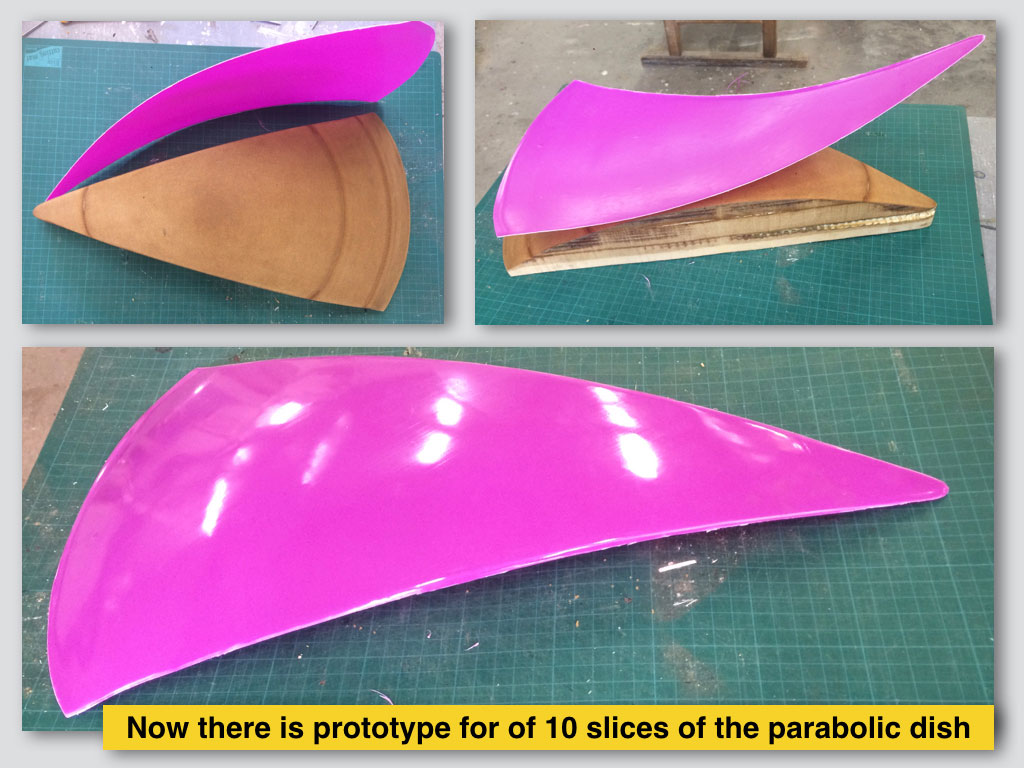
Vacuum forming prototype - parabolic mirror slice 1:1 scale

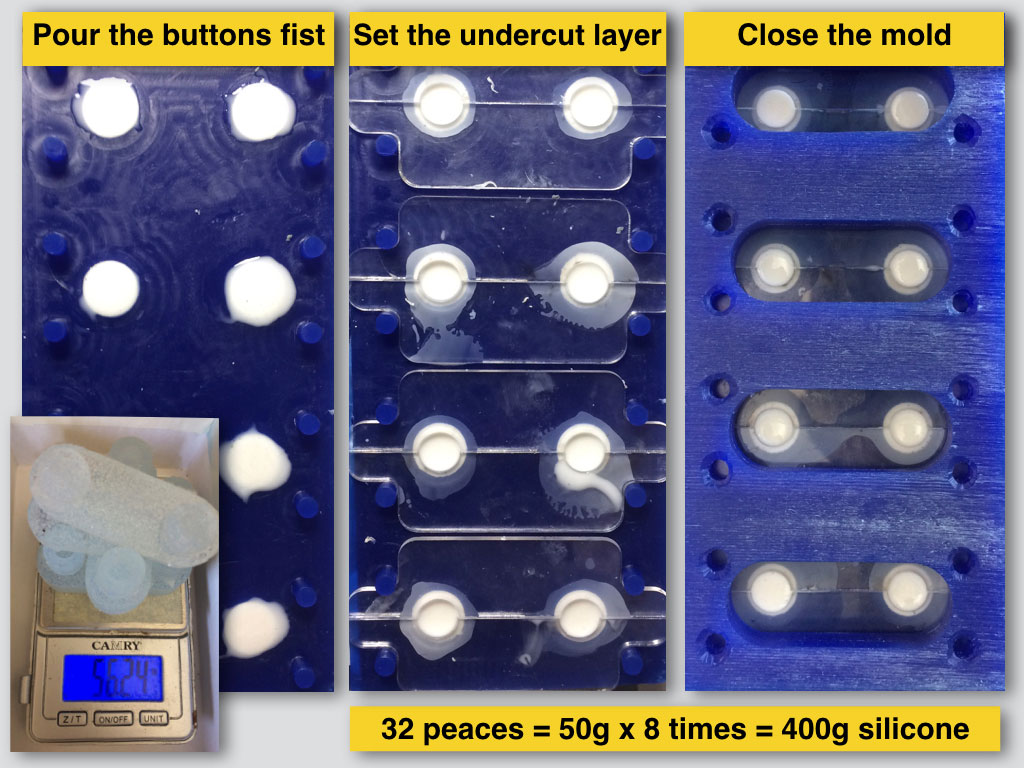
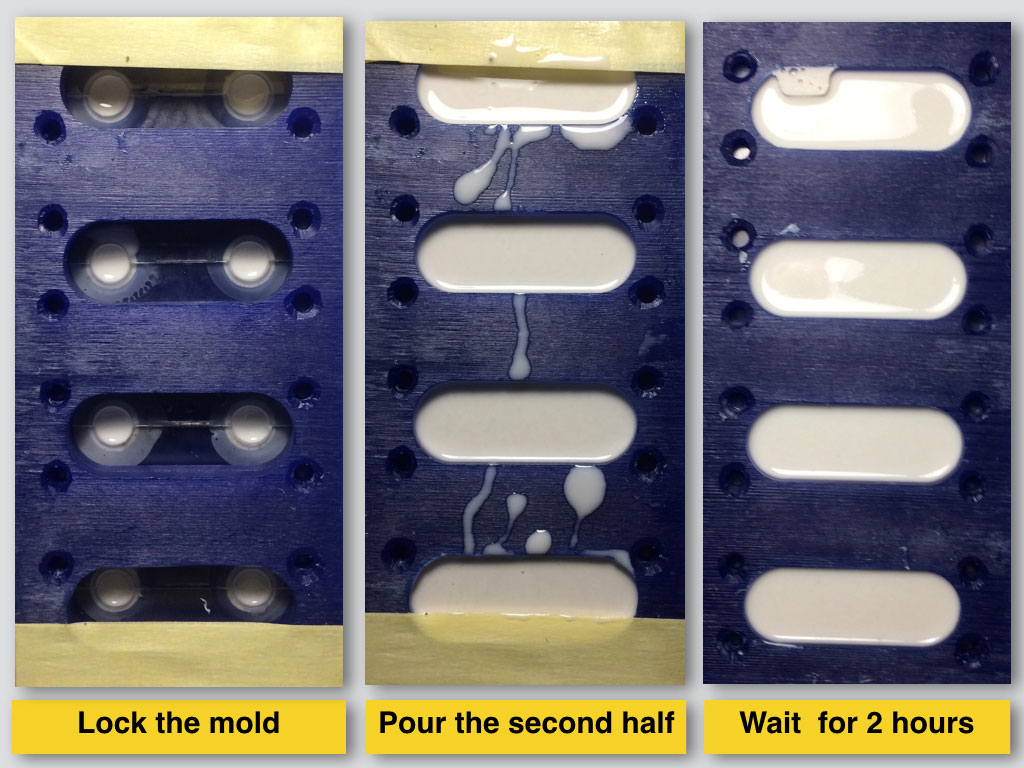
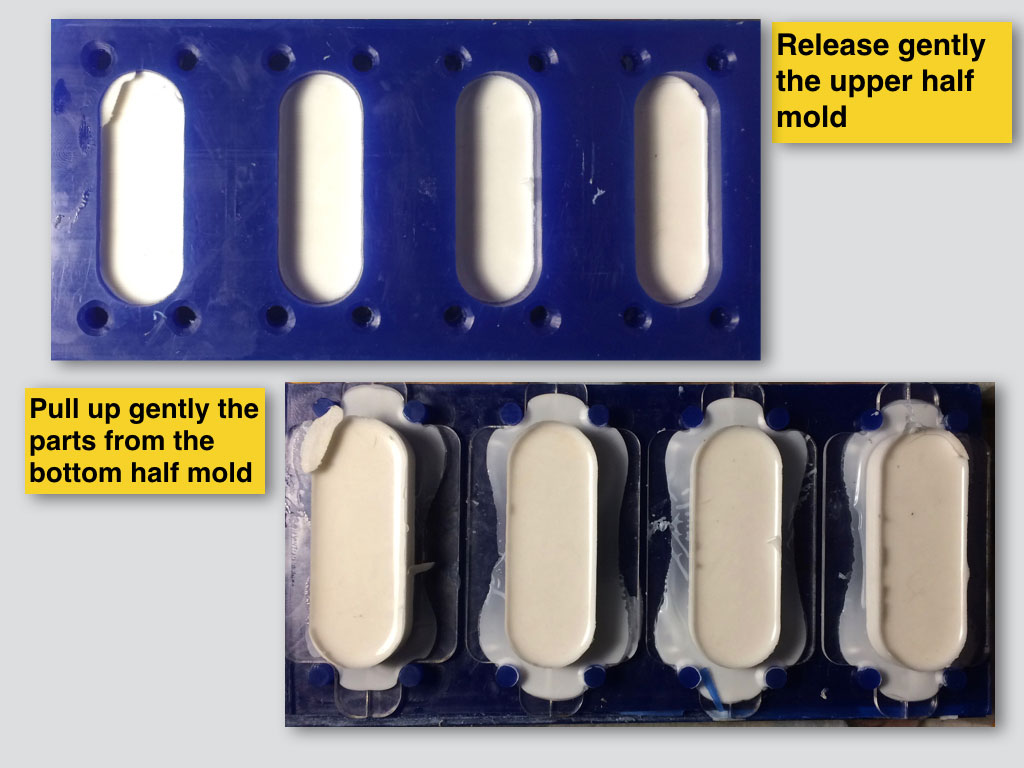
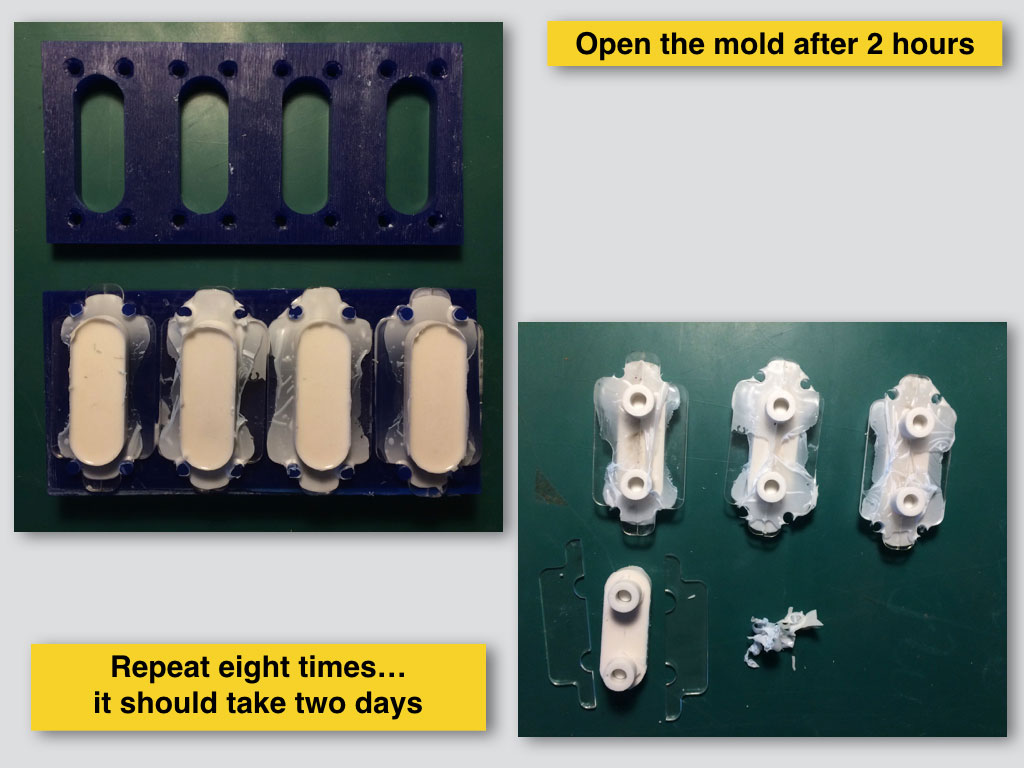
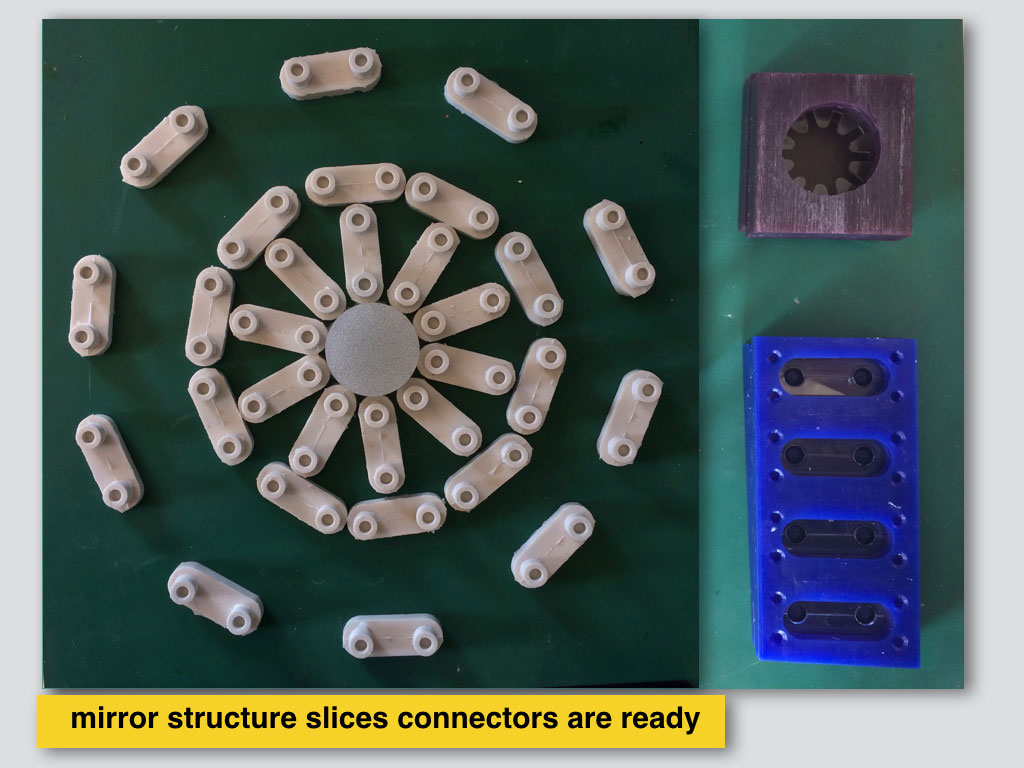
Casting 30 silicone parts

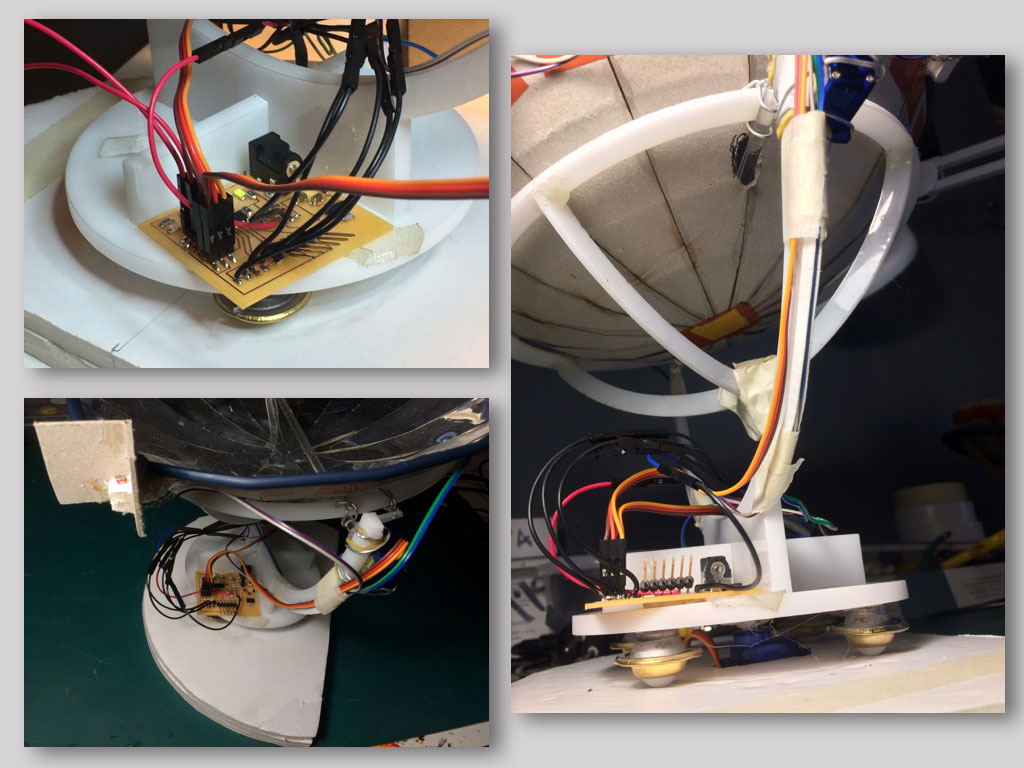
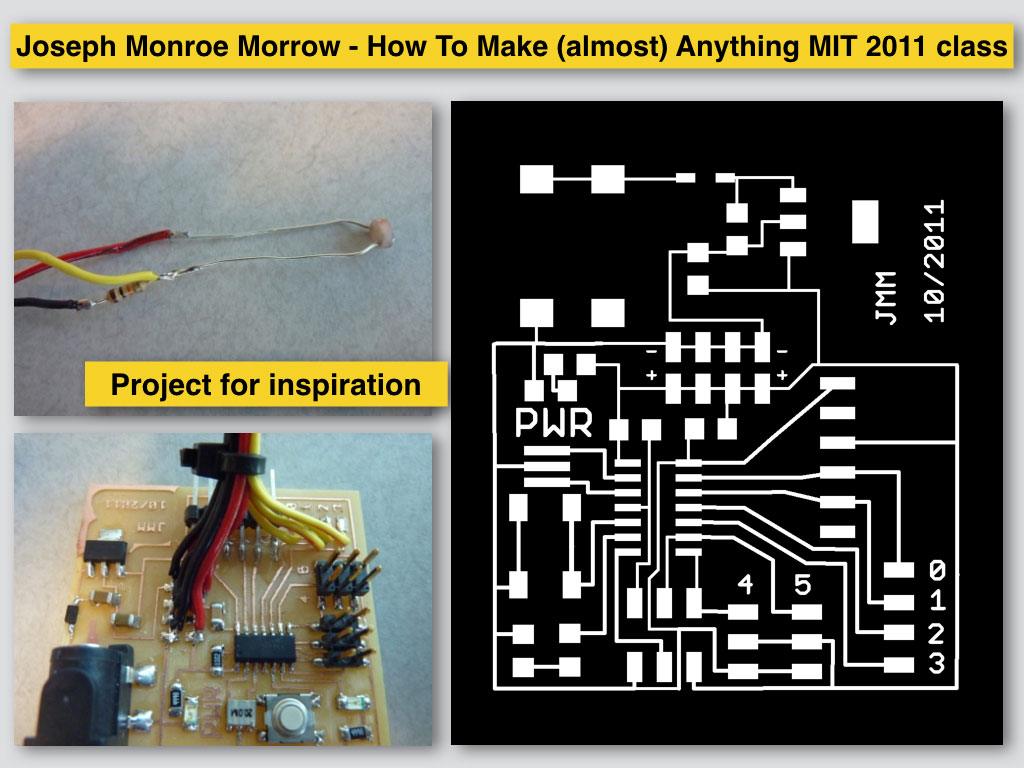
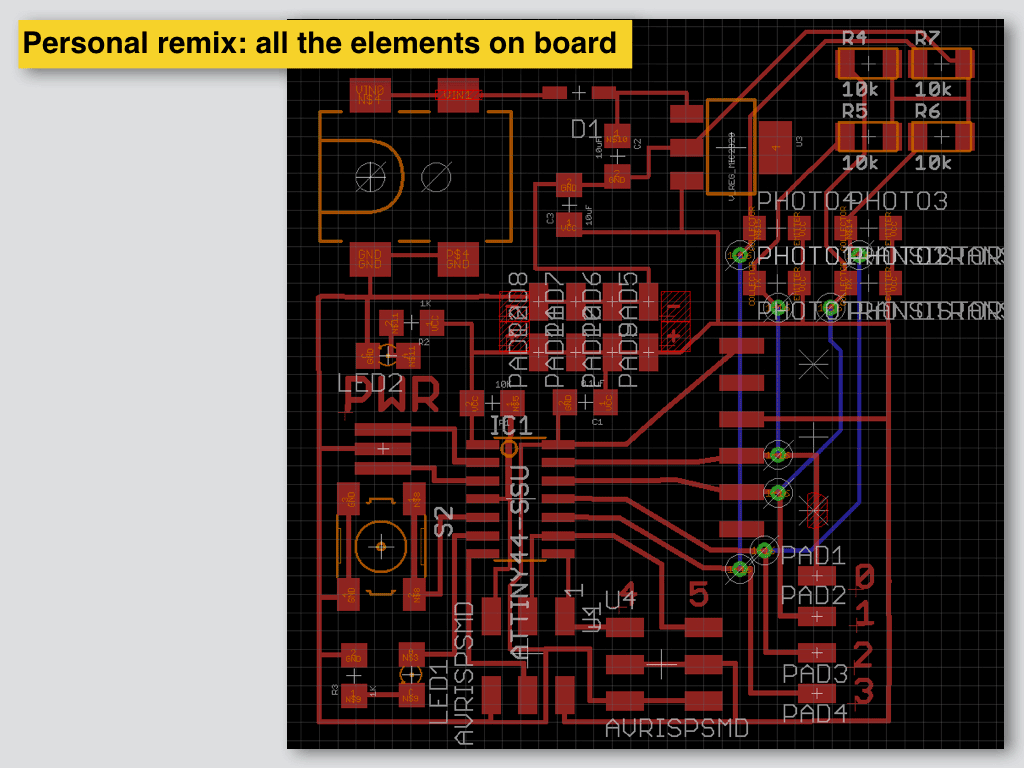
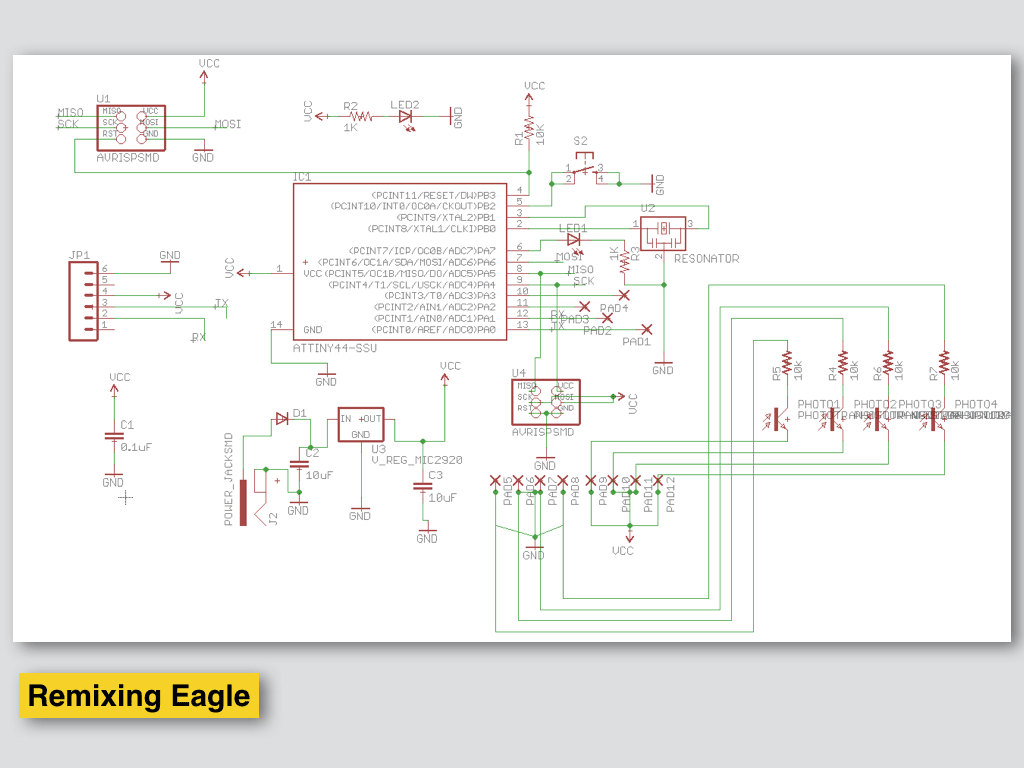
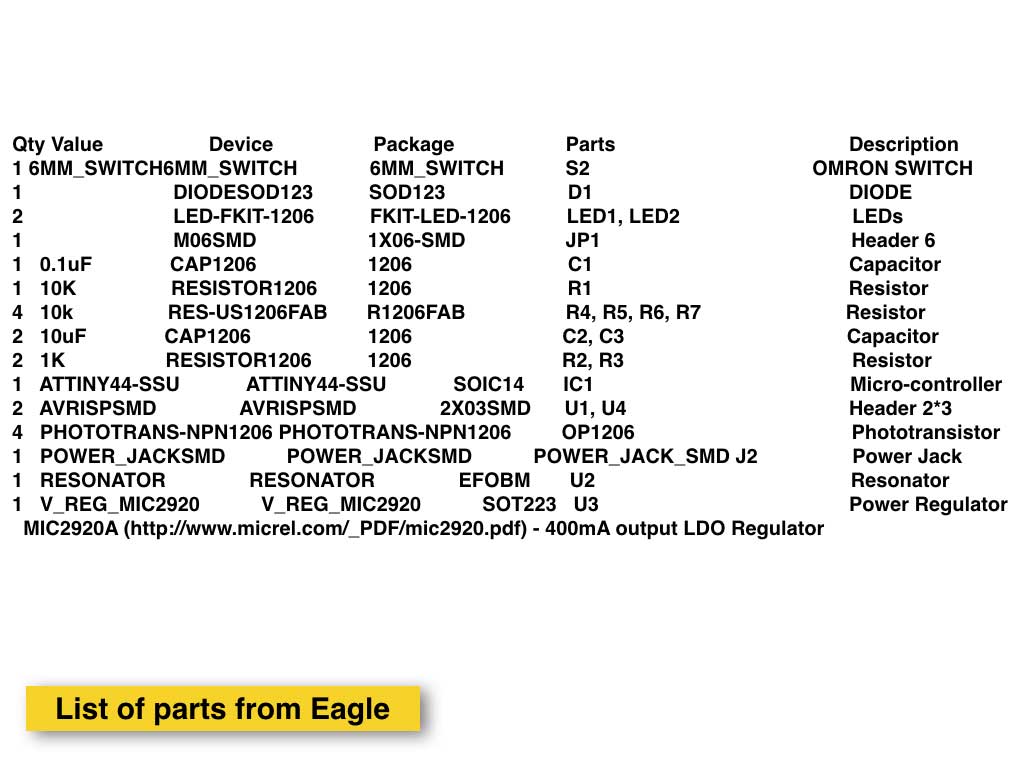
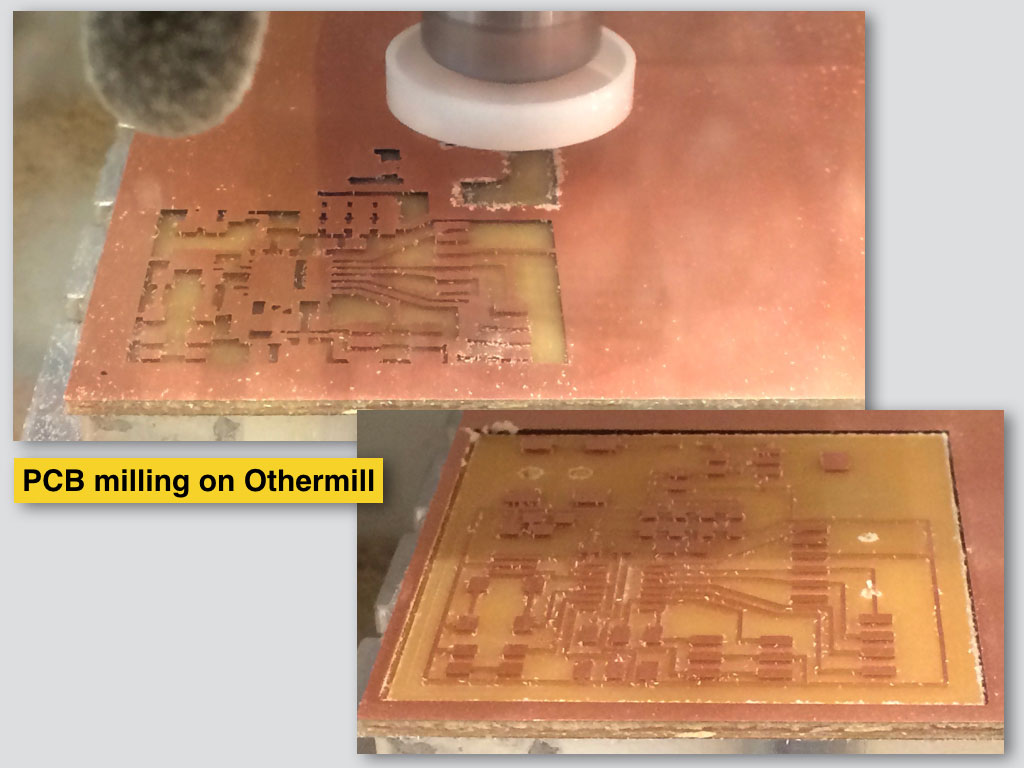
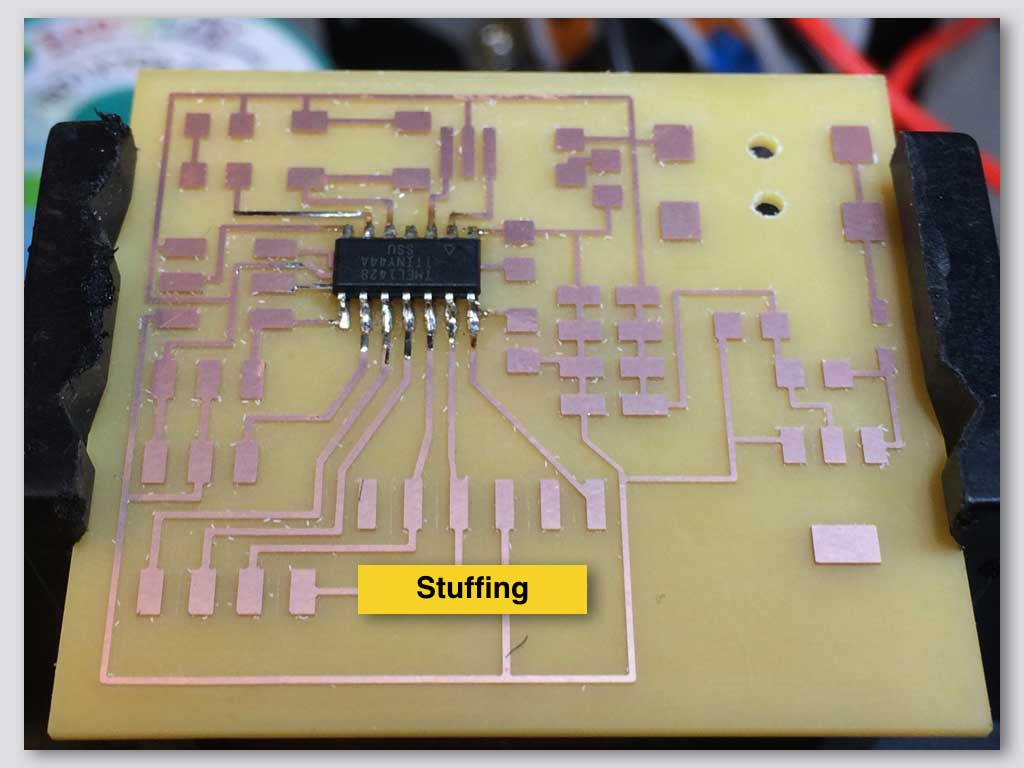
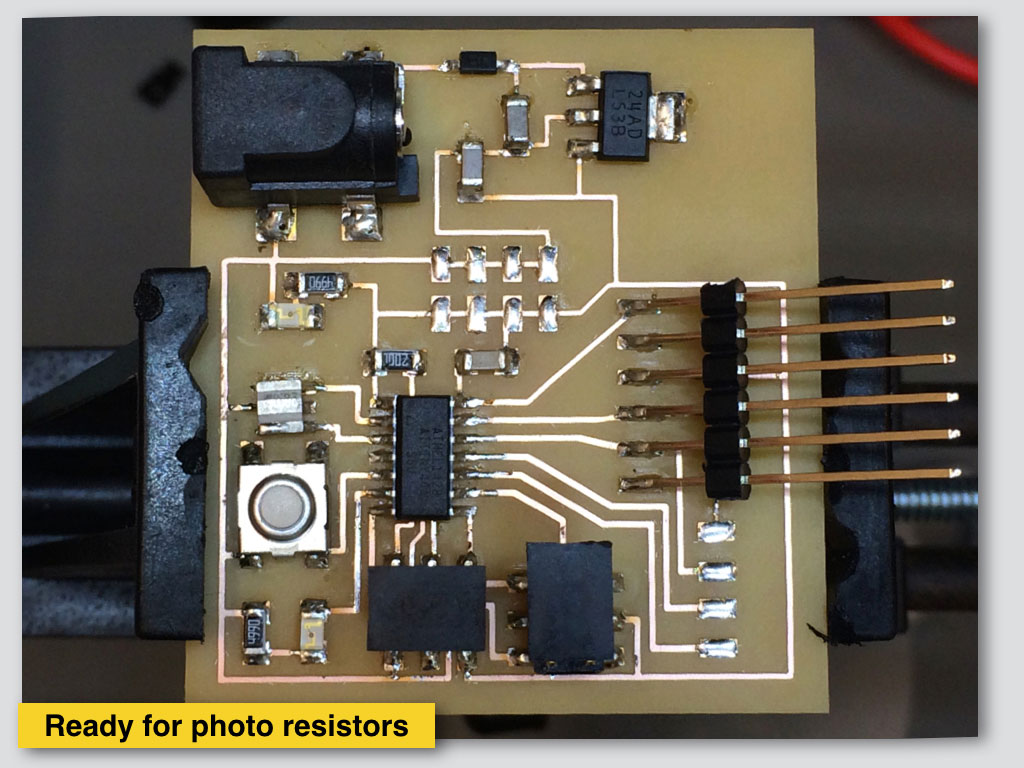
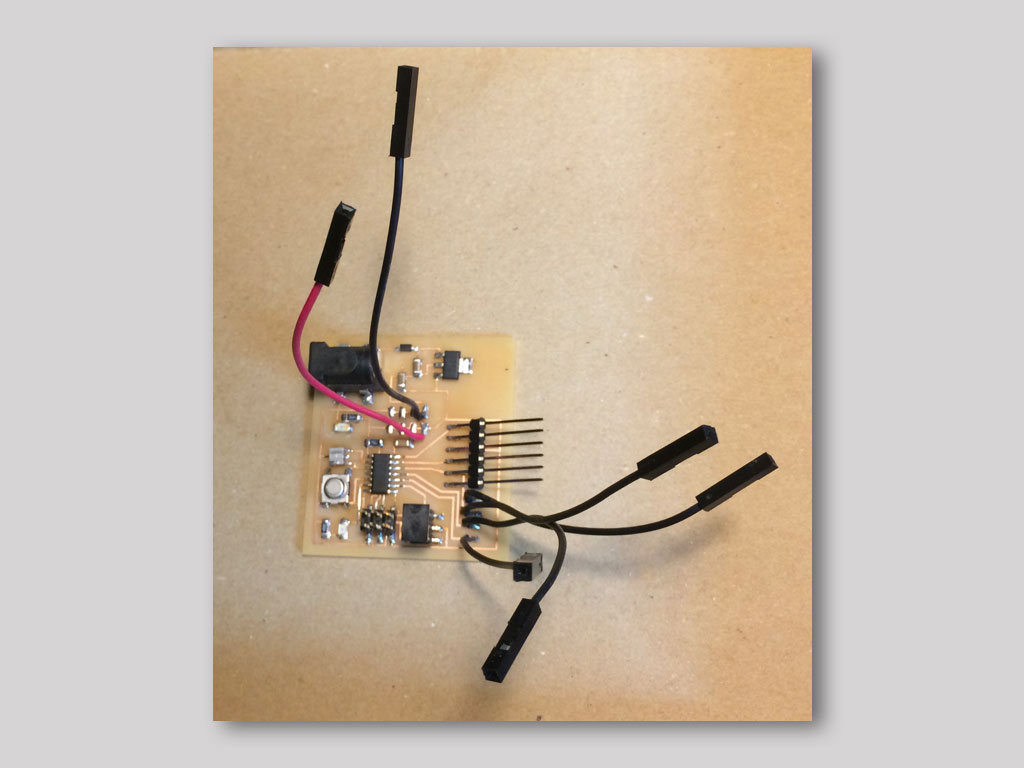
Electronics production - solar traking circuit

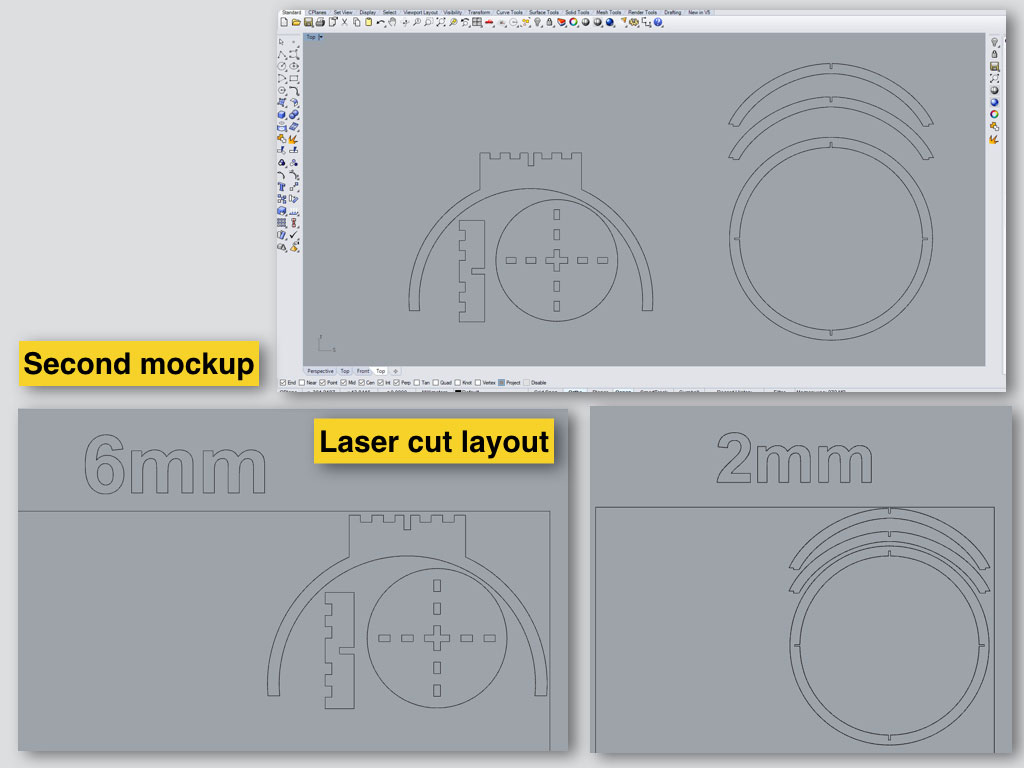
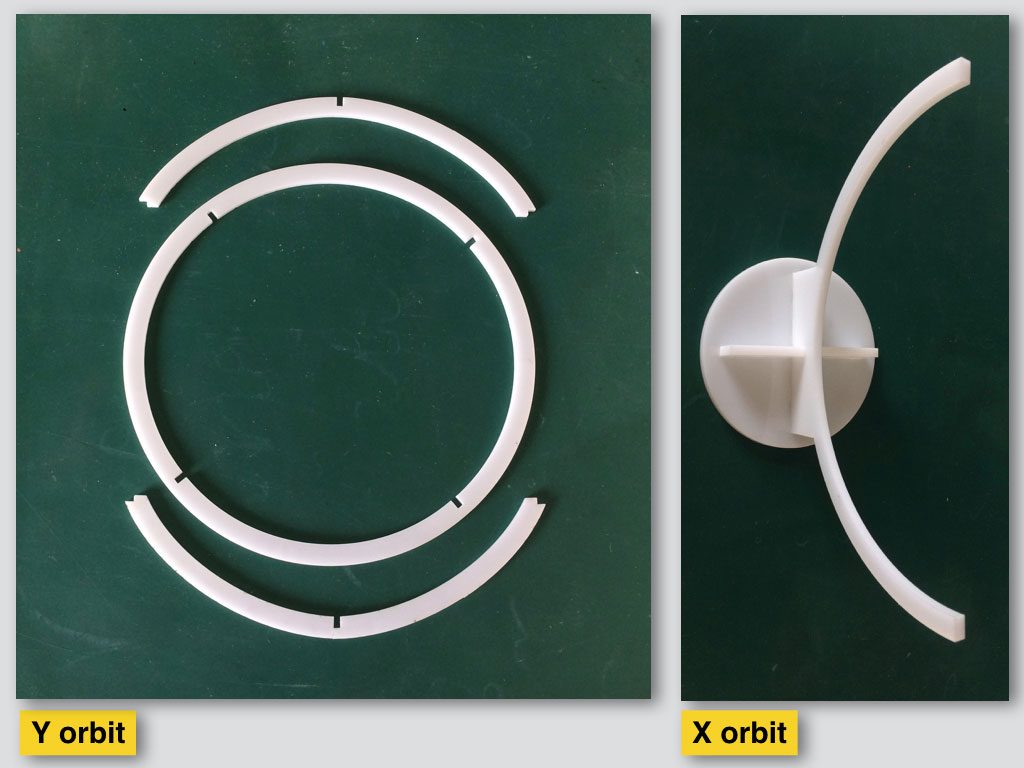
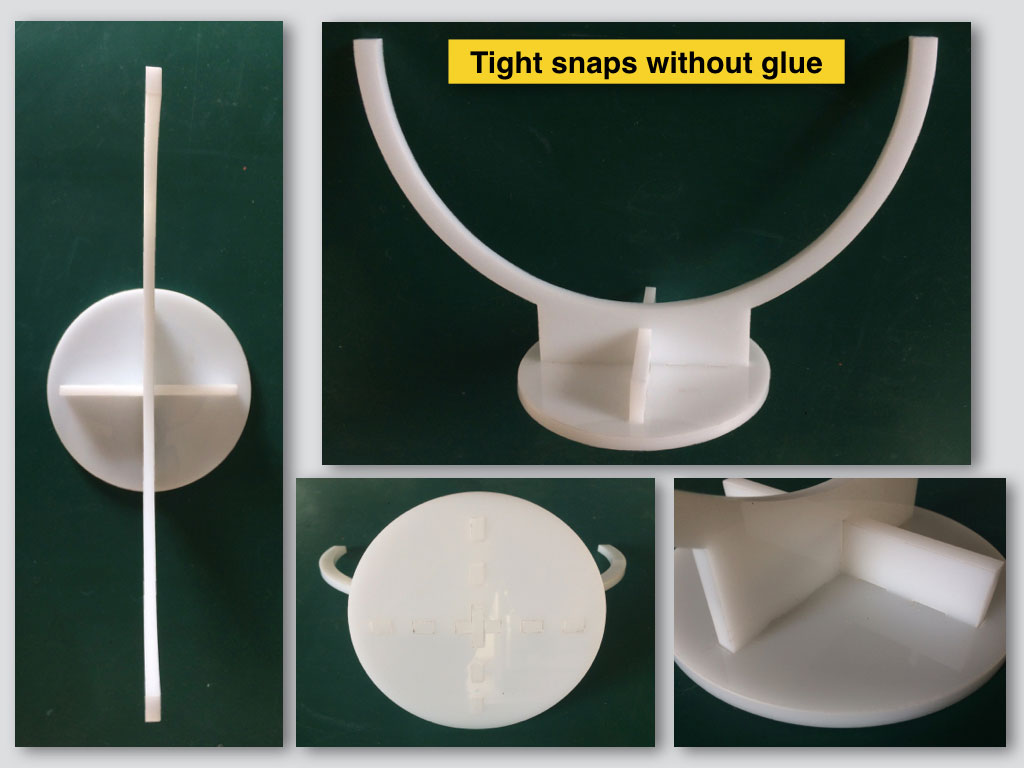
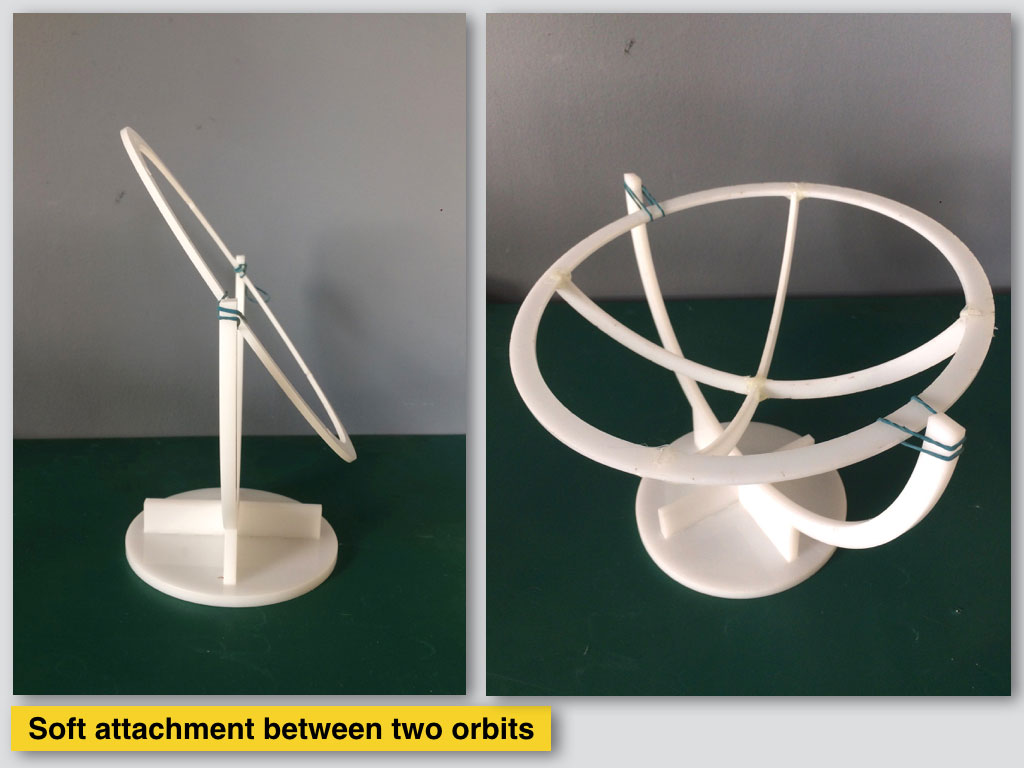
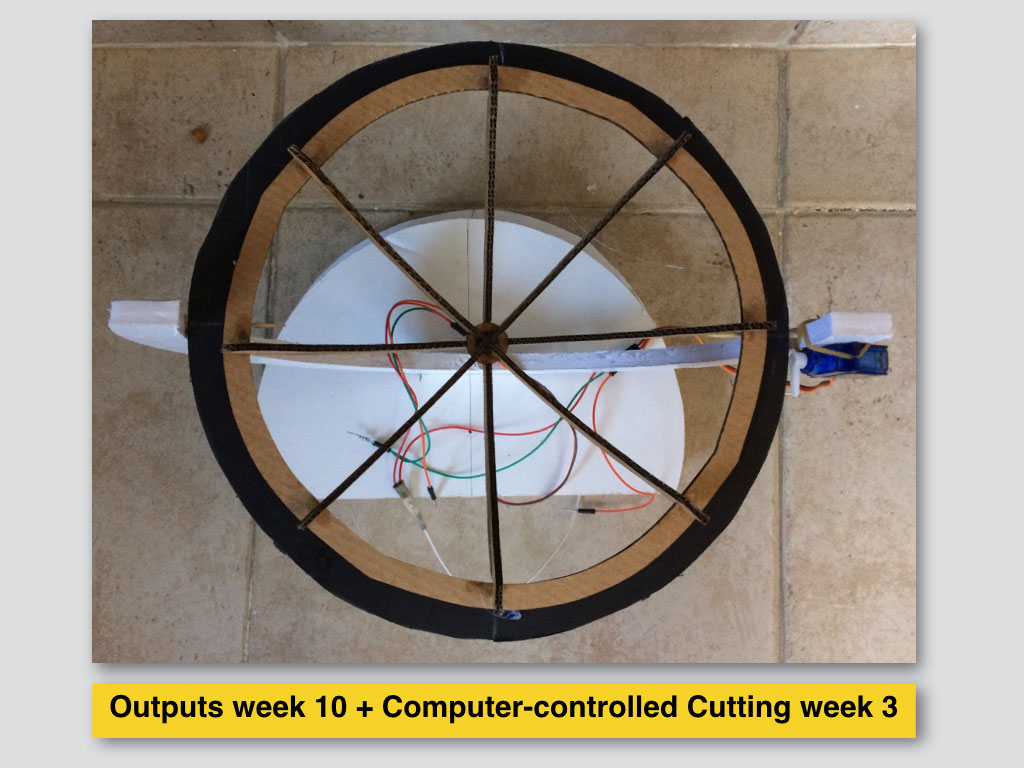
Second mockup - acryl laser cut

Motion developing and servos test video

This test is made with arduino board which later will be replaced by my original ATtiny44 board.

Just for the first structure motion test I used Arduino Uno board. Later I used Arduino only as 5V power suply for my original board.

Programming and debugging