Week 14:
Composites
Fiberglass with epoxy.
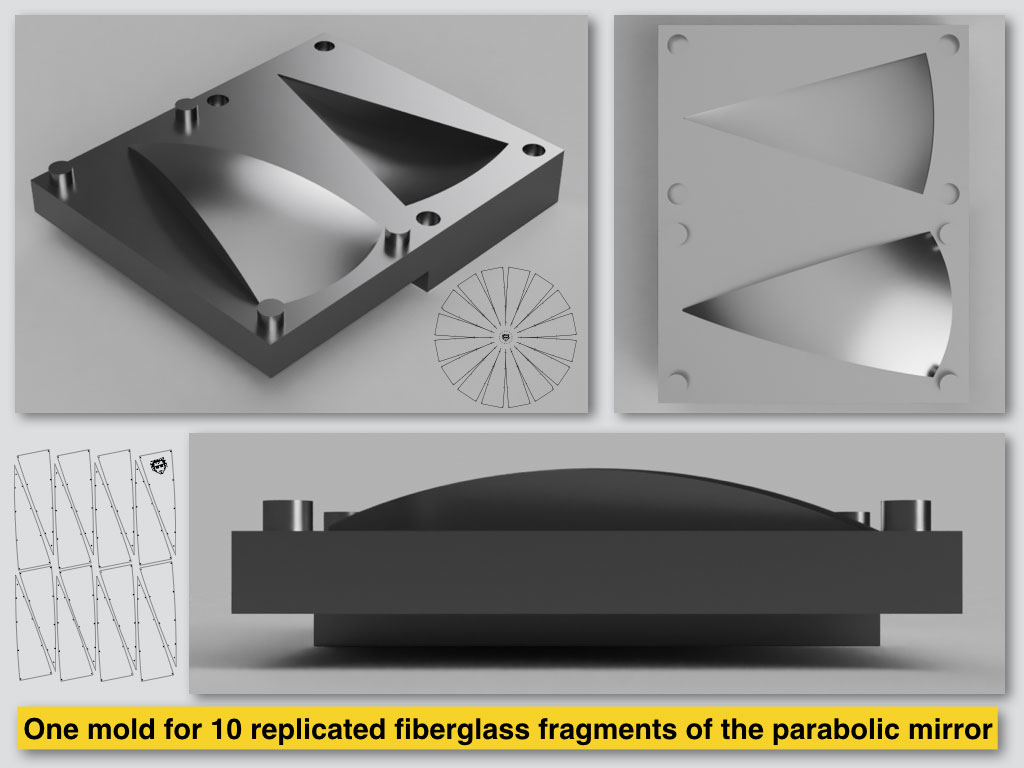
My idea for the composites assignment was to create a mold for one replicated fragment (1 from 10) of parabolic mirror.
It concentrates the sun light of the solar cooker, my final project.
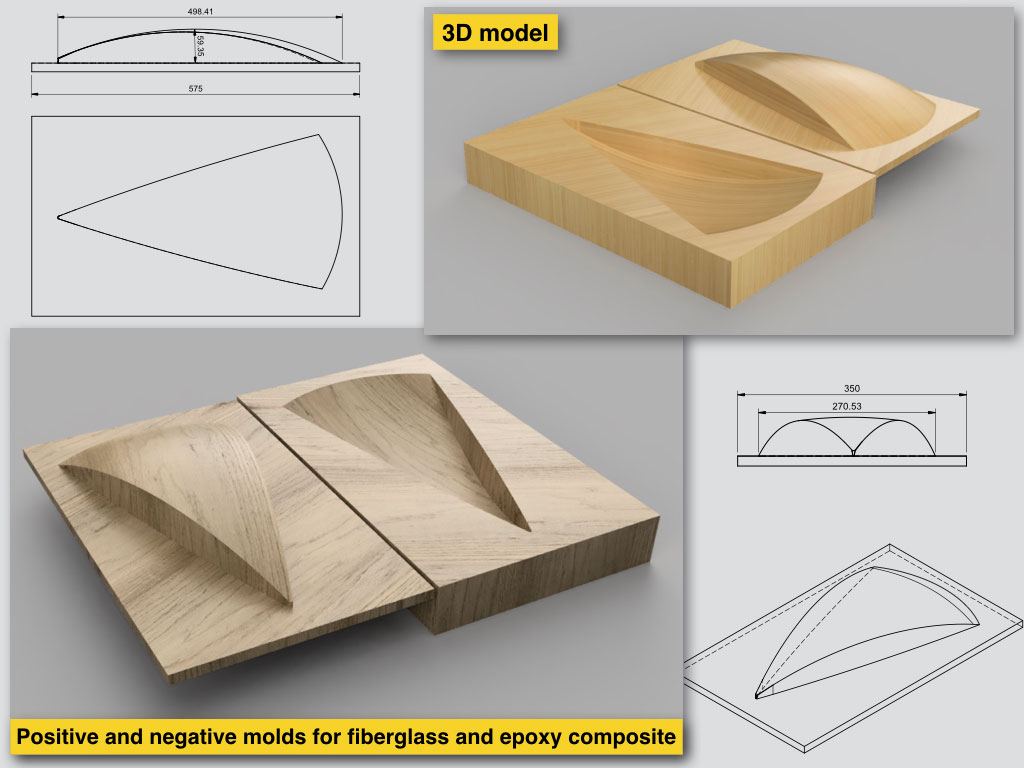
This mold fits both technics that had I found as possible to replicate shape by them with thin/light materials: composites (resin with fibers) and vacuum forming (ABS and/or plexiglass).
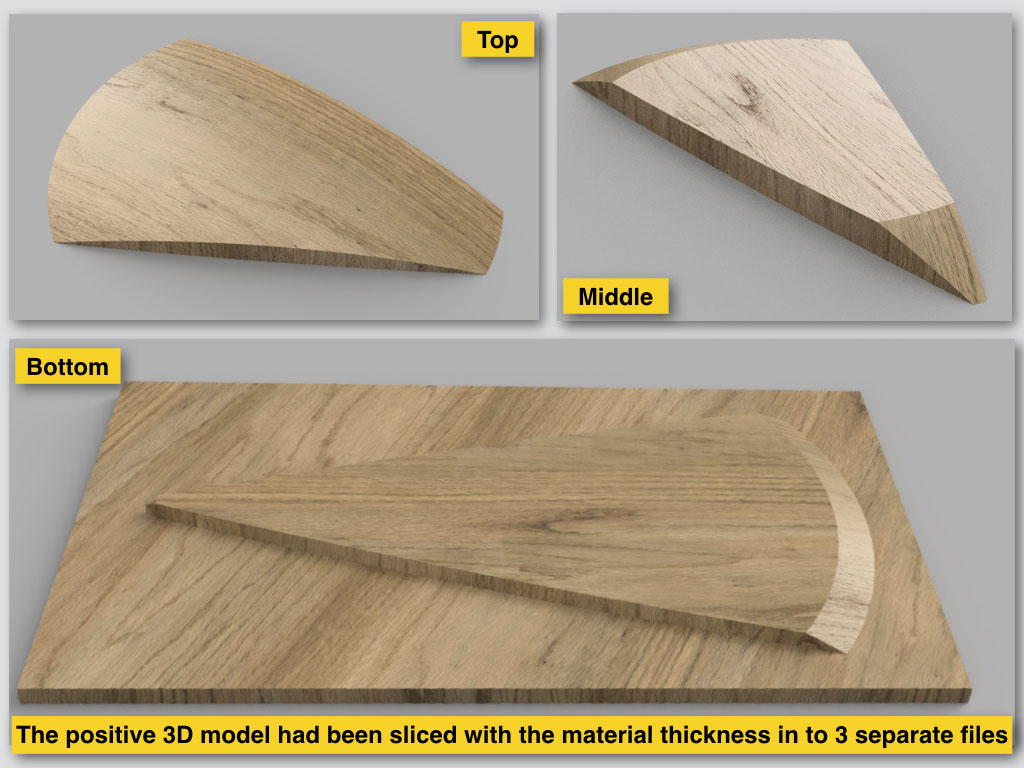
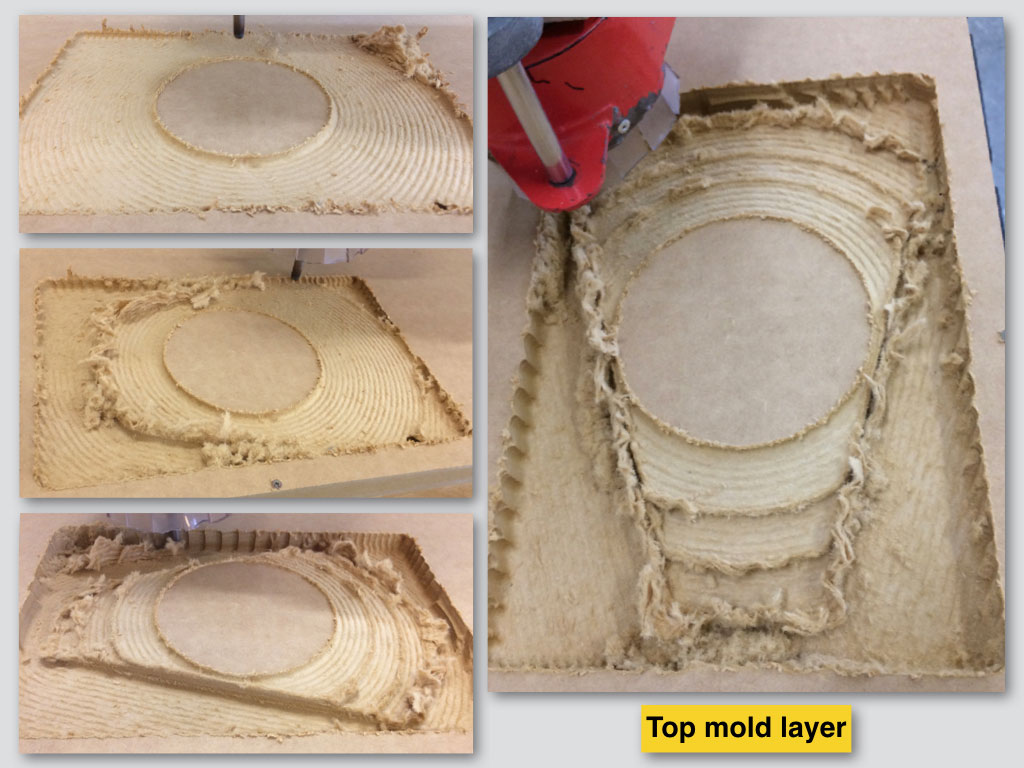
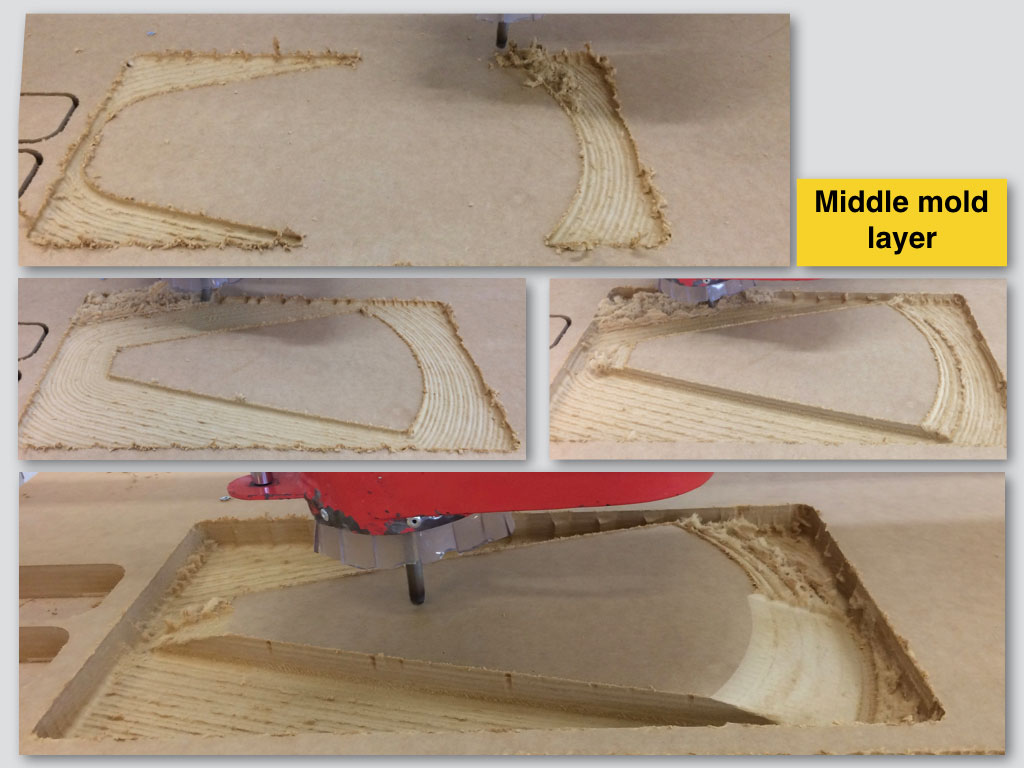
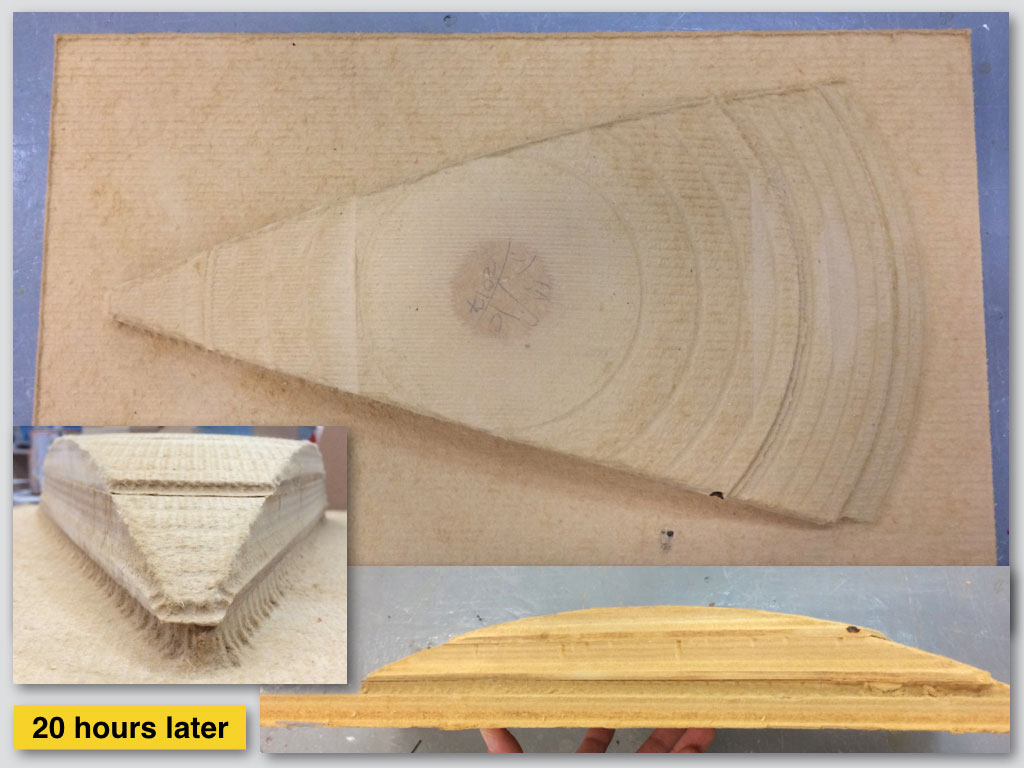
To avoid the meeting between the milling tool holder of the CNC machine and the material (MDF) at highest point of the mold I needed to split the mold in to three separate layers/files. Every layer got its thickness from the material - 24 mm.
The miling tool was the same "ball nose" double up cut 10.27 mm for all my 2D and 3D milling steps.
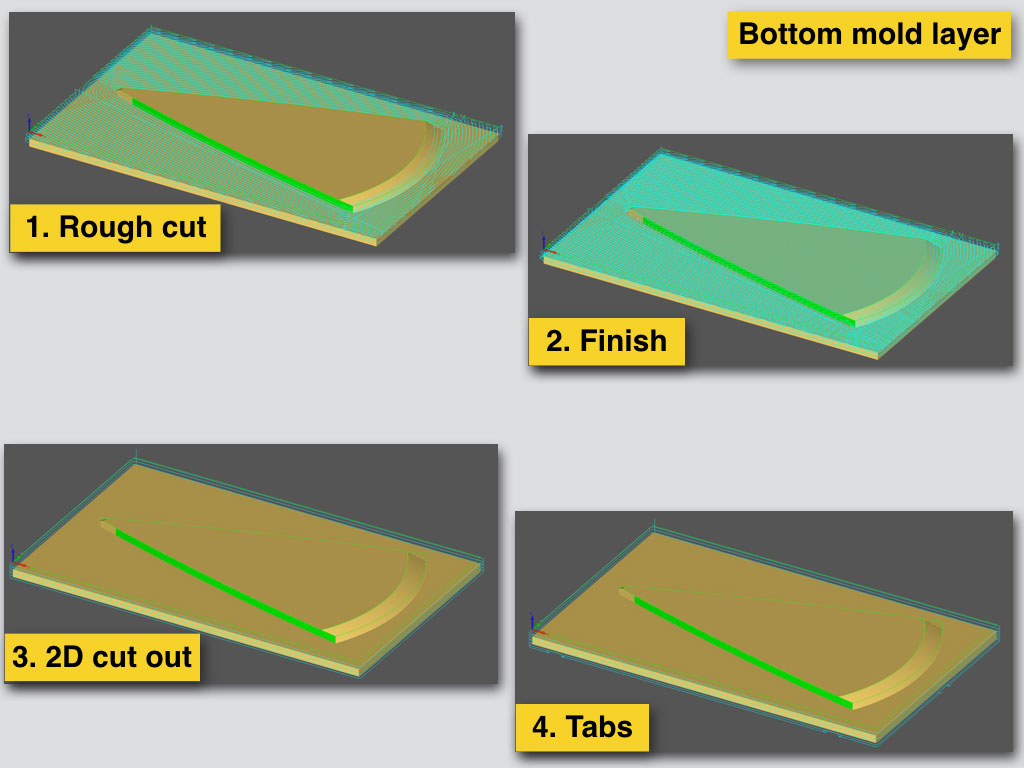
Each third of the mold got 4 layers job at the Alphacam CNC GUI before the final export to the milling machine. First - rough pocket; second - fine pocket finish; third - cutout line and the fourth - tabs/bridges final cutout.
Theoretically I could make all the job in once from stacked and glued block of plies of the MDF, but it also is bad idea for the tool and for the material: both of them could be damaged by air bubbles that stack sometimes during the unprofessional glueing process.
Timelapse video of the milling process.
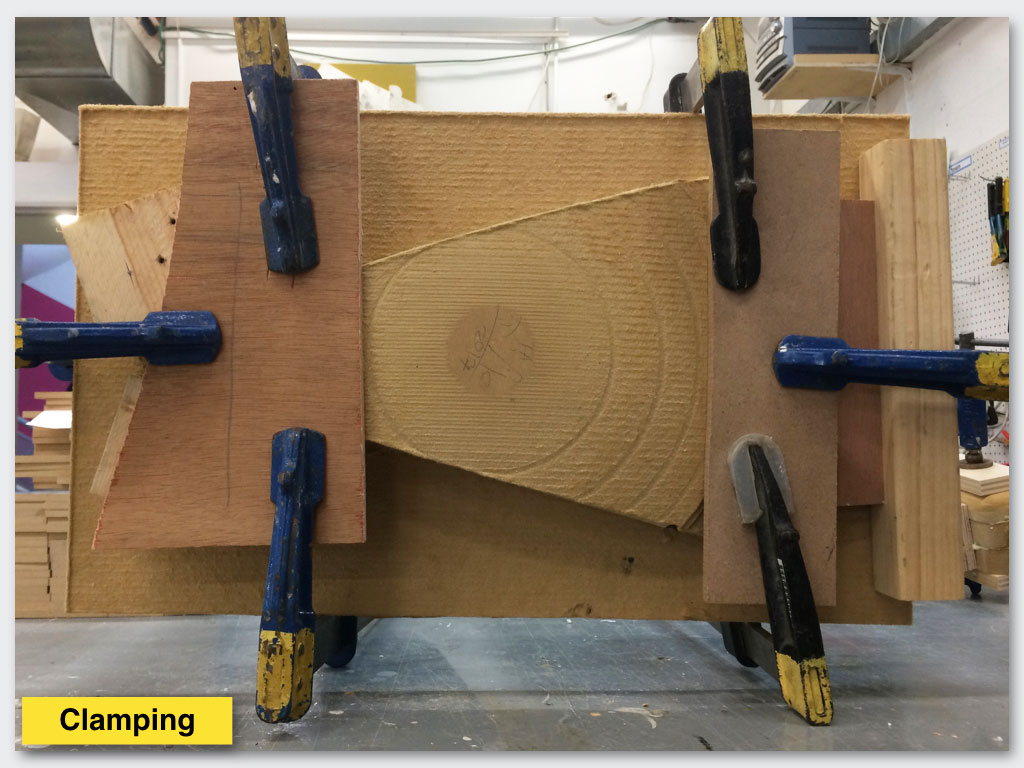
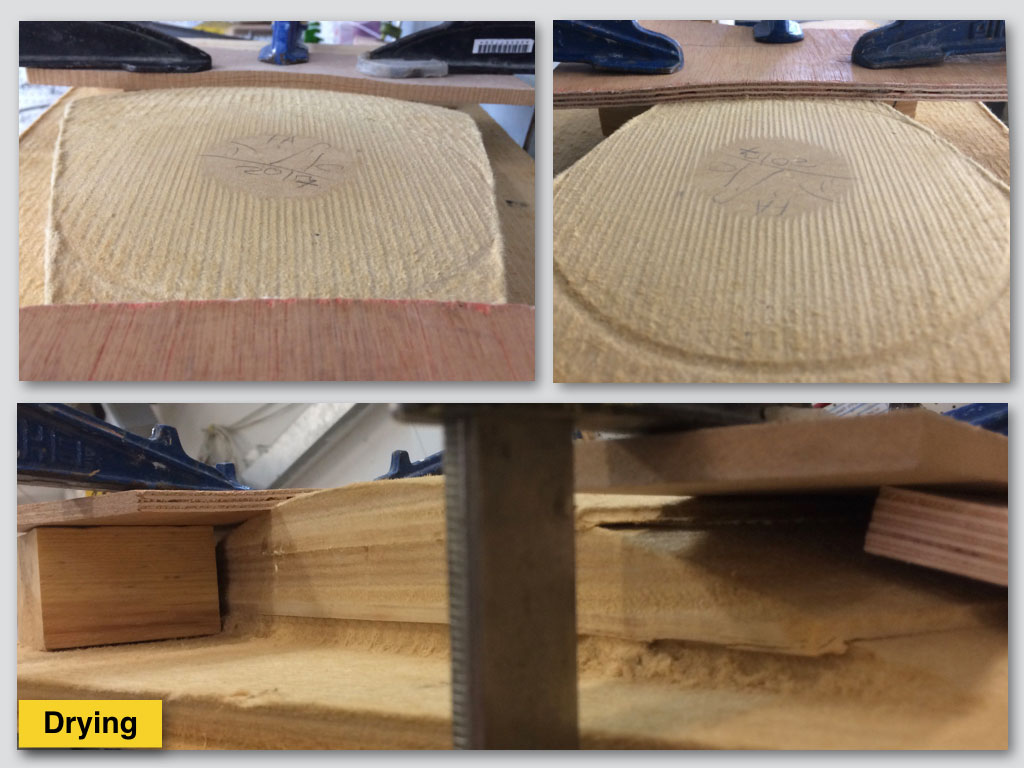
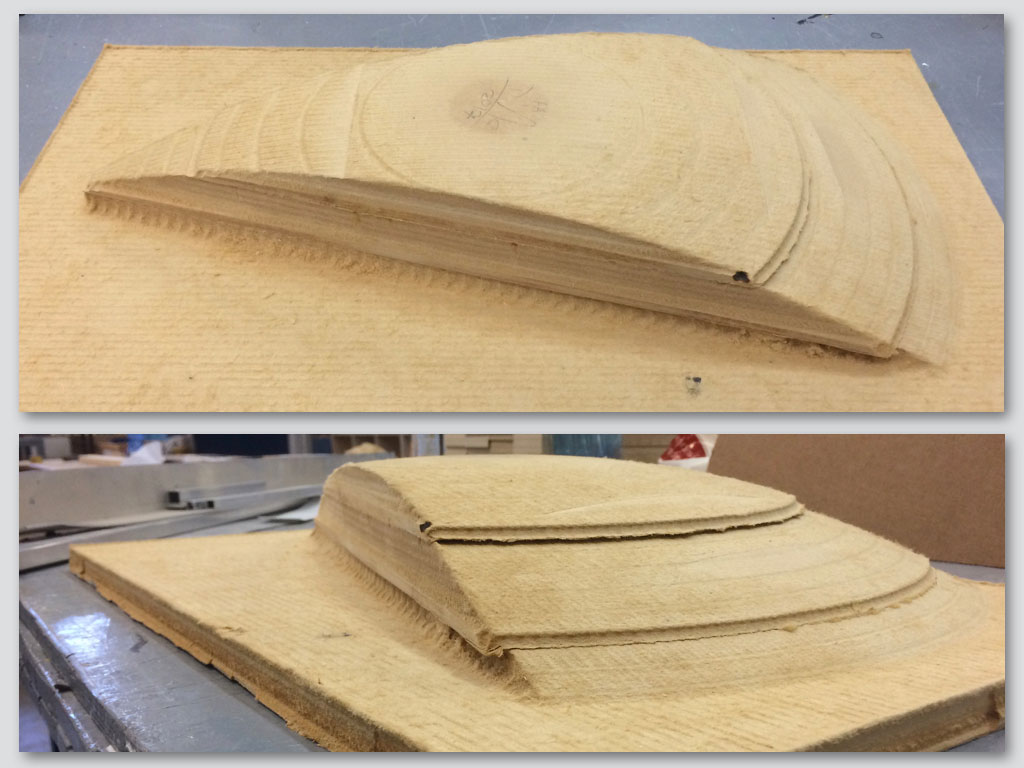
PVA glue and clamps
Unclamped after 1 day
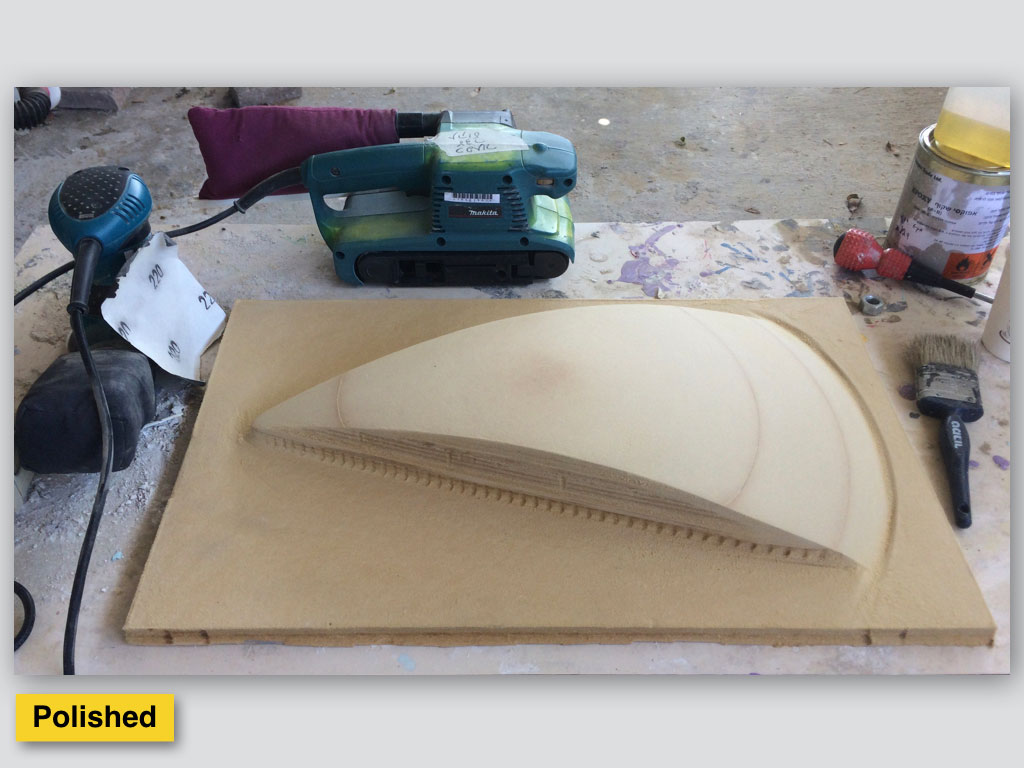
Filing
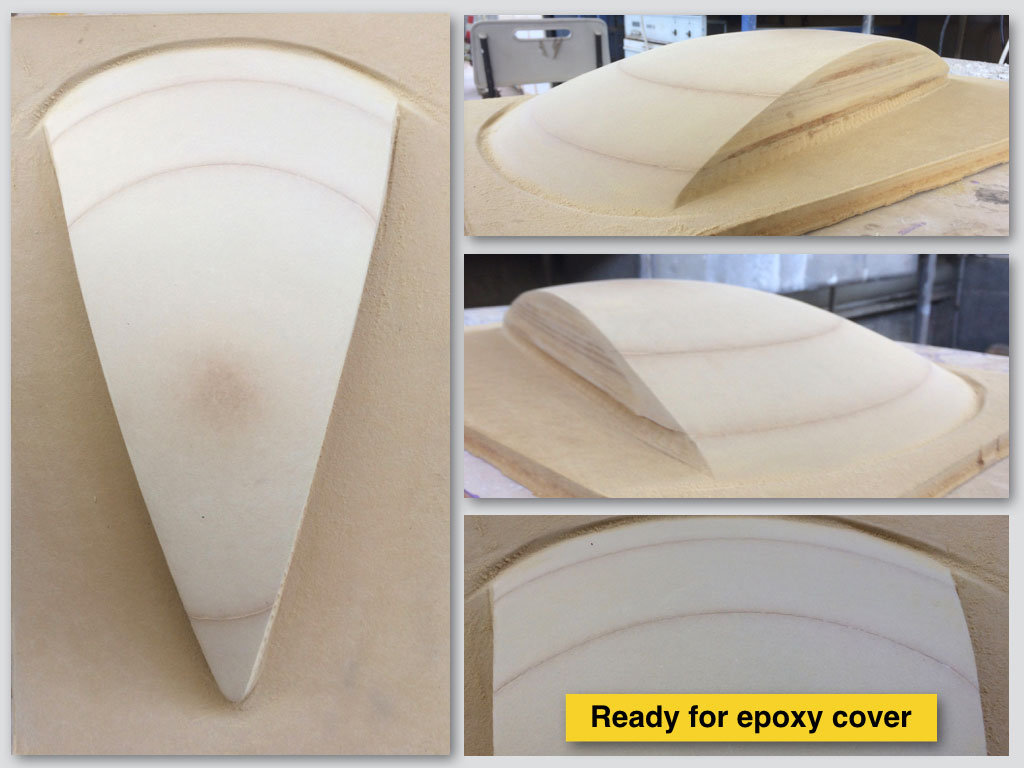
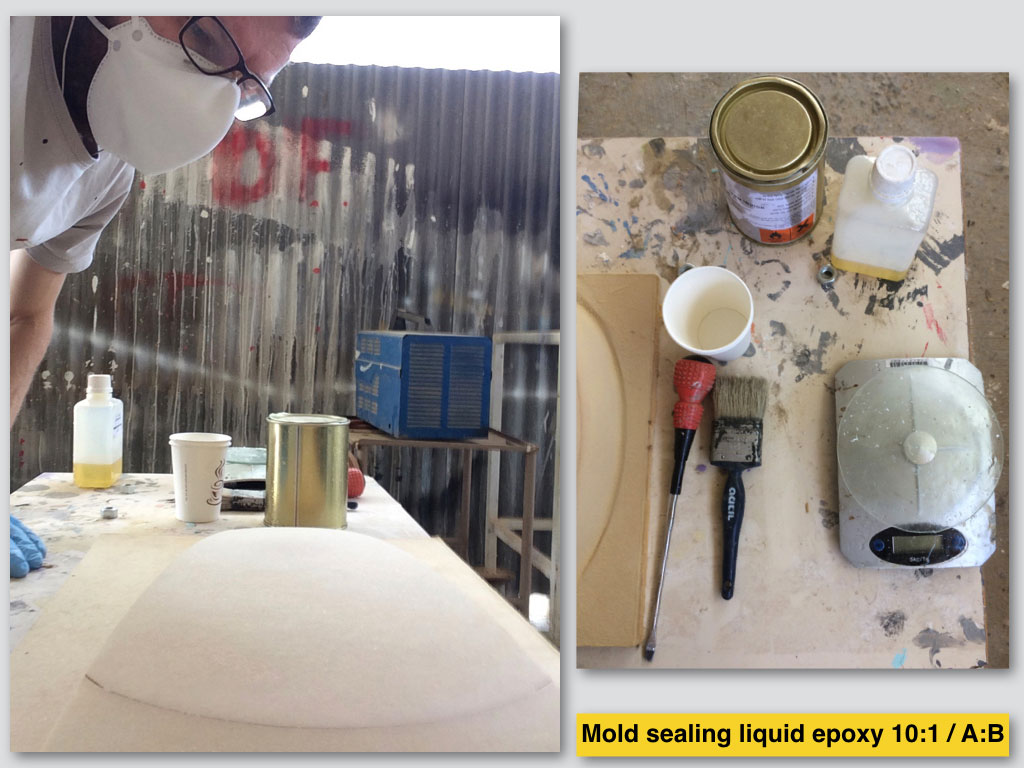
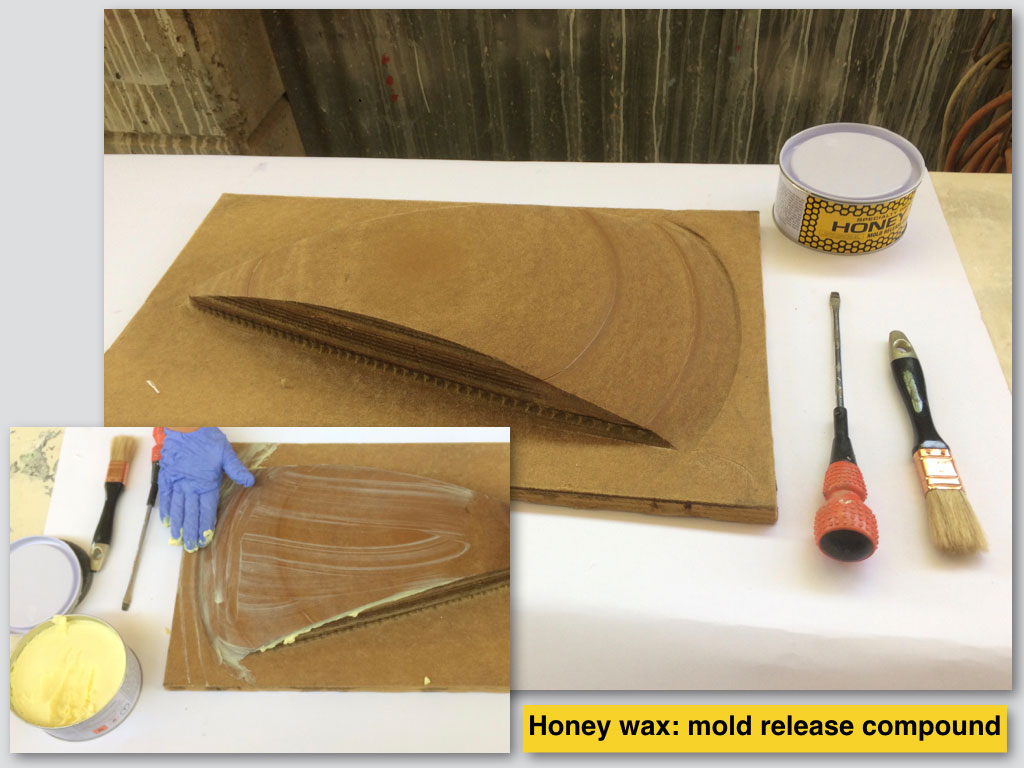
Covering the MDF mould with epoxy layer. Ventilation, hands and eye protection, filter mask.
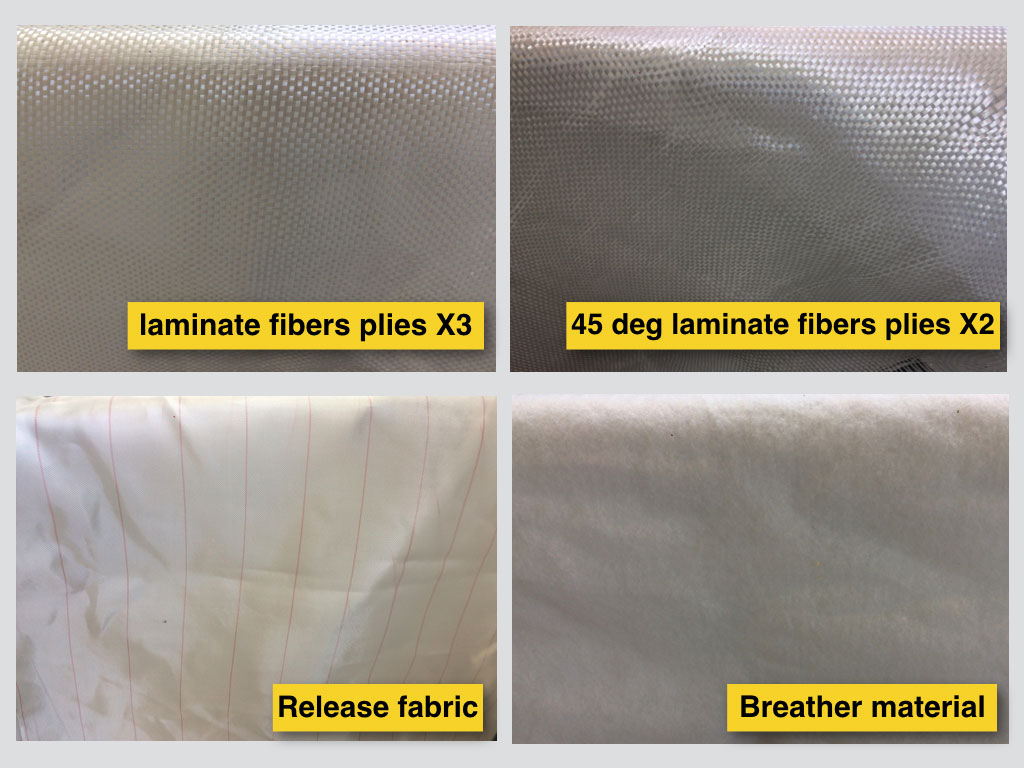
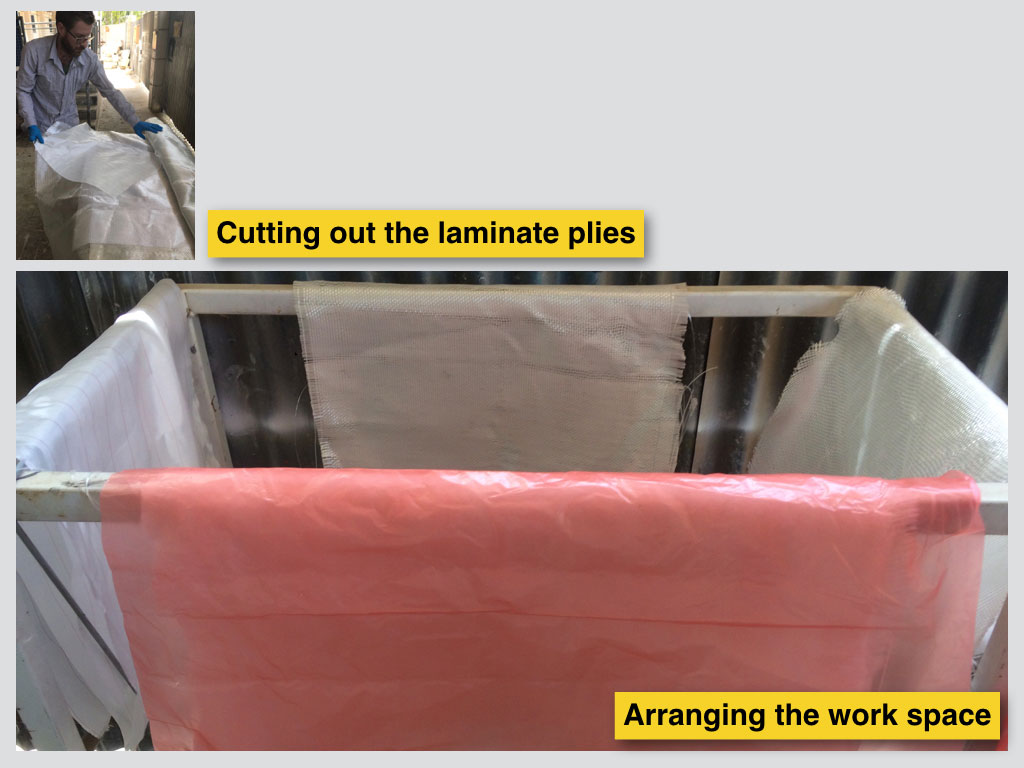
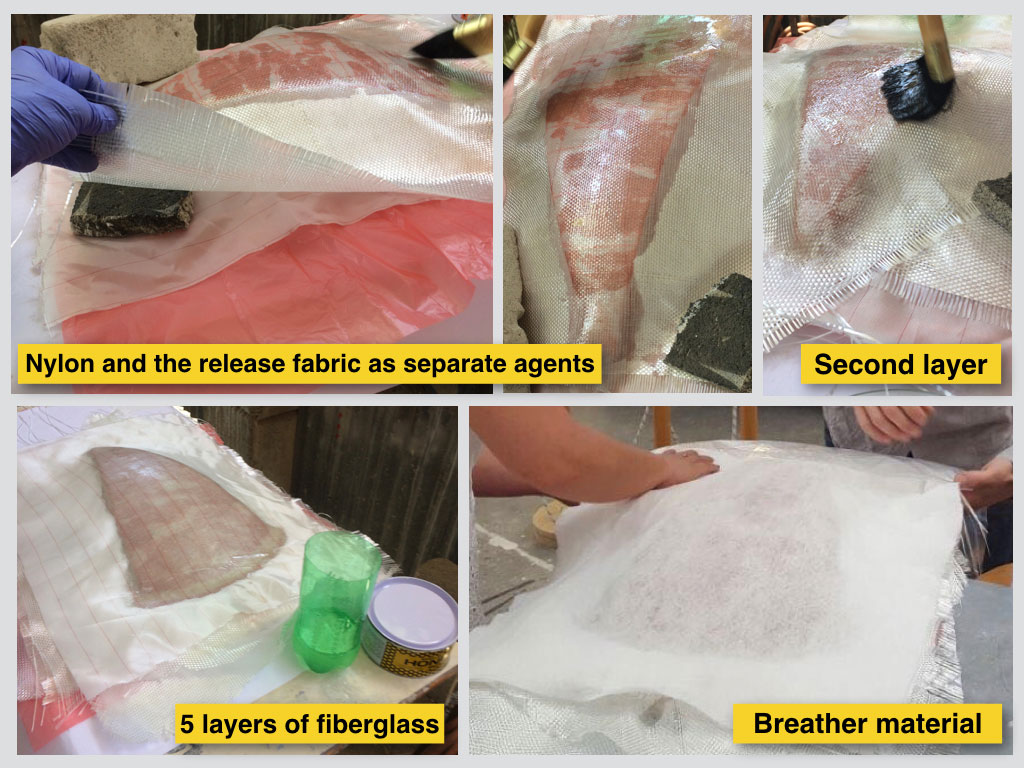
Fiber glass derivatives preparation:
2 nilon layers
2 release fabric
5 fiberglass
1 epoxy extras sucking material
Seasors and knife
Long sleaves and gloves
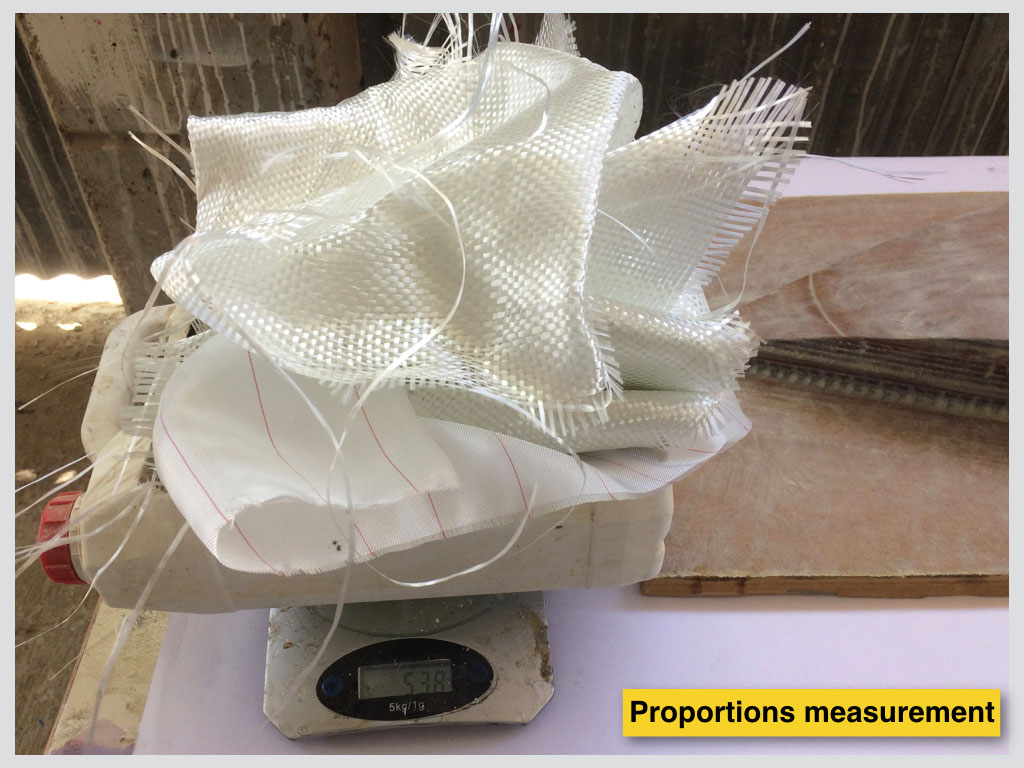
Calcilating the weight of epoxy by the total fiberglass weight
Covering dry epoxy sealed mould with release wax
Aligning the layers with epoxy between them
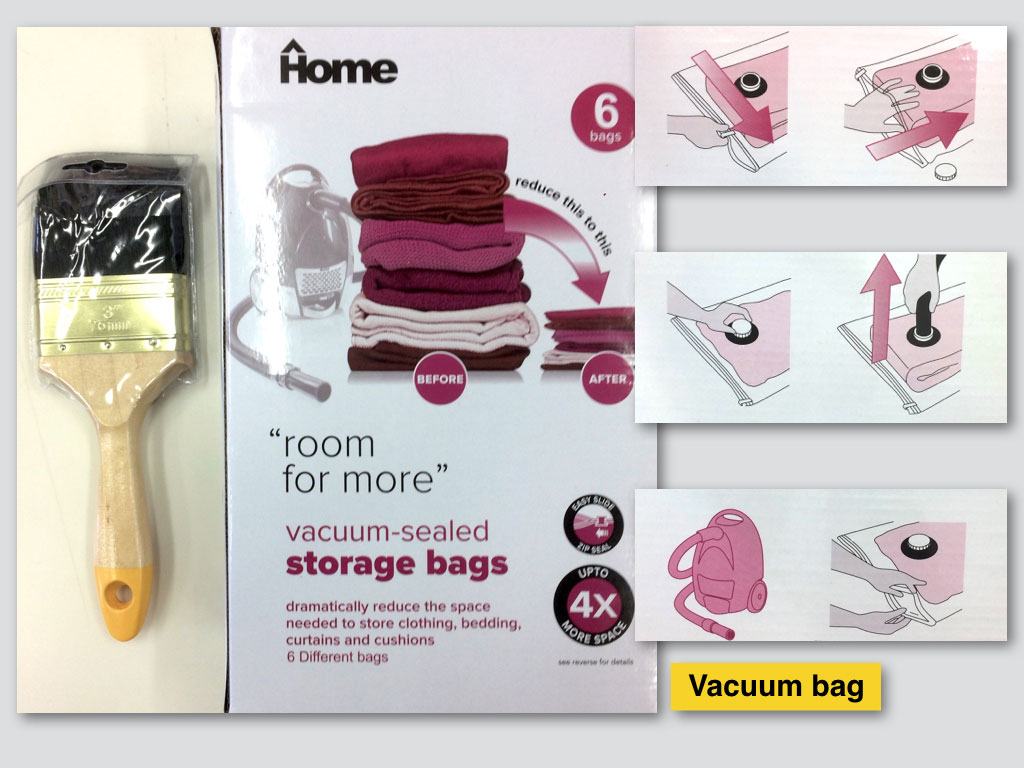
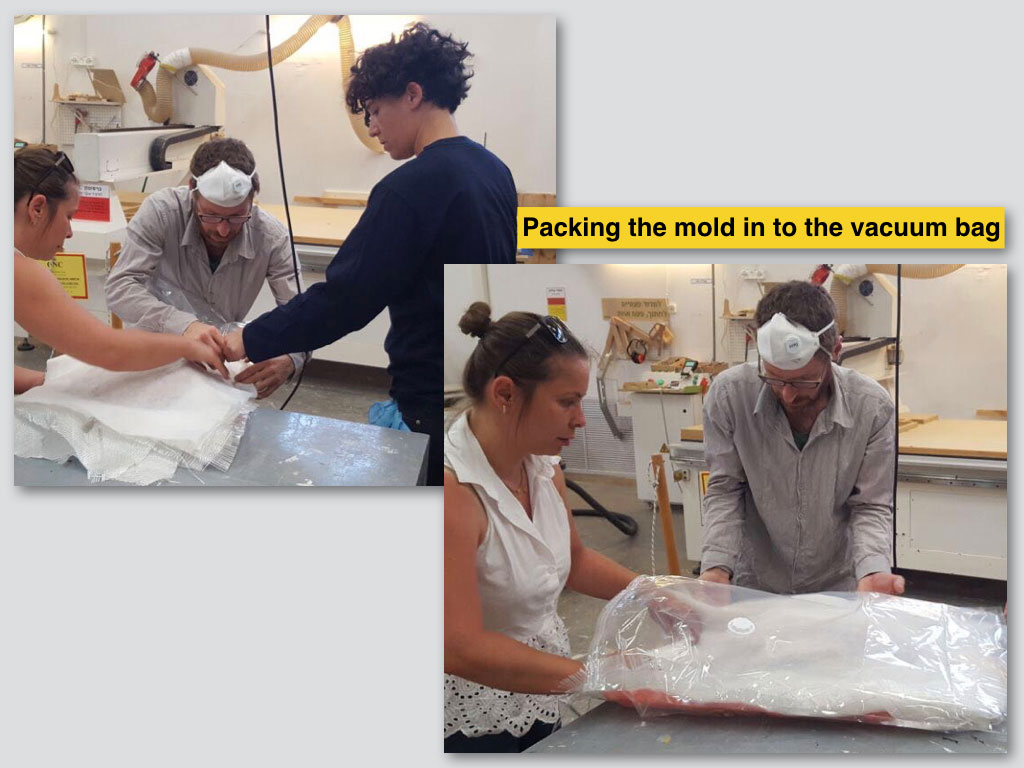
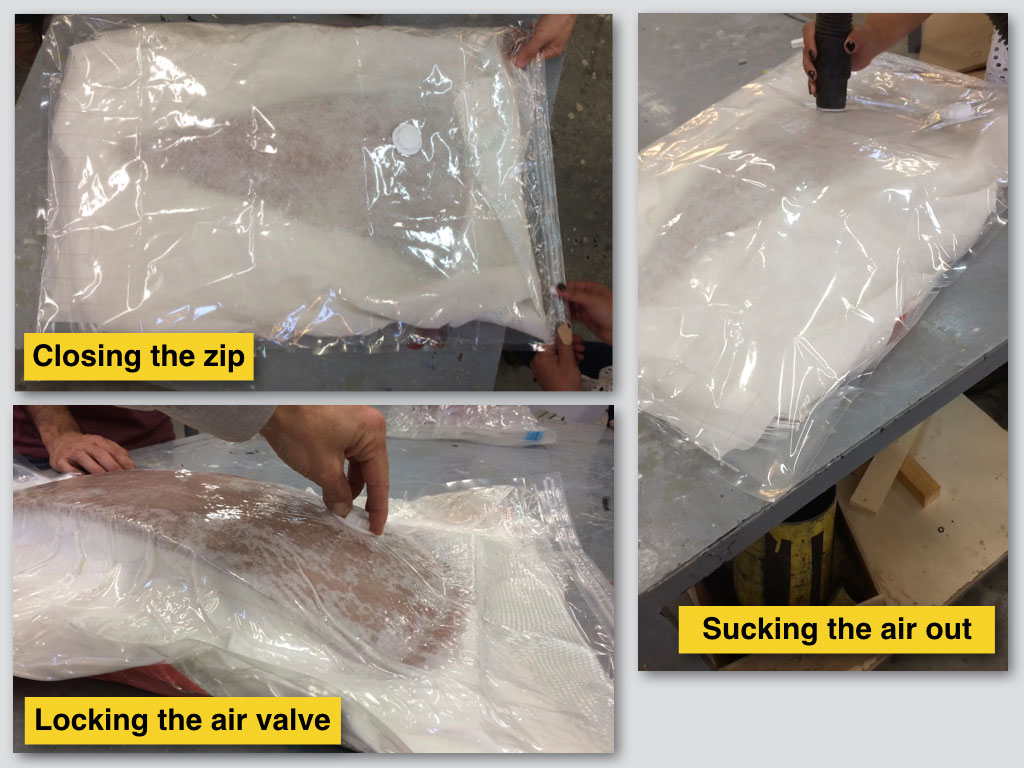
Inserting the moud with composites in to the vacuum bag
Sucking the air out of the bag, pressing the composites to the mould
For my final project I used the same mold to vacuum form 10 PVC 2mm shits in to slices of full scale parabolic dish mirror as part of the solar tracking cooker.