3D Scanning and Printing
Week 5's assignment
- Material : 1.75mm PLA and 1.75mm Filaflex
- Scanner : A Kinect connected to a computer + my iPhone5 camera
- Software :
- Netfabb for the edition of the stl files
- Meshmixer for the edition of the stl files
- Slic3r and Cura for the generation of the G-code
- Pronterface to pilot the printer
- Skanect to pilot the Kinect for scanning
- 123D Catch to pilot the Kinect for scanning
For this week's assignment, we would have to design one or several objects in 3D, print them, and then scan something and print it if possible.
Once again, it was the first time I used a 3D printed so I would have to make a few tries but I was quite exited about it.
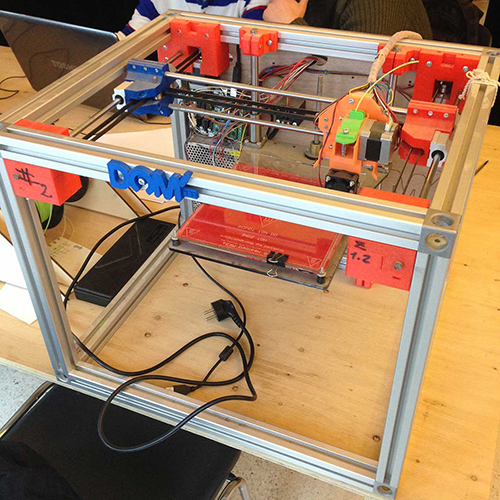
The 3D Printer we have at Woma is a "Dom Kit" printer. It looks like this :
1. Design rules and testing
When we want to print a 3D object, we have to pay attention to some essential notions related to both our design, but also what the printer we use can do. The most common kind of 3D printing technique is called "FMD", which means Fused Deposition Molding. It is how our printer works. Basically it melts the PLA filament through what is called the extrusion head and deposits it on the bed of the machine layer by layer, each layer being constituted of litte dots. The image bellow illustrates this process :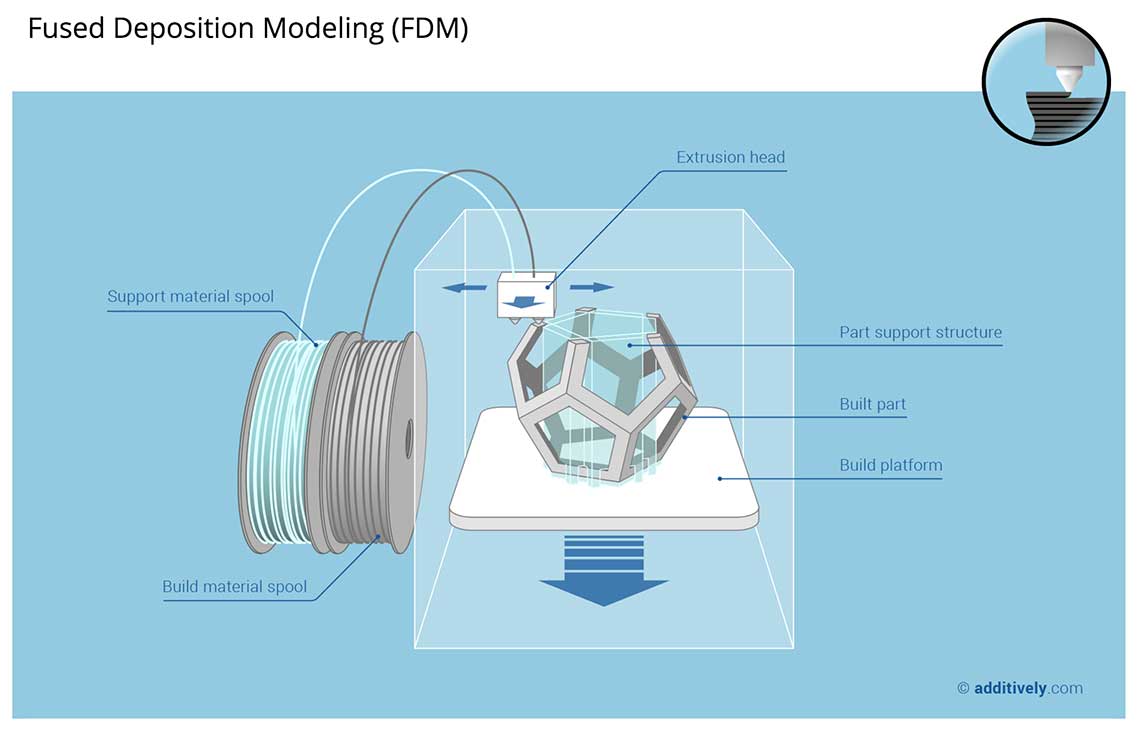 There are a lot of other techniques detailed here but we will focus on FDM for now.
A very important aspect is the structure of the object you want to print : every part that will stand into the air with nothing bellow has to have an angle of 45 degrees of lower.
If not, it will have no support to hold on to. This means that the printer will have to add a support to this part, which will take a lot of time and demand a lot of post processing after the print itself, to remove all the unwanted parts.
There are a lot of other techniques detailed here but we will focus on FDM for now.
A very important aspect is the structure of the object you want to print : every part that will stand into the air with nothing bellow has to have an angle of 45 degrees of lower.
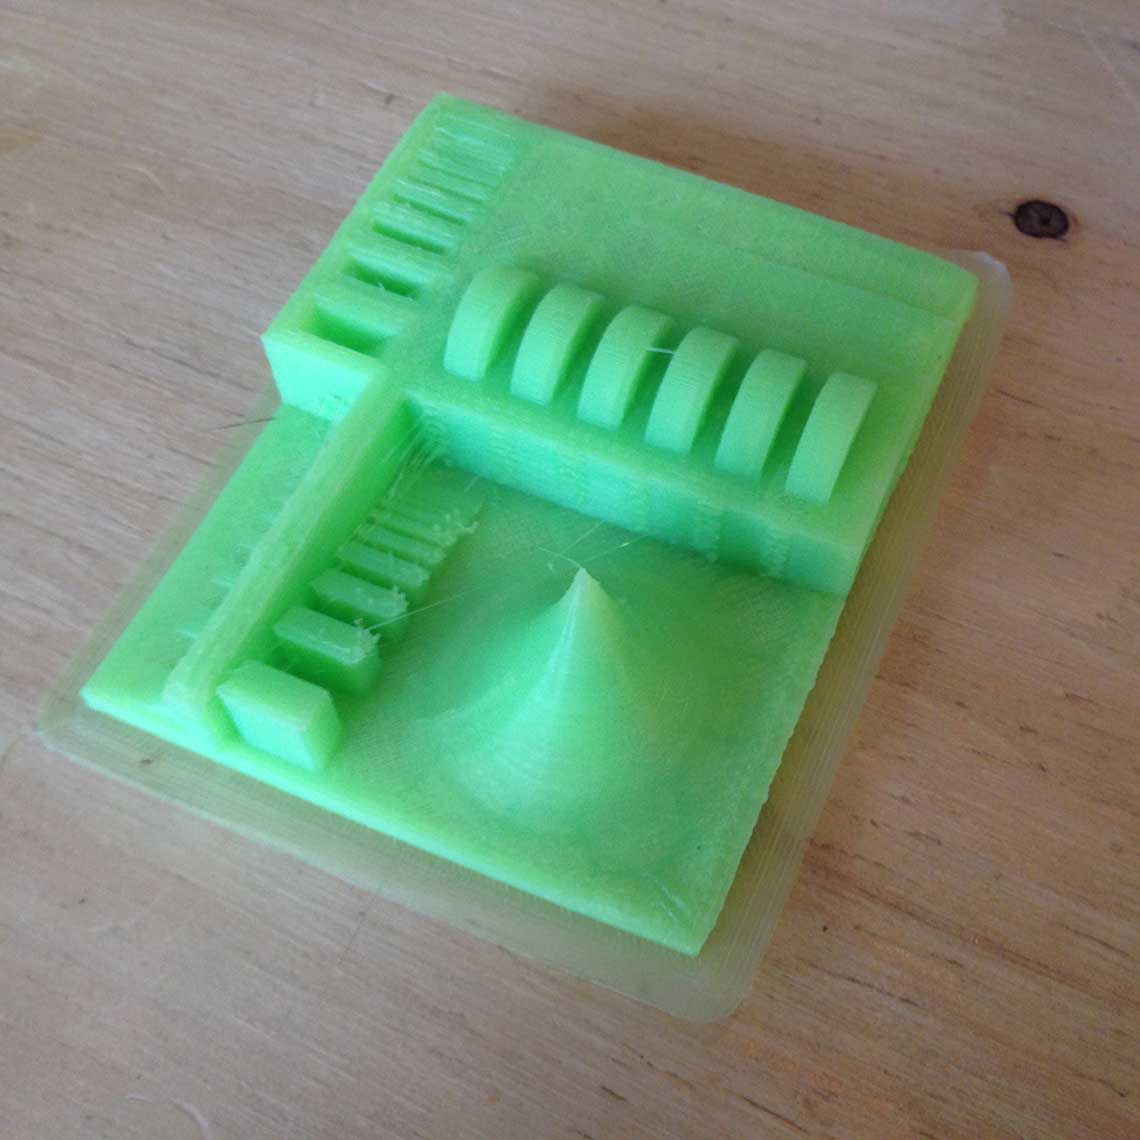
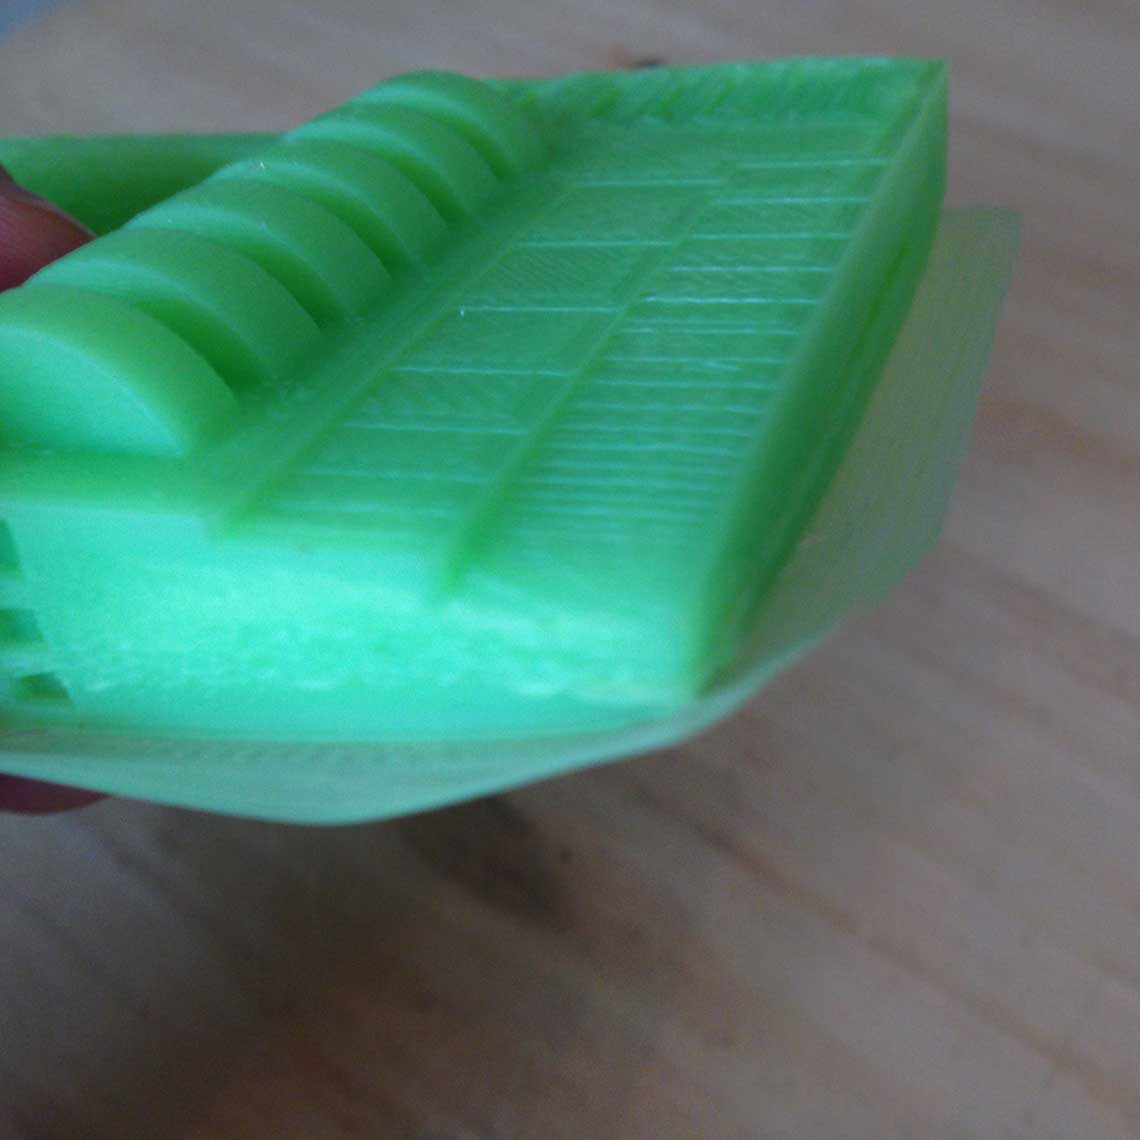
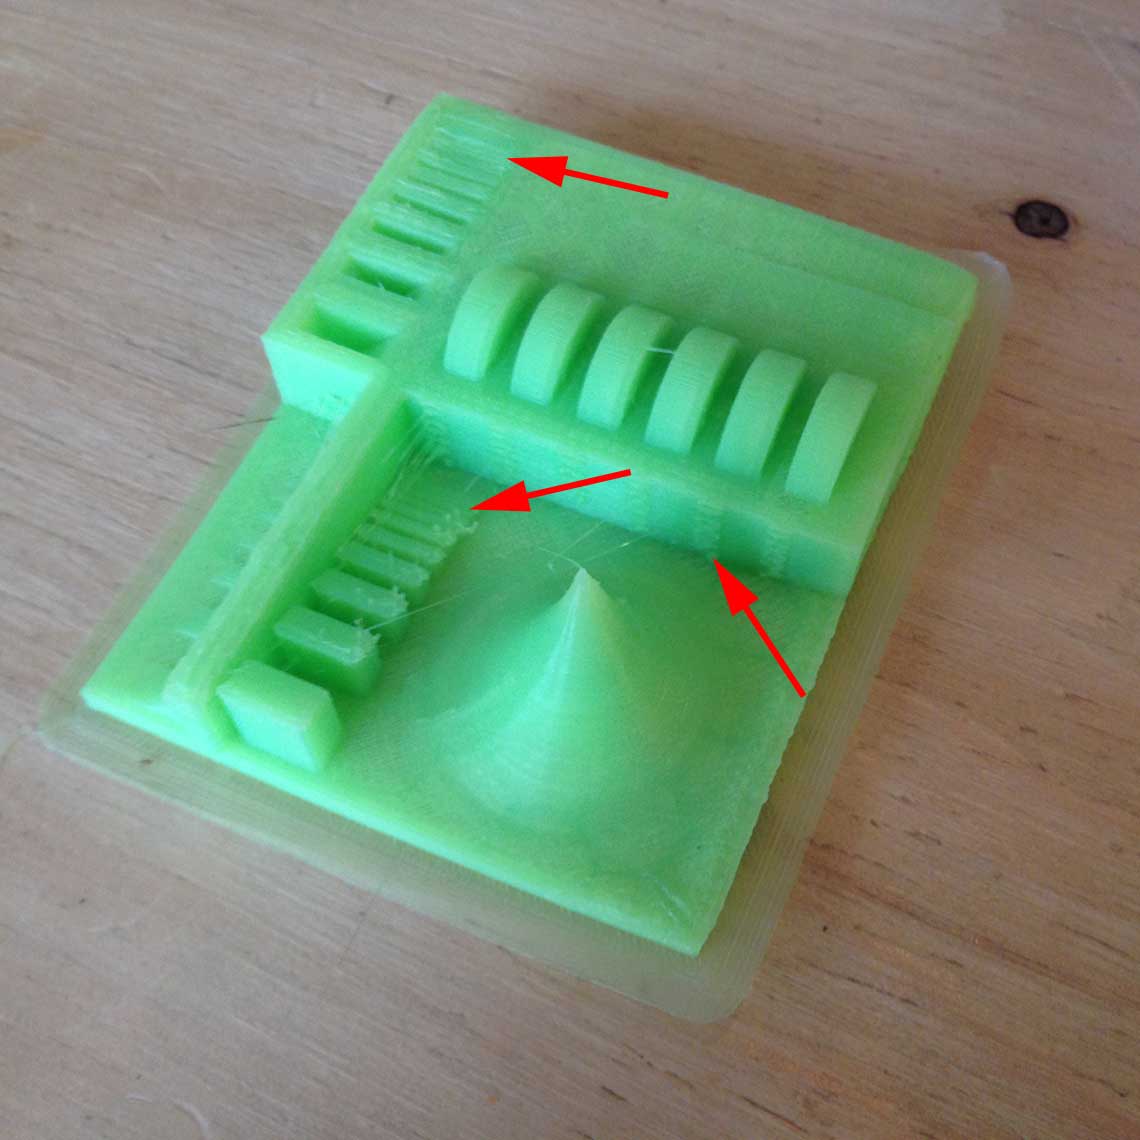
If not, it will have no support to hold on to. This means that the printer will have to add a support to this part, which will take a lot of time and demand a lot of post processing after the print itself, to remove all the unwanted parts.First thing we did was to download the tolerance test recommended by Neil during this week's lecture.
This would be a good opportunity to see the whole process of preparing the files, generating the G-code for the printer and then piloting the printer.
We used Netfabb to edit the .stl file, make sure there was to error in the file such as holes and so on, make sure it was oriented correctly for the printer, and then we exported it in a new .stl file and openned it with Slic3r.
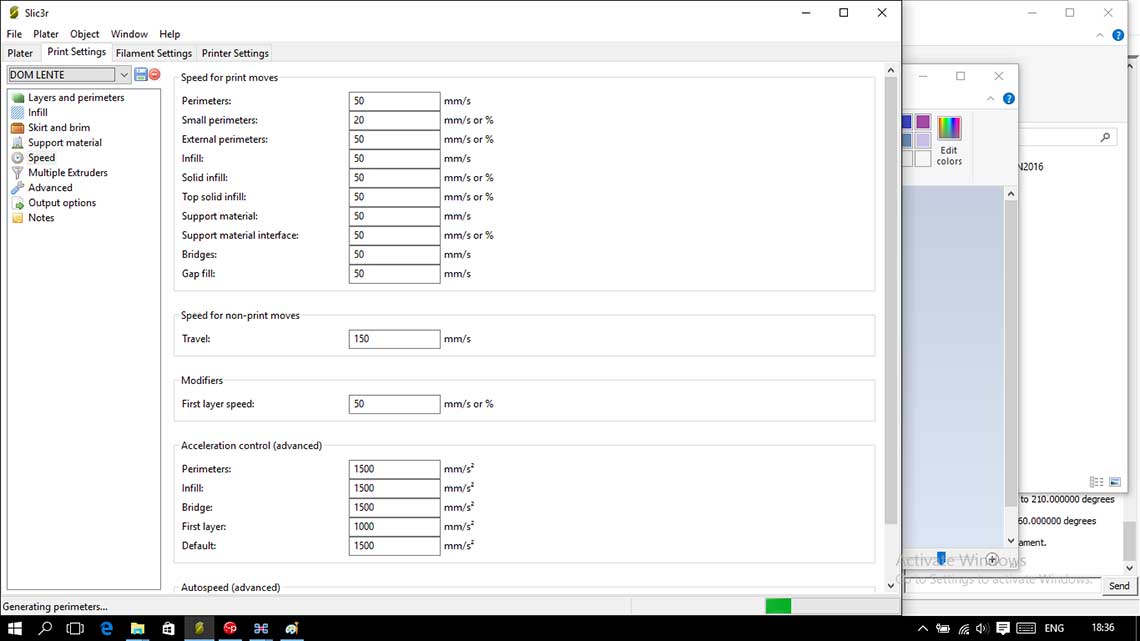
Here are some screeshots of the parametring phase in Sli3er. There is quite a lot of options for the settings, so in the beginning I was a bit lost.
Basically, the most important ones are those appearing on the screenshots :
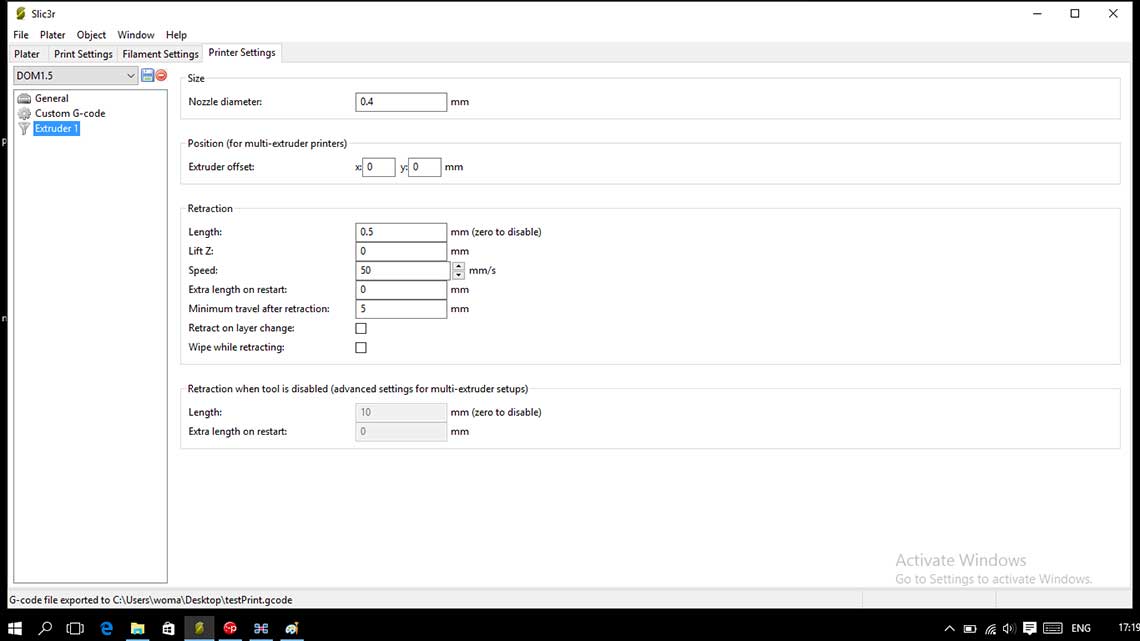
The diameter of the nozzle is 0.4mm.
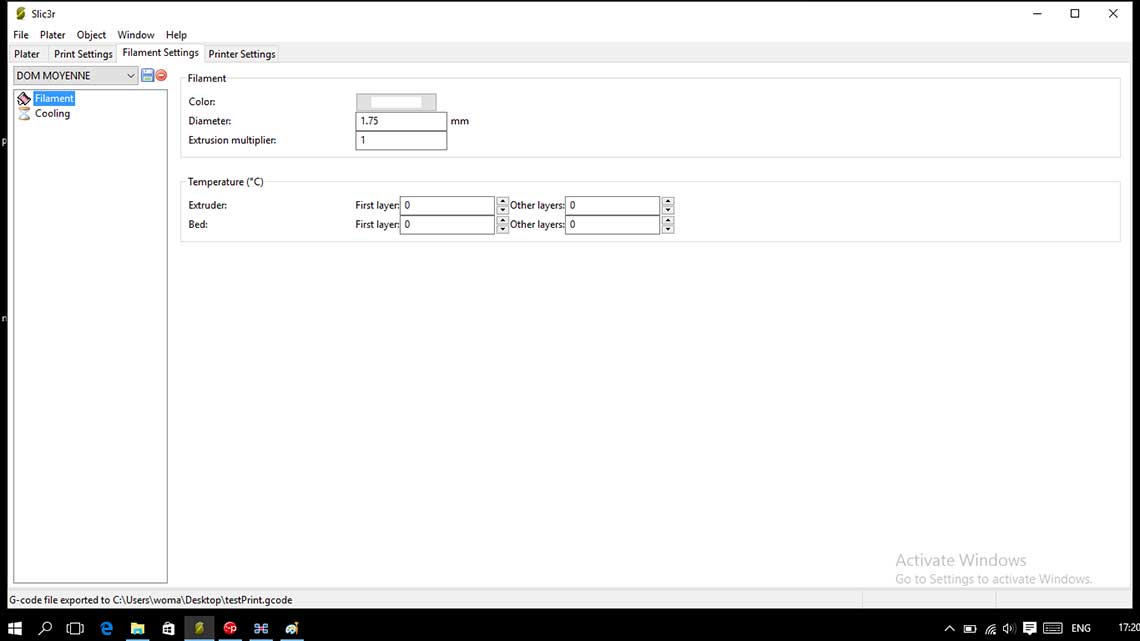
The filament is a 1.75 PLA one.

Layer's height is set at 0.15mm.
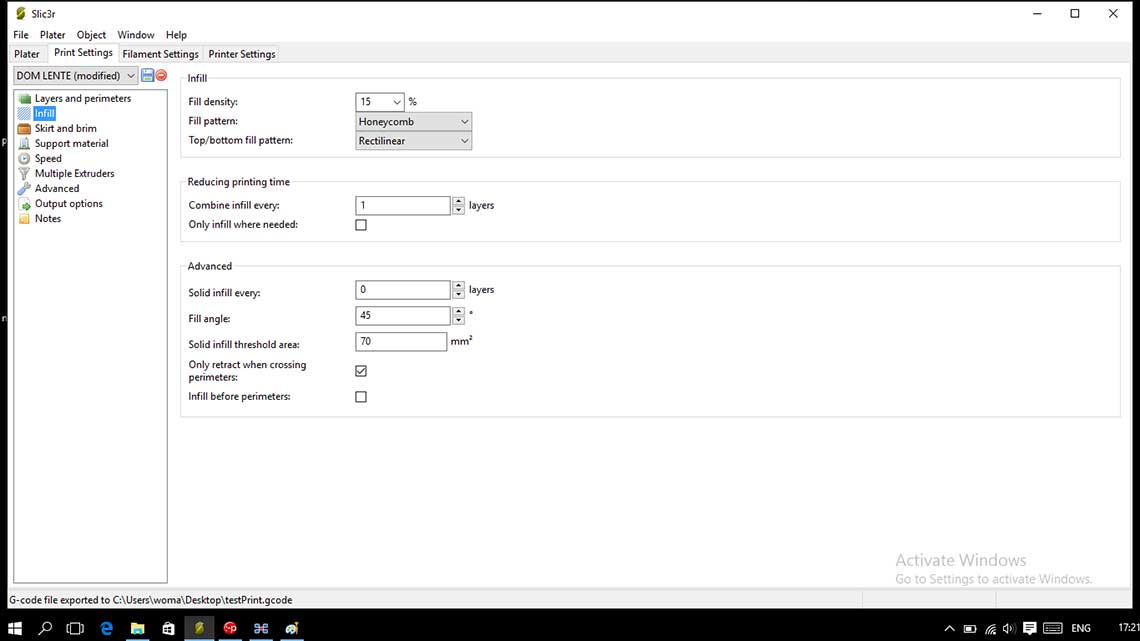
We put the fill density at 15%.

And finally, for the first test, we put all speeds for print moves at 50mm/s. (except for small perimeters) and travel speed at 150mm/s.
Once we were happy with every settings, we generated the G-code file with Slic3r and we openned Pronterface to control the printer :
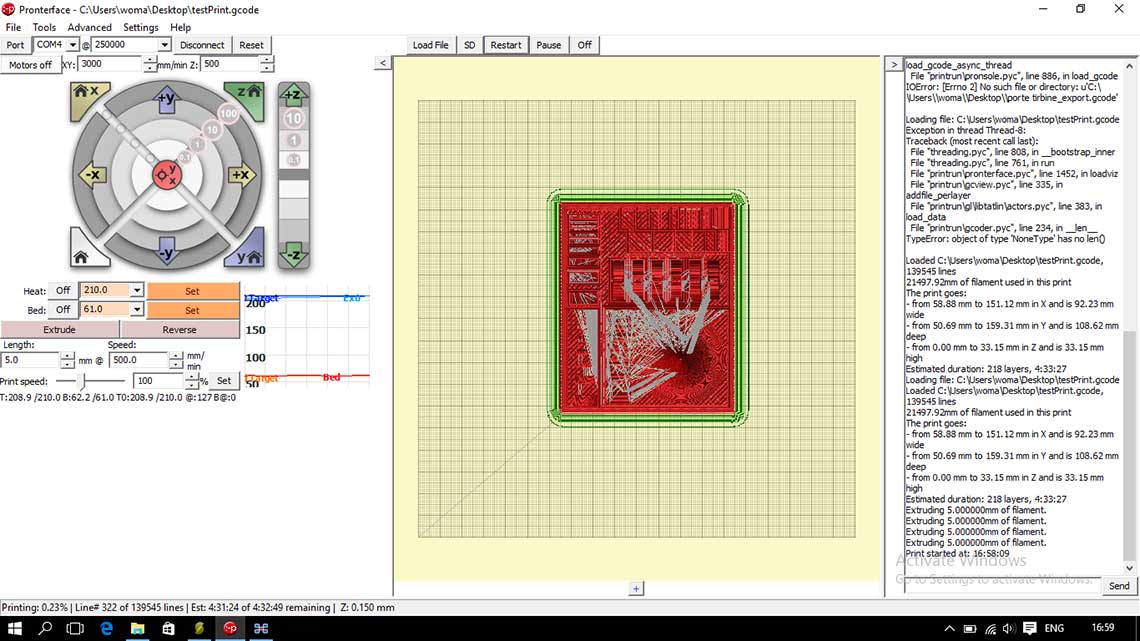
Then the process is really simple :
1/ Click the house icon to bring the head to home
2/ Set the heat of the nozzle to 210, which is the good temperature needed to melt the PLA
3/ Don't change the bed's temperature
4/ Wait until the head has reached the correct temperature
5/ Click "Extrude" to extrude a little matter to be sure everything works fine
6/ Click "Print" and pray !
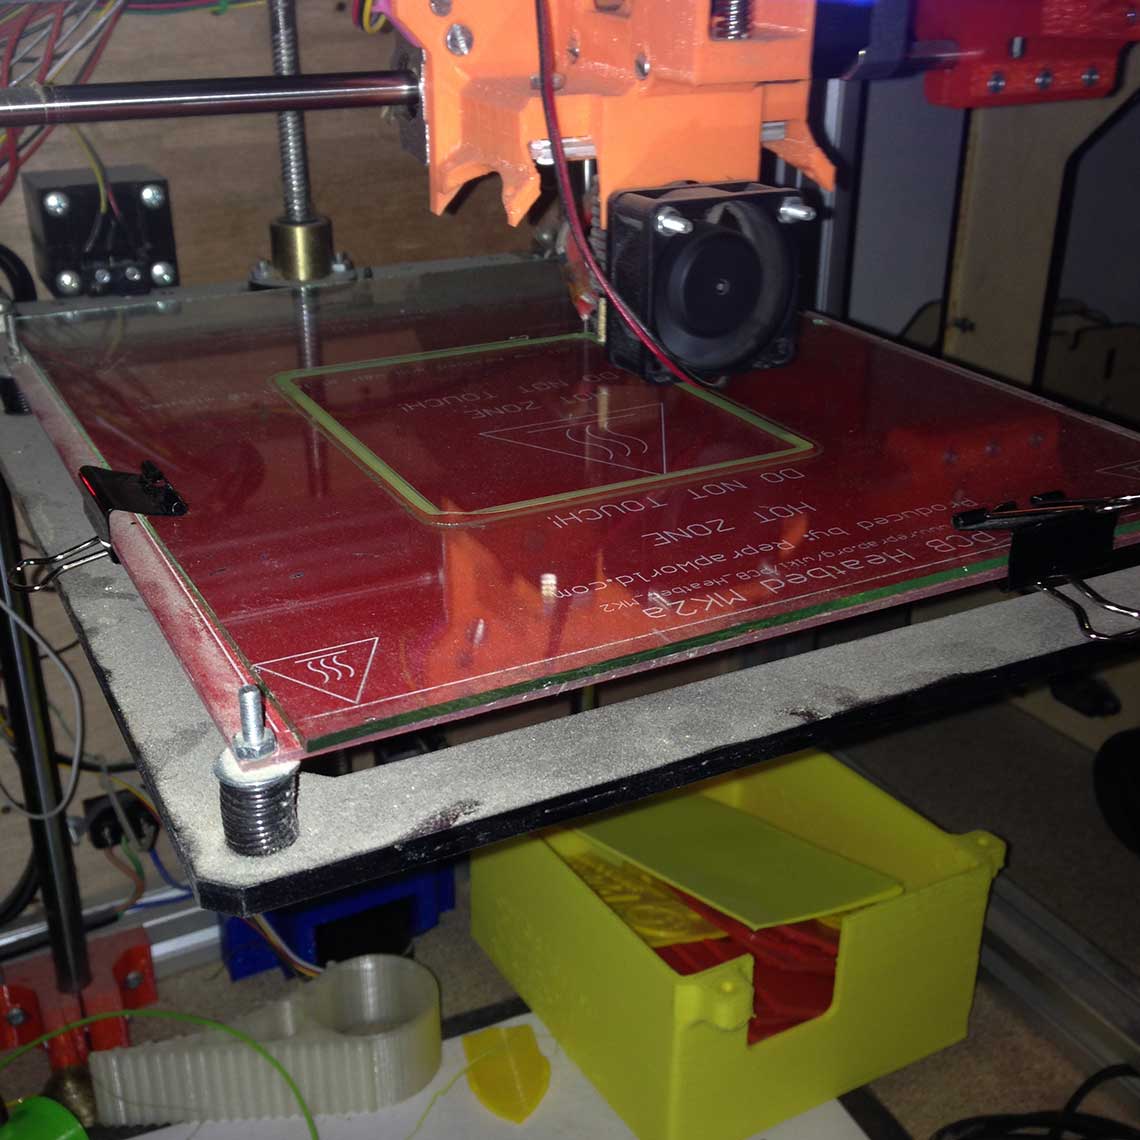
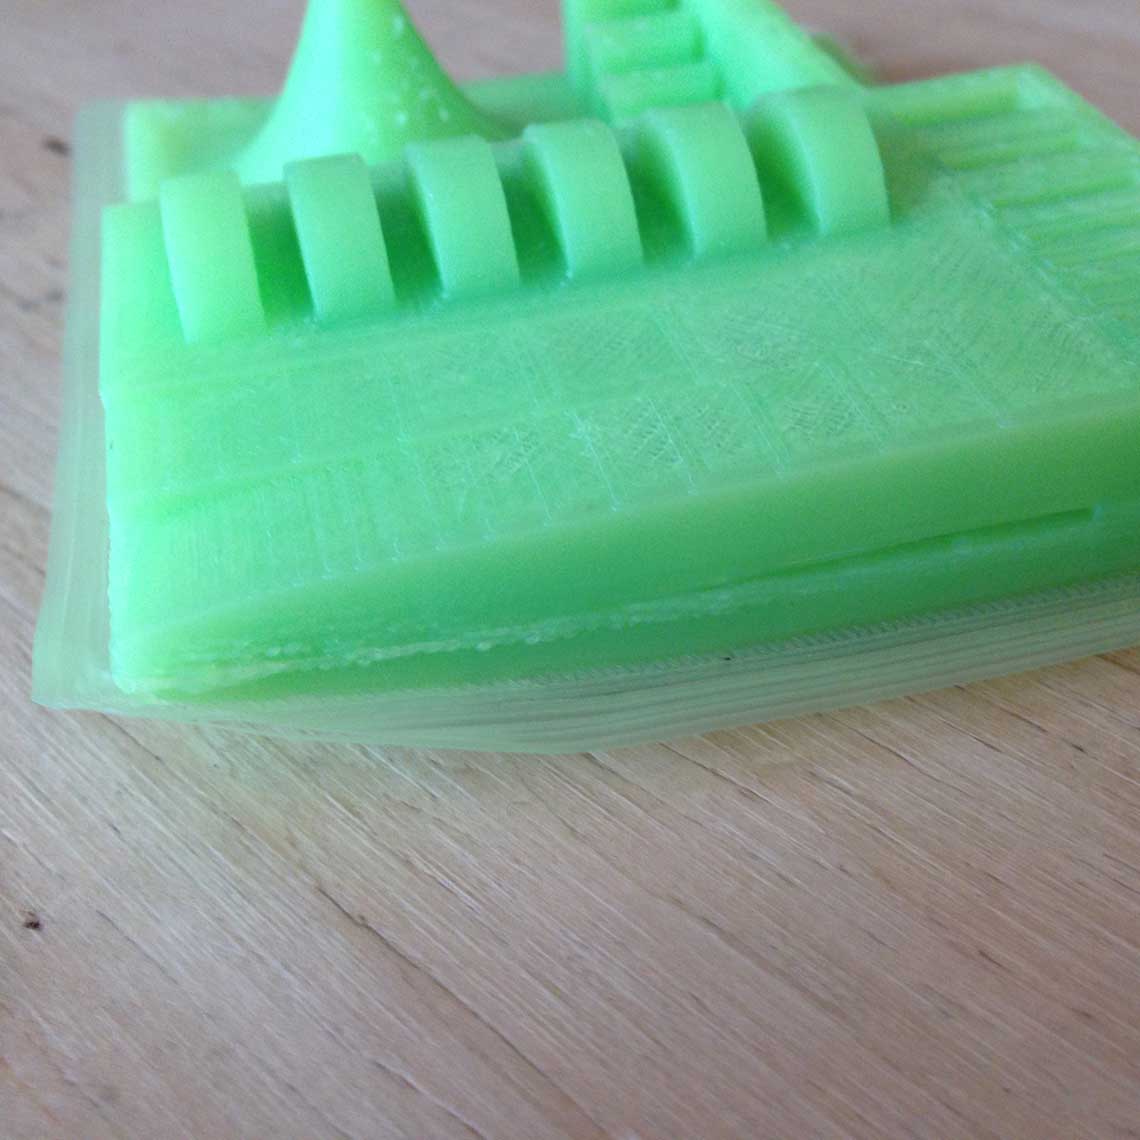
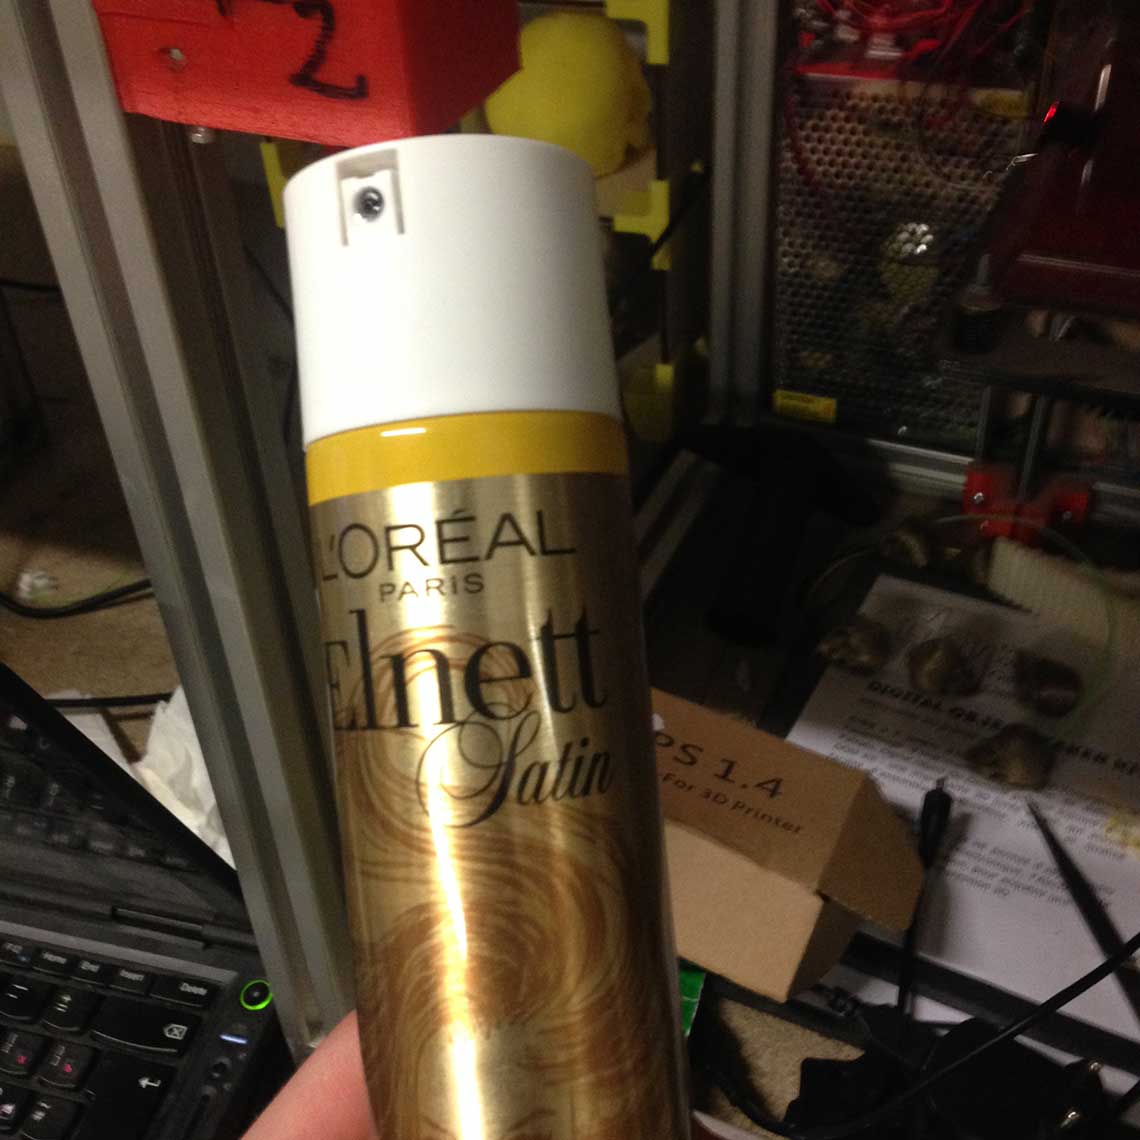
Because we set the speed quite low, it took almost 6 hours to print the crashtest. Also, we dit not think of putting anything on the bed to fix the print, so the base bent on one of the corners. Usually, the technique used at Woma is to put some hairspray on the bed before printing !
2. Designing and printing
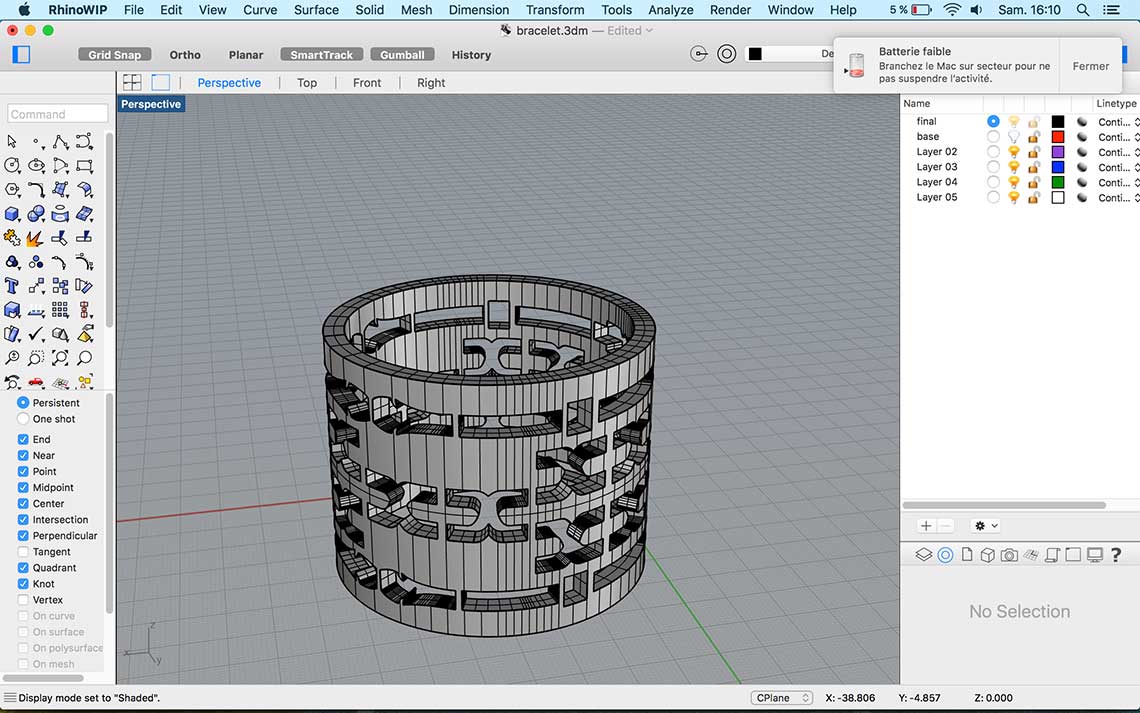
Then I began to design an object to print. I wanted to make a bracelet using some Filaflex, which is an elastic filament made of TPE (thermoplasic elastomer). It is more complicated to use than regular PLA.
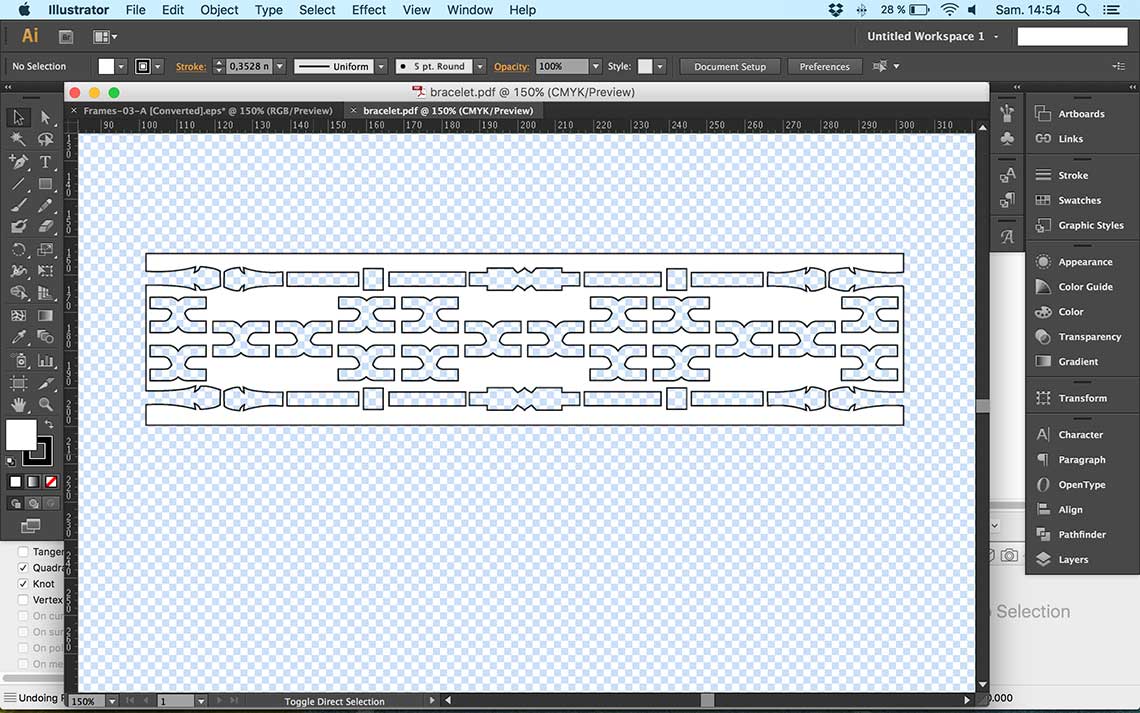
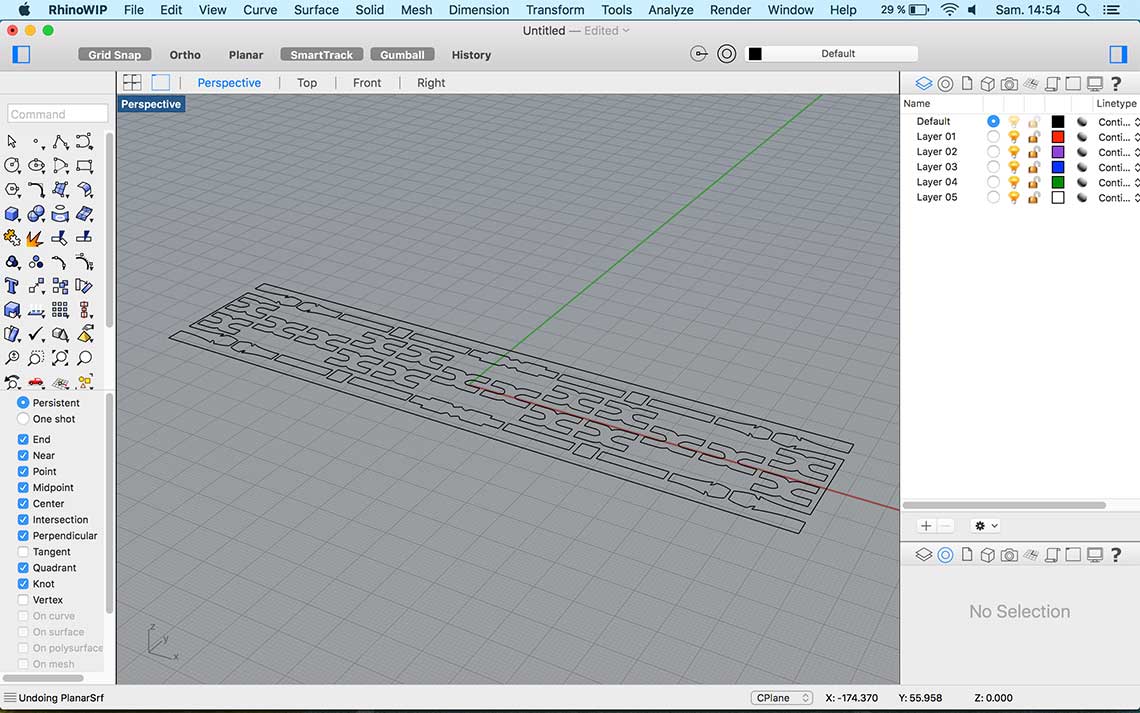
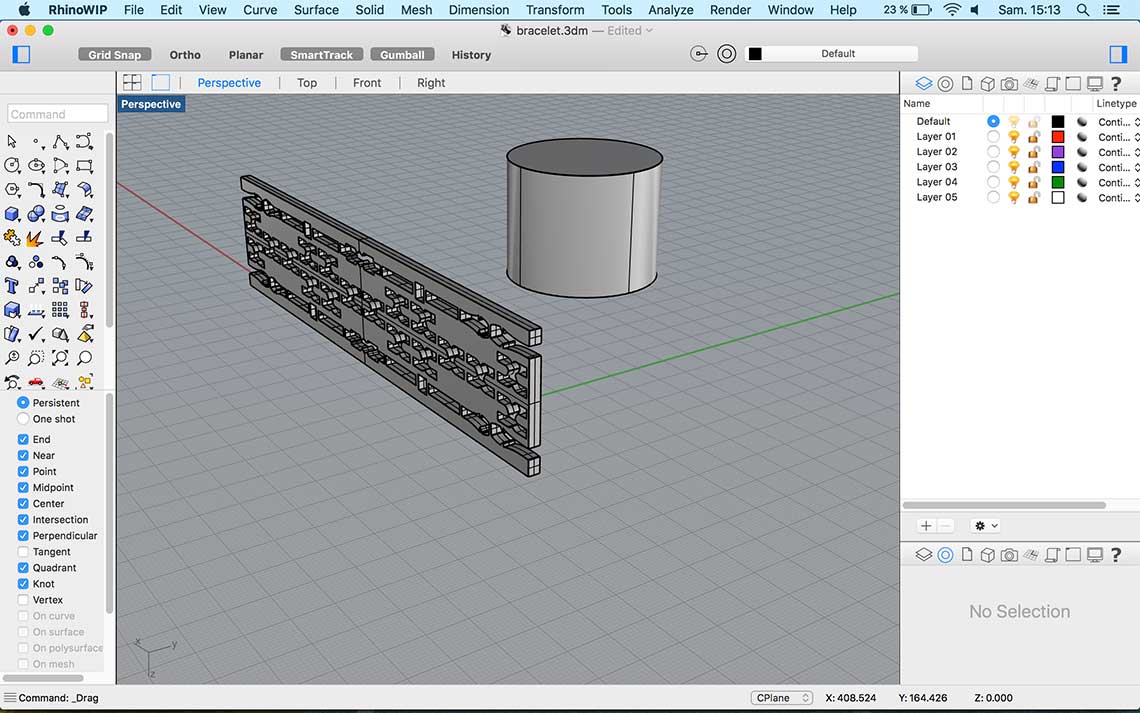
So for my design, first I drew it in Illustrator, then imported the pattern in Rhino, extruded it and used and cylinder and the Flow along surface command to wrap my object around the cylinder to give it its bracelet shape :
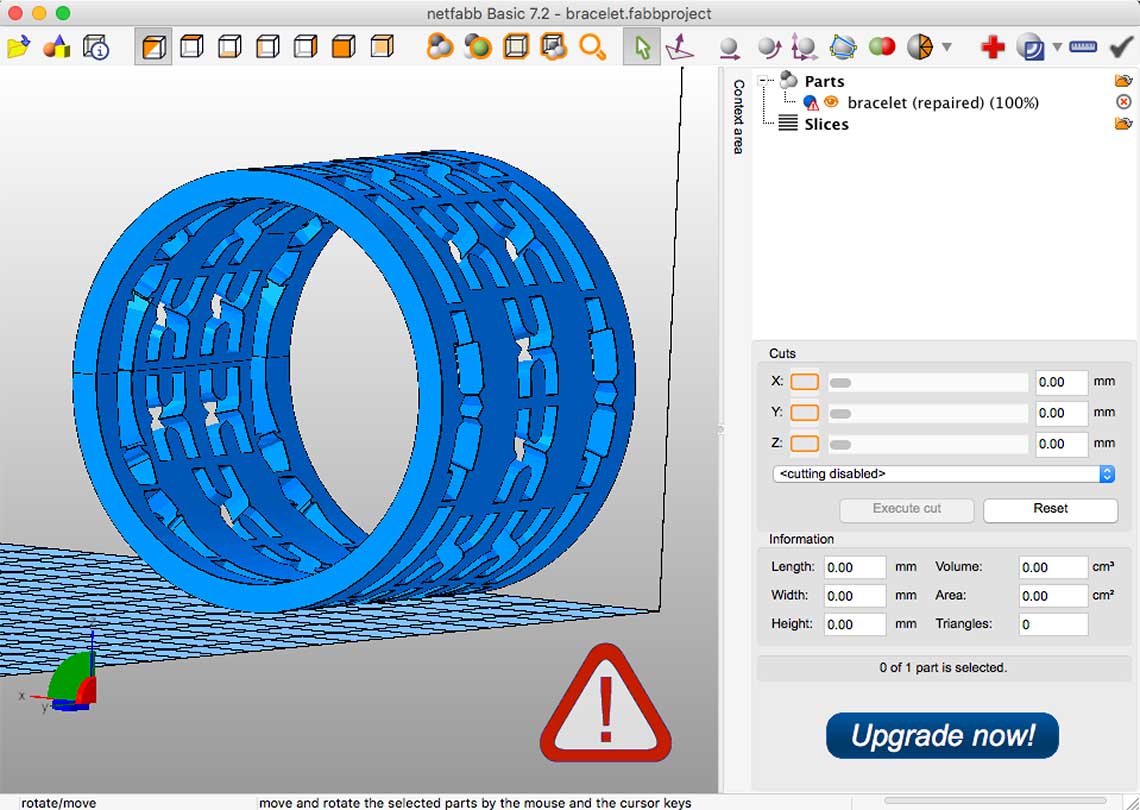
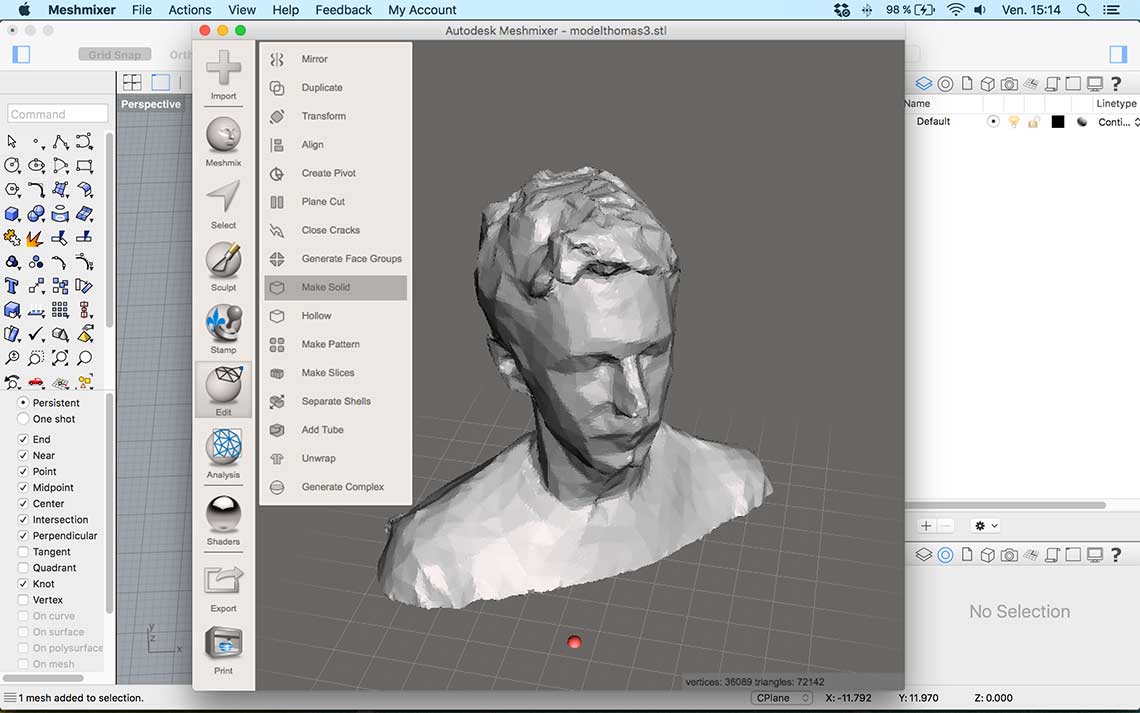
Reduce mesh to have lesh polygones. Then I saved the mesh to an .stl file.With Netfabb I opened the .stl and "repaired" it to be sure there was no inverted polygone or other errors.
Then I edited the G-code file in Slic3r and launched Pronterface.
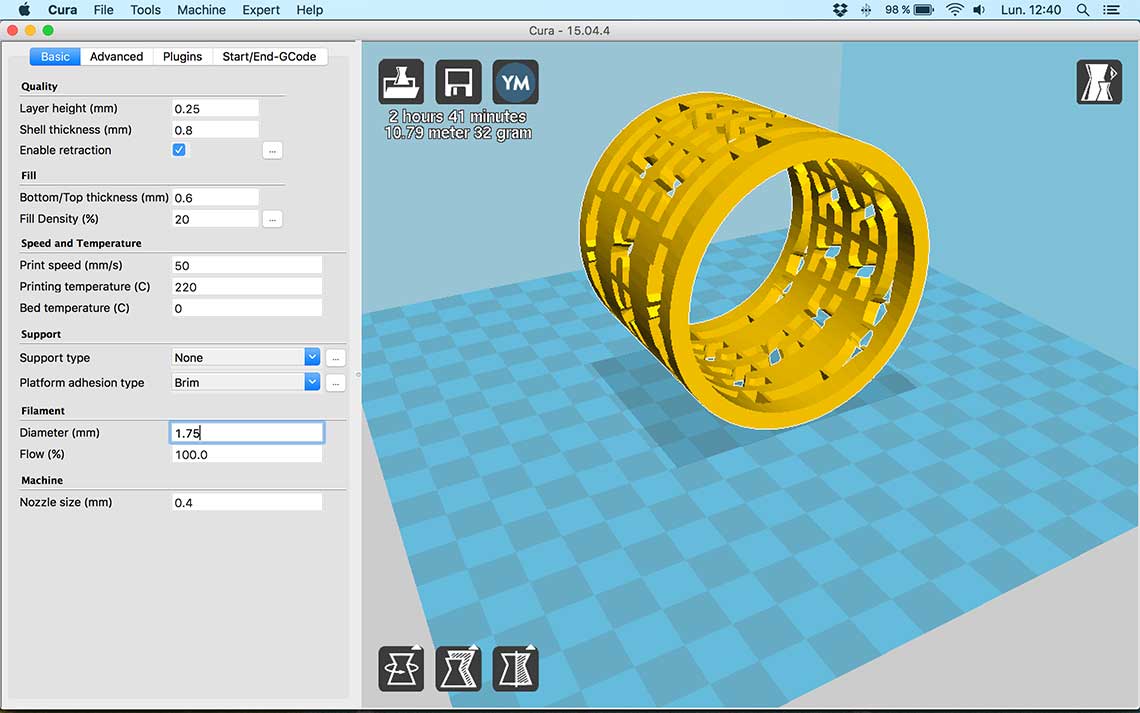
This time, I wanted to use Cura instead of Slic3r but we could not find how to heat the nozzle and the bed without actually lauch the print, so we went back to Slic3r.
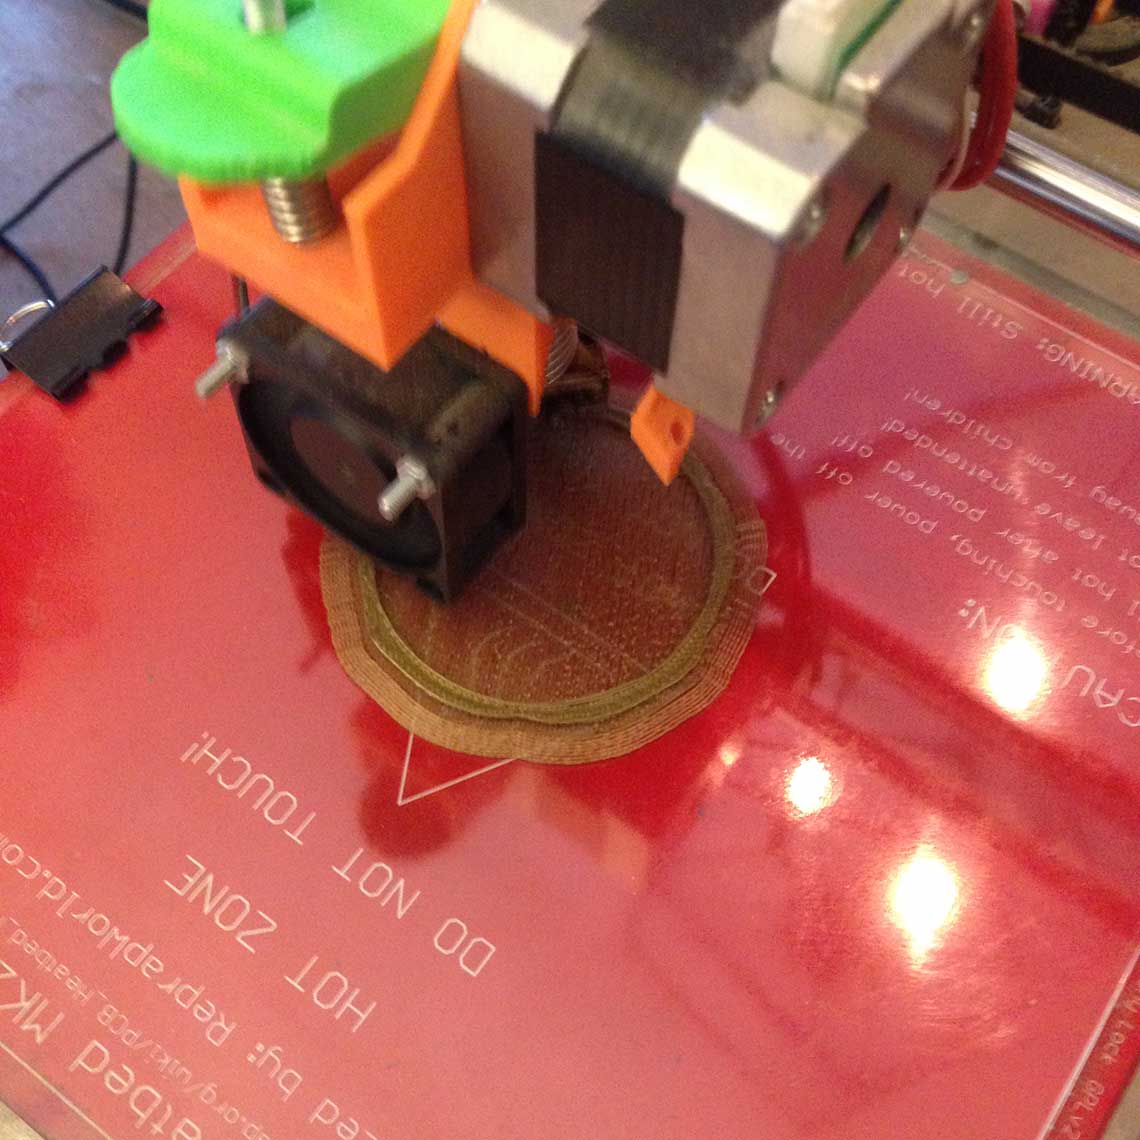
 First we had some trouble setting the right temperature for the nozzle and installing the filaflex correctly. As a result, it was not melting well and did not attach well to the bed :
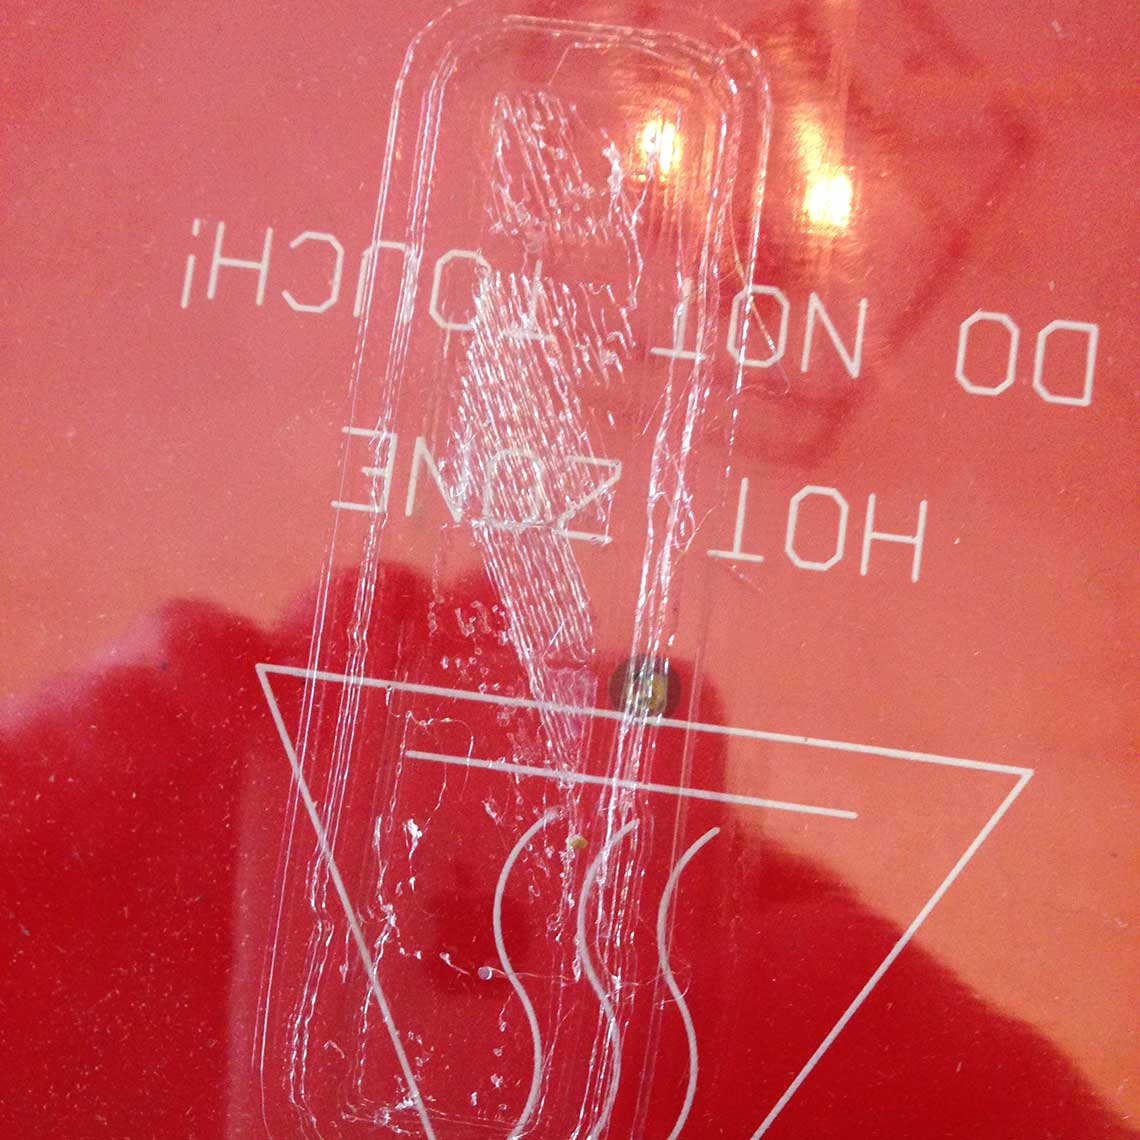 Then I had a bigger problem : I figured that my bracelet was not printable. Meaning that the holes in it were not fit to be 3D printed because there was nothing to hold the structure from under.
Also, I decided to orientate my bracelet on its side rather than putting it parallel to then bed, so the whole structure was moving during the print. I had to stop printing when I saw the result, and rethink my design :
Then I had a bigger problem : I figured that my bracelet was not printable. Meaning that the holes in it were not fit to be 3D printed because there was nothing to hold the structure from under.
Also, I decided to orientate my bracelet on its side rather than putting it parallel to then bed, so the whole structure was moving during the print. I had to stop printing when I saw the result, and rethink my design :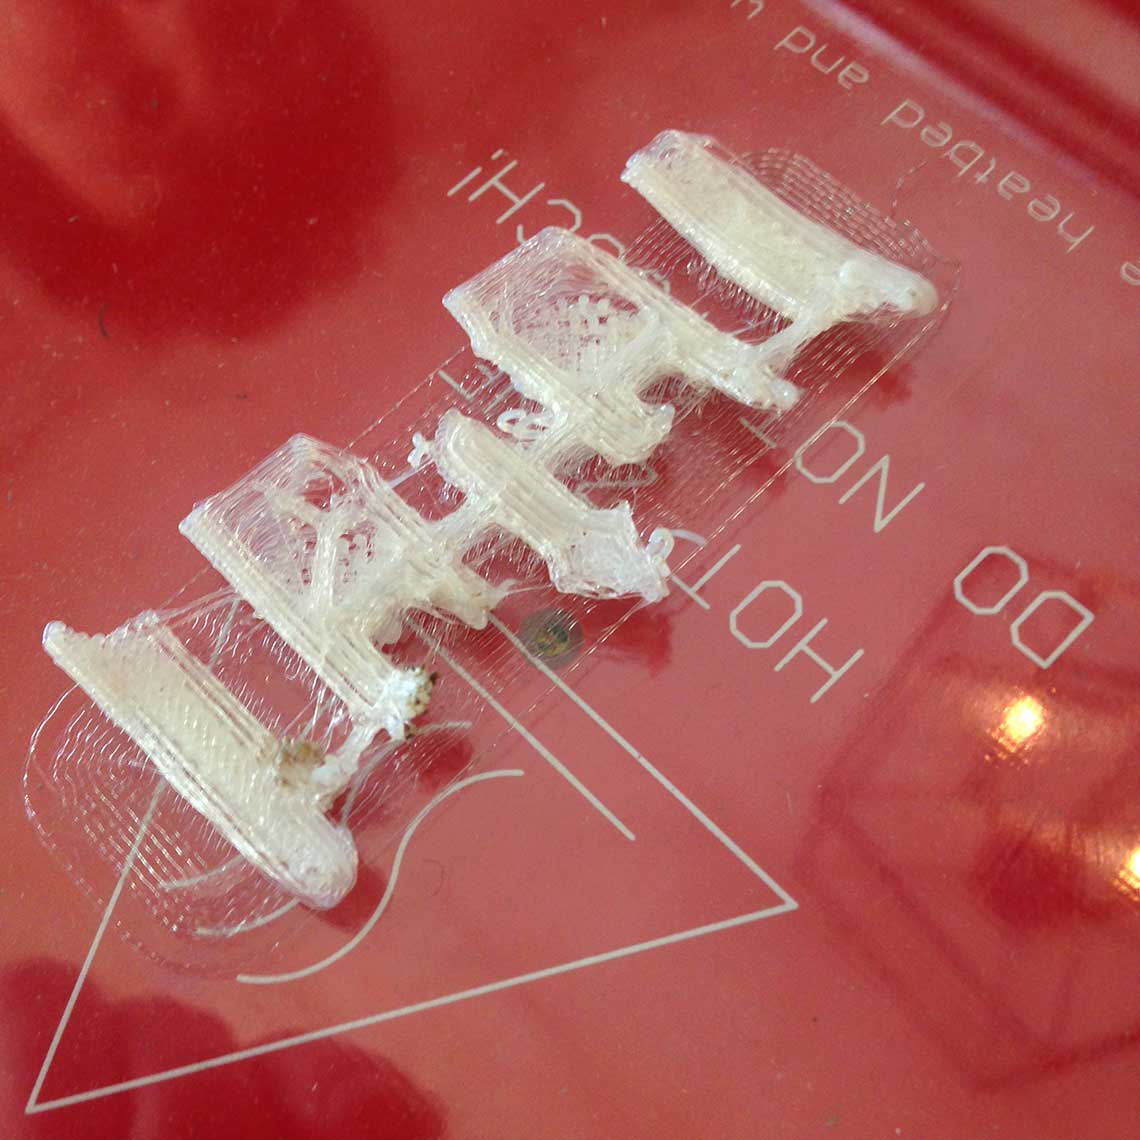 So I started again, using the same design process, but this time I created an object without holes, which I replaced by waves on the outer surface :
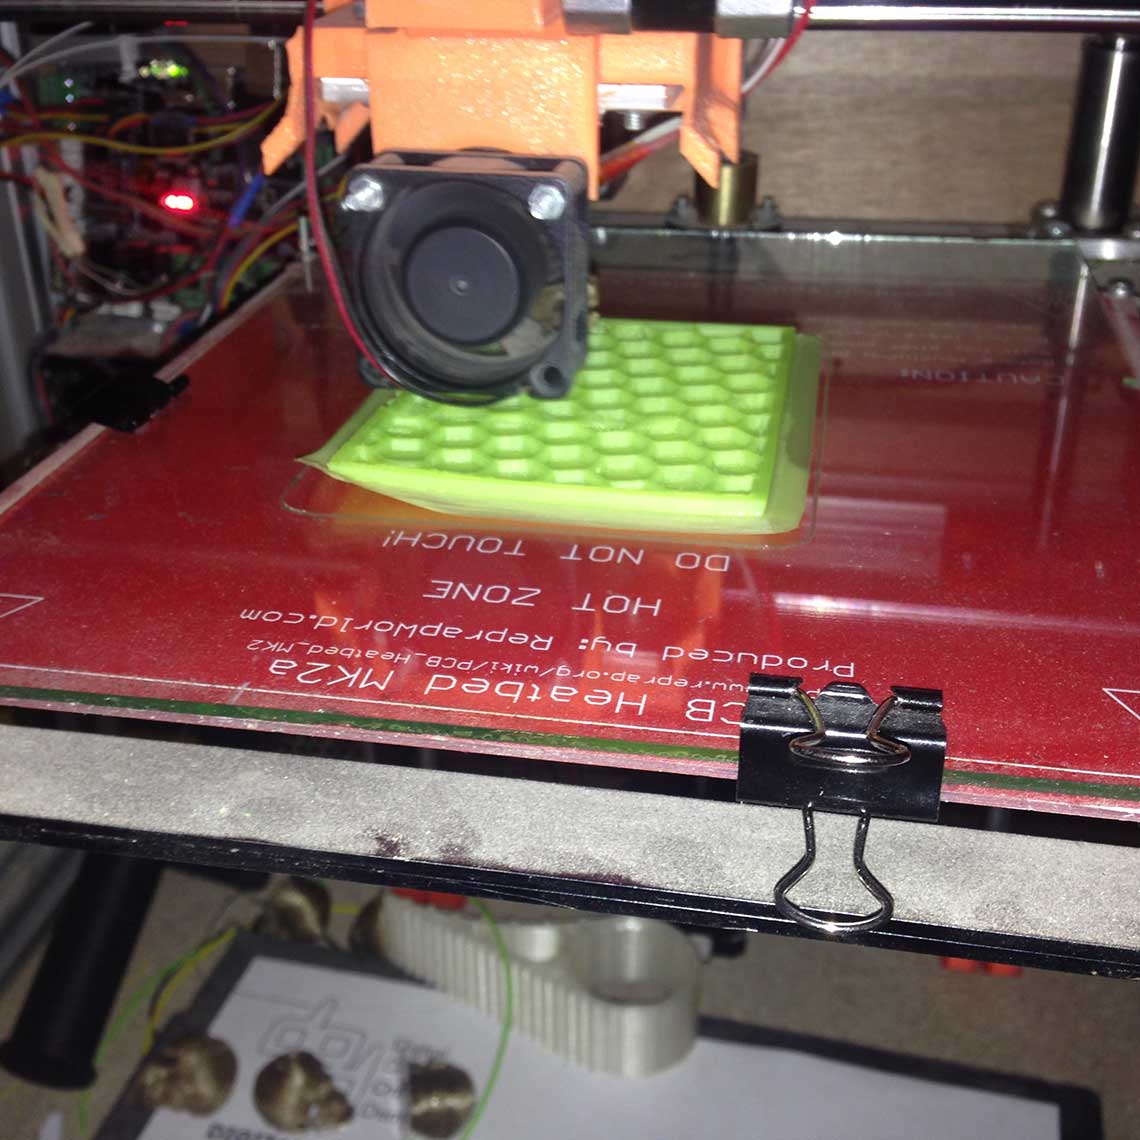
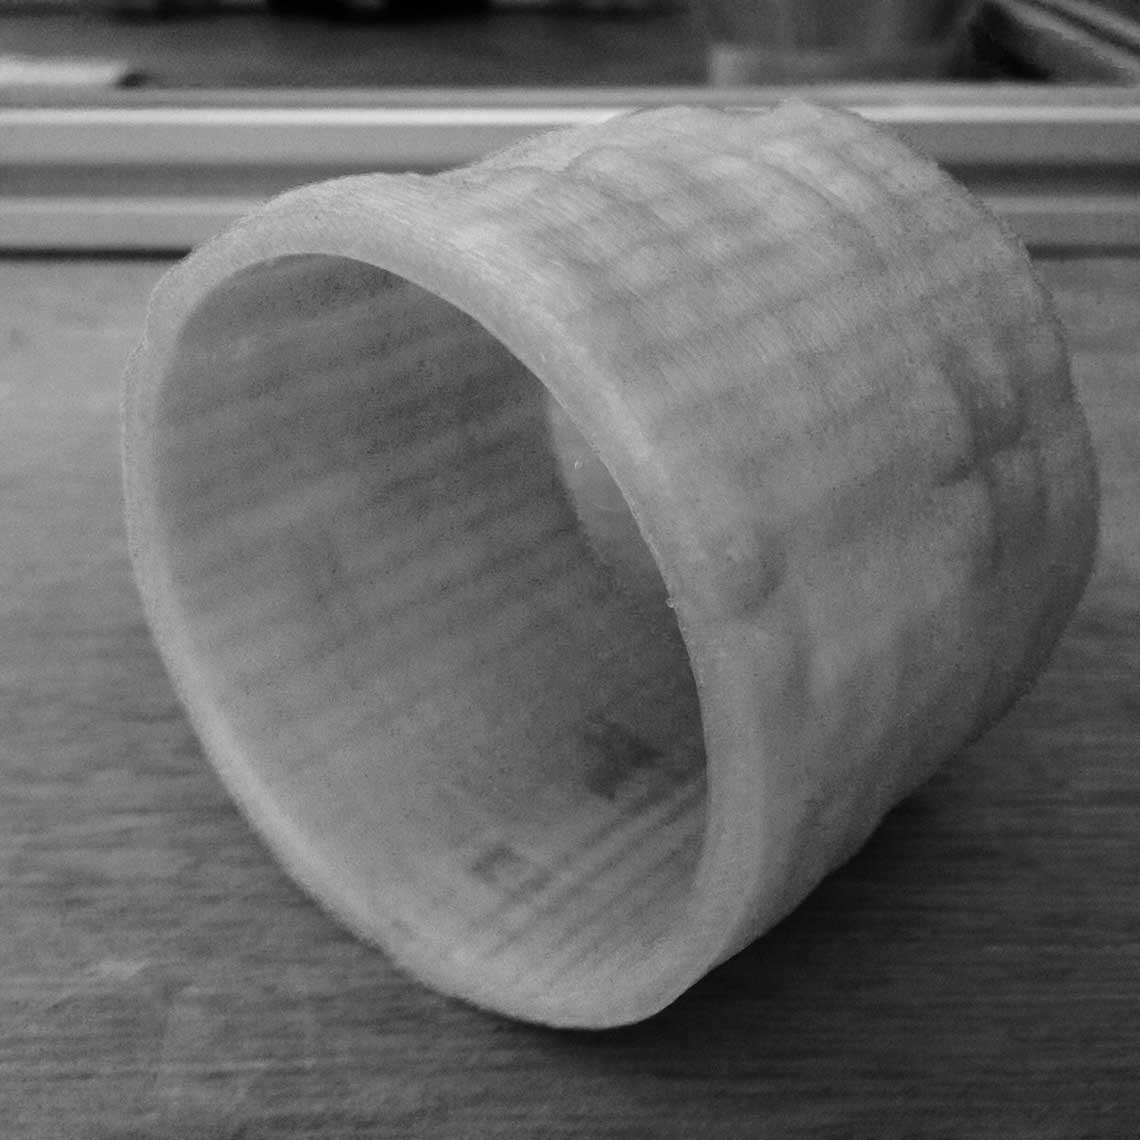
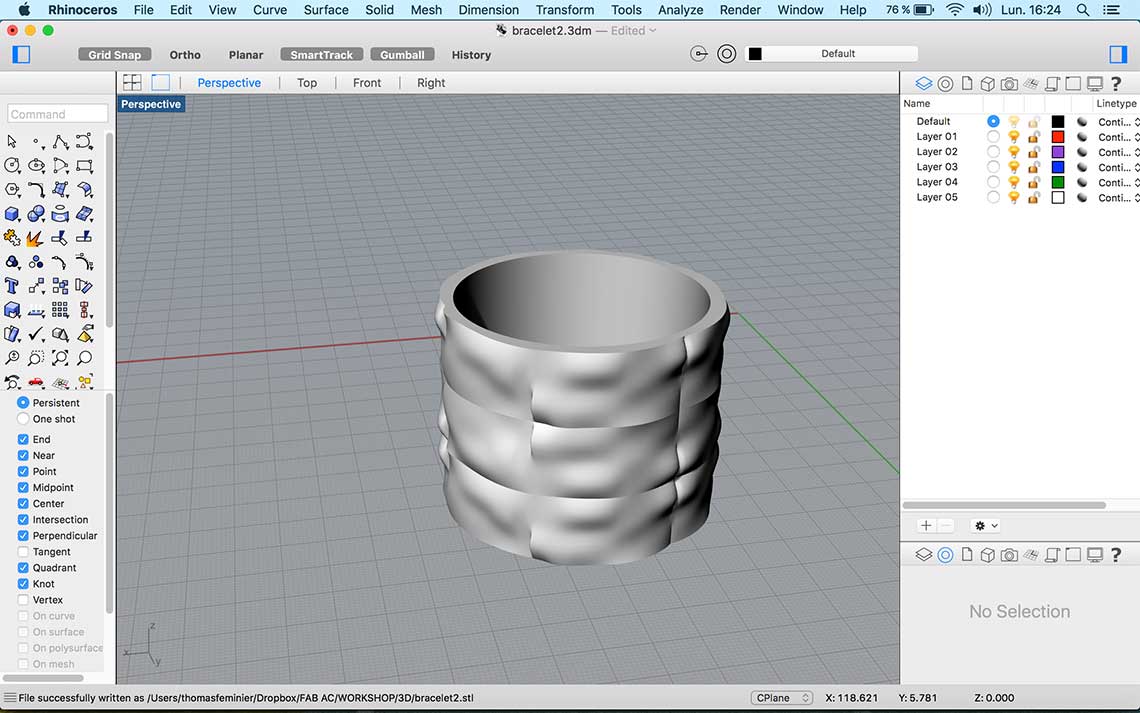 To go faster and because I did not have much time left, I decided to print it with regular PLA and to changed the print settings to go faster :
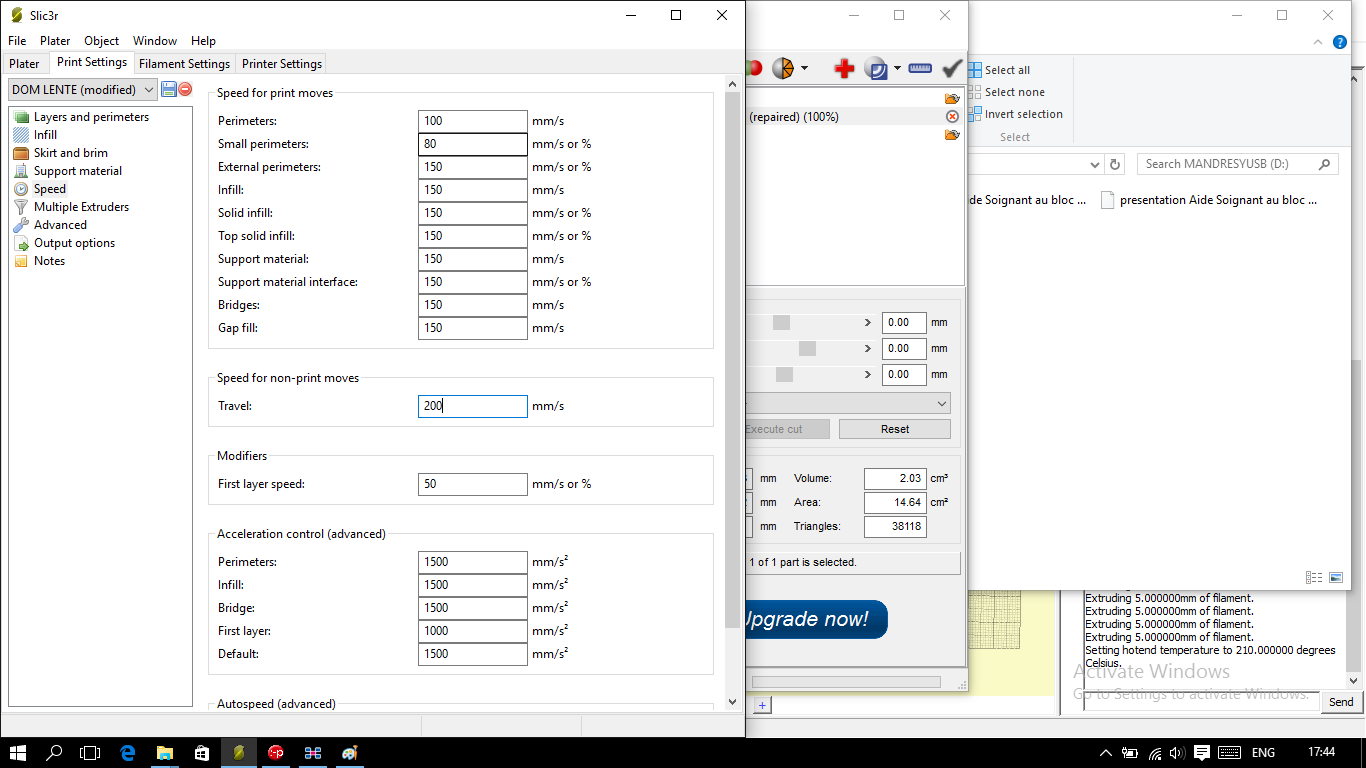 We can see here in this video how fast the printer go :
This time everything looked ok :
 Until something went wrong ! The printer disconnected itselft from the computer and so the printing stopped after a few minutes. It took me two tries to understand what was going on : the USB cable connecting the printer to the computer was faulty !
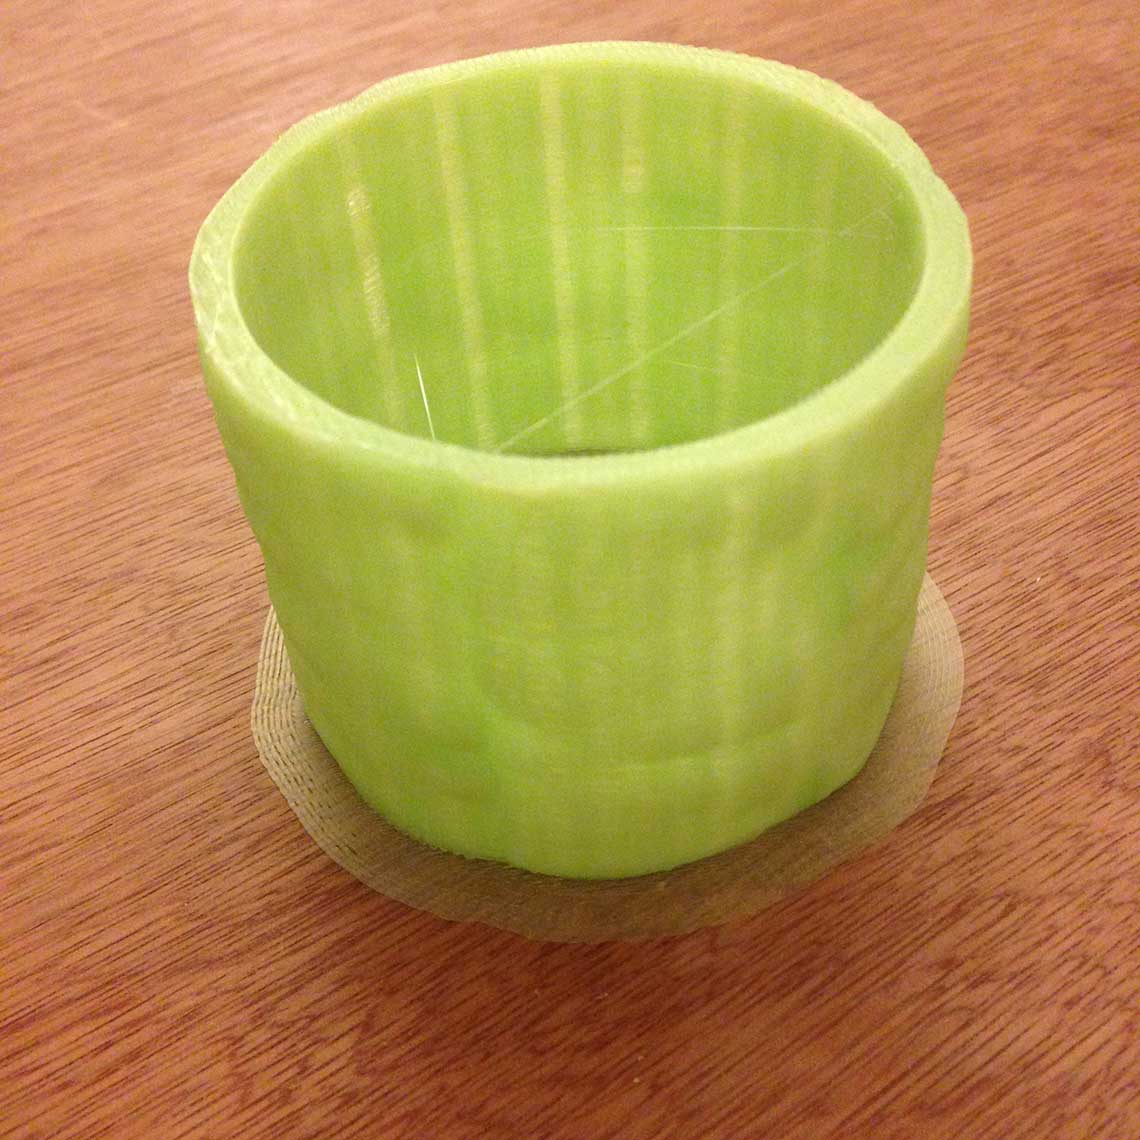
 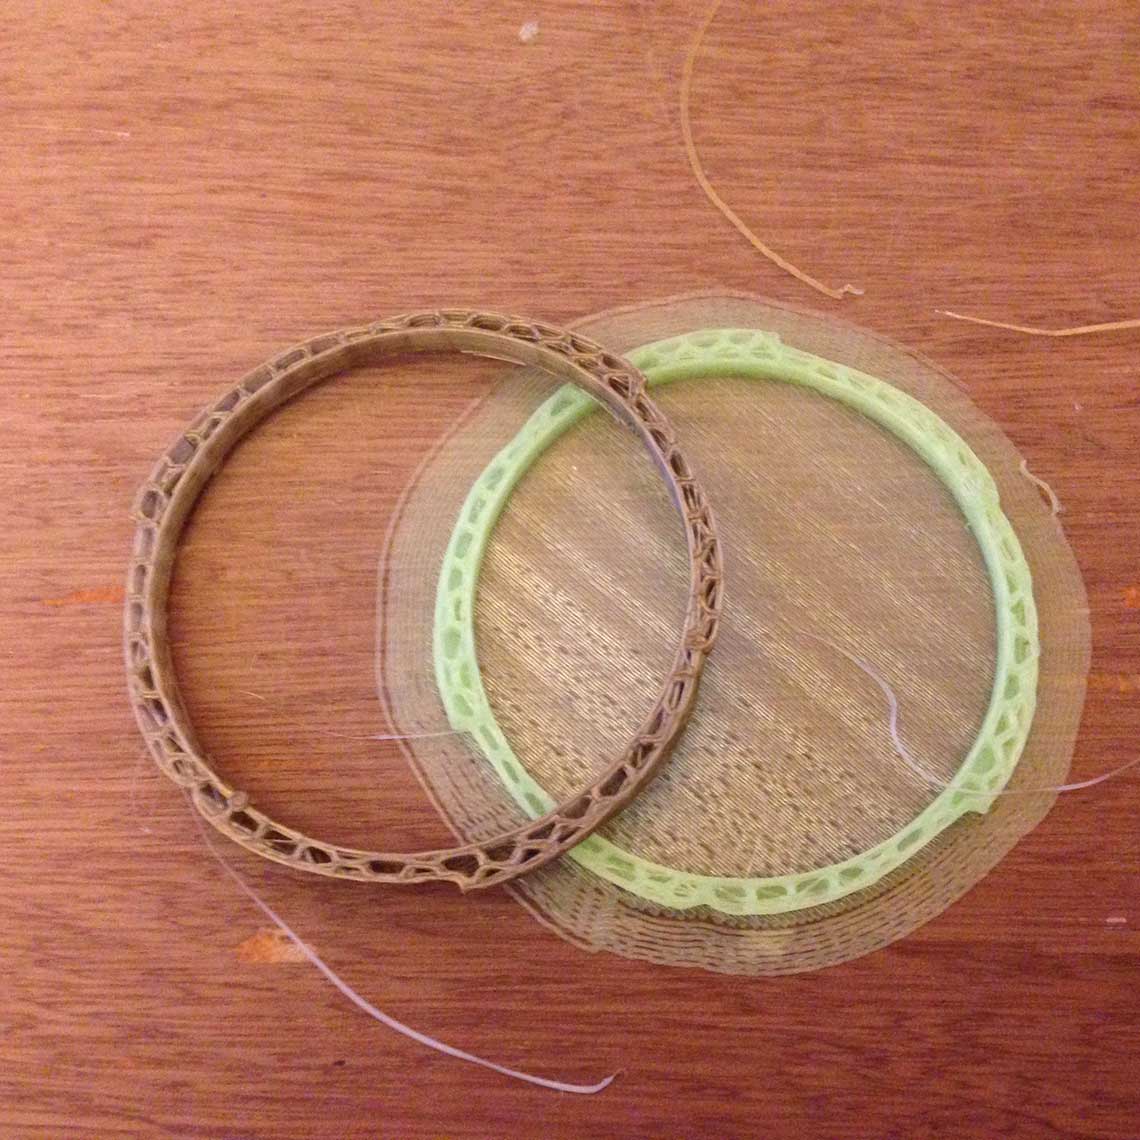 After I changed the USB cable, the thrid attempt was successful and I could complete my print in a little less than an hour !
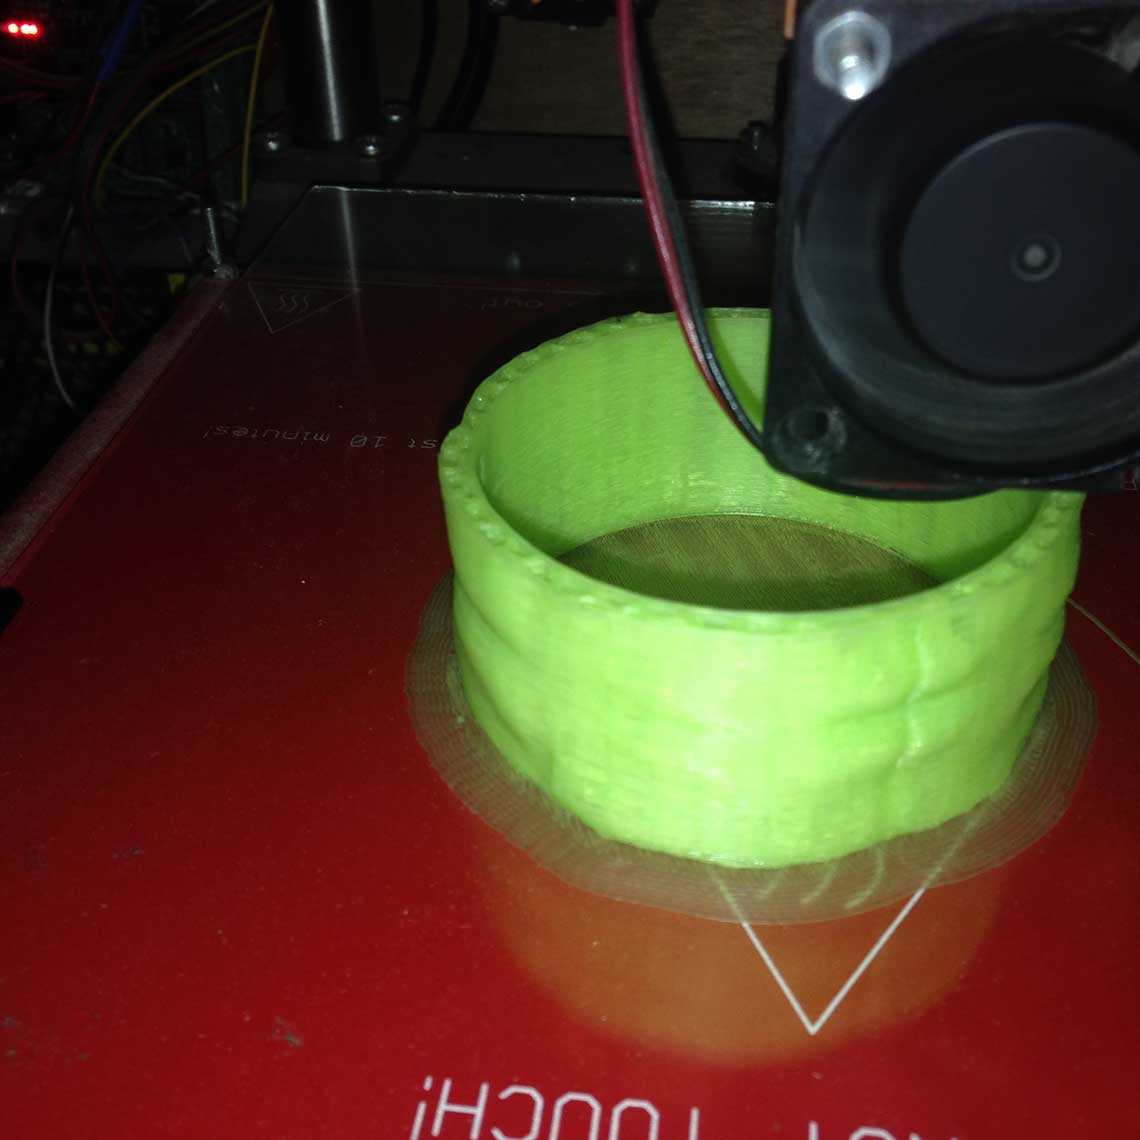
 Update - 21st March
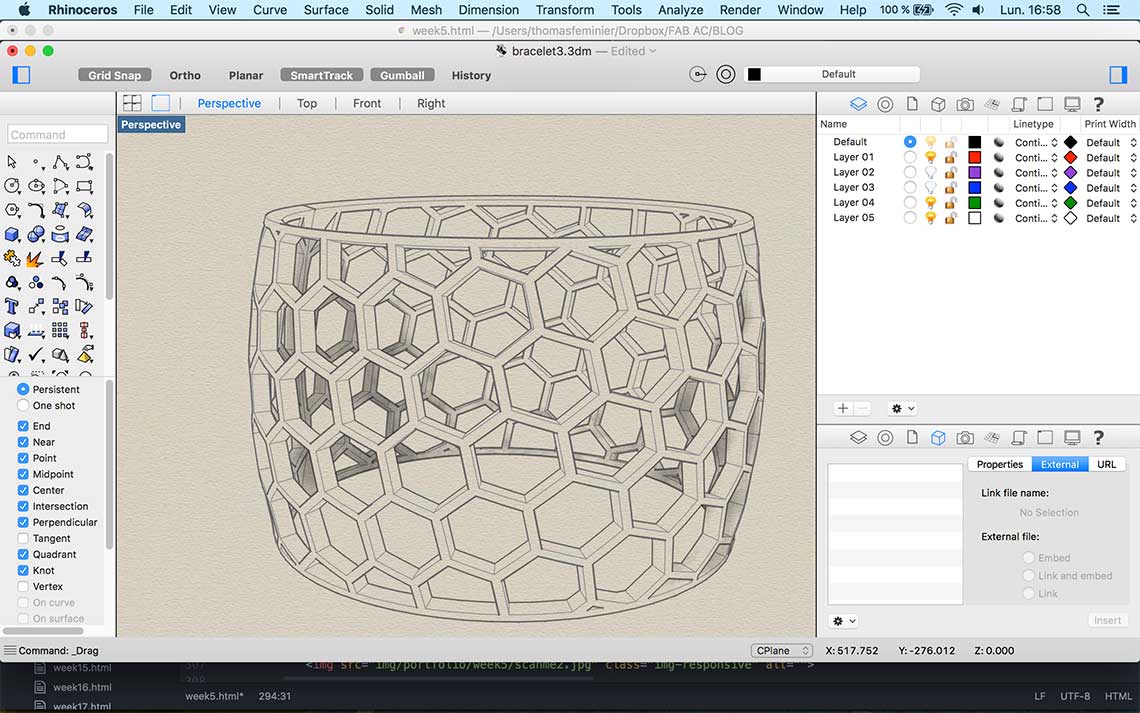
Since I was not really pleased with the bracelet I came up with, I decided to design a new one, more complex, more beautiful, and more complicated to print :)
I designed it with Rhino using the same techniques as for the first version, but this time the surface was not plain, but made of a honeycomb pattern. Also, it was not flat but slightly rounded to give the bracelet a better look. This time I made sure all angles were superior to 90°. Here is the design :
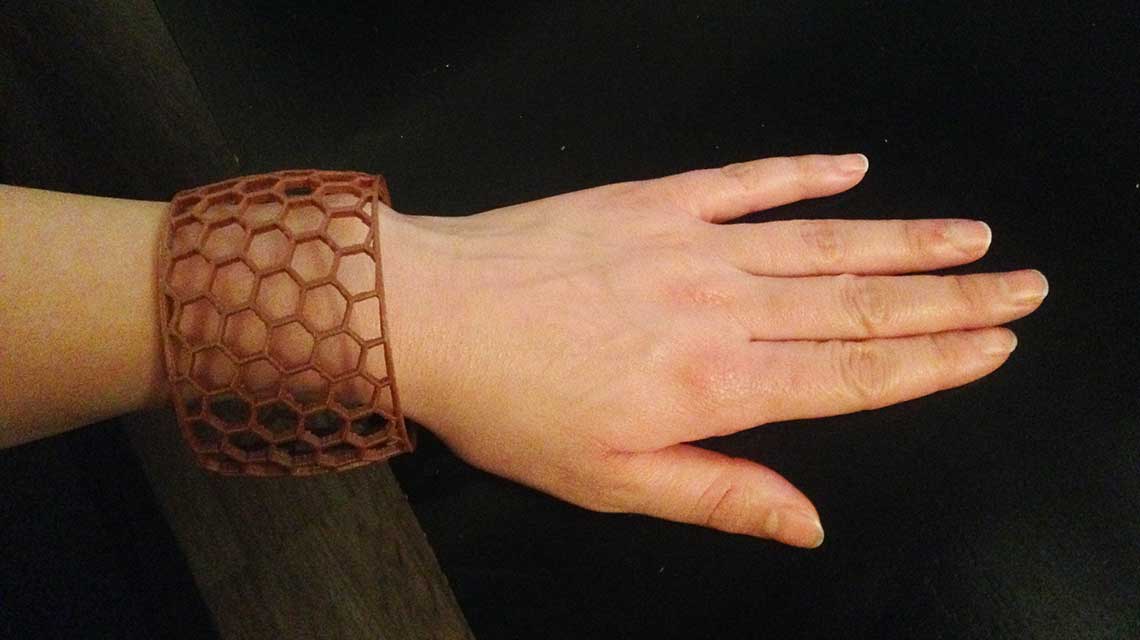
 And here is the print, that took 2,5 hours !
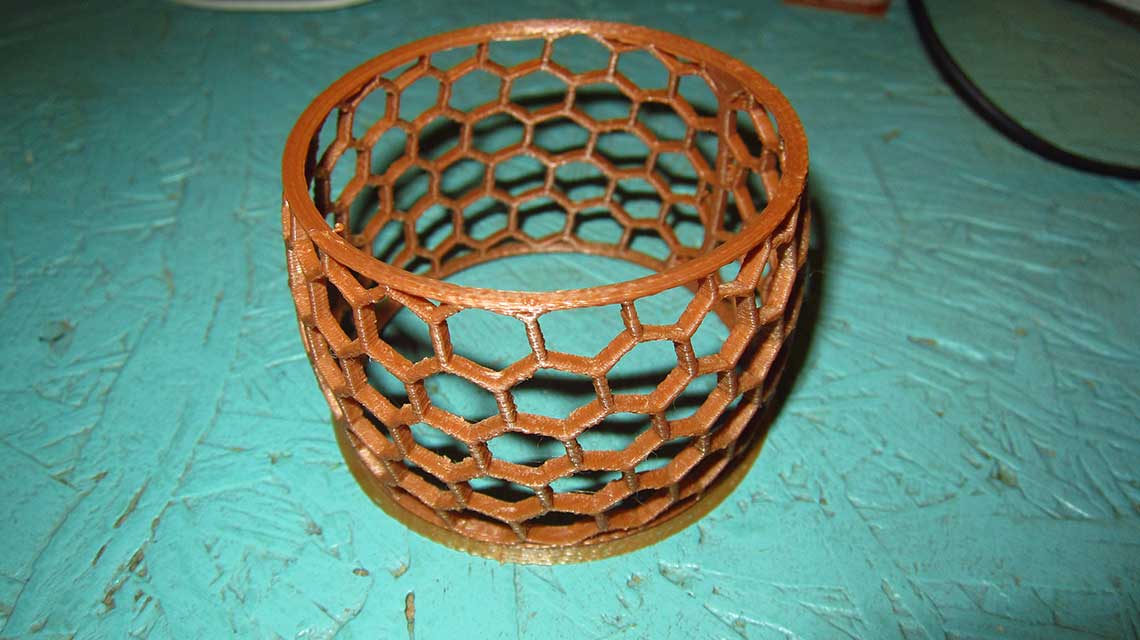
 You can find the source file here.
3. Scanning and printing
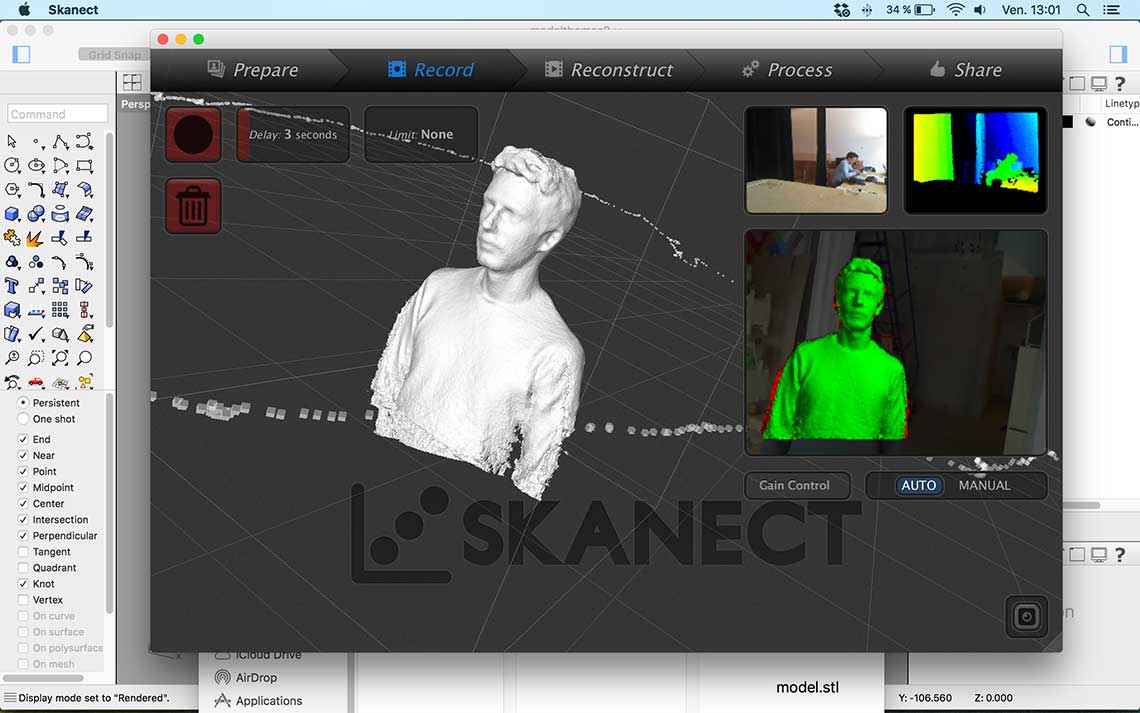
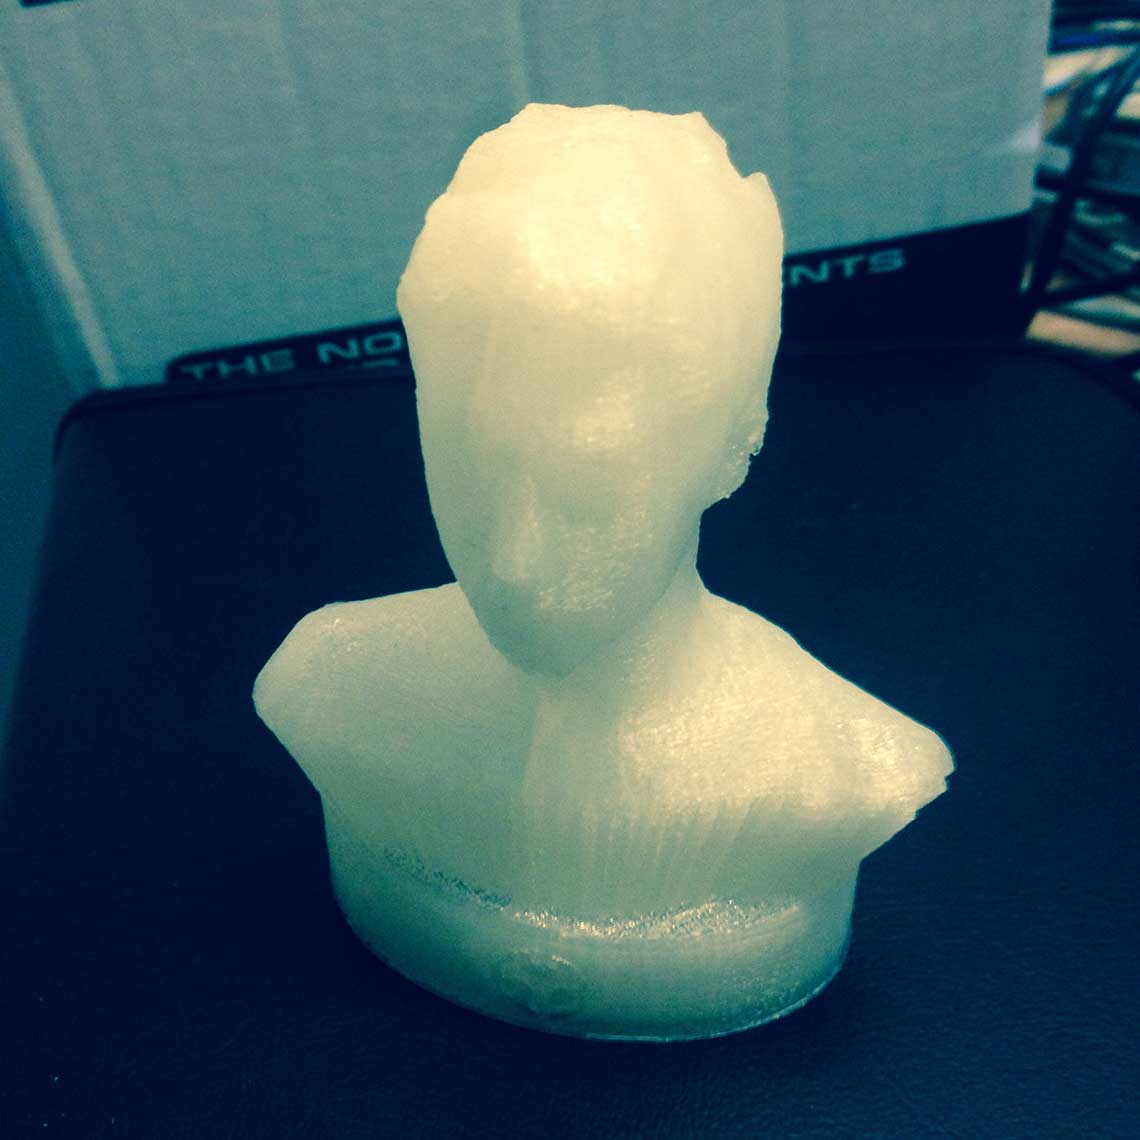
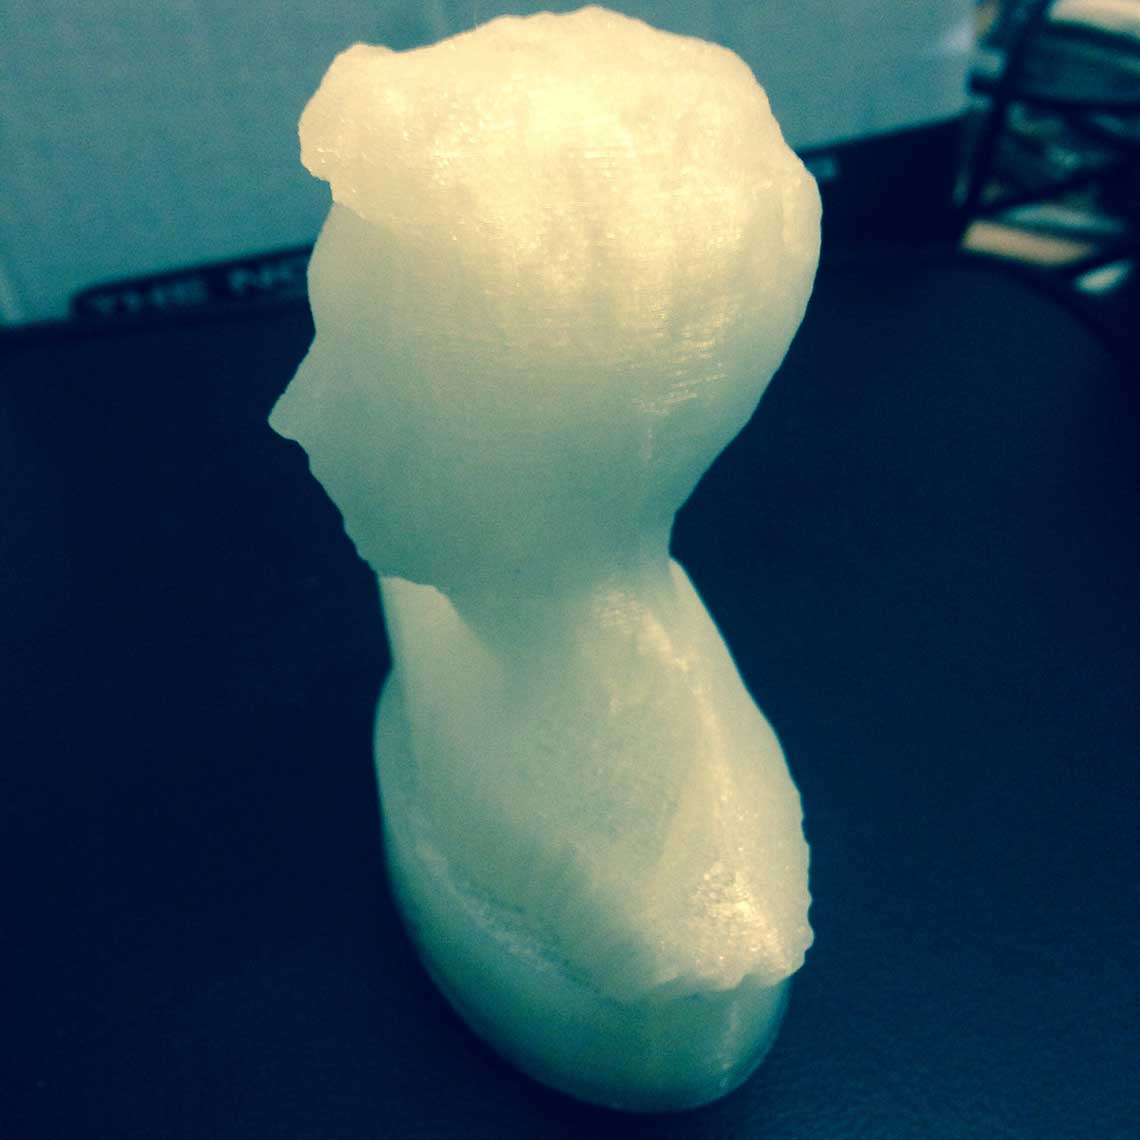
Here is how I proceeded for the scanning exercise :1. With the help of one of my co-student, I used a Kinect and Skanect to make a scan of myself. It took me a few tries to get a satisfying result. The first times, the scan was quite unprecise, I could see a lot a defects on my face and I wanted something more accurate. It turned out that I could obtain a much better result when turning the camera around me rather than spinning myself 360° in front of the camera.

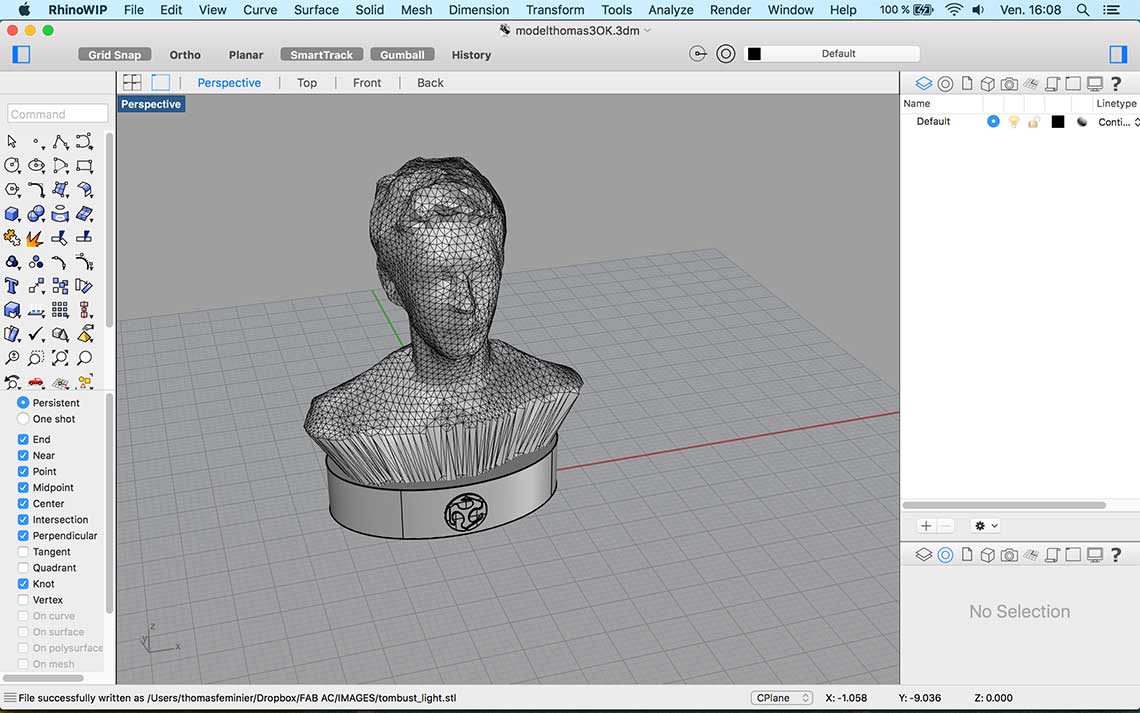
 3. Then I edited the .stl file in Rhino to add some details like a pedestal, and extrusion of the bust, and some inscriptions with the Fab logo :)
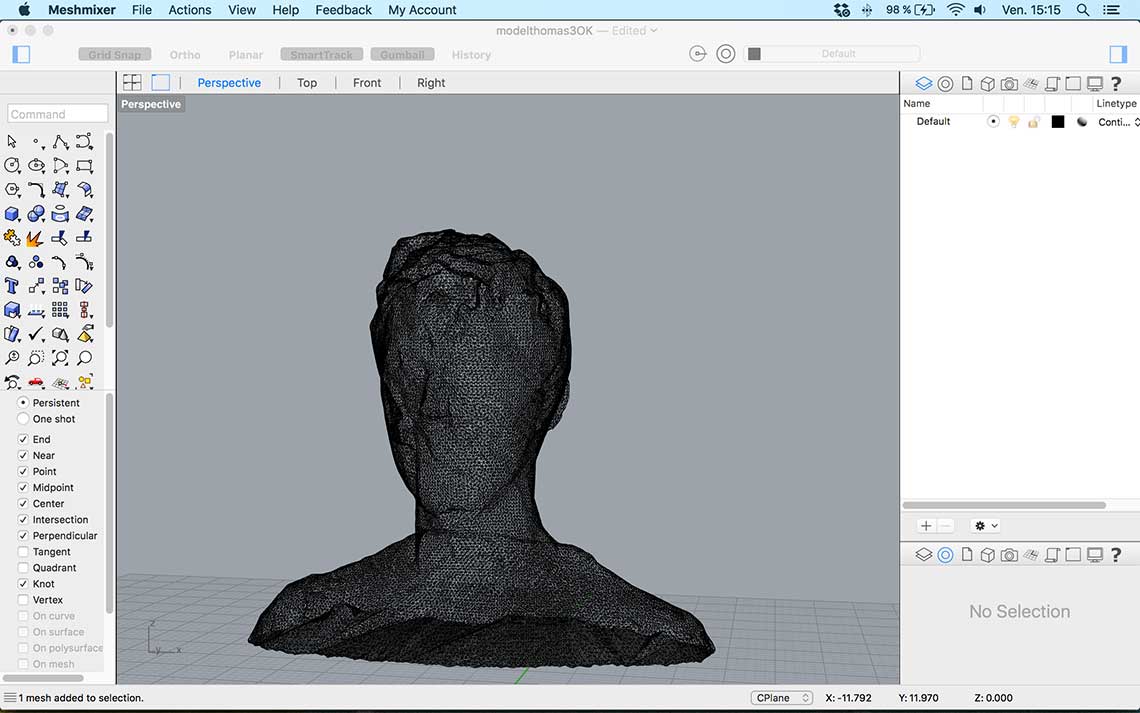
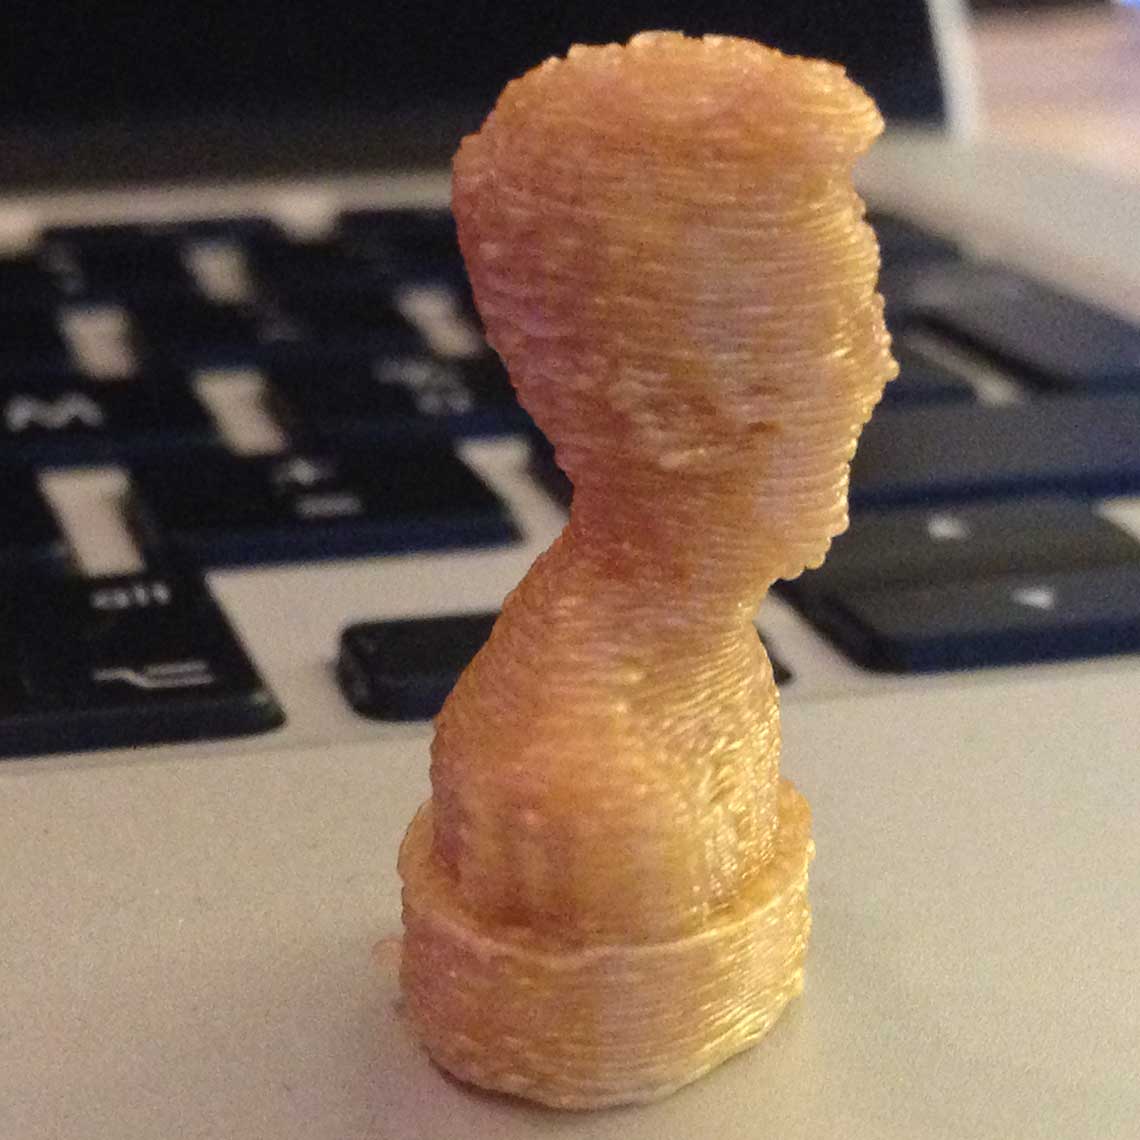
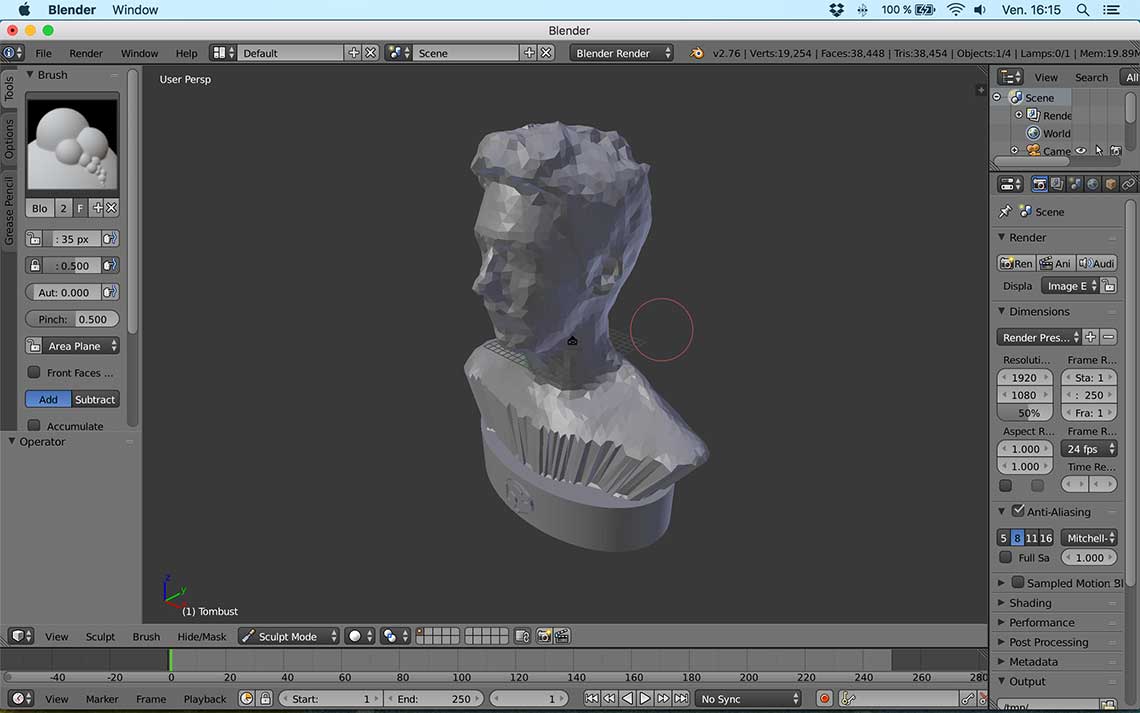 5 : The model was now ready to be printed. I reopenned it with Rhino to make a small 3cm version for testing, reduced the number of polygons, saved it as an .stl and edited the G-code with Slic3r again putting the same speed as for the bracelet.
The dimension of the piece being pretty small, it only took 6mins to print ! Of course the result was not very precise but it was satisfying enough :

And, FAIL ! When we came back on the Monday, the print was unfinished. It turned out there was not enough filament left on the roll :
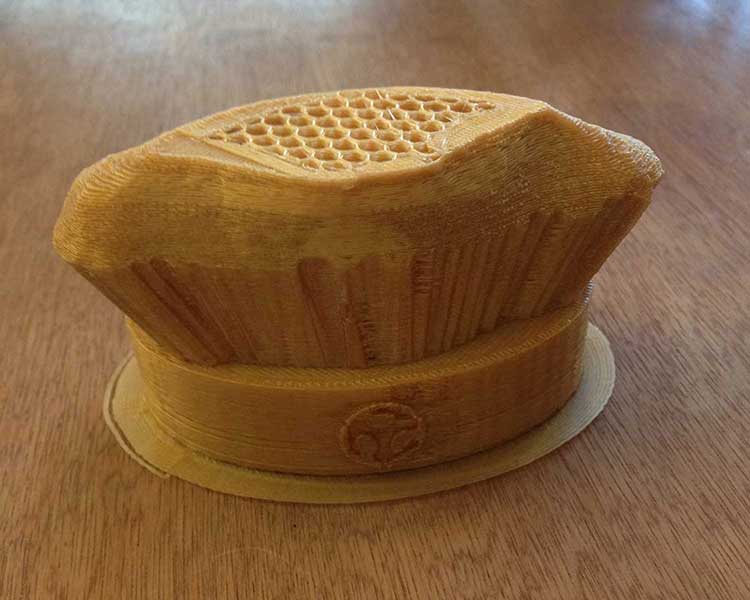
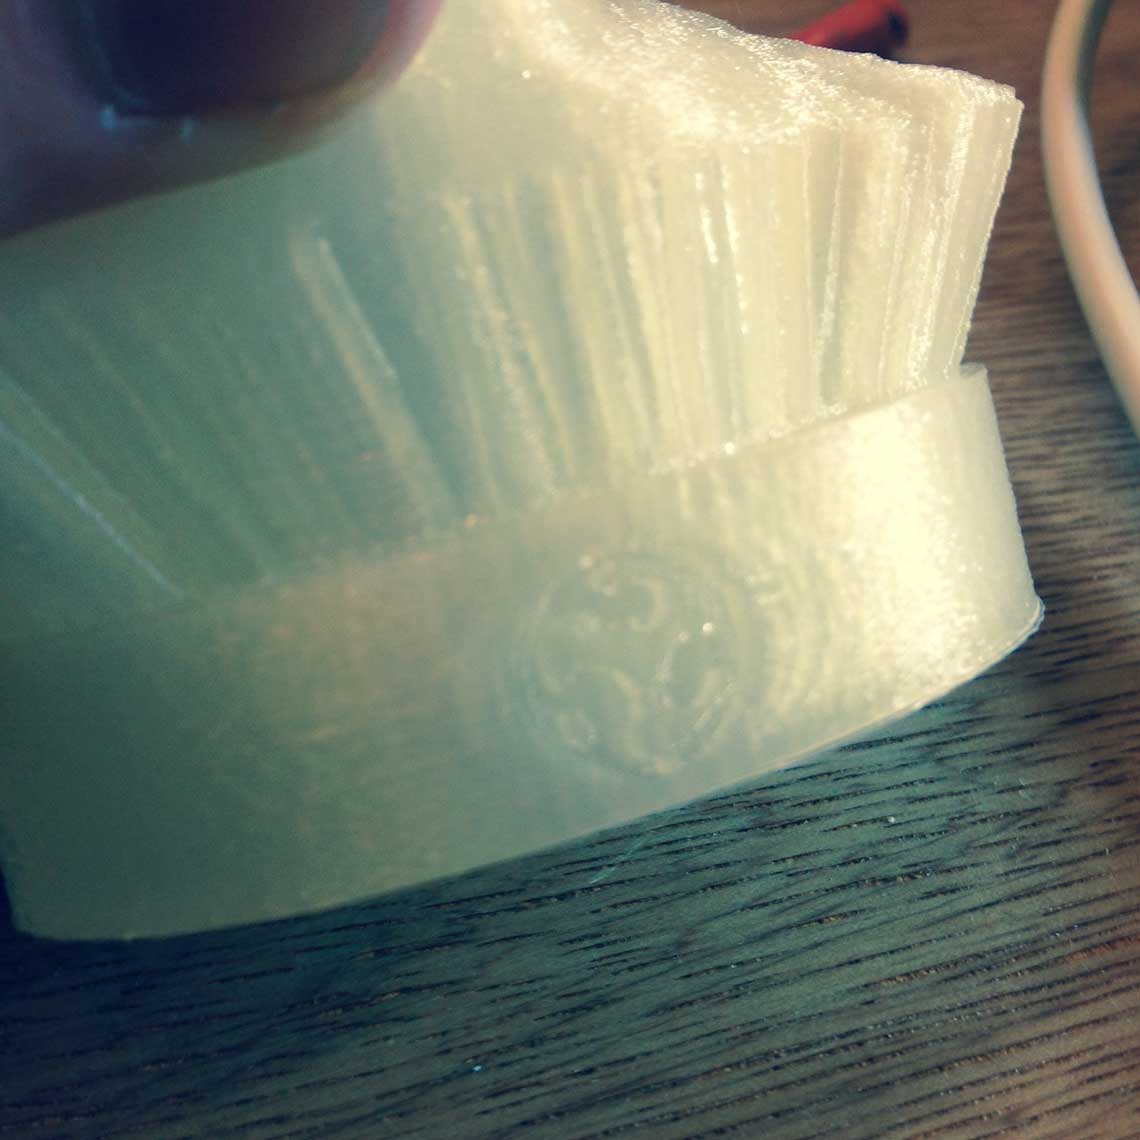
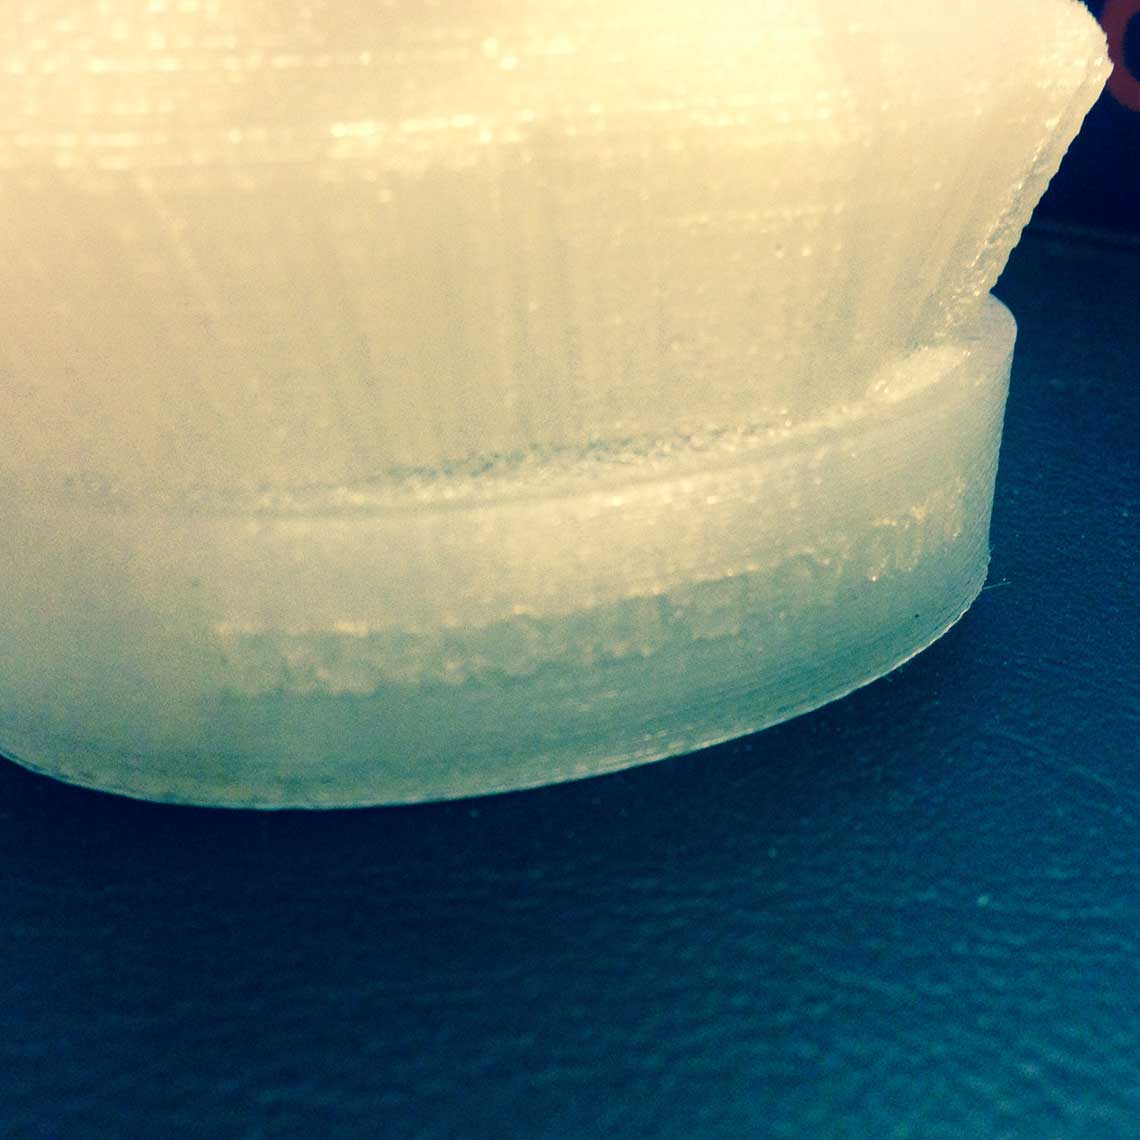
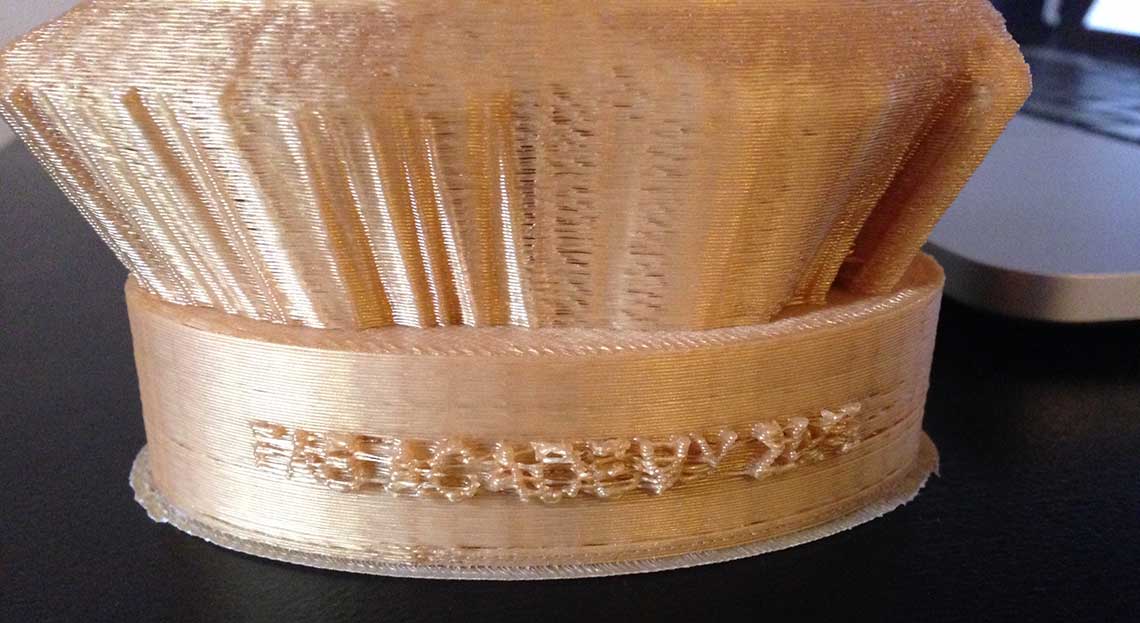 Also, I made two other mistakes : the filling was way too dense (20% when I could have put only 5%), which automatically increased the printing time a lot, and the inscription where extruted from the pedestal instead of being engraved in it. As a result, the "Fab Academy 2016" inscription at the back of the statue was not readable.
I would have to print this model again, paying more attention to this kind of details :)
Also, I made two other mistakes : the filling was way too dense (20% when I could have put only 5%), which automatically increased the printing time a lot, and the inscription where extruted from the pedestal instead of being engraved in it. As a result, the "Fab Academy 2016" inscription at the back of the statue was not readable.
I would have to print this model again, paying more attention to this kind of details :)Update 24th March
I finally printed a new version of the scan I made ! This time I made it little bit smaller and more importantly I reduced the filling to 5% to make it faster to print. Total time : 2:30 hours.
The last exercise I wanted to do was to test the 123D Catch application on iPhone, to see how it worked. So I tried with a Buddha statuette I had at home. But after 3 tries, it still did not work : the application was freezing each time and did not generate the 3D model.
So I tried to use Autodesk's Memento sofware, that can generate a 3D model from a serie of photos. I took 50 different pictures of the Buddha, loaded them in the software and try to generate the 3D model but the result was not better.
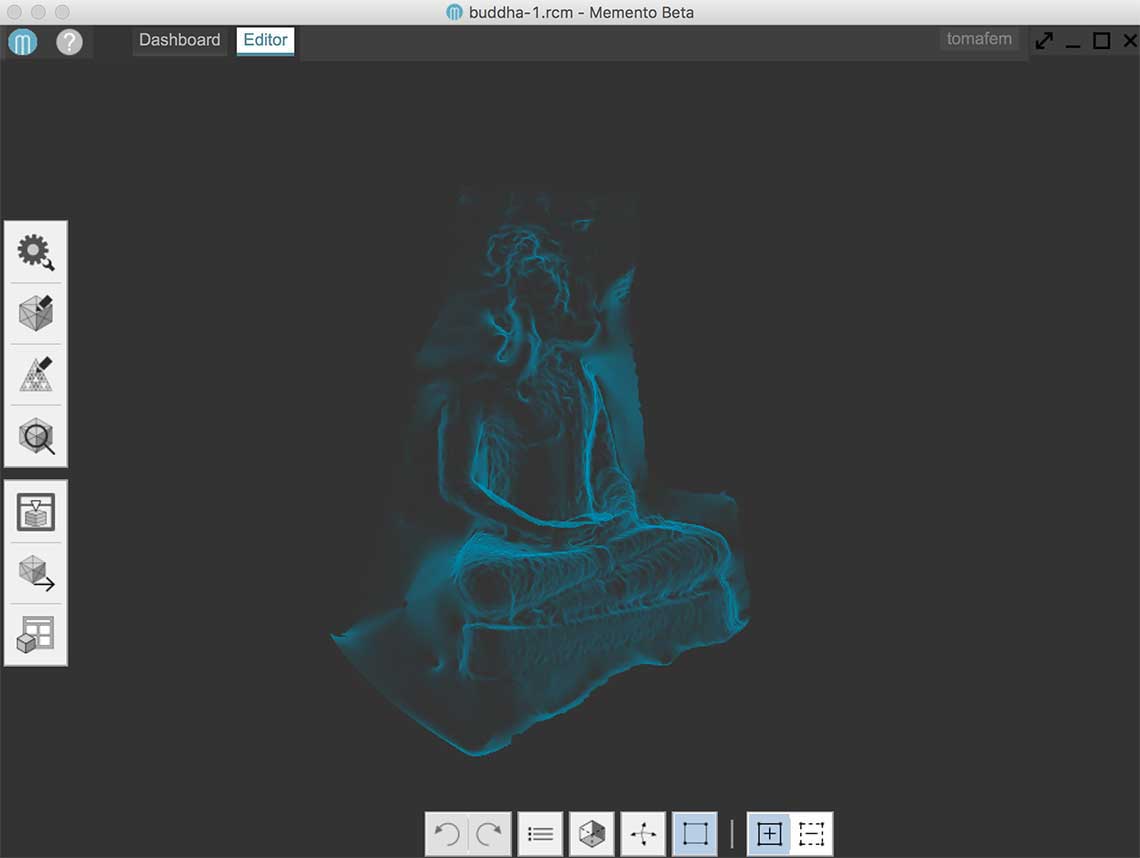 I tried it several times, taking new pictures with more light, more stability when turning around the object, but it was still the same. I will try something else later when I have the time...