Composites
Week 13's assignment
Specific material and softwares used during this assignment
- Machine :
- CNC mill for the fabrication of the mold
- Laser cutter to cut the sheets of cloths
- Material :
- regular cotton cloth
- polyurethane foam
- wax
- epoxy resin
- white glue
- Software :
- V-Carve for the G-code of the mold
- Rhino for the model of the mold and for the cut file of the cloth pieces
- CNC mill for the fabrication of the mold
- Laser cutter to cut the sheets of cloths
- Material :
- regular cotton cloth
- polyurethane foam
- wax
- epoxy resin
- white glue
- Software :
- V-Carve for the G-code of the mold
- Rhino for the model of the mold and for the cut file of the cloth pieces
This week I will try to make a composite tri-blade boomerang !

A little tutorial
First of all Saverio gave us a demonstration of how to proceed to make a coupon (a test piece). You can see the full demonstration on this link but I will quickly go through it.To make the mold we simply used two pieces of polyurethane foam that we had at the lab.
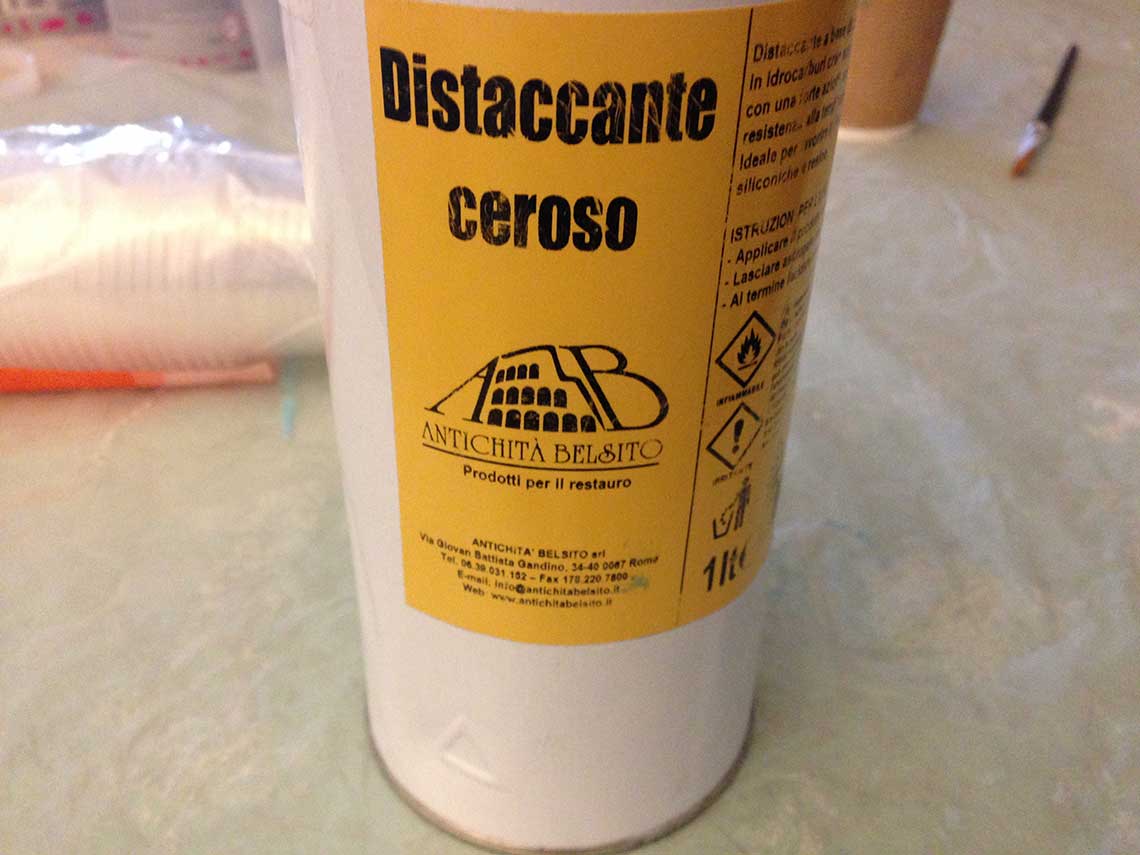
 And then you begin by putting a coat of wax on the surface of the two halves of the mold : when we will remove the part from the mold later, this will help the process. Without the wax, the part will just stick to the mold.
This is the wax we used :
 Then you cut your pieces of cloths the same size as the mold. The number of layers depends on how thick you want your final object to be :
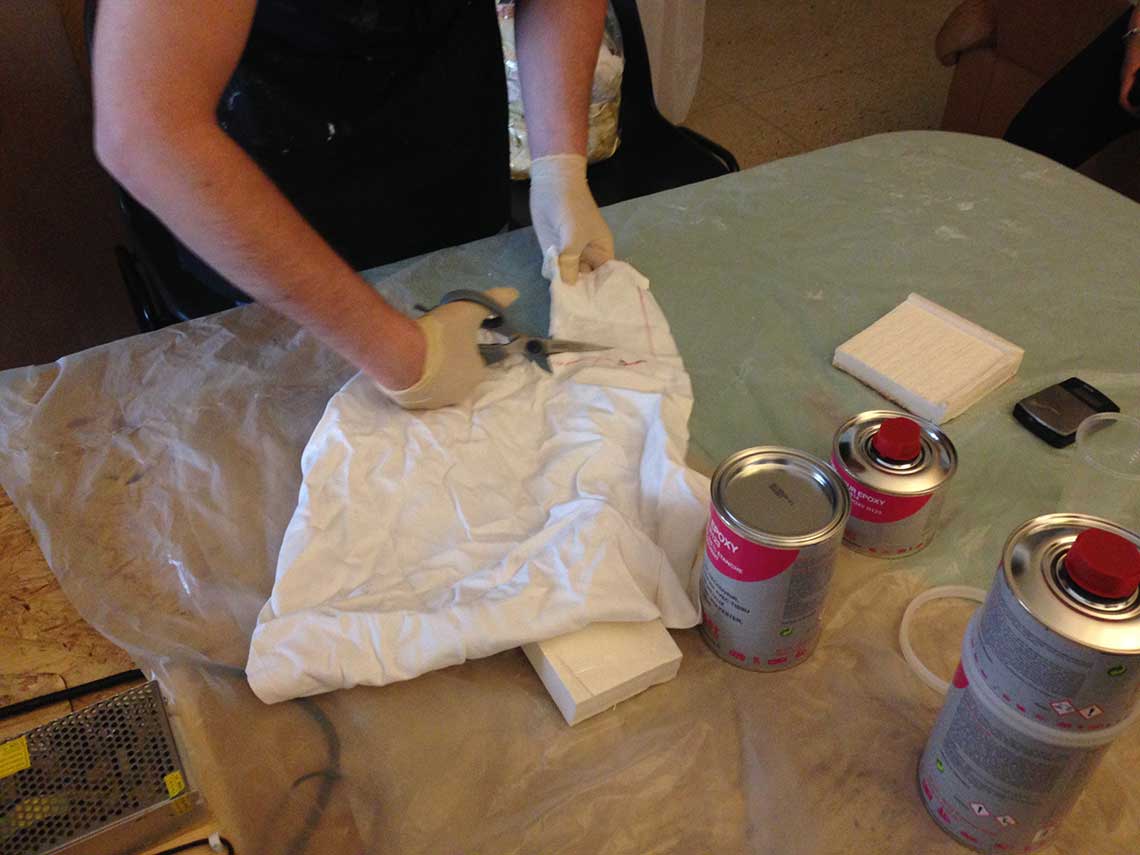
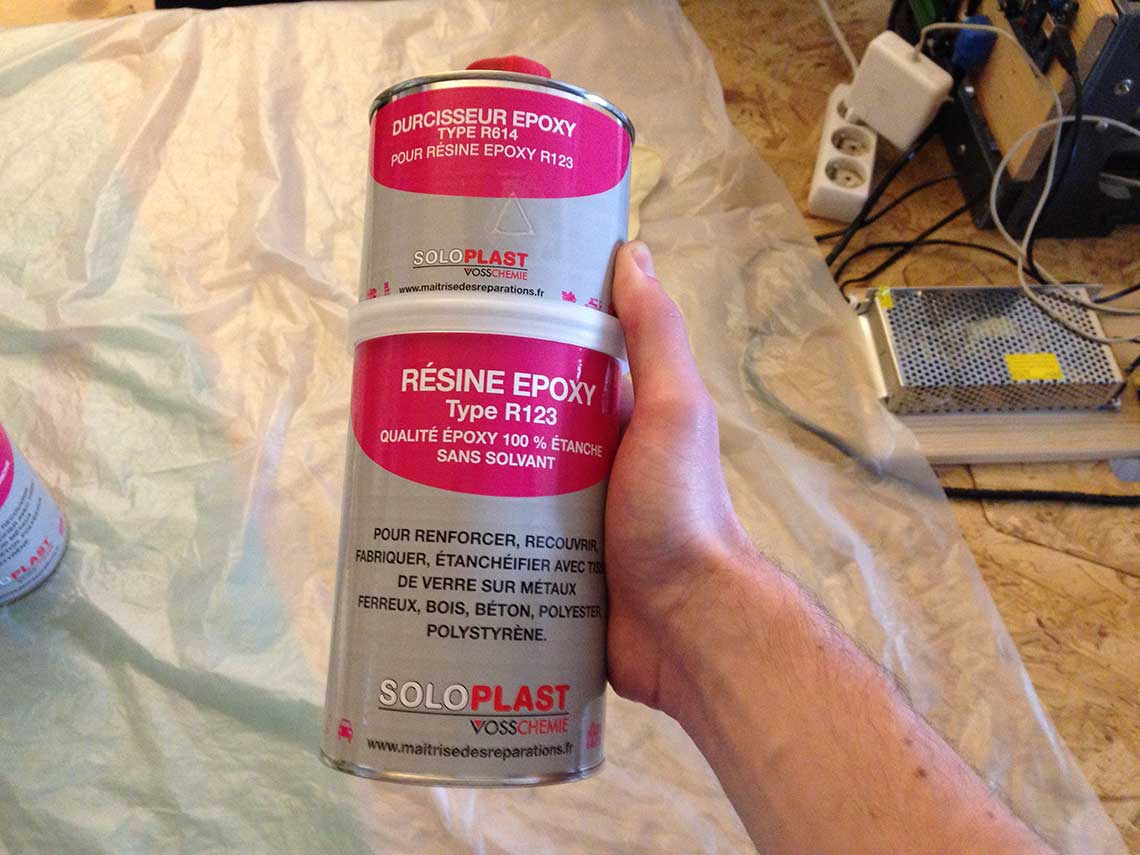 The mixing ratio is 100 parts of component A + 45 parts of component C in weight.
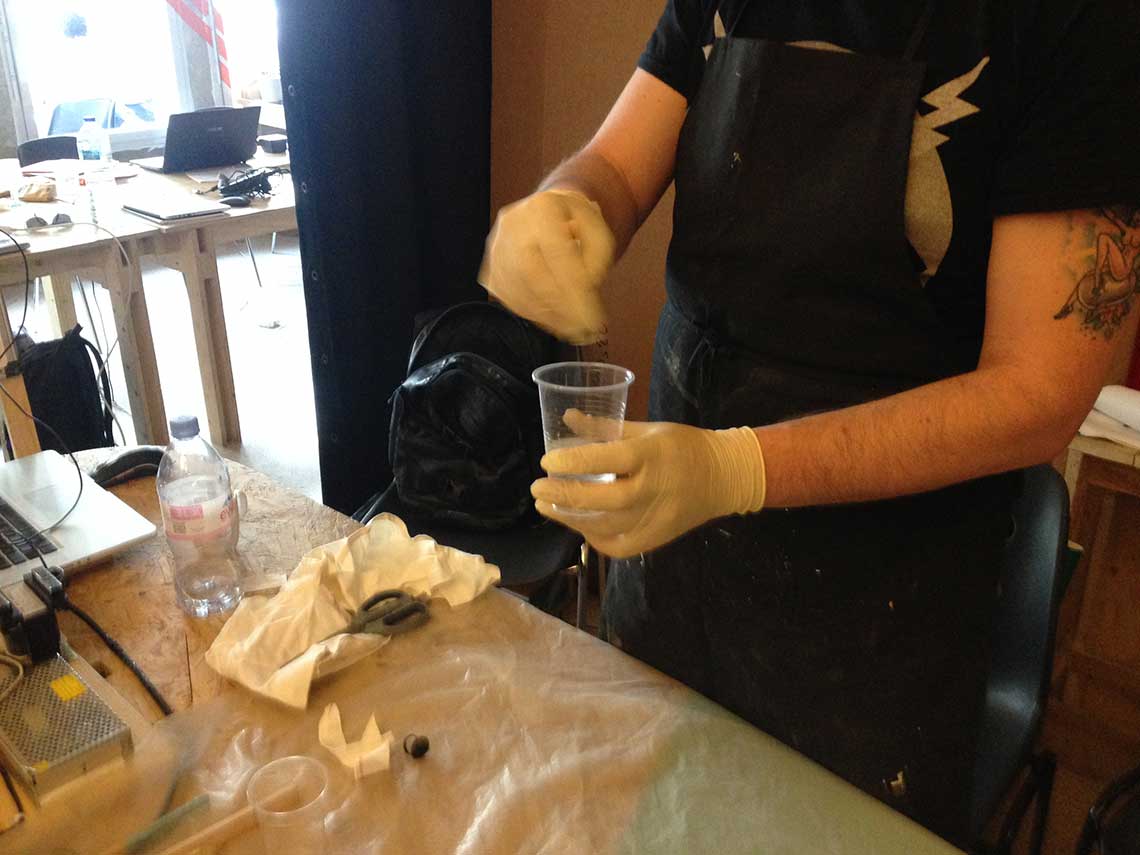 A nice trick to make the mixed resin last longer is to make a little container with some aluminium foil and to put the resin in it. This way, it will occupy a larger volume than in a glass and it will therefore take more time to harden.
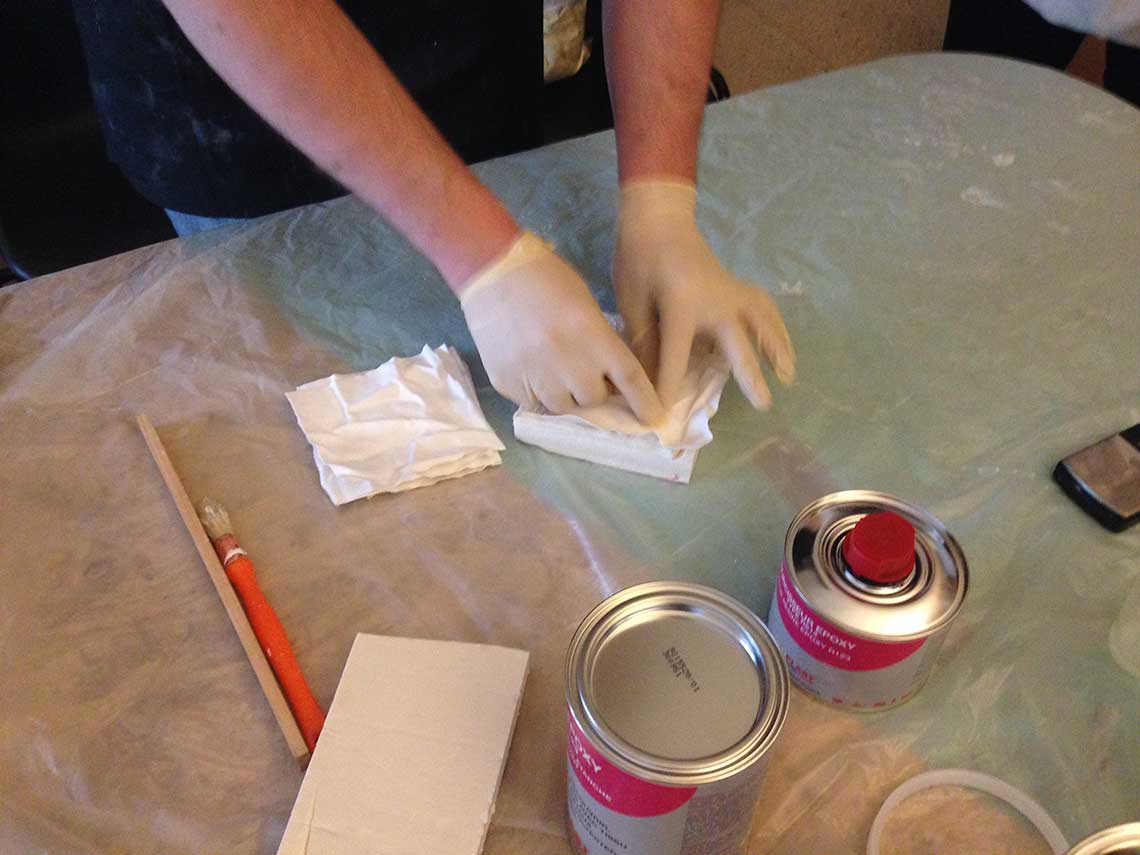
 Next step is to put the first layer of resin on the mold, and then to apply the first layer of cloth. You can also soak directly the cloth into the resin.
 Once all the layers put one on top of the other with resin between each one, you just press the two halves together with a clamp and let the magic operate, for 24 hours !
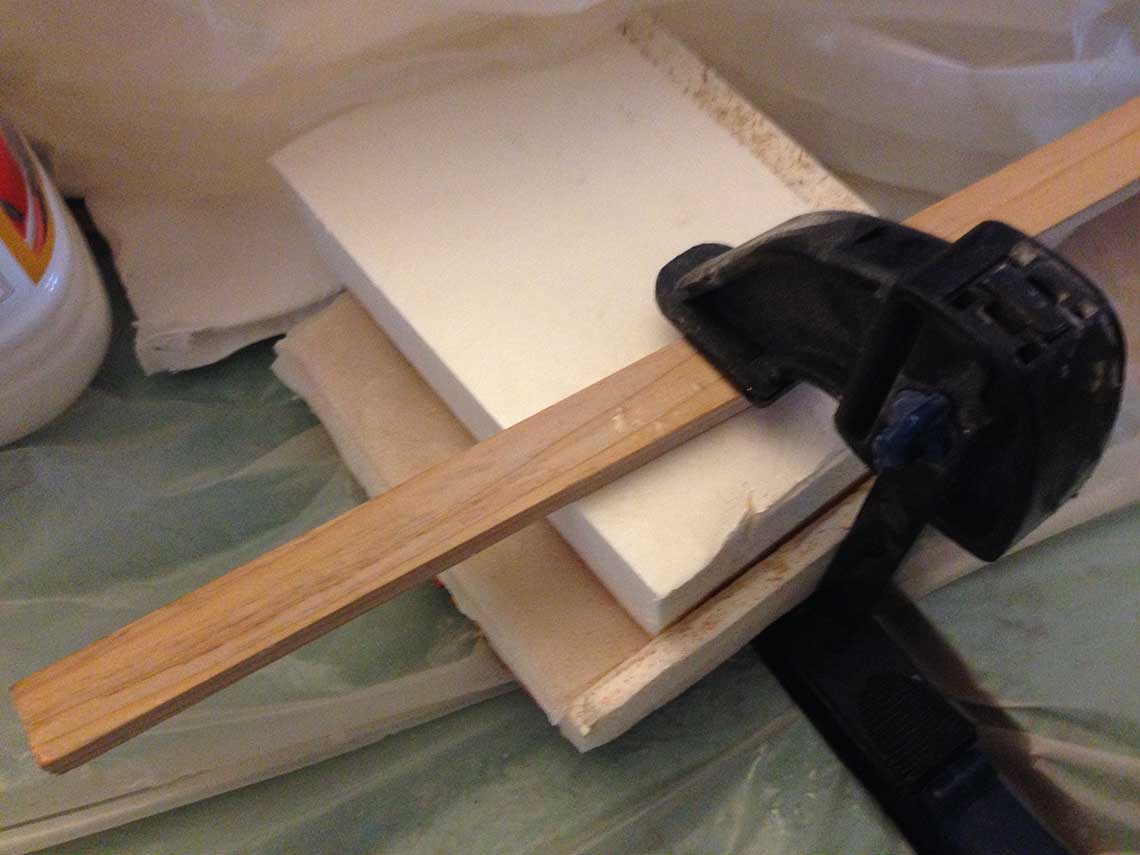
Designing the mold
Then I began by designing the mold to fabricate my boomerang. Because I am lasy and because the shape of the boomerang is quite complex to create if you want it to work, I prefered using and existing 3D model rather than trying to make one from scratch.I found the exact shape I wanted on Thingiverse.
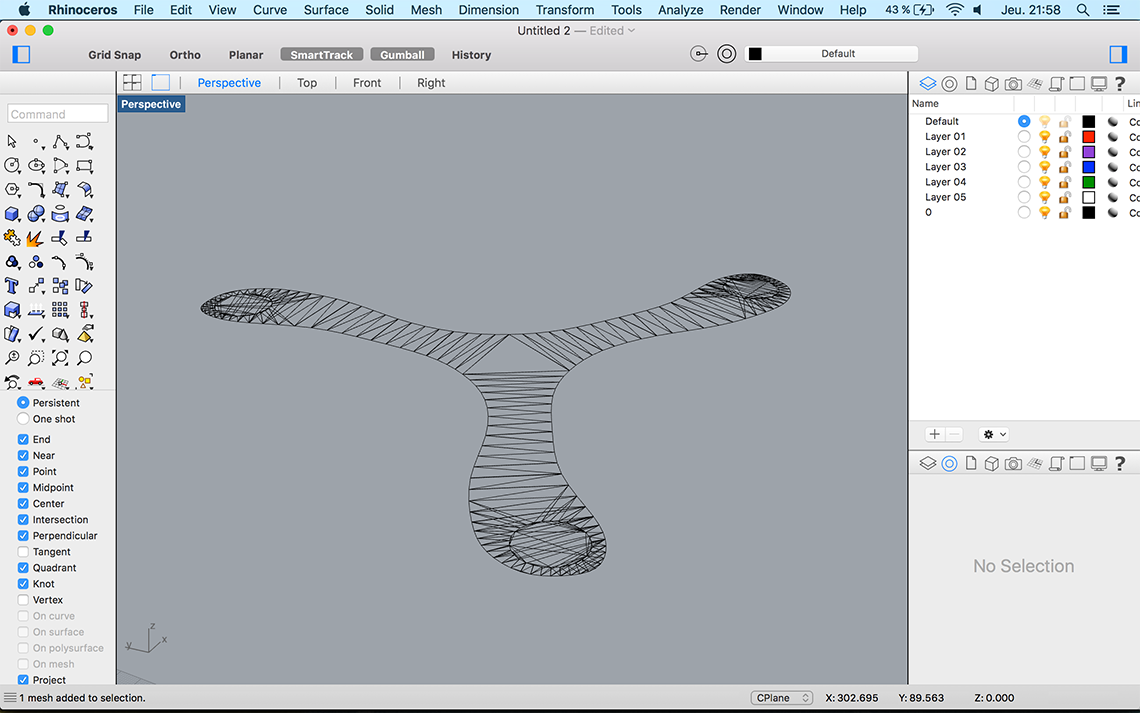
 Luckily, the model I chose only got one bladed side, the bottom side being flat. This will simplify the process, and I will only need to make a one-sided mold. So I just drew a box which represents the polyurethane foam block, from which I made a boolean difference with the boomerang shape turned upside down, which gave me the shape of my mold :
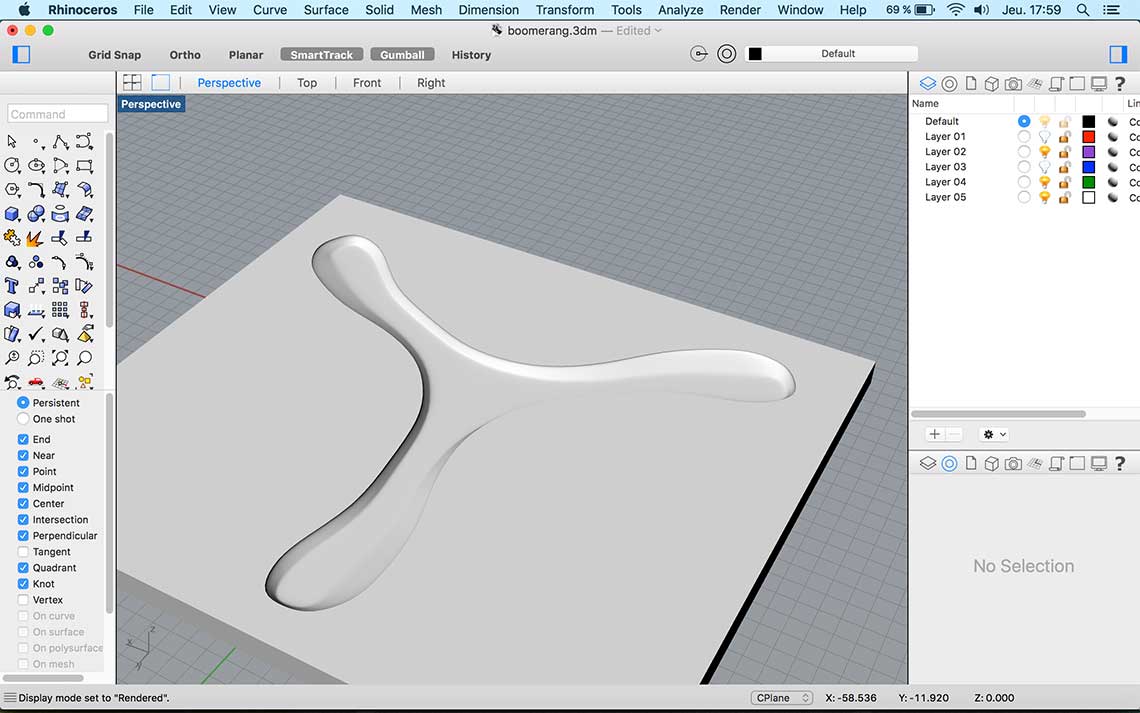 Finally, I extracted the outline of the boomerang and scaled to a 1.2 factor : I will use this as a template to cut pieces of cloths to the right shape. I am planning on using the laser cutter :
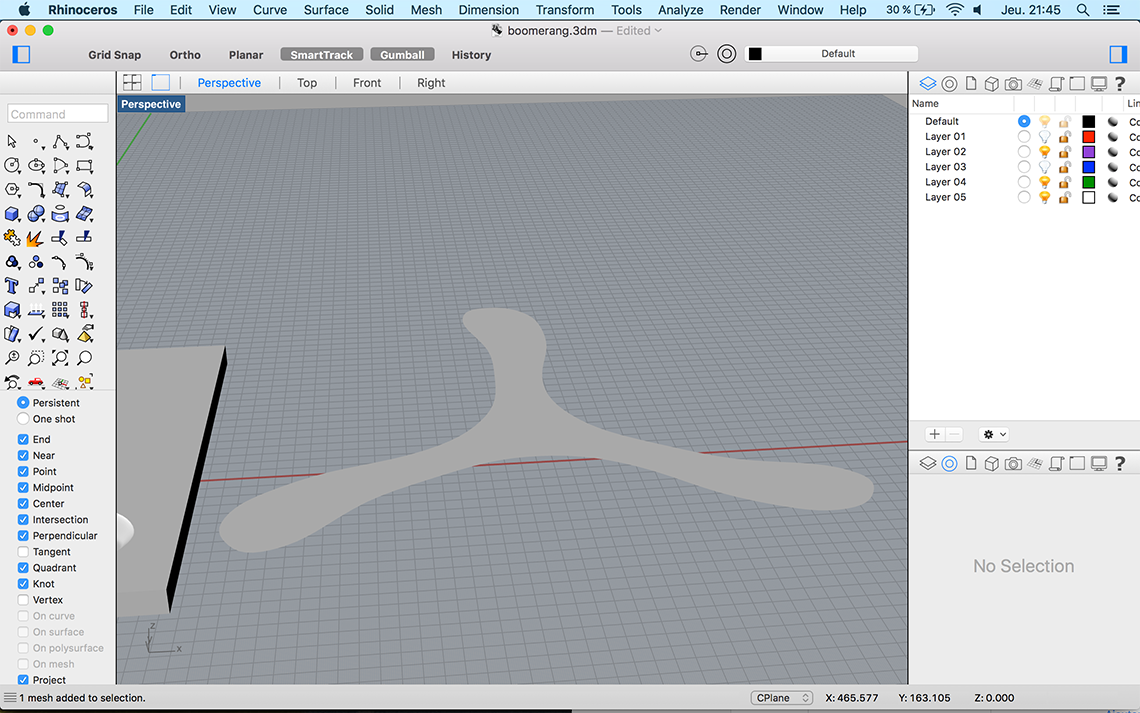
Carving the mold
For the milling of the mold, I reproduced the techniques we learned during the Molding & Casting week : one rough path, then a finishing one.For the rough path, I used a large 12mm two-lipped milling bit and for the finish path, I used a 4mm one-lipped bit :
 Here are the settings used for the two jobs :
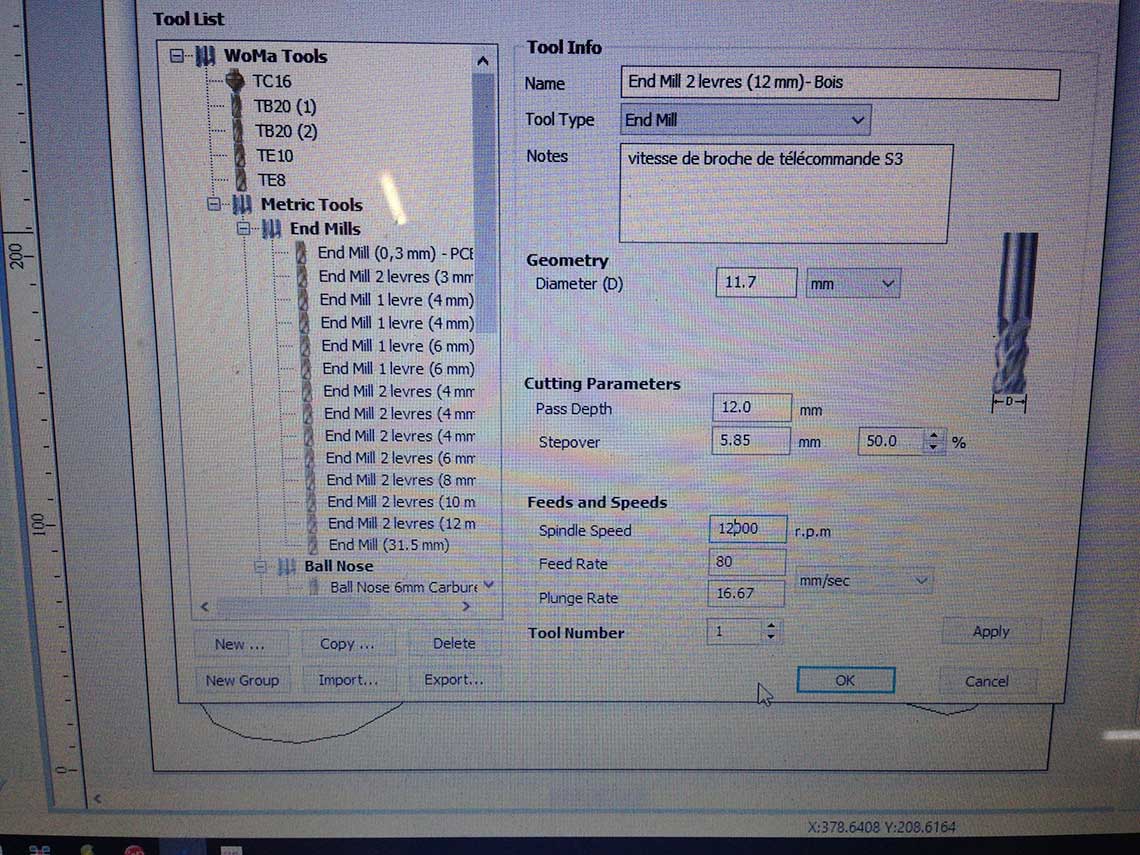
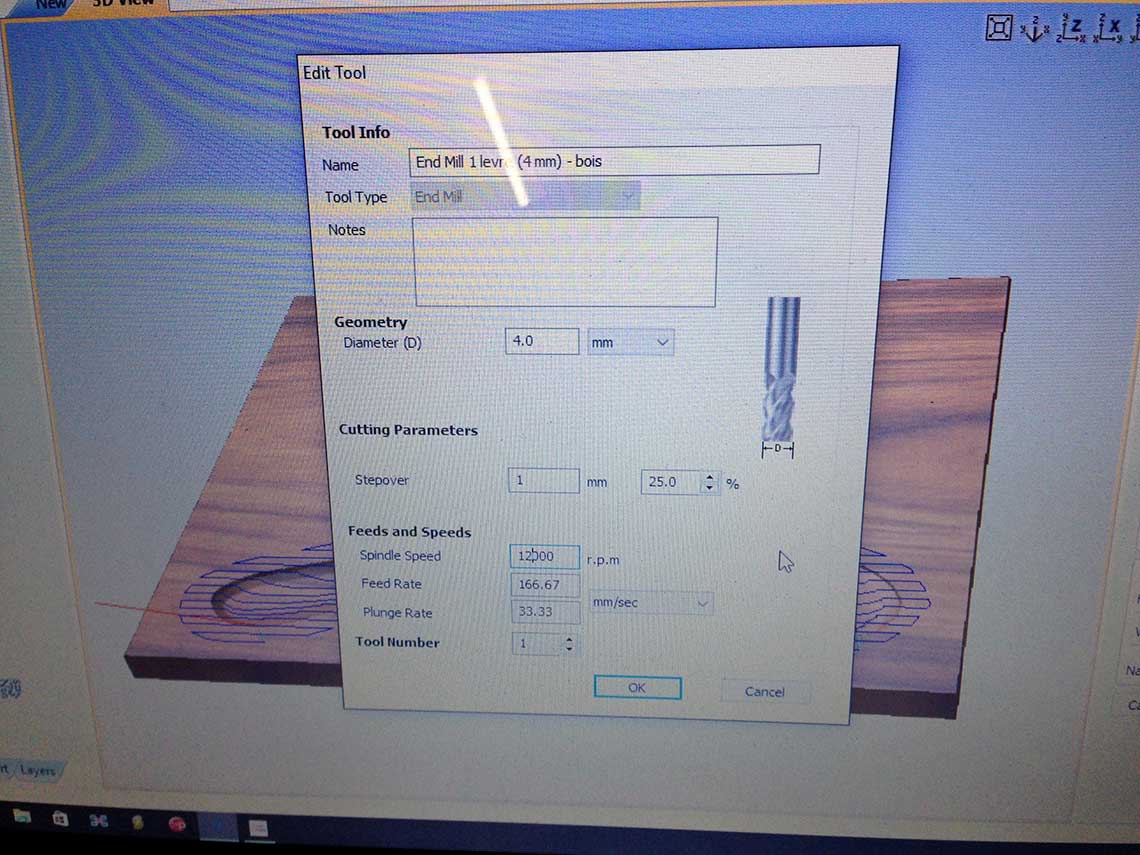 Since polyurethane foam is really soft, we can go quite fast so I used a feed rate of 80mm/sec. for the rougthing and 100 mm/sec. for the finishing (I changed it after I took the screenshot above). Estimated machining time : 8 minutes !
 To fix the foam board to the sacrificial layer I just used so double-sided tape that I put equally on all the surface, to make it stable :
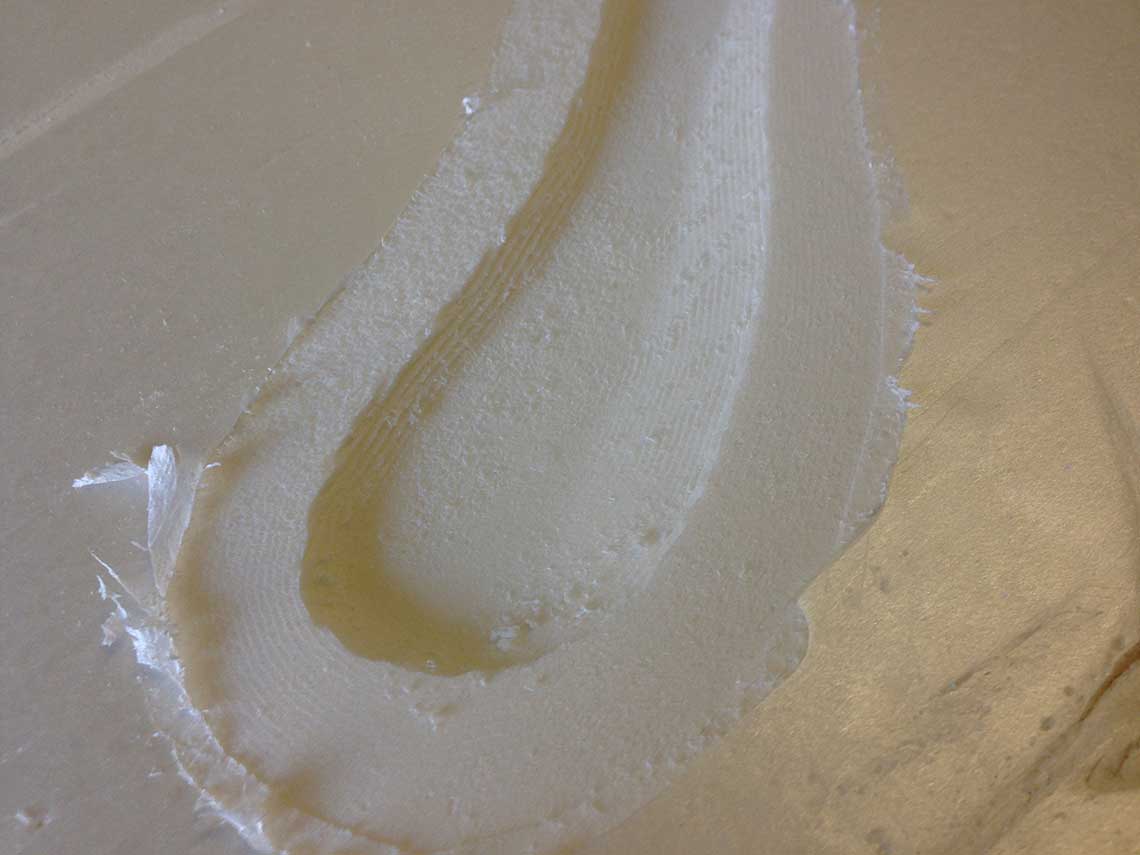
 Result of the rough pass :
 And results of the finish pass :
Making the composite
First of all, I wanted to cut pieces of cloth with the boomerang shape. THinking back, rather than doing a scale of the original shape, I did an offset of it to have a kind of "brim" around it. On this brim I would add some "darts" which will allow the cloth to wrap around the round sides of the mold.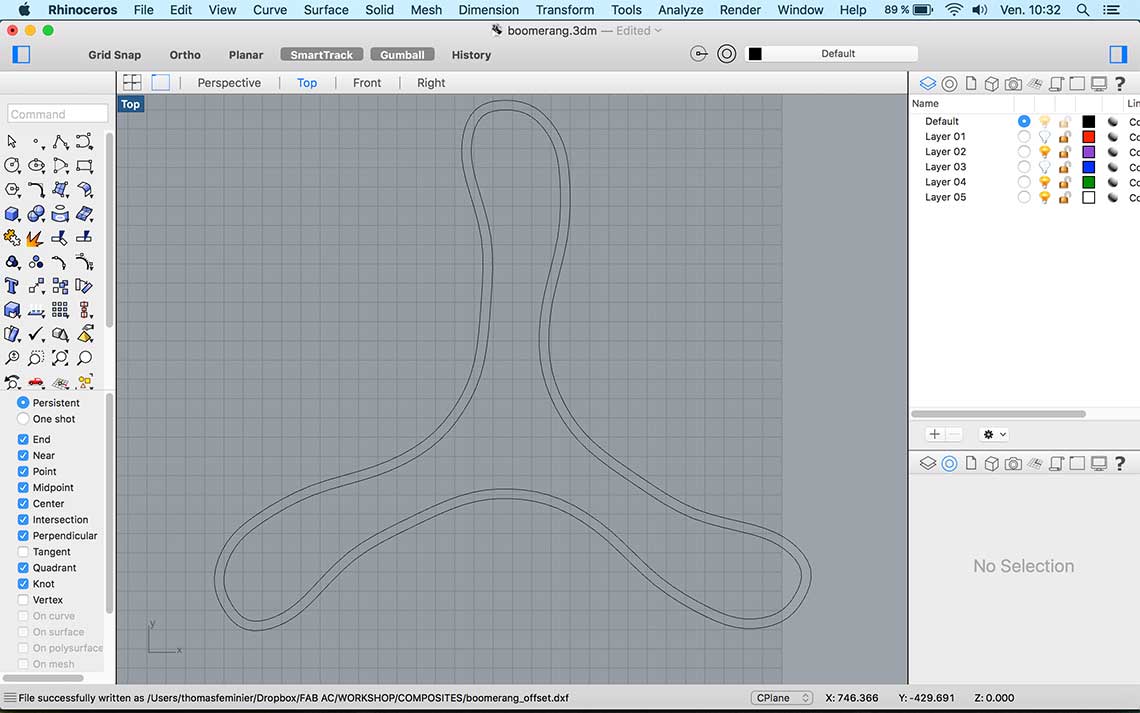 But I lost a lot of time trying to make the dart marks in Illustrator and was not really satisfied with the result so I decided I would do it by hand...
Then I measured the piece of cloth I was going to use and prepared a template to cut 4 pieces of coth to the right shape. I estimated 4 layers to be enough to have a strong, yet flexible boomerang !
 I stapled the cloth on a piece of cardboard to strech it well and prevent it from moving :
 And I set the parameters for the job : engraving the inner outlines and cutting the outter ones.
 But I had some problems with the file : the shapes were composed of many vectors which were overlapping each other so the laser was passing several times on the sames places. As a result, some parts of the inner outline were cut instead of being engraved. I stopped the job and went back to designing the file correctly.

 ...and to recreate the template file for the laser cutting :
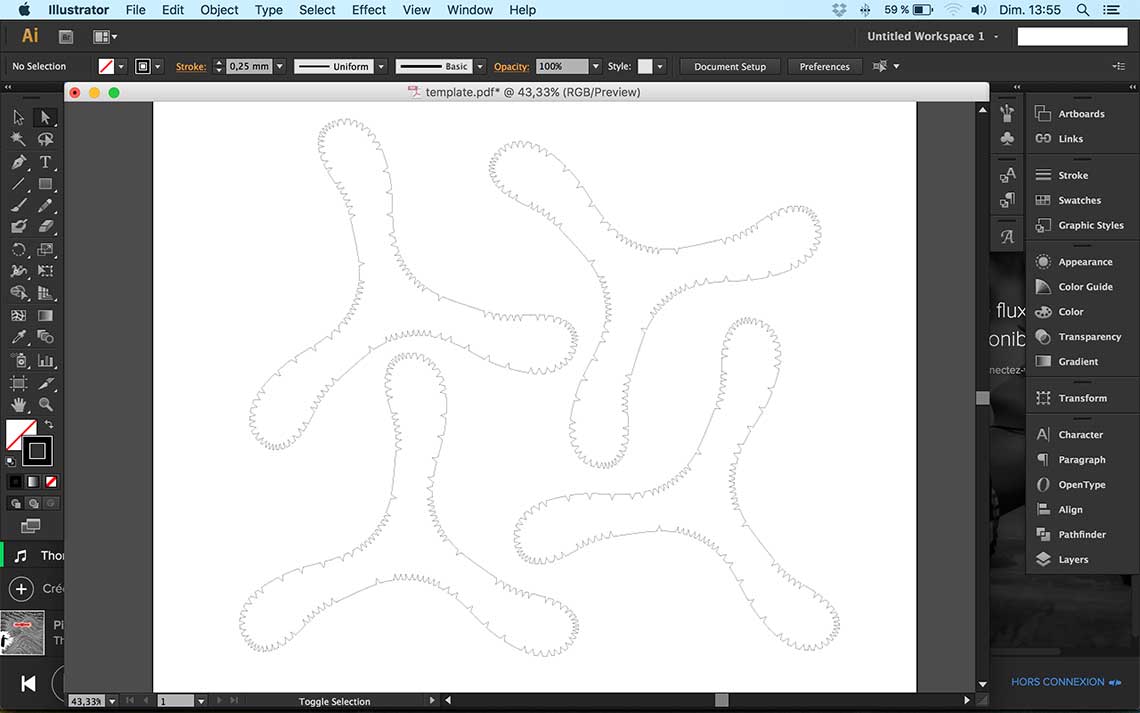 This time the result was perfect ! I used exactly the same settings for the laser cut but this time without the engraving which I did not need anymore. Here we can see that one of the shapes was not cut entirely, this is because I my x-y origin was not good and the laser went outside the cloth...
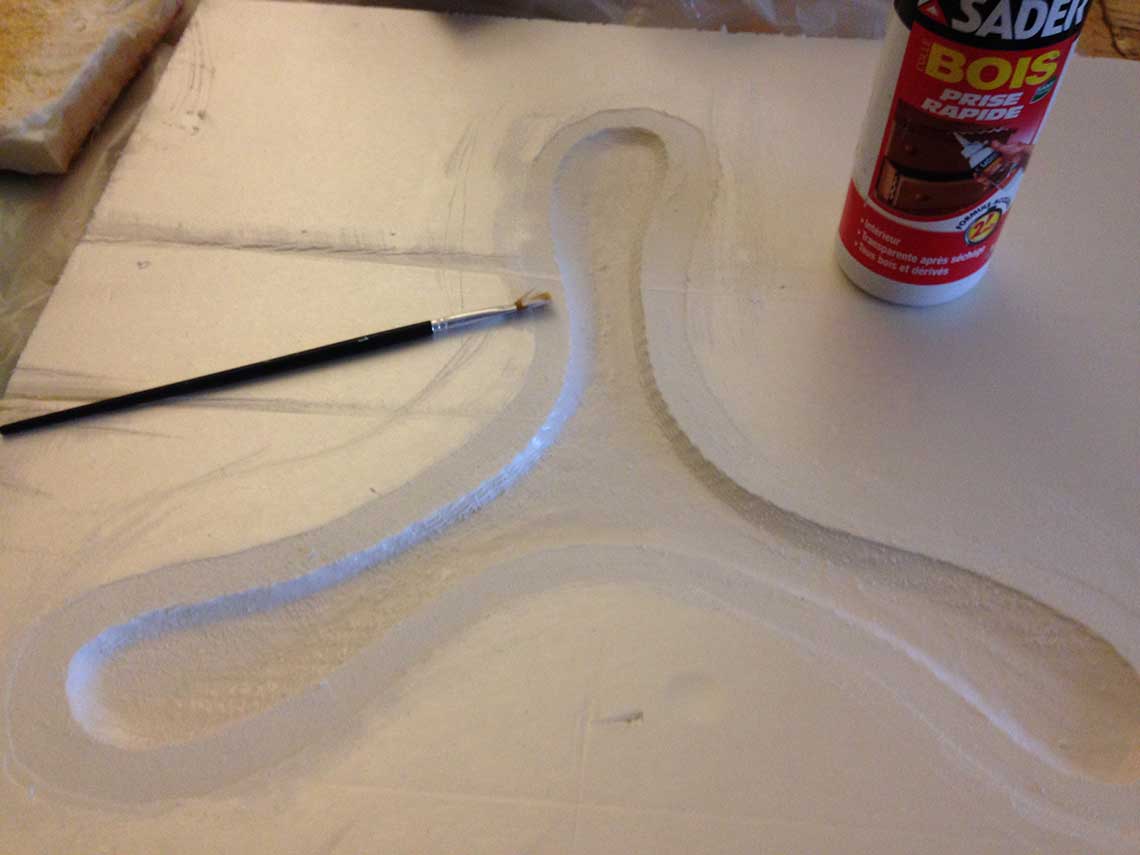
 Then I put a layer of white glue on the surface of my mold to make a protecting coat. We did not do it during the demo workshop and as a result, despite the wax coat, the mold was eaten by the resin (or by the heat, hard to tell) :
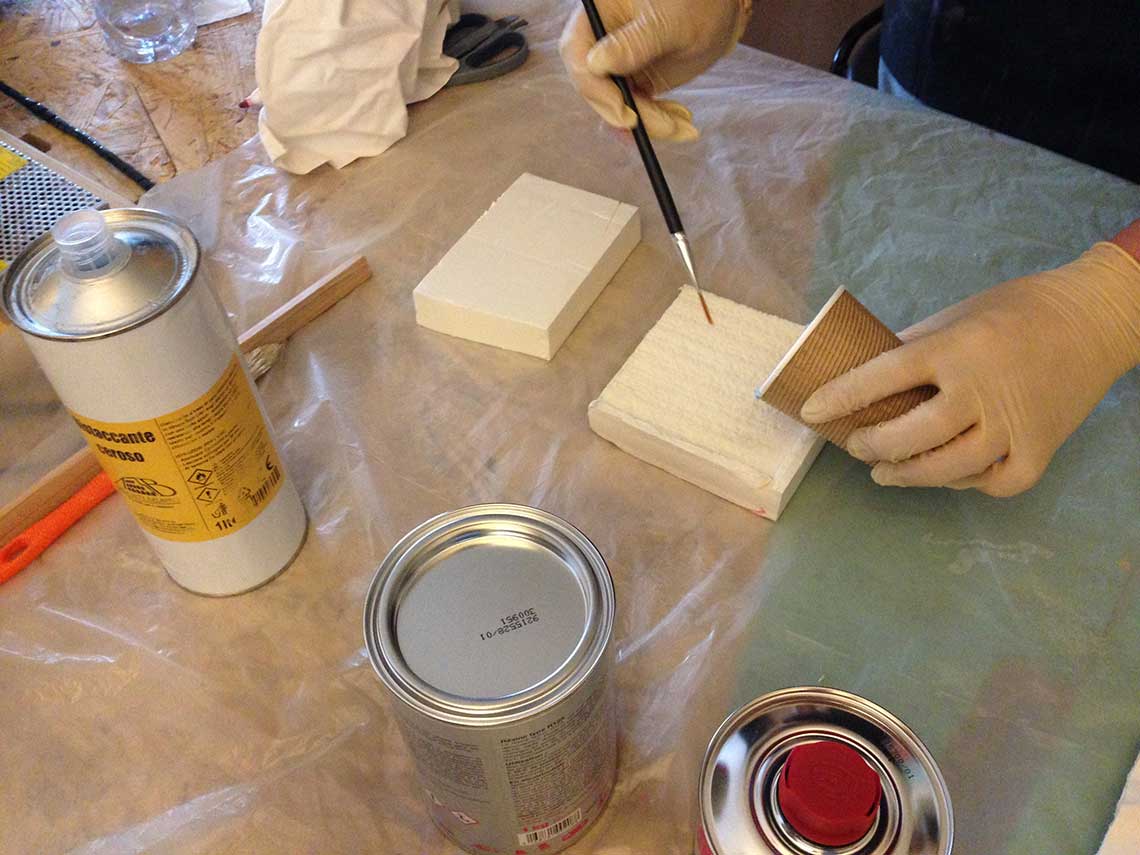
 Putting white glue on the mold :
- Drying time : 2 hours (used a hot air gun to accelerate the process a little bit) -
 After the glue is dry I also put a coat of wax to ease the demolding phase as we :
- Drying time : 30min -
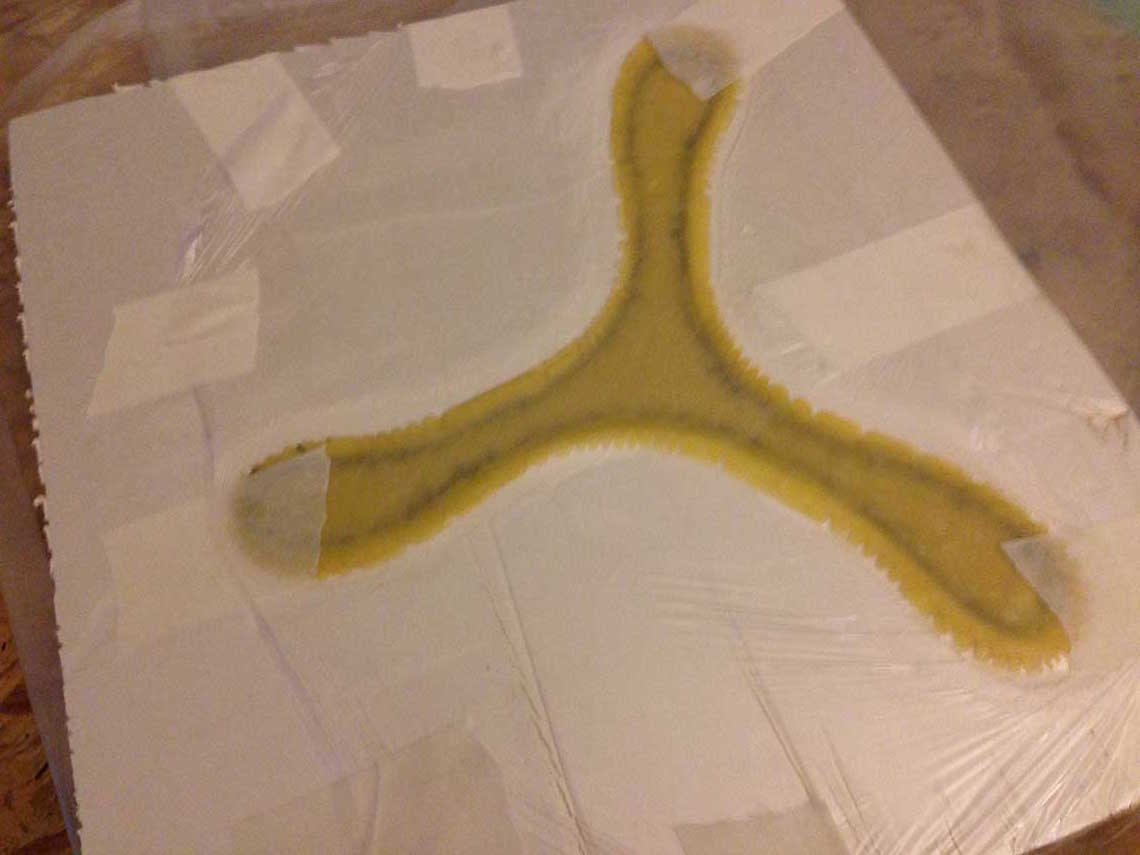
 And finally the making of the composite itself could begin ! I put a first layer of resin and then placed the 3 FabAcademy logos I printed. They rapidly "drinked" the resin. Then I could apply the first layer of cloth :
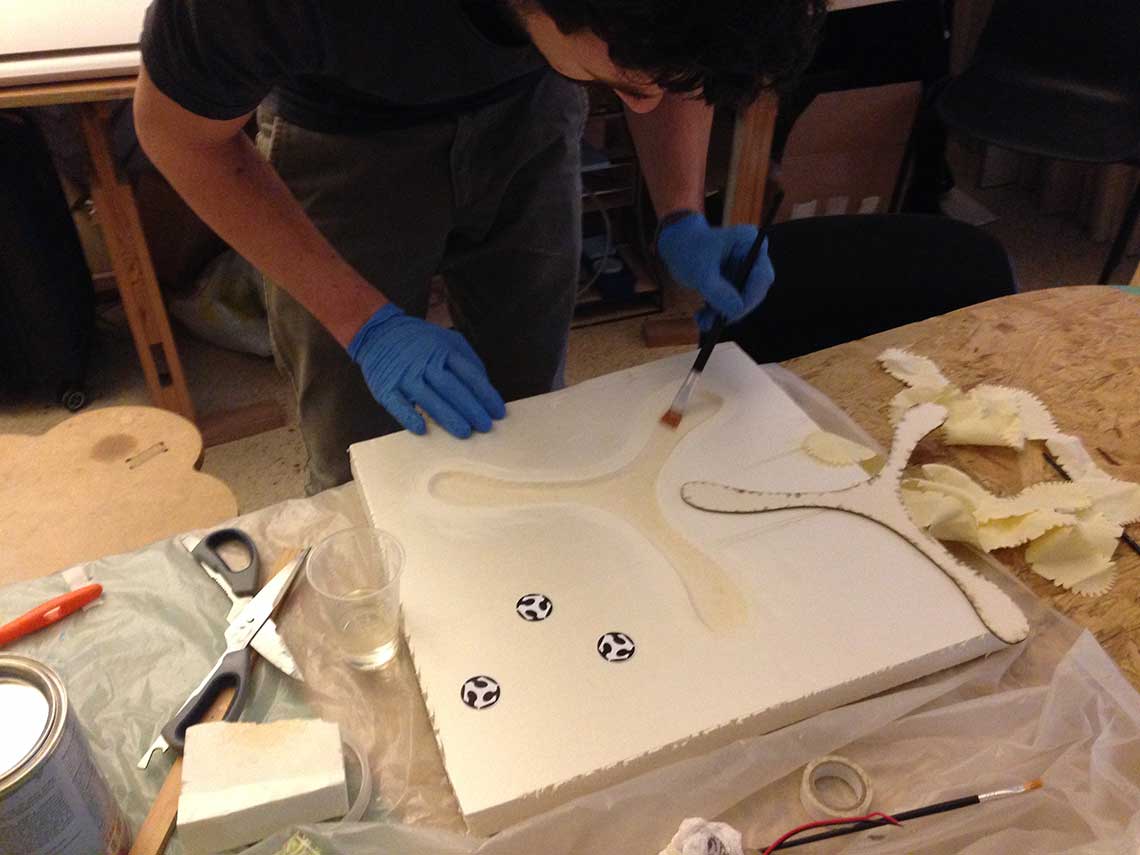

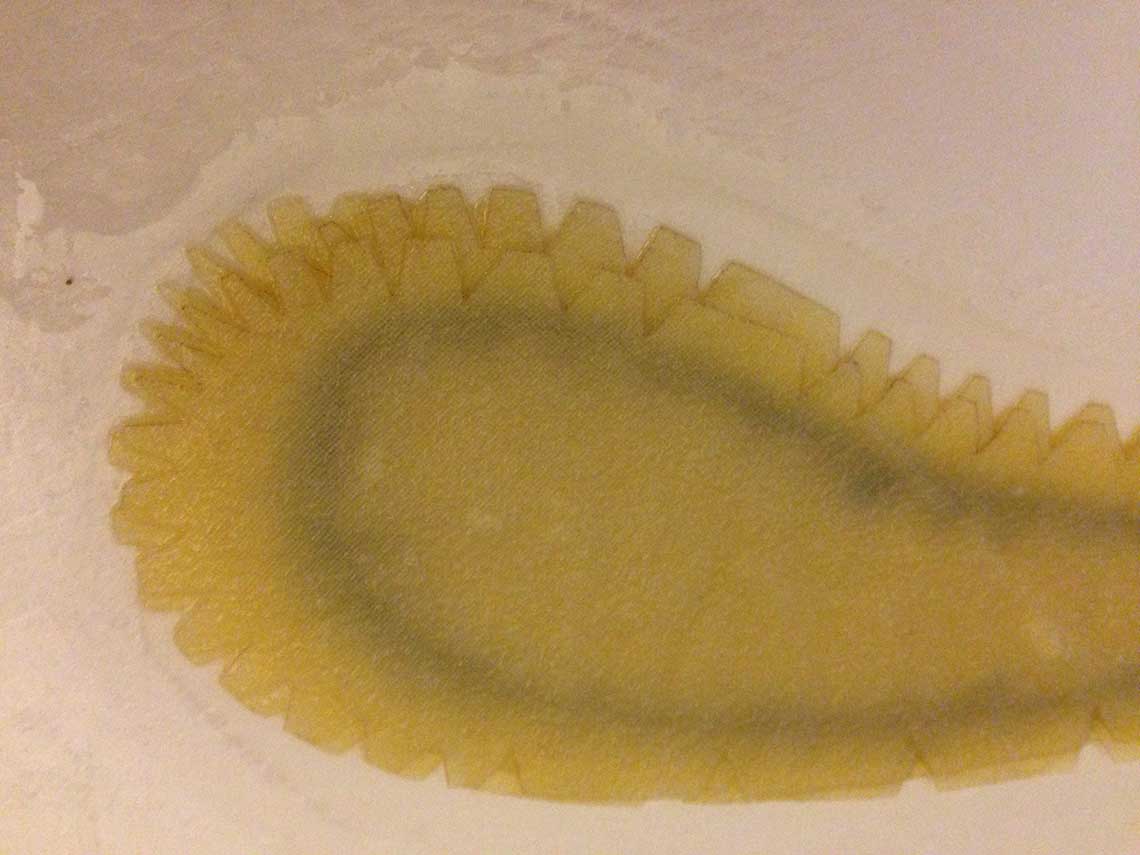
 It is important to soak the cloth completely with resin. The "darts" I added on the pieces of cloth worked really well to follow the curves of the mold :
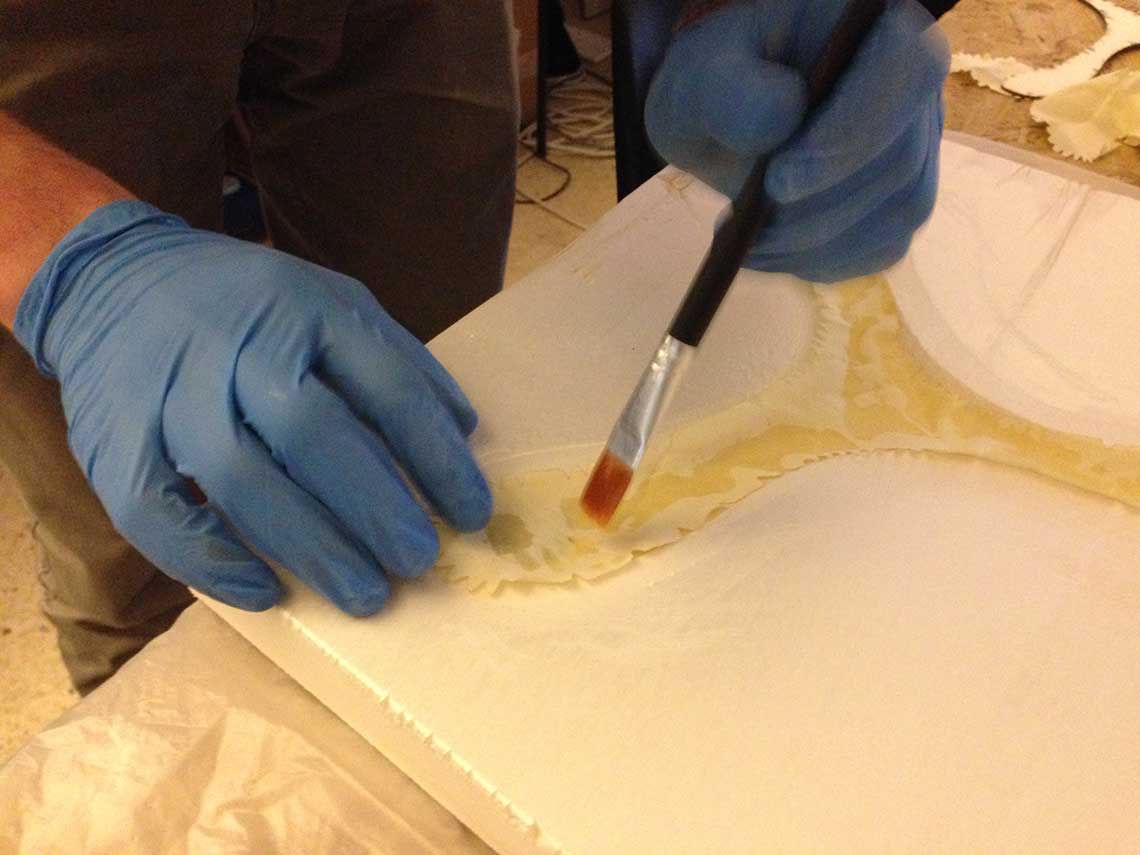 Then, after the second layer of cloth, I put on top a piece of 1mm thick white cardboard wich I laser cutted making a negative offset of the original shape. This would act as a filling to reach the thickness I wanted :
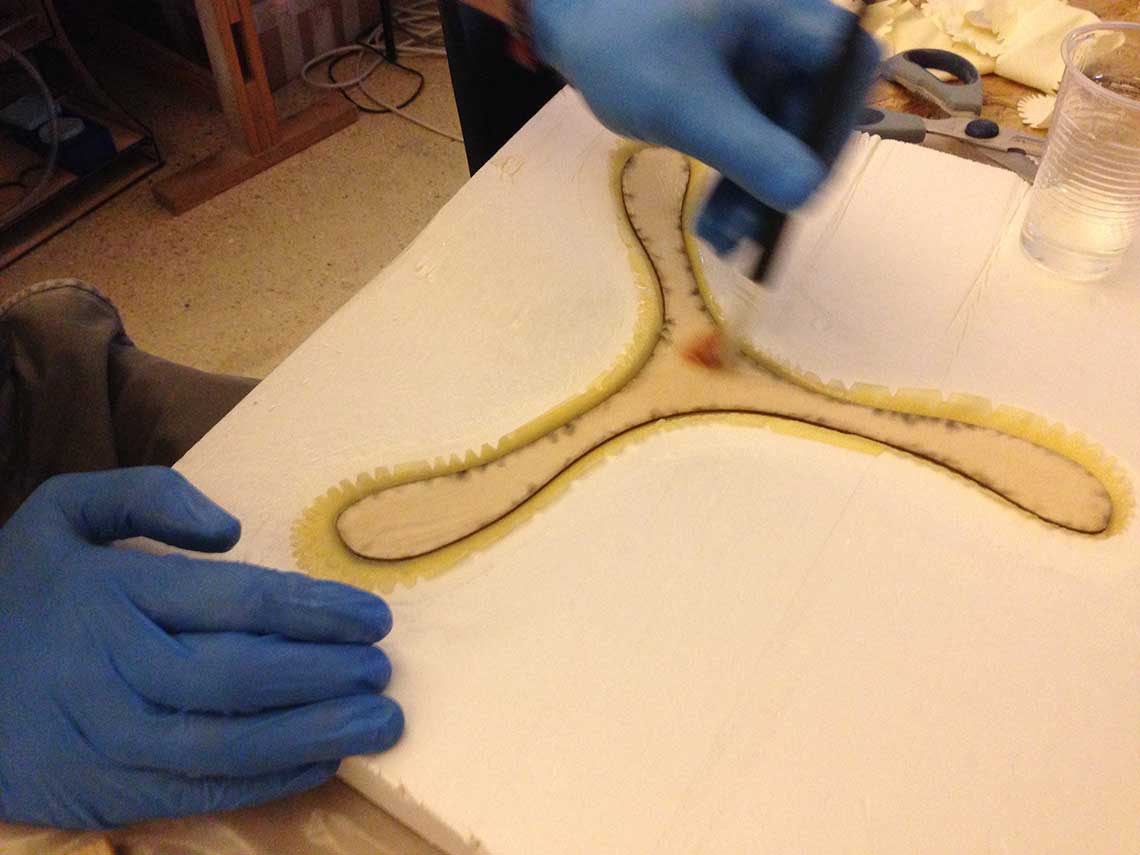 Over the filling I added two more layers of cloth, taking care of leave a good layer of resin and to make the darts stick together and to the sides, and that was it !
- Drying time : 24hours -

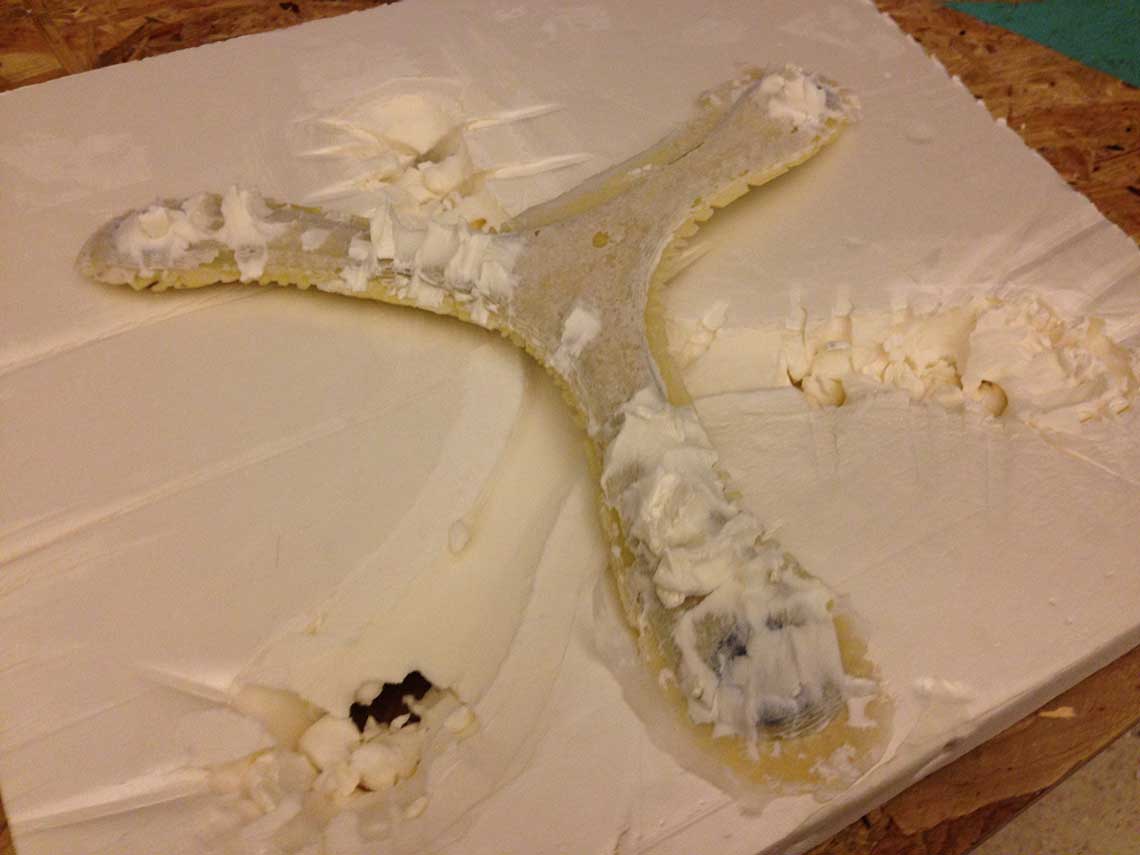 So I had to do a lot of cleaning, using a cuting knife to take off the foam and glue traces :
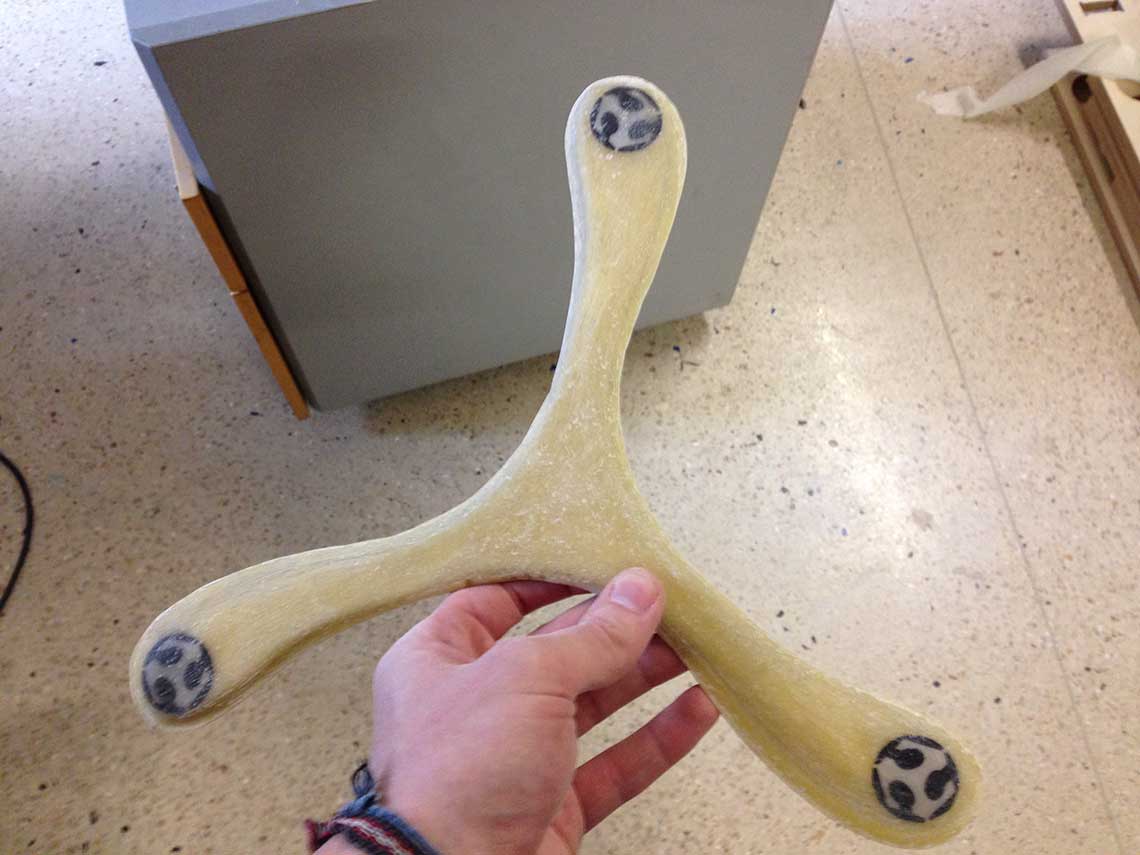
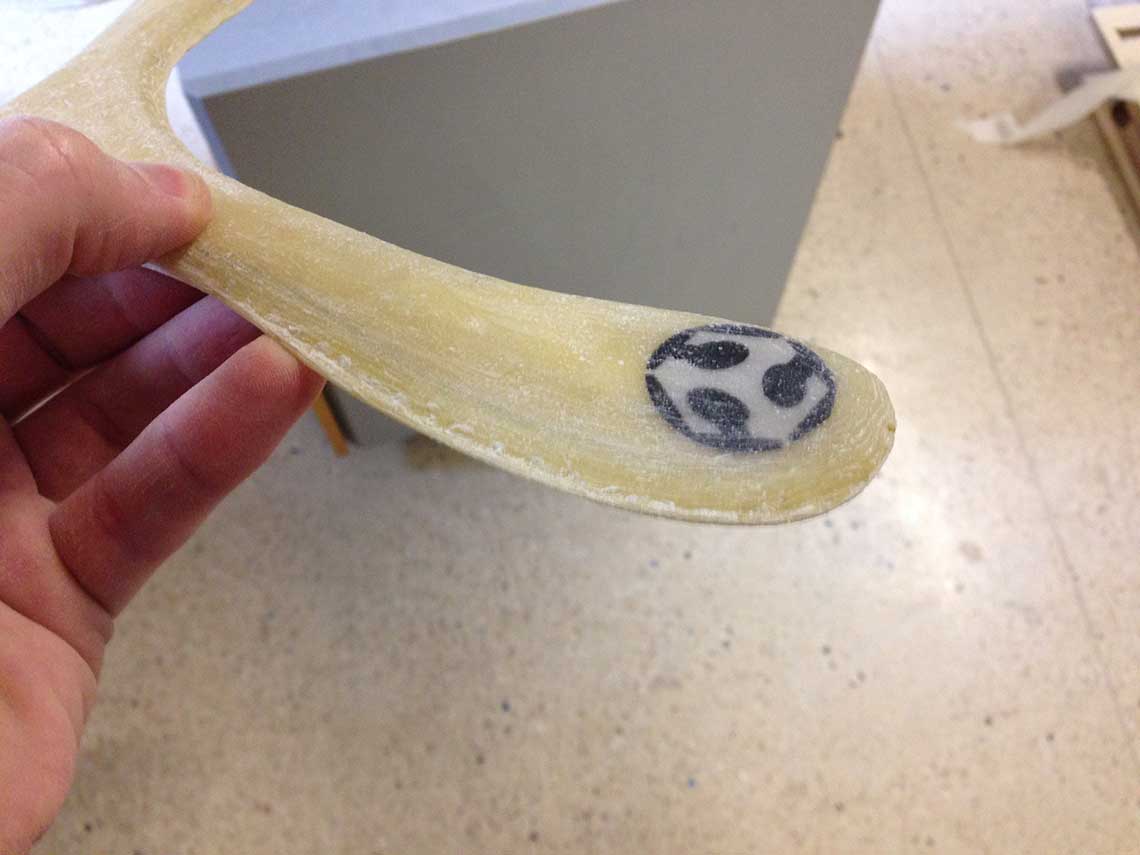
 After a while I managed to have a good result but I will have to do more sanding. Nevertheless, I am quite happy with the result : the shape is how I expected it to be, the logos appear nicely, the weight is perfect... I still have to test it !
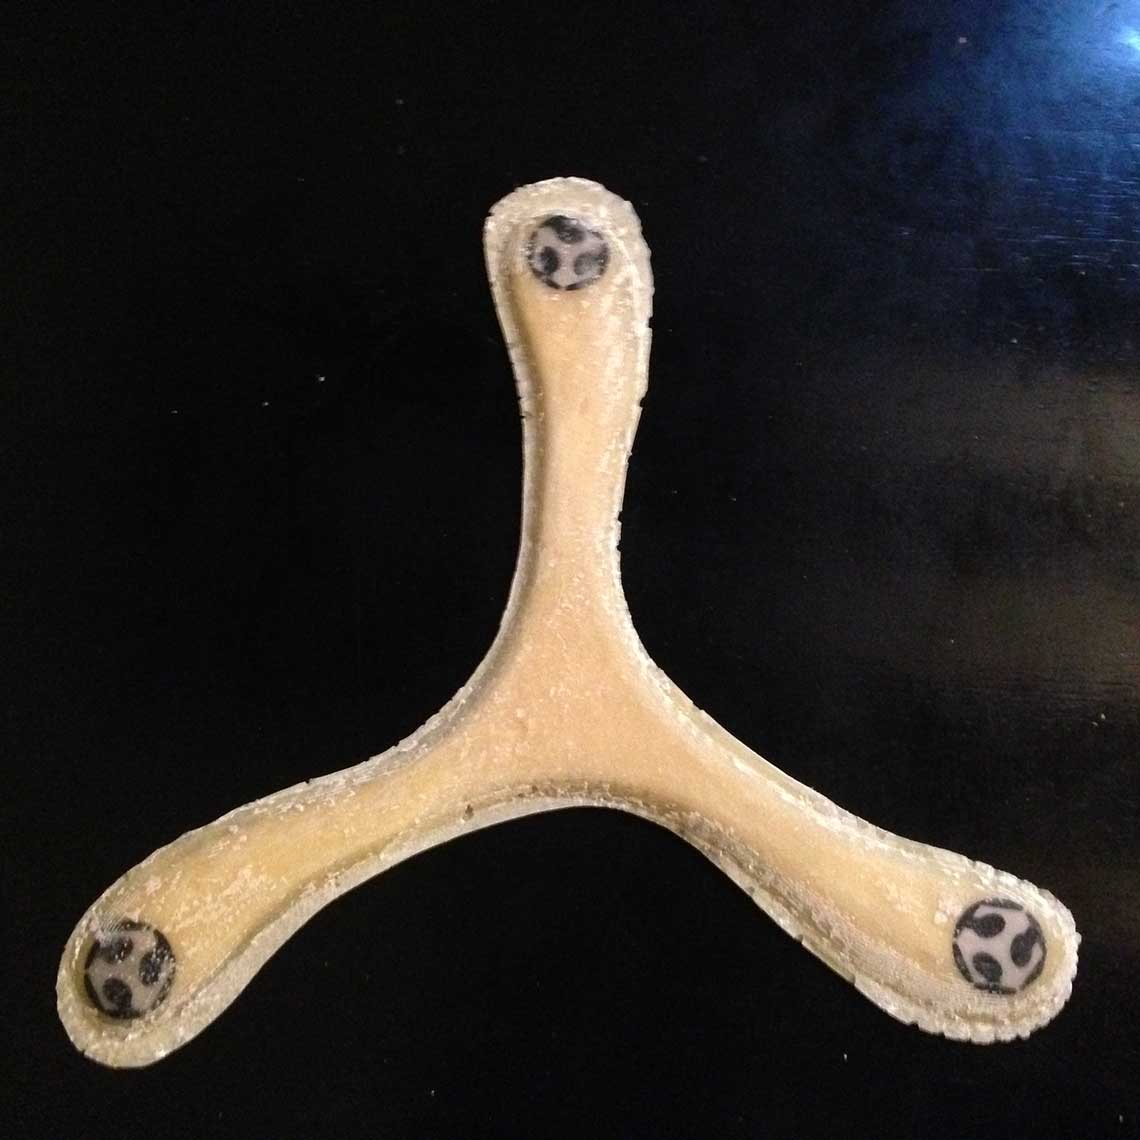 ... And this what happens when you try to do some finishing work with improper tools (a sharp cutting knife) at 11 in the evening without wearing gloves !!!
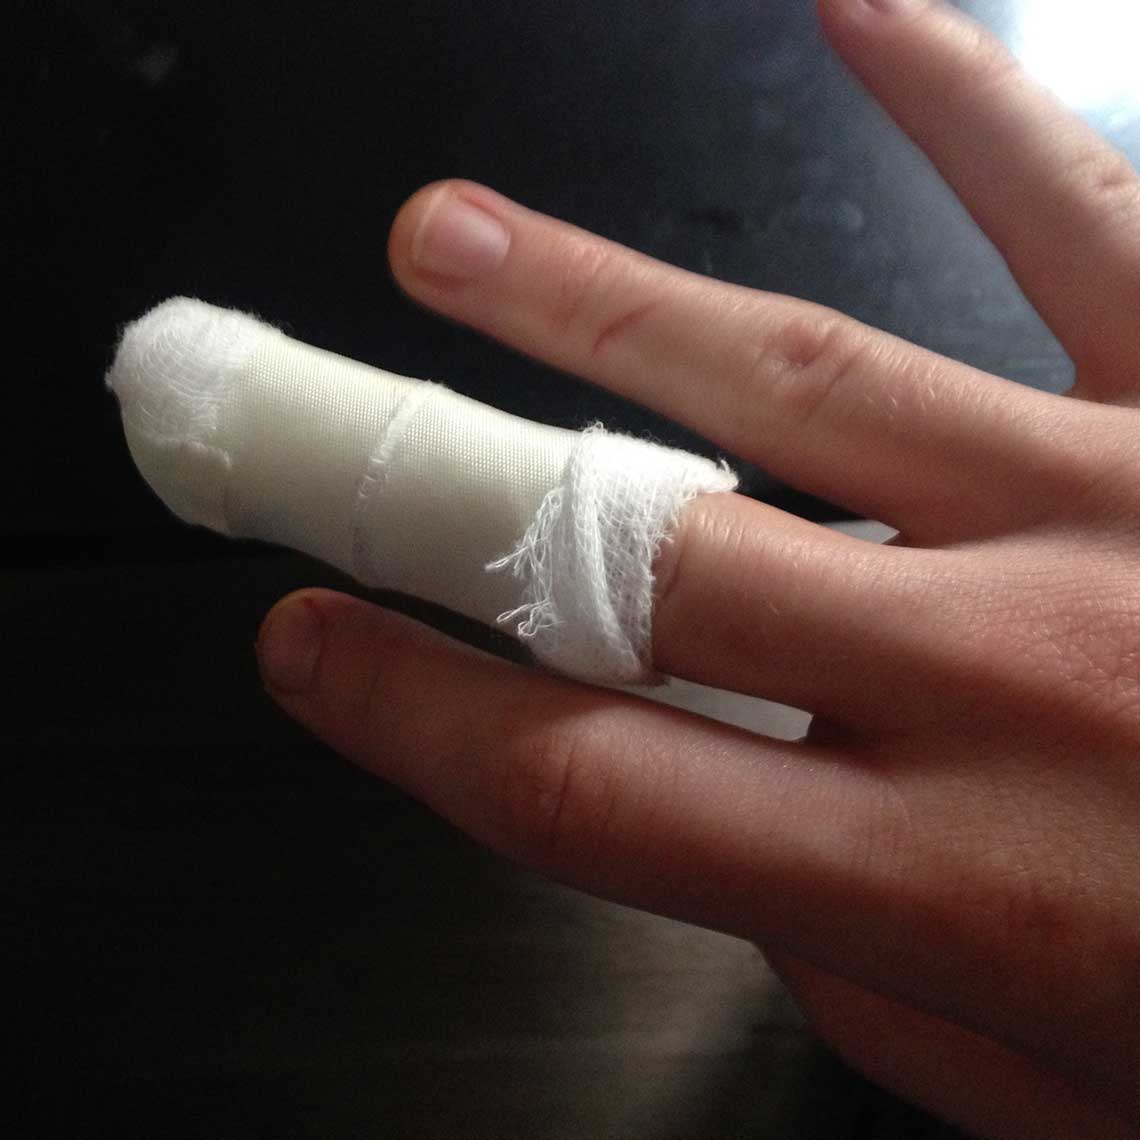 Result, three stiches... Nothing serious though. Next time I'll think twice.
Update 27 June
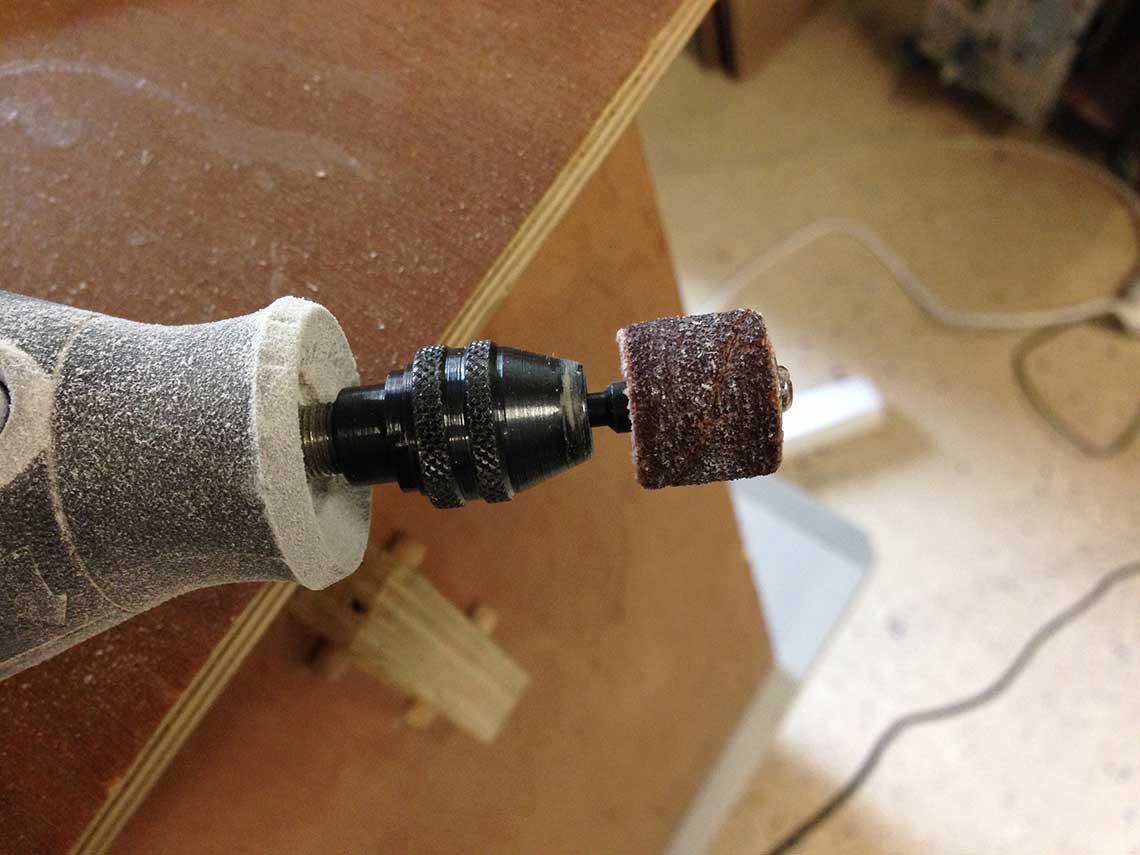
I took the time to finish trimming and smoothing the edges of the boomerang with a Dremel, using a sanding tool. Here a some pictures of this :