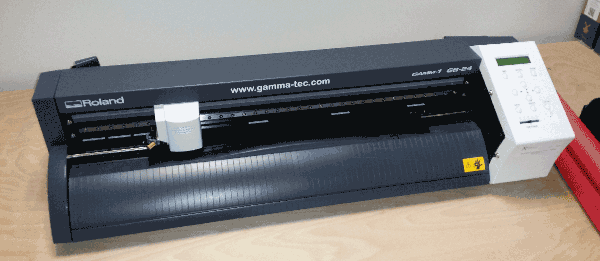
Vynil Cuter test with Andreas Feron
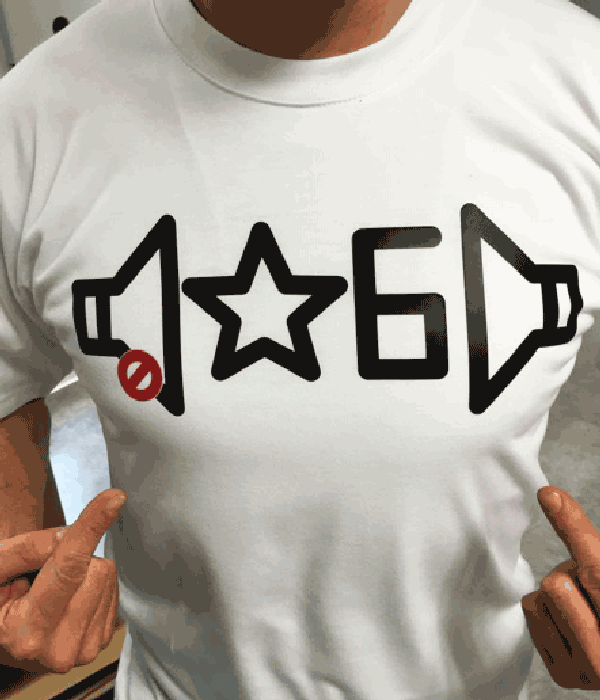
In a mail someone had the idea of a "Star 6 to unmute" tee-shirt
We thought it was a good idea, so we made it
Files

We used a Roland GS-24 cuter
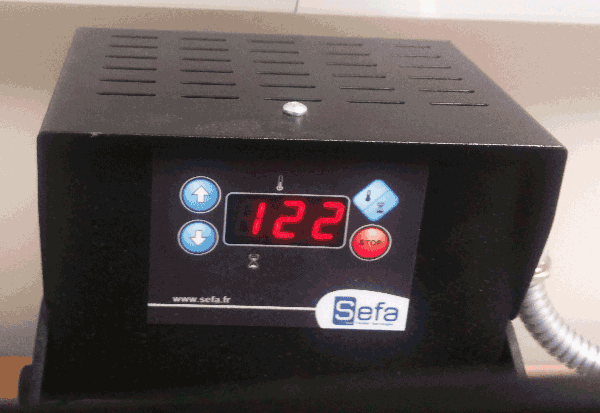
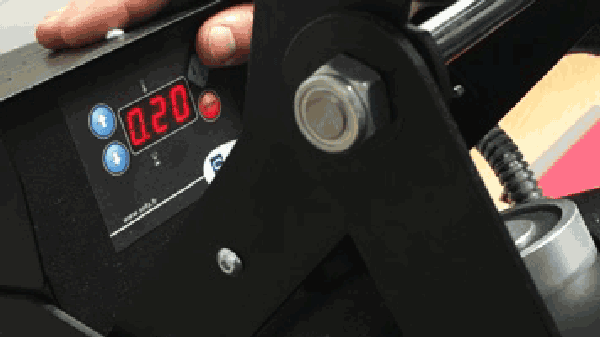
Settings
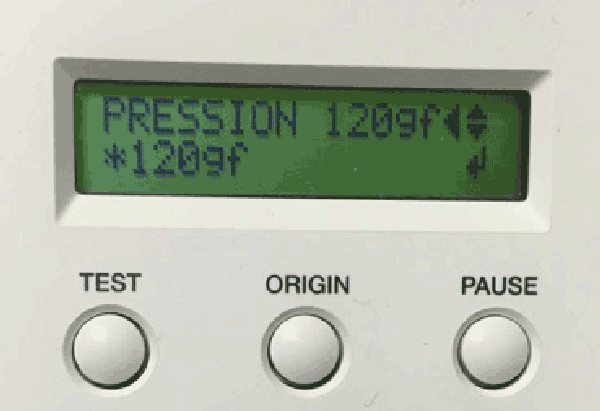
We did it with samples wihout knowing the brand of this material so we gave a shot to this setting.
And it was perfect at first try.
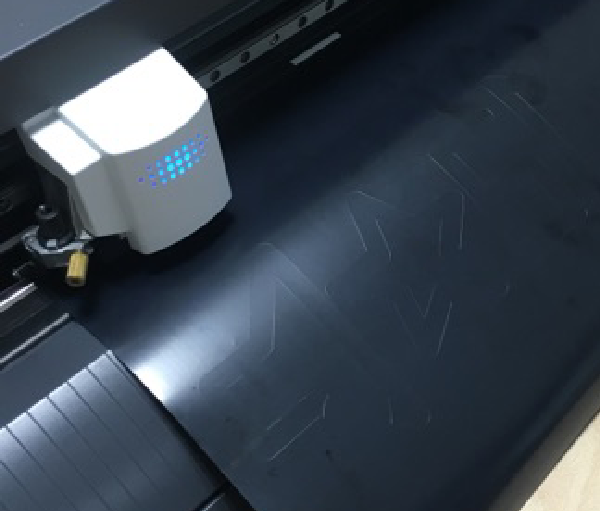
After a few tries we've found the good setting. First it wasn't glueing => to cold. Then we were afraid to burn it.
We've ever saw a burned tee-shirt so...and 20 seconds were find.
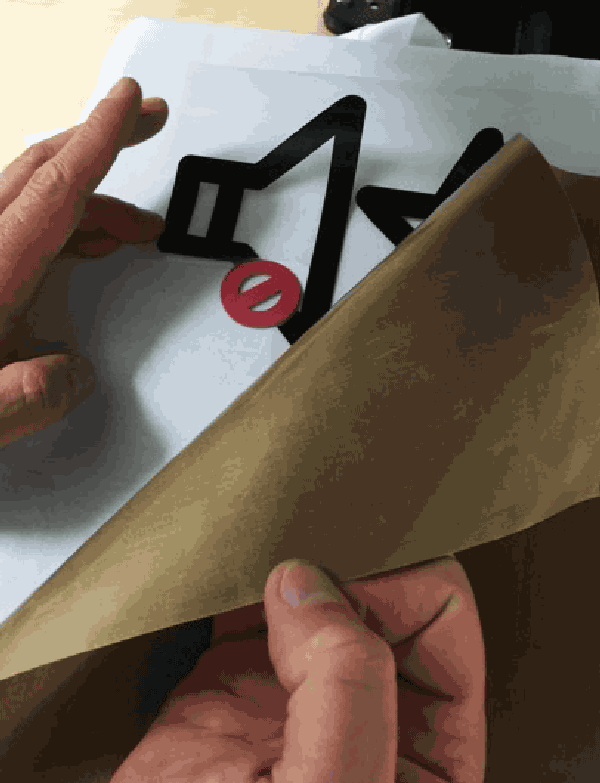
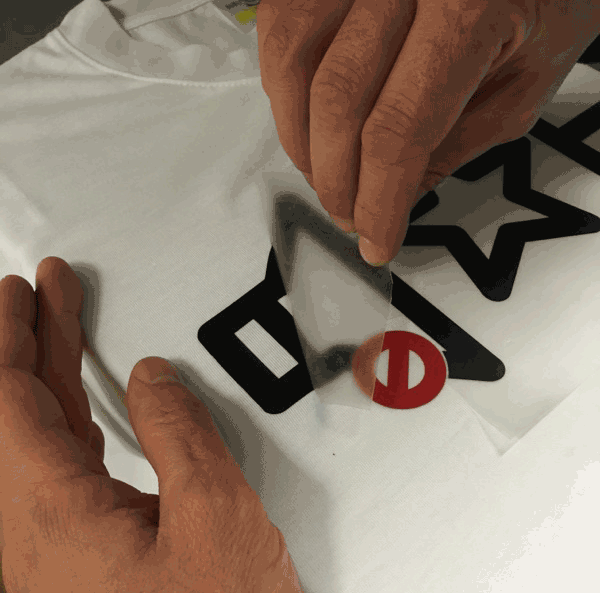
Then we placed the tee-shirt, centered (Red line) ith a ruler, the border of the table and the tee-shirt's seams.
Important : the collar must be out of the table (green line) to keep a real flat surface.
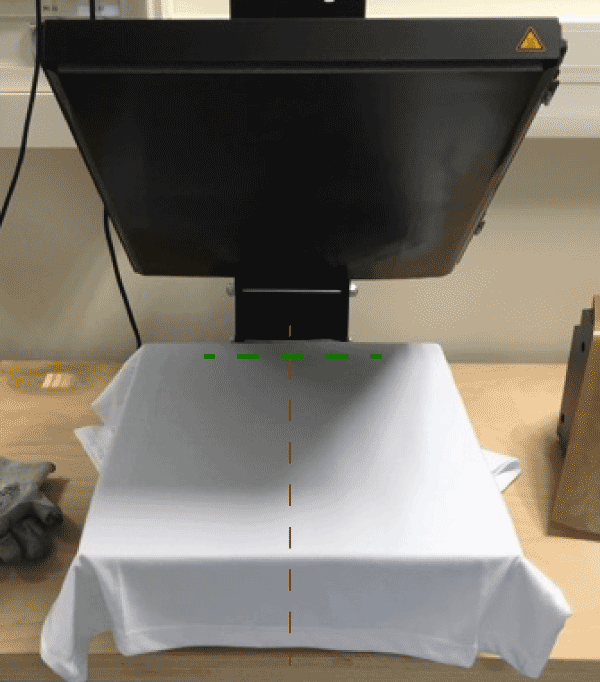
We placed a Teflon leaf overs the Vynil and the tee-Shirt to make sure that the tee-shirt won't turn yellow with the heat.
Once pressed let the all thing get cold for 30 seconds.
Star 6 and tell everyone, files here for cut and here for more.
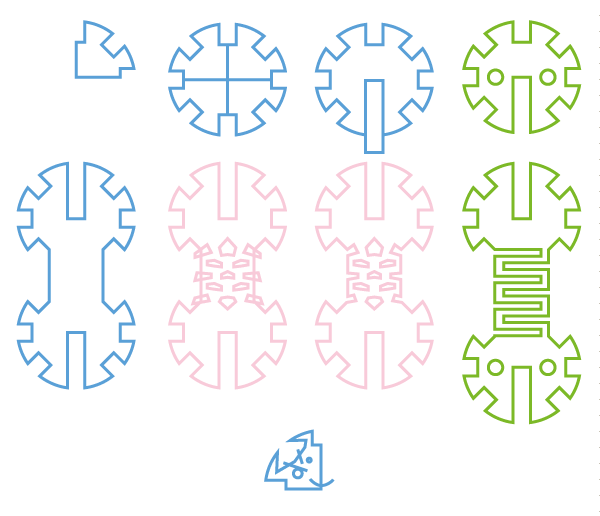
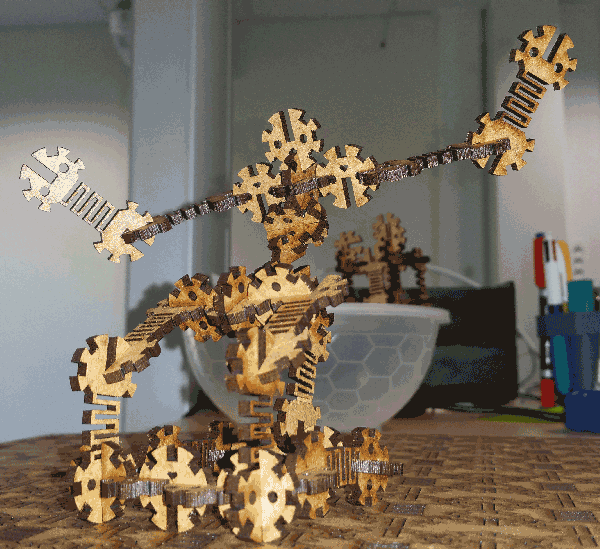
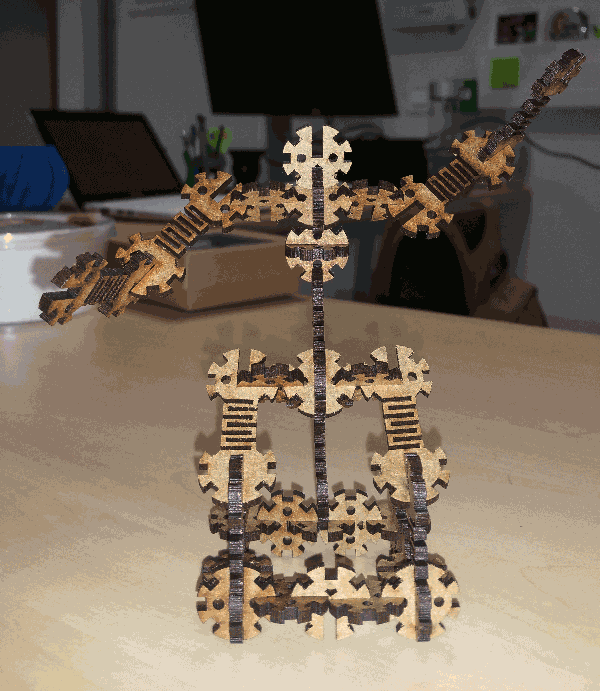
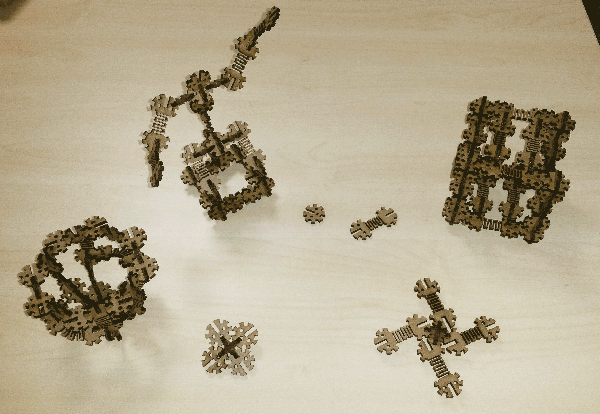
WoBu / Laser cut construction set
I wanted something giving me many choises for the angles during the assemblee
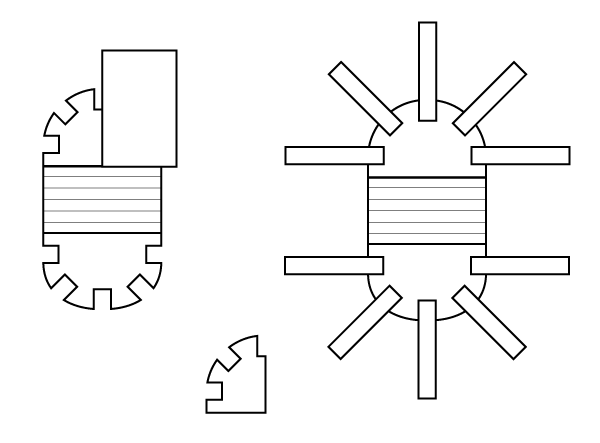
And i ended with this rond shape with teeth all around.
I thought of a Bugg, so i drew one.
After a few days a Worm was born from the idea of making a flexible part
Settings


Then we placed the tee-shirt, centered (Red line) ith a ruler, the border of the table and the tee-shirt's seams.
Important : the collar must be out of the table (green line) to keep a real flat surface.

We placed a Teflon leaf overs the Vynil and the tee-Shirt to make sure that the tee-shirt won't turn yellow with the heat.

Step 1
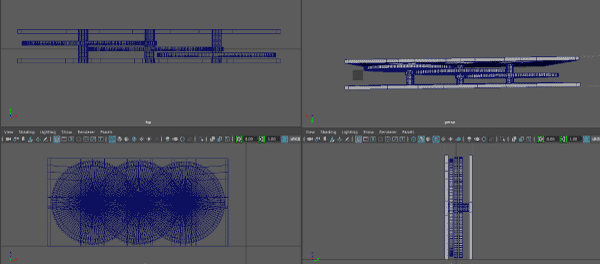
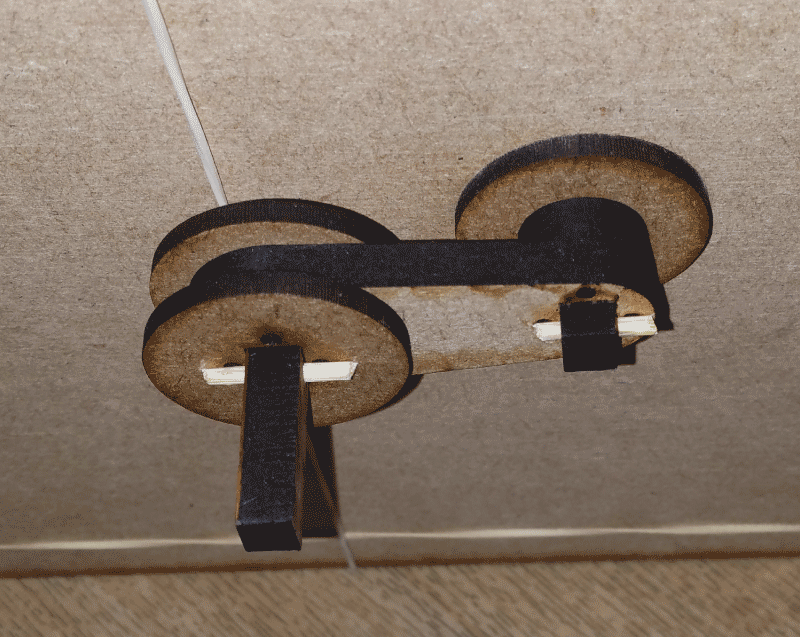
I 3D modelled a representation of the counting steps mechanism
Step 2
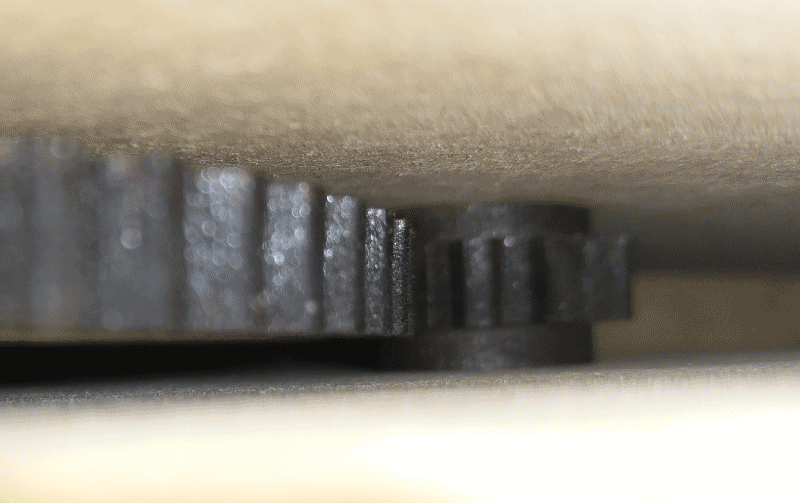
I used the web page woodgears.ca to make sure my gears will fit together

Step 3
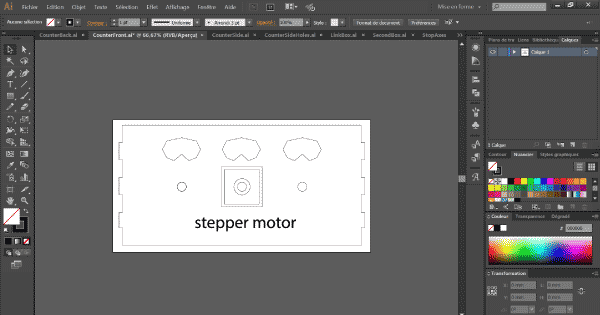
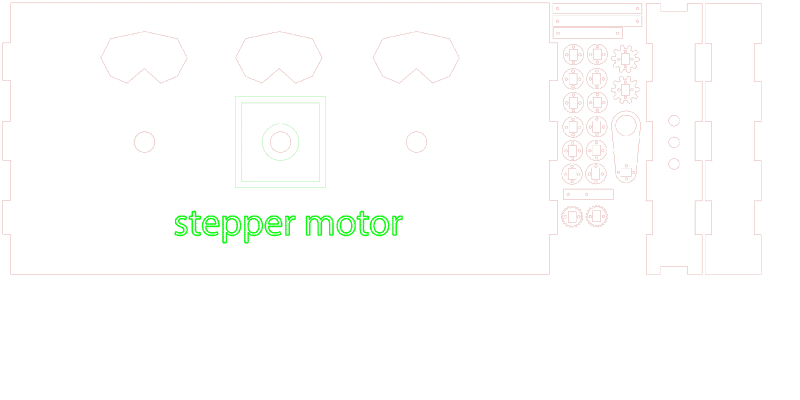
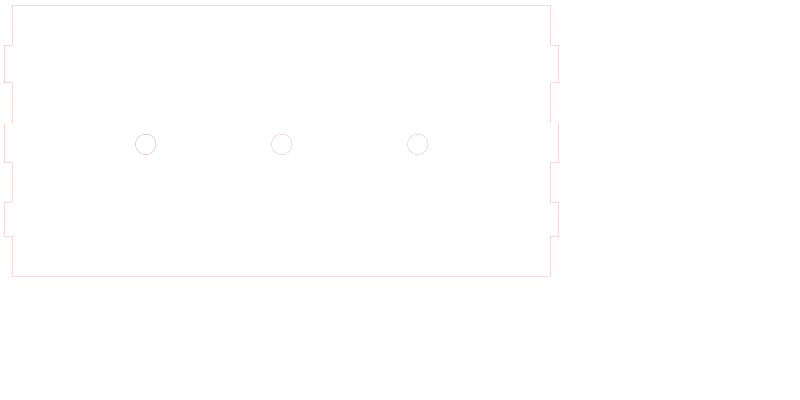
Then i drew the other parts in illustrator using the file generated in woodgears.ca and splines from Maya
Step 4
I placed every files (.DXF from Illustrator) in CorelDraw (the laser cutter is controlled by Corel in my lab) to create the final files.
I did so in a 600 mm x 300 mm file matching with the Epilog Mini 24 cutting zone
NB : I was cutting in 6mm MDF boards for the parts bellow

Step 5
I cuted the parts on an Epilog Mini 24
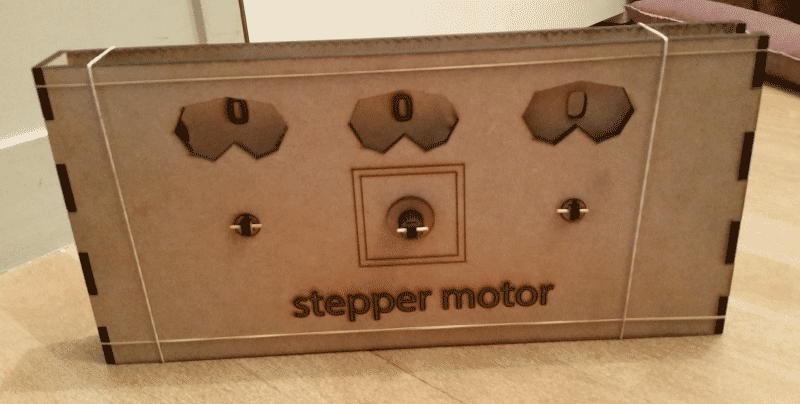
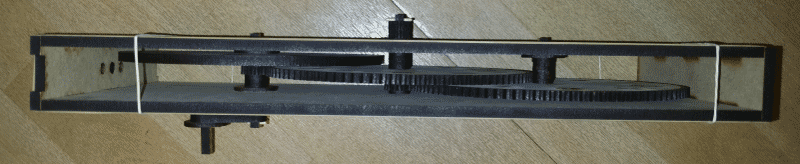
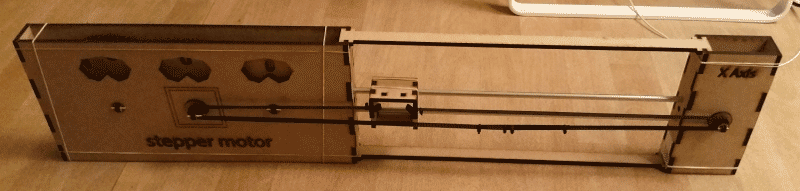
The full machine
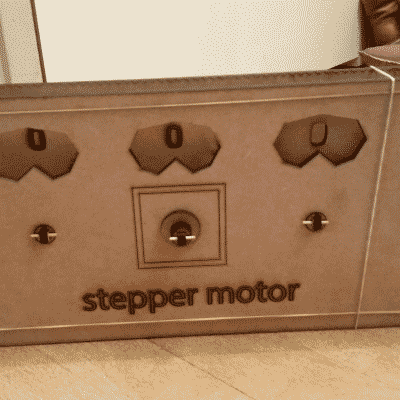
Turn and it moves the charriot. You can measure the distance and then you can relay them to the Nb of revolutions of the motor