ADITYA BHATT

Week-3 COMPUTER-CONTROLLED CUTTING
ASSIGNMENT
1) Vinyl cutting using vinyl cutter.
2) Designing, making and cutting a press fit kit.
MAKING THE PRESS-FIT KIT
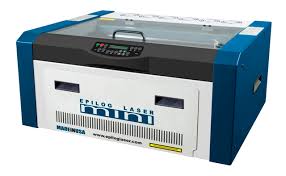
Specifications of Eplilog laser mini:
Engraving Area: 24*12
Power: 40 W
Maximum material thickness: 8"
Laser source: air-cooled CO2 laser tubes
Intelligent Memory Capacity: 64 MB
Resolution: User controlled from 75 to 1200 dpi
Print Interface: 10 Base-T Ethernet or USB Connection. Compatible with Windows® XP/Vista/7/8.
Electrical Requirements: Auto-switching power supply accommodates 110 to 240 volts, 50 or 60 Hz, single phase, 15 amp AC
Usability:
a)Engraving
b)Laser cutting
c)Range of Material Can be used in the machine
d)Markings
e)Paper cutting, etc
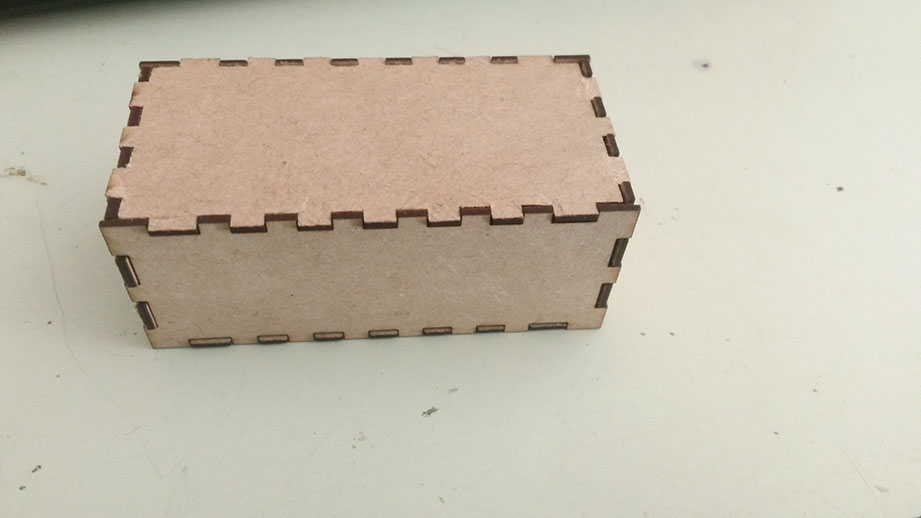
The construction of pressfit kit was quite an easy task for me. I wanted to make a box which I can use in my final project too.
I have used Rhino in this assignment to design the press fit kit.
Many people also use box maker to design their boxes.
The screenshot below shows the Box maker site with the parameters to be entered. If you do not trust your designing skills, you may use this to design a box of any dimension you want to laser cut
.jpg)
Designing in Rhino
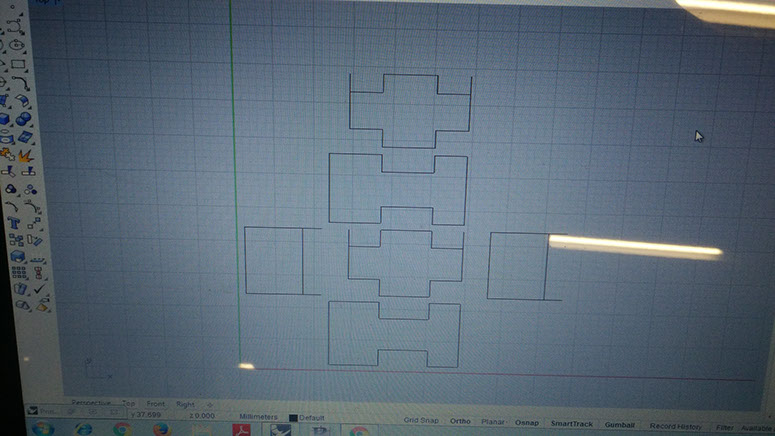
It was just about drawing a few lines and designing the box.
Get my file from here.
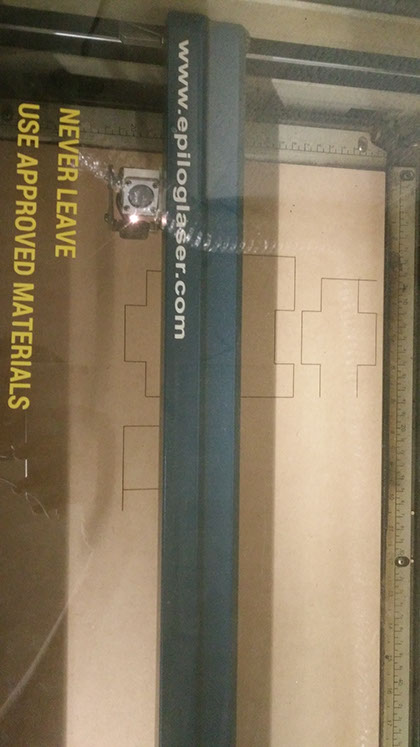
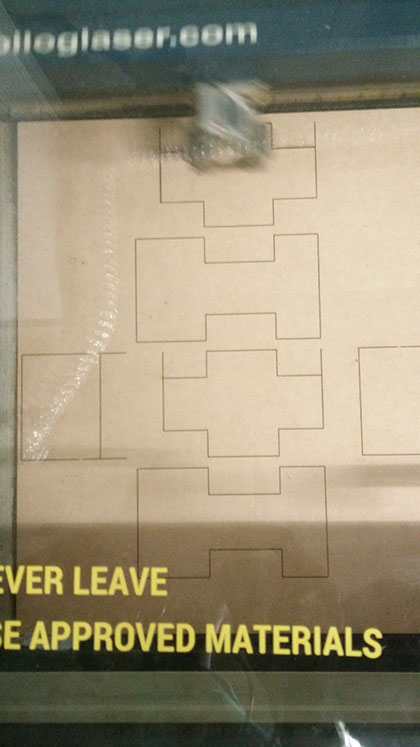
Cutting the file In the laser cutter
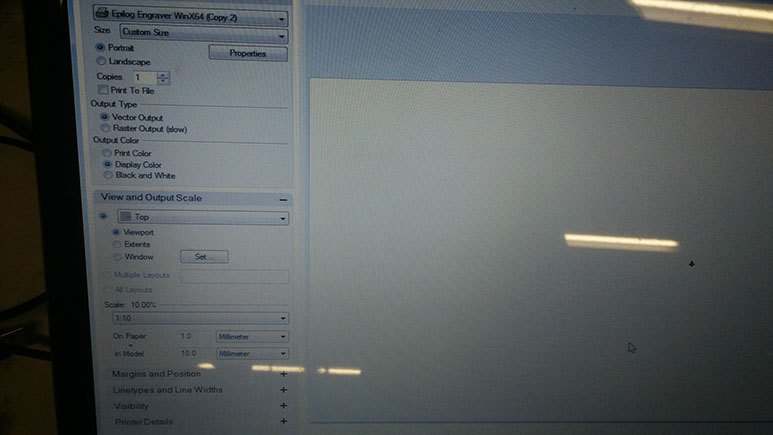
press on the set to set your file on the way you want to cut it on the bed.

The parameters I had set while using the laser cutter are as follows-
1) power-70 %
2) speed-6
3) Frequency-2500
After setting the above mentioned parameters, I gave the print.

The job has been updated to laser cutter and the file is also now ready to be cut
One of my box used in the final project.
This box was designed in Box maker whose link has been given in the starting of this page. I have also used this in my final project.