- HOME
- My Fablab
- Final Project
- Assignments
1.Principles and Practices, Project Management 2.Computer Aided Design (CAD) 3.Computer-Controlled Cutting 4.Electronics Production 5.3D Scanning and Printing 6.Electronics Design 7.CNC Machining 8.Embedded Programming 9 - 10.Machine building 11.Input Devices 12.Molding and Casting 13.Output Devices 14.Composits 15.Networking and Communication 16.Interface and Application Programming 17.Applications & Implications 18.Invention, Intellectual Property, and Income 19. Project Development
- About
Week 5
3D Printing and Scanning
The assignment for this week has Five parts;
- • 3D Designing
- • 3D Printng
- •3D Scanner Making
- • 3D Scanning
- • Checking 3D Scanner rules (Group Work)
3D Designing
I started with sketching different objects by hand as I think of the best to design which would in line with my Final Project Proposal. I also wanted something which cannot just be done by a 2D and give the perfect result. This was not easy to find instantly but then took to rhino to start something. That is when I got the idea of doing a chain. I could take torus to use but was not giving me the result I wanted so first so I switched to 123D Autodesk

Starting to learn Rhino
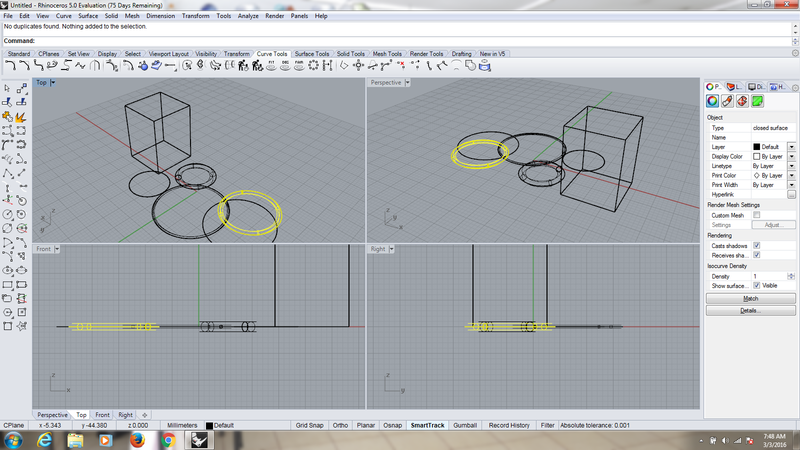
It was a challenge especially that it shows four views at the same time
Designing with 123D AutoCAD became a fun and easy enough to give me what I wabted. Bearing in mind that I am just learning these tools, to me, I did so well.
The object rotation, scalling and other modifications were handy and as you can see, my first design was so bit at size of each turus measuring 5mm x 25 x 25mm giving a full size of my design to be 32.000mm x 65.000mm x 28.842mm but after sizing using the scale tool, it changed to 9.961mm x 34.798mm x 10.002mm brought about by a Torus measuring 2mm x 10mm x 10mm
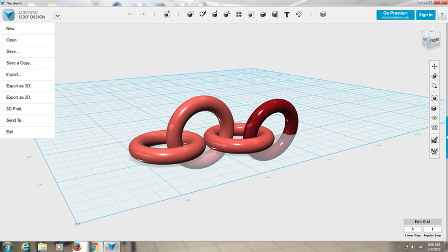
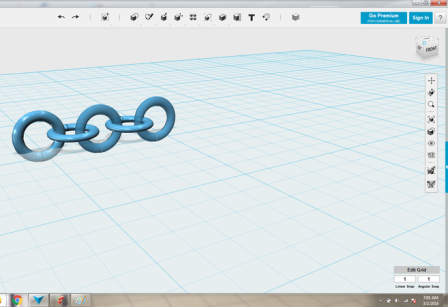
Eventually, I got to do something after switching to 123D Autodesk. My chain looked so good. I tried to play with different tools; changing material type, resizing among others
type something here please....
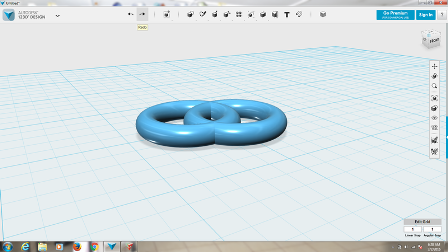
Material
For the design, I chose a Poly Smoky as the material to be used however our Printer Makerbot Replicator uses PLA Filament which it melts to print out the work
3D Printing
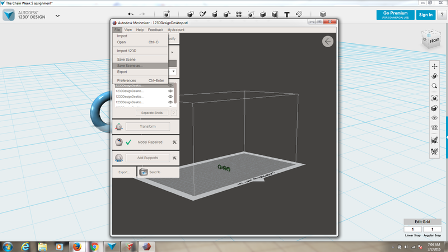
Preparation for printing was superb. For Makerbot Printer, the document must be saved either by OBJ or STL. For my case I chose STL especially following Neil's advice.
Now it was improving in preparation to printing
type something here please....
Note: This, together with Scanning processes will be done immediately our Printer is up and working.
.... 3D Printing
As promised above, our 3D Printer was up again and working well so I got the privillege to continue this assignment.
I now started the process of preparing my design for printing by Makerbot Replicator
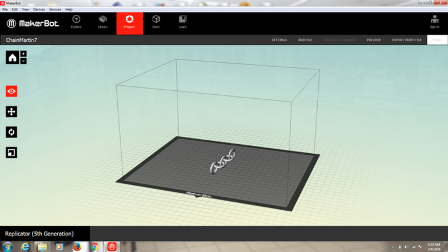
Again, I had to resize to make sure that it fits on the Makerbot working table.
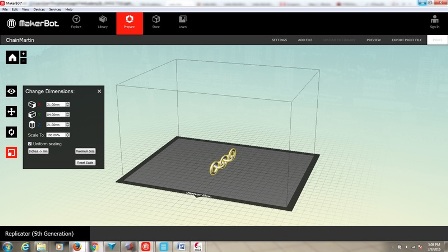
- • From the Design software, Export to 3D/ Choose STL and save
- • Download the Makerbot Replicator 5th Generation and install
- • Get started by Add File from the location you saved it above
- • Adjust necessary settings; change dimentions, temperature, raft, support etc
- • You can preview as the last part of preparation
- • Export the File to Print; here, you can save it to a USB drive
- • On the machine, select your work and print
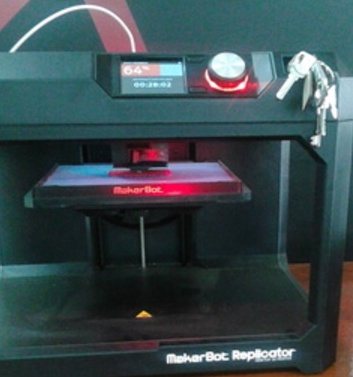
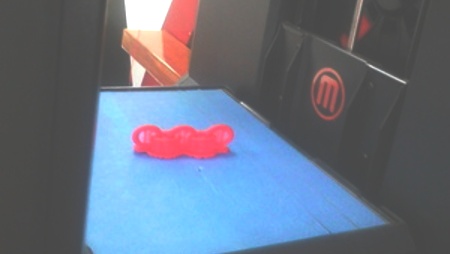
I made the fisrt attempt
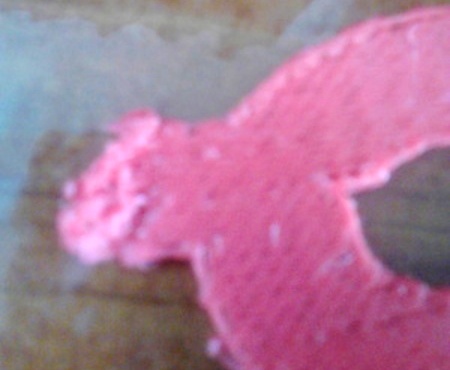
And see the result. It ended up stopping ubruptly just after laying the base
I did the first print and was not very successful. I realised that my design was too tiny. I wasnt so keen to realize that I could use the "change Dimensions settings of Makerbot to improve it, so I went to look for te original design but couldnt find it either.So, I decided to redo the design. This time, i gave it bigger dimensions as 20mm x 40mm x 160mm. This again failed but here, I was suspecting two reasons for the error message from the machine;
- The design was larger than the work bed of the machine
- One of the ending parts of the work piece cooled faster and started bendig upwards separating with the bed and the machine tip nocked it causing error message
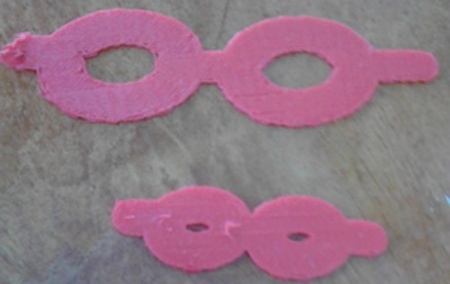
Initially, I thought the problem was with the size, so I resized it to be alittle smaller
type something here please....
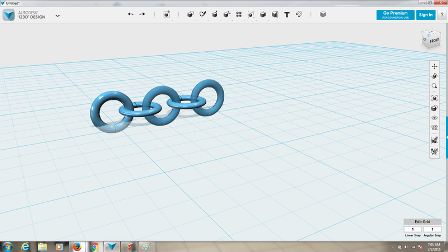
All the same, I resized my work with a maximum length of 120mm and checking support for the settings. I got the perfect work as you can see here
On close supervision as it prints, it worked. I also made sure that I set the support in order to hold the floating parts of my design
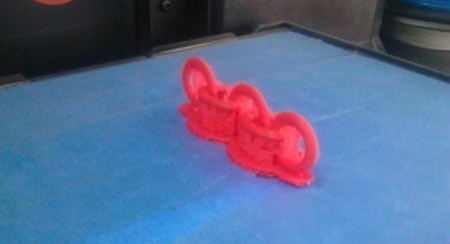
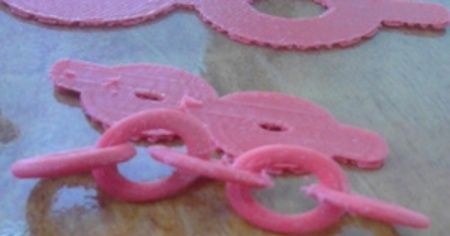
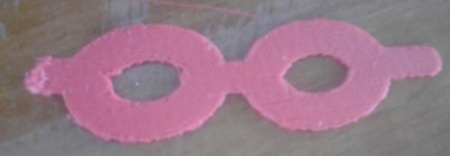
And there it is. A complete printout
3D Scanning
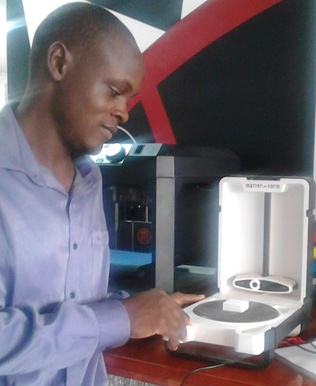
Setting up scanner and trying the first scan.
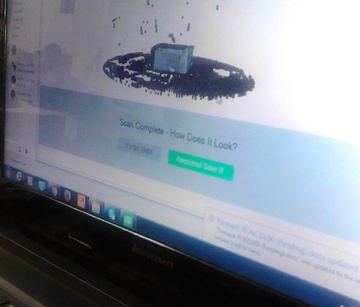
I got another opportunity to revisit this my assignment and update it. I used a Matter and Form 3D Scanner to do my scanning. I downloaded the Software and installed easily. I then decided to start the process of scanning wirh a simple and small 3D object just to test out. The process of scanning went relatively faster though not with very good result
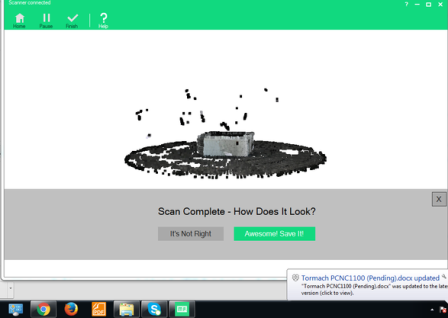
It was produced but with some spread out black spots.

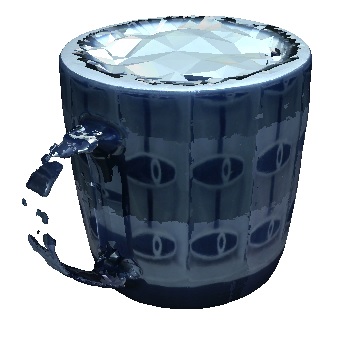
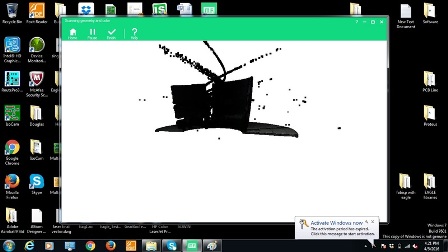
Being that I just picked some white cube to try out, I now picked a cup to scan.
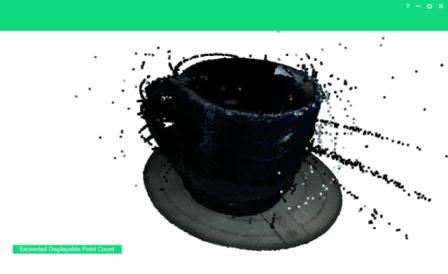
I then quickly replaced the object with a cup. I had been warned of its speed so I was prepared that it would take long. I also understood that with the bigger height, was was to get results after a long wait. True to the expectation, this scanning took about 5 hours.The image scanned was not so clear with other imaginary parts too
Scanning on progress
This result was now encouraging
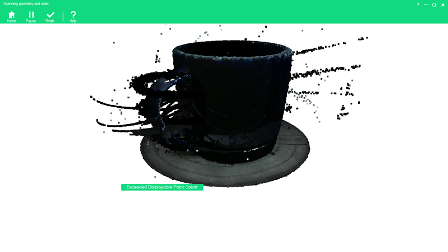
It took too long that I had to stop it before it finishes completely
Continuation
I re-scanned this cup in order to get the files. Now, I had waited for it to scan fully. I then cleaned it so well.

Cleaning
Cleaning was not so difficult this time round since there wasn't alot of noise.I first did Auto Cleaning, though with the warning that it would remove some of the important parts I wouldn't want to delete, I decided to tkae the risk. After this, the work remaining was now too light. I could change the size of the btush and select parts to delete.
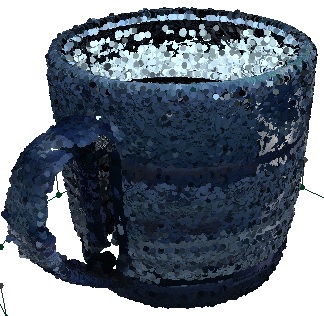
Exporting and Saving the Final Scan
When all cleaning had been done desirably, I exported the Scan to STL formart hoping to 3D Print it when I would have time. Other possible formats include OBJ. The outcome looked so nice and even offered chance for altering the backgound colour. Below was the very final result.
Machines and SOftwares used
- - Makerbot
- - Matter and Form
- - 123 AutoCard
Files
Download Raw File
Download Cleaned File