
ADITYA BHATT

3D Scanning And Printing
Assignment
a)Test the design rules for your printer(s) (group project).
b)Design and 3D print an object (small, few cm) that could not be made subtractively.
c)3D scan an object (and optionally print it).
Learning outcomes:
-Identify the advantages and limitations of 3D printing and scanning technology.
-Apply design methods and production processes to show your understanding.
Tasks To be completed:
-Described what you learned by testing the 3D printers.
-Shown how you designed and made your object and explained why it could not be made subtractively.
-Scan an object.
-Outline problems and how you fixed them. Included your design files and 'best shot' photos of the scan and the final object.
Test design rules and other parameters of a 3-D printer
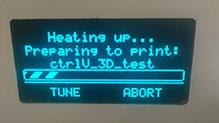
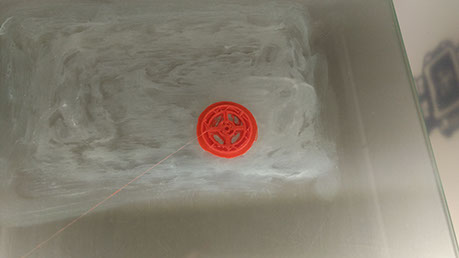
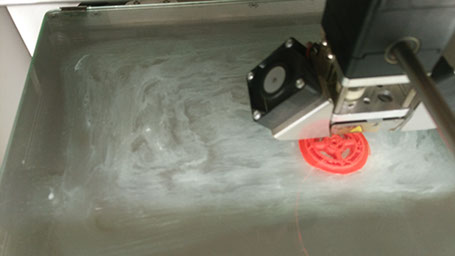
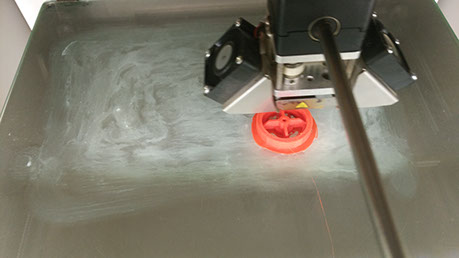
At our fab lab we have ultimaker 2 3-D printer. when I first heard of the concept of 3D printing, I was totally stunned and it was really exciting to see something getting printed physically. 3D printing is bascialy used to make prototypes, POC's and other objects too. We can use a wide range of materials for this. We mainly use ABS and PLA at our lab. I went on thinverse and downloaded this test file to test out and learn 3D printing as this is the first time I am using it.
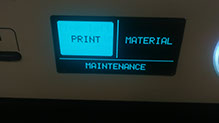
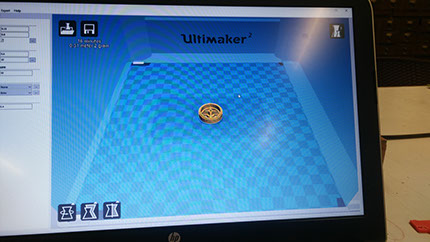
We use cura to set our printing parameters and convert the stl files to g-code and save it in our 3dD printer memory card. The ideal parameters for 3-D printing are as follows-
-layer height "0.2"
-Shell Thickness "0.8"
-bottom/top thickness "0.6"
-fill density (%) "20"
-Print speed "50"
-support type "None"
-platform adhesion type "None"
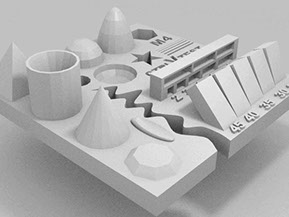
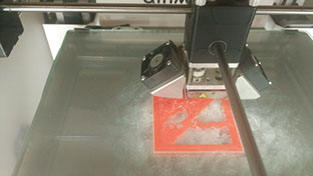
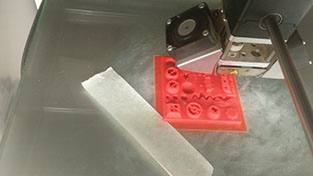
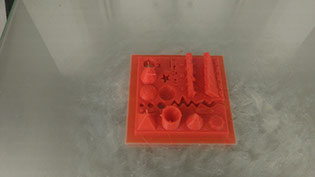
The final product is here-
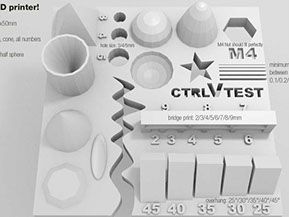
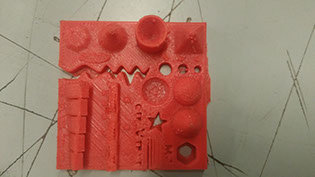
Here is how Ultimaker performed on all the tests:
-Nut, Size M4 Nut should fit perfectly:
good
-Wave, rounded print:
good
-Star, Sharp Edges:
good
-Name, Complex Shapes:
good
-Holes, Size 3, 4, 5 mm:
good
-Minimal Distance: 0.1, 0.2, 0.3, 0.4, 0.5, 0.6, 0.7 mm:
0.5 mm was the minimum gap that was clearly visible
-Z height: 0.1, 0.2, 0.3, 0.4, 0.5, 0.6, 0.7, 0.8, 0.9, 1.0, 1.1 mm
0.1, 0.2, 0.33, 0.44 and 0.5 mm are visible.
-Wall Thickness: 0.1, 0.2, 0.3, 0.4, 0.5, 0.6, 0.7 mm
-from 0.3 mm to 0.7 mm gap was clearly visible
-Bridge Print: 2, 4, 8, 16 mm:
good
-Sphere, Rounded Print 4.8mm height:
good
-Sphere Mix, 7 mm height:
good
-Pyramid, 7 mm height:
good
-Overhang: 25, 30, 35, 40, 45, 50, 55, 60, 65, 70°: good
-Warp, does it bend?: good
-D Print Font, optimized for 3D printing:
good
3-D Scanning
For 3D scanning I have used the software named 123D catch. You can get it from here.
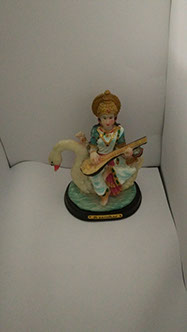
You can also find the app on play store. I decided to 3-D scan the statue of Goddess saraswati god of knowledege for indians).
The results obtained were quite a bit satifying seeing the time and quality of prscessing. The only issue I came through was the
extra stuff scanned in the background even after using a white background. Though I got rid of it by post-proscessing, being helped
by tapan bhai.

.jpg)
.jpg)
.jpg)

%20-%20copy.jpg)
%20-%20copy.jpg)
After taking all the images, autodesk 123D catch automatically compiles and process the images and then it does processing online on the autodesk server and then it shows the 3D objects that we have made.
Following images shows the 3D image made with this.
You can download the stl files from below.
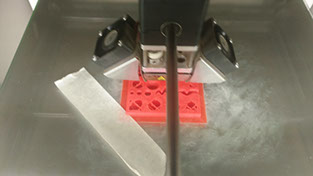
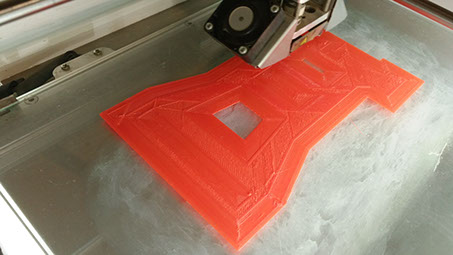
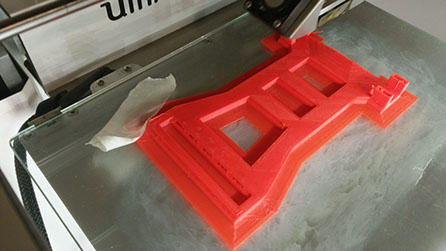
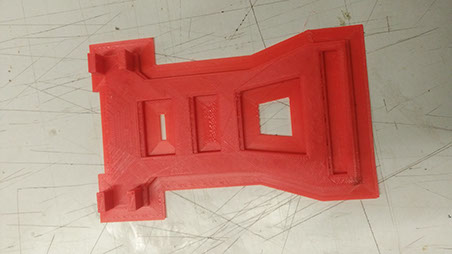
FINAL PROJECT 3-D PRINTS
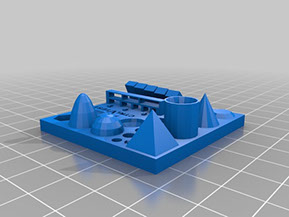
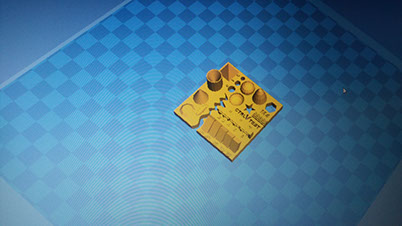
After testing and 3-D scanning I 3-D printed parts for my final project that I designed earlier.
You can find more about it here.
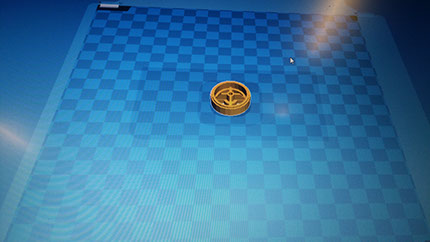
My chassis was printed just as I wanted and hence I moved on to print the wheels too!!
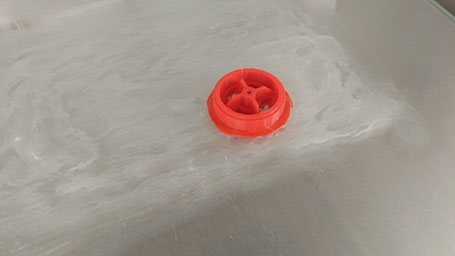
THE FILES FOR MY FINAL PROJECT PRINTS-
1) ROBOT CHASSIS ADITYA stlfile.
2) Robot wheel chassis. stl file.