
ADITYA BHATT

Week-1 principles and practices, project management
In the first week we had to begin with project management for the complete fab academy course with a weekly plan. Along with this we had to make our website where in we update our weekly work and other updates on the final project. I was very excited with the fact that I had to make my own website but I actually did not know how to make one. My colleagues Rudrapal and Tapan had arranged for an expert session on how to use git and they also helped me with the website making by Using addobe muse.
MAKING THE WEBSITE
As mentioned earlier I have used out "Adobe Muse"; an creative and easy to learn software with good graphics for anyone. I have used apps like addobe photoshop and ilustrator earlier so using muse was not very difficult.

GETTING STARTED WITH MUSE
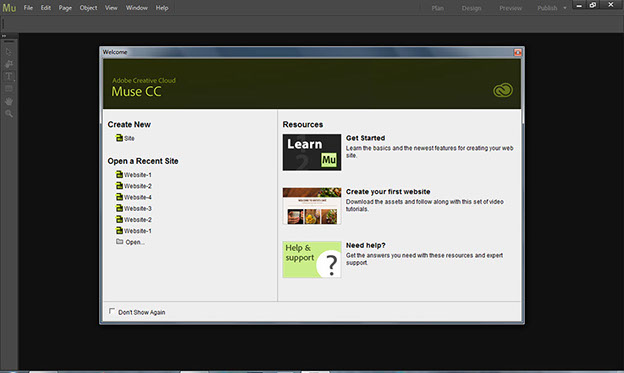
Step 1. Start screen
Go to File-- click on New
It asks you to open an existing file or you want make new website.
It also shows you help tutorials on the main start screen.
Step 1. Start screen
Step-2 choosing size and other things for your website
For making a new website click on Site in welcome window.
a new window will appear that will ask you all the dimensions and other margins that one website needs.
you can add more scales and boxes for references.

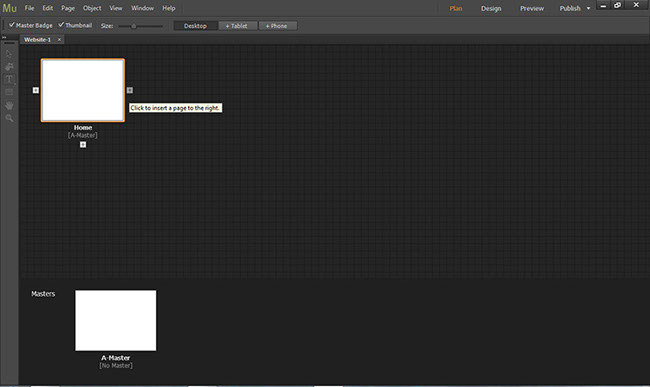
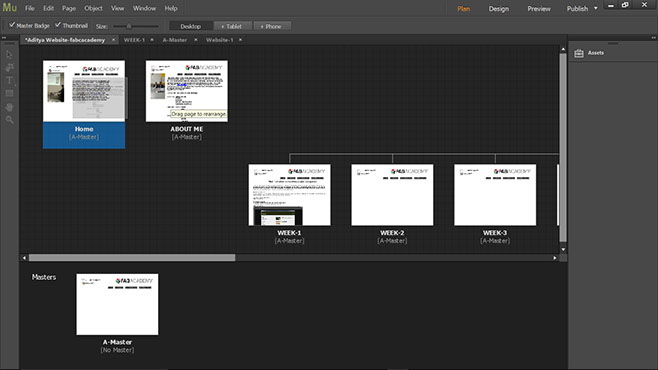
Step-3 Starting with main screen for new file.
This window shows two segments, one for website and the other shows master.
Pages shown in the website segments are the pages that are going to be in your website.
And master pages are the pages which can be implemented in any of the normal page of the website.
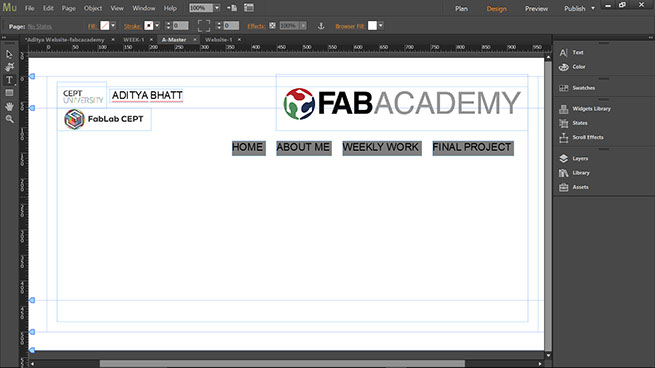
Step -4 Making a basic layout of the website
Basic Layouts are made in master pages and then applied on normal webpages.
You can have a look on how its done in the screenshot below.
Step-5 applying master page to a normal page
You can just drag and drop the master page on any of the webpage by just dragging and dropping.
And it will be applied to all the website pages.
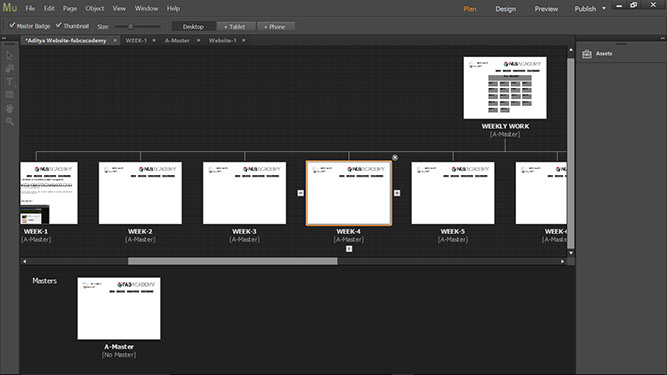
Step-6 Adding more pages to your page
After making a Basic layout you can add more pages in the window shown in the next image.
there are sign of "+" on both the sides and bottom of the each page.
You can add more pages before that page, after that page or you can add a sub-page by clicking "+" sign.
After making the website we have to convert the website into Html format and save it in a folder on desktop of anywhere you fell.
Now that we have the website somewhat ready its time to upload it to the class archive so that our instructor can see what we are doing.
STARING WITH GIT AND UPLOADING DATABASES
After Our instructor add our FABLAB CEPT on the database and then one of us(Rudrapal) was made master page admin.
Then he sent us a link and added us into the database under him.
He was the admin in our lab hence he could all all other members.
After that I downloaded git Bash from
Then we went to
After Rudrapal added me Fablab cept, I could see FABLAB cept on my git Dashboard.
There is a link in the middle which we have to use to clone all the files, library/repository of our fablab into the computer. We
can have a look that what each of our batchmate is uploading and so on.
Now open git bash on you pc and follow the commands written below.
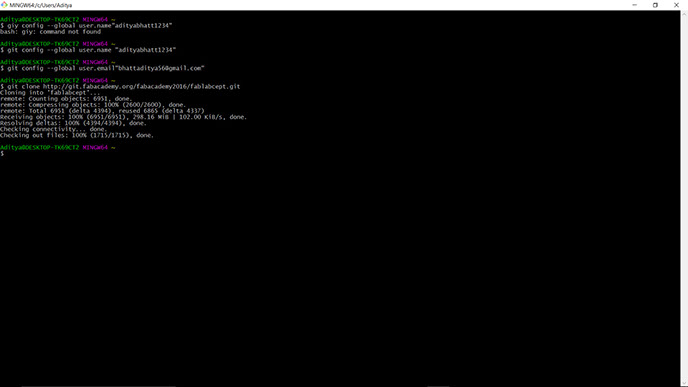
Git global setup
git config --global user.name "adityabhat1234"
git config --global user.email "bhataditya56@gmail.com"
Create a new repository
git clone http://git.fabacademy.org/fabacademy2016/fablabcept.git
cd fablabcept
After doing this copy the .Html files to the folder is the fablab cept folder of the number of our own website.
Then write git commit -m"message". After that write add -A, followed by the command git push origin master.
Now you will see your files being uploaded and after that is done you can go and check your website if evereything
is done as per our wish or not.
.jpg)
.jpg)
.jpg)
.jpg)
.jpg)