
ADITYA BHATT

Week 12 : Moulding and Casting
Assignment
design a 3D mold, machine it, and cast parts from it
I am not very experienced with moulding and casting so this will be a good experience for me.
I decided to make a mould with the design of a smile and cast it. I am running short of time so I need to make a simple file and the cast should also be made quickly.
I designed my file using 123D Design.
The dimensions of my file are as follows-
a)Length-60mf
b)Breadth-60mm
c)Depth-25mm
After making the file I converted it to .stl file.
The stl file can be found here.
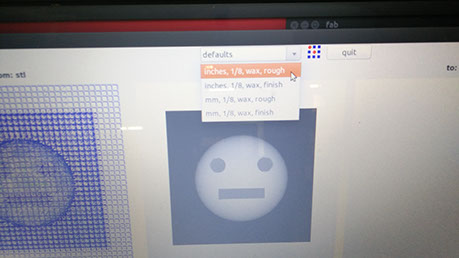
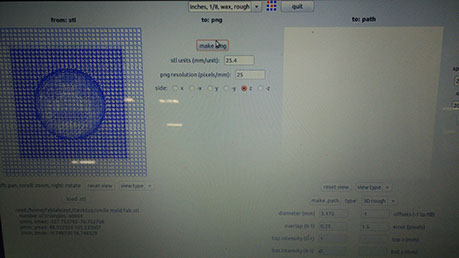
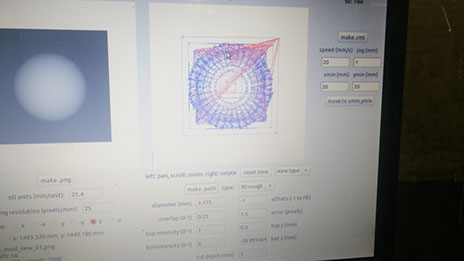
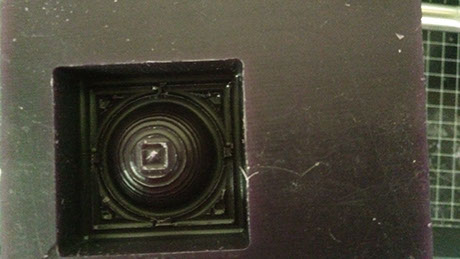
The stl file can be loaded in the modella software, then converted to .png and set the parameters to make the path.
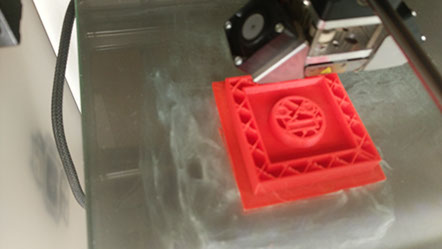
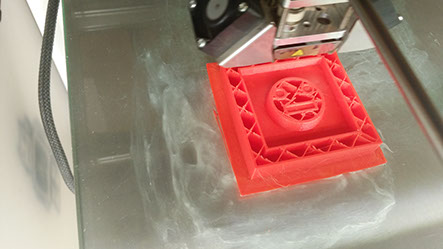
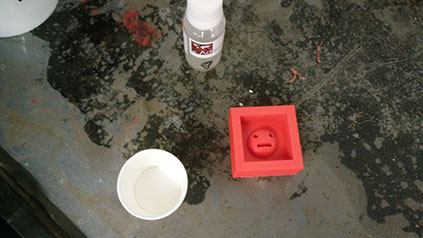
Then we have to place the wax mould and mill it. I was having a few issues to load and mill the wax so I 3-D printed the mould. I milled the wax mould later and doccument it. Right now just for casting I am using 3-D printing to prepare the mould.
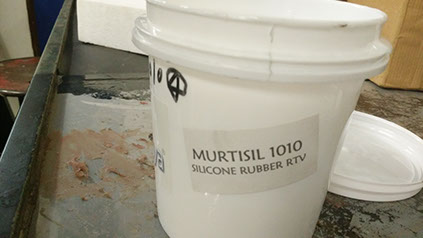
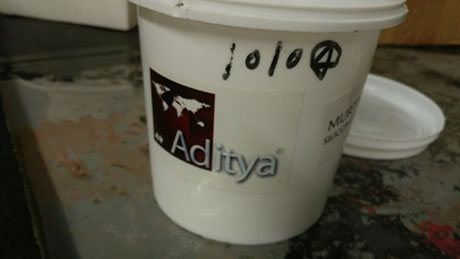
For casting I have used Silicon rubber and Hardener.
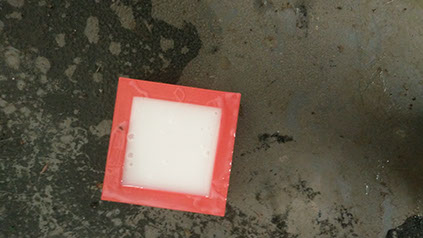
It took some 45 minutes for the mould to become rigid. I took half cup of silicon rubber and 10 drops of hardener.
If you want the cast faster you can use more ratio of hardner.
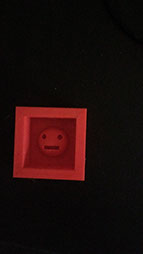
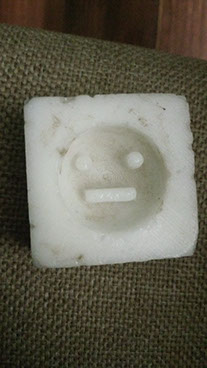
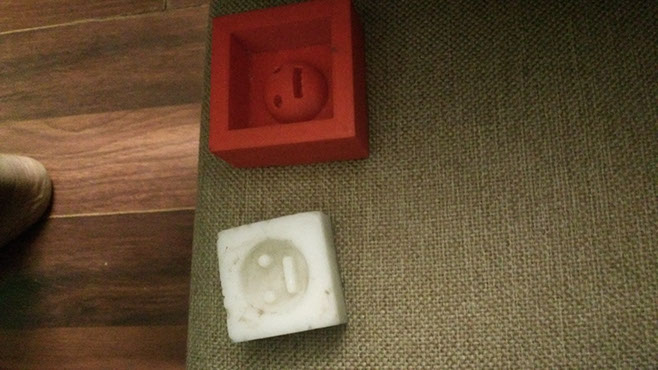
Once the cast is ready,it will look like this-
Files for molding casting-
.jpg)
.jpg)
.jpg)


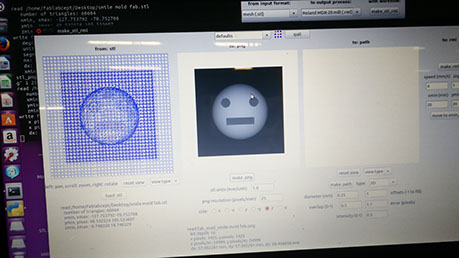
The .stl file is loaded in the png format
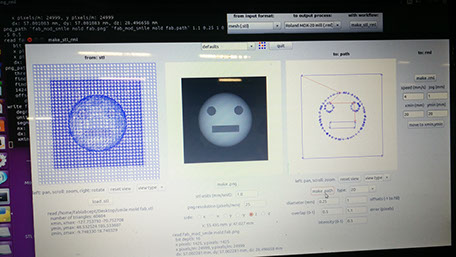
The path needs to be made in png format first.
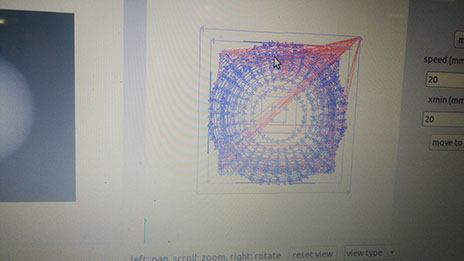
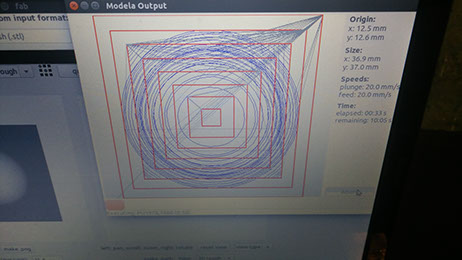
The path has been made now
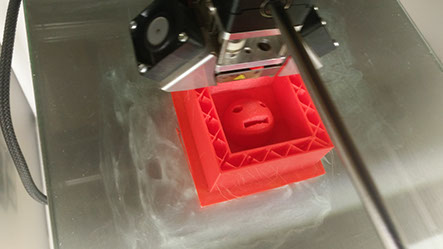
The mold is now ready for casting.
First we have to pour half a cup Sillicon Rubber and then add 10 to 12 drops of hardener and mix well.
Hardener bottle
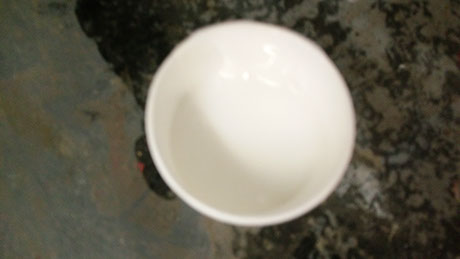
Now keep the mold in an isolated place for around an hour.
Job done!
The last time when I tried milling the mold there was a problem in the machine loading my file. The modela milling machine accept files upto the size of 400 kb only, and my file was 3 mb.
Hence I made a few changes in the number of meshes taking the help of my batchmates.
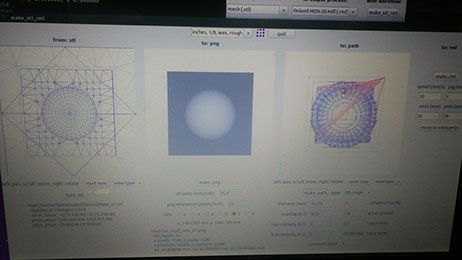
I first loaded the image in stl, converted it to png and made the cutting path.
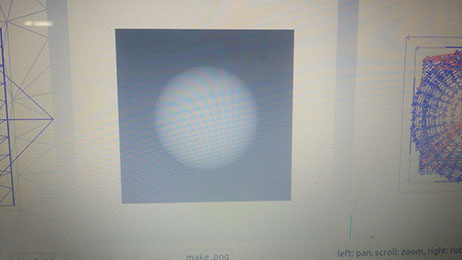
The png Image loaded is shown here.
After I made the path in png, I clicked make rml.
The milling path is ready and the wax mould is ready to be cut.
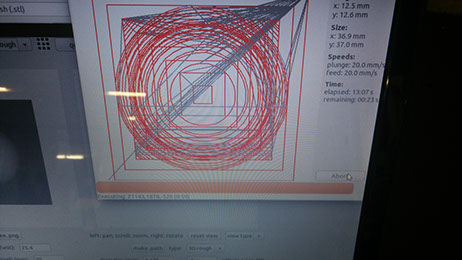
You can have a look at the status of cutting of the file. Now I forgot to mention that I have used 1/8 milling bit to make the mold.
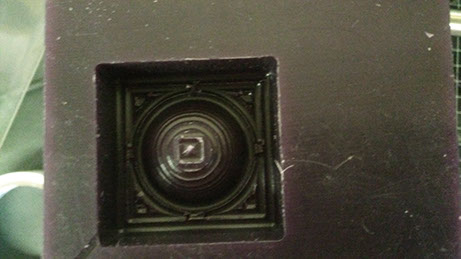
The mold is now ready to be casted.
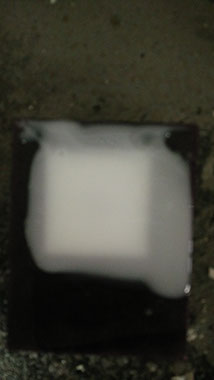
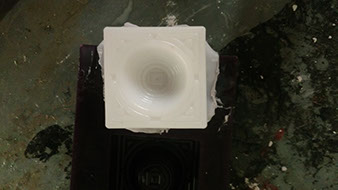

The mold looked something like this after a bit of post-processing