The objective for this week assignment is to create a 3d model that could not be made subtractively, that is to say that our design cannot be fabricated with other methods as extraction with the CNC machine or with laser cutting.
File: The file must be a STL file, a closed mesh (ready to print), it is a not modifiable file so it is recommendable to have the modifiable version of the model: dxf... etc.
Model:
• It must be a 100% closed solid ( closed polysurface, closed mesh)
• The minimum thickness that our machine prints is 0,8mm but it is recommendable not doing anything thinner than 1,4mm.
• The machine cannot print on the air, this means that all the cantilever elements on our model must be over some supports that we will remove afterwards. Makerbot desktop can design these supports by default but not always are easy to remove.
• When printing bridges, never with a bigger span than 6cm. It is very important to design thick enough structures that can support these spans. A good example of a bridge would be a door hollow, for a 6cm span, at least the supports must be no thinner than 0.5cm.
• There would be some elements that need to be printed over a base or raft that prevents the model from being moved or felt. This option can be modified on the makerbot desktop settings so the program can design them.
Units: we will be working with mm.
Accuracy:
• X and Y axes: 0.01mm.
• Z axe: 0.0025mm.
Machine measures:The file must not exceed the machines measures: 285mm long 153mm width 155mm tall.
Tolerances:When printing pieces that are hooked the tolerances are very important:
• For tight pieces we will give a 0.3mm value.
• For mobile pieces we will give a 0.5 value.
• On the X and Y axes the minimum tolerance is 0.4mm (the extruder thickness)
• On the Z axe the minimum tolerance is 2 layers of h=the thickness of our layers
MAKERBOT
Once we are on the Makerbot desktop program we open our STL file we want to print.
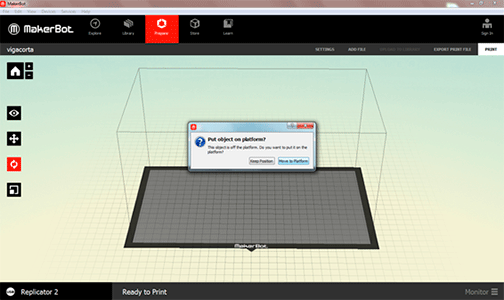
If the following dialogue box appears, that means that our file is outside of the printing
box of our machine so we place it on the platform clicking “on platform”
If the following dialogue box appears, that means that our file is bigger than the printing box of our machine or it is rotated so it doesn’t fit on that position. We click on “don’t scale”. If our file is located in a wrong position we change the rotation. If our file doesn’t fit on our box we should scale our file using another program even though we can do it with the makerbot program. It will be more accurate.
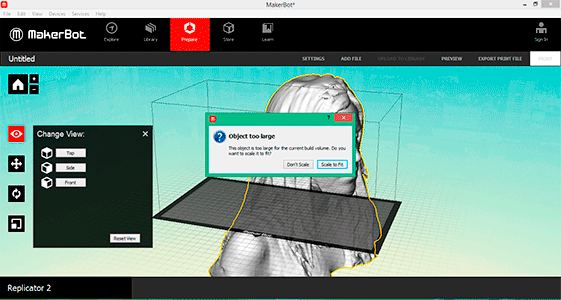
Objects can be seen in different points of views: top, side and front. They can also be moved to fit into our machine or for optimizing the impression.
The objects must be placed on the platform by clicking “on platform” and in the center clicking “center”. They can be rotated to fit in the machine of for
optimizing the impression. They must be over the base by clicking “lay flat”. They can be scaled but it is recommendable to import our files on the right scale.
Once we have our element in the print position, we go to the print settings and we open the custom settings:
SETTINGS
Material: makerbot PLA.
Profile: Depending on the level of detail, we choose one of the three options:
• Low: 0,25-0,40 mm (height of each layer)
• Standart: 0,15-0,25 mm
• High: 0,05- 0,15 mm
Temperature:It depends on the material. For PLA 220º, by default we have 230º 230th but we have realized that it is too much for the PLA.
Speed: We don’t change the speed
Support: the machine cannot print on the air, this means that all the cantilever elements on our model must be over some supports that we will remove afterwards. Makerbot desktop can design these supports by default but not always are easy to remove.
Raft:there would be some elements that need to be printed over a base or raft that prevents the model from being moved or felt. This option can be modified on the makerbot desktop settings so the program can design them.
Once we have the file ready to print: When we send the file to print, the program makes us a preview of the estimated time of printing, the amount of material used, resolution and if the bases or supports are activated. We can see the preview.If everything is correct we export it.
PREPARING THE MACHINE
Before exporting the file we need to make ready the printer.
The first thing to do is placing the PLA filament, for this:
• First we will place the PLA roll support (depending on the type of roll we will need a size or other).
• Second we put the roll in the support provided upward.
• Third we put the PLA filament inside the plastic tube that goes to the extruder.
To load the PLA filament in the MakerBot Replicator 2 we have to press “Utilities” in the front screen of the machine , Change filament, and load, then the machine begins to heat to catch the filament, once the extruder is a beep sounds and we introduce the PLA filament at the top extruder, we can help it by pressing the lever on the right side of the extruder.
Once the PLA filament starts out of the extruder it is ready (it is advisable to wait a bit to make sure that the PLA filament that leaves are not the remains of the previous print)
We must be careful not to touch the extruder because is already at 230 °C
When the filament is inserted correctly press M many times the machine screen tells you (we have to do it gently because the button is very sensitive and may give more times than we wanted to give)
Once the filament is well placed we can give print from the program MakerBot, we can do it from the machine or exporting it to a SD card
To unload the press filament Utilities, Change Filament and Unload, and when the filament is hot , we must push the lever on the right side of the extruder in order to help to unload.
If you want to stop either to change the filament or because something is wrong.
Pause/Unpause it is for very short pause, because the extruder will remains hot.
Sleep (Cold Pause)/Resume Build :This allows stop printing for extended periods of time.
During a break in the cold, the menu will change to Resume Build. We press M to continue printing.
If you want to cancel printing press Cancel Build.
Once we have finished printing not turn off the machine until the fan turns off, so that the fan extruder cool down properly.
3D PRINTING TESTS
Me and my partner Victoria Retana did some 3D printing tests in order to see how the angles and bridges affect to the final result:
Angles
We did a few angles test to know how the machine do them, so the machine starts doing it good from 40º to 90º with 30º we can see that the 3d printing it is not so good.


Bridges
It is important not just how long is the bridge but how thick is the pillar that we are going to do because if the pillar are too narrow there is not enough space to hold the bridge.
When designing an object that we will print on our 3D printer, we will need to take in consideration the different possibilities of our machine. In this case, a Makerbot Replicator 2.
• Firstly, we need to take into account the requirements of the machine dimensions: 28.5cm on the X axe, 15.3cm on the Y axe and 15.5 on the Z axe.
• Secondly, the model needs to be a closed solid and surfaces can’t be printed as they don’t have thickness.
• The model can’t be manifold, it can’t have multiple edges.
• There cannot be duplicated surfaces.
• Meassures Our machine’s extruder has a diameter of 0,4mm. That means that things with less than this diameter would not be printed. However, we can enlarge this value up to 0,8mm. When printing circles, as our extruder diameter is 0,4 mm the minimum printed will be 0,8mm but it will be very fragile. Therefore, it is recommended to print them with a minimum thickness of 2mm. Furthermore we will have to keep in mind its slenderness because if we are printing with a width of 2mm the columns would not be slender than 10 times its diameter. This will depend on the geometry of our model.
• Tolerances: for printing pieces that are hooked the tolerances are very important. For example, If we are working with a layer height of 0.2mm and if we want our pieces to be tight we will give a value of 0.3mm and for mobile pieces a value of 0,5mm
• Cantilever : as they are printed by layers, there cannot be cantilevers, we must change the orientation when printing the model.
• Inclinations: for minor inclinations than 45º we will need to put supports.
• Bridges: they go from support to another of certain length, in our machine 80mm.
• Finaly, our model must be in an .stl format, a closed mesh formed by polygons and triangles.
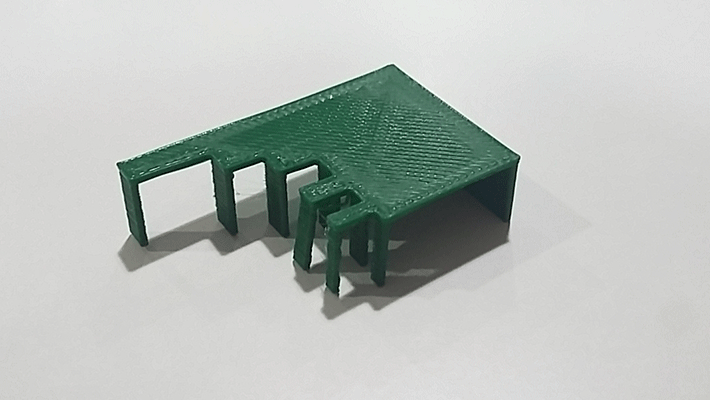
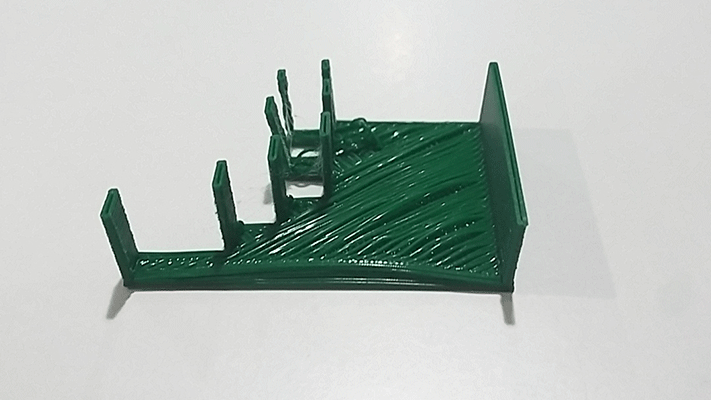
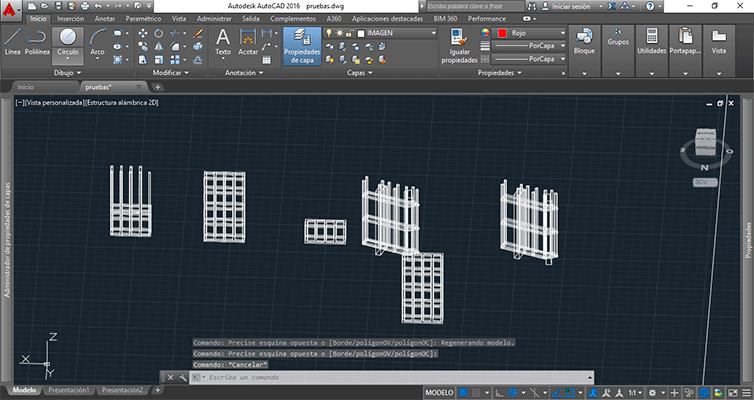
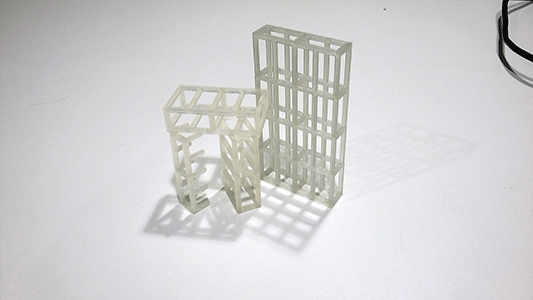
For the assignment I decided to investigate over the slenderness and the bridges, for that, I designed a very basic model made out of pillars and beams. This cannot be made subtractively because is a spatial network. I designed the model in Autocad giving a 2 mm of thickness to each pillar and beam.
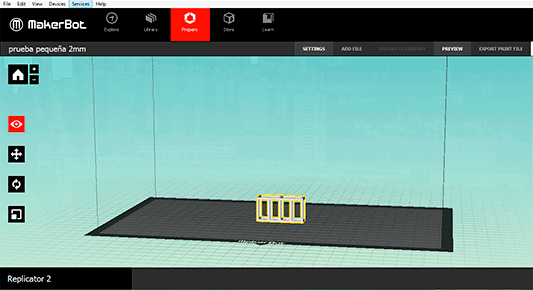
I exported to an .stl format and imported to the makerbot desktop program.
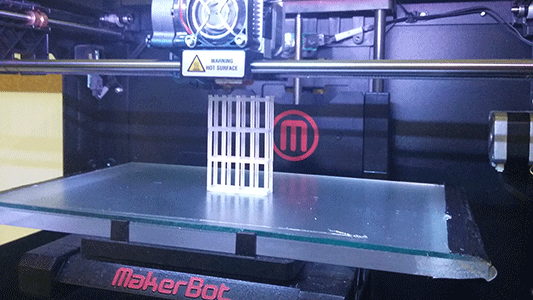
I had some few problems while printing my model because I didnt modify the temperature value (230ºC by default) so a big quantity of PLA melt and this produced an obstruction of the extruder. What I did was changing the temperature to 220ºC
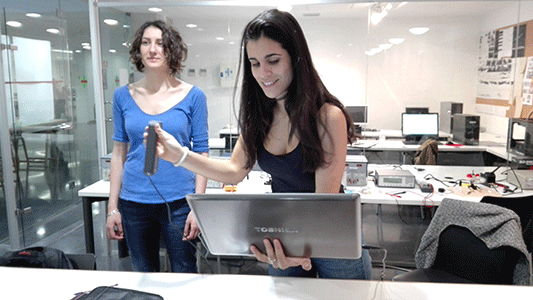
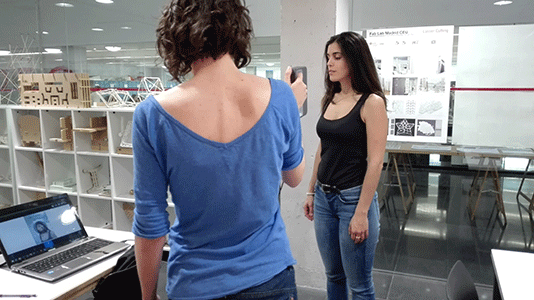
For the scanning assignment I decided to scan myself. For this, I used the 3d scanner used in my FabLab: Sense scanner.
When scanning an object we have to keep in mind that it is more difficult to scanner things that have a flat surface and don’t have texture than another one with different colours and textures.
The scanner gets information from the object and from around. It would be easier in order to scan our object if we have placed it over a chessboard, the scanner will had more reference points
The program of our scanner is very easy to use, you have to connect the scanner to our computer and start scanning. Scanning and object is a slow process because the scanner has to catch all the information of our object from every point of view and that’s why you must be very careful with that otherwise the scanner stops receiving information.
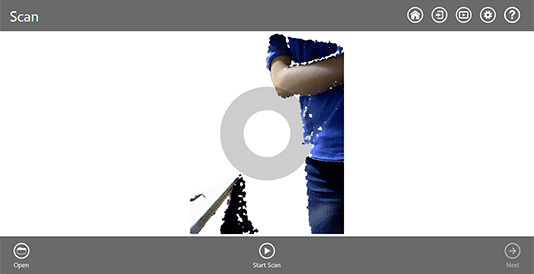
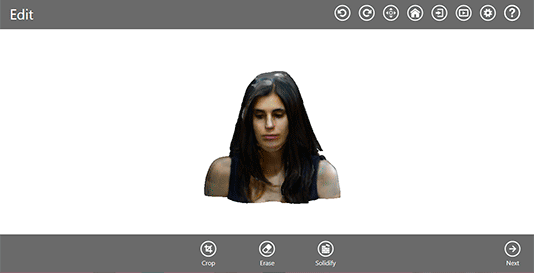
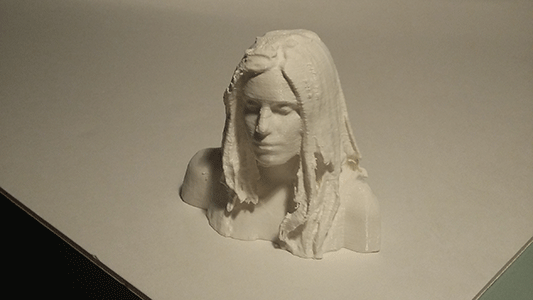
Once I had The scanned volume I modified the mesh in order to reduce it because the original stl was very heavy.
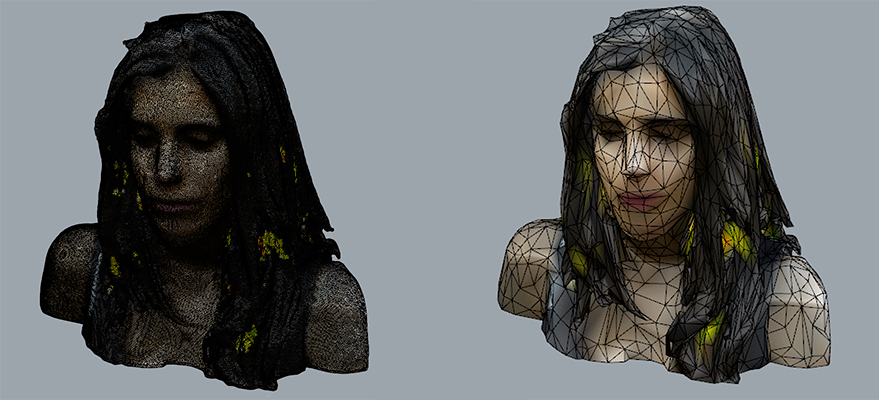
Head by msantisteban on Sketchfab
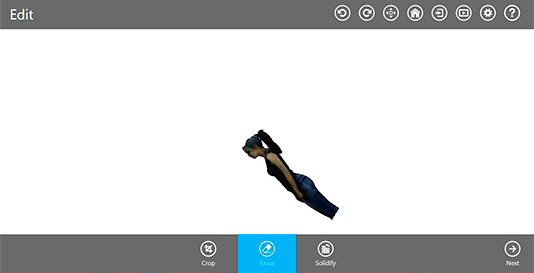
I had problems when scanning my body. Although I was very careful the scanner wasn’t able to detect the lowest part of my legs.
FILES: