STARTING WITH THE WEB
For me, this is the first time that I program a web page, the first time I see how the web backstage is. Getting to know how it works has not taken me so long, first of all I started identifying each part of the web structure:
• “head”: where all the internal configuration of my web is but doesn’t show like css, js…etc
• “body”: everything that you see on the web.
Knowing these basics concepts I started with my own page.
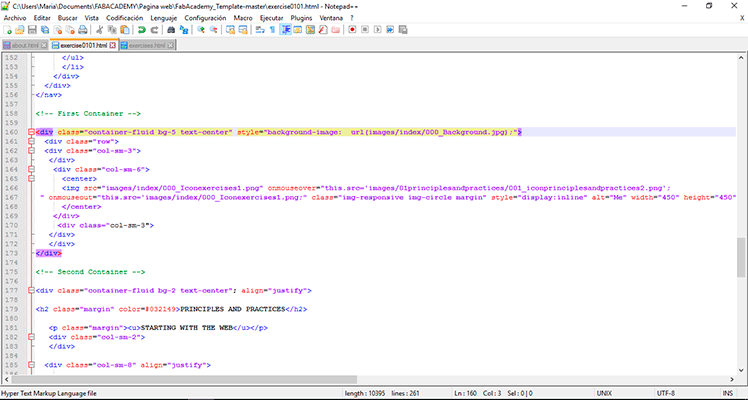
Our Instructor of the Fab Lab gave us a FabLab template which had all the configuration that we will need so I started editing the code
in the notepad ++ program. There was a lot of things that I didn’t understood so I had to look for it in the internet.
There is a tutorial page where you can find easily all the basic codes for boostrap (http://www.w3schools.com/bootstrap/)
and investigating the page I founded another template that looked better for me as I didn’t wanted my page to look very simple as the FabLab template. I started modifying the code!
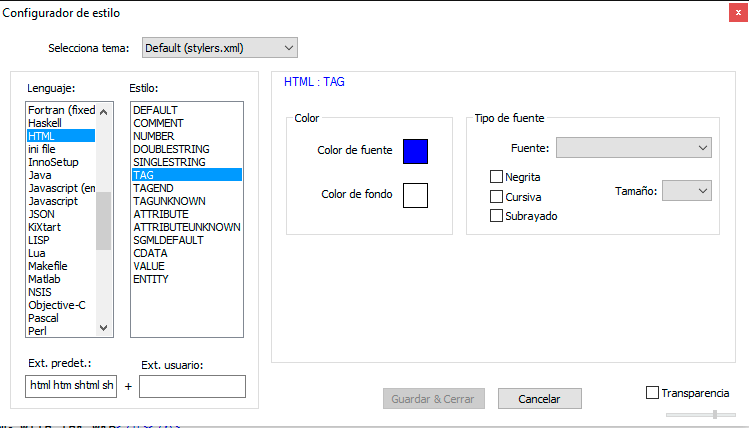
For editing the code I used as I said before the notepad ++, it has a simple interface that tells you where the labels are and when does it finish with different colors. You can modify them depending on the language you are using. As I was using html language these were the colors for each type of element in the code:
Once I studied the code for Html it was easier for me to insert the things in the way I wanted. For the index page I wanted three images that vary when the mouse was over them. I look the code for this in the tutorials:
<img src="images/index/000_Icon011.png" onmouseover="this.src='images/index/000_Icon012.png'; " onmouseout="this.src='images/index/000_Icon011.png';" width="40%">
I also want them to be cut in a circular shape:
<img src="photo.jpg"class="img-circle" alt="photo">
I also wanted some words to be in another color as a link to another website so I look the code for this:
Changing the color of the fonts:
<font color="#e5ab29">“head”:</font>
Introducing a webpage link:
<a href="http://cactusplan.com/portfolio/" target="-blank"><font color="#e5ab29">Cactusplan.com</font></a>
As the repository has a storage limit I had to take into account the size of all the images. I used Photoshop in order to reduce this size. After doing this I saved all the images in .png format with the “save for web” option because it saves the picture in a reduced way.

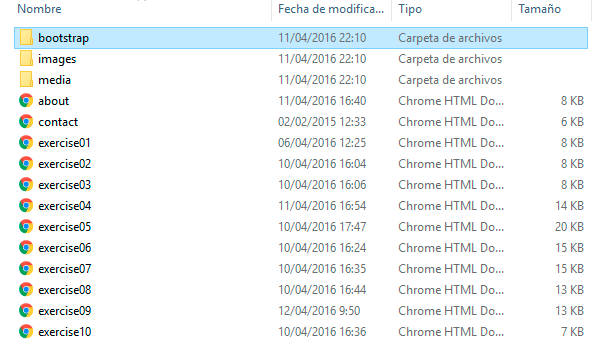
These images must be saved in the same folder as the web page. The folders division of the were given in the fablab template:
There is folder named “media” where al the media files are located , another named “images” where the images are placed and another named “boostrap” where is loaded all the java script, css and fonts configurations.
This was my first time using a repository and a program like GIT used from the terminal. I had to read more about the program. Everything was explained in “the git book” and I found it a very useful program. It saves all the status and all the modifications that you do up to a moment.
I downloaded the latest version of the program from the web.
All I had to do for starting using GIT was signing up in fablabs.io and then opening git bash
I configured the initial variables, for this we use the mail user and fablabs.io but only the first time:
git config --global user.name "name"
git config --global user.email name@mail.com
I created a key for SSH communicating. For generating the key we have to use the mail that we register in fablabs.io: ssh-keygen -t rsa -b 4096 -C "name@gmail.com"
It asked were do I wanted to save it and another key for protecting it
I had to copy the fingerprintkey that appears and save it
For visualizing the key: cat ~/.ssh/id_rsa.pub
I had to add this Key to our git.fabacademy.org profile in “profile settings” then “SSH keys”
I copied the key with the command: clip < ~/.ssh/id_rsa.pub
Now I was ready to clone the repository!
I created a folder: mkdir name folder
I entered in the folder: cd folder
I cloned the repository: git clone git@git.fabacademy.org:fabacademy2016/fablabmadridceu.git madridCEU It asked me a confirmation for adding the server to my server list and also it asked me for the security password of our SSH key
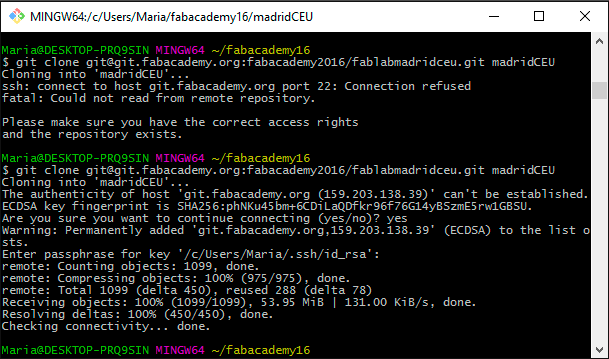
I updated the latest versión of the master: git pull
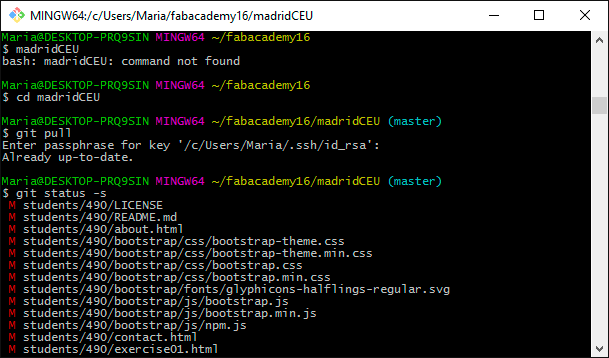
I saw what changes there were: git status –s
I added them: git add --all
I checked that everything was added: git status -s
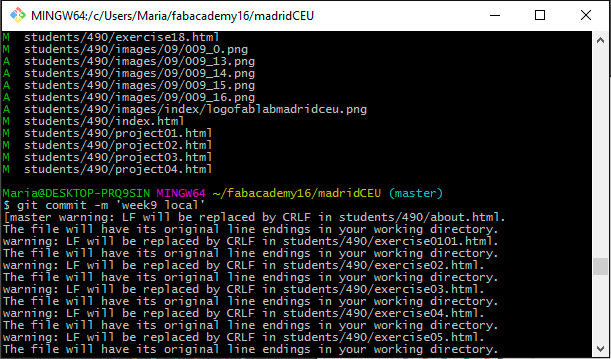
I made a commit: git commit –m ‘message’
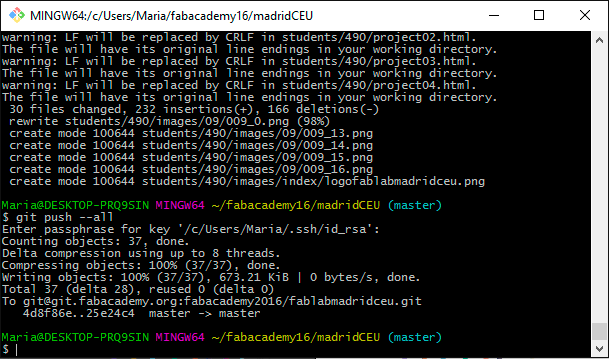
I uploaded to the server: git push --all