
WEEK 14 – COMPOSITES
Weekly assignment:
This week's assignment was to design and make a 3D mold and produce a fibre composite part in it, after have read the datasheet of the employed resin
I'm, and I've been, very interested in all those assignment in which we have to design and make something physical, concrete (and I'm not talking about electronic boards, if you know what I mean... XD)
But this week I was so confused and lost that I spent much time only thinking what to make. I've designed different projects and thought just as many I neither designed.
Finally I convinced myself to make one of them: a beach racket
Designing the model
I started searching on the internet something about measures and shapes. Bud I didn't find all the amount of information I expected (I've found more concerning ping pong paddles), so I've been based on a sketch I've found on the internet for what concerned the size, and on other random images to understand the different shapes that are in commerce
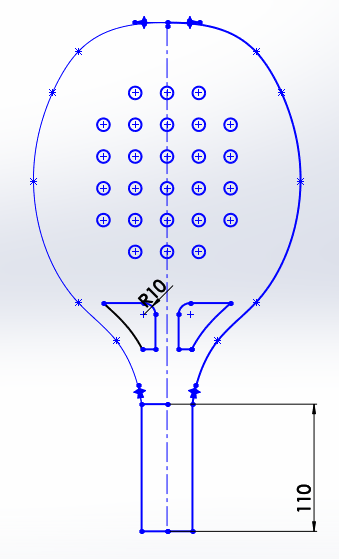
Even this I made my personal design and it needed lots of attempts before to reach a shape I'd like (it's better to say I'd find acceptable...)
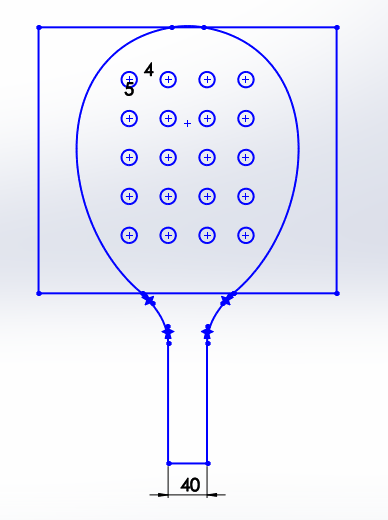
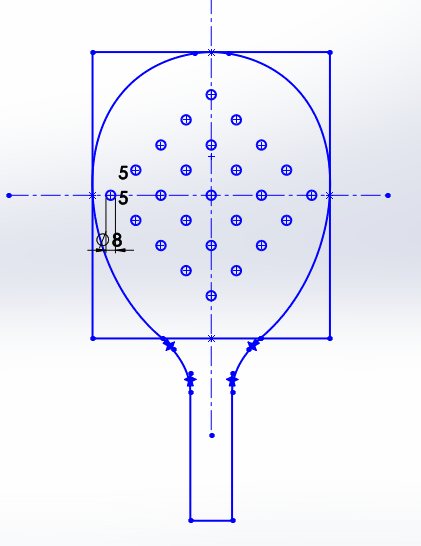
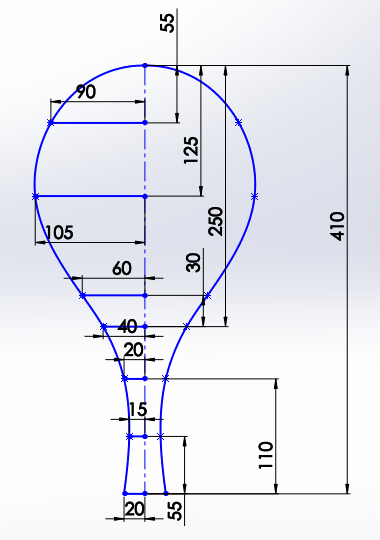

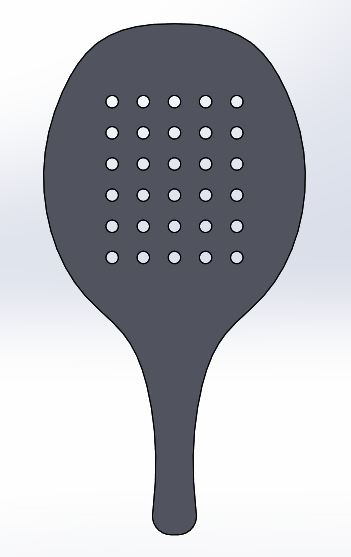
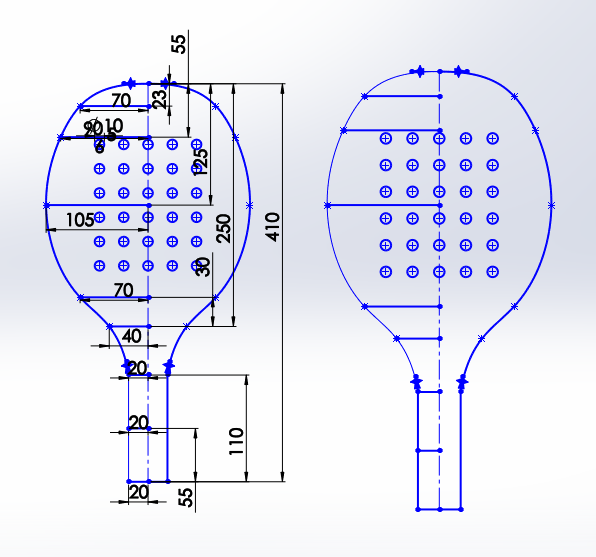
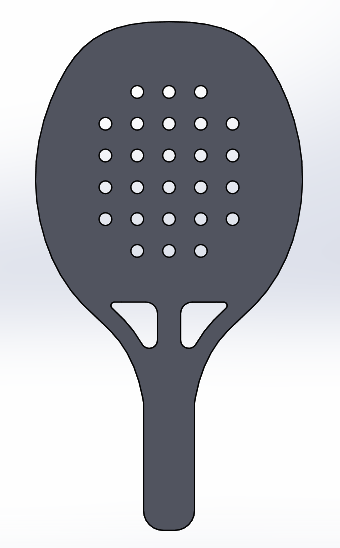
This is the final model...

After that I designed a block in which I could put the model and then get a kind of mold. To do this I've watched a tutorial on how to subtract a part from another in a Solidworks assembly

Milling the mold
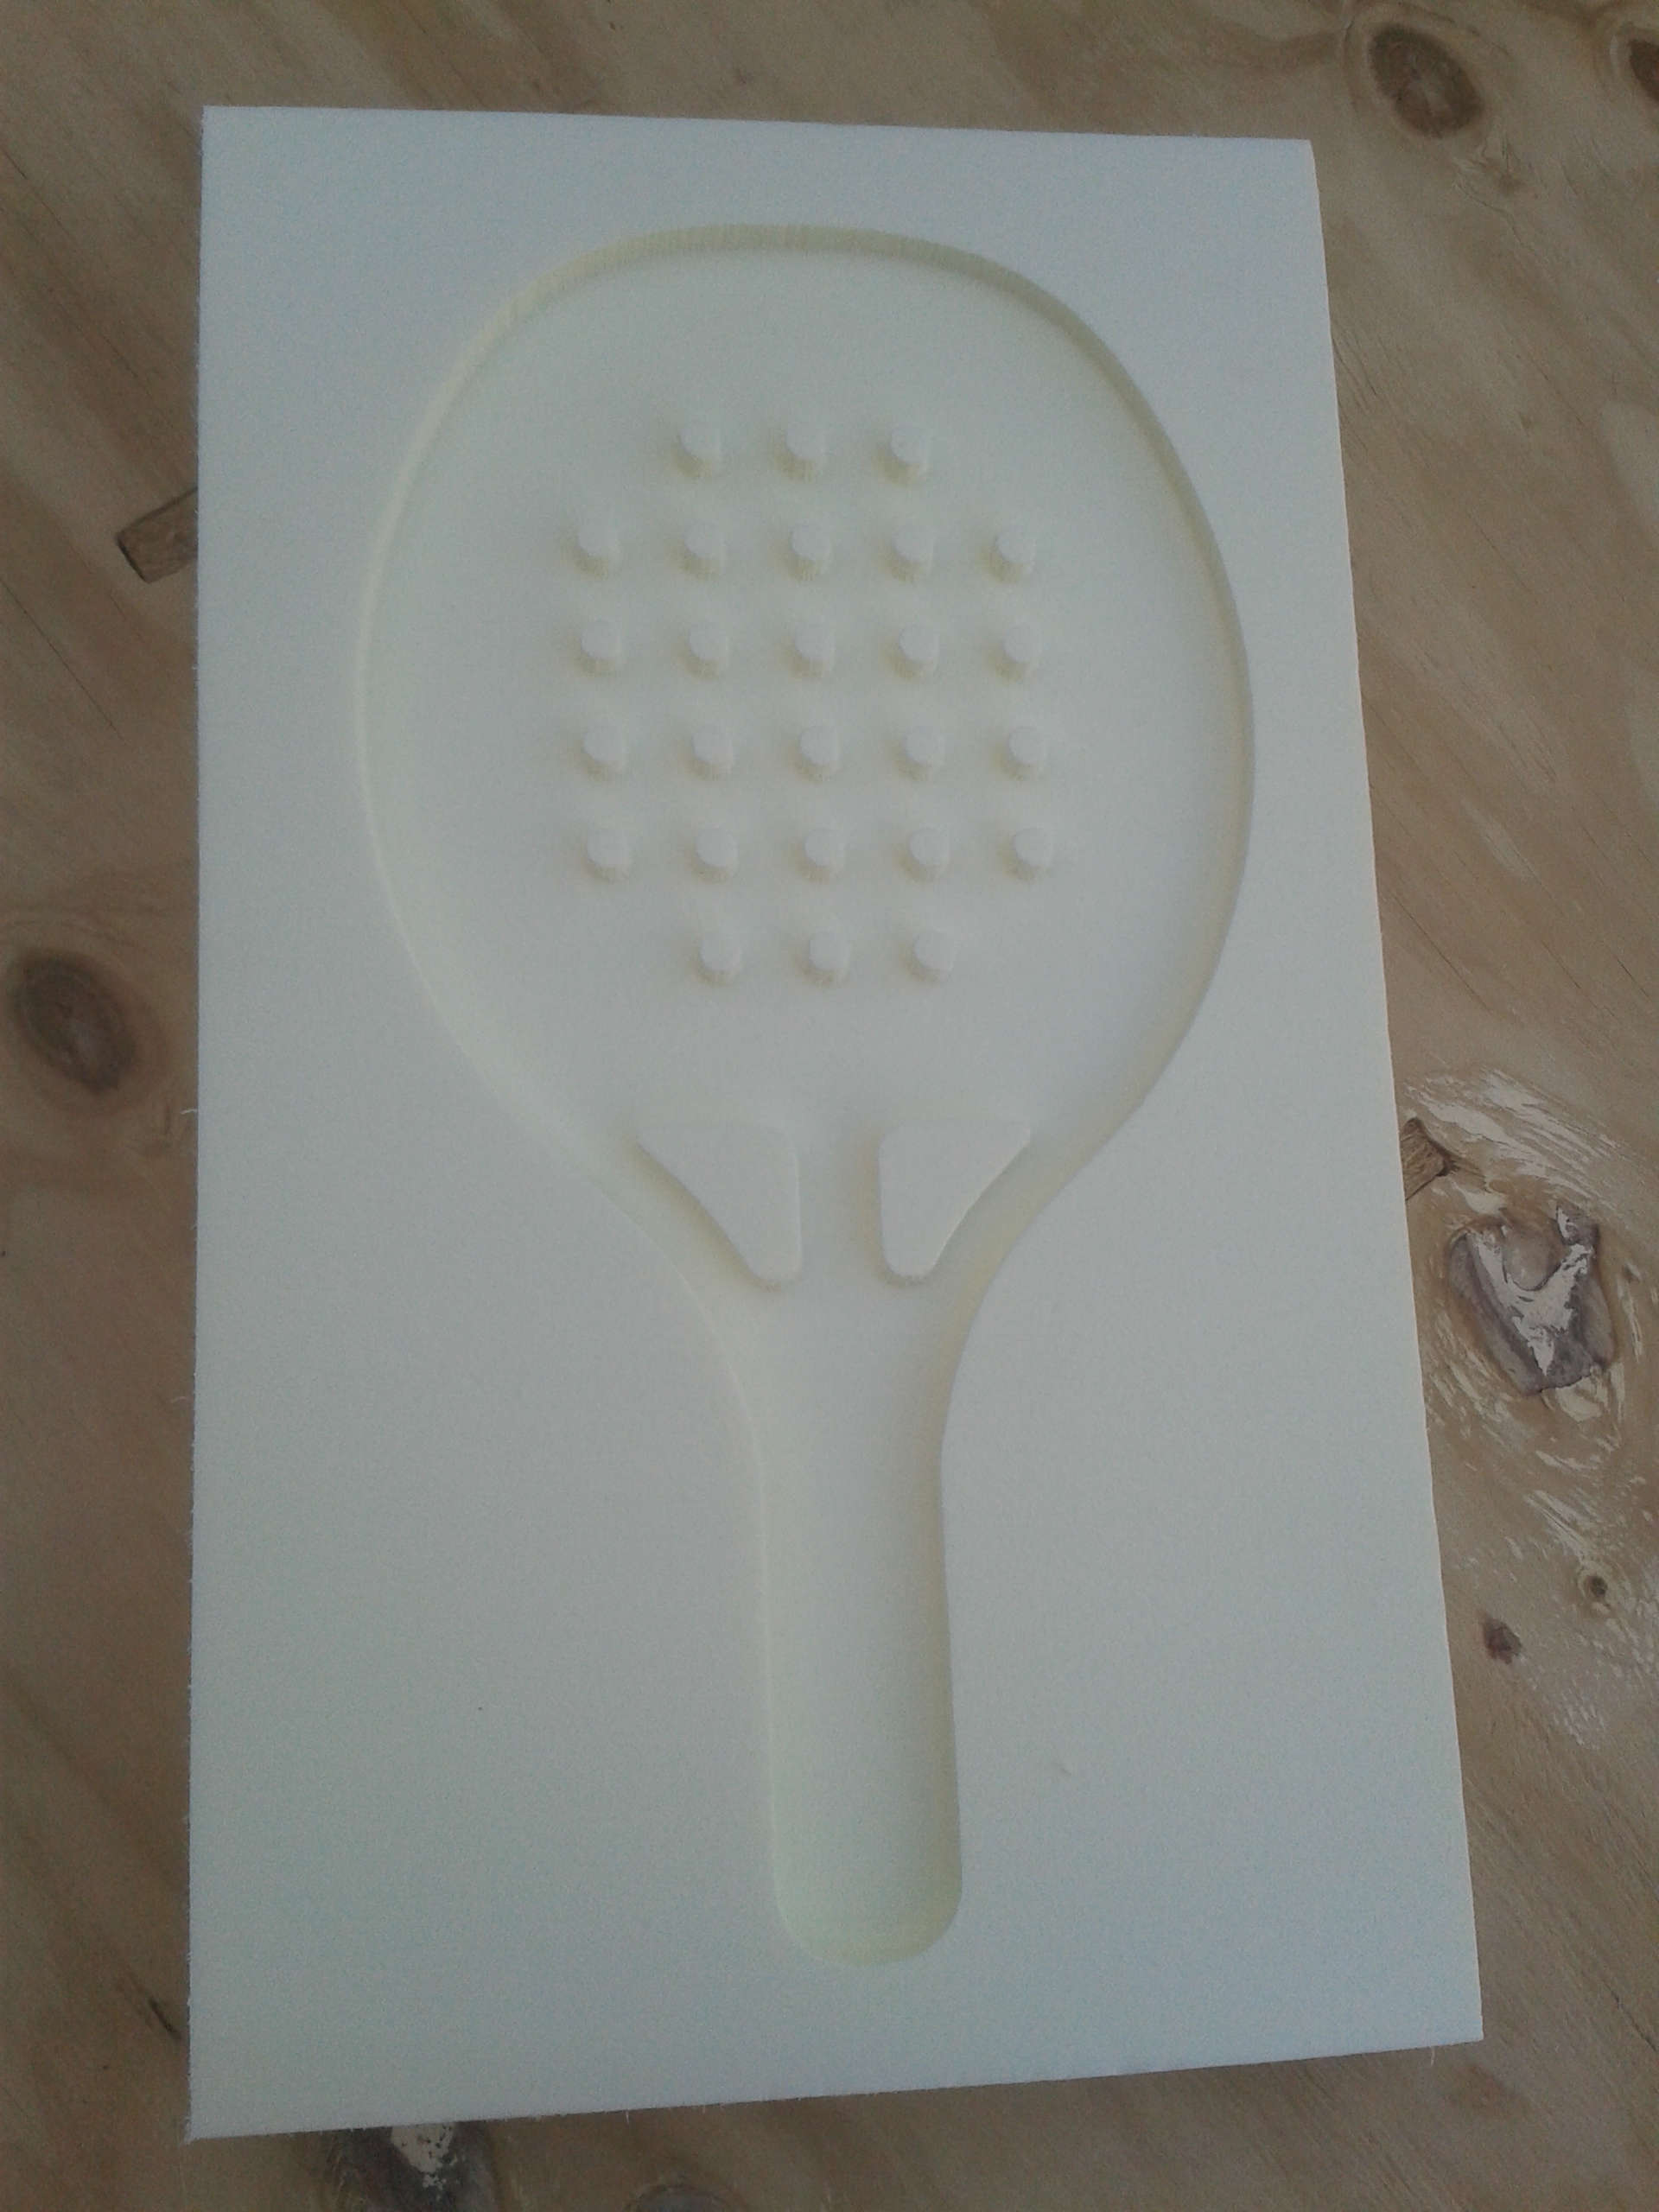
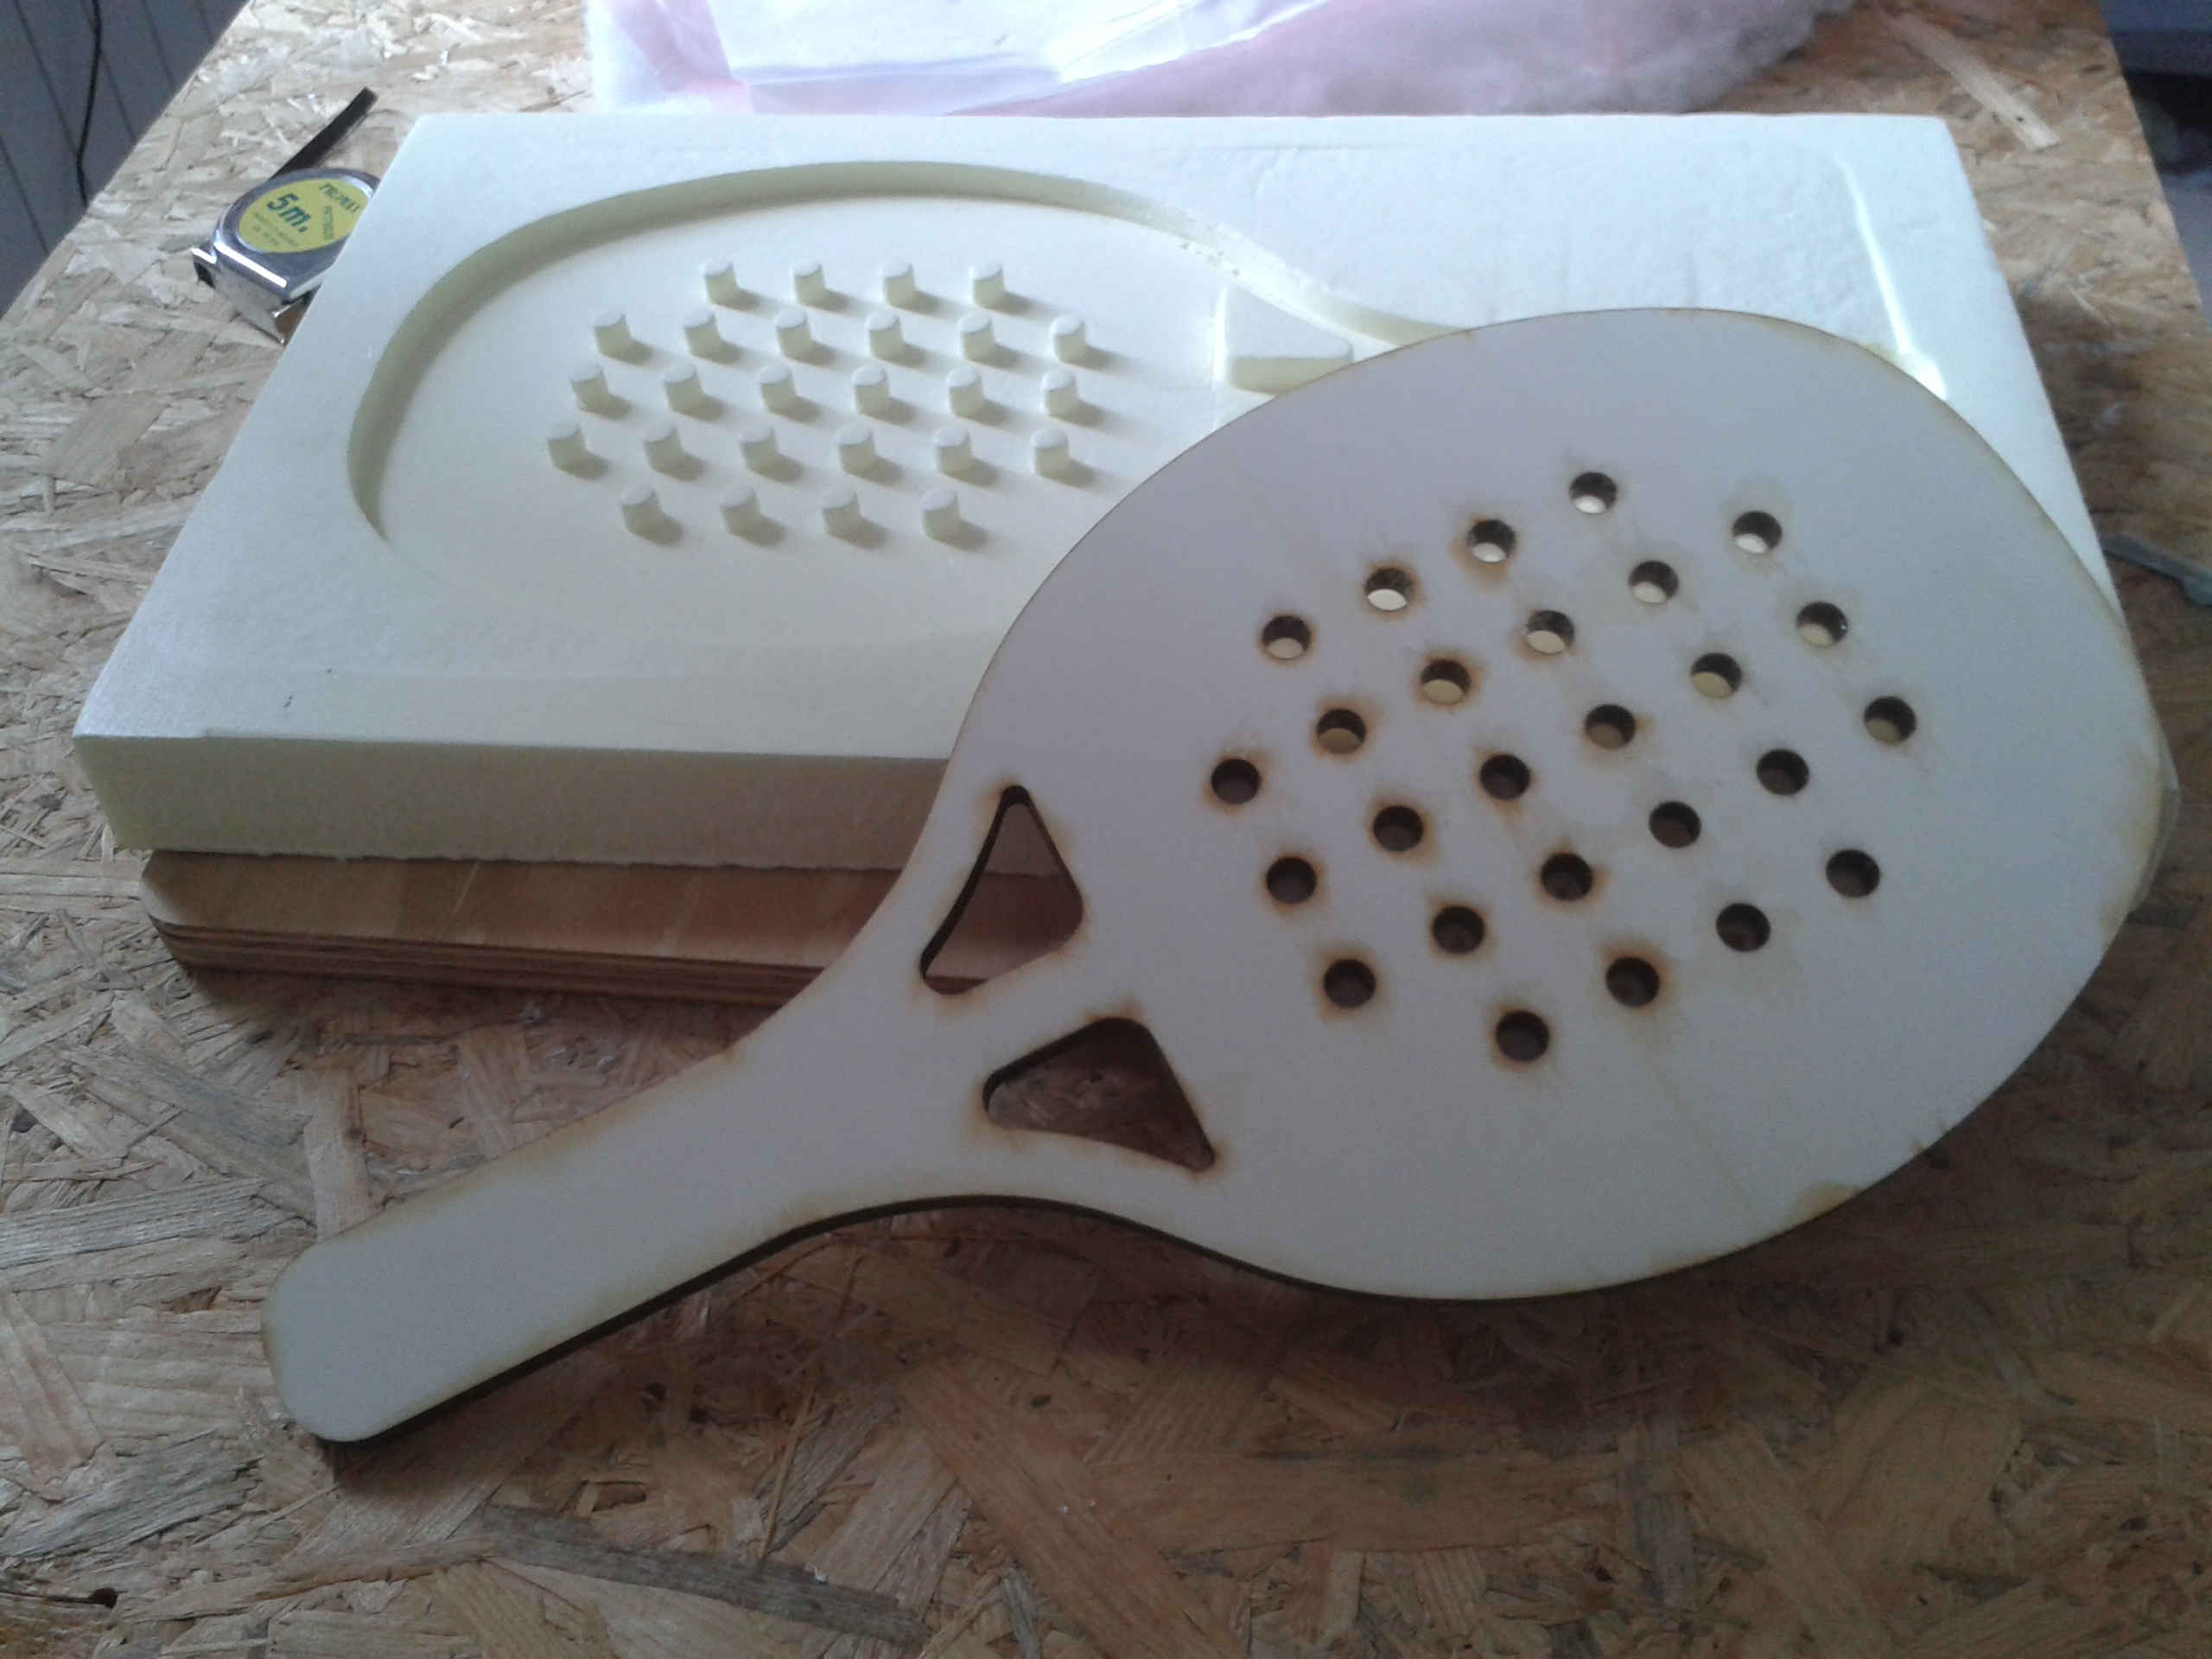
To get the mold I milled a 4 cm thick polystyrene panel with the ShopBot
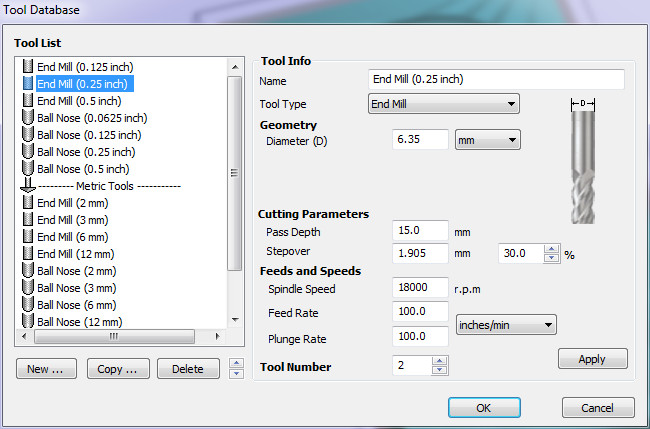
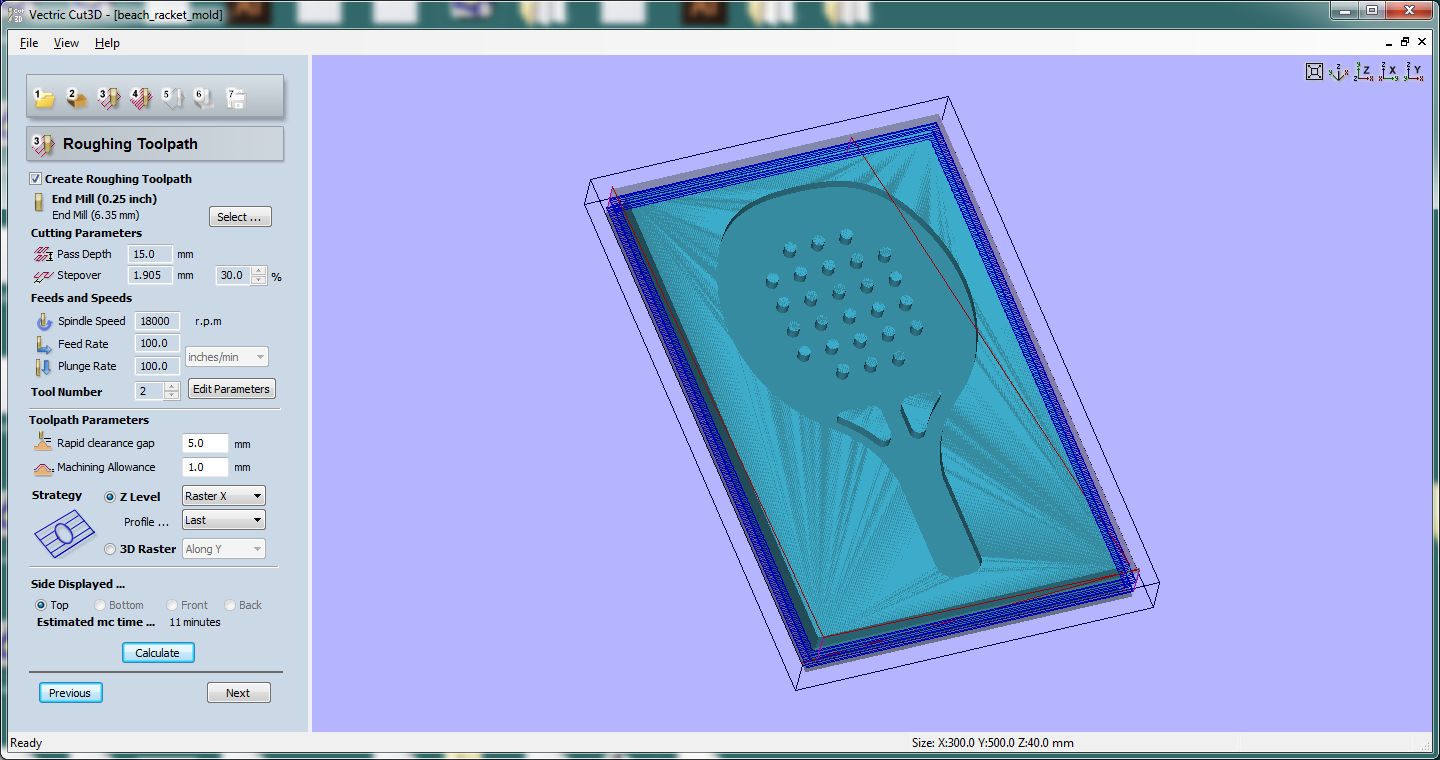
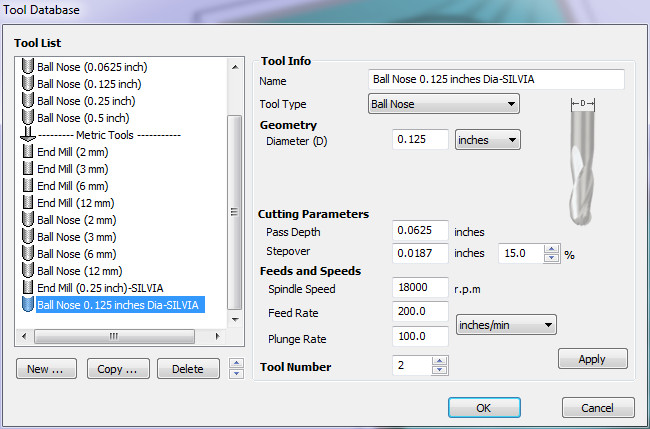
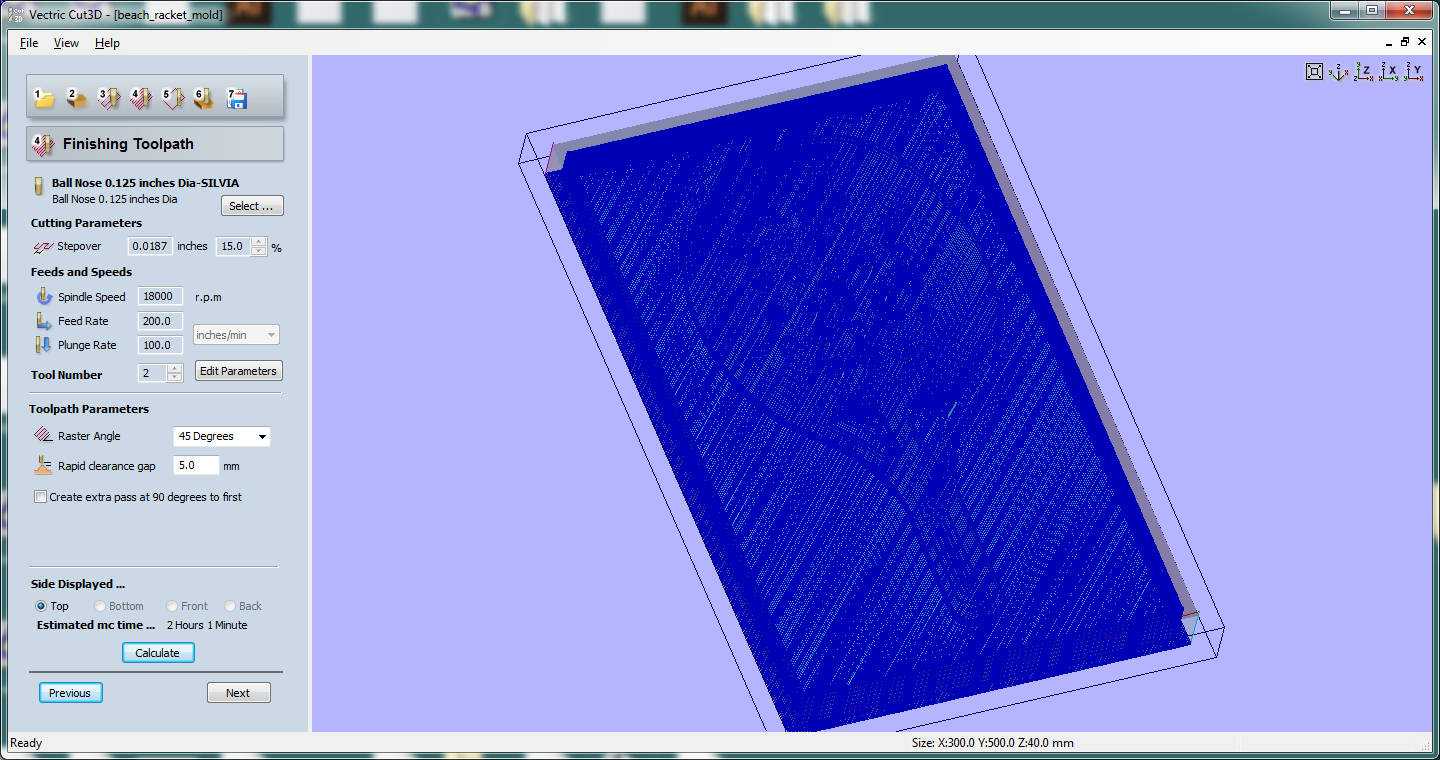
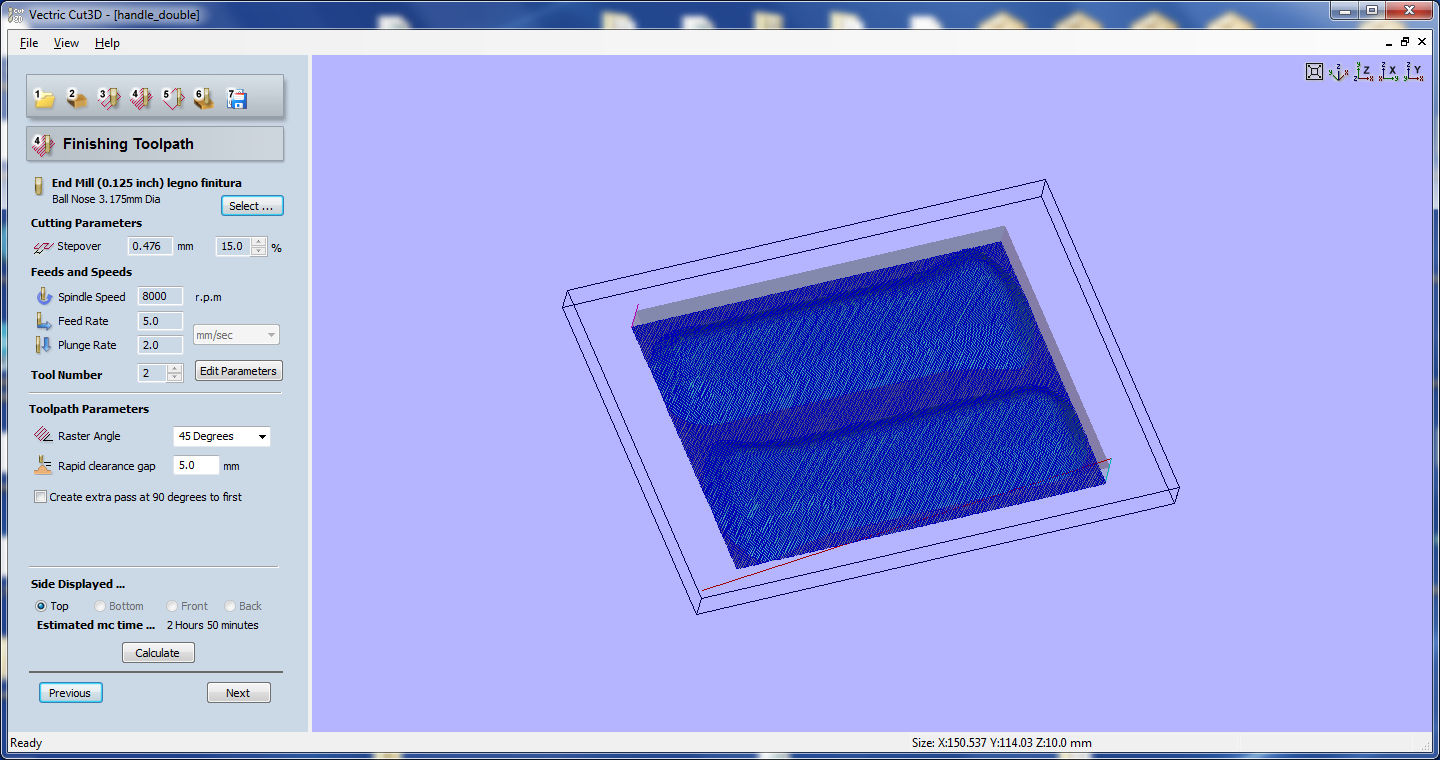
And I prepeared the file on Vectric Cut3D
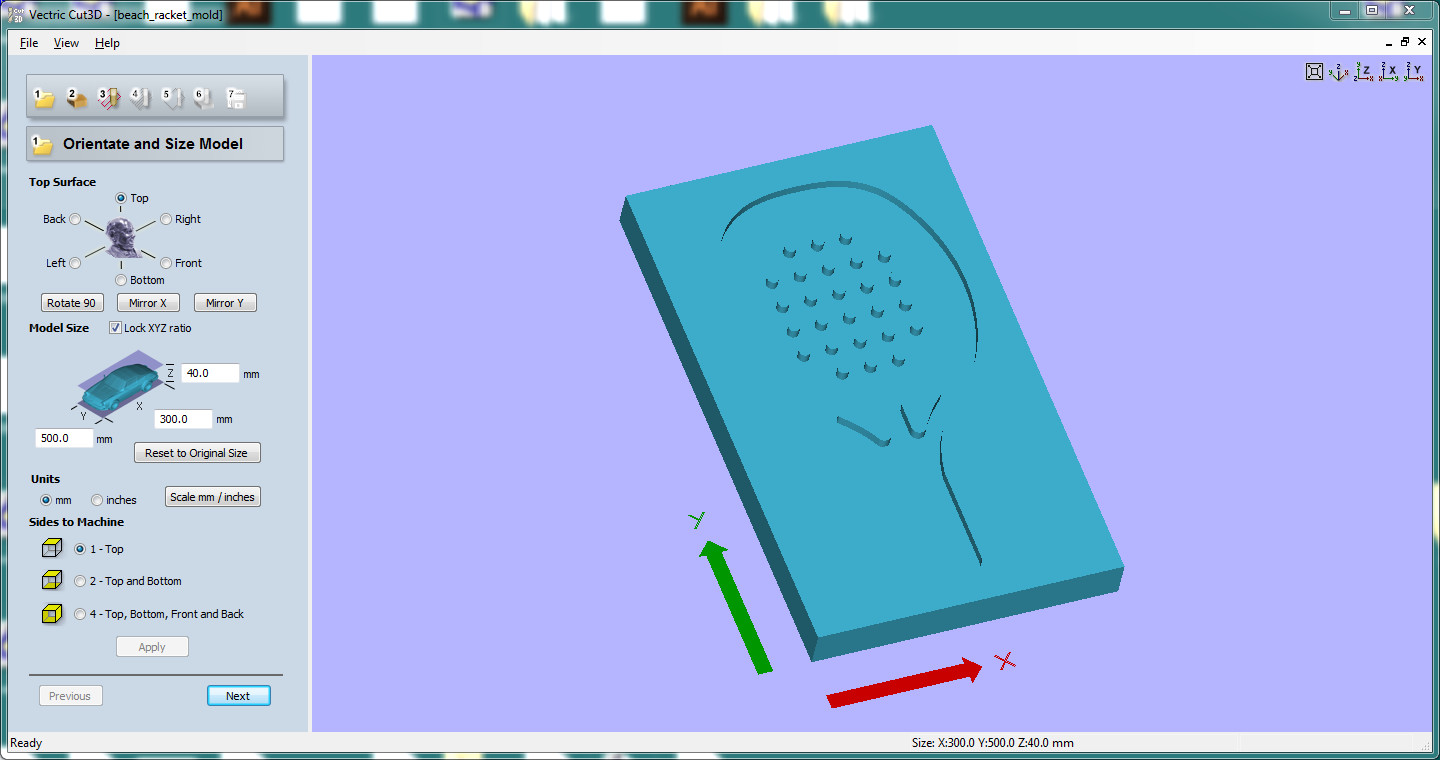

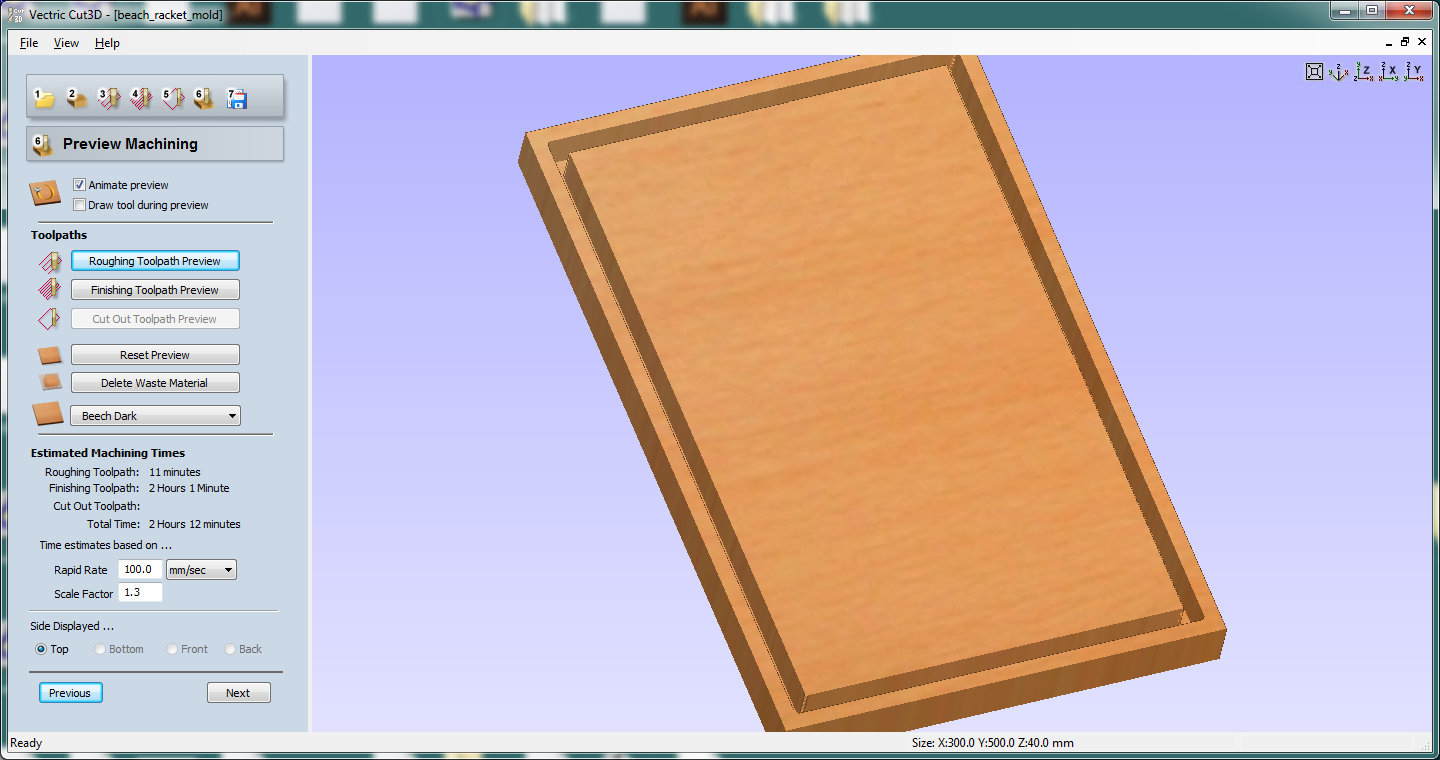
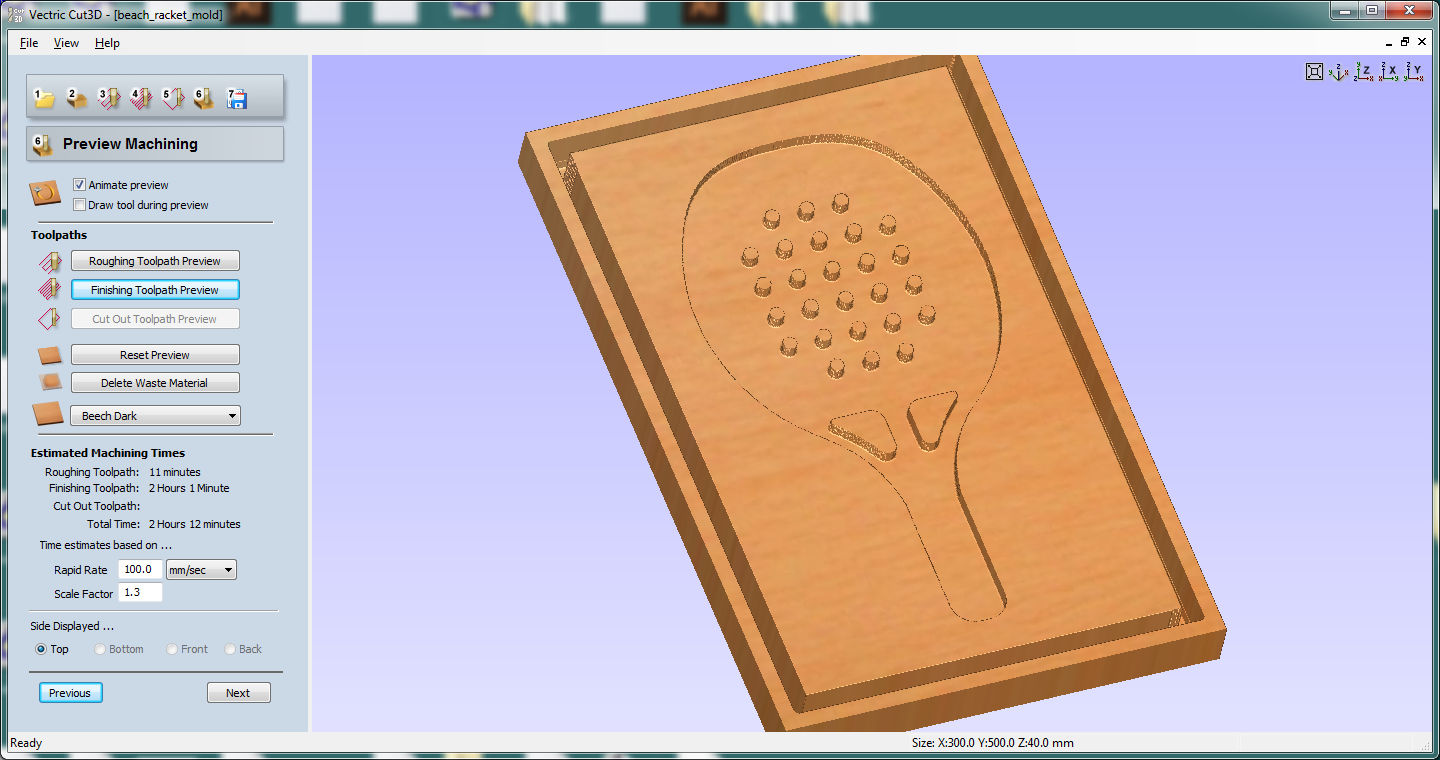
This is the milled mold
Making the composite
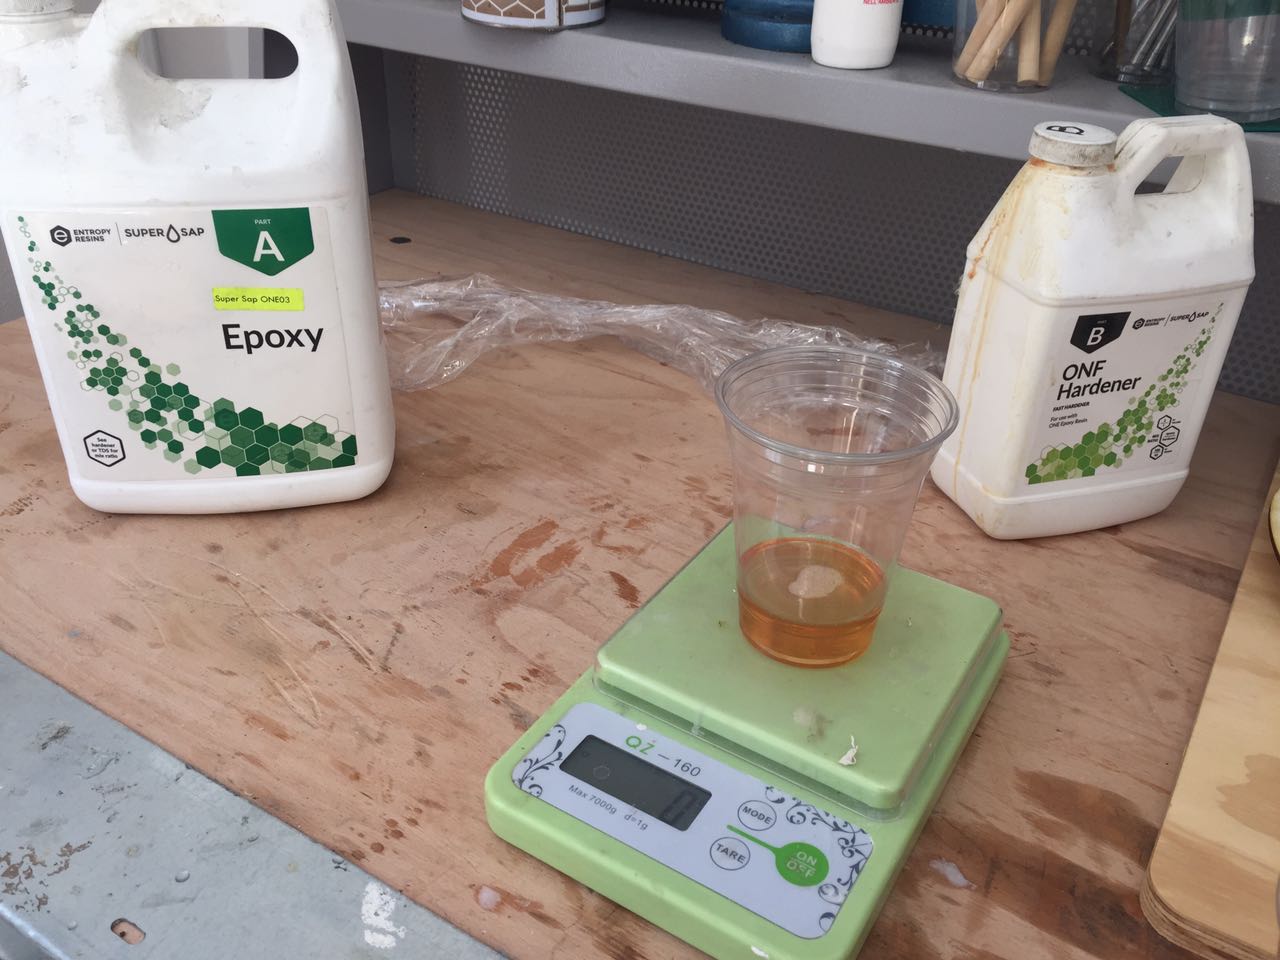
To make the composite I've used three layer of 3mm thick plywood and two layer of linen and epoxy resin (here you can see the specifications, MSDS and TDS)
Since I needed to laser cut both wood and linen in the same shape, I thought it would be useful to fix the linen to the wood board in order to stretch it and remove as wrinkle as possible
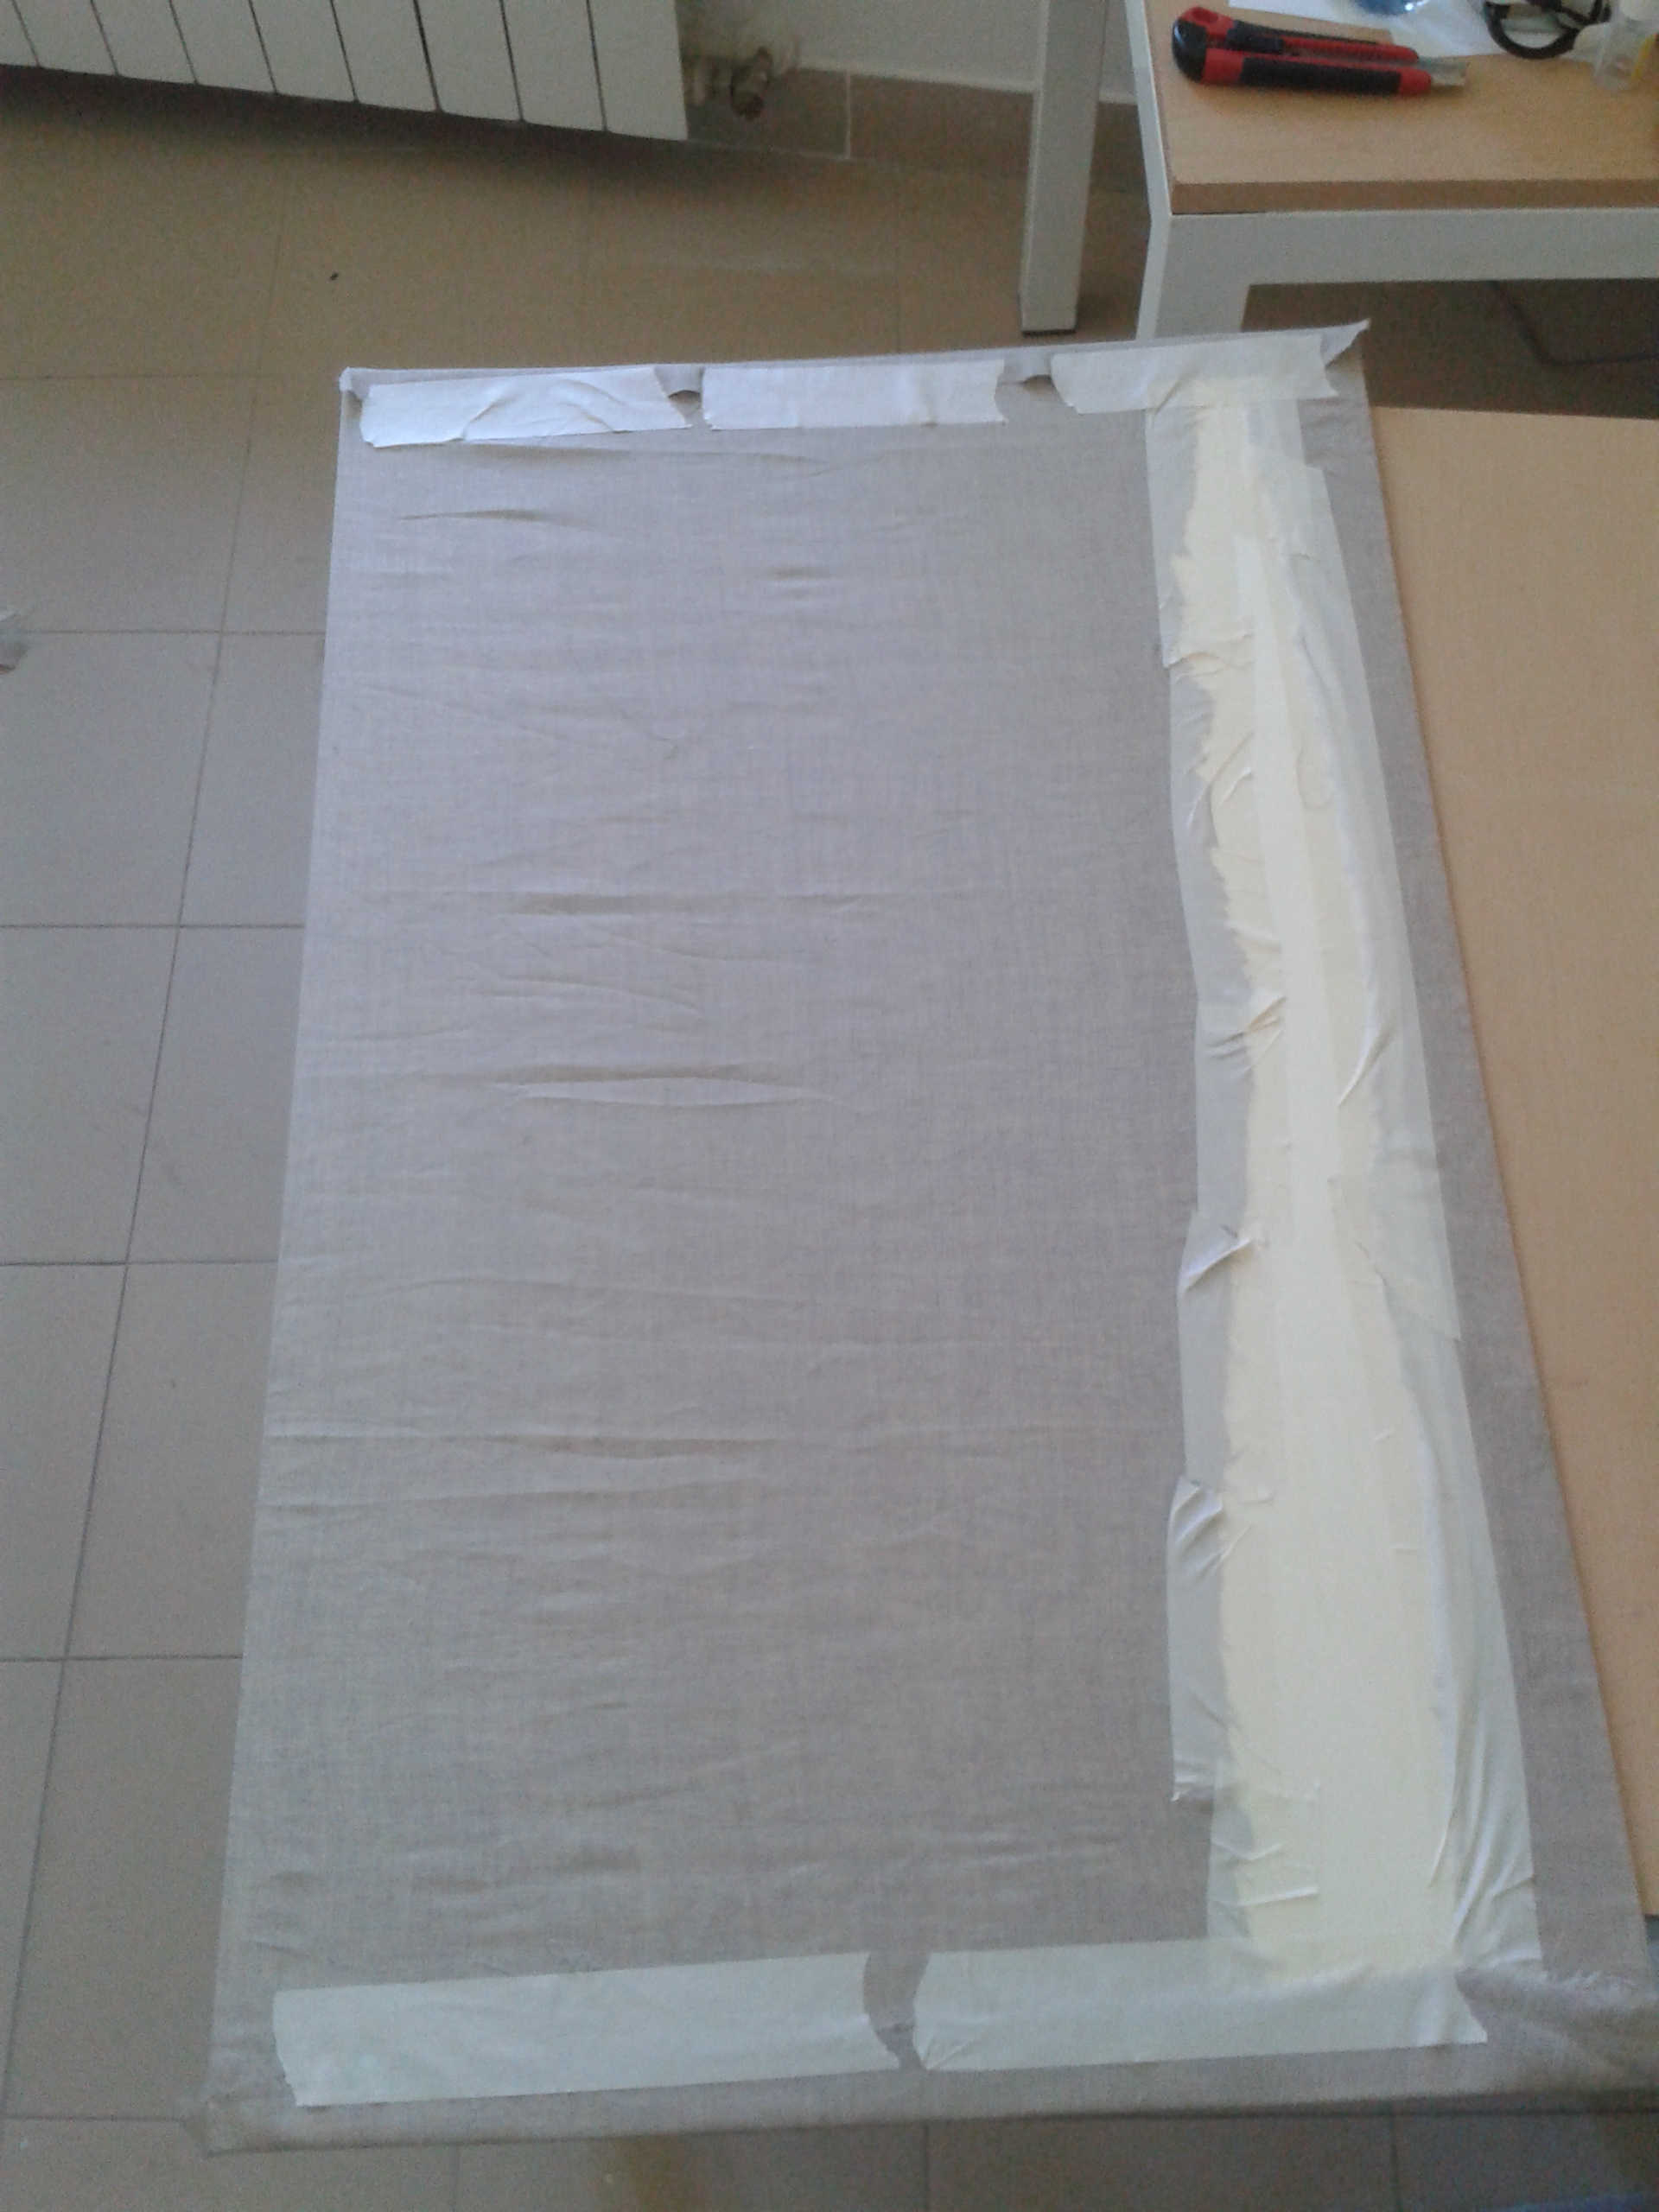
So I moved to the laser cutter
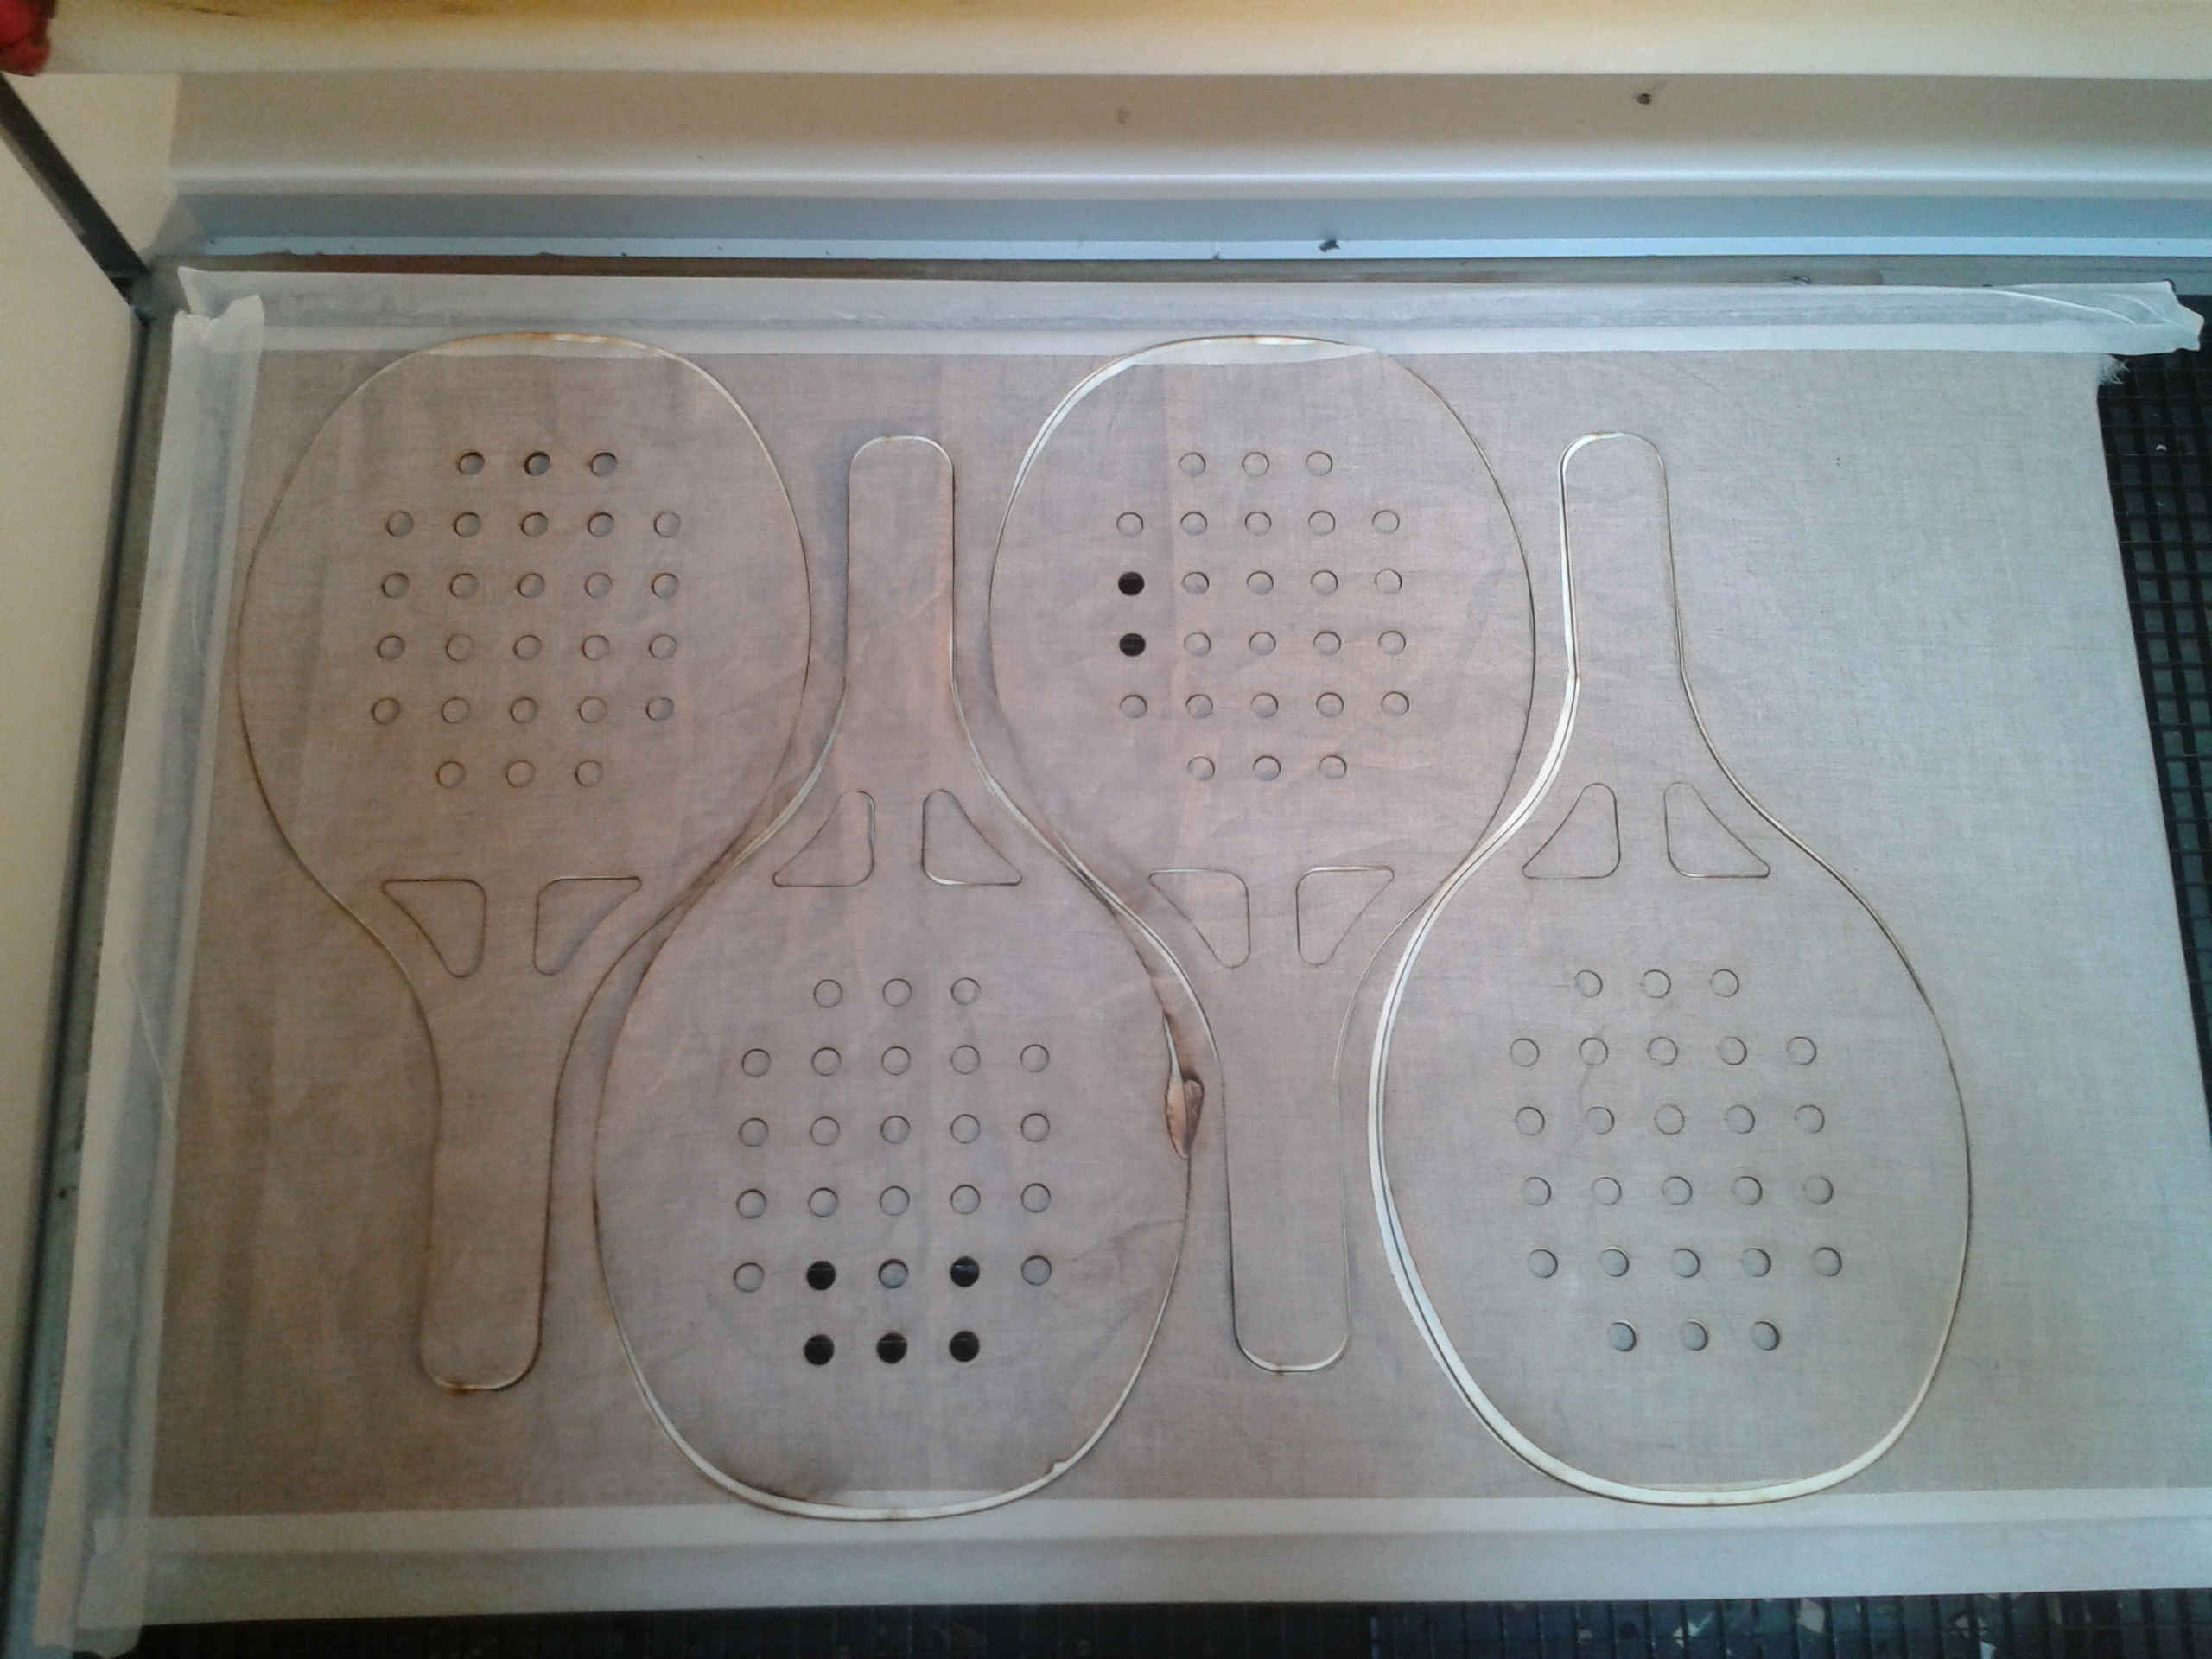
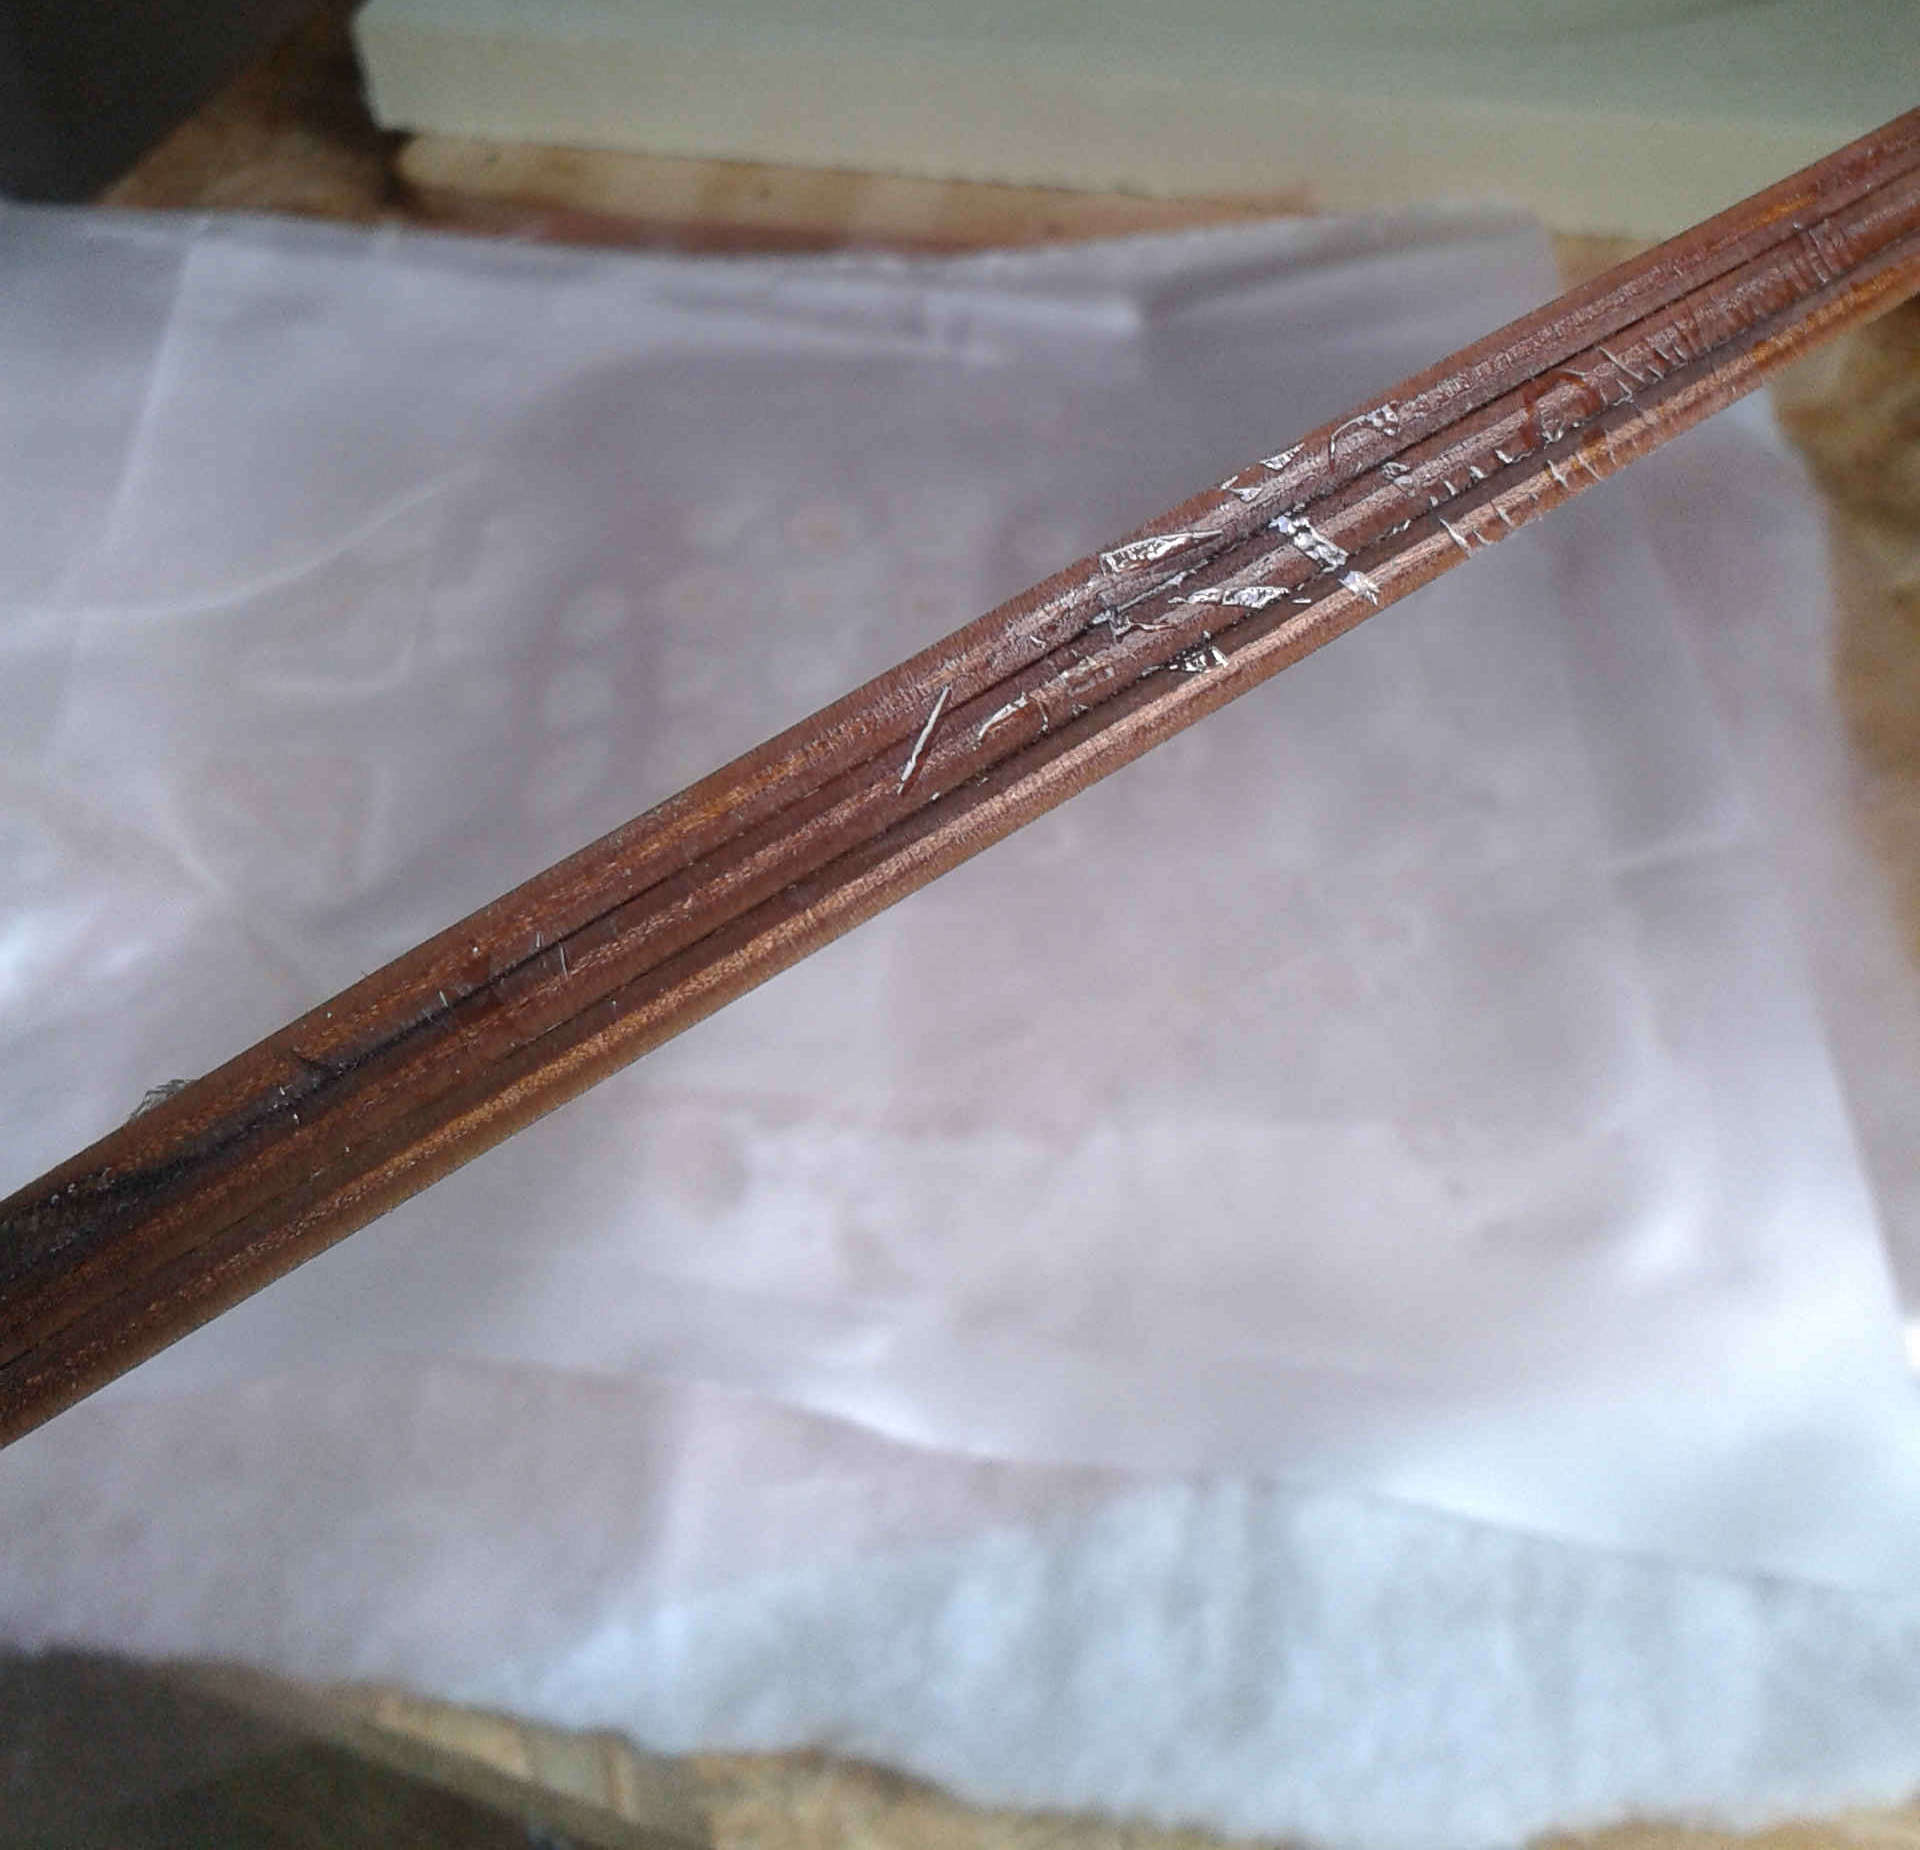
As you can see in the picture, a small piece of linen burned. This is due to high settings I used to be sure that the laser cutted even the bottom side of the wood panel. Next time I'm going to try increasing a little the speed or reducing the power to avoid this
But at the end it worked
Then I moved to merge the layers and actually making the composite
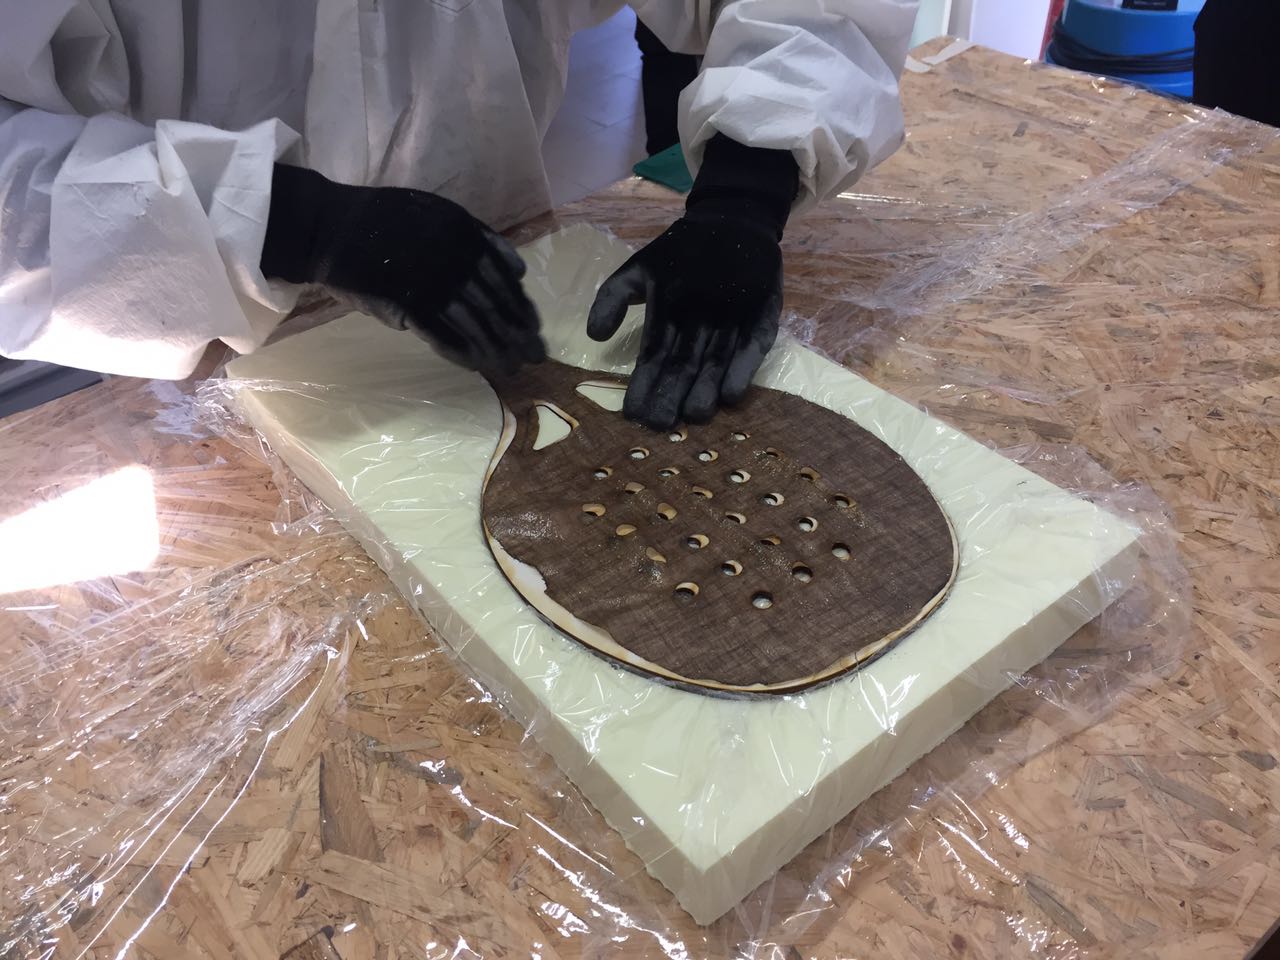
First of all I covered the mold with plastic wrap. I could also use wax instead, but I didn't in order to safe time. Wax requires lots of layers and time between each other to let them dry
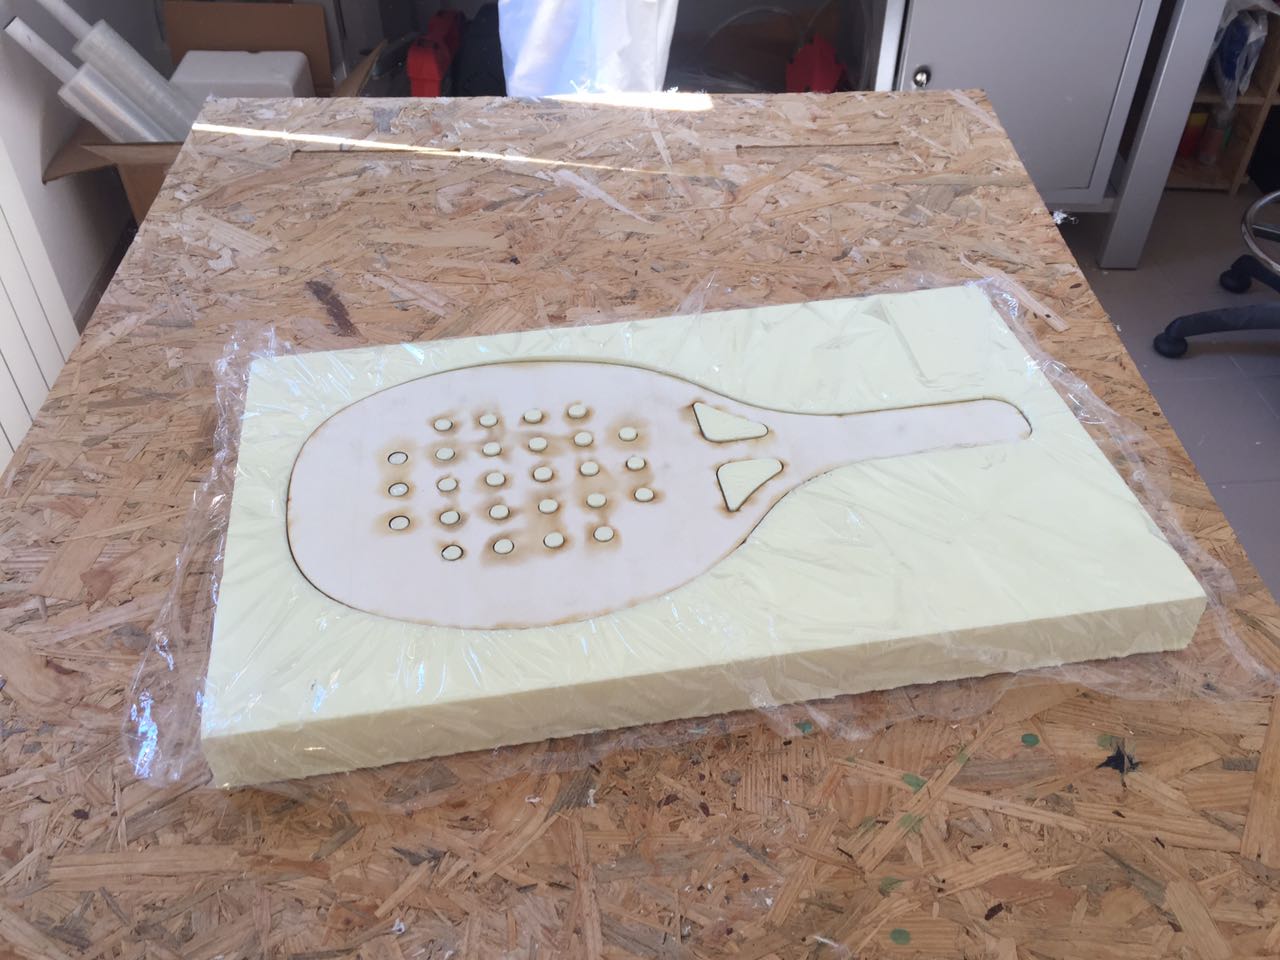
Even if I had a flat shape I wanted to use a foam mold to align more easily the layers pile
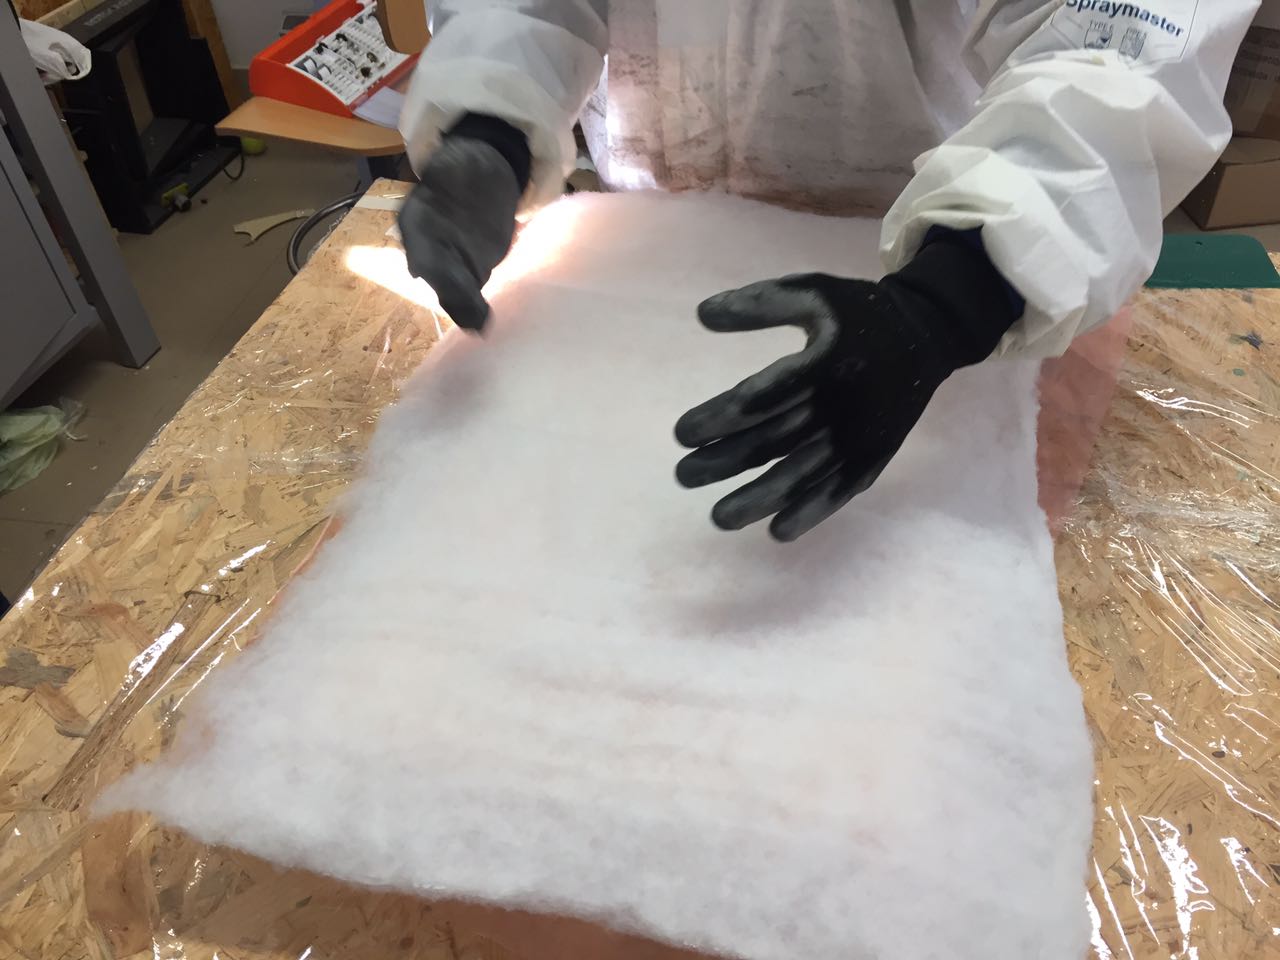
So I laid the first wood layer in the mold and then I resined a linen piece and placed it above
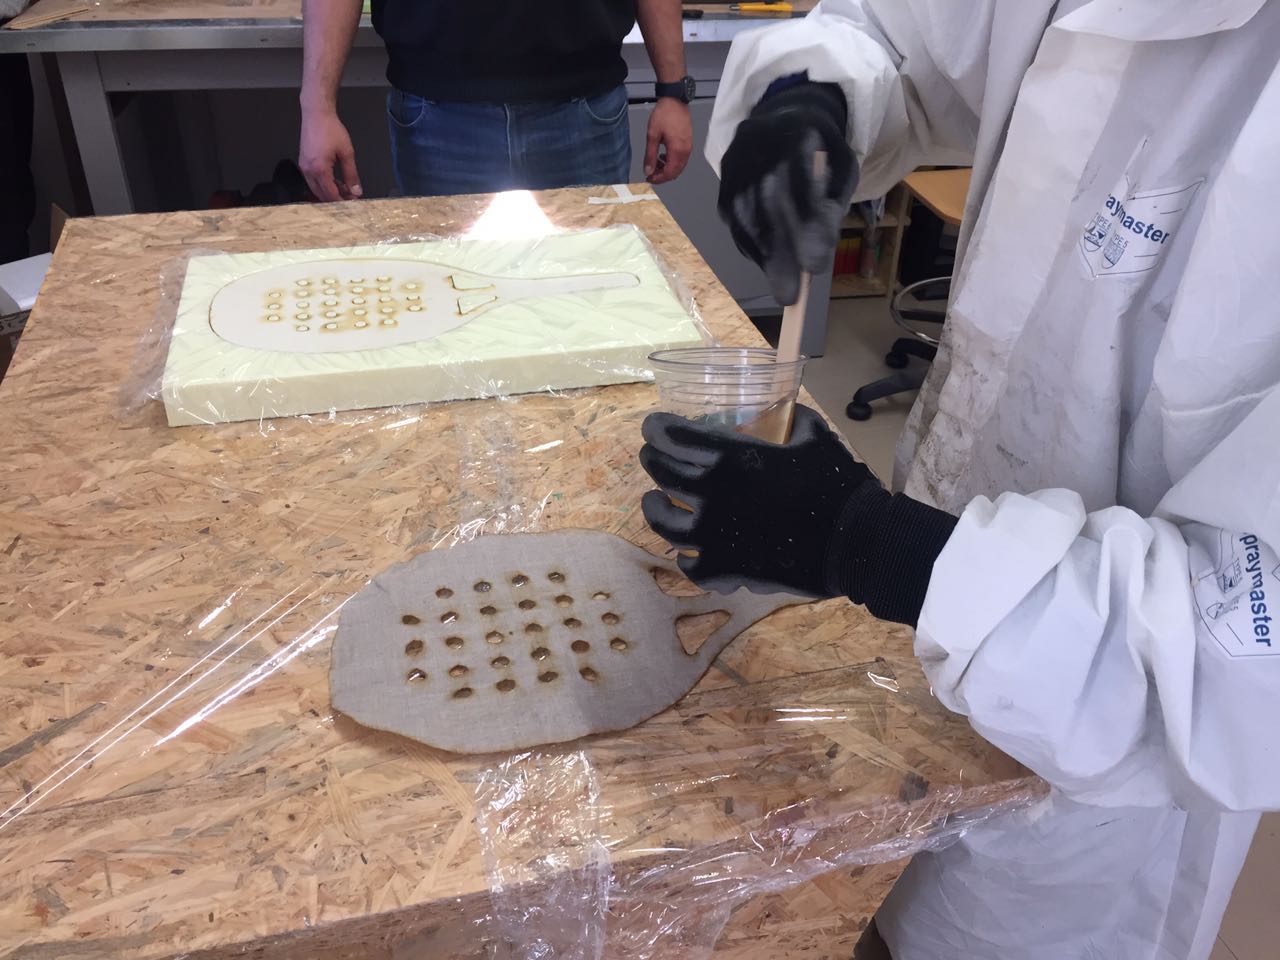
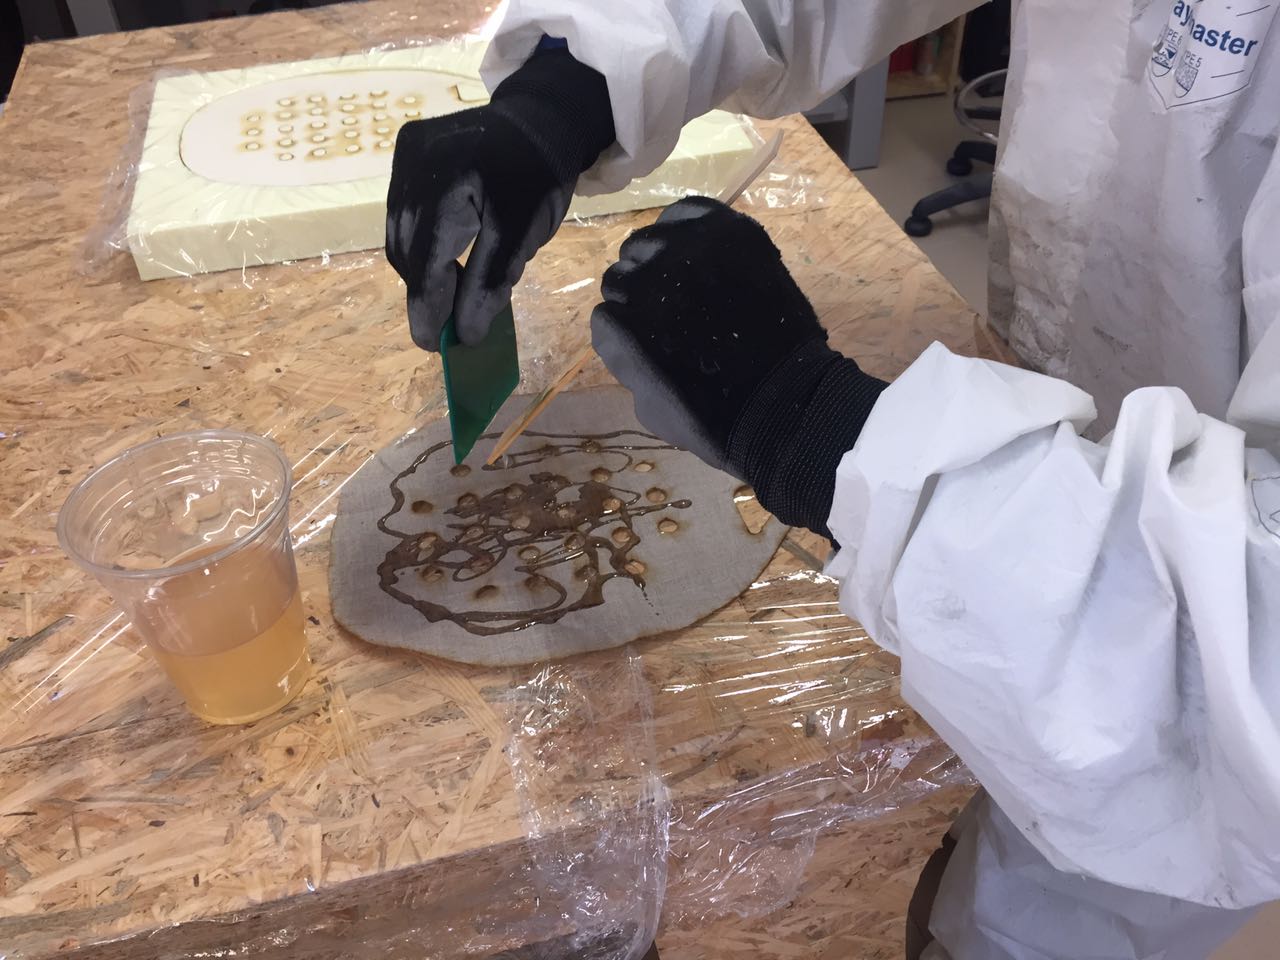
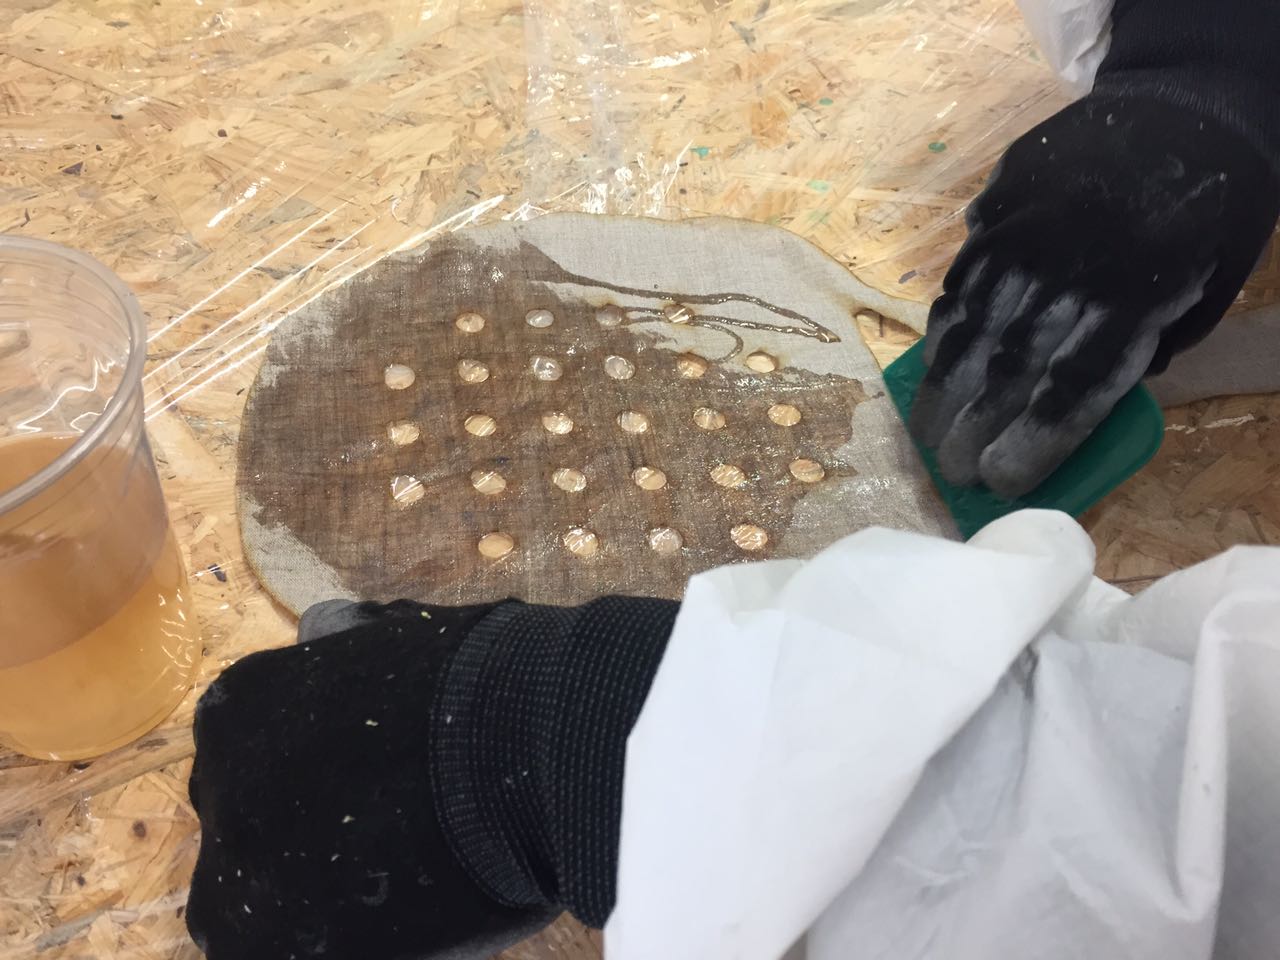
I piled up five layer alternating wood and resined linen
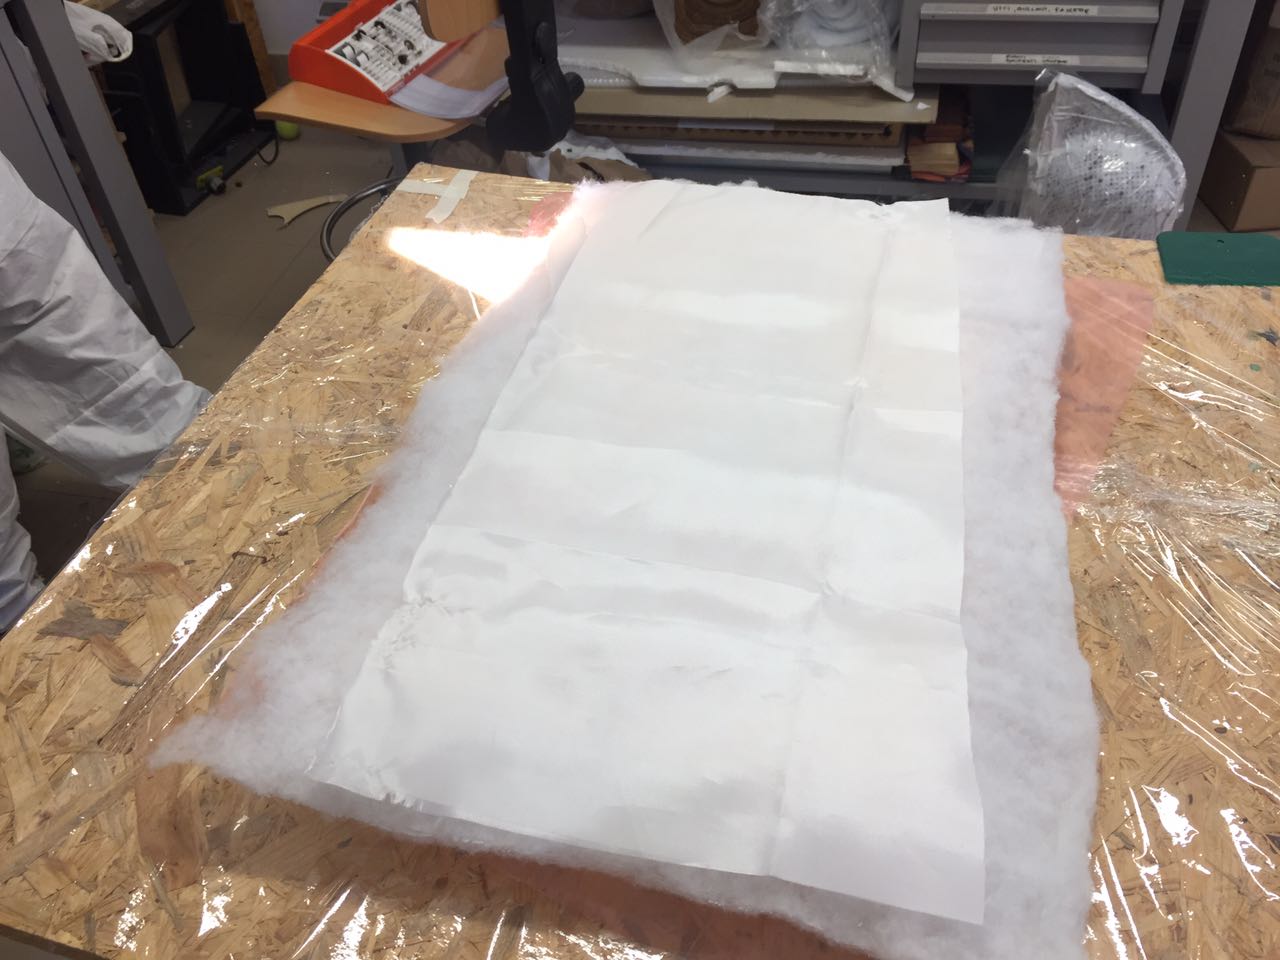
Then I laid the release film
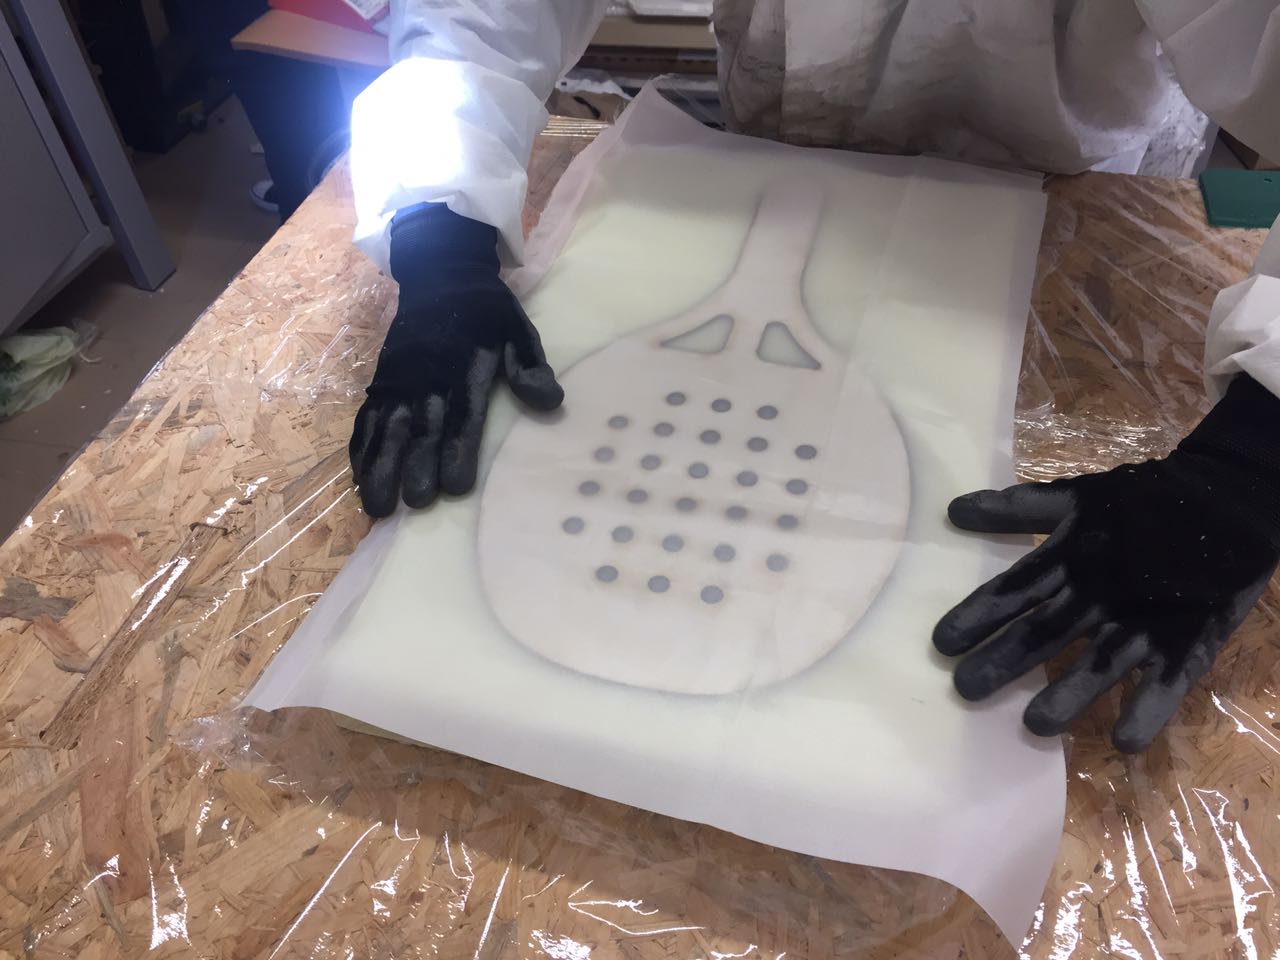
The perforated film

The breather
And a second release film
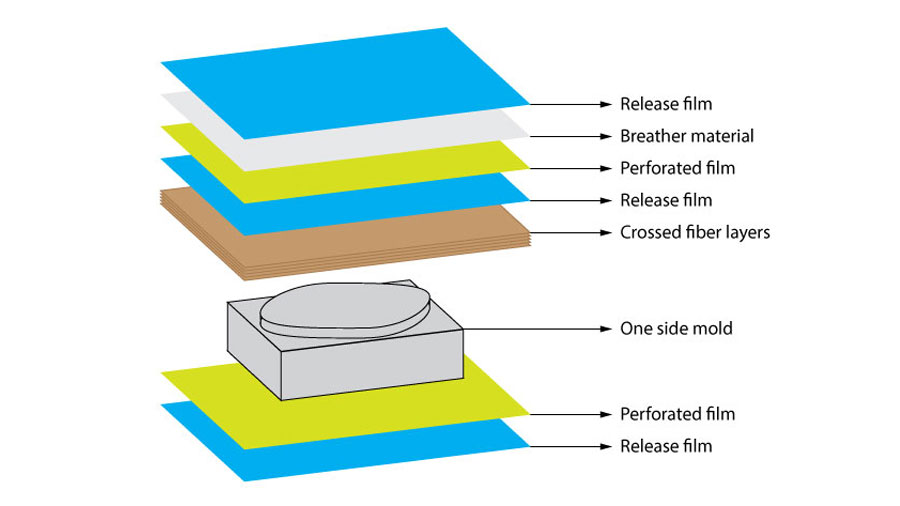
I've followed the procedure that I've seen in this picture found on last years students pages
Then I've pressed everything between two hard wood boards
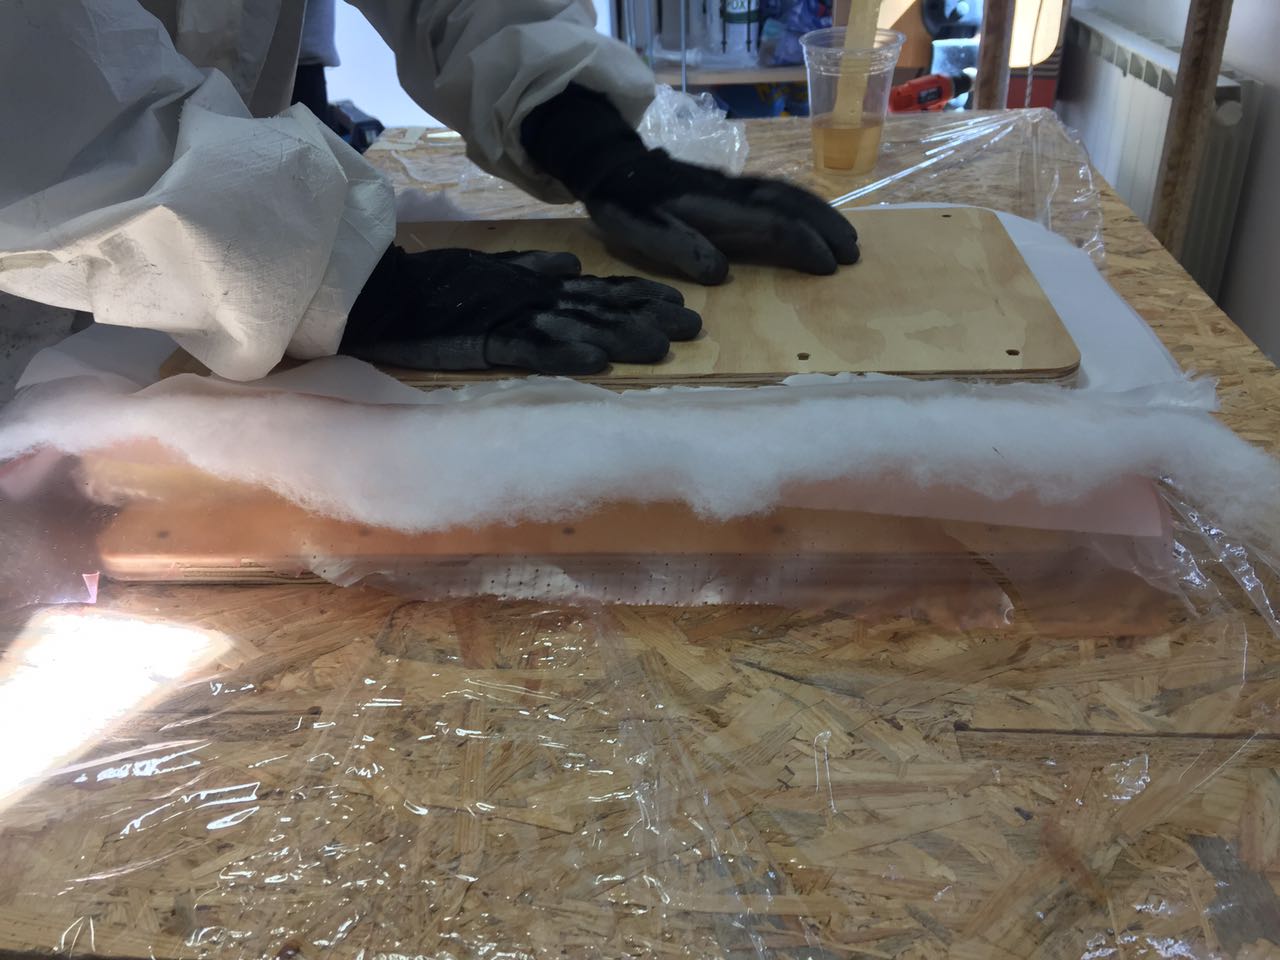
And fixed with clamps
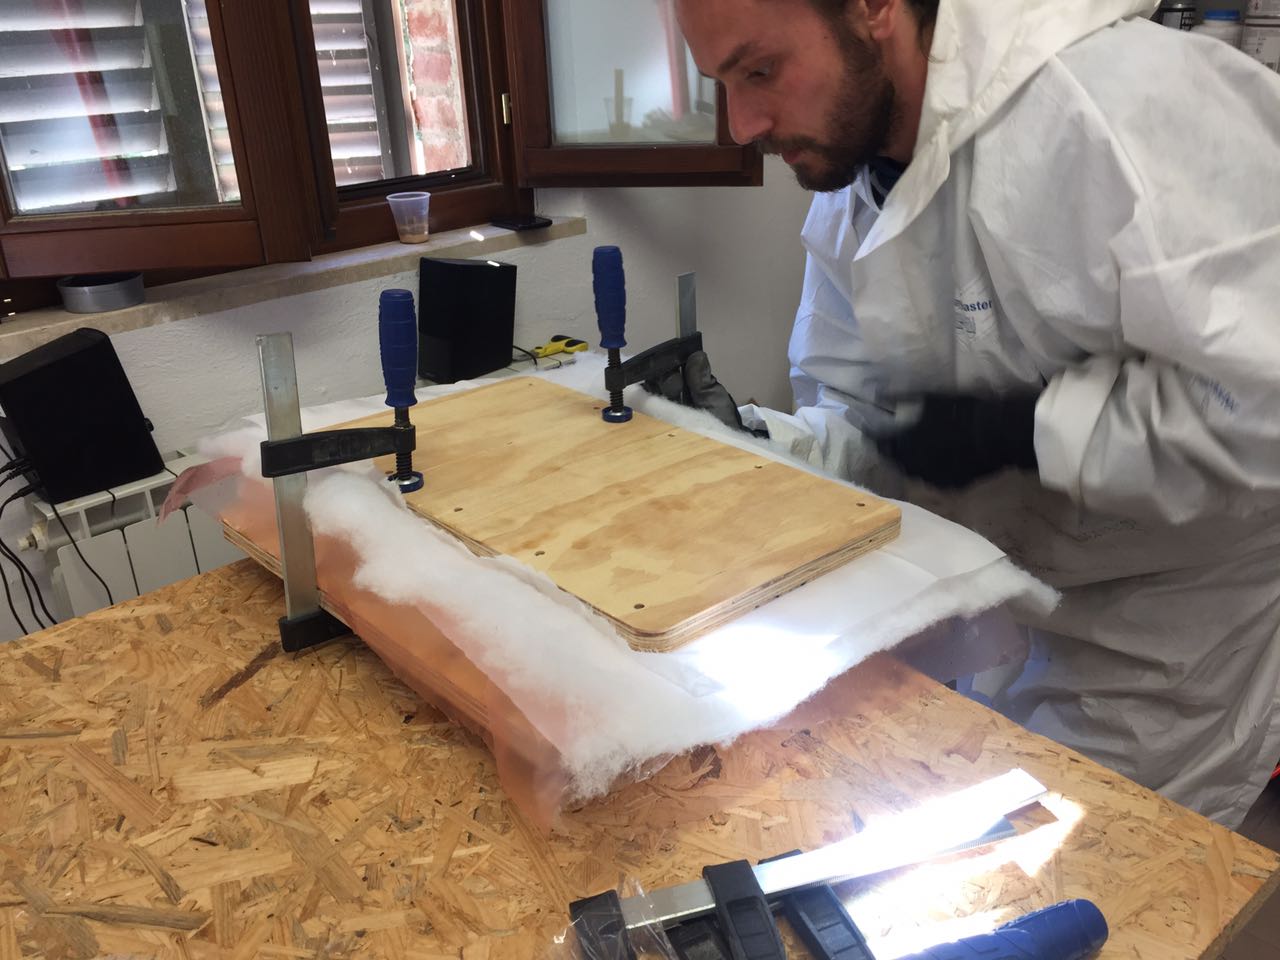
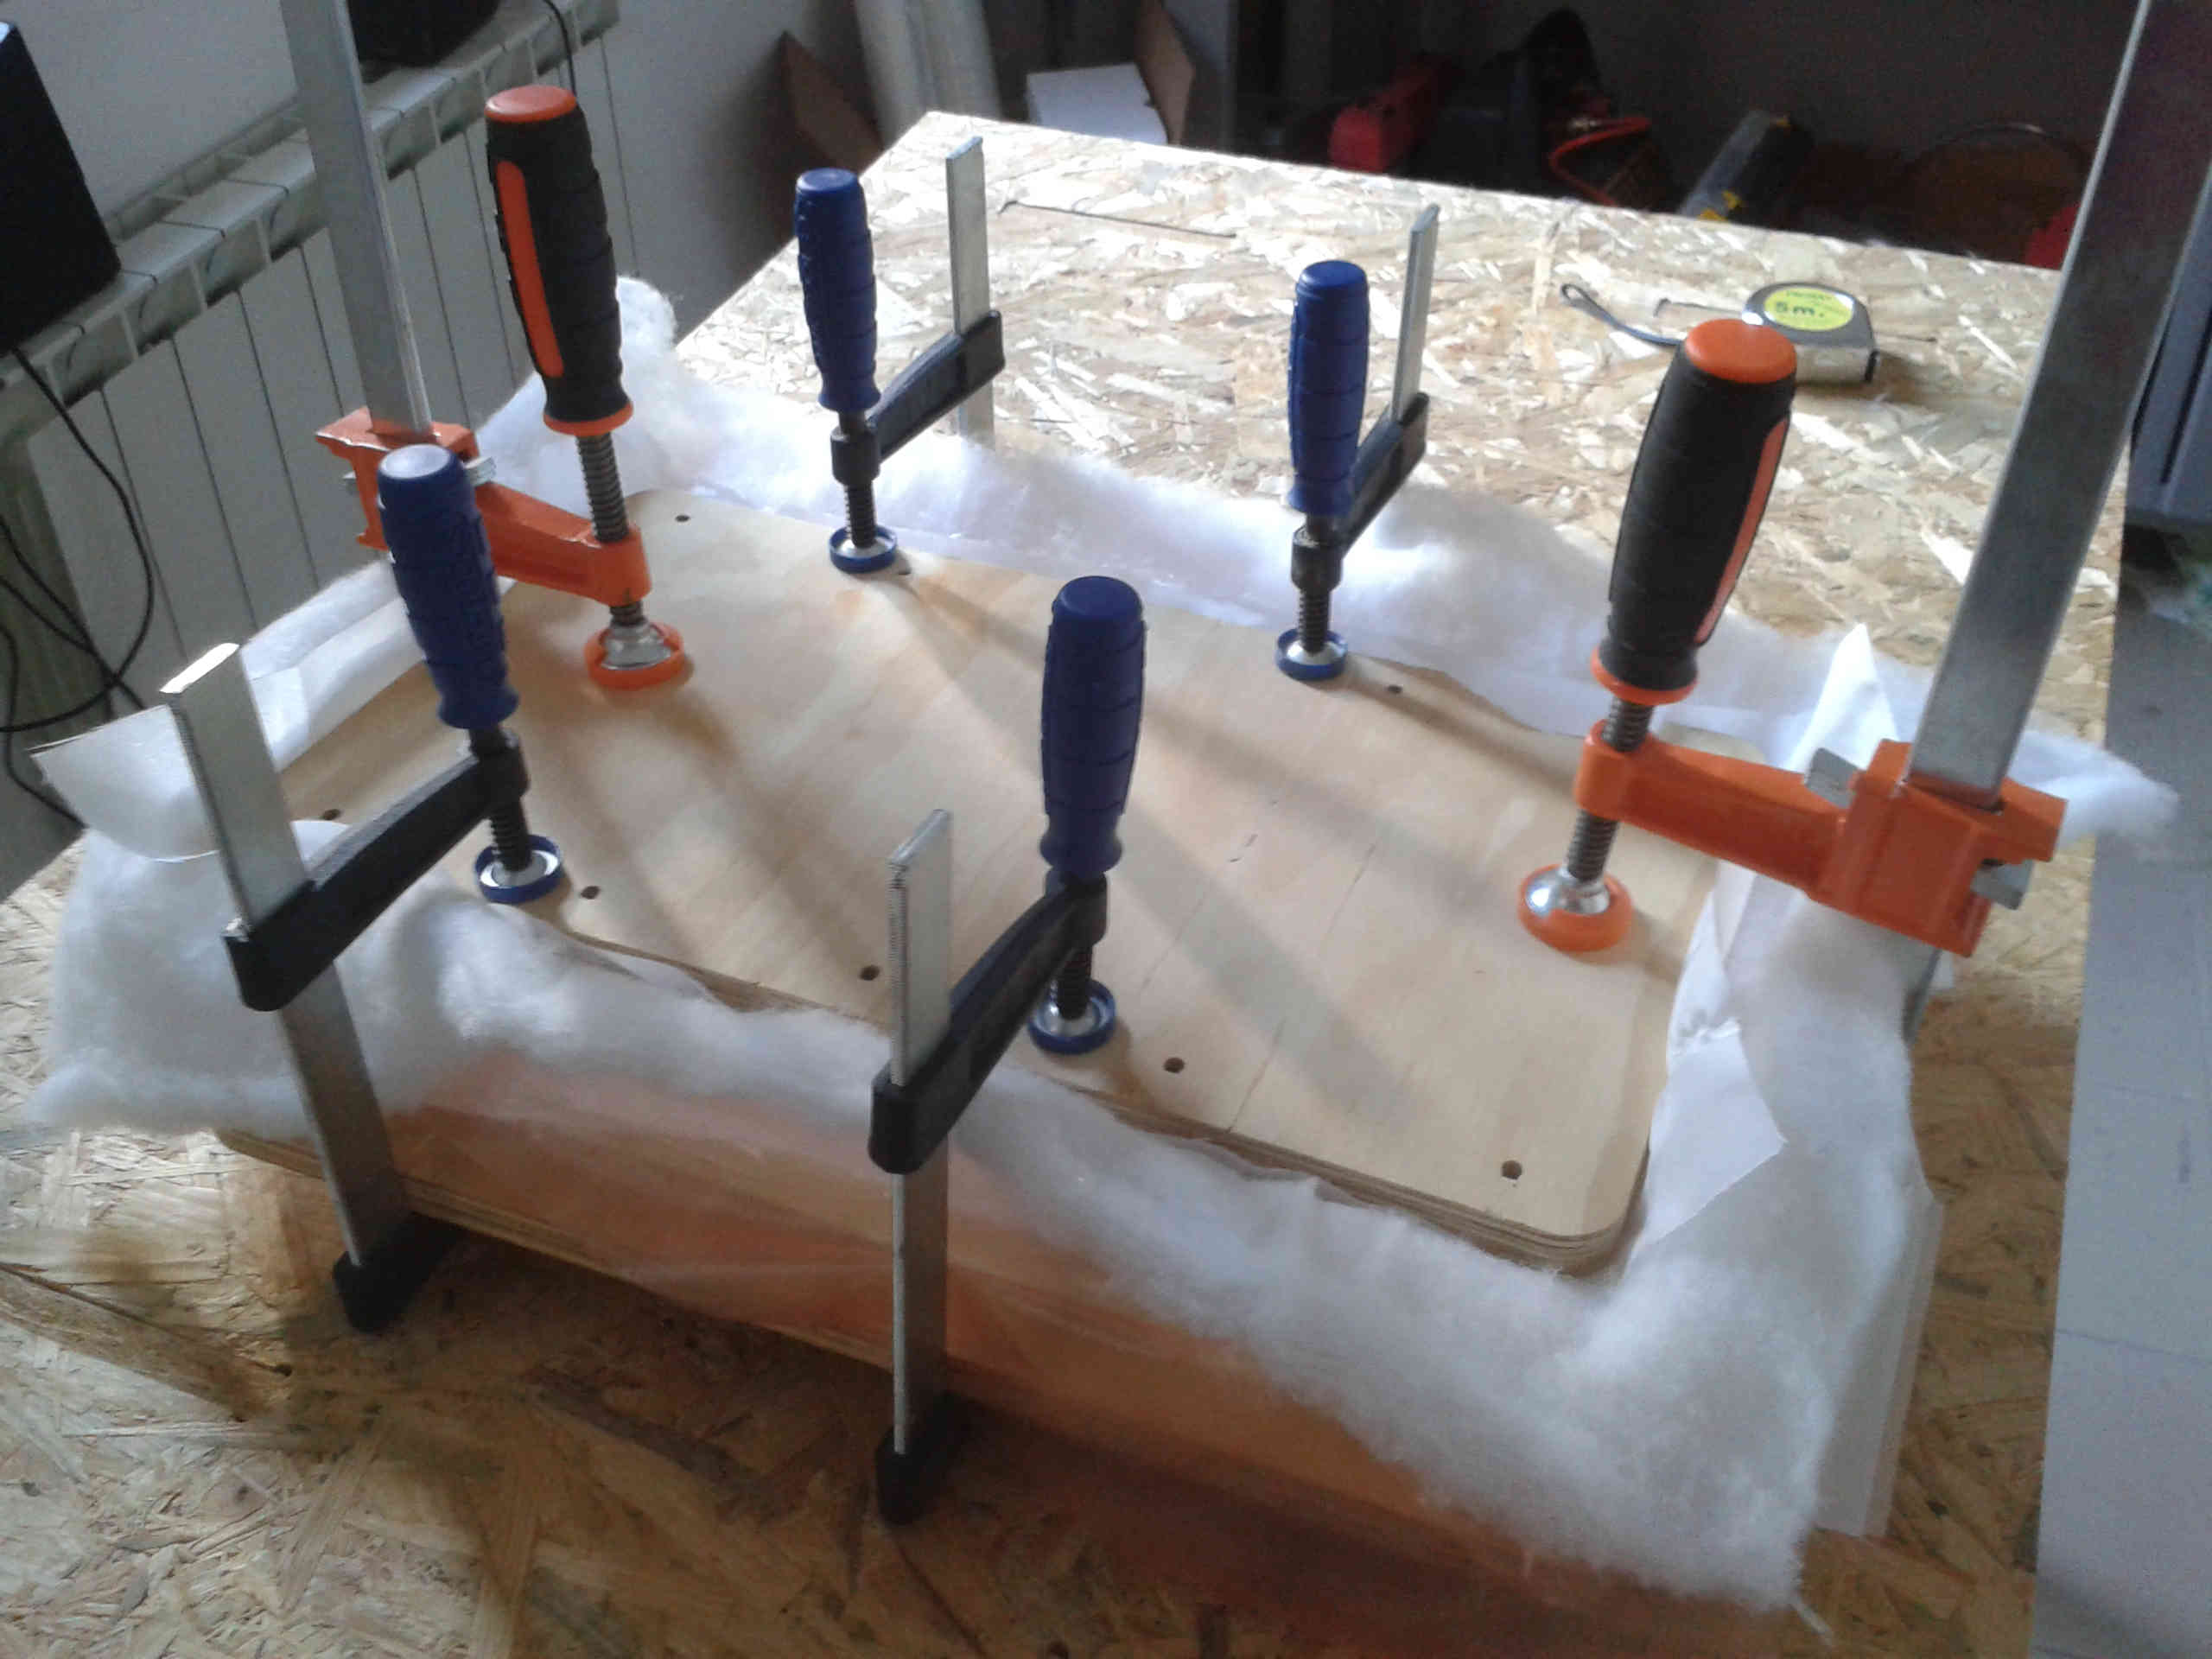
I've left it applying pressure all through the night
The resin I used needs only around four hours, but since it was late when I made the composite, I went home and then came back to the lab next morning
When I moved to extract the racket from the mold I recieve a beautiful surprise: everything worked well!
I've been able to separate the mold and the composite easily and without breaking the mold, so in case I can use it for further fabrications...
Update 13/5/2017
Making the handle
Once the racket was made I wanted to finish it making a handle
Since in our Lab we have a wood filament, and I've seen some works I liked, my first idea was to make it by 3D printing
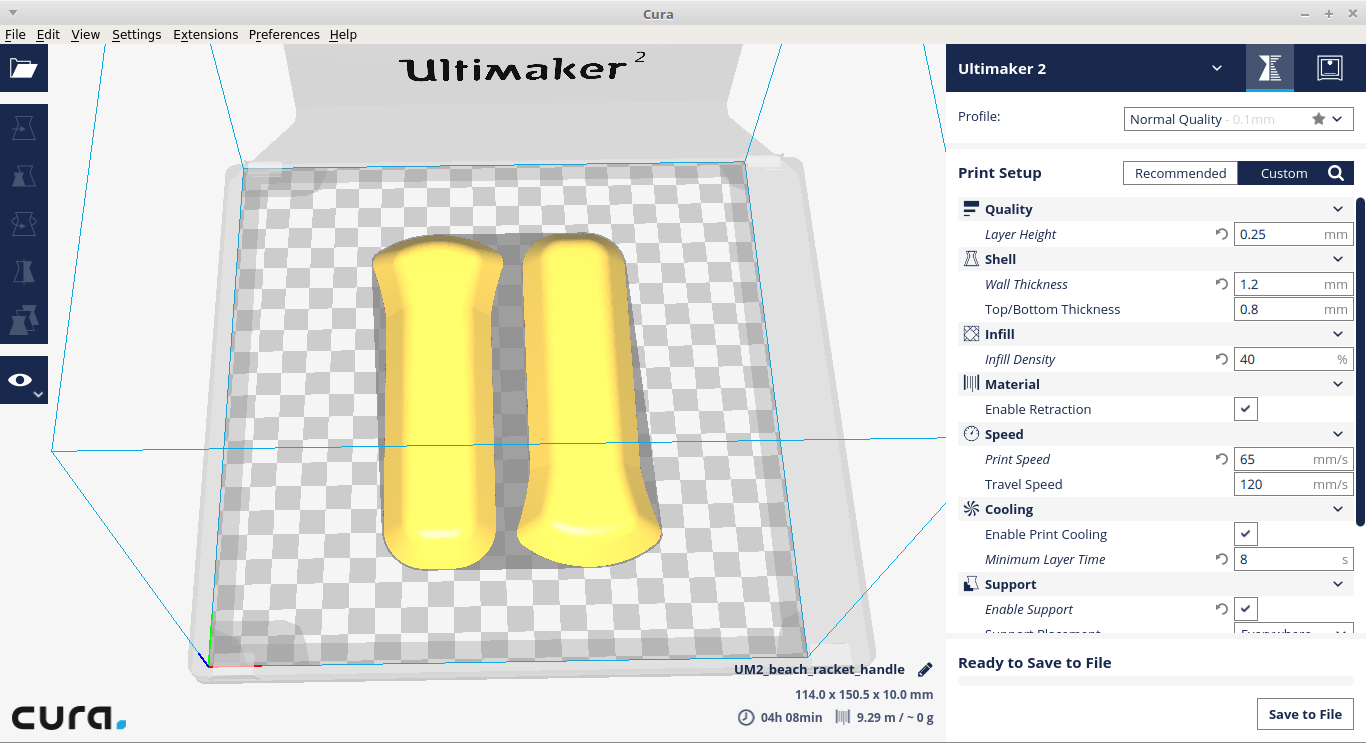
So I designed it...
And then I made the Gcode, setting a low print speed (30mm/s) because the guy who made those works I've seen in the Lab suggested me to reduce it more or less to half of the usual setting.
I also set the printing temperature to 200C (the range for this filament is 190-210C declared on the material package, even if on the web site it's 195-220C...)
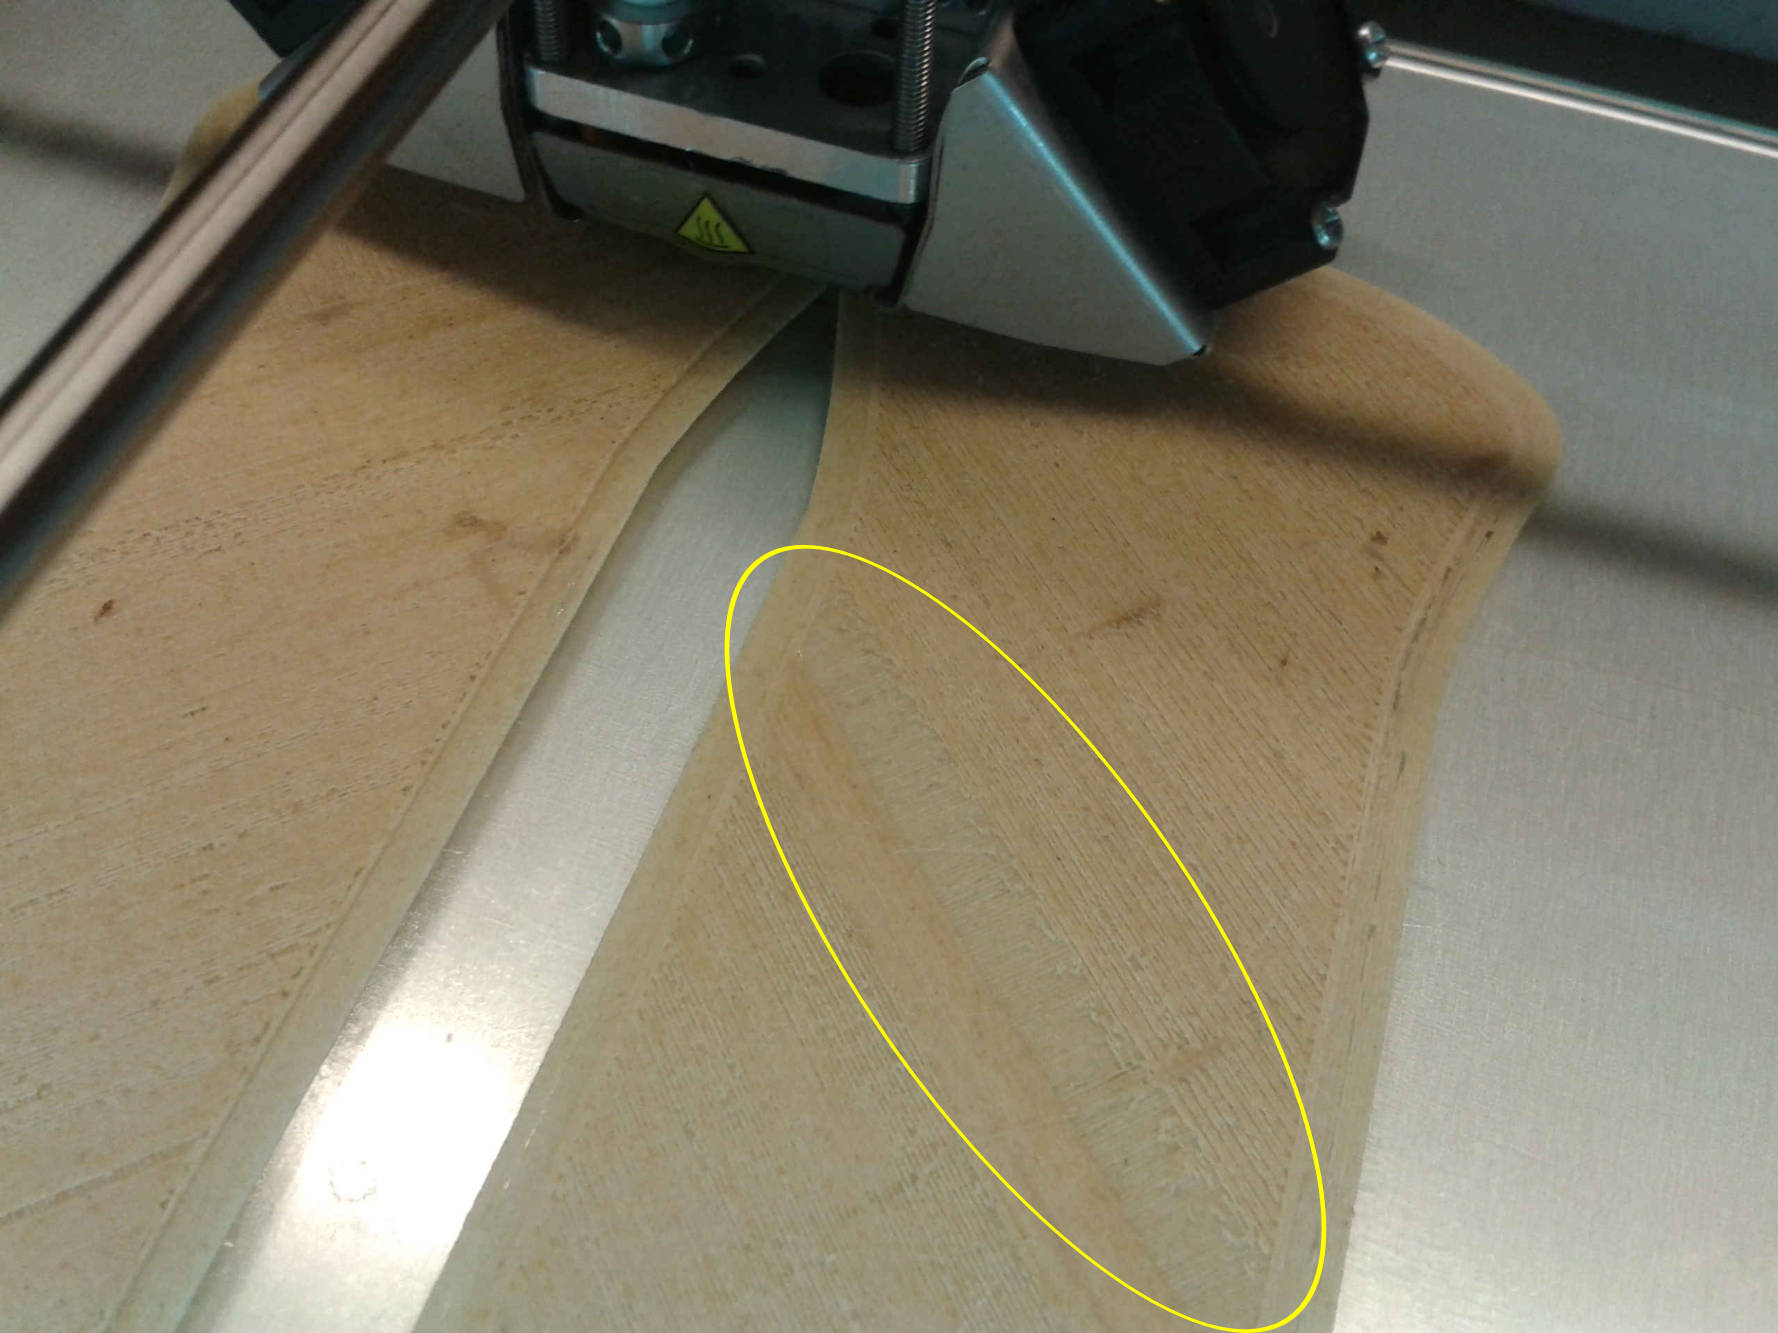
As you can see the print didn't work well from the beginning, in fact a stripe in the layer is lacking. But I wanted let it go on anyway, thinking it wouldn't be so foundamental...
Indeed going on it seemed the printing was working better, except for those conglomerations of melted filament you can see in the picture
But at a certain point the printer stopped to extrude material due to a clog in the noozle, and then I had to abort the print job
I was really sorry about this because the final effect would be great in my opinion
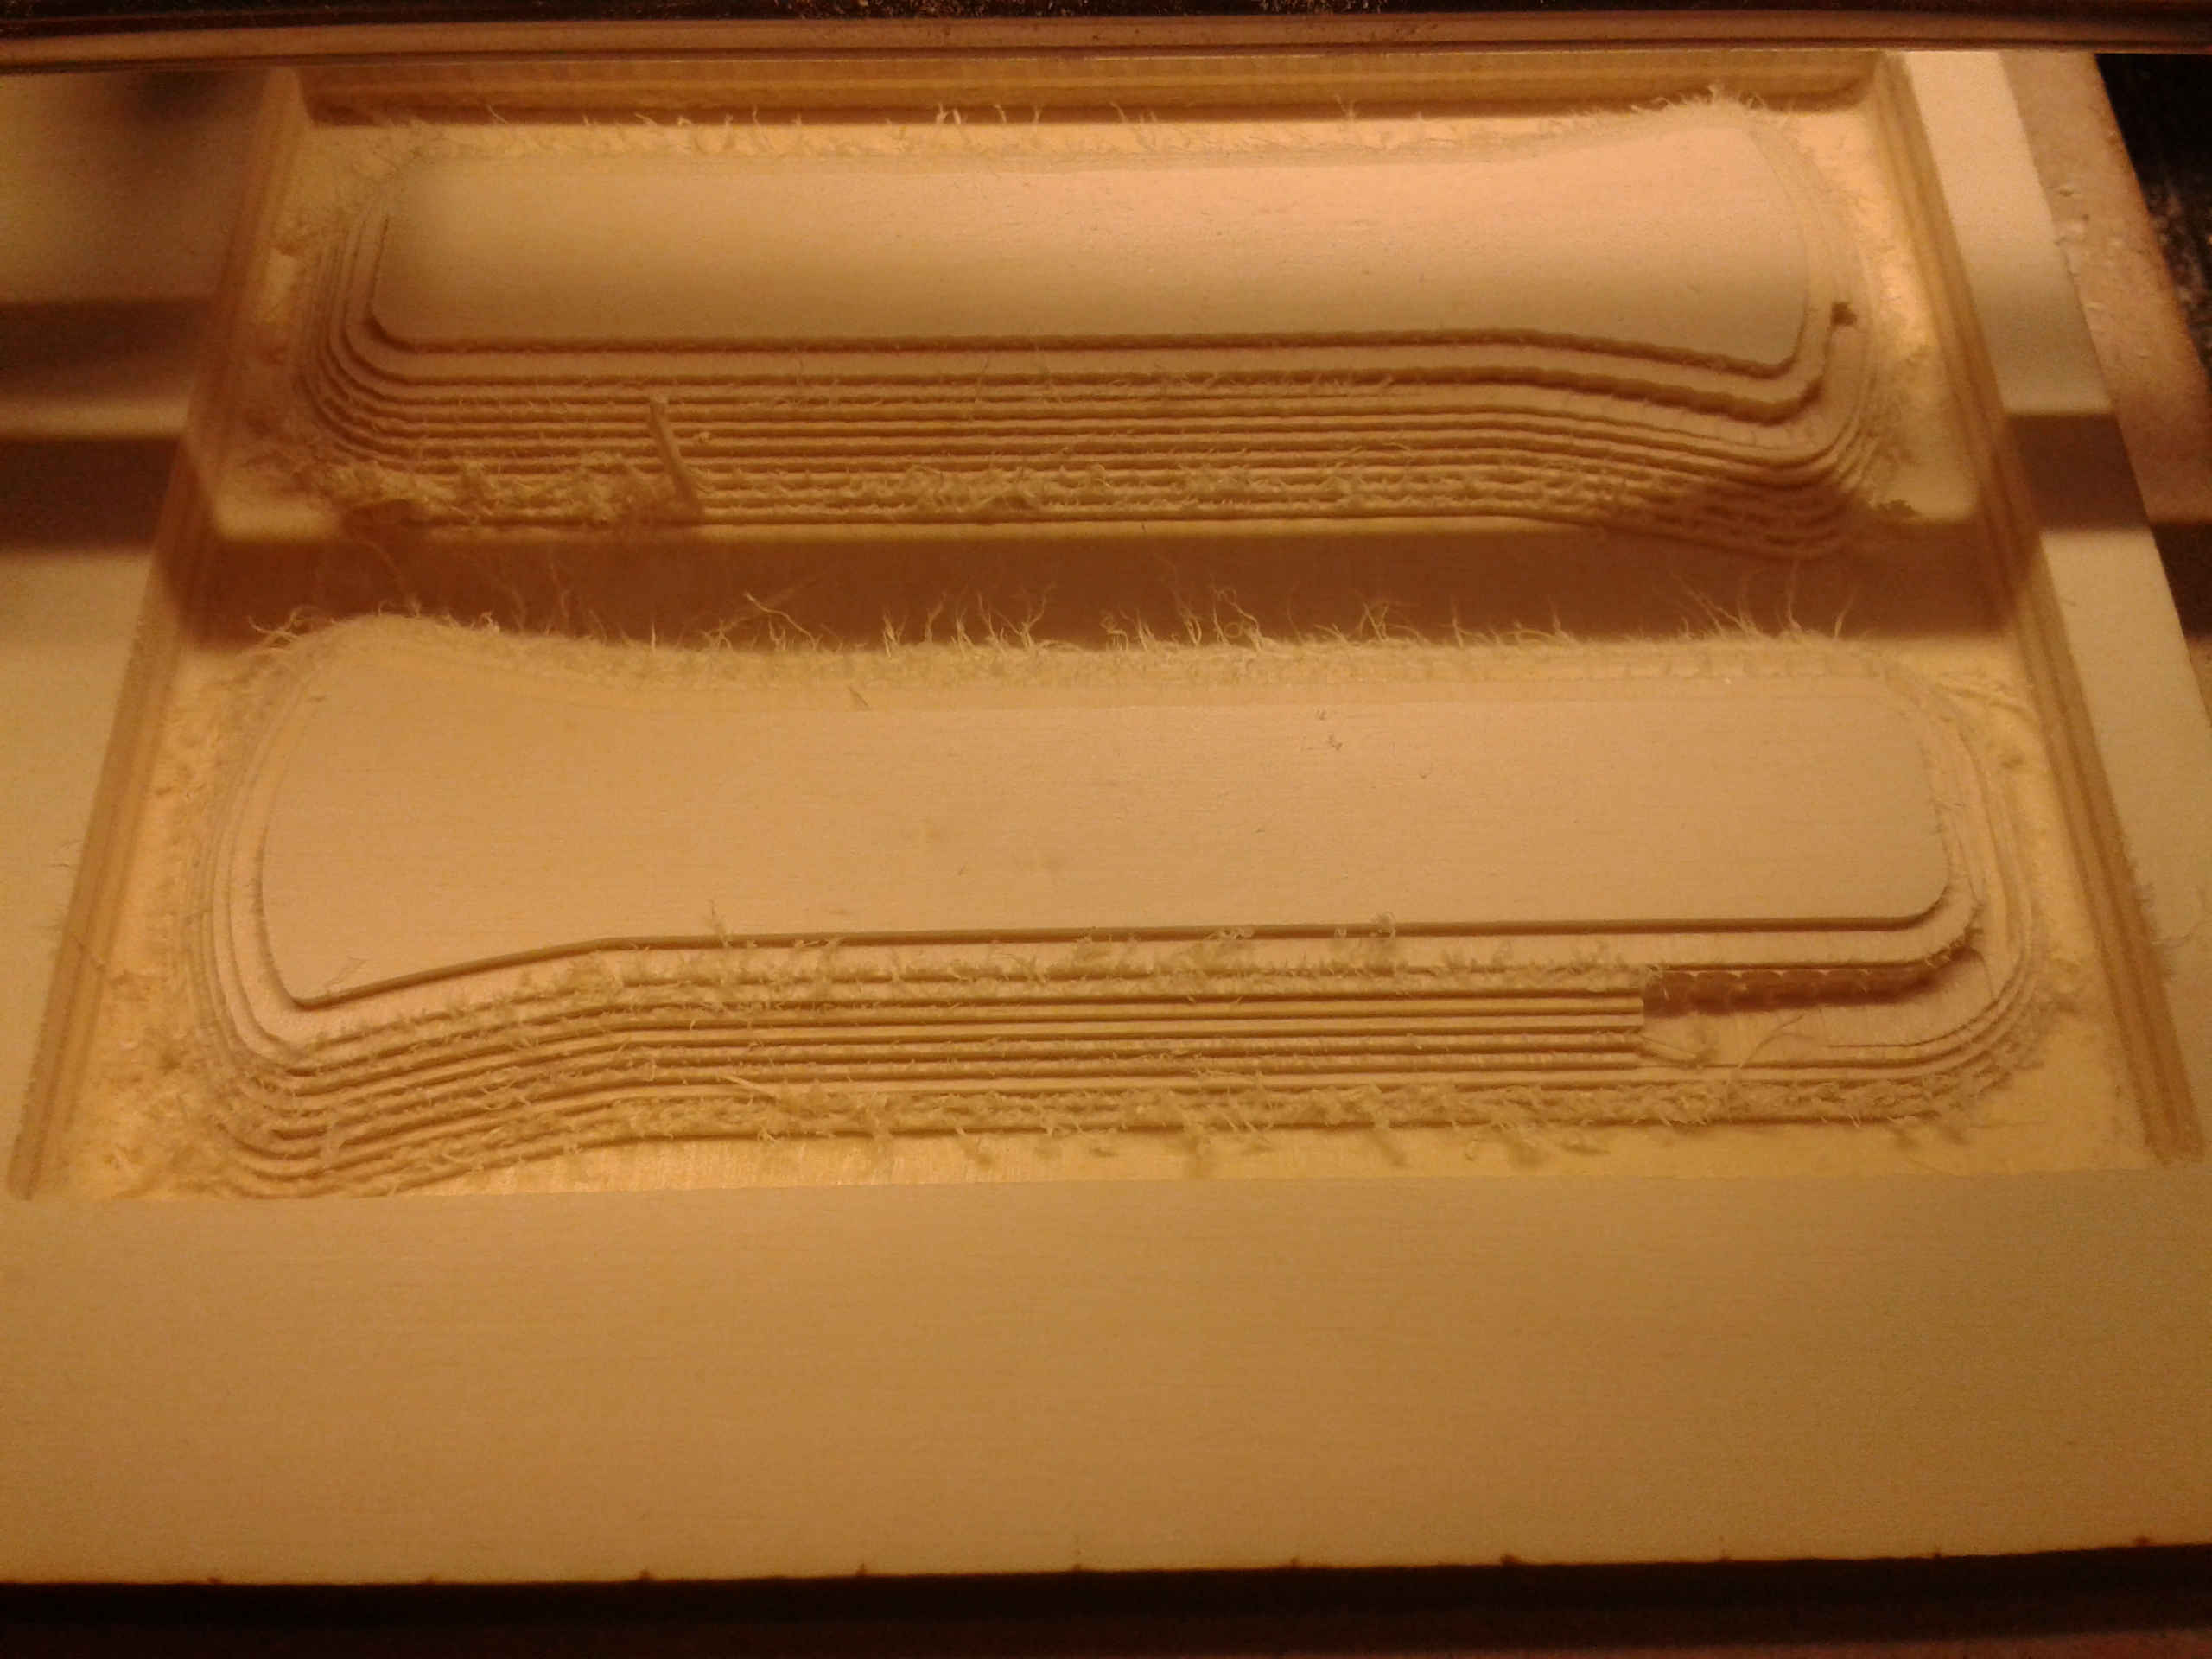
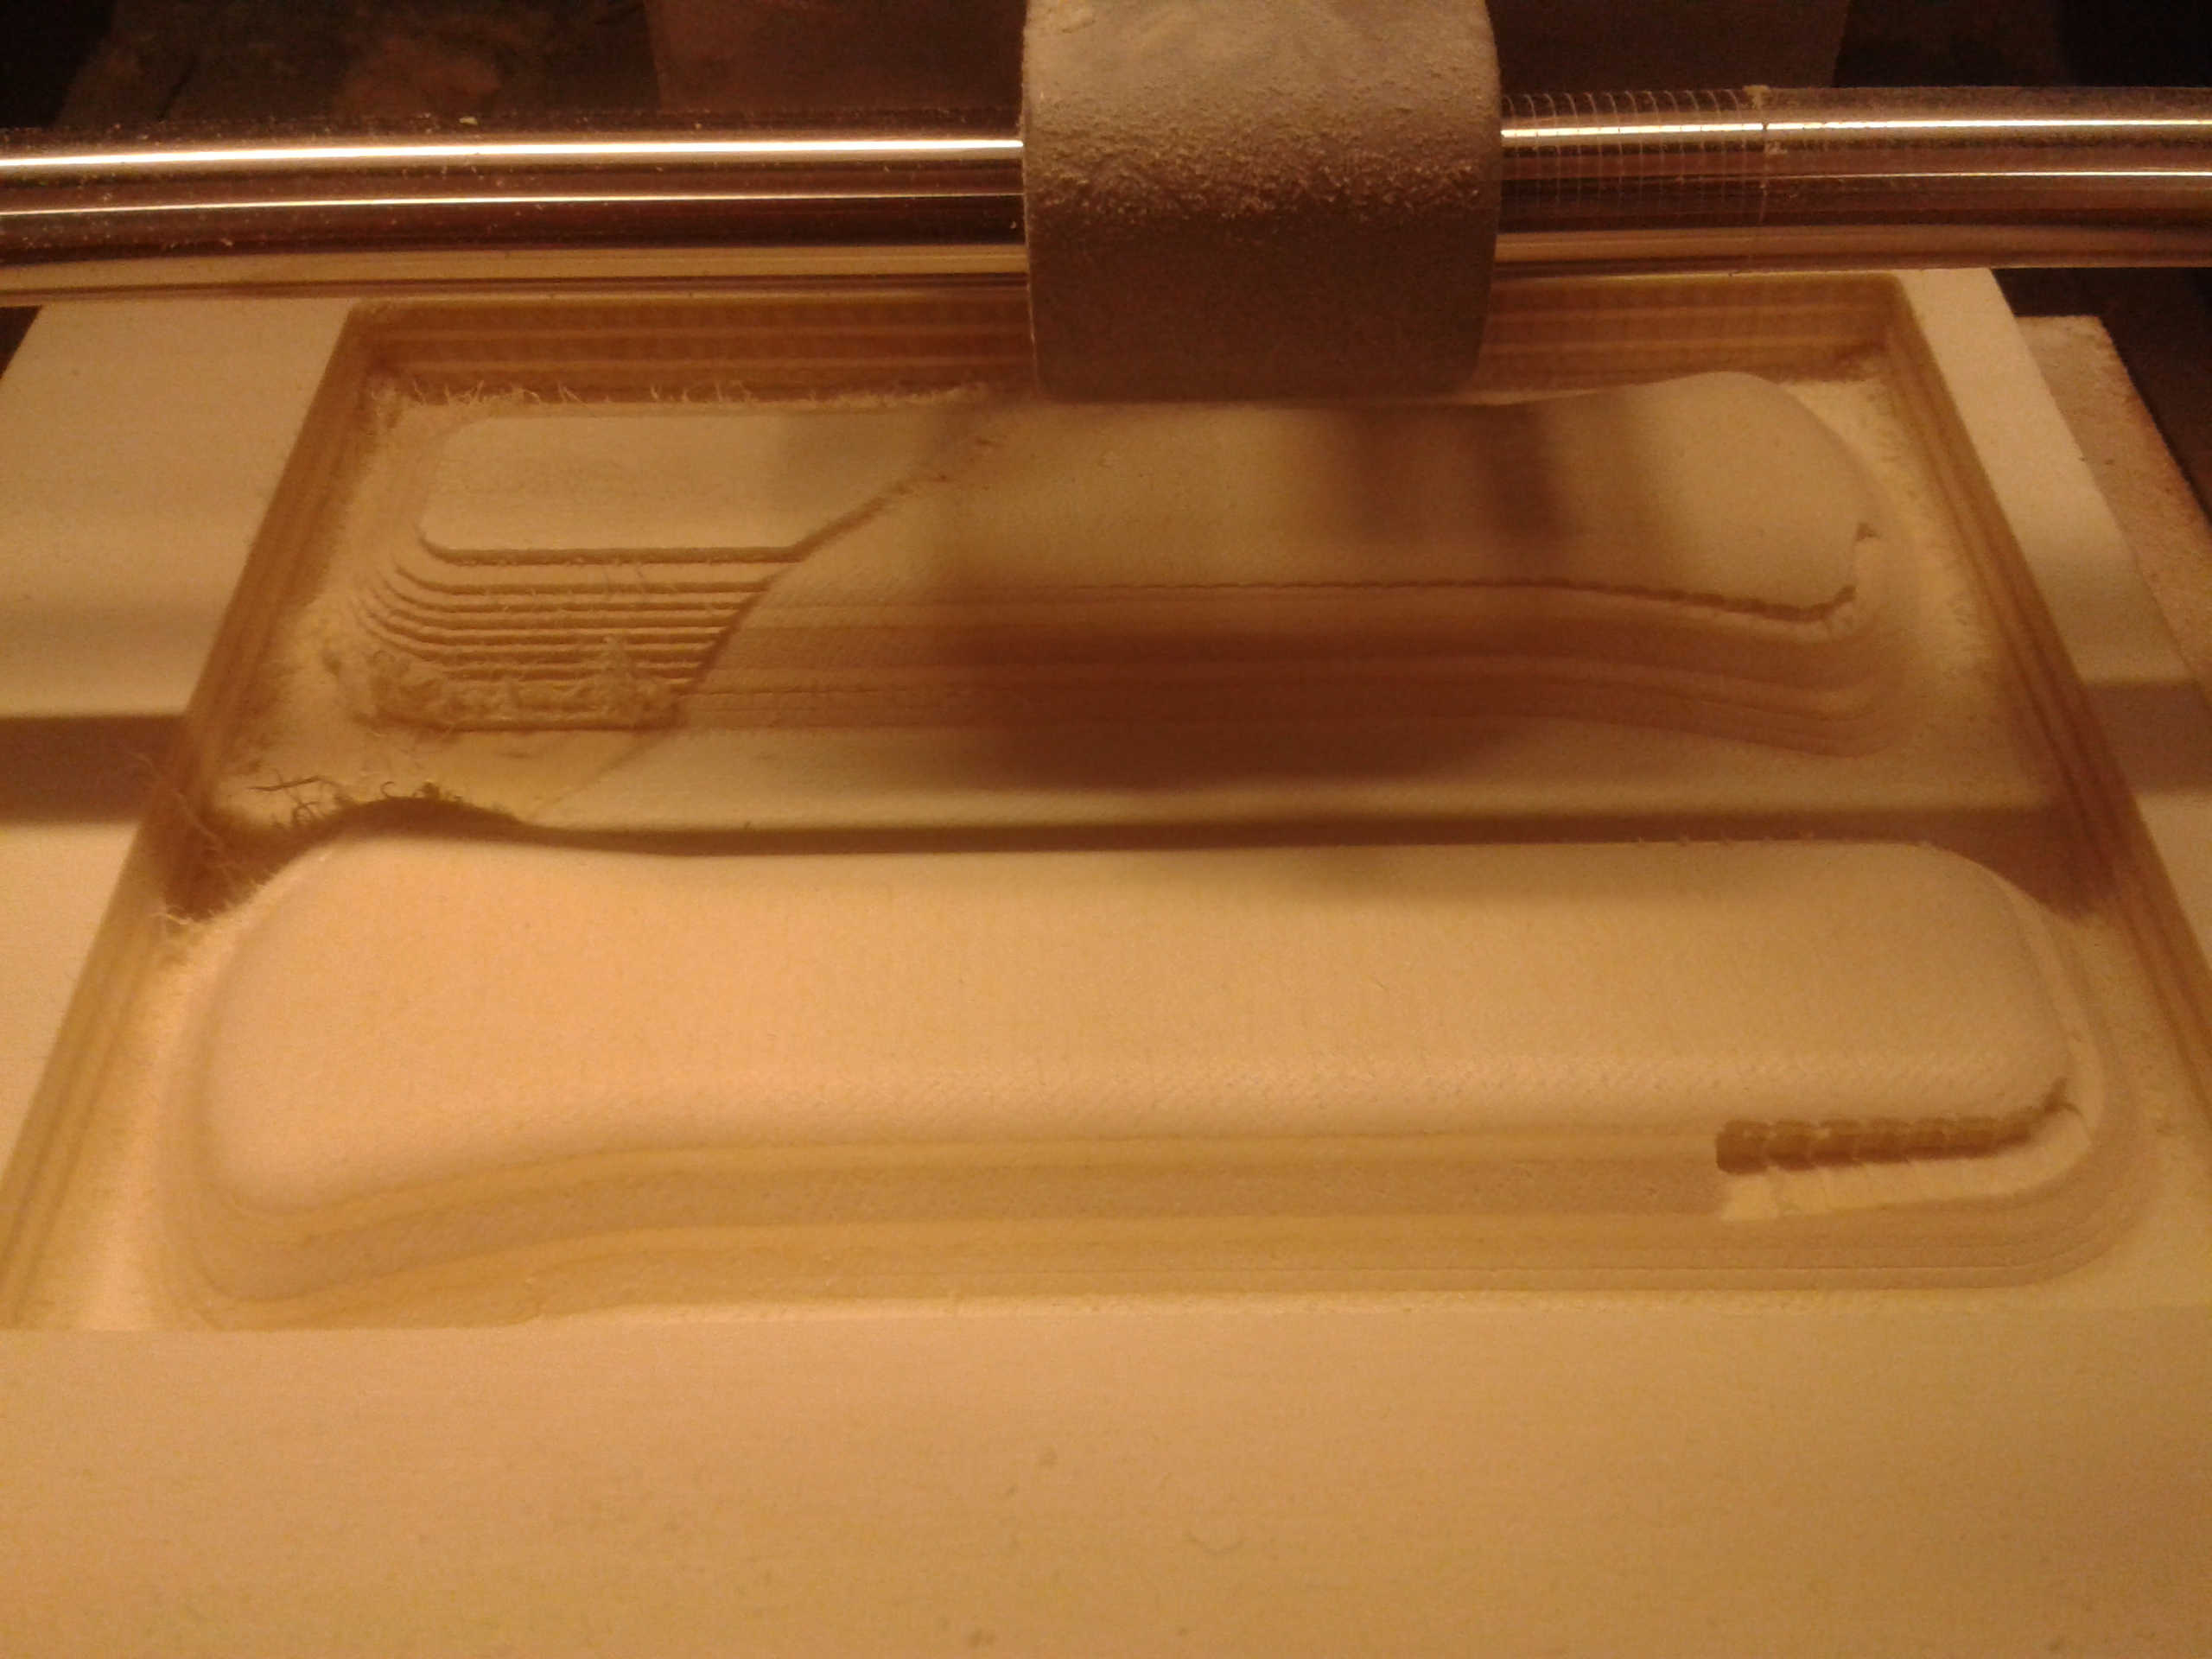
But I needed to do my handle in one way or another, so I tried to do something nobody else did before in my Lab: milling wood with the Roland SMR-20
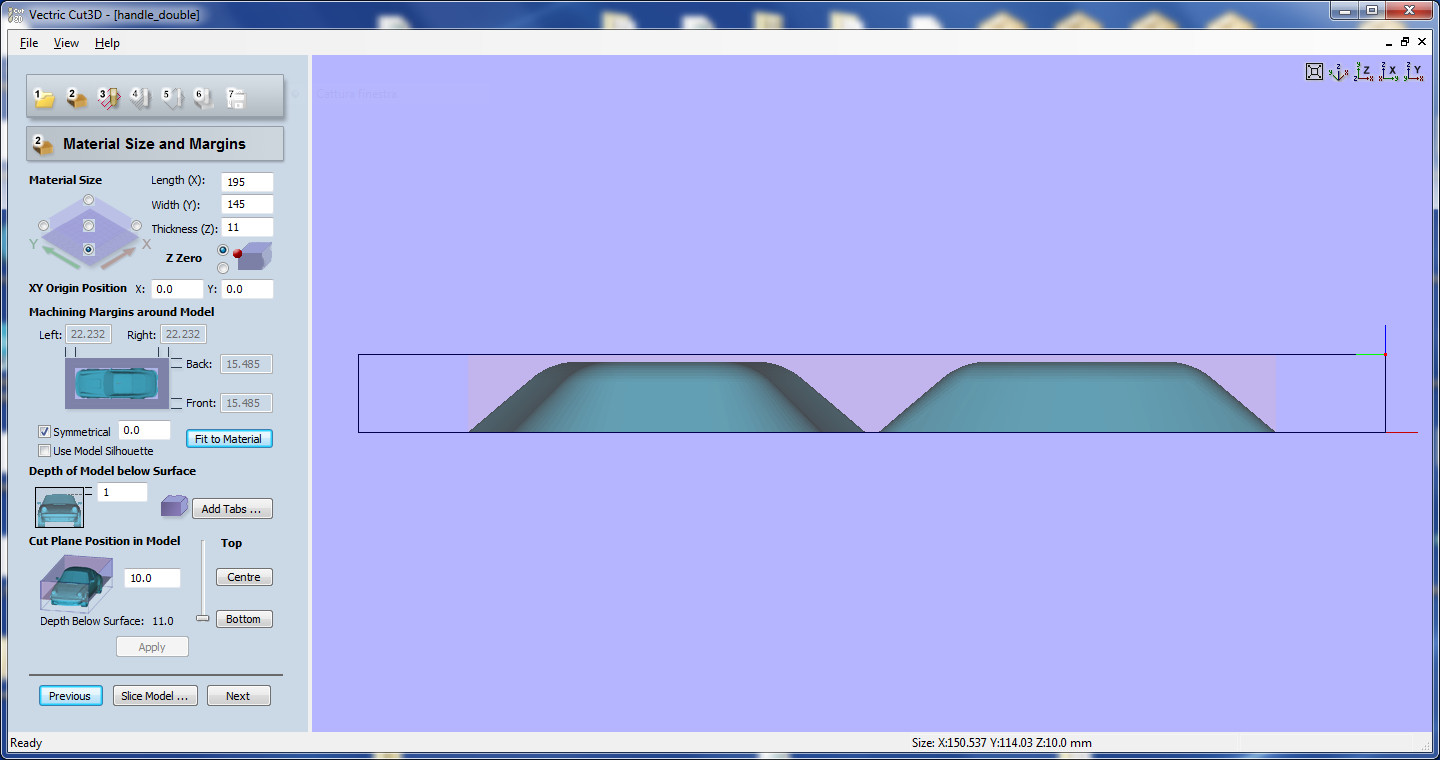
Then I started uploading the .stl on Vector Cut3D
For this work I used a plywood board thick 11mm
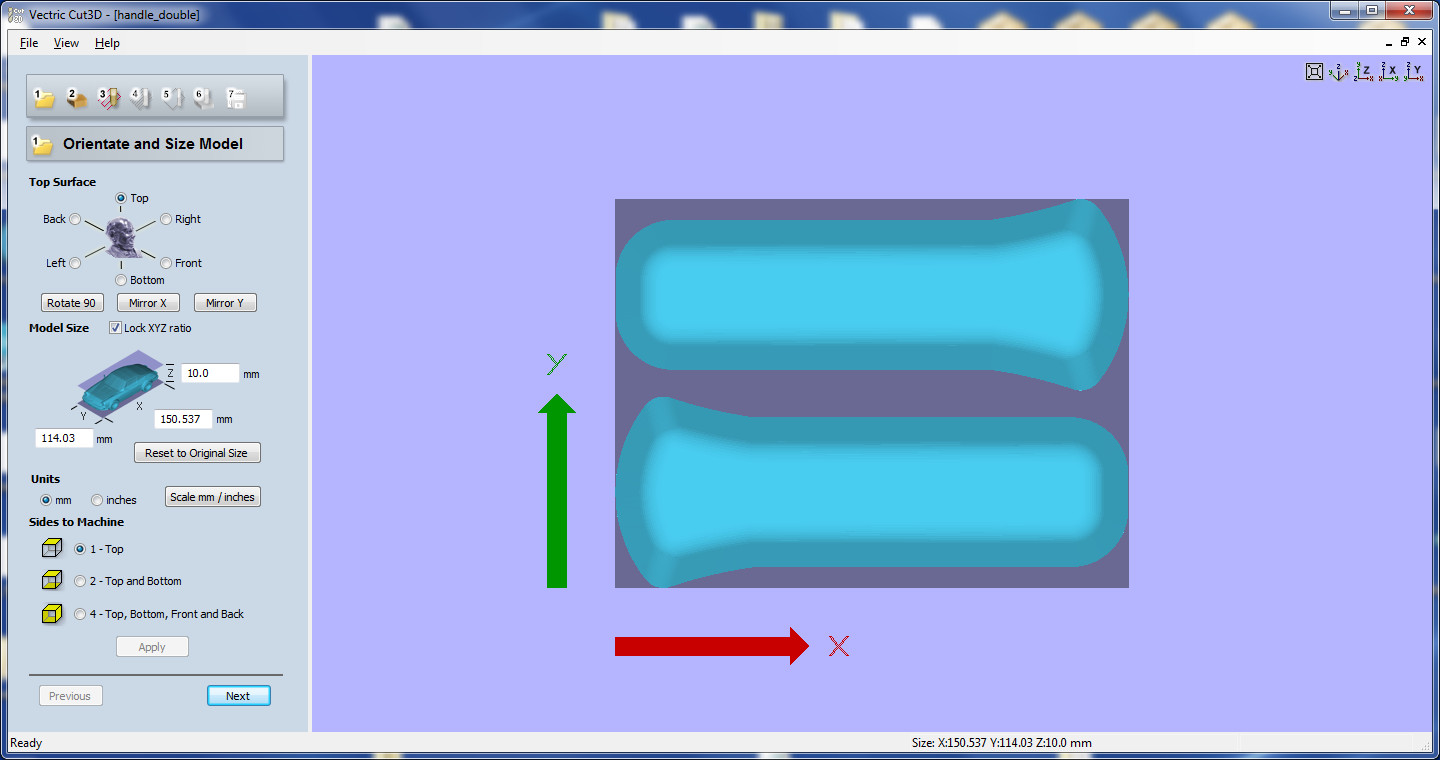
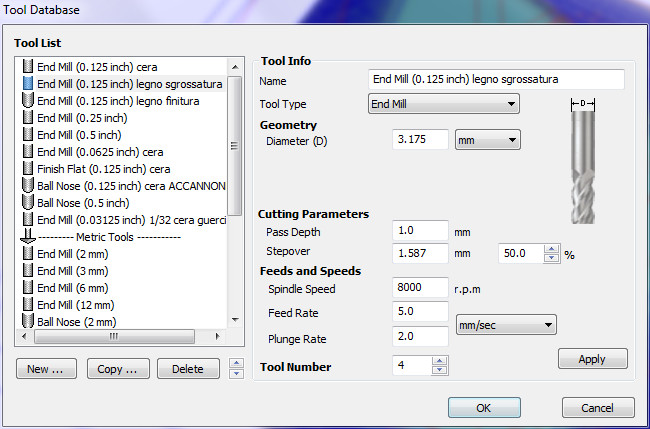
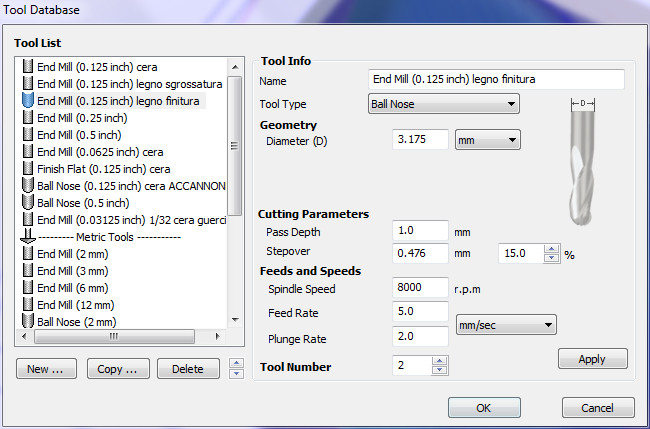
At this point me and Pietro have found some settings for both the roughing and finishing tips that should have been working
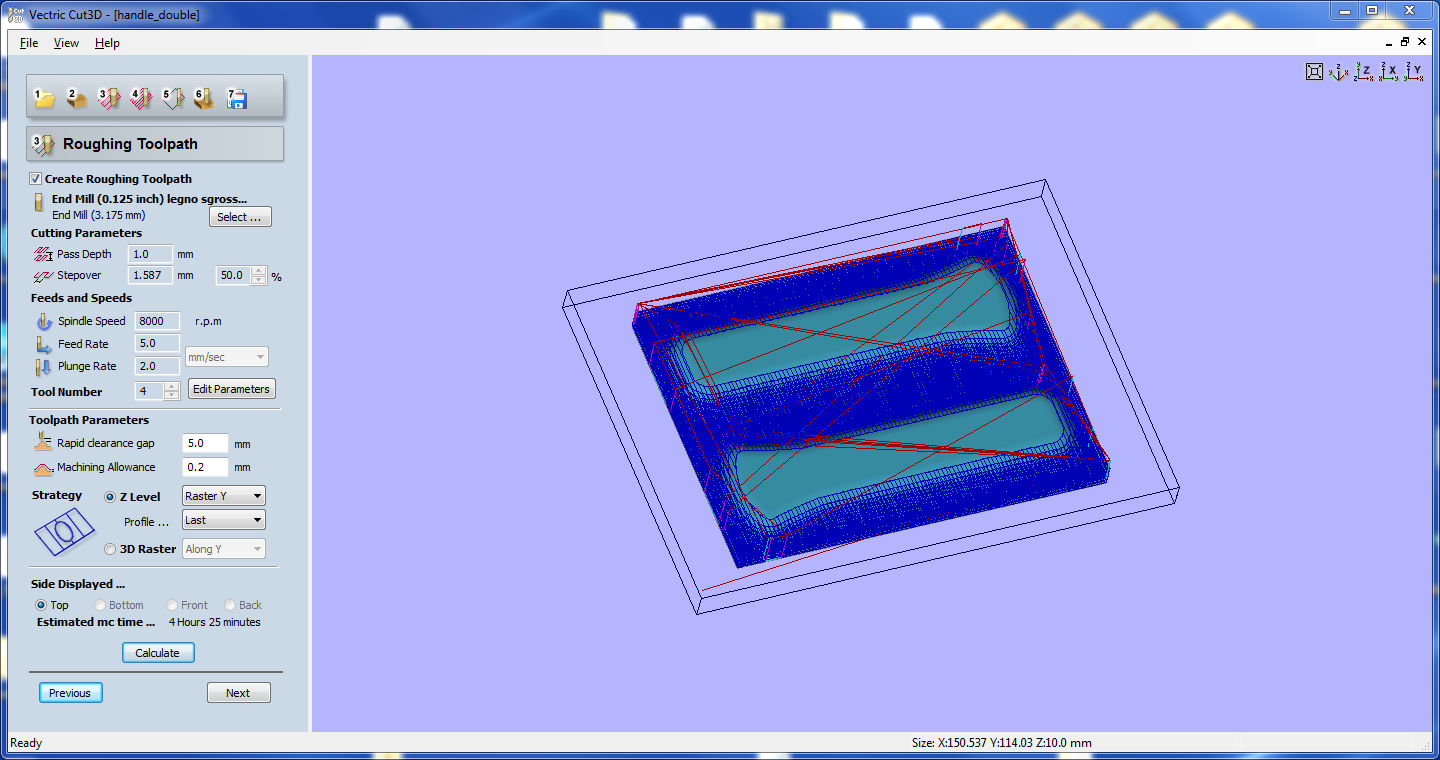
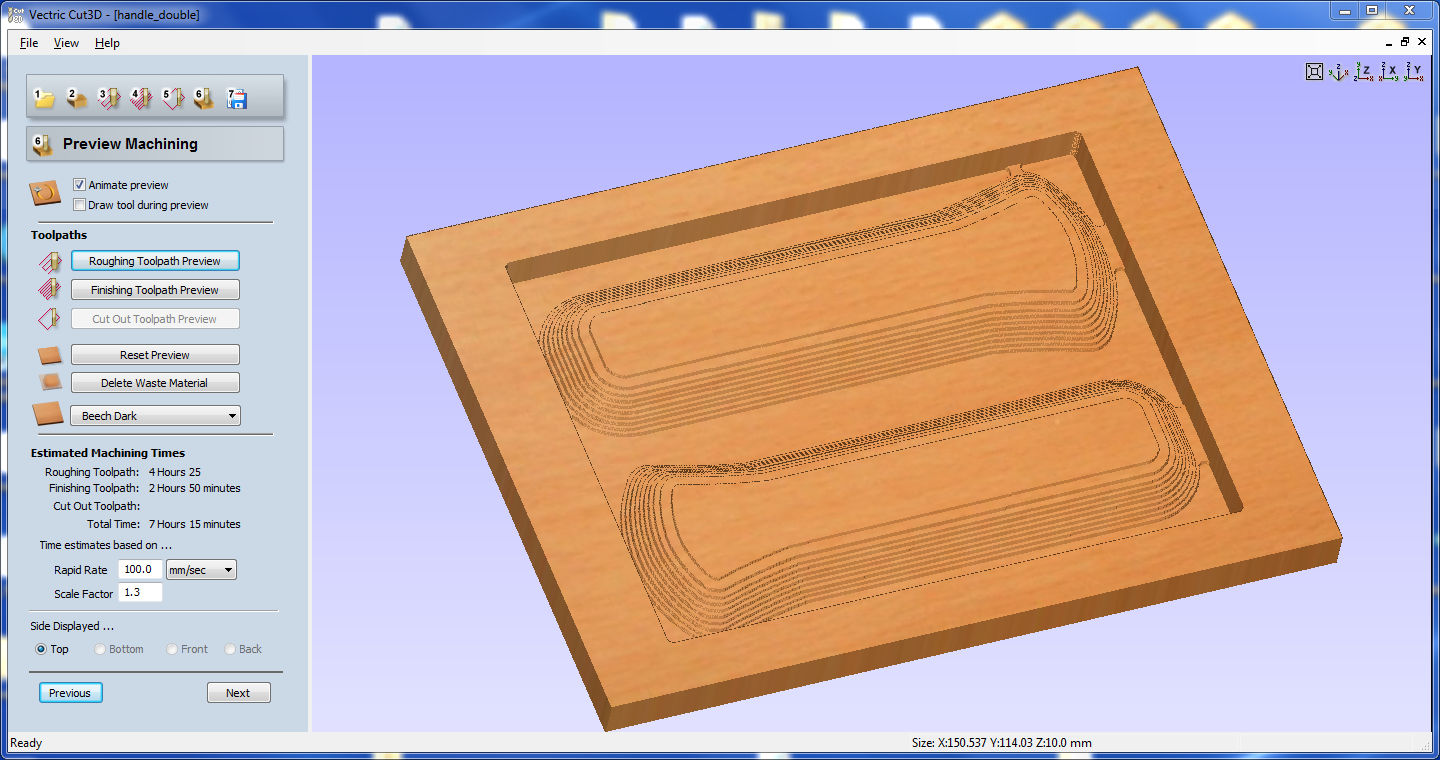
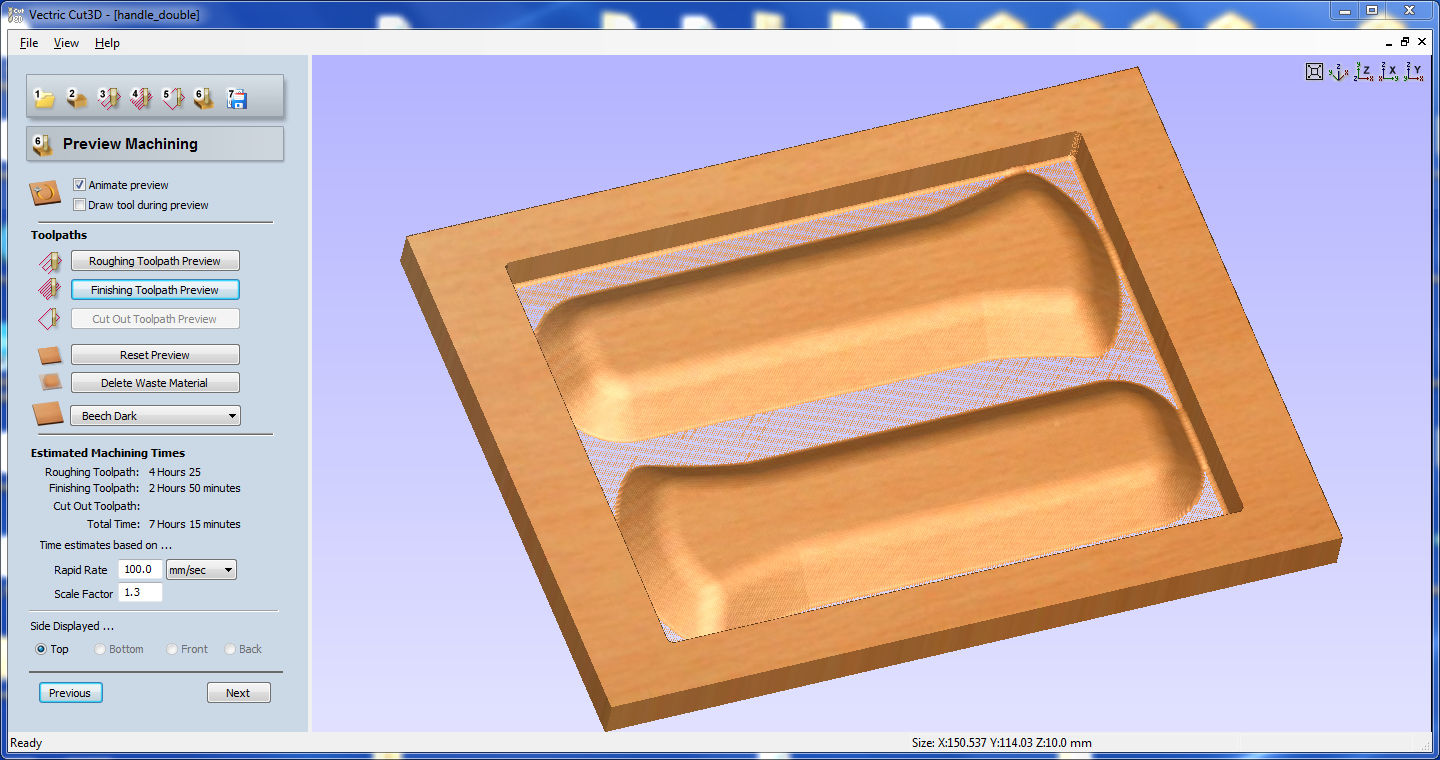
And here you can see various step of the process...
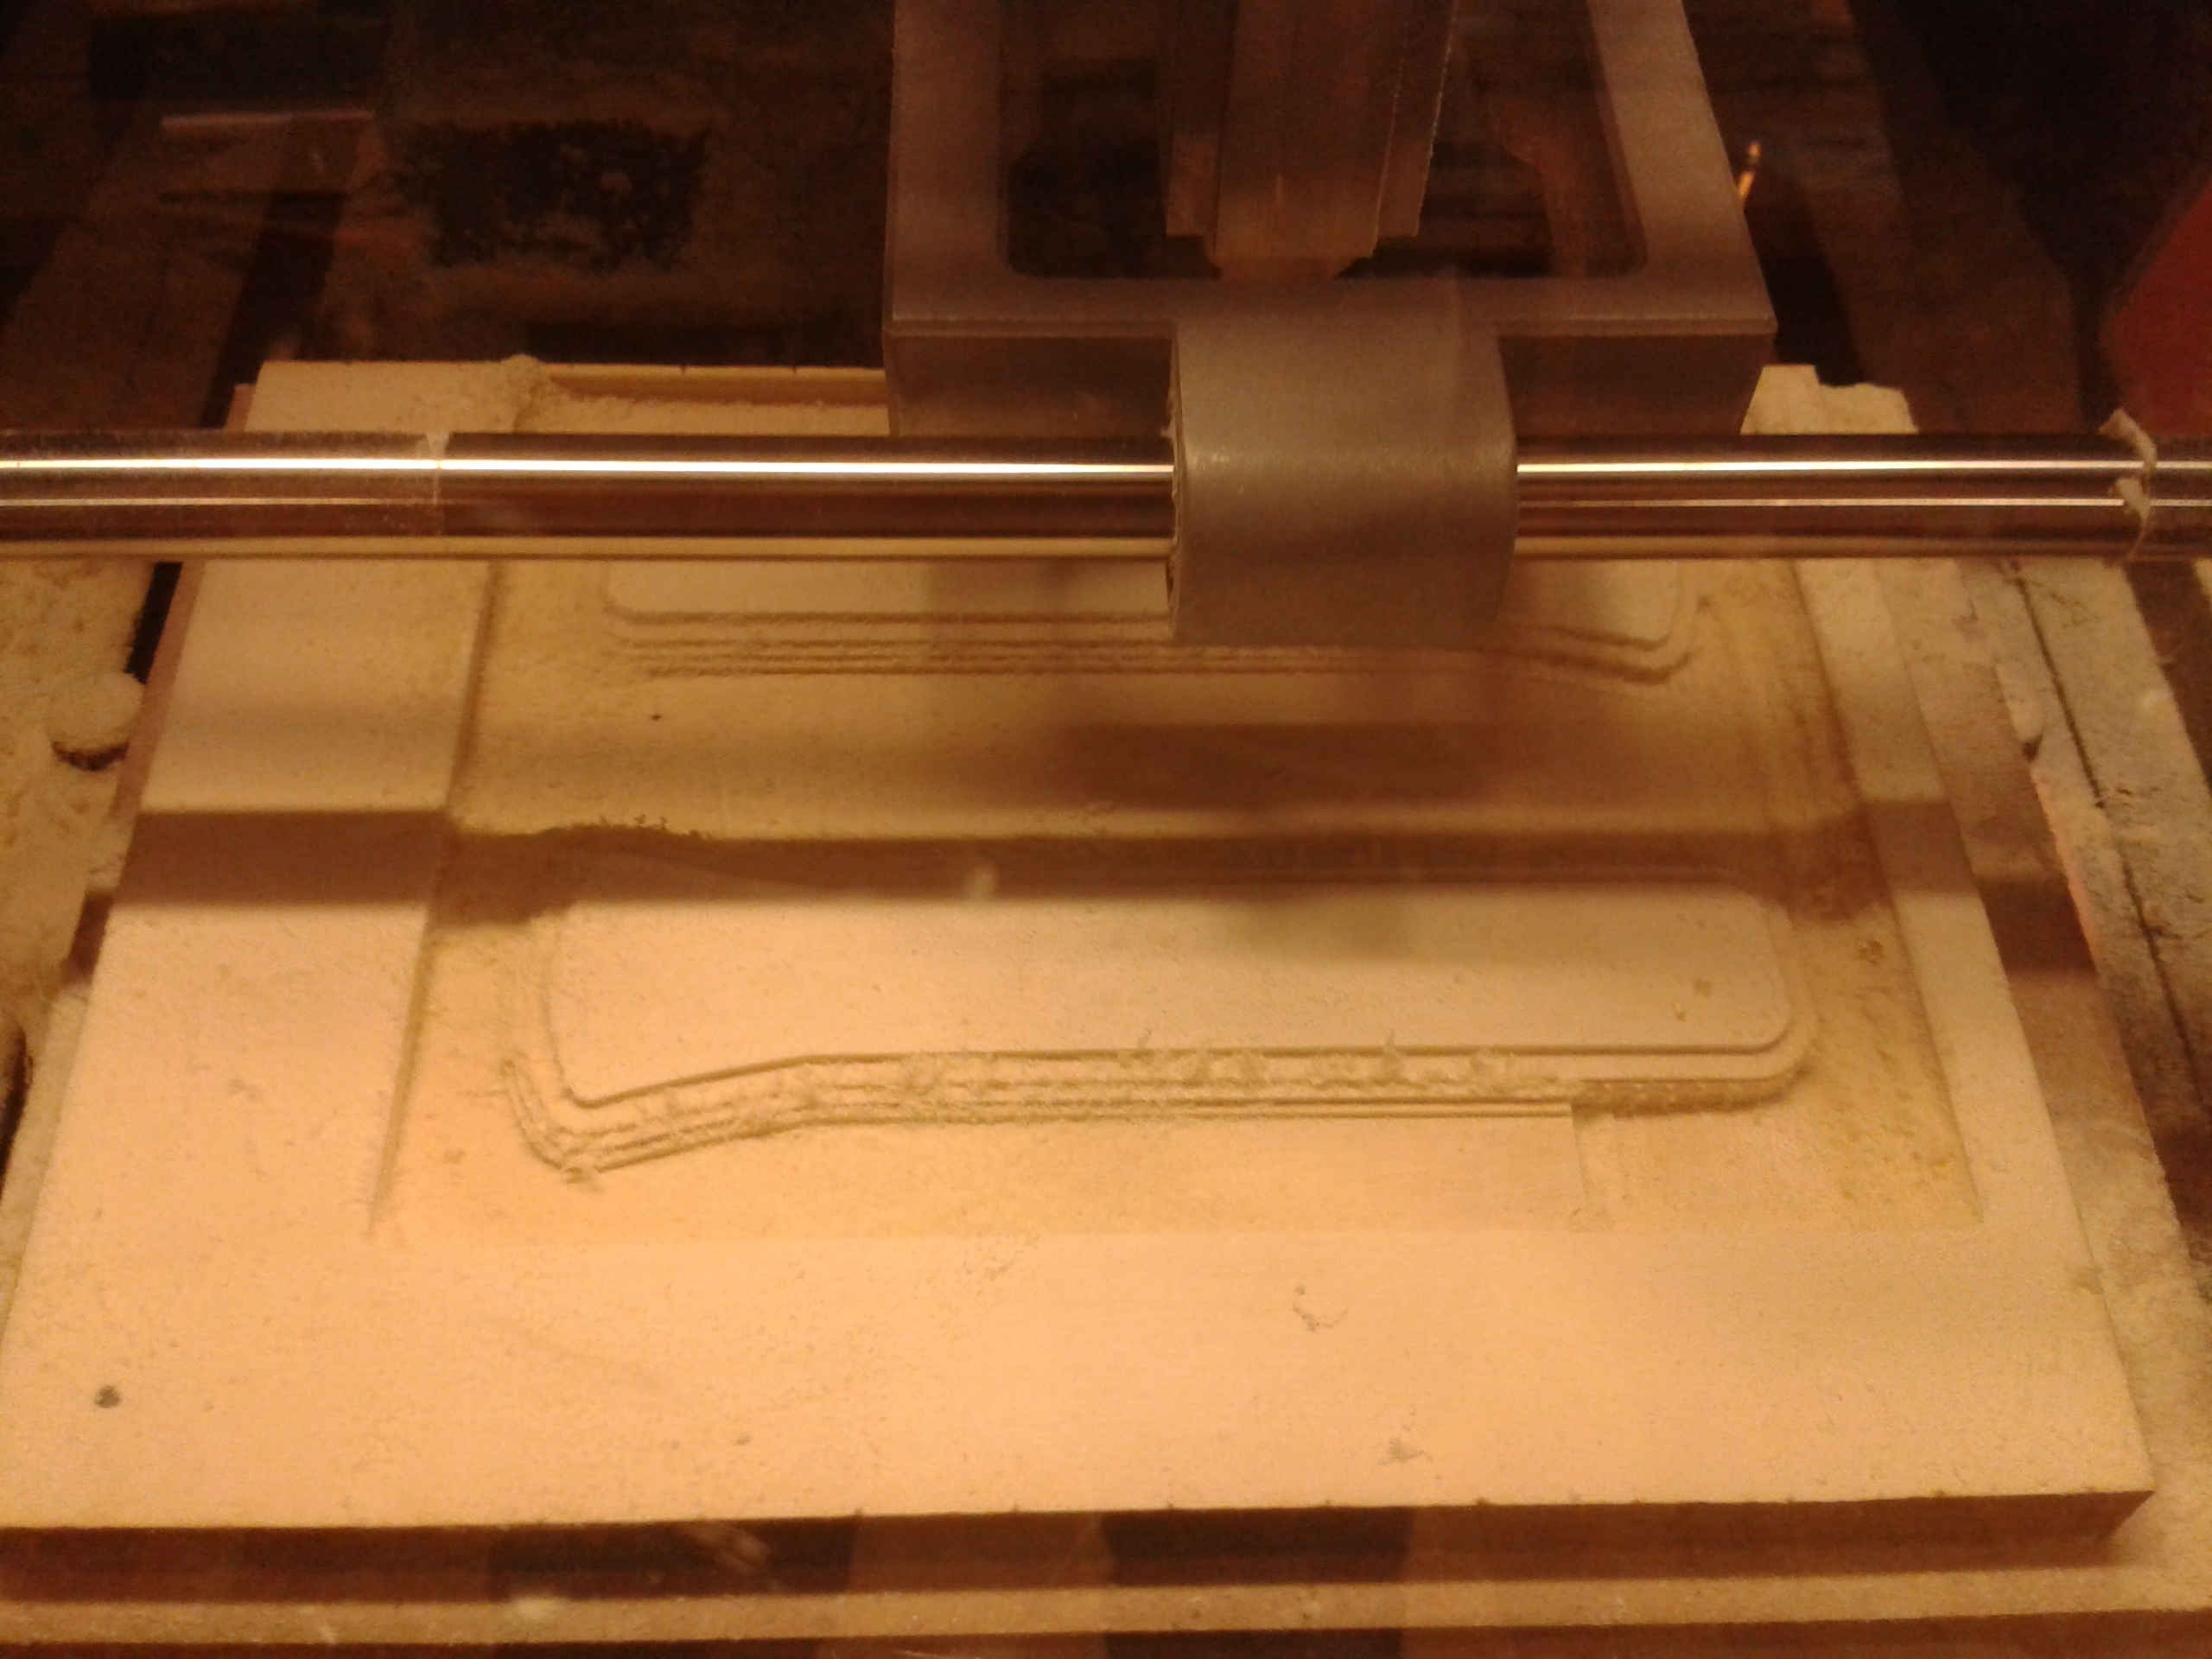
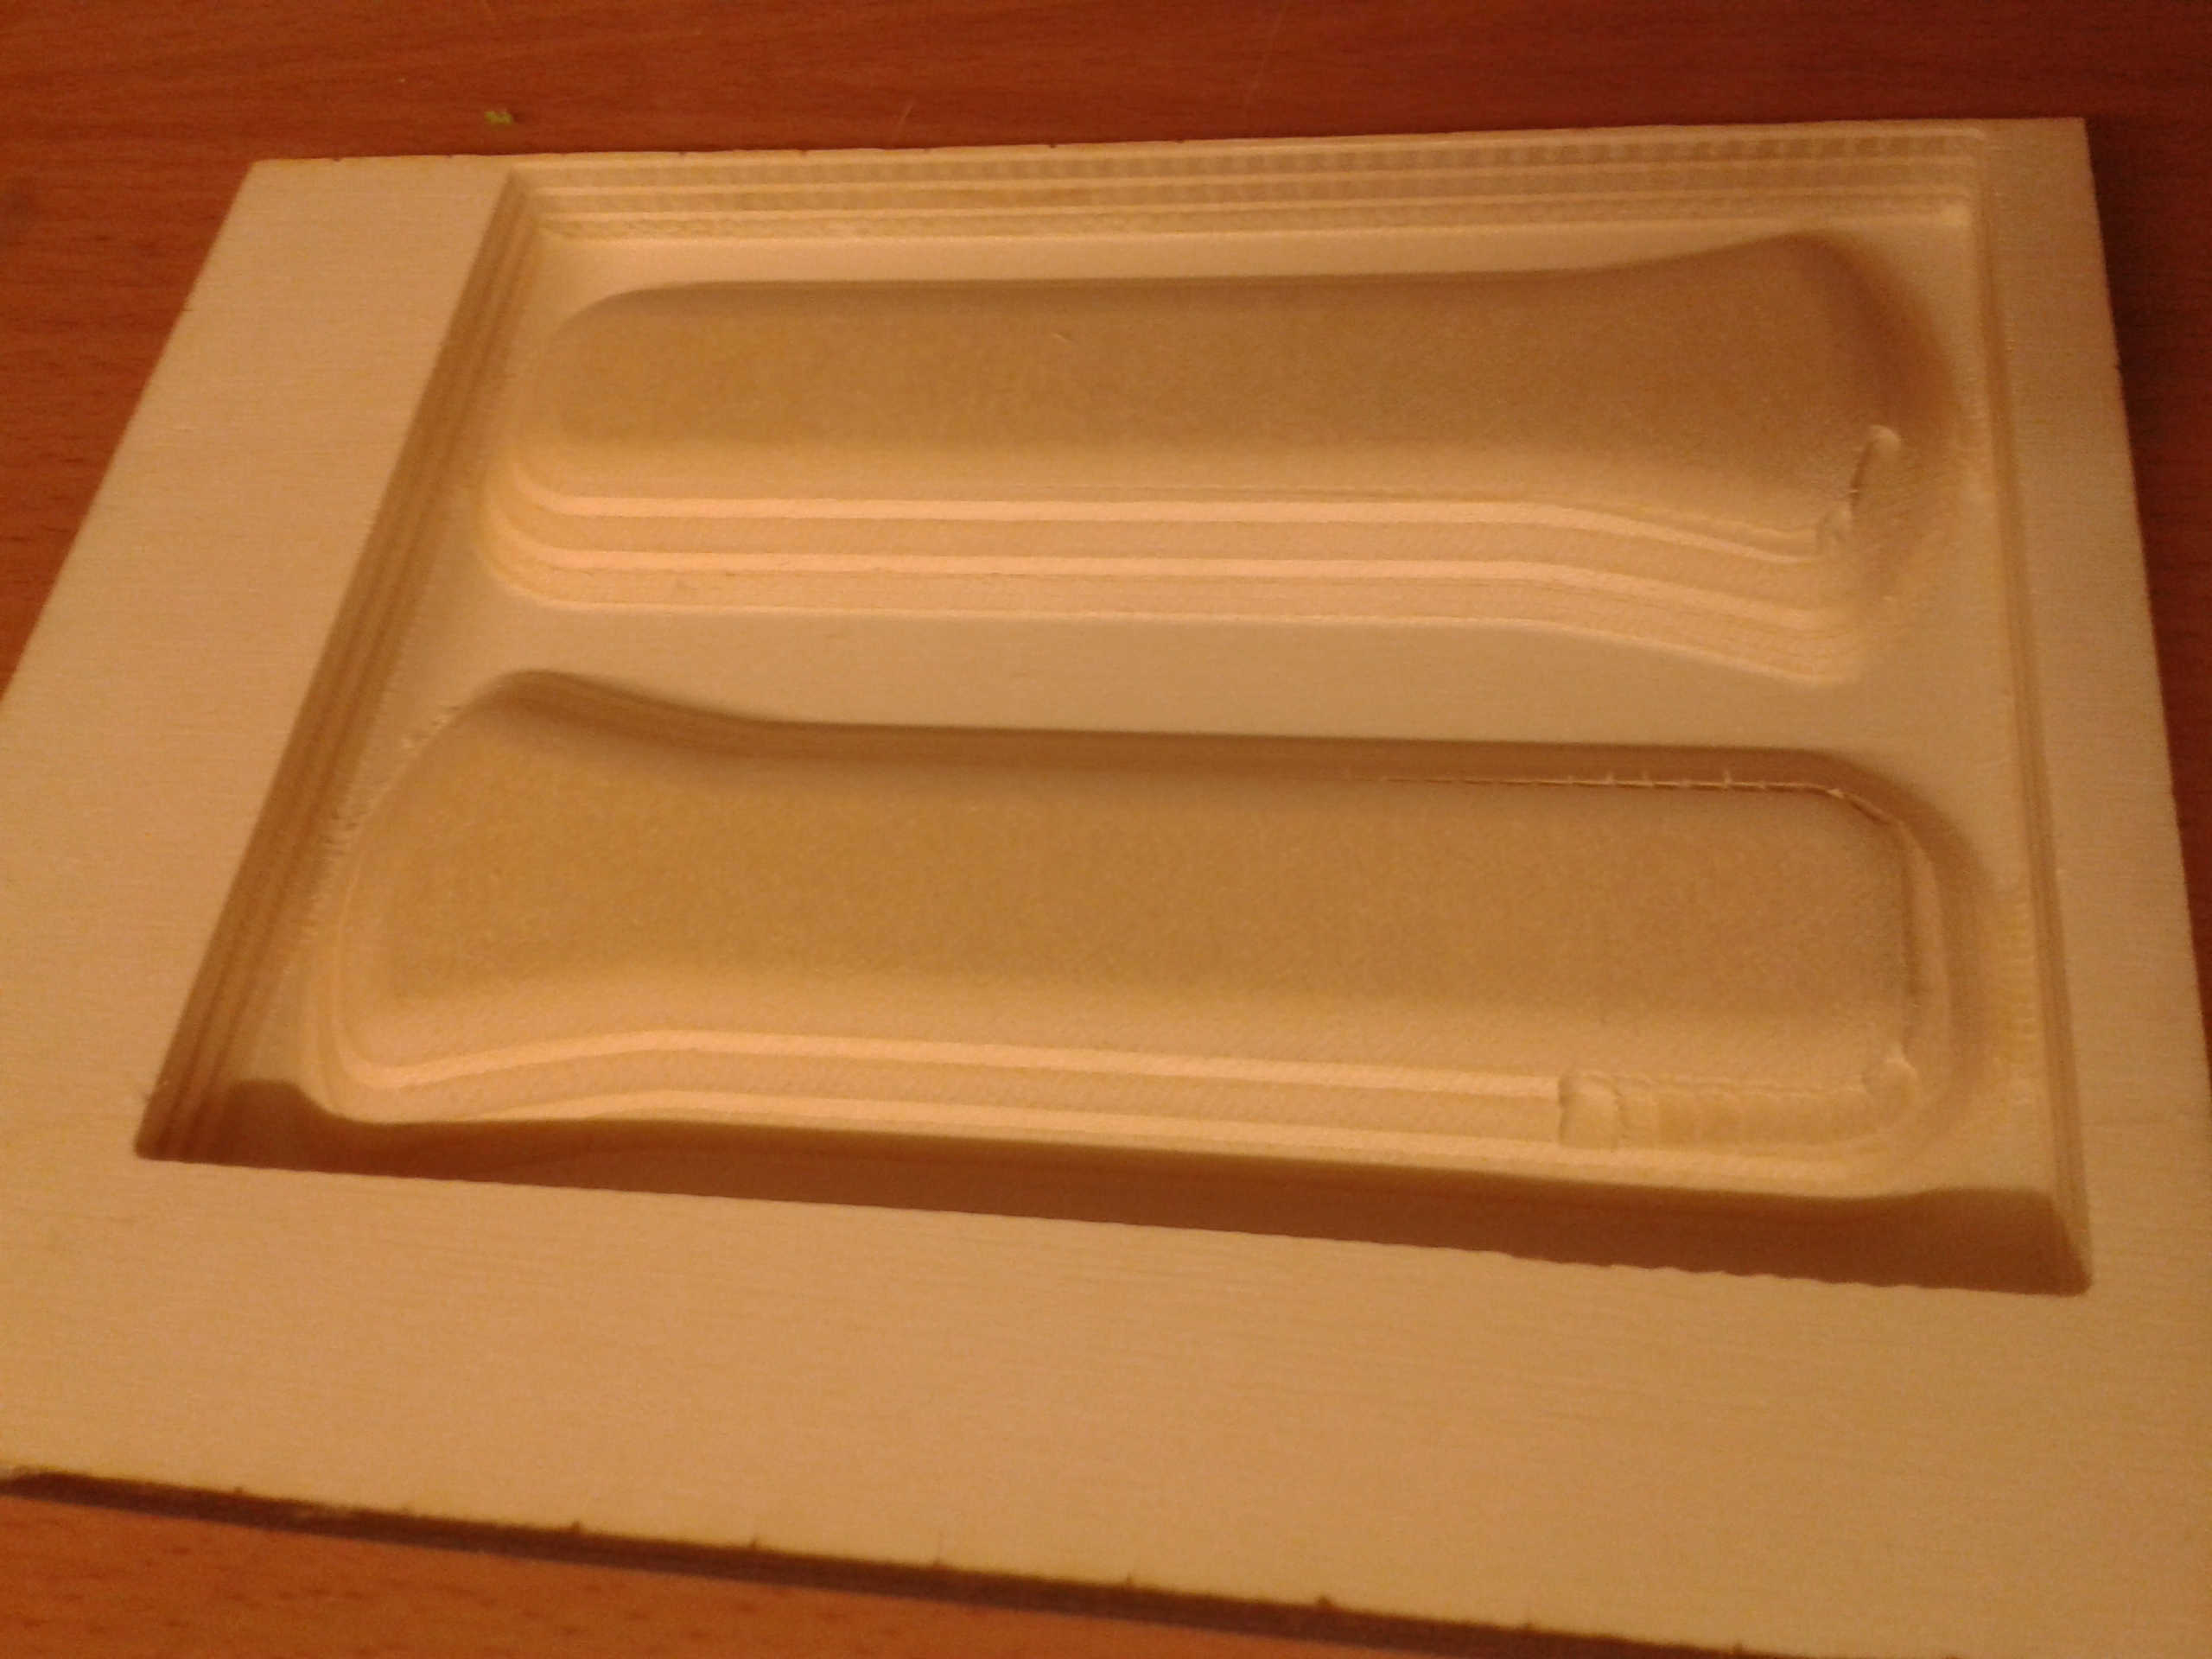
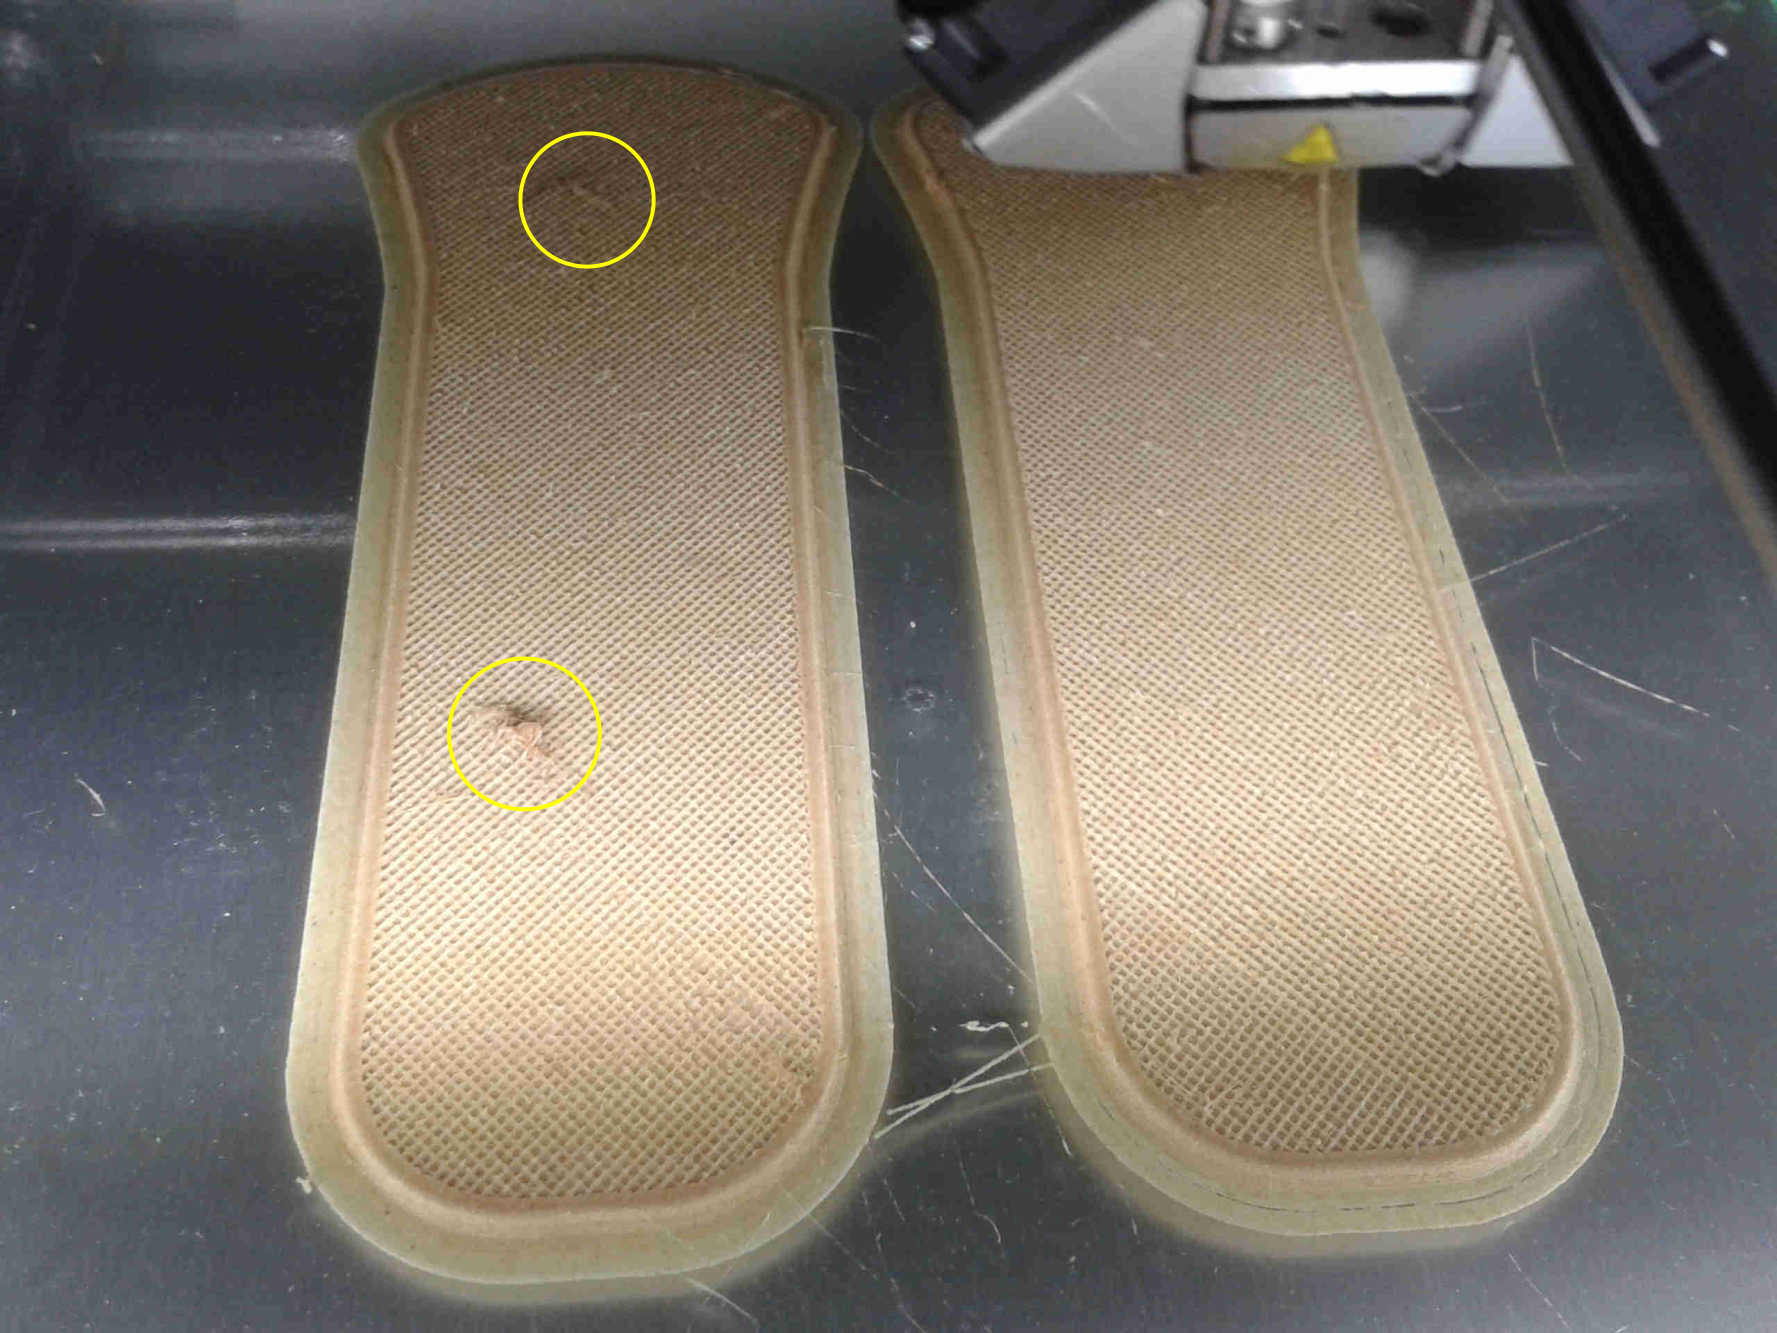
In the end the milling worked well, except for some piece of wood broken during the roughing toolpath I could easily fill with wood putty
Then I glued the handle parts to the main structure using polyvinyl acetate adhesive ("white glue")

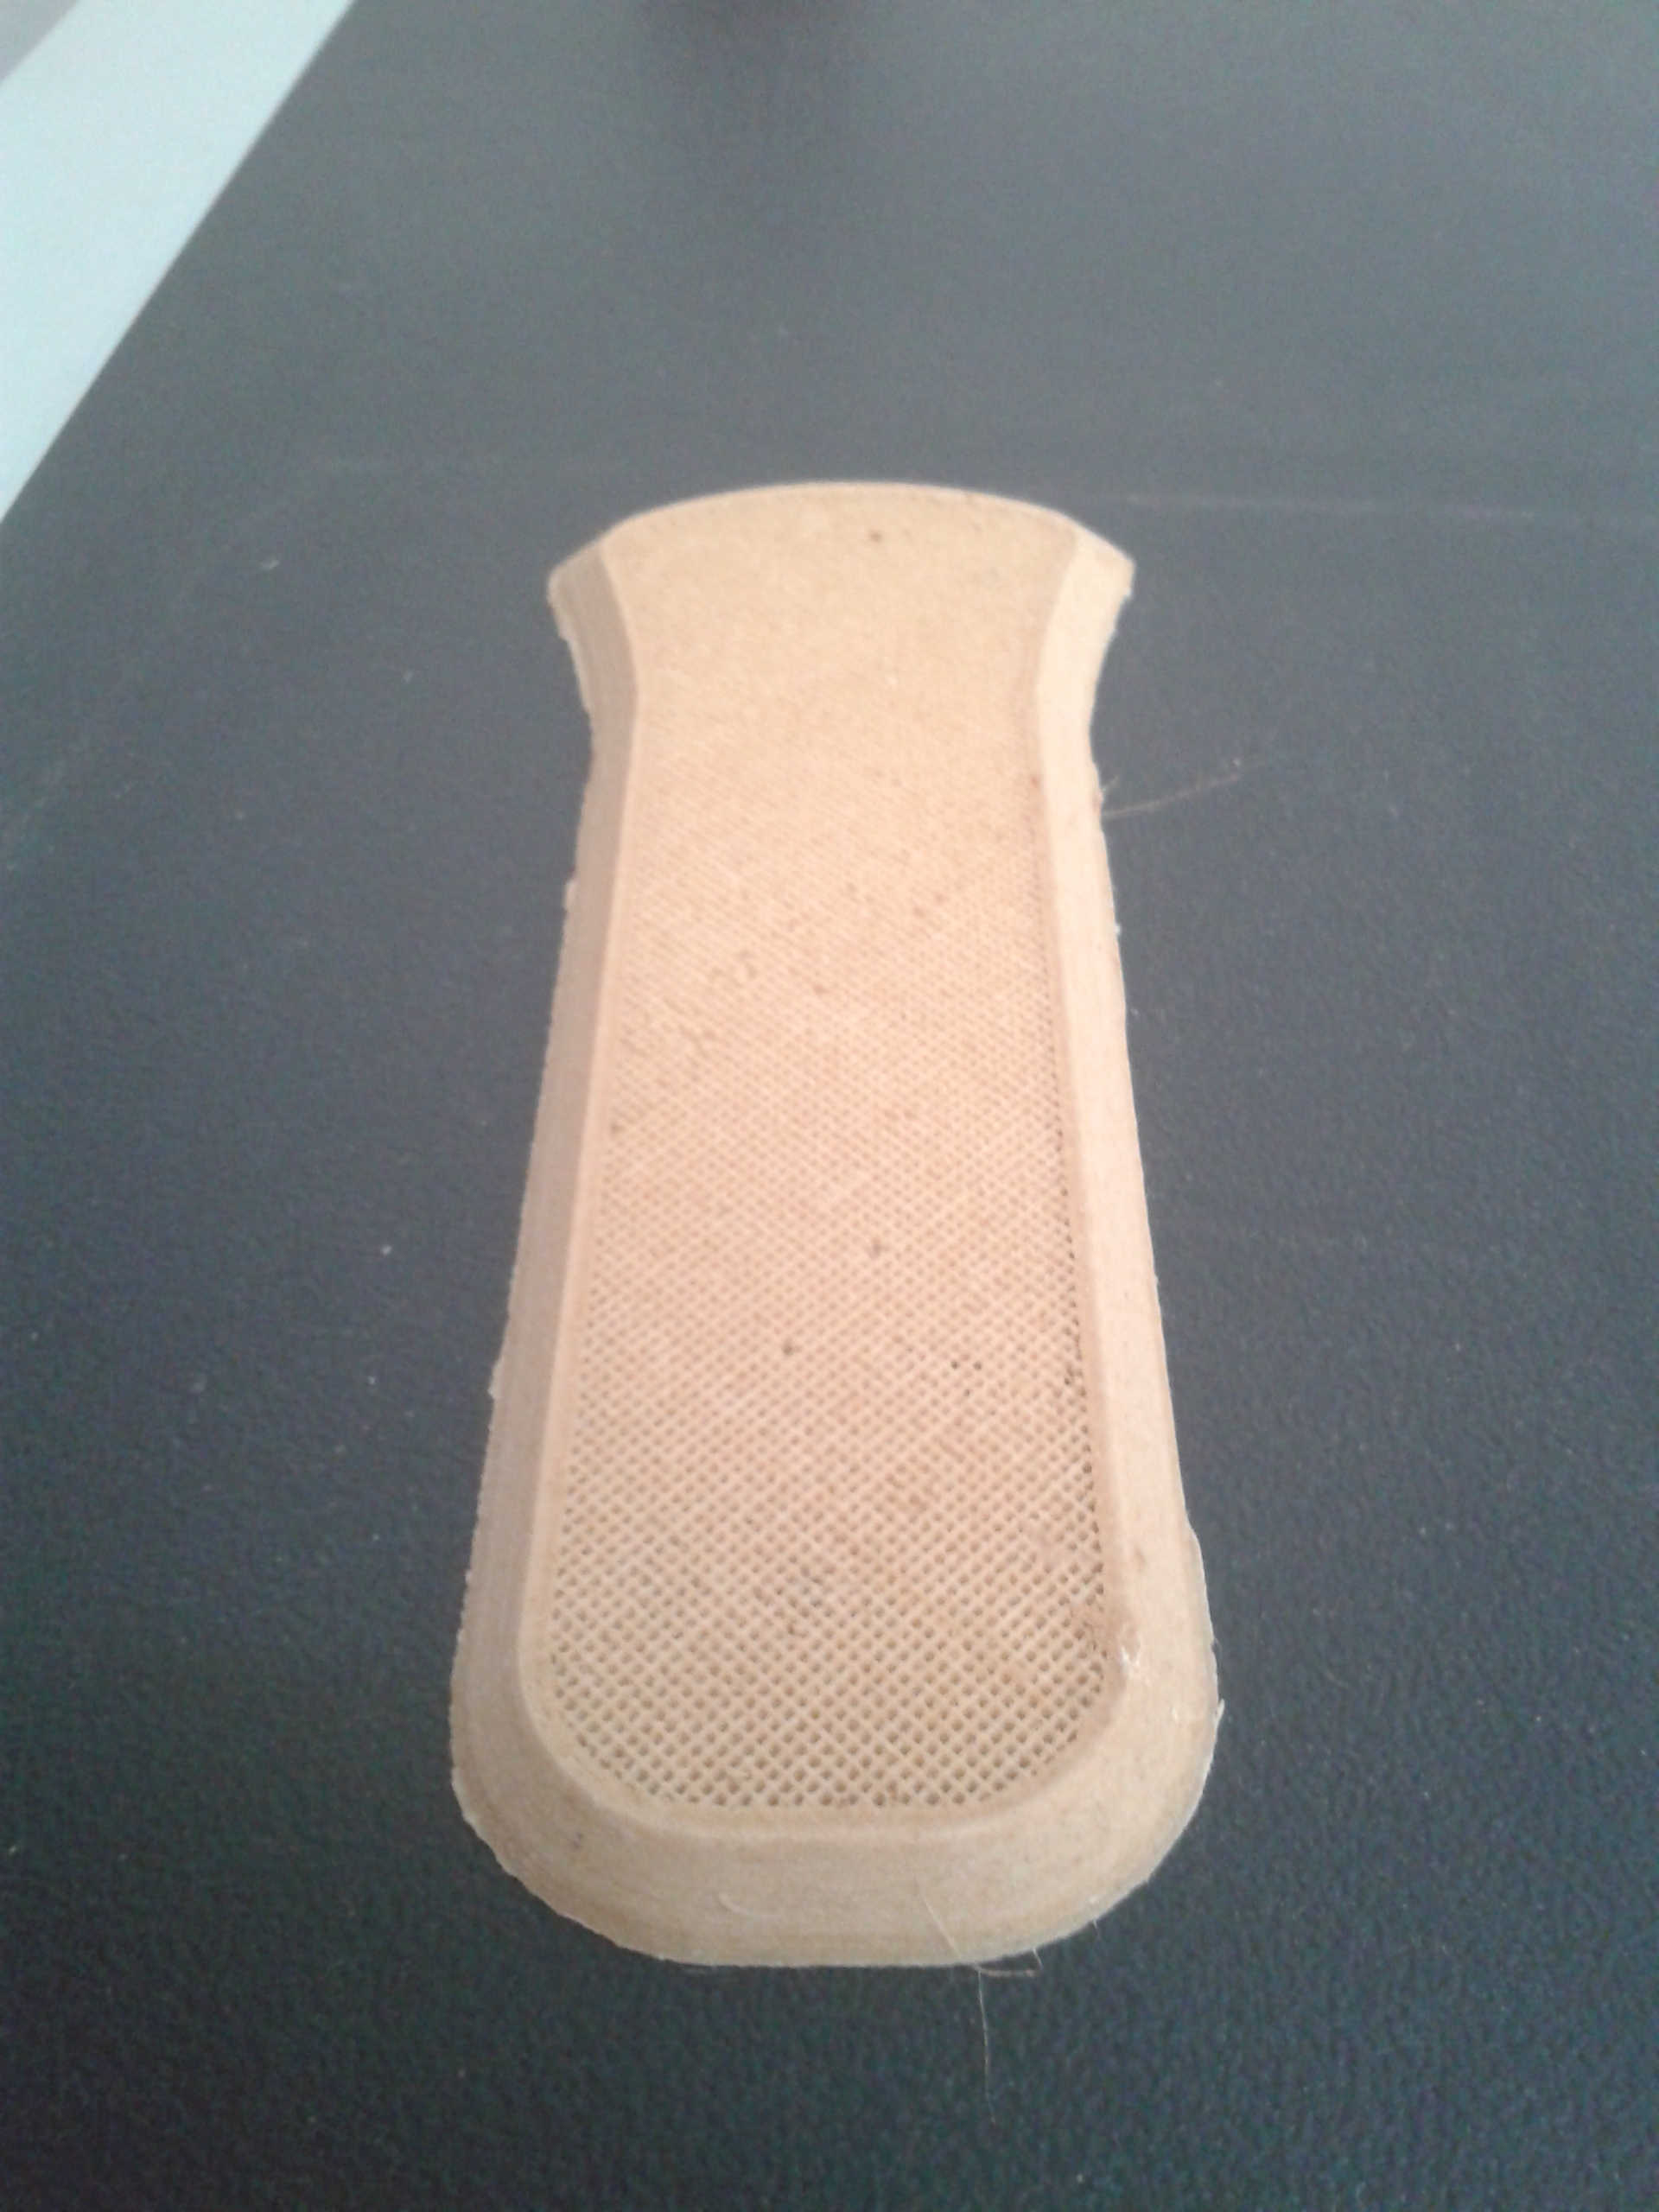
The end result has been very good, and I've been pleased with the work...
Nevertheless I've never gave up on the idea to 3D print with wood filament, so I searched on the producers web page for some more detailed informations about this material
As I discovered there are some tricks to use, and next time I'm going to do it
Update 19/5/2017
Finally I've found the opportunity to 3D print wood filament again, this time using the suggested settings
Even following productor's advice the printing didn't worked, on the contrary it worked worse than the first attempt
Specifically the noozle scraped away the material while moving during the printing and so I had to stop it, clean the noozle and restart the work every ten minutes
Even though those precautions the noozle were blocked and stopped to extrude, so I had to abort the print again
I don't even know why the second attempt went worse than the previous, maybe it could be due to the filament wich has been stored for one year and lost his material properties, or I simply have to keep trying to find specific settings by myself...
... but for the moment I'm sure I'm going to mill instead to print to make the other handle (since I also made a second racket)
View the design files here

