Composites
Week 14
Choossing a project
After this week class, it seemed obvious to us, I say us because we collectivized the project, that we wanted to make a board. François Auclair and I did both a project using to different assembling technique to compare and experiment together. You probably still wonder what project did we choose to do !?! Well, we decided to make a mini surfboard based on the project that Neil showed in the class. I thought that it was an amazing project and really wanted to make one. But, I have to say that this week as been a real messy adventure though.
Safety first
Handeling dangerous product needs a special care about safety of you and also others. As it was suggested, I read a safety sheet for the resin I'm using. If there,s anything to remenber is that in no way you can enter in contact with from ant part of your body. A good setting makes thing even easier. Be sure to have everything you'll need near to you so you don't have to wander around with the product open. Also, cover the place where you'll worked because epoxy resin can be very messy and when it's hard well ... you're stuck with it. So, I used aluminum foil to cover the table on which I'm working, place all the material needed on it and put my safety gear on :

But, safety is not only about beginning but also about ending the work. So, I disposed of it securely at the eco-center following the instruction of the professional.
The story of a complete disaster
That title is not lying. It was a complete mess enven with all the procotion I took there's still epoxy on the floor, but the result are more than shitty !
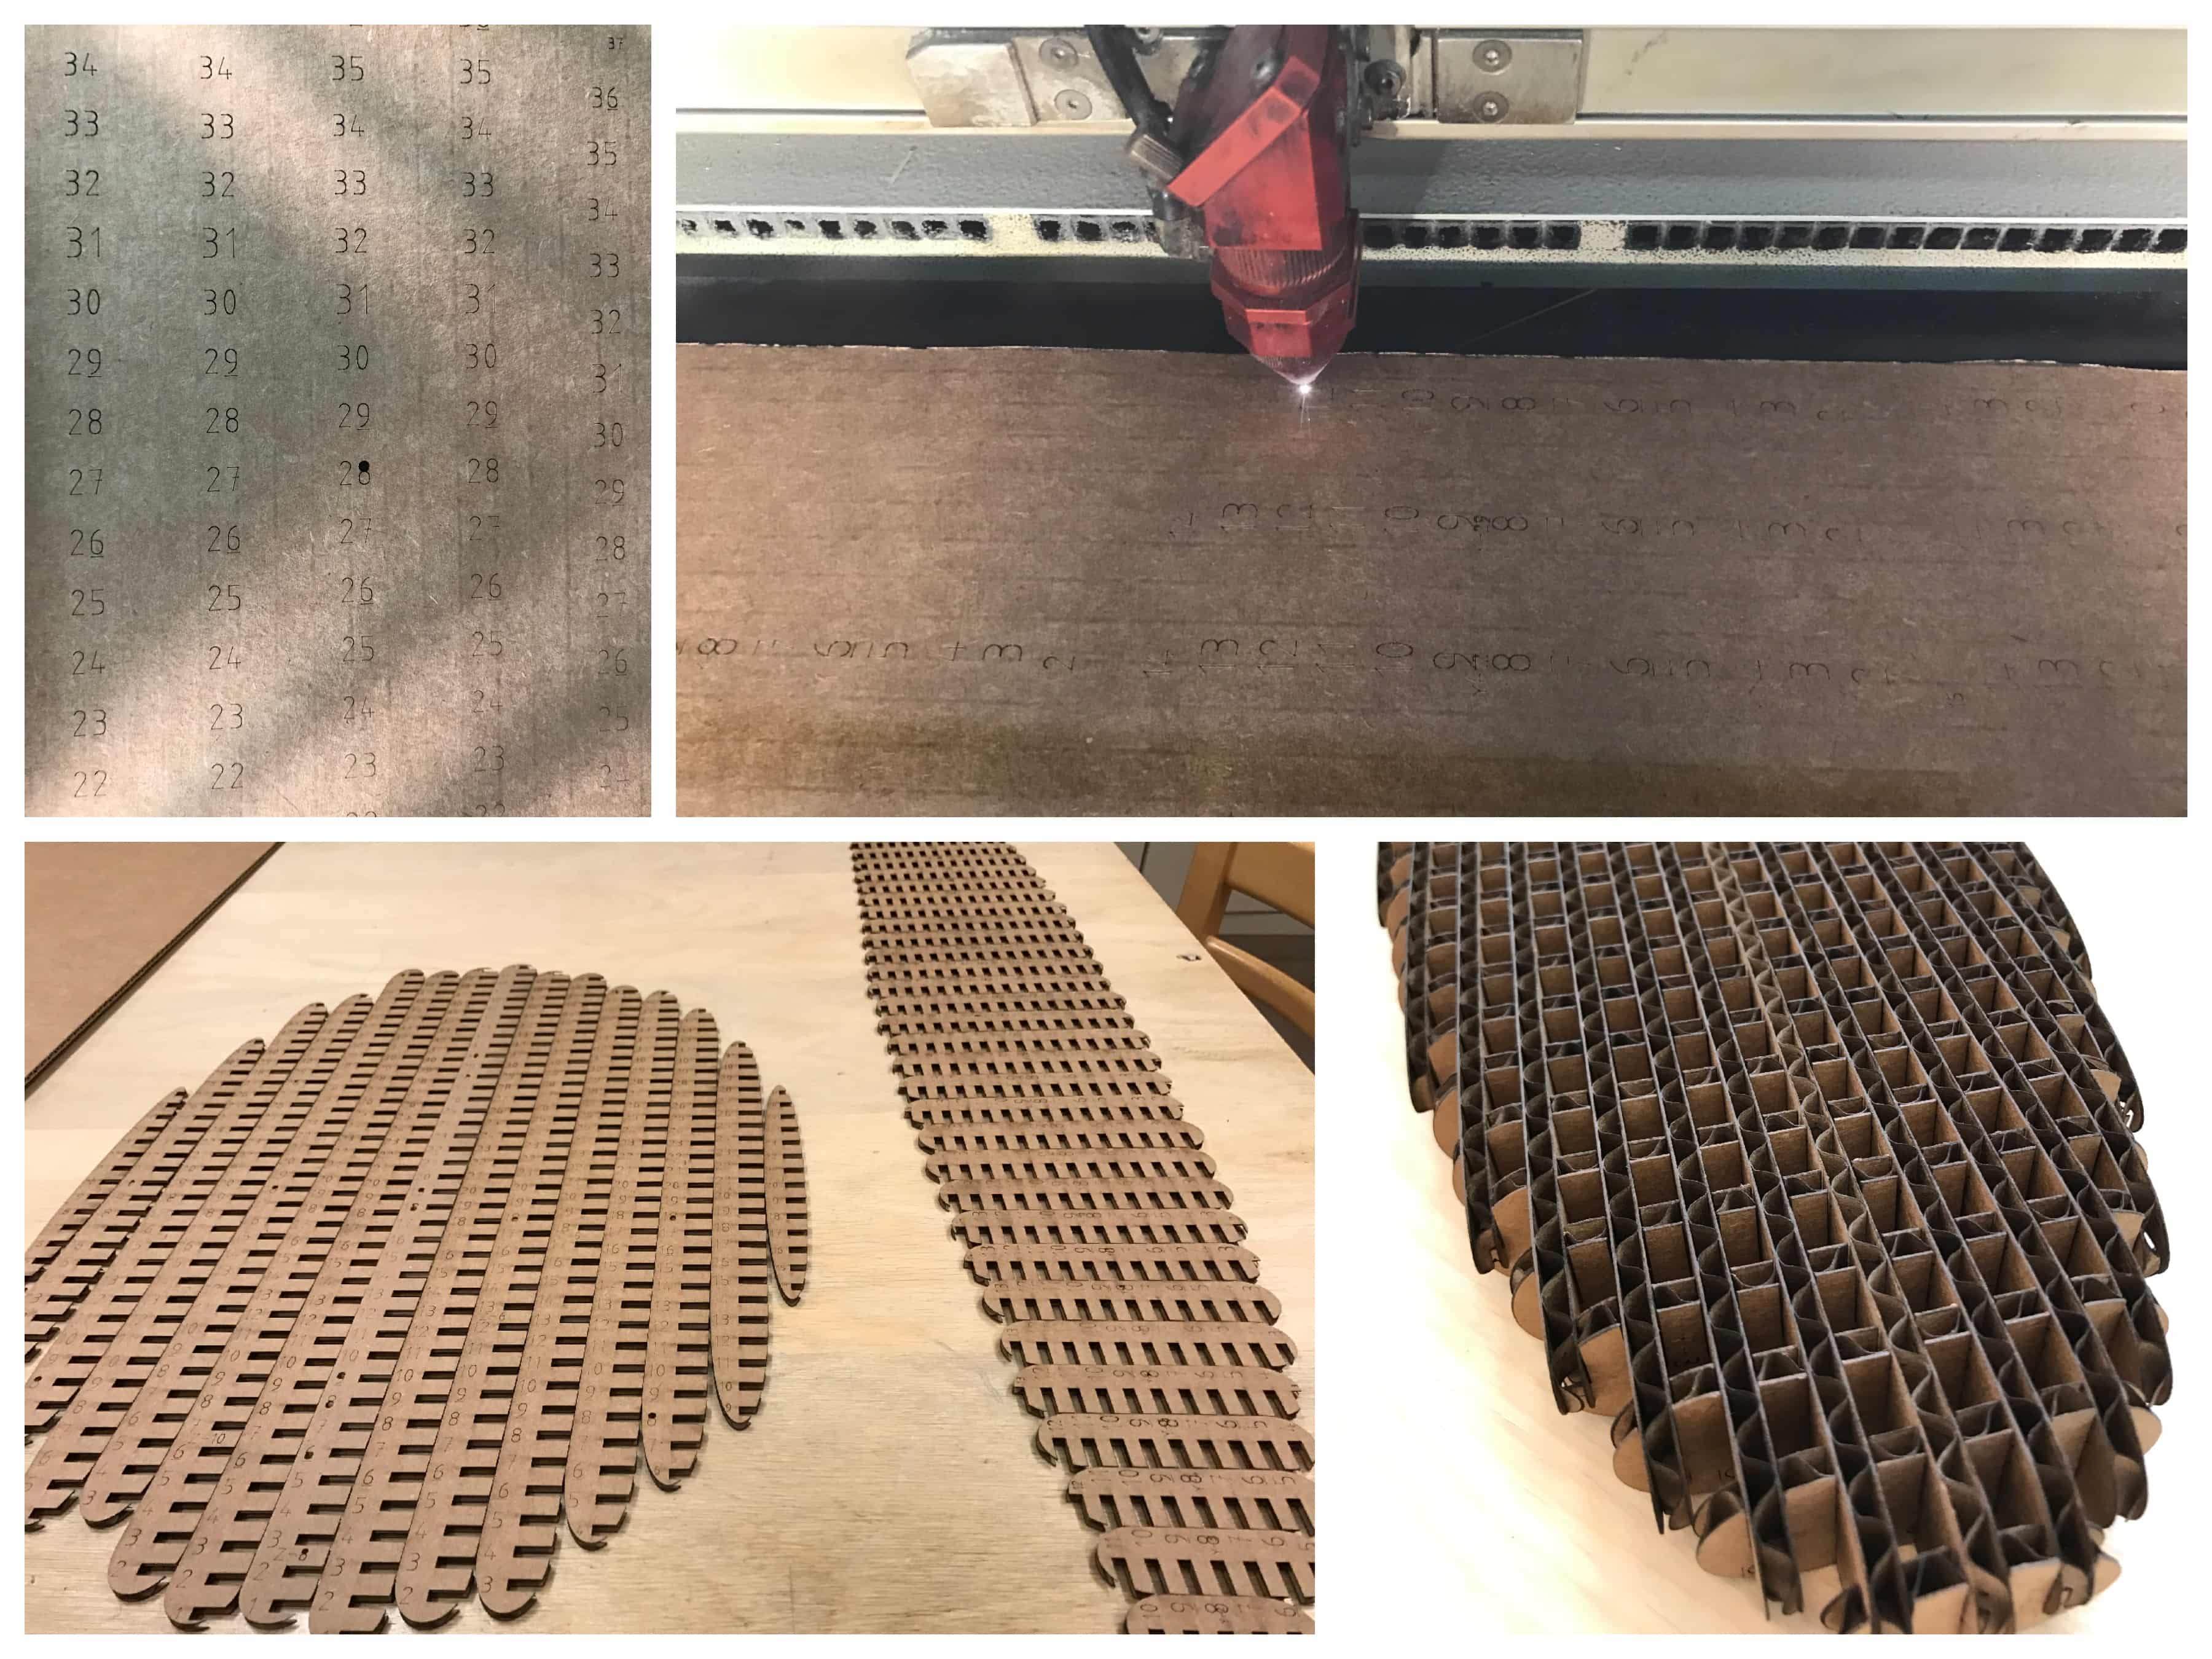
But still here are the steps I followed. First, I designed a board with Fusion360 that I put in the slicer plugin to make that board in cardboard like the guys do in the video. Then, I laser cut the pieces and assembled the whole thing. I was kind of the cool puzzle and made my want to make me slice lots of things !!
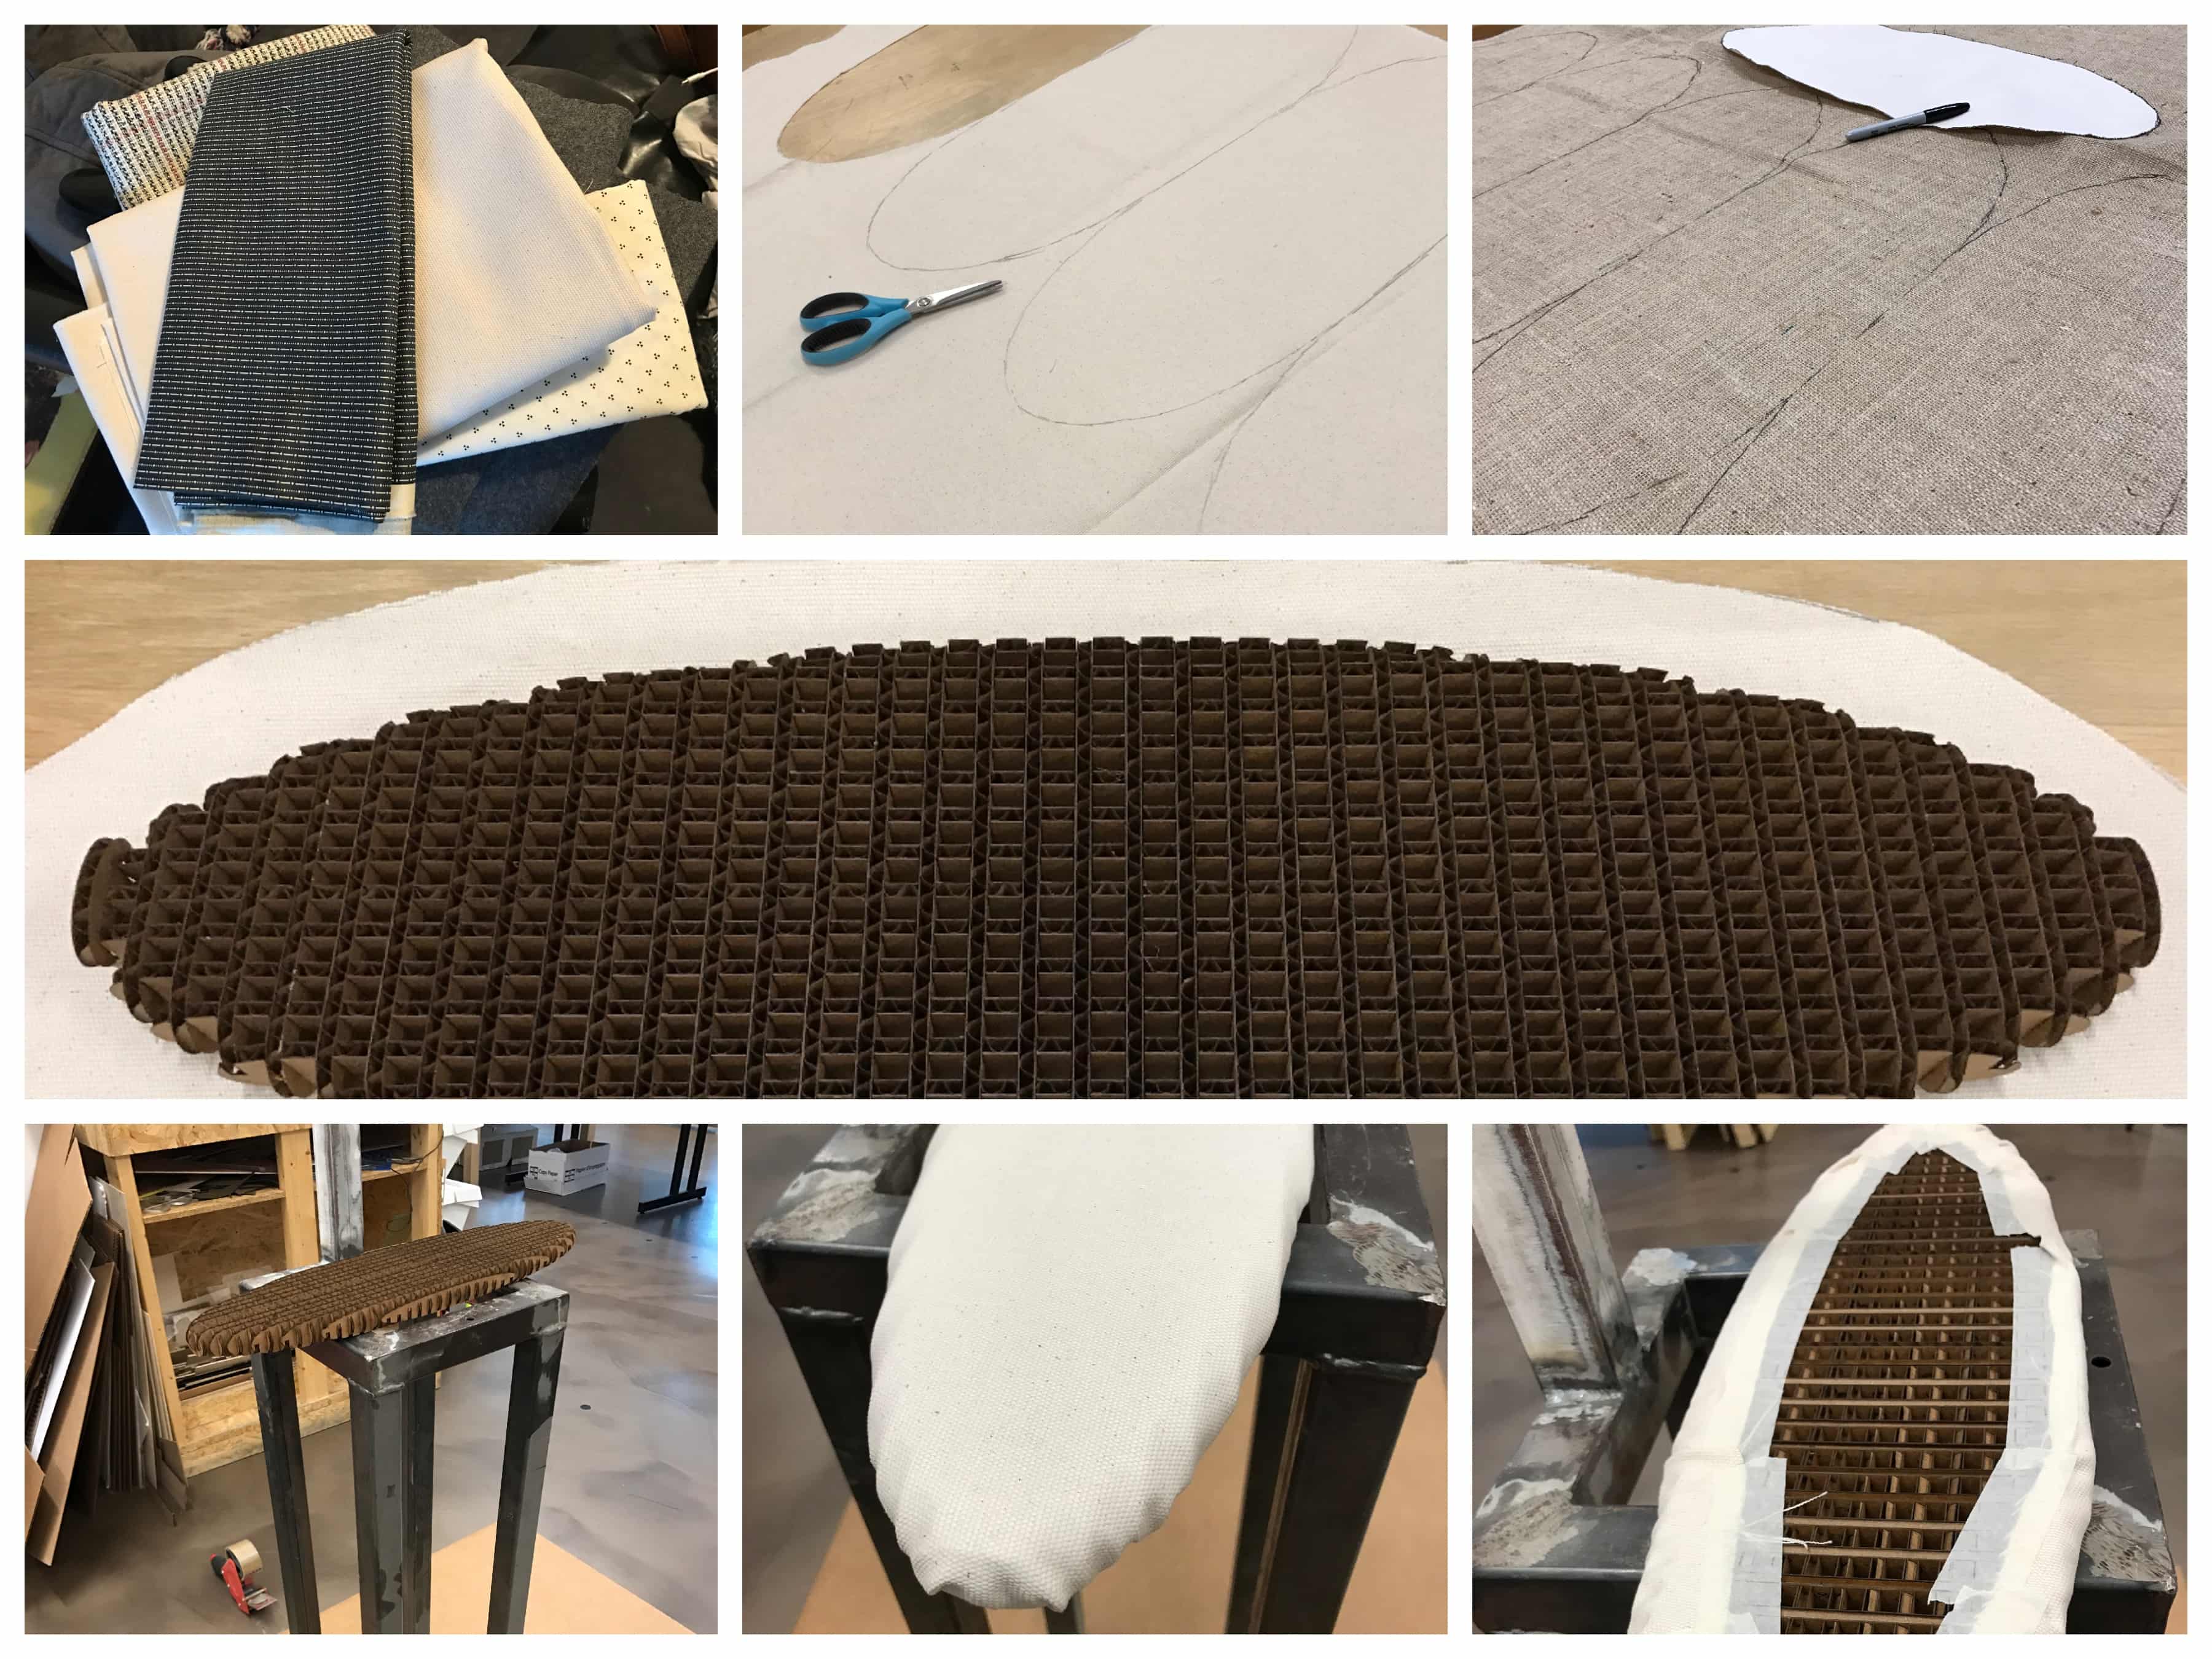
Then, I took the board and made draw the shape of it on three materials :
I pre-cut all of those layers to have everything in hand. Then, I took a metal rack to work on. This one was perfect for that project (finally a decent idea!). Then I began by wrapping the first layer and put epoxy on it. I went on with the other layers.
At some point, it seemed to me that it would never take the shape of it and I was very frustrated (Look at that mad face with the mask !!!). It was just disgusting. It also seemed that I forgot a big step in the making of my composite board ! The vacum bag or the bag full of water that'll make the whole thing take place around a mold. Damn me ! I make it dry overnight any way, I was still curious about the final result. Would it be as shitty as I thought it would be ? There was the real question there.
... A night after ...
Yes it was ! As shitty as I thought it would be ! At the least I guess I'm a realistic person.

I had to make the process again.
We've made a board
I don't have a lot of this one because, as I thought that it was all the fault of the thick layering, I decided to try with fiberglass. This time, I needed to be extra carefull so I didn't take my gloves off to take picture. Sorry for that, but everybody was very alarming about using that kind of material that I didn't took any chances to spread it any where. I hope it'S going to be ok for that evaluation :s. Overall, the steps where pretty much the same :
I'm very sorry again for the lack of picture in this assignment :( ... Well, after all that, I had to get rid of that exedcent fiberglass so anybody gets cancer! Again, the lab is so close to an engineering school that they helped me get rid of it.
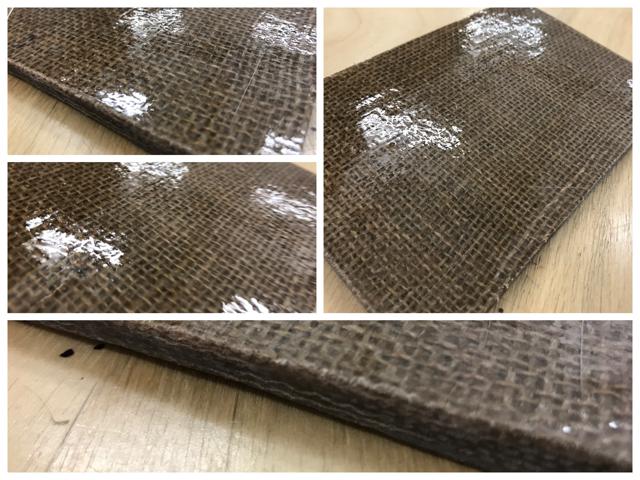
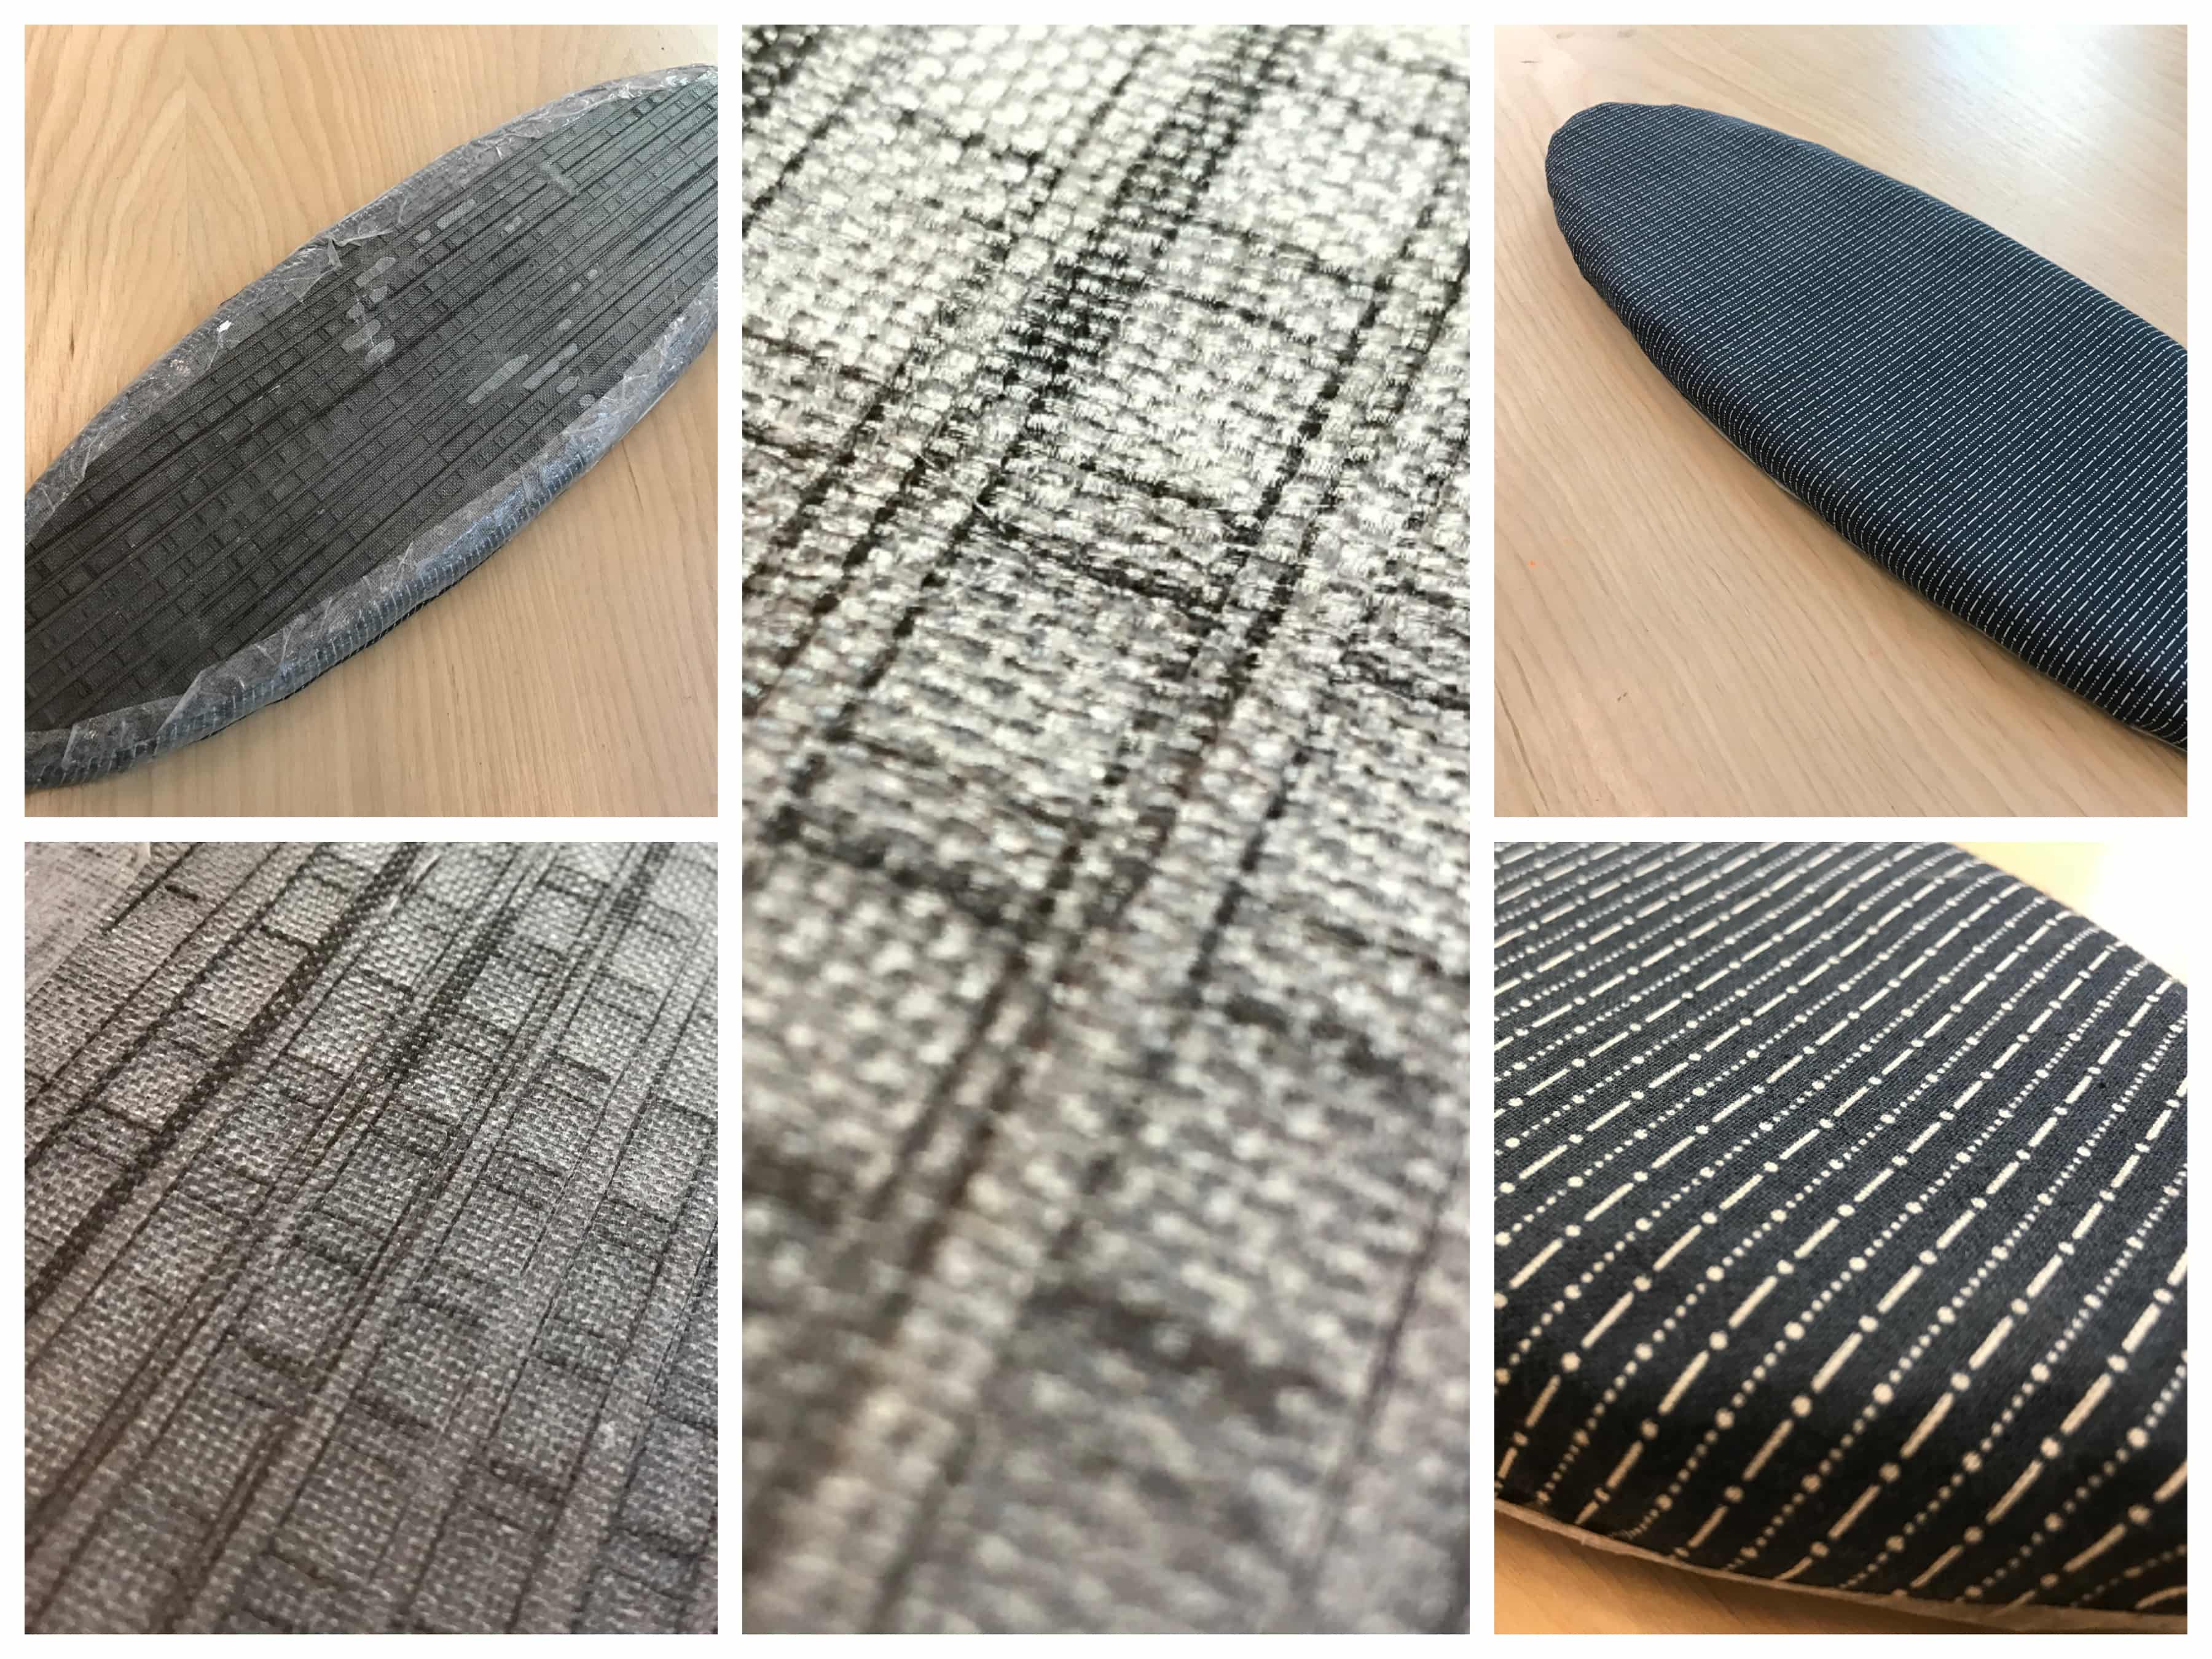
Always thinking about finishes, I thought I'd definitely cover it with a nice fancy material from both sides and heat glue a rubber band in the middle to seal it close and then put a last thick layer of epoxy on it. I got just half through that because I'm lacking the time to do it but to me, the assignment was done with the fiberglass and garbage bag experiment. Here's the final result!
The making of a sample
So, I now need to produce a sample of a composite material of 250mm by 150mm. It's kind of exiting in a way because I loved the composite week even if it was a bit messy ! That's a great opportunity to do someting with a process I didn't try yet.
Making the mold
Again, I'd like to take that opportunity to try different processes in the making of that sample. We just received a Thermoforming machine so, I'll use that for the making of my mold. I'll begin by cutting cardboard that'll glue together and it'll make the base to thermoform on it. I'll use the first one as the female part and it'll be the exact size meaning 250mm X 150mm. The male part will be a little smaller to it fits well inside de female part. About 0.5mm on each side. it'll be just enough to let the space for 6 layers of "jute" (That potato bag material). So, I just draw the rectangles on Inkscape and put 8 layers of 4,37mm of cardboard. The thermoforming process is still to be perfected I'd say. I still have some lines on the mold but after some tries, I've been able to minimize them a lot. Here are some pictures.

Then, it was time to get my hands dirty ! I installed myself in an aerated room of the lab and then put everything in place :
All that in the right order !! I guess it was pretty much that !

Now I have to wait overnight to see the result ... That is very exiting :) ! Then, :
There you go a nice and finished coupon.